Housewarming Gift Crate | Pretty Handy Girl

Housewarming Gift Crate | Pretty Handy Girl

Do you have a new neighbor or know someone who just moved? It’s time to celebrate with them by giving them a housewarming gift caddy! This is an easy gift tote that you can customize to any size you like. Plus, the recipient can use the caddy for storage or display after the gift has been enjoyed.

Before we begin, I need to back up and tell you that this project is part of The Mystery Thrift Off.

#TheMysteryThriftOff is the brainchild of Lindsey from Better After. She chose a handful of people to take part in this challenge. After scouring her local thrift shops for ugly and hopeless items, she shipped off the chosen items to those of us in the challenge. I signed up—because frankly—I love a challenge. And, I love saving ugly items from the landfill. Be sure to see some of the other Mystery Thrift Off transformations at Better After and vote for your favorite.

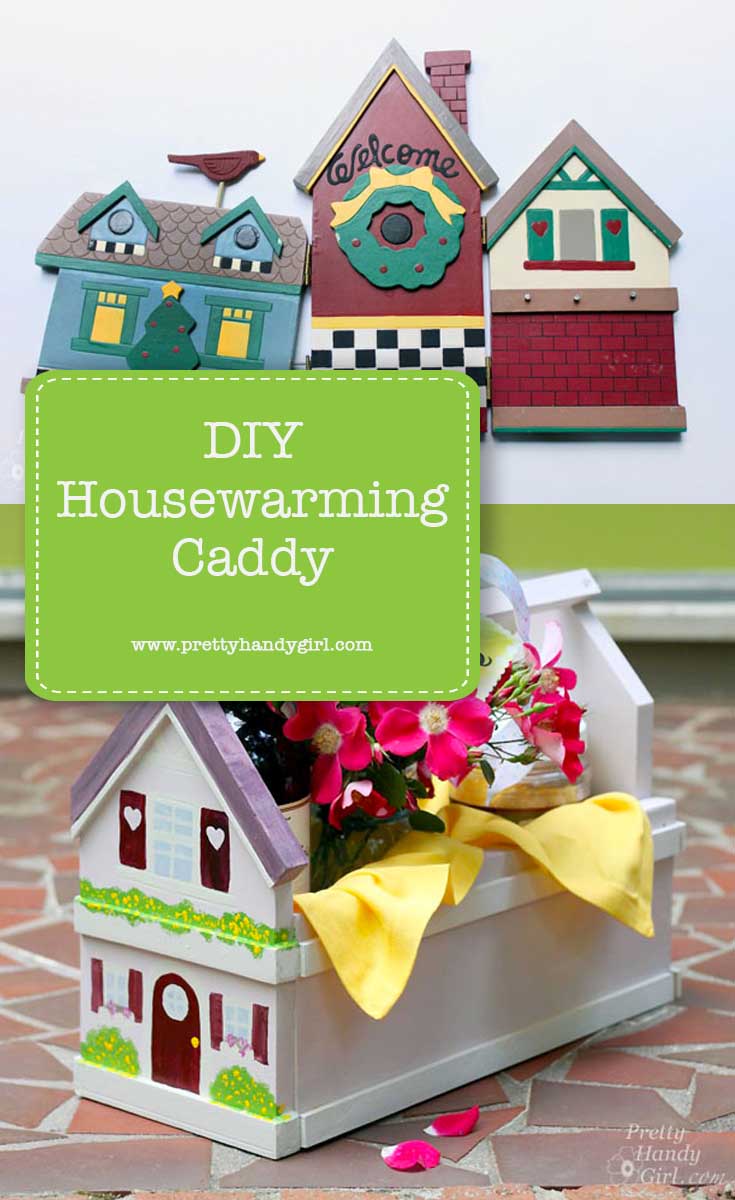
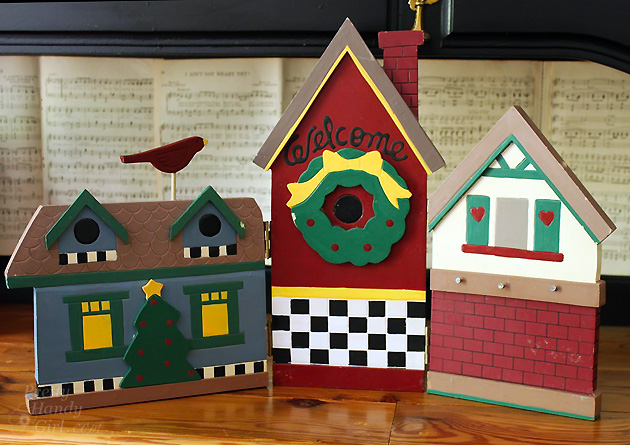
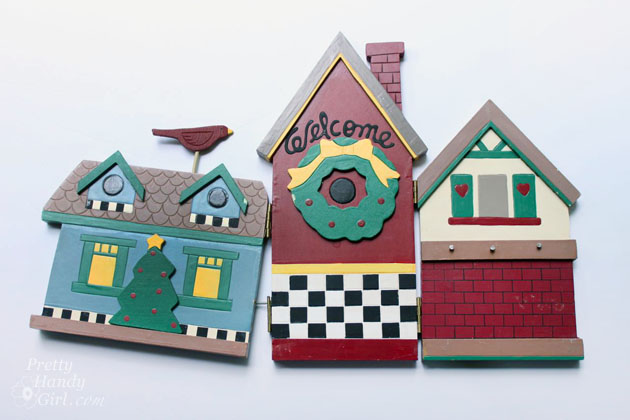
But, when the box arrived from Lindsey, I was terrified to open it up! I mean what if she had sent me a ceramic scabies bear!  Yikes. You can imagine my relief when I opened the box to reveal this dated Christmas village.
Chalkboard Arrow Sign (Mystery Thrift Off) | Pretty Handy Girl

Not too bad looking is it.? Truth be told, it was falling apart and the colors were hunter green, colonial blue, mauve and fleshy tan.
Chalkboard Arrow Sign (Mystery Thrift Off) | Pretty Handy Girl

I quickly pulled the three houses apart and began to transform them into A Chalkboard Arrow Sign, a Little Playhouse and the Housewarming Gift Caddy I’m going to show you today.

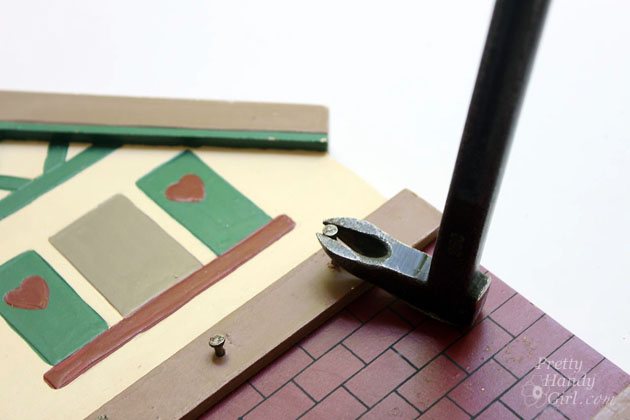
Before I got started, I removed some nails from the house on the right. And then I was ready to get building.
Housewarming Gift Crate | Pretty Handy Girl

Ready to create your own caddy? Let’s get to it.

Materials:

  • 1″ x 6″ board
  • Wood glue
  • Finish nails
  • 1″ x 1″ square dowel
  • 1/2″ lattice trim (or other decorative trim)
  • 2″ screws
  • Spray primer
  • Paint (used Botanical Home Decor Paint)
  • Craft paint
  • Paintbrushes
  • Patch-plus-primer
  • Putty knife
  • Sandpaper

Instructions:

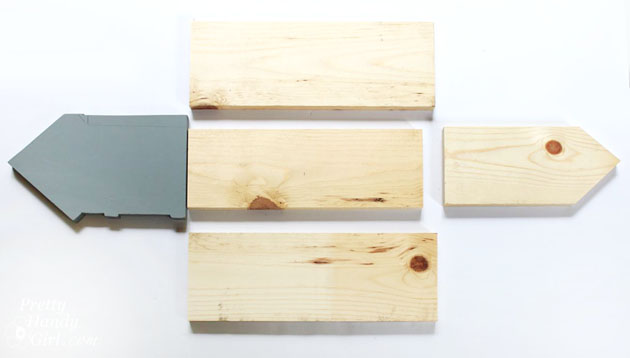
Cut the 1″ x 6″ into 5 pieces:
Housewarming Gift Crate | Pretty Handy Girl

  • 2 – 6″ x 15″sides
  • 1 – 6″ x 15″ base
  • 2 – 6″ x 11″ front & back pieces with a 45 degree corners cut into the tops

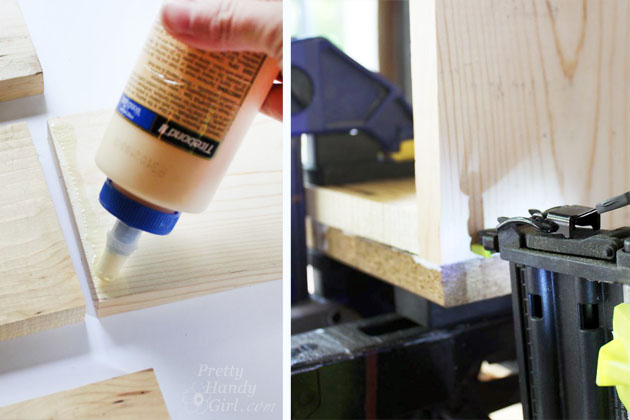
Add a line of glue along the bottom of the front and back of the caddy.  Attach them to the base with finish nails.
Housewarming Gift Crate | Pretty Handy Girl

Add a line of glue to cut ends of the sides and add a line of glue to the bottom of the sides.  Attach the front to the sides with finish nails. Repeat for the back piece.
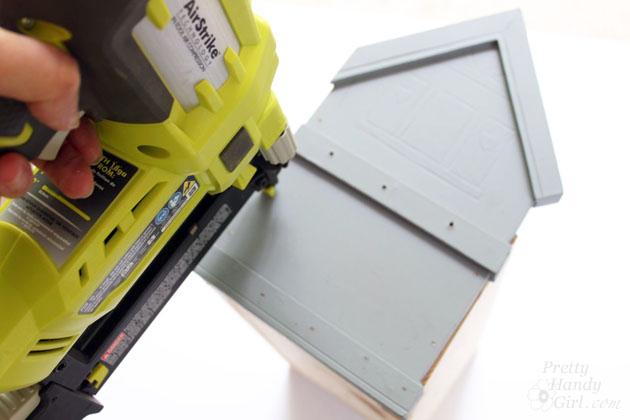
Housewarming Gift Crate | Pretty Handy Girl

Attach the sides by nailing through the bottom and into the sides.
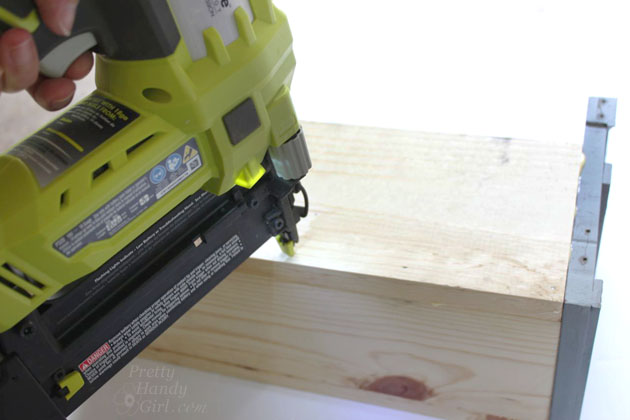
Housewarming Gift Crate | Pretty Handy Girl

Pre-drill a hole into each end of the 1″ x 1″ square dowel. Attach the square dowel to the top of the front and back pieces with the 2″ screws.
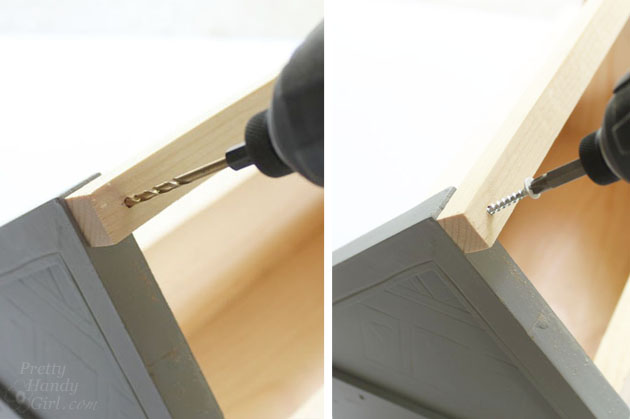
Housewarming Gift Crate | Pretty Handy Girl

The completely assembled crate should look like this:
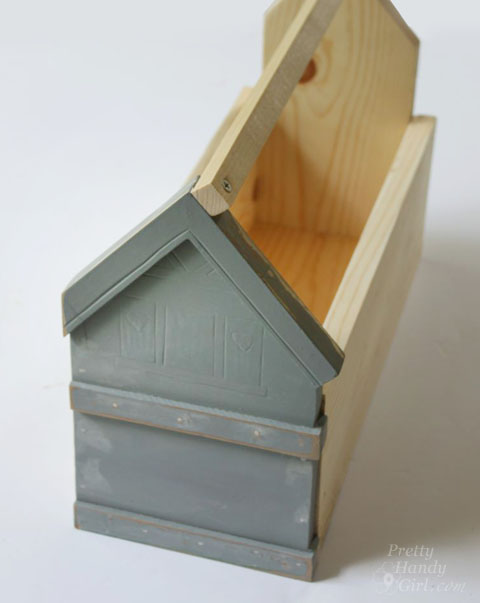
Housewarming Gift Crate | Pretty Handy Girl

Spray the caddy with spray primer inside and out.
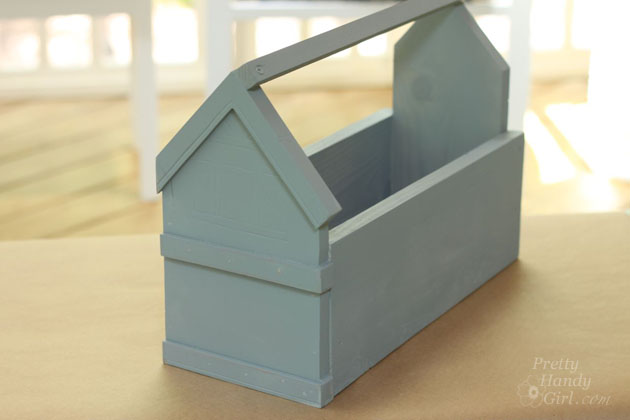
Housewarming Gift Crate | Pretty Handy Girl

Paint caddy with a solid color first. (I used a new paint and love the texture and coverage. Botanicals Home Decor Paint in Peony went on smoothly like chalky paints.)
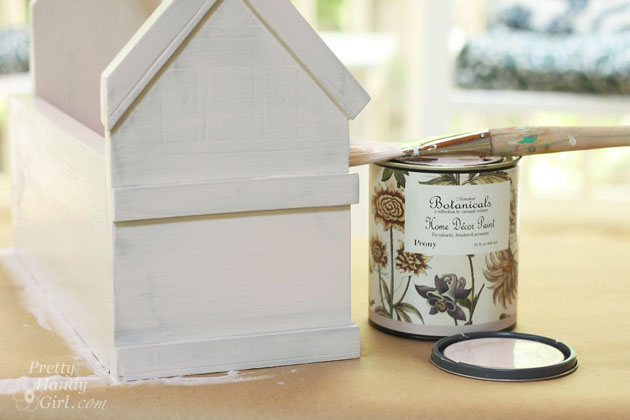
Housewarming Gift Crate | Pretty Handy Girl

Use the craft paints to paint details like windows, shutters and a door onto the front of the caddy. If you’re feeling truly artistic, you can paint the back too.
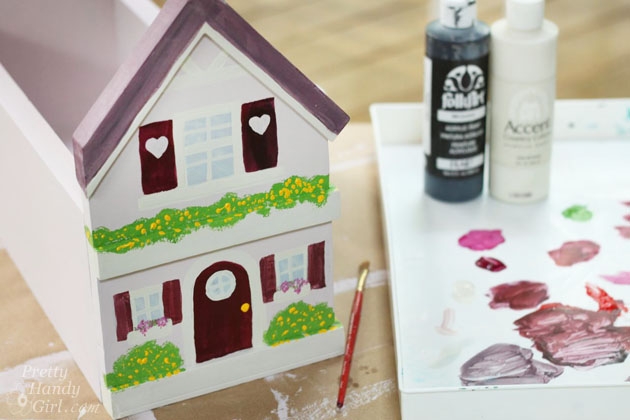
Housewarming Gift Crate | Pretty Handy Girl

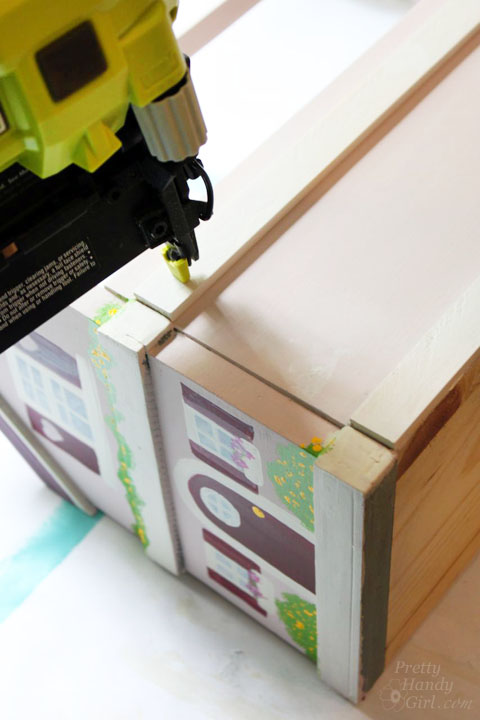
Nail the lattice trim pieces to the sides of the caddy for a little decoration.
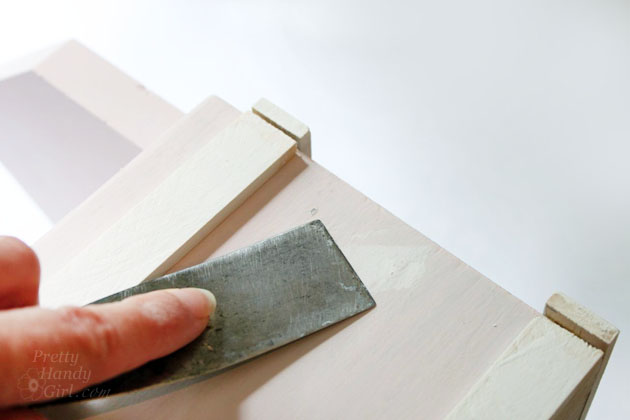
Housewarming Gift Crate | Pretty Handy Girl

Putty all nail holes.

Housewarming Gift Crate | Pretty Handy Girl

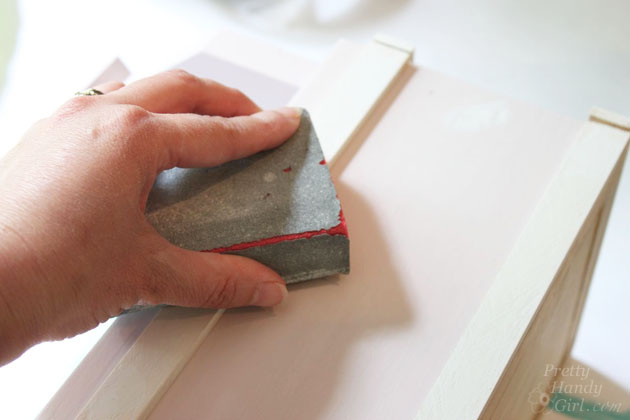
Sand the putty smooth after it has dried. Touch up paint the putty holes.
Housewarming Gift Crate | Pretty Handy Girl

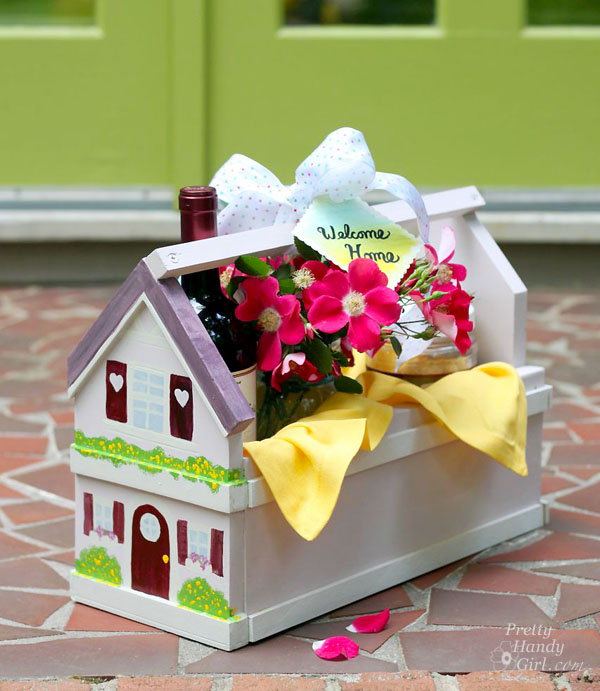
Fill your caddy with wine, flowers, food or other goodies to celebrate the new homeowners.

Housewarming Gift Crate | Pretty Handy Girl

The recipient will be tickled pink. Haha, get it, a little pink house?

PHGFancySign


Pin for later!

12 Father's Day Gifts - Way Cooler than a Tie | Pretty Handy Girl

12 Father's Day Gifts - Way Cooler than a Tie | Pretty Handy Girl

Father’s Day is coming up next week. The conundrum of what to get your Dad or your spouse is waging war in your mind. I scouted far and wide on the interwebs to come up with 12 Father’s Day Gift Ideas that are Way Cooler than a Tie!

(I’ve included affiliate links for your convenience. I earn a small percentage from a purchase using these links. There is no additional cost to you. You can read more about affiliate links here.)

 For the Music Lover:

10 Father's Day Gifts - Way Cooler than a Tie | Pretty Handy Girl

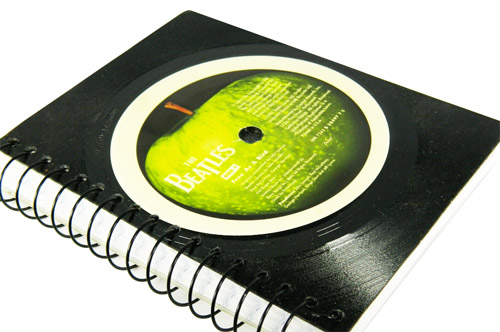
Upcycled Vinyl Record Notebooks

What to get the music fan that has everything? How about an upcycled vinyl record notebook. Real records were harmed (some scratched too much to listen to anymore) to make this one-of-a-kind spiral bound notebook.


10 Father's Day Gifts - Way Cooler than a Tie | Pretty Handy Girl

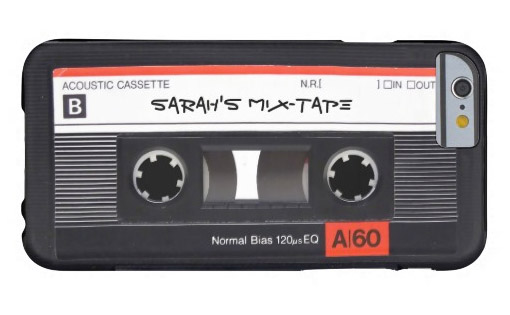
Cassette Tape Mobile Phone Case

Remember the old days with this fun cassette mix tape mobile phone case. You can customize the words to add your guy’s name or his favorite album.


10 Father's Day Gifts - Way Cooler than a Tie | Pretty Handy Girl

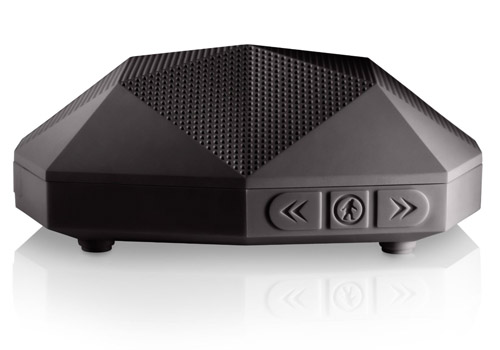
Outdoor Water-Resistant Blue Tooth Wi-Fi Speaker

Need tunes while washing the car; camping; lounging by the pool; at the beach or outside playing basketball? The number of places you can play music are now infinite. This water-resistant speaker can also be used in the shower or on your back deck during your next BBQ.


For the Tech Geek: Read more

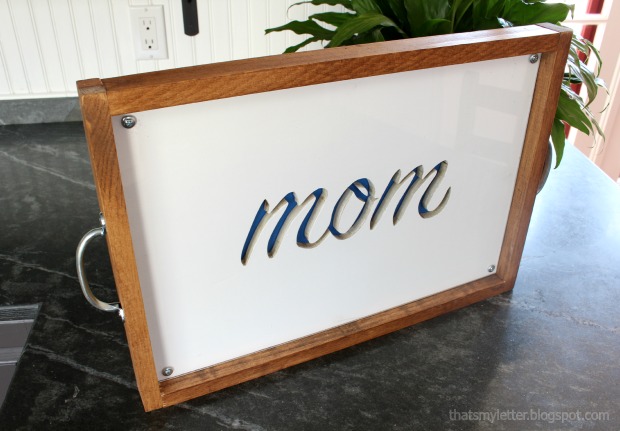
mom diy cut out tray

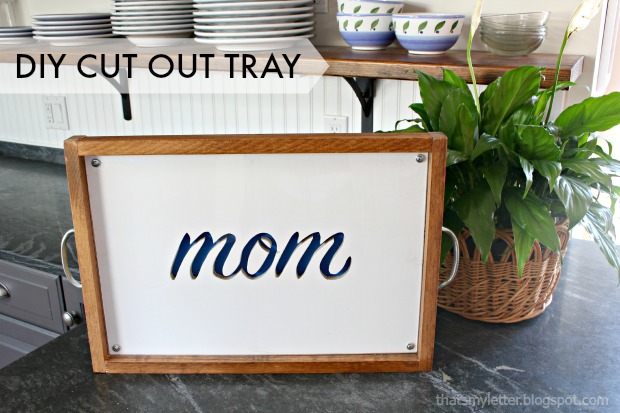
cut out tray title

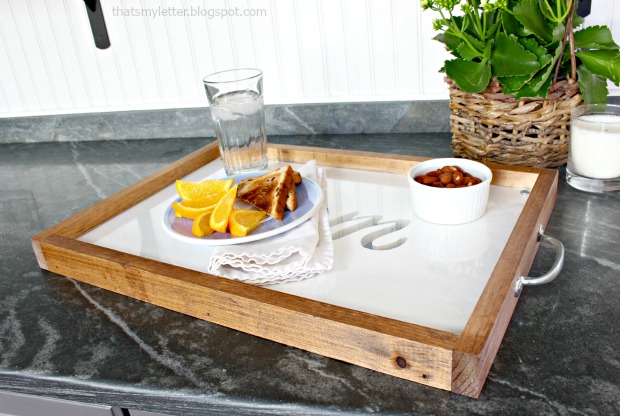
Happy Wednesday Pretty Handy readers.  Jaime here from That’s My Letter to share a DIY project that makes a great anytime gift or (an even better idea) for Mother’s Day.  I’ll show you how to make this wood cut out tray which you can personalize with any name or shape.

The wood cut out makes for an unexpected design element.  I painted bright blue behind the cut out, but any contrasting color will look great.

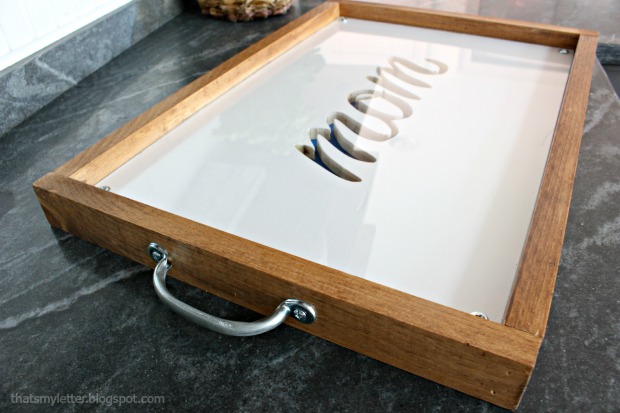
cut out tray 3

Plexiglass installed over the wood cut out provides a solid flat surface.  The plexiglass also adds a bit of shine and fancy!

cut out tray 2

Below are the step-by-step instructions to make this tray.

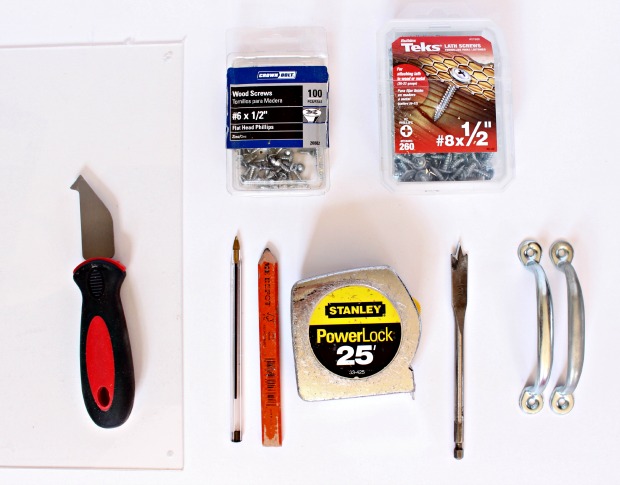
Materials:

cut out tray supplies

  • 1/2″ plywood 18″ x 12″
  • 1/4″ plywood 18″ x 12″
  • 1 sheet plexiglass (18″ x 24″ –  makes 2 trays)
  • 1 – 1″ x 2″ x 6′ pine board (cut 2 @ 18″ length and 2 @ 13 1/2″ length)
  • white paint
  • blue paint
  • stain
  • 2 handles
  • 1/2″ wood screws
  • 1/2″ lath screws
  • plexi/glass cutter
  • jig saw
  • sandpaper
  • ballpoint pen
  • measuring tape & pencil
  • drill, bits & 1/2″ spade bit

Instructions:

cut out tray step 1

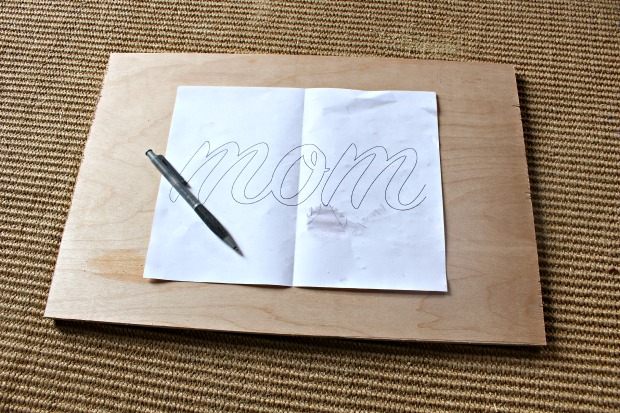
Step 1: Print out your name or word.  (I used Sign Painter – housescript font at 475 point.  Any font will do as long as it’s thick enough to cut out.)

cut out tray step 2

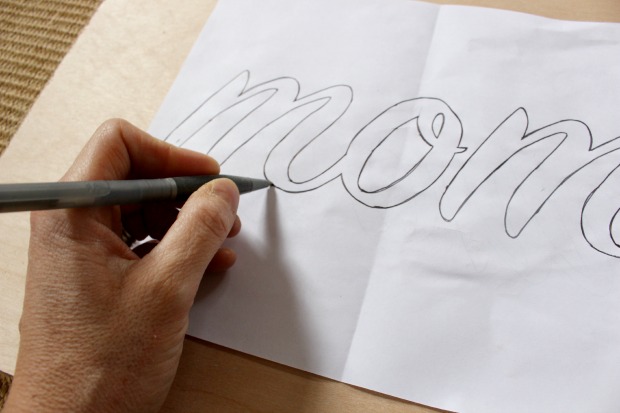
Step 2: Center the printout on the 1/2″ plywood and trace around letters with a ballpoint pen.  Use heavy pressure to create an indent in the wood. Read more

Heart Shaped Topiary | Pretty Handy Girl

Heart Shaped Topiary | Pretty Handy Girl

The season of love is upon us. Have you embraced it? Or are you struggling to find something cute but not cutesy. Or something non-red or pink? Today I have a tutorial to show  you how easy it is to create a heart shaped topiary. Keep it for yourself or give it to the one you love. As the vine continues to grow, the heart will be embraced by the leaves and fill out.

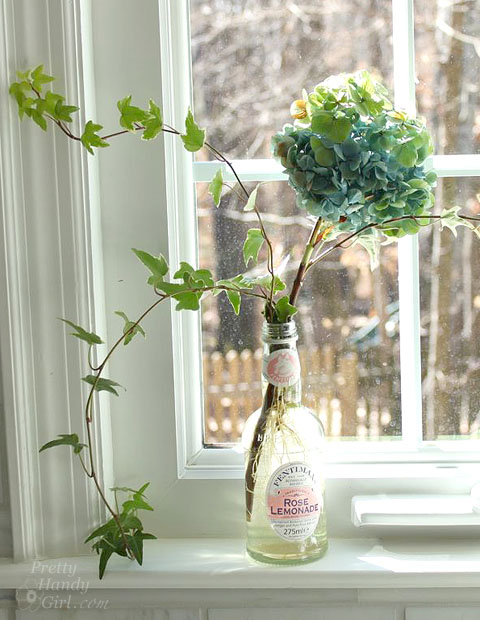
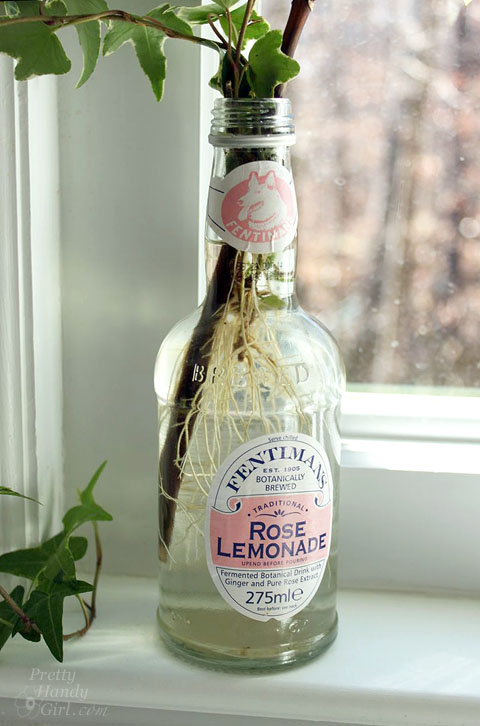
In late Autumn, we had a final blue bloom on our hydrangea bush. I clipped it and brought it inside before the impending cold snap arrived. To keep the hydrangea company, I put a few snips of variegated ivy into the vase too.

Heart Shaped Topiary | Pretty Handy Girl

Over the winter, the ivy grew a healthy root system. Ivy is an easy plant to root. Simply put some clippings in water and keep it watered. After the ivy has rooted, you can create a beautiful topiary plant for a kitchen window sill.

Heart Shaped Topiary | Pretty Handy Girl

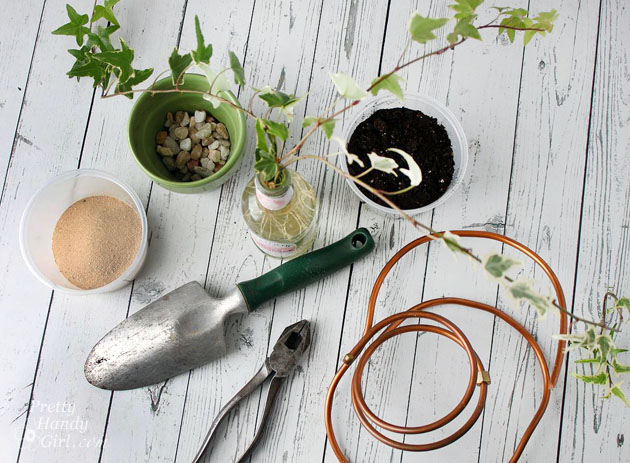
Begin by collecting your materials.

Materials:

Heart Shaped Topiary | Pretty Handy Girl

  • Ivy with roots
  • Copper water line or thick wire
  • Wire cutters
  • Pot
  • Rocks
  • Sand
  • Potting Soil
  • Trowel
  • Water

Optional: string, floral wire or a twisty tie

Instructions:  Read more

leather heart necklaces

Hello Pretty Handy Readers!  We survived the holidays! Yes, January can be quiet but February will be here before you know it and that means Valentine’s Day. Jaime here today from That’s My Letter sharing this DIY leather heart necklace, no sewing necessary!

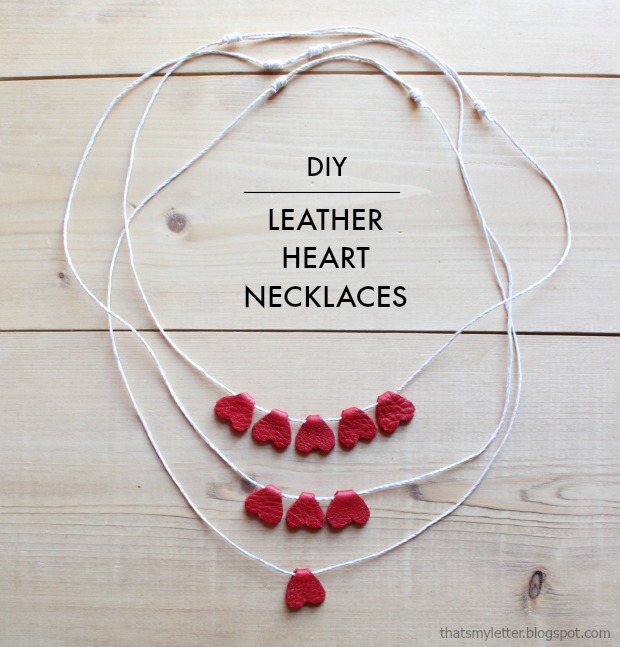
I’m a huge fan of giving valentines that are NOT CANDY and this project certainly fits the bill.  I used leather scraps and waxed hemp cording to make these simple leather heart necklaces.

leather heart necklaces 1

Add a lot of hearts or only one. It’s completely up to you!

leather hearts necklace 2

My necklaces are finished with adjustable sliding knots so the person wearing the necklace can have it loose and dangly or more snug up on the collarbone.

Materials:

leather heart necklace supplies

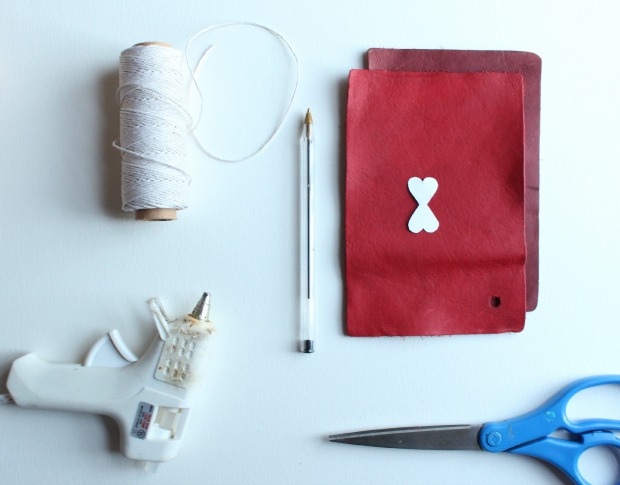
  • Leather (small pieces or scraps)
  • Cardstock (small piece for heart template)
  • Pen
  • Scissors
  • Waxed hemp cording
  • Hot glue gun & glue sticks

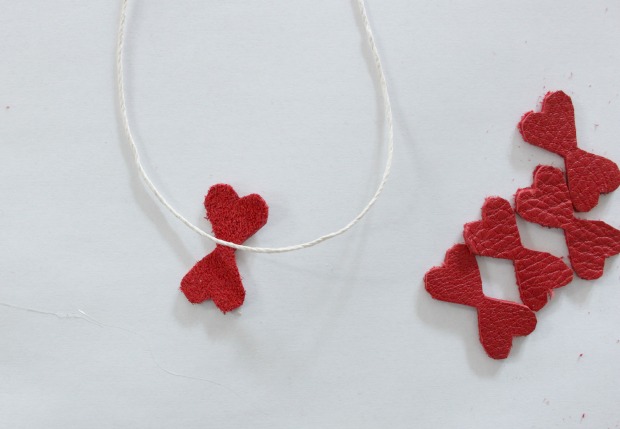
Step 1: Make a pattern for a heart shape similar to the one pictured above – two hearts with their points together.  Cut the pattern out of cardstock. Using a pen and your leather scrap trace around the pattern then cut out desired number of hearts.

leather heart necklace step 1

Step 2: Cut 34″ of cording for one necklace.  Place one heart shape under the cording as shown. Read more