21 Sew Easy Gift Ideas You Can Make Yourself | PrettyHandyGirl

21 Sew Easy Gift Ideas You Can Make Yourself | PrettyHandyGirl

Hello again, it’s Colleen from Just Paint It!  I love making gifts for the holidays, and receiving them too. There’s something so meaningful when you know someone has invested their precious time in a gift.

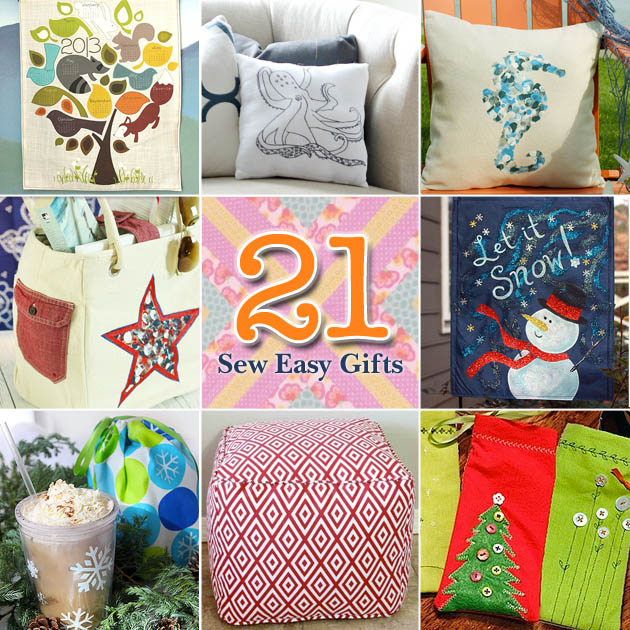
Today I have 21 Sew Special Gifts. Even if sewing isn’t your specialty, you’ll find a wide assortment of projects here for many on your list . . . including yourself!

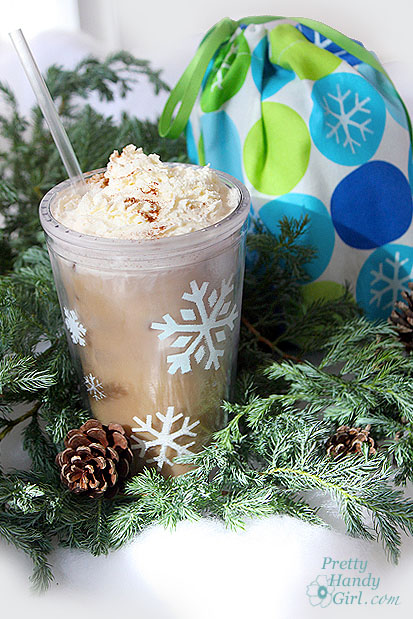
Coffee Lover's Snowflake Gift SetCoffee Lover’s Snowflake Gift Set


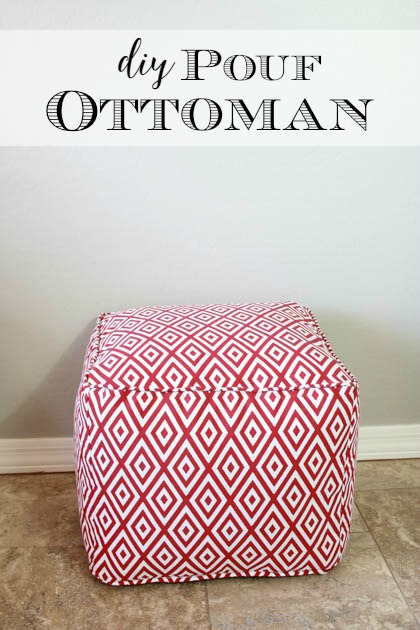
DIY Pouf OttomanDIY Pouf Ottoman


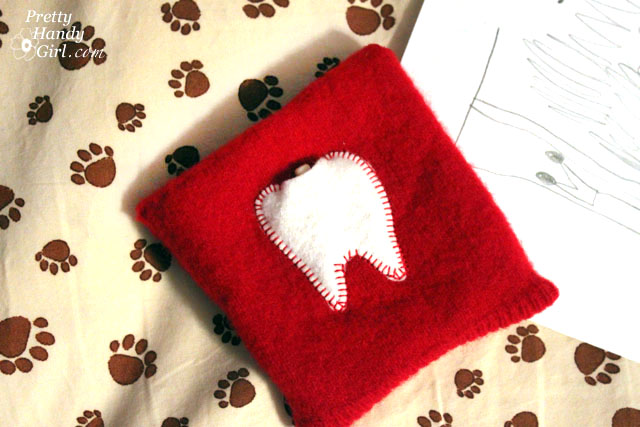
10 Minute Tooth Fairy PouchSew a 10 Minute Tooth Fairy Pouch


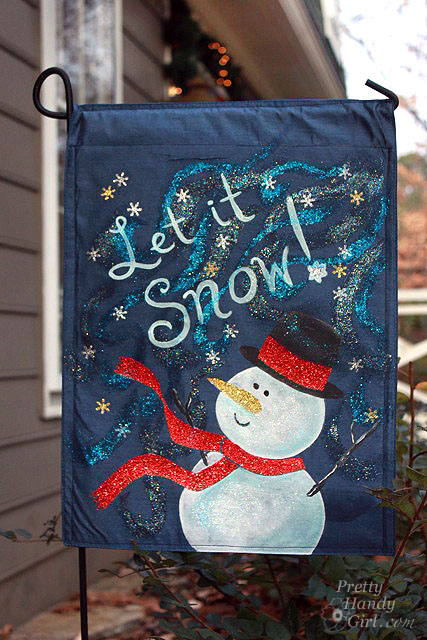
Placemat Turned into a Snowman Flag Placemat Turned into a Snowman Flag


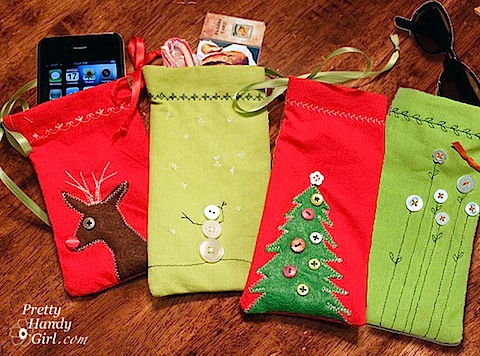
Sew Mini Gift Pouches from NapkinsSew Mini Gift Pouches from Napkins Read more

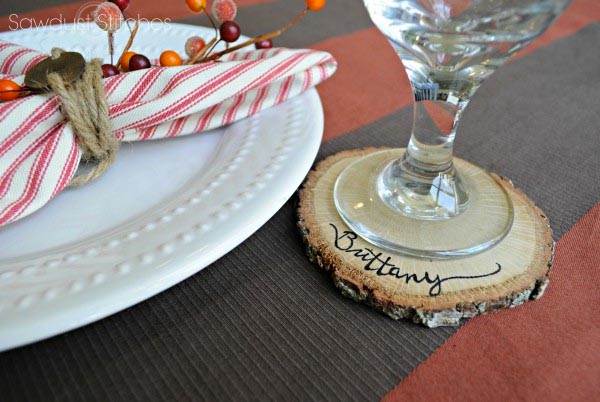
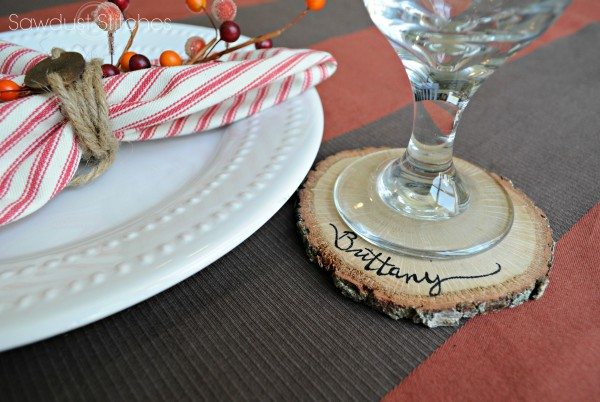
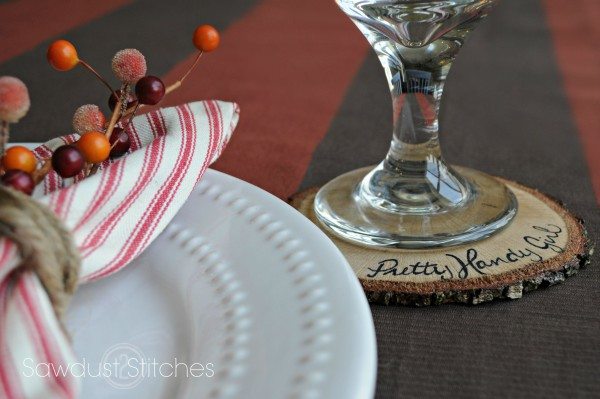
Personalized Rustic coasters sawdust2stitches for www.prettyhandygirl.com

Today I have the ever fabulous and always vivacious Corey on stage. She will be sharing how to make these Personalized Wood Slice Coasters.

Rockstar DIY Series

Corey is the rockstar designer behind Sawdust 2 Stitches. As if you had any doubt, this girl is multi-talented with her building and sewing skills! You’ll definitely want to check out her amazing gallery of tutorials.

Hey, I think I hear a chainsaw? Take it from here Corey!

page_break_2

Hey all, this is Corey from Sawdust 2 Stitches. I am one of THOSE people, that when I get an idea, I run with it… and I run fast. One day I decided that I didn’t like the tree in our front yard. Long story short, I had a small supply of wood logs at my disposal.

As the Holiday Season is quickly approaching, I decided to slice up the stump and use them in a plethora of festive decor. One such idea was Personalized Wood Slice Coasters. These are great for anyone attending and/or hosting a holiday dinner! This little tutorial will have you prepared to make the atmosphere absolute perfection. Or if you are attending an event these would make thoughtful hosts gifts.

Rustic coasters sawdust2stitches for www.prettyhandygirl.com

Materials:

  • Log or Wood Slices
  • Pencil
  • Fine Tip Sharpie
  • Poly Acrylic
  • Foam Brushes

Instructions:

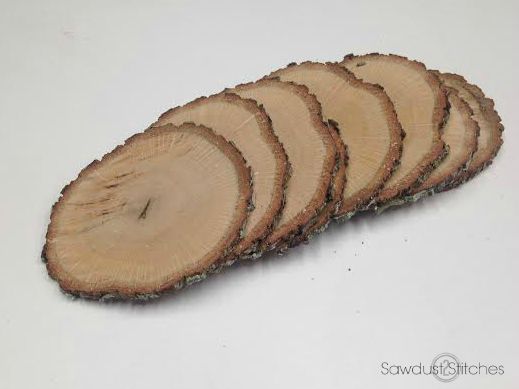
As I stated earlier, I had wood logs at my disposal and I chose to slice them about 1/4″ thick on my compound saw. One thing to consider, if you are using fresh wood they will be undergoing a drying process for a few weeks, and they can crack! I had some of mine do this, but truth be told, I kind of liked it. It added a little character. However, if you would prefer them not crack-less variety there are ways to lessen the possibility. I have been told that if you store the wood slices in in a double bagged brown paper sacks, it will prevent them from drying to quickly. Simply open the bag every day to let in fresh air, and then reseal it.

HOWEVER if you don’t have time for that, many craft stores have wood slices available and ready to use.

wood slices

Once the slices are ready to use, I began by drawing on my design with a pencil first. ( If you hate your handwriting you can always use a stencil or transfer paper. ) Read more

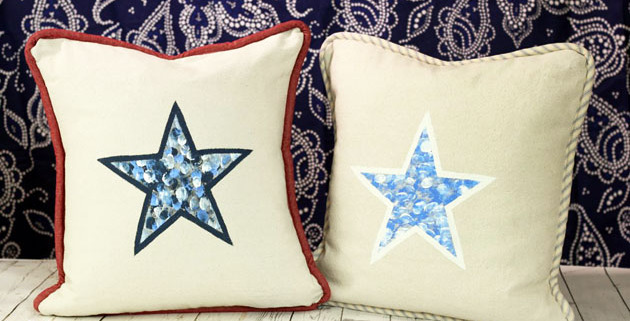
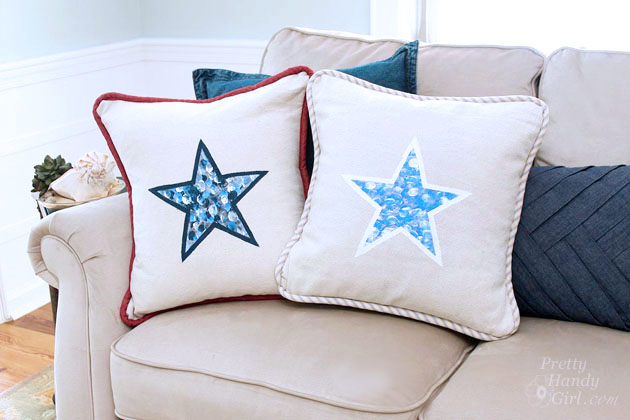
Make Your Own Finger-Printed Star Pillows | Pretty Handy Girl

Make Your Own Finger-Printed Star Pillows | Pretty Handy Girl

Personalized finger-printed envelope star pillows are an easy and fun gift item to make. My boys and I enjoyed making these pillows for their home room teachers. We got the idea from Cristina’s beautiful seaside themed thumb print pillows.

Materials:

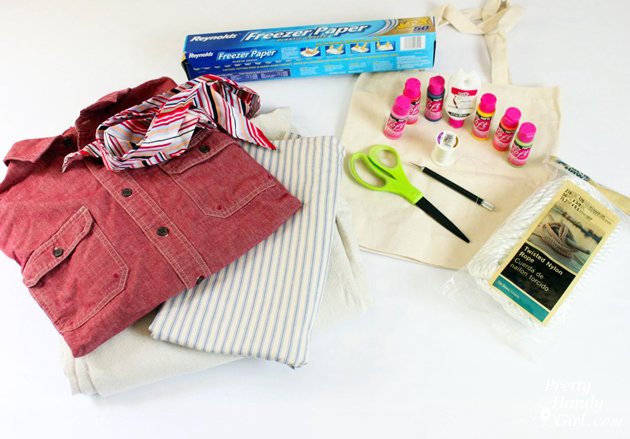
Make Your Own Finger-Printed Star Pillows | Pretty Handy Girl

  • Fabric (I used bleached and washed leftover drop cloths)
  • Pillow insert
  • Thread
  • Sewing machine
  • Freezer Paper
  • Fabric Paint
  • X-acto knife
  • Small Flat Brush
  • Permanent Marker
  • Scissors
  • Piping (here’s the tutorial to make your own piping)

Instructions:

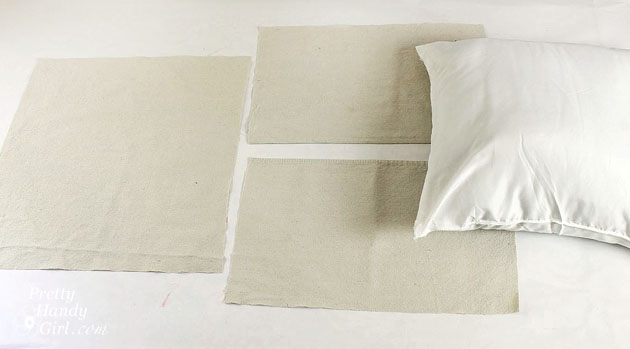
Cut your front fabric with 1 inch excess around the pillow form. Cut the two back pieces of fabric with a 1 inch excess on all sides, plus allow for a 3″ overlap in the center.

Make Your Own Finger-Printed Star Pillows | Pretty Handy Girl


Fingerprinted Star Tutorial:

Here’s a great way to customize your pillow for the recipient. Let your little ones finger-print inside the star. Read more

Natural-accents

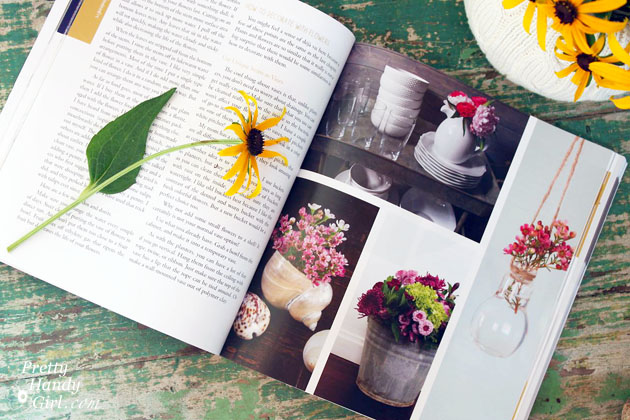
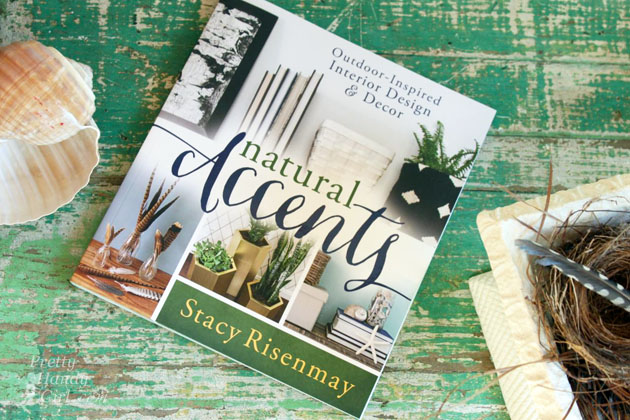
It’s time to make room on your bookshelf for two more beautiful books. The first is Natural Accents by Stacy Risenmay. Stacy is a good friend and fellow DIY blogger. She’s also a power tool rock star. Stacy recently released this colorful book filled with lots of ways to decorate and furnish your home with natural elements. This book follows in the footsteps of Stacy’s blog with easy to follow step-by-step tutorials.

natural-elements-flowers

Natural Accents is filled with projects that you can make with simple materials found in your backyard.

crayon-holder-tree-stub

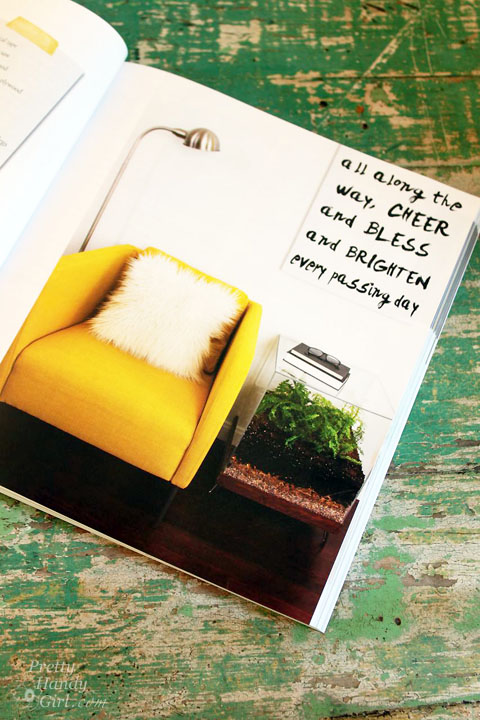
My favorite project is definitely this plexiglass side table. Natural Accents is filled with many more brilliant ideas!

plexi-glass-side-table

Get your copy today, because you’ll find at least half a dozen projects you’ll want to tackle this weekend.

Natural Accents by Stacy Risenmay $22.58 on Amazon (affiliate link)

page_break_2

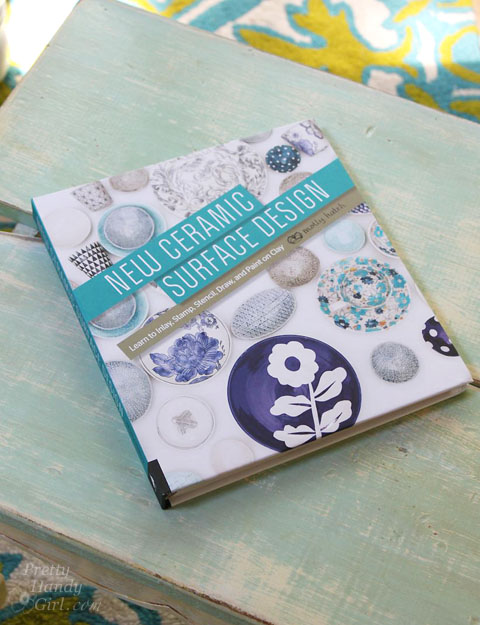
new-ceramic-surface-design

New Ceramic Surface Design by Molly Hatch is a book full of ceramic eye candy. If you’ve ever wanted to dabble in ceramic arts, this is the book you want to devour. And even if you have no interest in ceramics, this book is filled with beautiful photos on each page. I found myself being drawn through the entire book enjoying all the gorgeous art pieces.

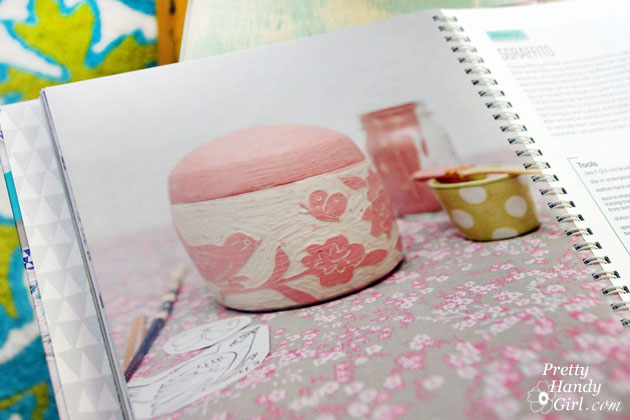
inside-new-ceramic-surface-design

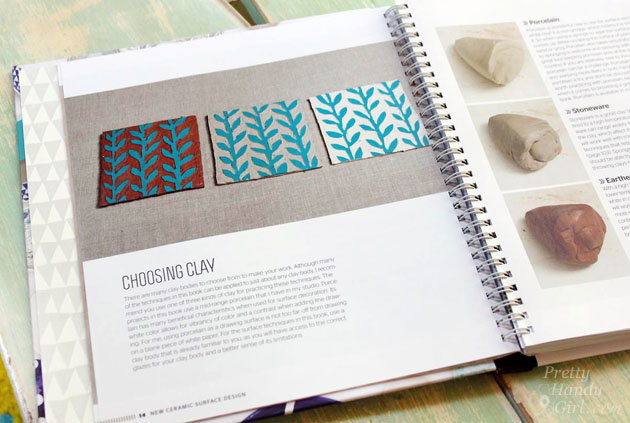
Molly filled New Ceramic Surface Design with everything you need to know about working with clay, glazes and more. She gives her expert advice and tips to help you avoid botched projects.

types-of-clay

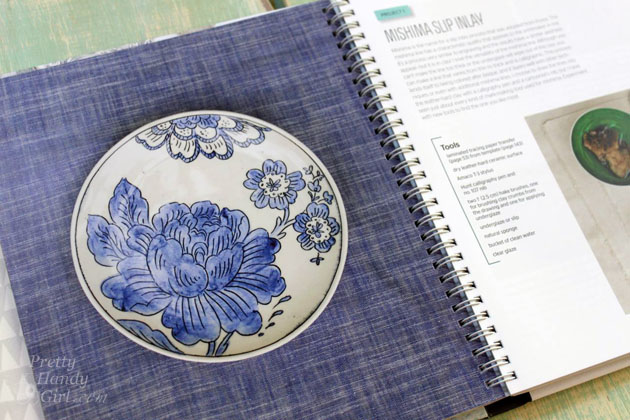
I leave you with one of my favorite images from the book. This beautiful Mishima Slip Inlay design in blue and white belongs on my shelf!

blue-mishima-slip

Get your own copy of New Ceramic Surface Design by Molly Hatch for $20.27 on Amazon (affiliate link)

PHGFancySign

Disclosure: Natural Accents by Stacy Risenmay and New Ceramic Surface Design by Molly Hatch were sent to me at no charge to review. I was not told what to write or say about these books. 

diy cupcake tray

cupcake tray carrier collage

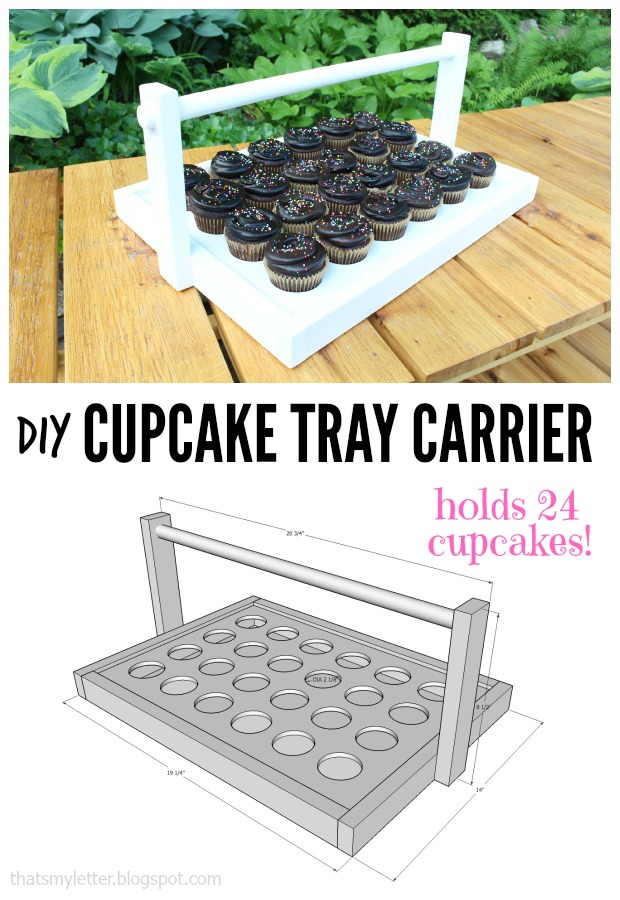
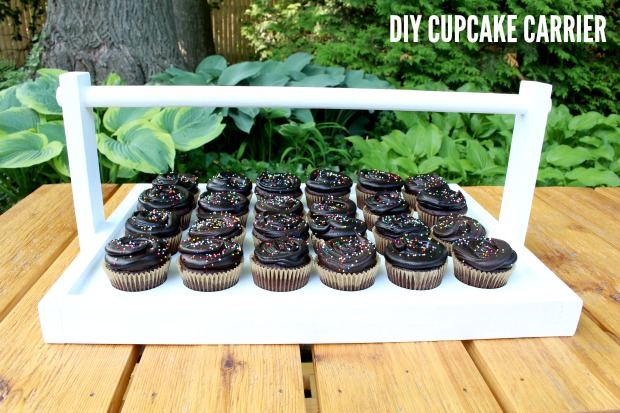
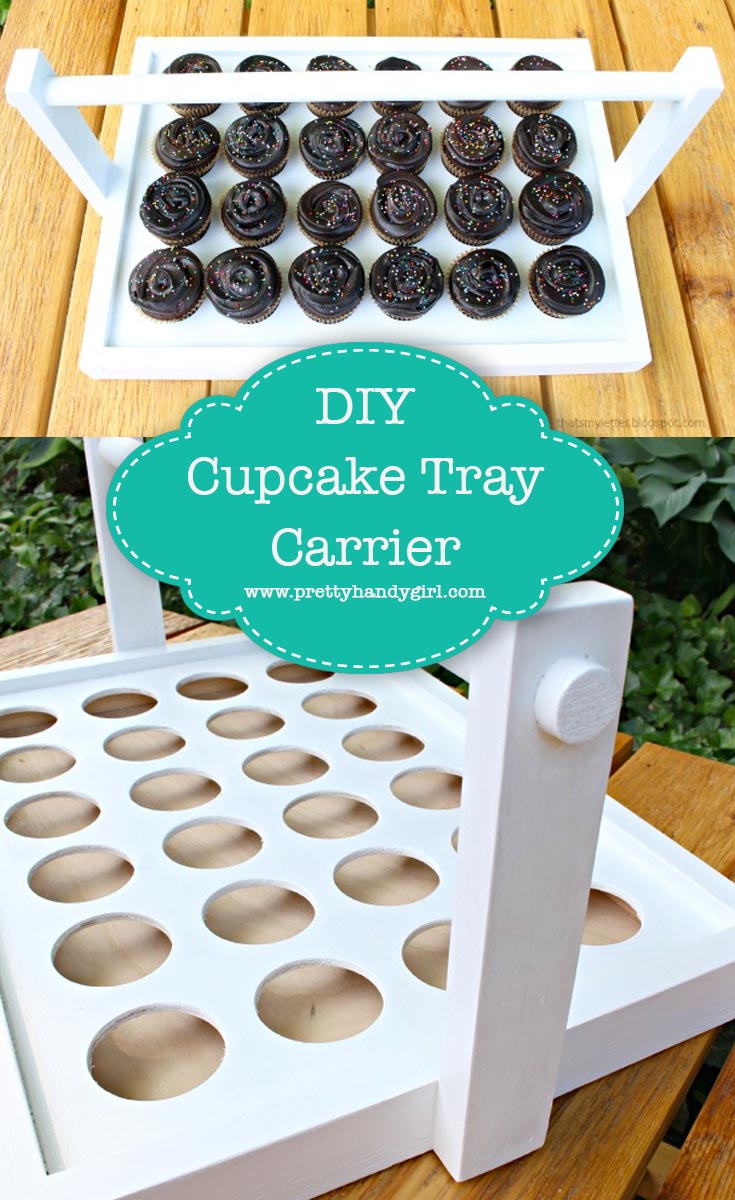
Jaime here from That’s My Letter today sharing a DIY cupcake tray carrier.  It’s summer and that means lots of friends getting together for BBQ’s and outdoor parties.  You can’t show up empty-handed to party, so why not take along this cupcake carrier?  It makes the perfect display tray and portable carrier all-in-one, plus a very useful hostess gift too!

I filled this tray with 24 regular size cupcakes, chocolate on chocolate is the favorite around these parts.
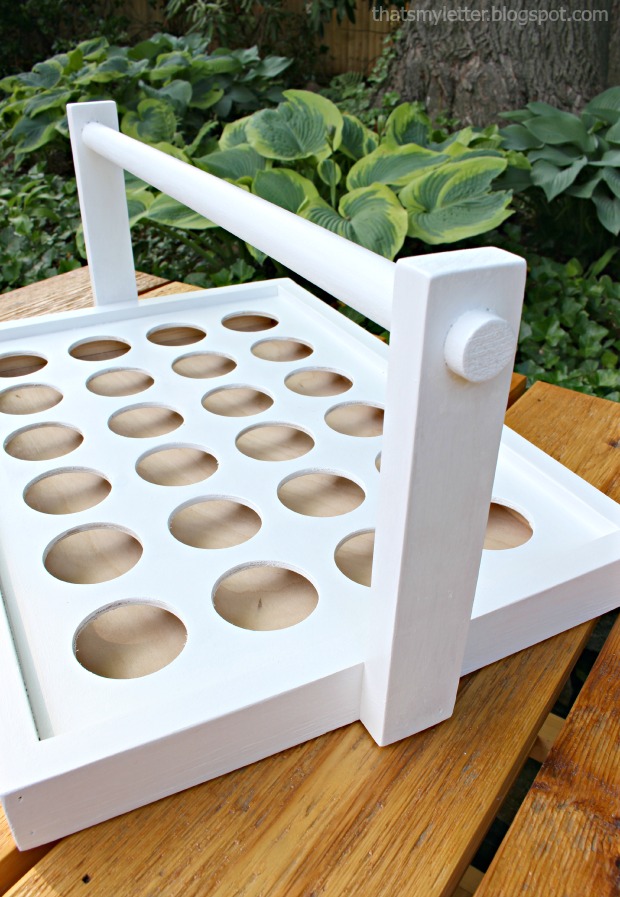
cupcake carrier 2

The tray is a fairly simple build, the trick is to create space between the top board (with all the cupcake holes) and the base so the cupcakes have a spot to sit down into.
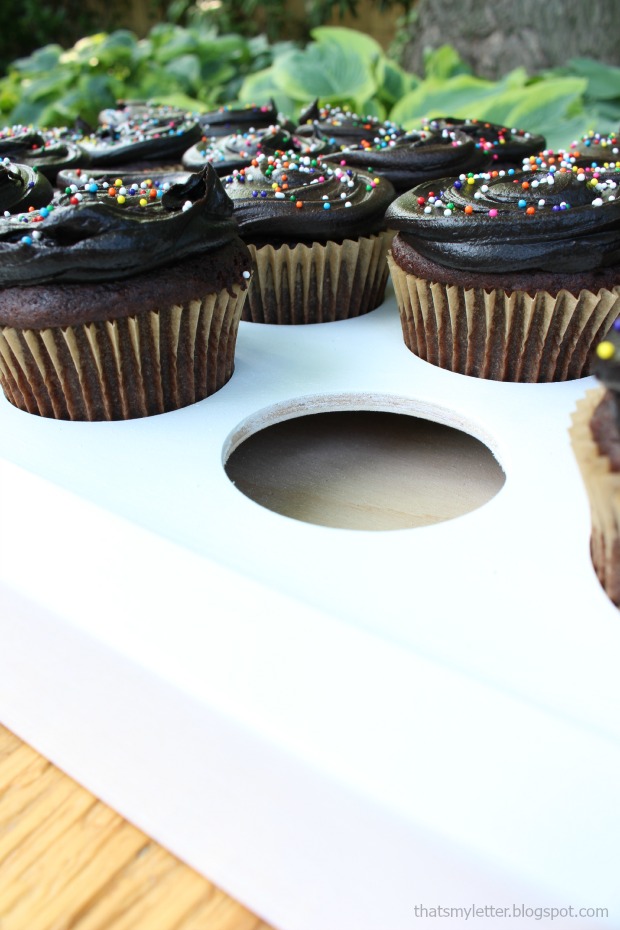
cupcake tray carrier detail

Keep reading and I’ll show you how to make these holes as smooth as possible without tearing up the plywood.
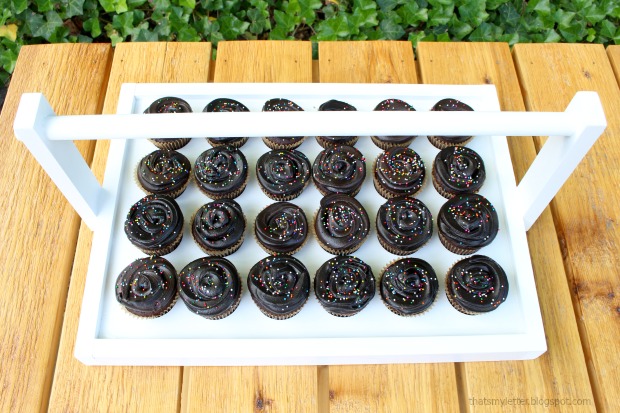
cupcake carrier 1

Materials:                                                    

  • 1- 1x2x8 pine board
  • ¼” plywood handy panel
  • ¾” circular wood dowel
  • ¾” square dowel (6′ total)
  • wood glue
  • pencil
  • measuring tape
  • 1 ¼” & 3/4″ finish nails
  • 2 1/8” hole saw
  • ¾” spade bit
  • circular saw, chop saw
  • finish nailer

cupcake tray carrier


Cut List:

  • 2 – 1×2 @ 17 3/4” (long sides)
  • 2 – 1×2 @ 14” (short sides)
  • 2 – 1×2 @ 8 ½” (handle supports)
  • 2 – ¾” square dowel @ 17 3/4” (long spacers)
  • 2 – ¾” square dowel @ 12 1/2” (short spacers)
  • 2 – ¼” ply @ 17 ¾” x 12 1/2” (top & base)
  • 1 – ¾” round dowel @ 17 ¼” (handle)

cupcake tray carrier step one

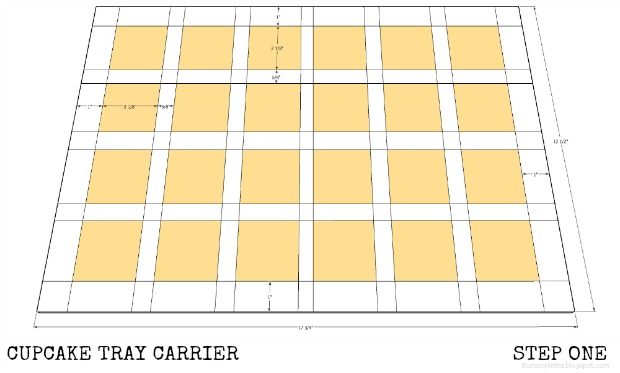
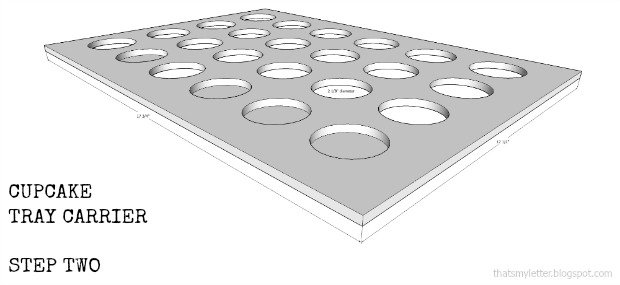
Step 1: Sketch grid as shown above onto one piece of ¼” plywood. The orange portion indicates where to drill 2 1/8” holes using a hole saw.
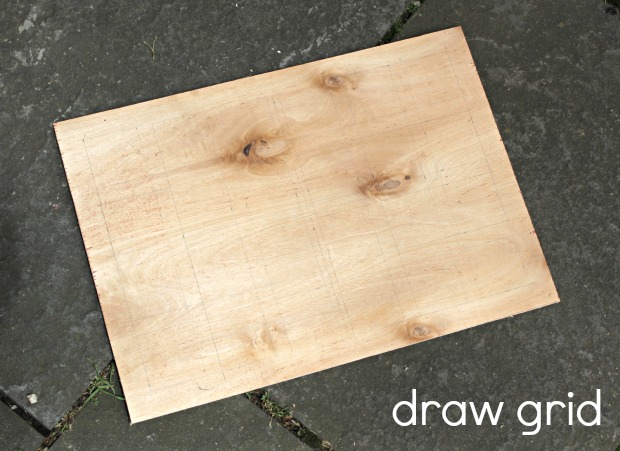
cupcake carrier draw grid

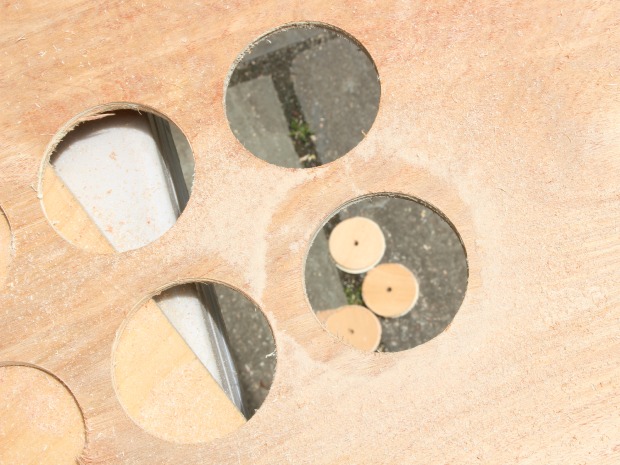
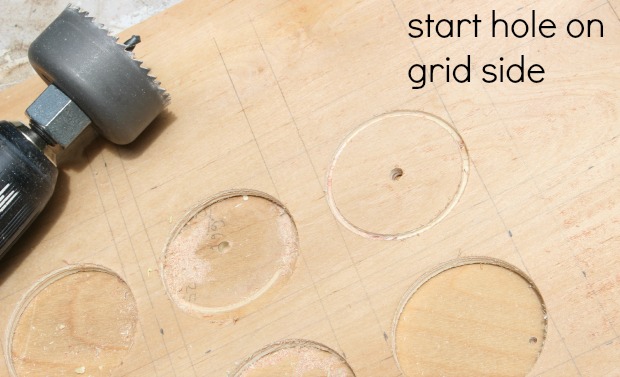
Step 2: Drill holes using 2 1/8” hole saw.  To make the holes as smooth as possible without much tear out begin drilling on the grid side about 1/8″ down.
cupcake carrier start hole

cupcake tray carrier step two


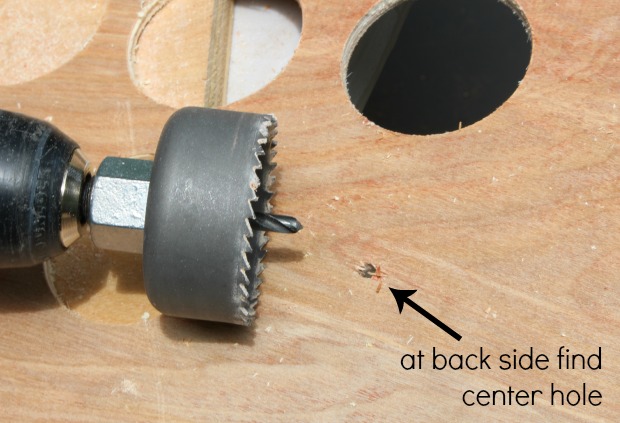
Flip the board over and find the center hole.  *Be sure board is hovering over edge of table.  Place hole saw bit into the center hole and finish drilling the hole.
cupcake carrier hole back


cupcake carrier hole complete

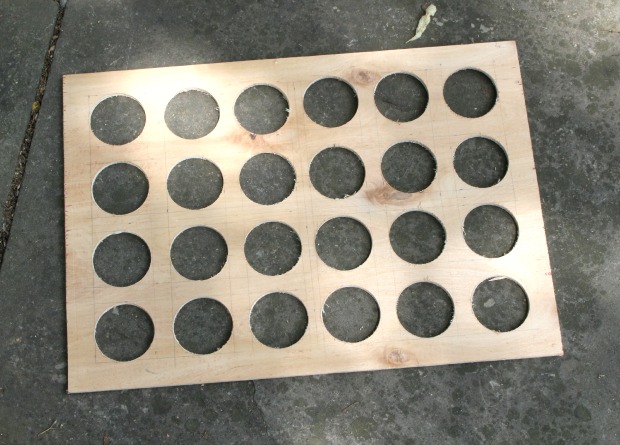
The circular plywood piece should pop through to the ground.   Repeat this process for all 24 holes.
cupcake carrier all holes

Sand the edges of the holes smooth.

Step 3: Attach long spacers to long side of top using glue and ¾” finish nails down through top.
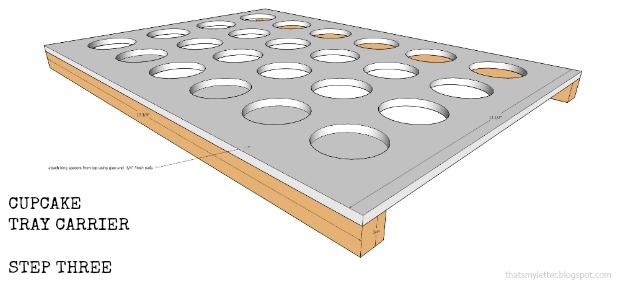
cupcake tray carrier step three


Step 4: Attach short spacers to short ends using glue and ¾” finish nails.
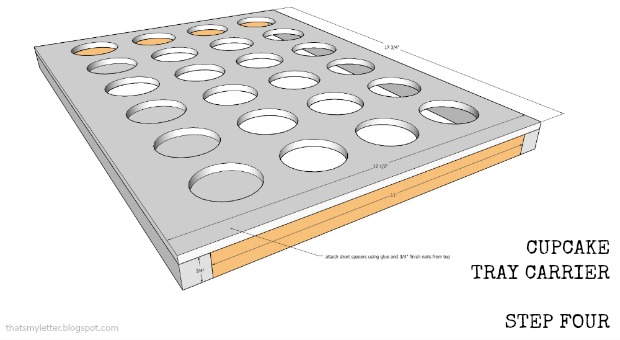
cupcake tray carrier step four

Then attach base from underside using glue and ¾” finish nails.
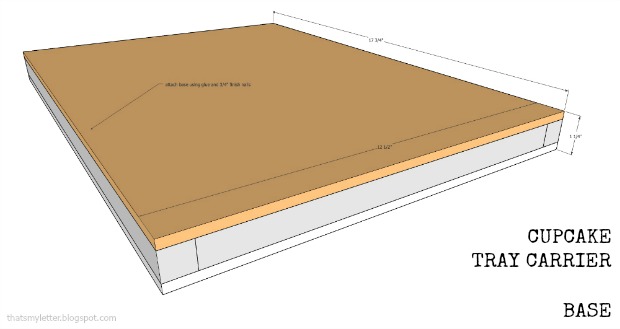
cupcake tray carrier base1Step 5: Attach long sides using glue and 1 ¼” finish nails.
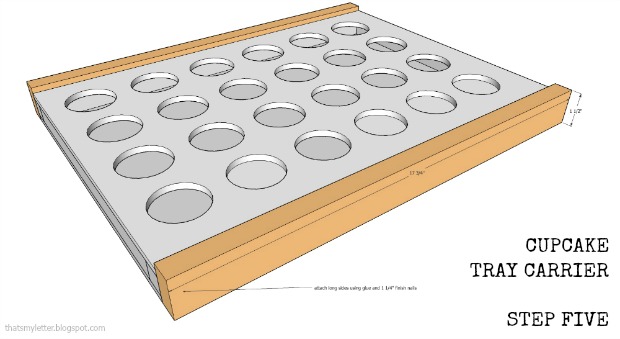
cupcake tray carrier step five

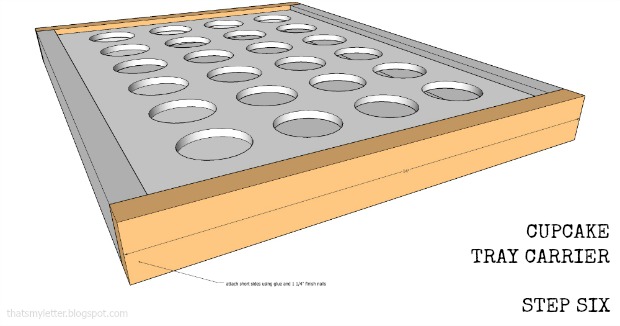
Step 6: Attach short sides using glue and 1 ¼” finish nails.
cupcake tray carrier step six

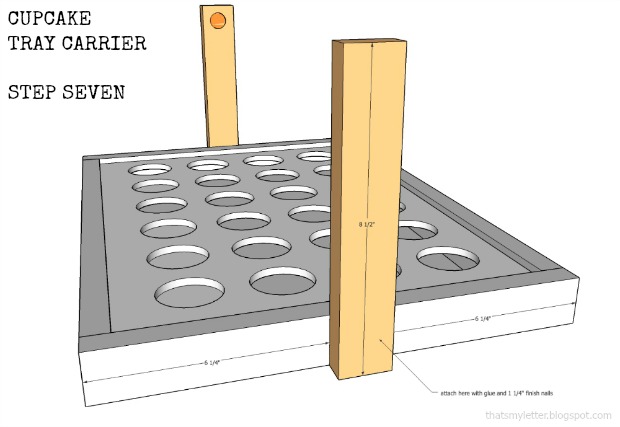
Step 7: Predrill ¾” holes into handle supports near top end, drill only about ½” deep into 1×2. Attach handle supports to tray using glue and 1 ¼” finish nails.
cupcake tray carrier step seven

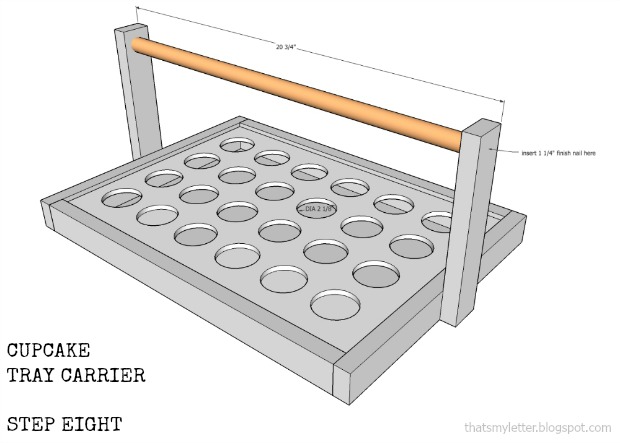
Step 8: Insert handle in between supports. Glue and attach using 1 ¼” finish nails through ends.
cupcake tray carrier step eight

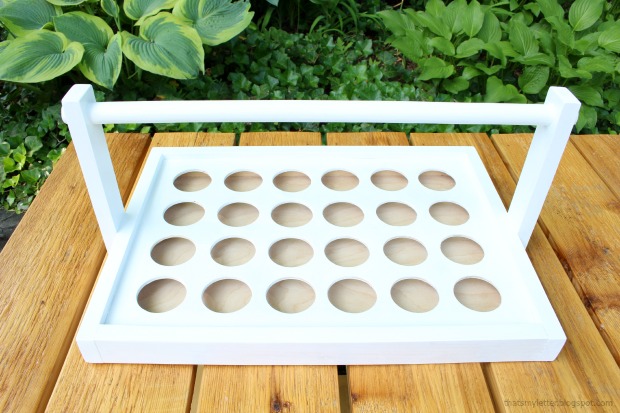
Fill all holes with wood putty then sand smooth.  Paint your cupcake tray carrier with semi-gloss or gloss finish for easy clean up of any messy frosting!
cupcake carrier 3

Hope you enjoy this fun small build project.
cupcake carrier title

This cupcake holder makes a great party accessory or gift idea too!

Jaime signature~learn more about Jaime~


Pin for later!
 

This DIY cupcake carrier makes the perfect display tray and portable carrier all-in-one, plus a very useful hostess gift too! | DIY cupcake carrier | DIY cupcake tray | Pretty Handy Girl #prettyhandygirl #DIY #cupcaketray