 Saving Etta: Chapter 7: The Chandelier
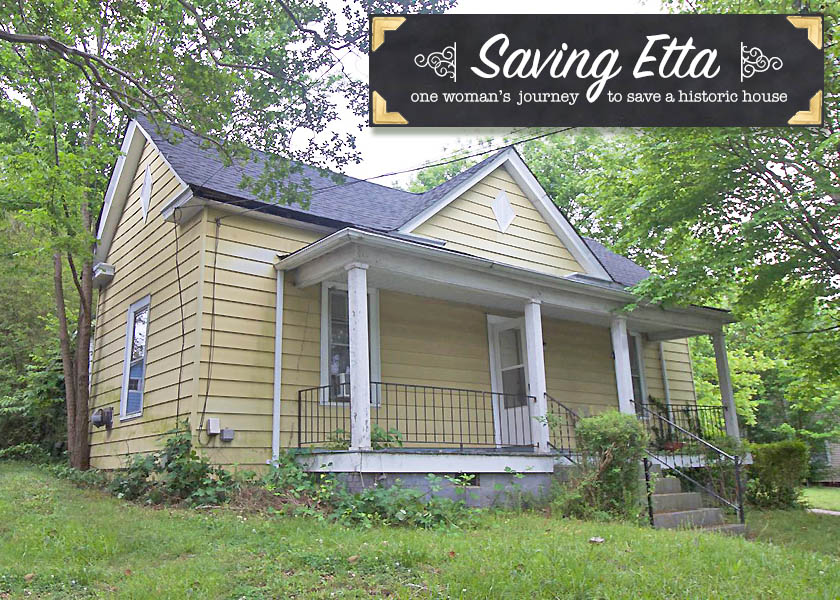
This is the true story about a house built in 1900 that is in serious disrepair. It’s also the story about my journey toward becoming a general contractor and my attempt to save a home from being bulldozed. I hope you’ll follow along as I embark on a journey into the unknown perils and rewards of flipping a home in downtown Raleigh, NC.
If you are just joining the story, you may want to read all the Saving Etta chapters.
Be sure to follow me on Facebook and Instagram as I share live updates about this project I’m calling Saving Etta.

Before I left the house, I had one more thing I wanted to do.
I entered the front door and boldly walked toward the freezer chest in the back utility room. My stepmom’s words lingering in my head, “You better check that freezer for dead bodies.” I laughed because I was used to the overactive imagination of Diane Chamberlain’s brain. She is a famous fiction author for good reason, her mind can run away with an idea.
I adjusted my mask and slowly lifted the freezer lid. Immediately I dropped the lid back down, nearly gagging.
The odor of rotting meats and food hit me full force despite the mask I was wearing. I looked behind the freezer. It wasn’t plugged in! No wonder the food had spoiled. That was going to be a doozy of a job cleaning it out.
Looking around the house, I focused on the linoleum floor. It looked like a 1980’s pattern, but I knew from experience that asbestos can hide beneath the flooring in older layers. I made a note to get asbestos samples as soon as I could.
Back at home, I took Bandit for a walk in the neighborhood. As I turned a corner, a glint of light from atop a trash can caught my eye. I walked closer and saw the unmistakable shape of a chandelier. The light fixture looked to be in perfect condition. “Who would throw away a perfectly good light fixture?” I thought to myself.
I was about to pick it up when the homeowner walked out his front door. I retracted my hand quickly, but then gathered my nerve.
“Are you throwing this away?” I yelled toward the neighbor.
He looked toward me and replied, “Yes, it still works. We replaced it with a different style light.”
“So you don’t mind if I take it.” I asked.
“Not at all, you’re welcome to it.” he answered.
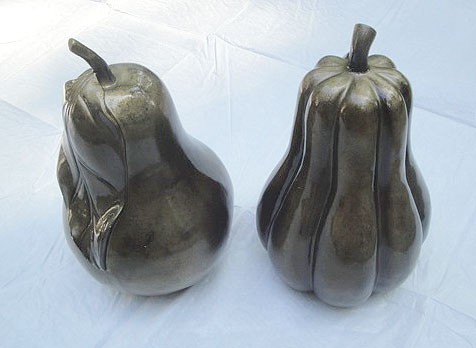
I lifted the chandelier and headed back home. Poor Bandit looked at me quizzically as we weren’t completing our usual walk. I couldn’t believe my good fortune. Once again I found something for the house that was being thrown away. The finish on the chandelier wasn’t an offending shiny brass, but a flat black (which made it much easier to transform.) I knew the frosted shades with scalloped edges could easily be swapped out with clear seedy glass. All I had to do was add Edison bulbs for a more vintage look. Score!
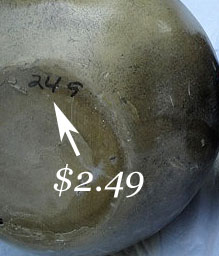
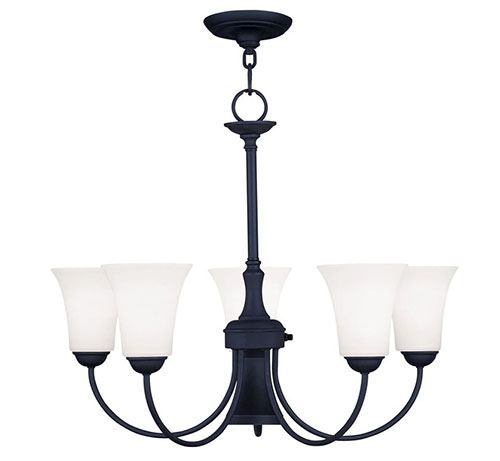 a similar looking Chandelier available at Lowe’s for $249
After dropping off the chandelier at home, I took Bandit for his full walk. As he laid at my feet, tired from the long walk, I googled: “Where to find asbestos in old houses.” From my research, I discovered that asbestos can be hiding in many places: old floor tiles, linoleum, roof shingles, siding, joint compound, insulation (around ducts, pipes, sheeting, fireplaces and boilers), pipe cement and attic insulation in the form of vermiculite.
Next I googled: “How to Take Asbestos Samples” and armed myself with the safest practices for collecting the samples. The experts suggest suiting up in a disposable suit and wearing an approved respirator. It is recommended to use gloves and a spray bottle with soap and water to prevent the fibers from becoming airborne. Then you can safely chisel or cut out your sample and drop it into a Ziploc bag. Finally it is recommended to wipe off the edges of the bag and place in a second bag.
Armed with this new information I called Lori to schedule another appointment at the house to take asbestos samples. Luckily, she was able to set up a time for Bryan to meet me the next day.

In the morning, I struggled to wake my oldest son. He finally shuffled out of bed, popped two slices of bacon and a waffle into his mouth. After I got the kids on the school bus I headed to Lowe’s to purchase a respirator, a painter’s suit, and some rubber gloves.
Once again Bryan met me at the house. This time he quickly let me in the house and retreated to his car. Grateful to have some quiet time in the house, I took my time suiting up and planning where I’d cut samples from the floor and pondered where to get the insulation sample from.
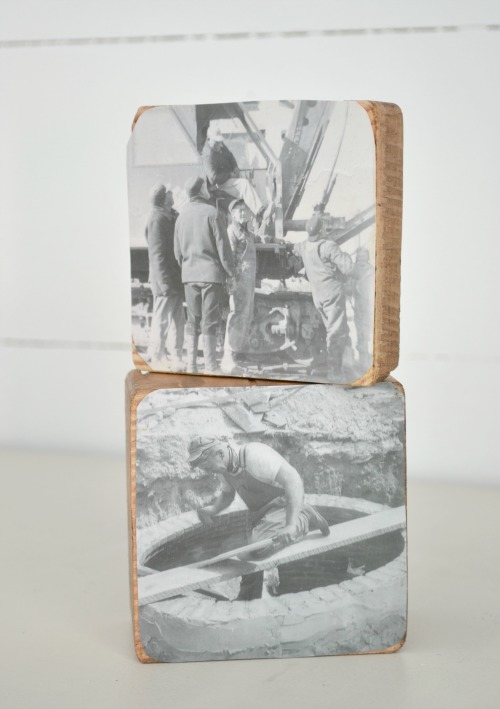
As I walked down the hallway, I noticed a few family photos on the wall. Smiling faces from years past greeted me. I’m sure this home had some amazing memories for the family. I spoke out loud to the pictures as if the people were standing before me. “I promise to respect your home and take good care of it.”
First I walked into the bathroom and found a patched spot on the floor. Wetting the area with the spray bottle, I carefully cut into the linoleum with a sharp utility knife. The vinyl came up easily and revealed a damp subfloor beneath. I gingerly dropped the 2” square piece into a ziplock labeled “BATHROOM”. Then I moved into the kitchen. I noticed the same floral printed vinyl in the kitchen all the way back to the utility room. “Ah good, this makes it easier. I only need one sample from the kitchen then. This will save me some on the lab fees.” I thought. This would be my first of many mistakes.
I carefully cut a patch from the kitchen floor and for good measure, put a small piece from the utility room into the bag labeled “KITCHEN”. Both pieces were cut down to the plywood subfloor in case there were any layers beneath the top vinyl layer.
I slowly sealed up the bags, being careful to wipe the bags with a damp paper towel to remove any fibers. Then the bags were both deposited into a larger gallon size bag. Next I took samples from the corners of the two parlors and the other rooms in the house. I was careful to dig into the areas that might have joint compound material as that is where asbestos might be hiding.
The last sample I needed was from the attic. I pulled down the attic stairs. As the steps creaked under my weight, I wondered how many more climbs the ladder had left in its life. I turned a Ziploc sandwich bag inside out and carefully grabbed some insulation fibers.
“Shoot! I forgot to wet the sample before disturbing the fibers.” I said aloud.
Immediately I remembered crawling into the attic during the inspection. If there were asbestos fibers in the insulation I was already screwed. At least today I had on a mask. I carefully labeled the bag and put it into the gallon Ziploc. By now I was sweating inside the suit and anxious for some fresh air.
Stepping outside on the porch, I stripped the tyvek suit and gloves off, depositing them into a trash bag. Next I dropped the spray bottle and flashlight into another trash bag. If the results came back positive, I’d either throw it away or clean the contents thoroughly.
As I drove to EMSL Laboratories, my phone rang. It was the mold remediation expert. “Hi Brittany, I have your quote for you. To clean, remove and treat all the mold we found it will cost $12,000.” he spoke very matter of factly on the phone while delivering a hefty blow to my budget.
I nearly choked at the cost, but thanked him for his time and hung up as I pulled into the parking lot at the lab.
The receptionist recognized me right away. (I suspect she doesn’t see too many female contractors. Or maybe I just look that different.)
“How were the mold test results?” she asked.
“Positive for toxic mold.” I answered.
“Oh no, I’m sorry to hear that.” she replied
“It’s okay, it was important that I found that out. I’m going to ask the sellers for a price change to reflect the additional cost.” I explained.
“How quickly can I get these results for asbestos?” I asked her.
“For $54 per sample we can have those to you by the end of the day.” she assured me.
I agreed, knowing I needed to understand the full scope of what I was dealing with before the closing day. Honestly if the samples came back positive, I’d probably have to walk away from this house. The expenses were adding up and abating the house was going to be too expensive and dangerous to try to contain all the fibers.
I paid for the testing and left for home. It was only 2pm, but I was exhausted. The events of the past few weeks had finally caught up to me. Buying a house had proven to be an emotional roller coaster! I was destined for a nap and fell asleep easily as I began to dream about working my magic on Etta.
The alarm woke me up from an hour long nap and I quickly checked my emails. I saw one from Lori checking in on the mold estimates and another email from EMSL. I quickly opened the email from the lab and exhaled as I read “negative” for all the samples on page one of the report. As I scrolled to the second page, I saw the joint compound in the front two parlors tested positive for asbestos, but everything else was negative. Well, at least that cleared the flooring and the insulation for asbestos. I had previously added a line item in my budget for asbestos abatement and felt certain the joint compound abatement would fall within my estimate.
Then I read Lori’s email questioning if I had received the mold estimate yet. I quickly called Lori and told her the news about the $12,000 price tag for mold remediation. We discussed it and agreed to approach the sellers about splitting the cost of the mold remediation. Lori drew up a new offer of $177,600. (See what I did there? 1776 is a historic date. I thought it might ring positively with the sellers of a historic house.)
Within an hour they countered with $180,000. I guess the historic figure was lost on them. But Lori urged me to “Counter back! I think your original offer to split was very fair. Let’s counter with $178,800.” I thought that seemed fair and told her to go for it.
Then I anxiously waited for Lori’s phone call, nervous that I might have pushed the sellers into rejecting my offer altogether.
. . . continued in Chapter 8.
If you are just joining the story, you may want to read all the Saving Etta chapters.
Are you enjoying the Saving Etta chapters? I’d love to hear if you want me to continue.


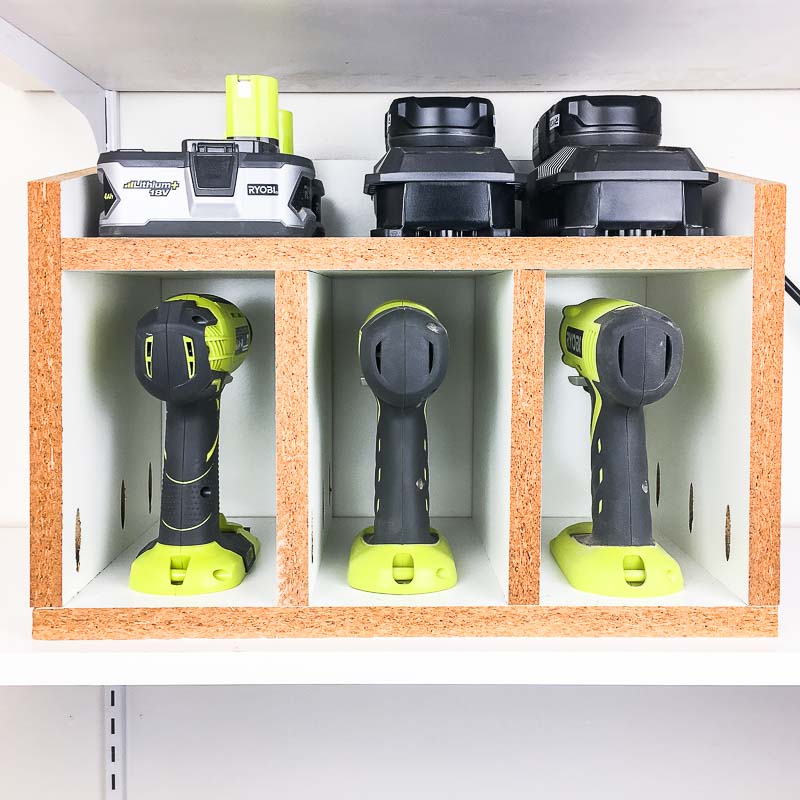
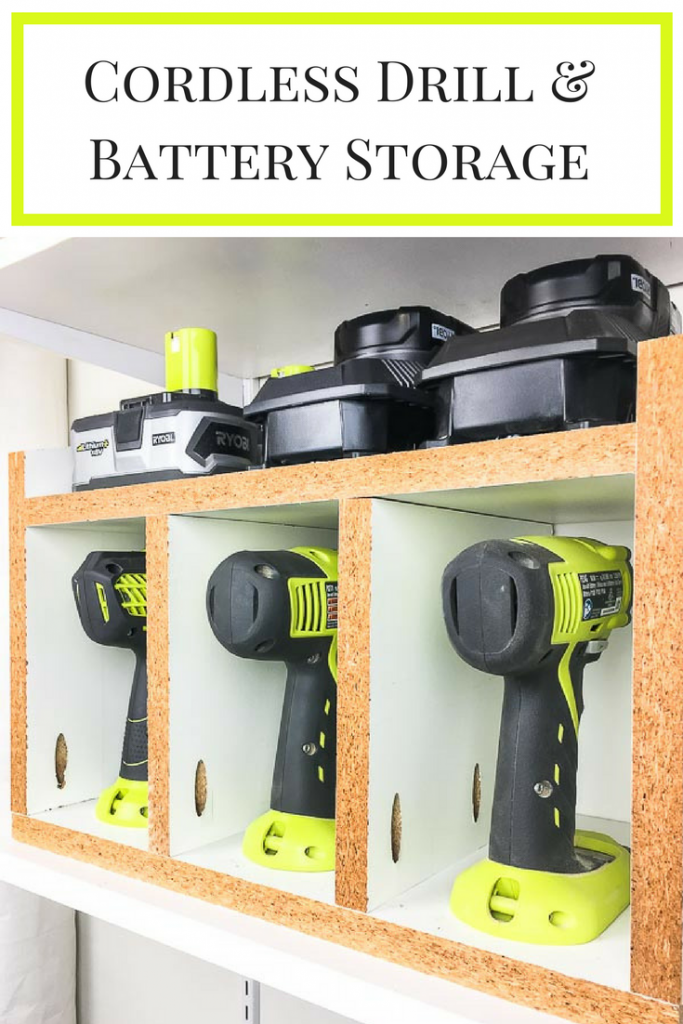 Cordless Drill Storage Center
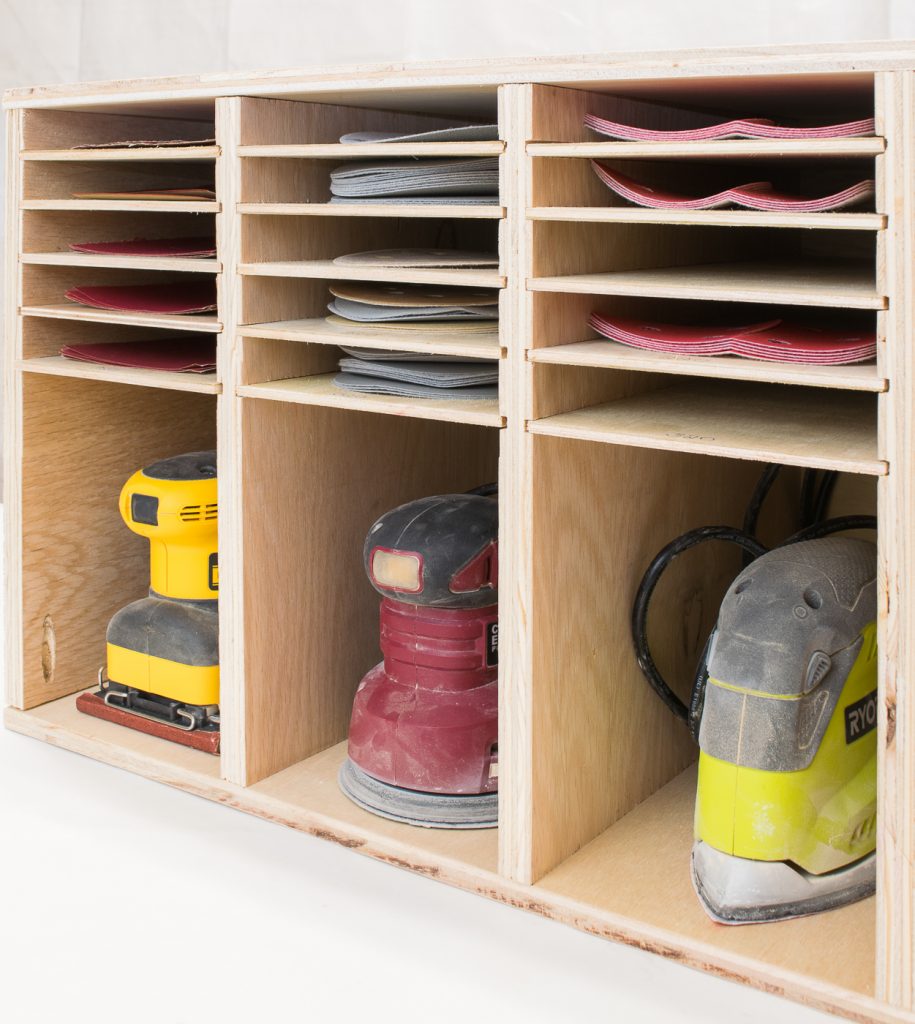


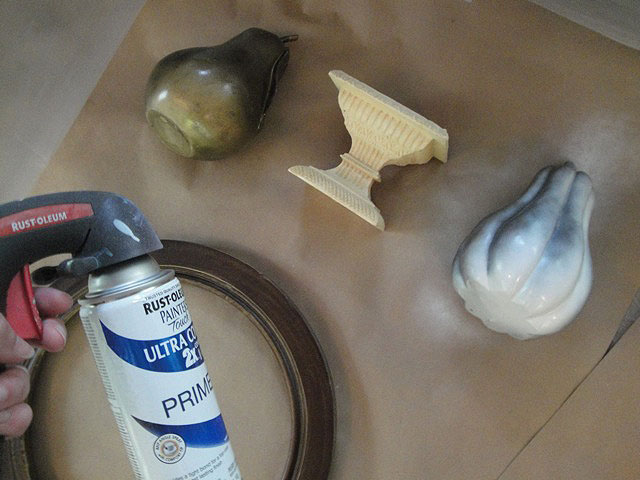
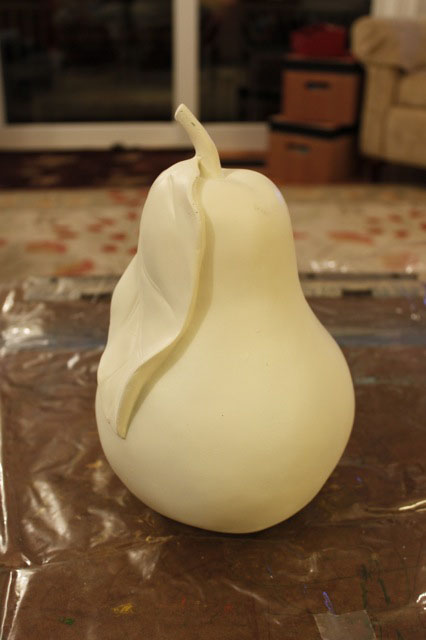
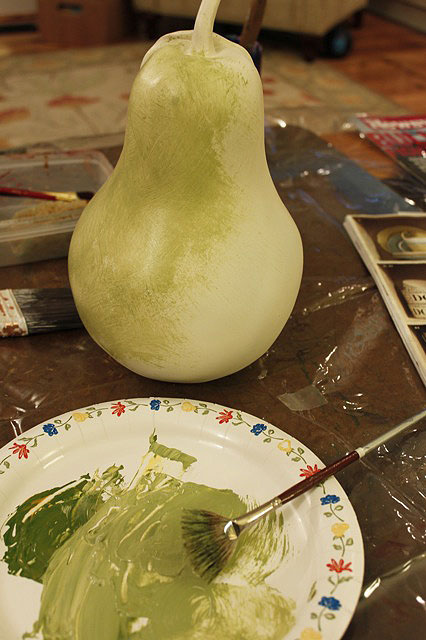
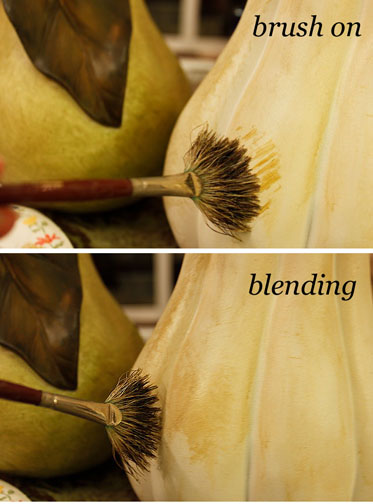
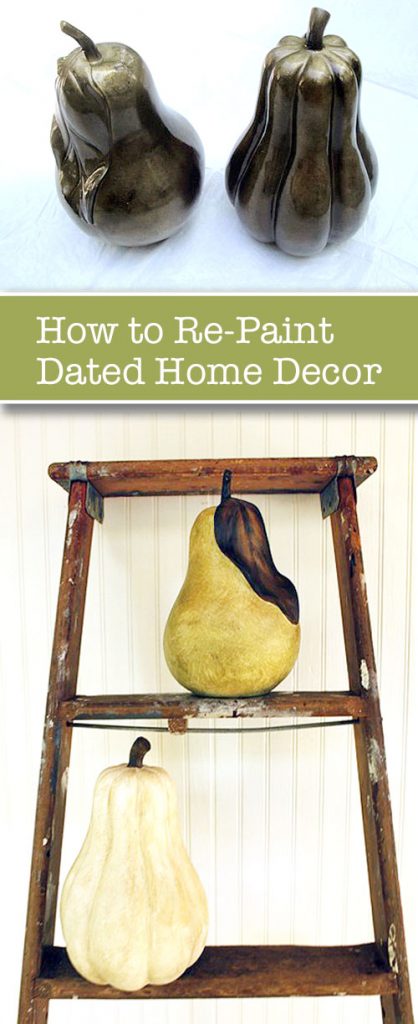 Want to know How to Repaint Dated Decor?