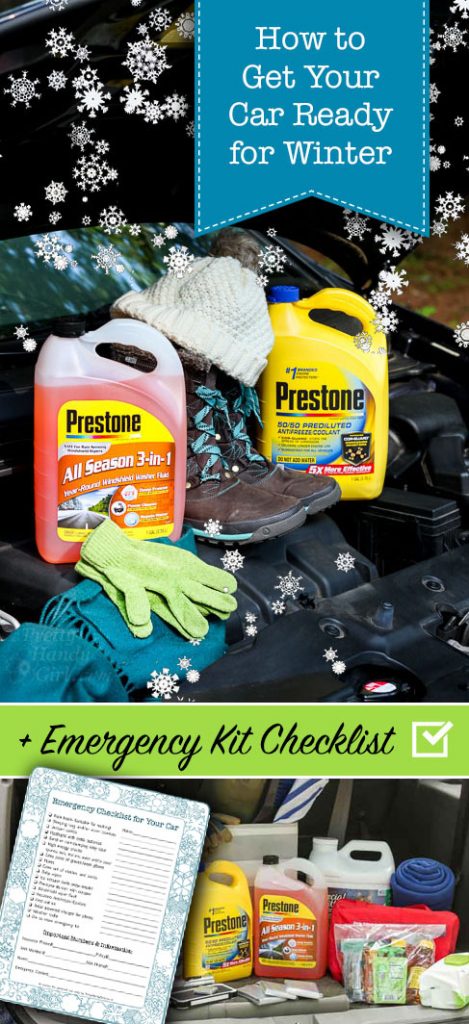
 How to Get Your Car Ready for Winter
If you live in the Northern Hemisphere, you’re probably enjoying the crisp fall weather before winter brings cold, snow and ice. Will you be ready when it arrives? More importantly, will your car be ready for winter? With a few simple checks and supplies your car will perform at its best and keep you (and your passengers) safe.
A long, long time ago, I bought a little two seater Honda CRX as my first car. It was cute, sporty and had great gas mileage. But, it was definitely lightweight. My Dad, the brilliant guy he is, told me to buy two bags of sand to store in the hatchback. This would provide a little more weight to keep the car from fishtailing in snow and ice. (Plus, I could use the sand for traction if I got stuck.) He also recommended I keep a sleeping bag in the car for warmth in case of emergency.
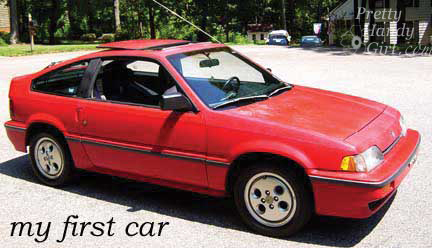
I dutifully put those bags of sand and a sleeping bag in the trunk in case I got stranded. Back then, that was the extent of my emergency kit and preparation for winter. Today, I have a lot more than my own life riding on my car’s wheels. Therefore, I’ve upped the requirements for preparing my car for winter. Prestone and I are partnering on this article to keep you safe this winter. I know you’ve heard of Prestone because they’ve been protecting drivers and their vehicles with cutting-edge products since 1927. You can recognize their products by the iconic yellow and black logo.
Let’s get your car ready for winter, shall we? And don’t forget to scroll down to get your downloadable Emergency Kit Checklist before you leave!
Maintenance Tips to Get Your Car Winter Ready:
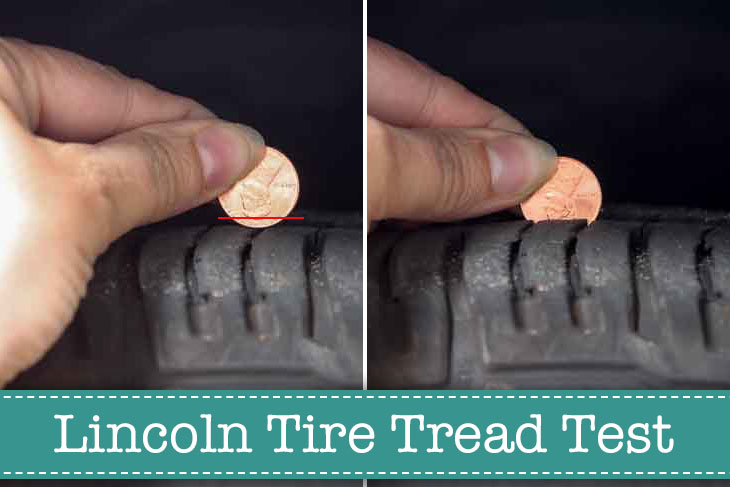
- Check the Tires:
- Check the tire pressure and add or release air as needed. (Look for a sticker inside your car door to get the recommended tire pressure.)
- Inspect the tires for any screws, nails or bulges.
- Check the tread using the Lincoln Tire Tread Test (Rest a penny upside down inside the tread. If you can see the top of Abe’s head you need to replace your tires.)
- Check the Battery:
- Turn your car lights on. Start the engine and if the lights get brighter you might need a new battery.
- Or have a service technician check your battery strength.
- Engine Oil:
- Check your owner’s manual to find out if your car requires a different grade oil in cold weather. Some manufacturers will recommend a winter oil that is thinner (i.e. 5W30 instead of 10W30.)
- Stay on top of regular oil changes.
- Fill up Your Gas Tank:
- Keep your gas tank at least 1/4- 1/3 full to prevent condensation from forming inside the tank.
- This will also give you more fuel should you get stranded and add weight to your vehicle.
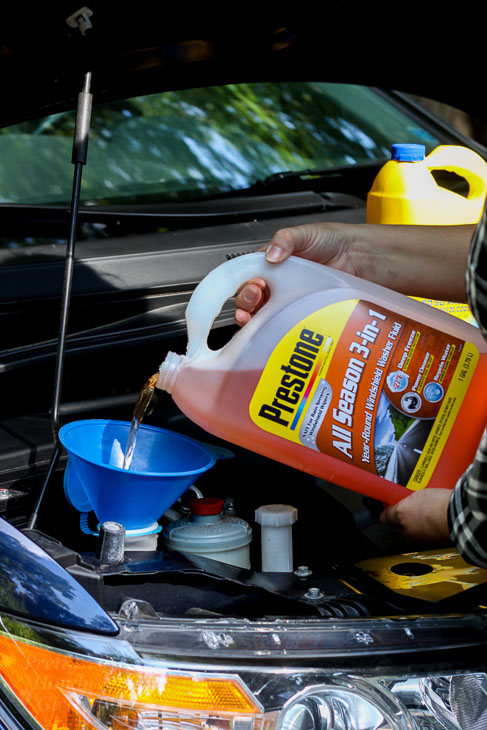
- Wiper Fluid:
- Check your wiper fluid level.
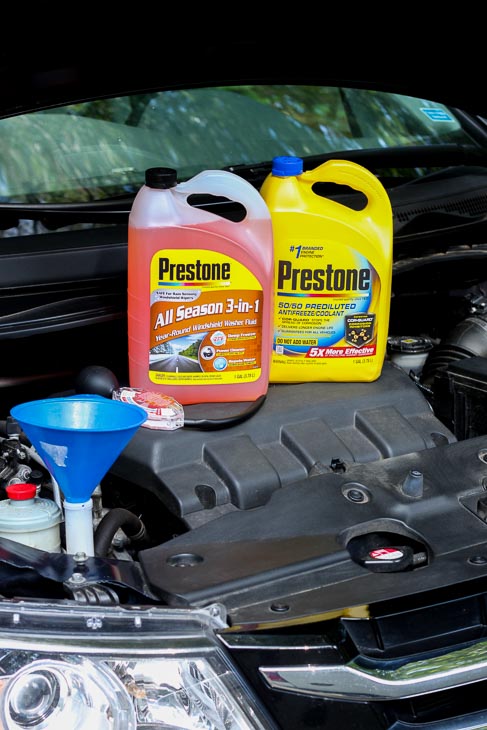
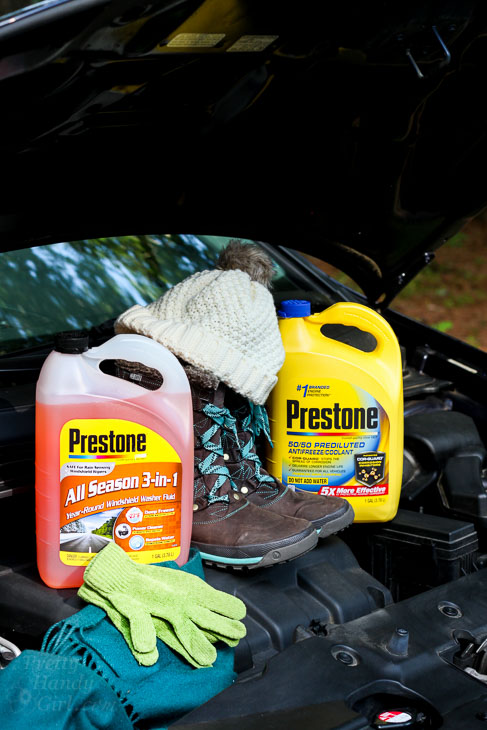
- Add Prestone All Season 3-in-1 Wiper Fluid (All wiper fluids are not created equal! Buy one that won’t freeze during cold weather.)
- Check Your Antifreeze/Coolant Mix and Levels
- Antifreeze/Coolant keeps your car from overheating or from freezing
- Antifreeze/Coolant usually needs replacing after five years
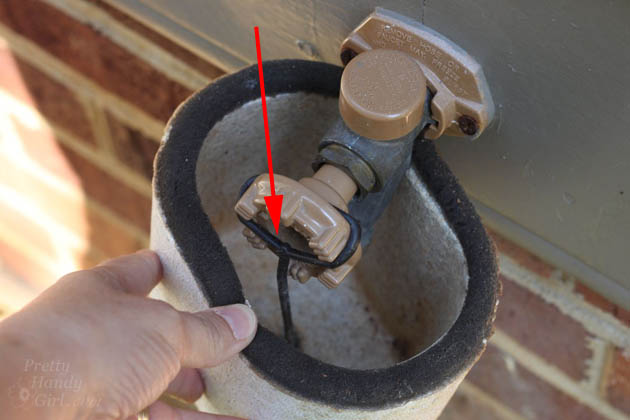
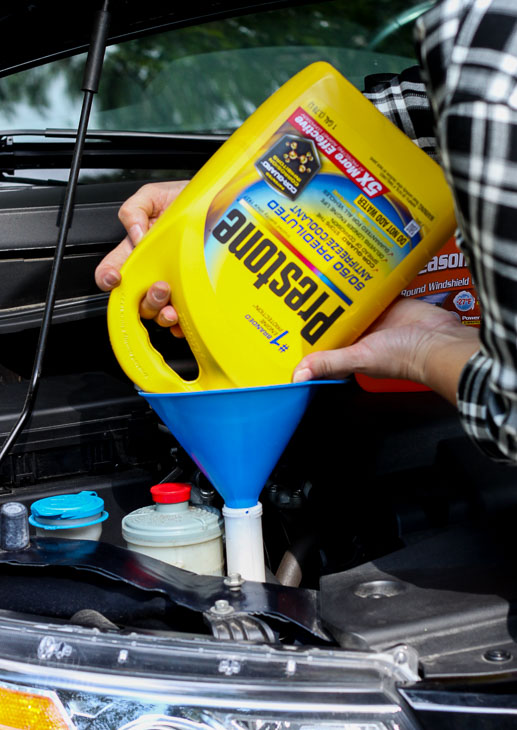
How to Check and Add Antifreeze/Coolant:
Make sure your car’s engine and radiator cap have cooled (especially if the car was driven recently.)
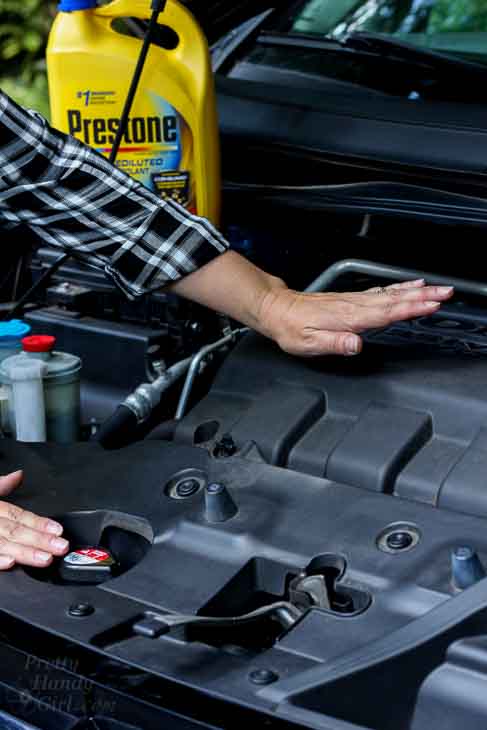
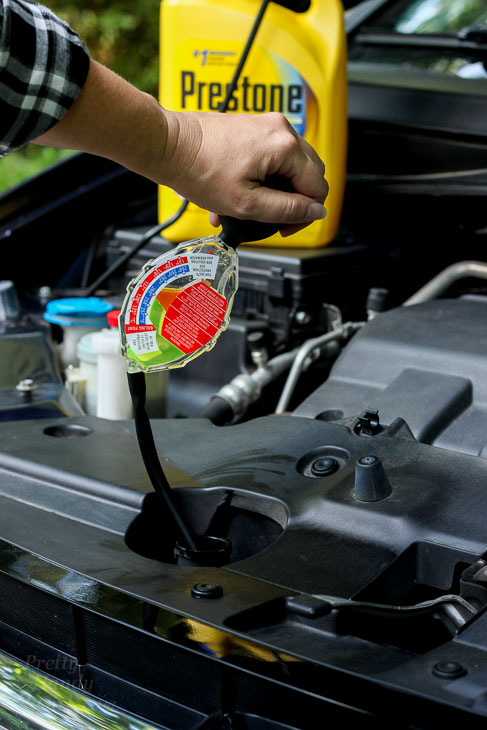
Remove the radiator cap with a clean rag (the rag protects your hands and can be used to wipe up any drips.)
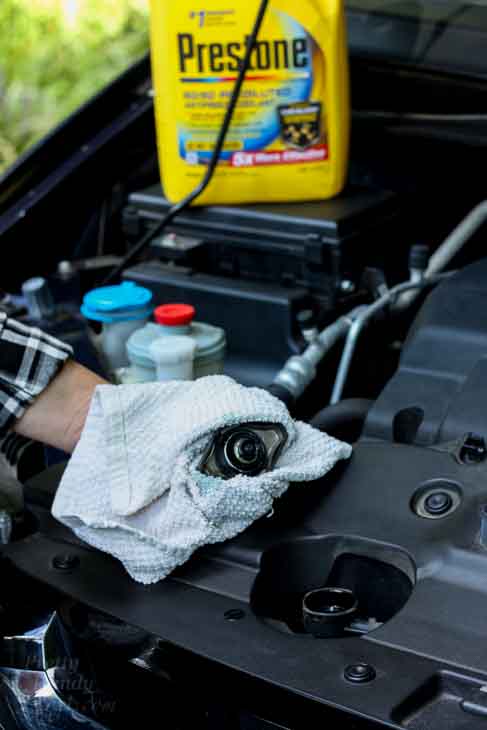
Insert the Antifreeze Tester into the radiator. Squeeze the bulb on top and fill the reservoir.
Hold the tester up to eye level. Line up the top arrow up with the vertical plumb line. Then locate the second arrow and read the temperature rating.
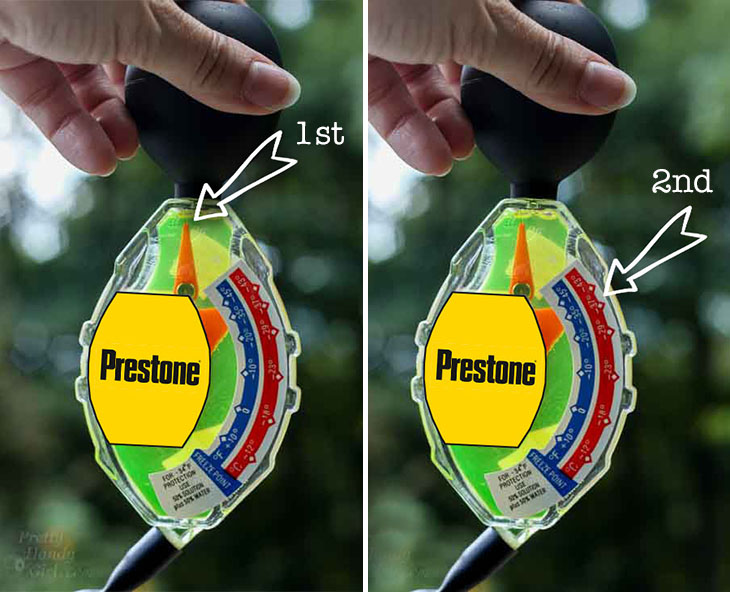
The antifreeze/coolant should be rated for -34˚F or colder.
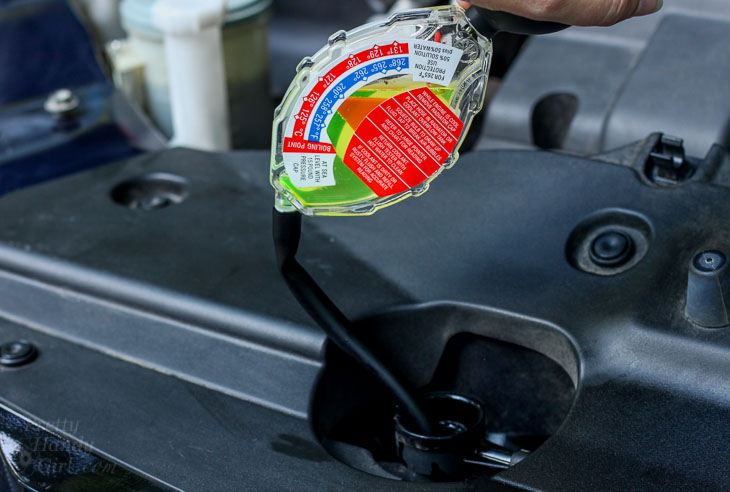
Check the appearance of the antifreeze/coolant. The color should NOT be red or brown. Furthermore, the presence of any dirt or debris means you need to flush your radiator and replace the antifreeze/coolant.
If the temperature rating and color looks good, replace the antifreeze into the radiator.
Wipe up any drips with a rag.
Check the antifreeze level, does it rest within the maximum and minimum lines (this will vary depending on the temperature of your car’s engine.)
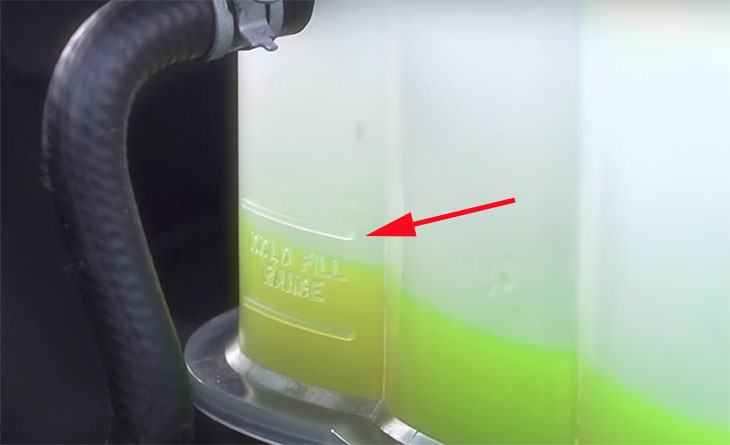
If the level is low, add Prestone 50/50 Prediluted Antifreeze/Coolant using a clean funnel.
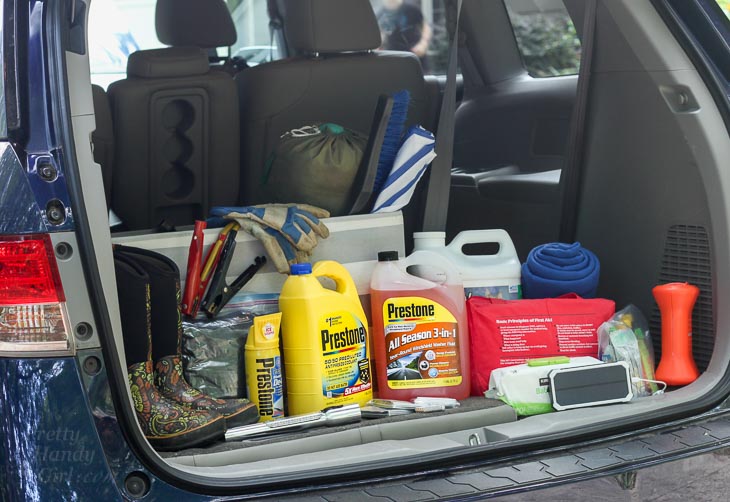
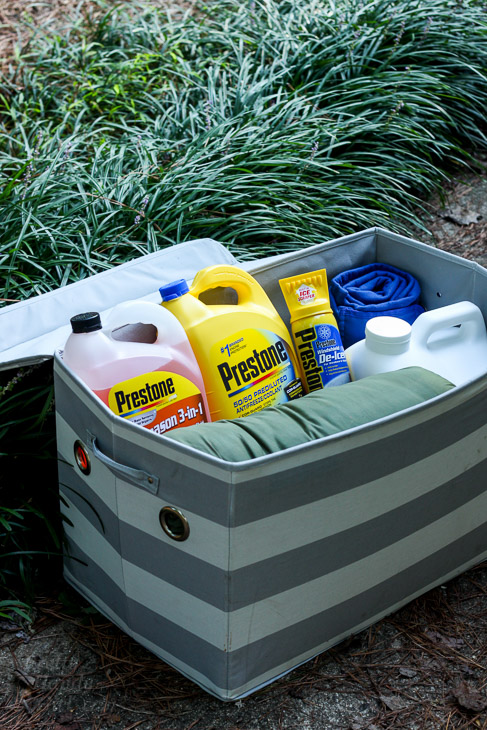
Emergency Kit for your Car:
Create an emergency kit for your car and you’ll be prepared for almost any emergency. You can store the items in a tub or box for convenience. This will also allow you to remove the kit in the summer when you won’t need most of the items (be sure to keep non-weather pertinent items in your car.)
(I’ve included affiliate links for your convenience. I earn a small percentage from a purchase using these links. There is no additional cost to you. You can read more about affiliate links here.)
- [amazon_textlink asin=’B00UZJX5H6′ text=’Rain Boots’ template=’ProductLink’ store=’prett-wp-001-20′ marketplace=’US’ link_id=’7a6012eb-8eb9-11e7-a583-e39bc4d24107′] (suitable for walking long distance in)
- [amazon_textlink asin=’B00363X1DQ’ text=’Sleeping Bag’ template=’ProductLink’ store=’prett-wp-001-20′ marketplace=’US’ link_id=’bd25e314-8eb9-11e7-8b4c-ad9a0b192716′] and/or Warm Blankets
- [amazon_textlink asin=’B00SAT6Y08′ text=’Jumper Cables’ template=’ProductLink’ store=’prett-wp-001-20′ marketplace=’US’ link_id=’19a0a11e-8ebd-11e7-a5f3-a5d86764ddf3′]
- [amazon_textlink asin=’B01M7X6YP8′ text=’Flashlight’ template=’ProductLink’ store=’prett-wp-001-20′ marketplace=’US’ link_id=’21652866-8ebd-11e7-b6dc-c55db69b308d’] with extra batteries
- Sand or Non-Clumping Kitty Litter
- High Energy Snacks (granola bars, trail mix, apple sauce and water or juice)
- [amazon_textlink asin=’B01L8Q5NXS’ text=’Extra pairs of gloves’ template=’ProductLink’ store=’prett-wp-001-20′ marketplace=’US’ link_id=’3d01ca11-8ebd-11e7-b52a-9d2fa59fca2c’]/work gloves
- [amazon_textlink asin=’B019DBCBNA’ text=’Flares’ template=’ProductLink’ store=’prett-wp-001-20′ marketplace=’US’ link_id=’4ab1d1eb-8ebd-11e7-b42c-c95171ae2e8c’]
- Extra set of clothes and [amazon_textlink asin=’B01MQG7MQ3′ text=’socks’ template=’ProductLink’ store=’prett-wp-001-20′ marketplace=’US’ link_id=’8a4d57e3-904f-11e7-9d33-85a4353d42ae’]
- [amazon_textlink asin=’B01BOGG502′ text=’Baby wipes’ template=’ProductLink’ store=’prett-wp-001-20′ marketplace=’US’ link_id=’55fe9491-8ebd-11e7-9053-c5fe188bb60f’]
- [amazon_textlink asin=’B000BQWNRQ’ text=’Ice Scraper’ template=’ProductLink’ store=’prett-wp-001-20′ marketplace=’US’ link_id=’60f5bd94-8ebd-11e7-a97b-d7221099d859′] (with snow brush)
- De-Icer with Scraper
- [amazon_textlink asin=’B001E1RVKQ’ text=’Windshield Wiper Fluid’ template=’ProductLink’ store=’prett-wp-001-20′ marketplace=’US’ link_id=’76a09d14-8ebd-11e7-9d40-0152fae5cd0a’]
- [amazon_textlink asin=’B000GKTYNI’ text=’AntiFreeze’ template=’ProductLink’ store=’prett-wp-001-20′ marketplace=’US’ link_id=’7e7fb128-8ebd-11e7-b34a-7d62a5406a7d’]
- [amazon_textlink asin=’B01G45DWOK’ text=’First Aid Kit’ template=’ProductLink’ store=’prett-wp-001-20′ marketplace=’US’ link_id=’85c8c618-8ebd-11e7-b89e-29fb83a8d4b7′]
- [amazon_textlink asin=’B016ZFZ54E’ text=’Solar Powered Charger’ template=’ProductLink’ store=’prett-wp-001-20′ marketplace=’US’ link_id=’8c80220c-8ebd-11e7-96cb-75e954f957dd’]
- [amazon_textlink asin=’B01MFCFKG5′ text=’Weather Radio’ template=’ProductLink’ store=’prett-wp-001-20′ marketplace=’US’ link_id=’a0bd8f7a-8ebd-11e7-bb99-87574c67ad7c’]
- Bin to store the emergency supplies in
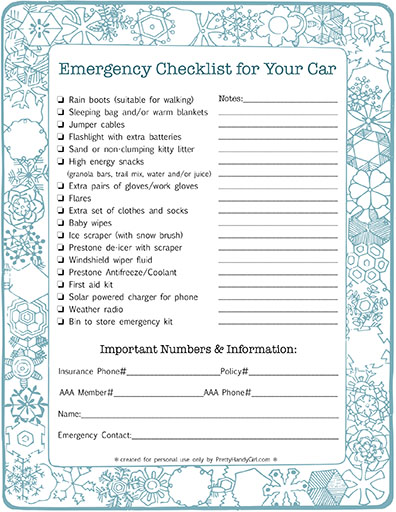
Emergency Kit Checklist:
For your convenience, here’s a printable version of the Emergency Kit checklist for you to download and print. Use it to purchase items for your kit and then keep in your car in case of emergency.
Congratulations! Your car is ready for winter. Now go outside and have fun. And don’t forget to thank Prestone for caring about your safety this winter! You can tweet them, leave a comment on their Facebook page, or tag them in a photo on Instagram.
Definitely pin this post or share it with your friends. Let’s all stay safe this winter.

Disclosure: This is a sponsored post for Prestone. I was compensated for my time and efforts. I was not told what to write, all opinions are my own. As always, I’m very particular about the brands I represent. I will always let you know when you are reading a sponsored post.
Now that your car is ready for winter, let’s tackle a disaster preparedness kit for your home!


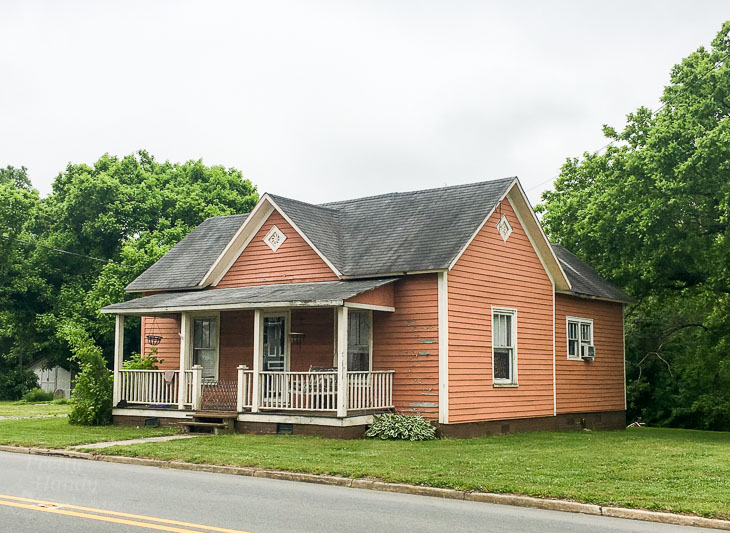
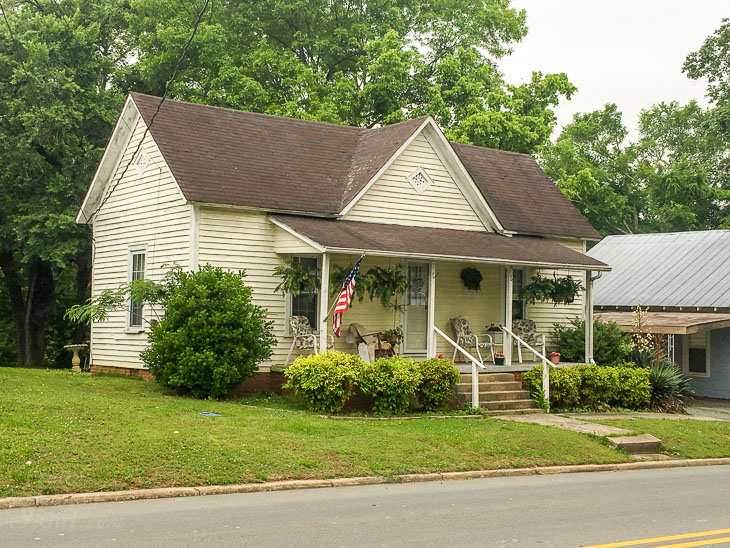
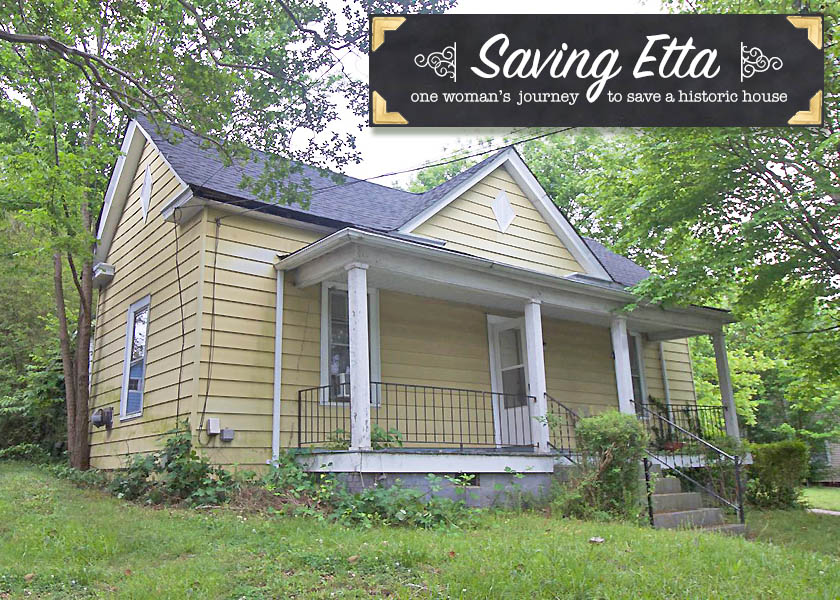 Saving Etta: Chapter 8: Old Trucks and Old Houses
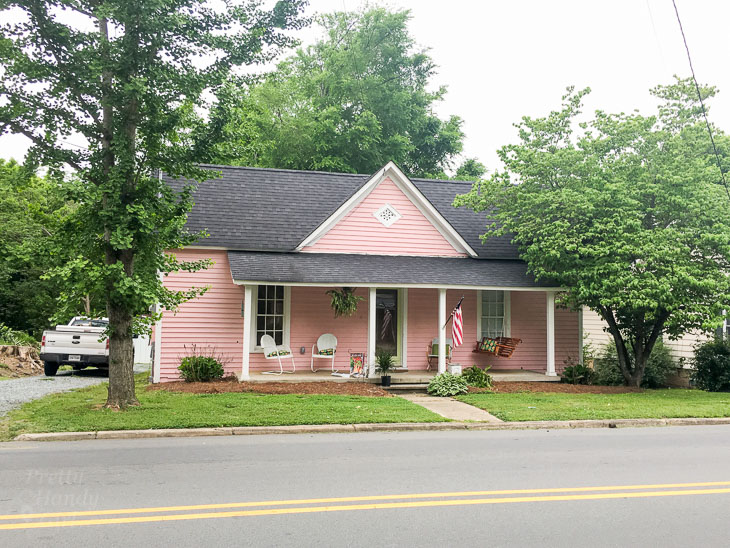


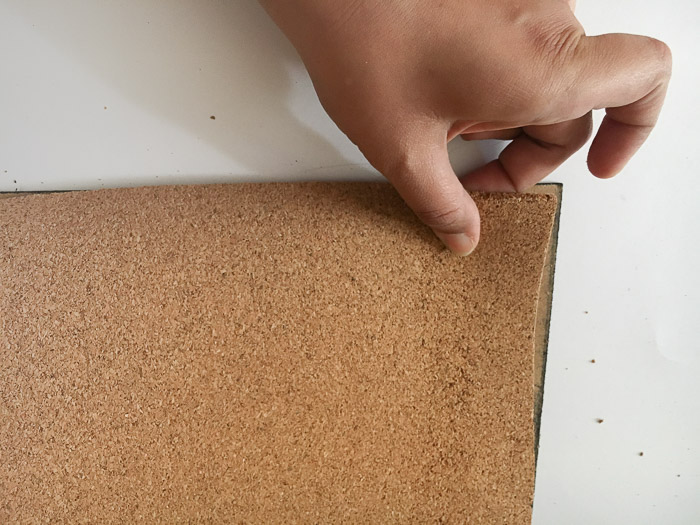
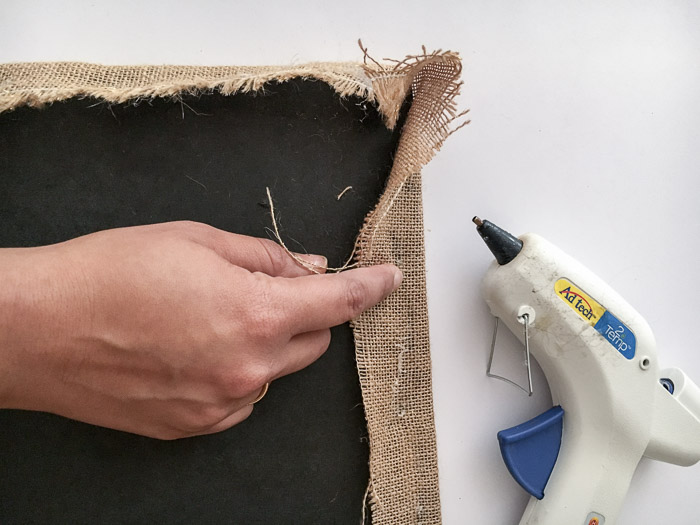
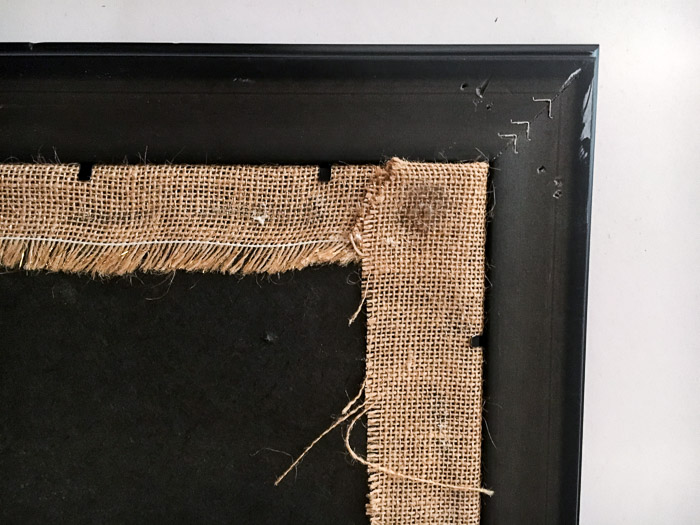
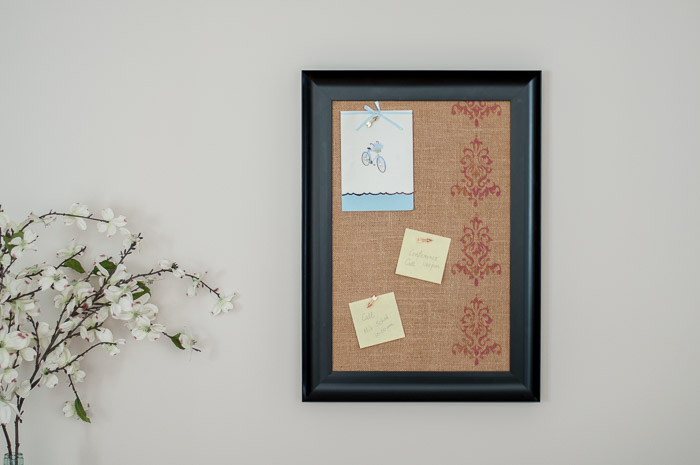
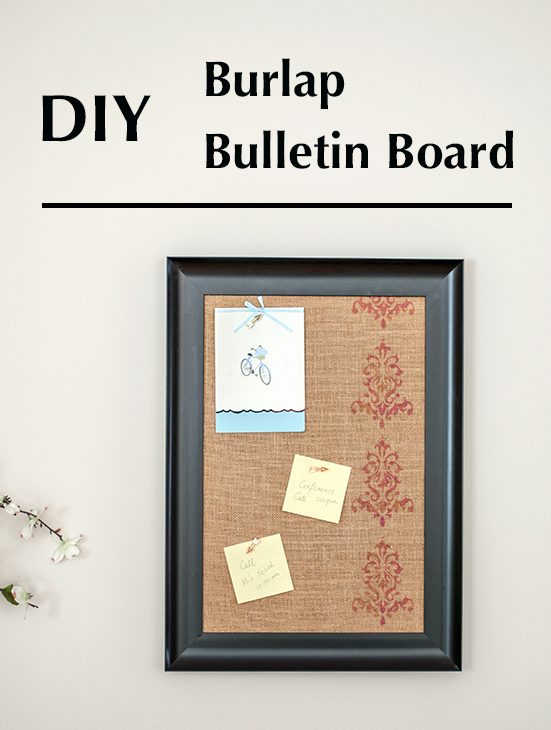 DIY Burlap Bulletin Board
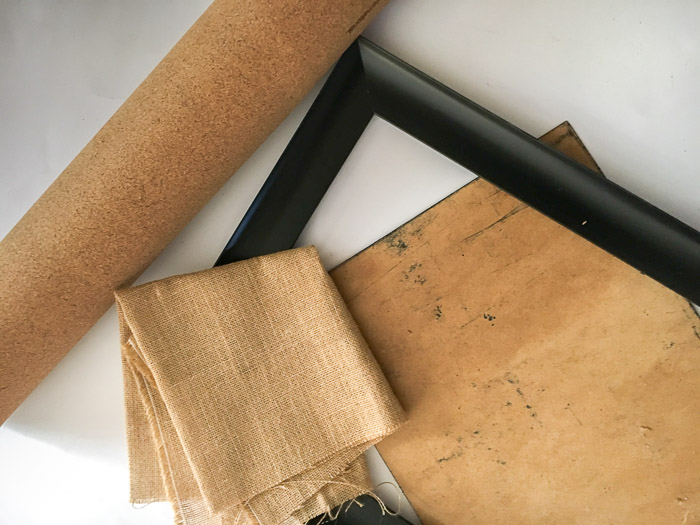

 ~ View more of

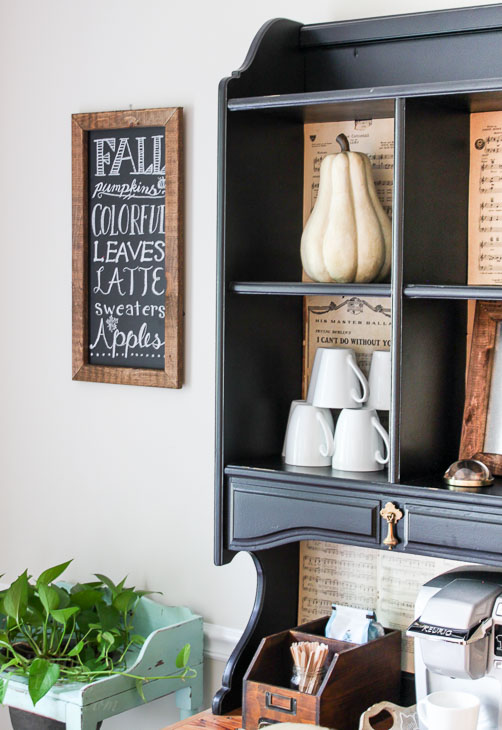
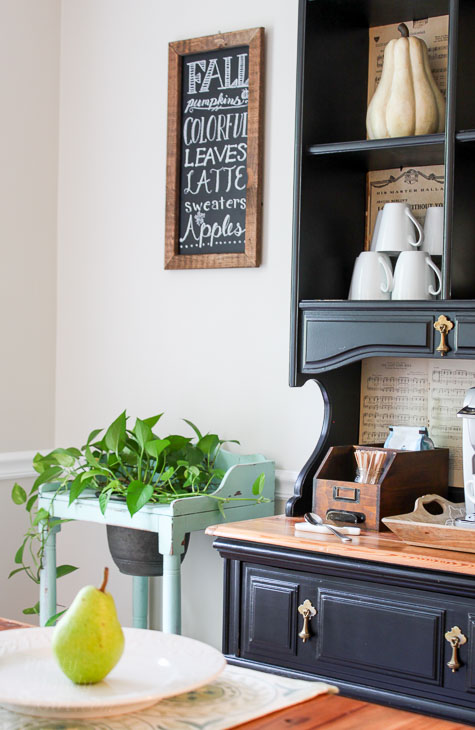
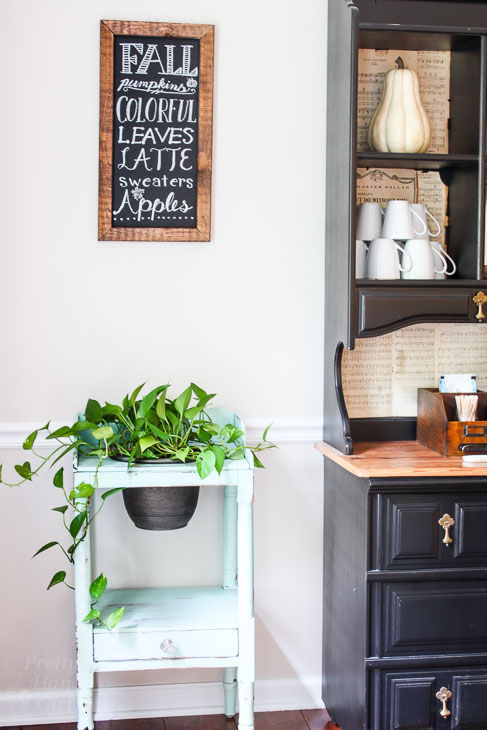
 FREE: Fall Chalkboard Art Printable
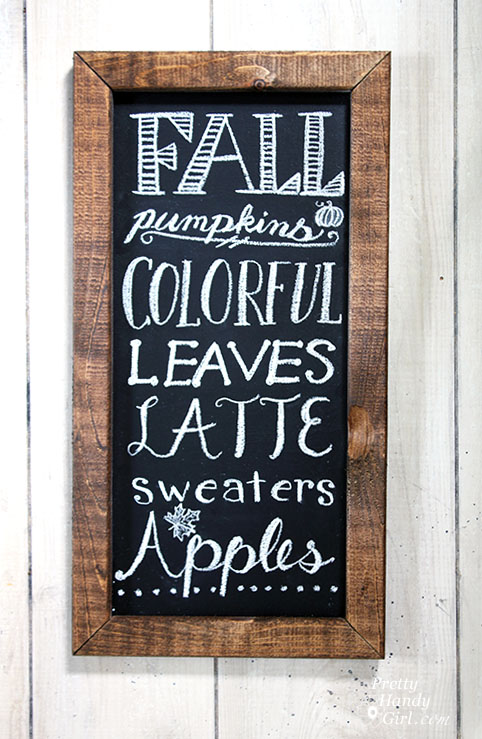


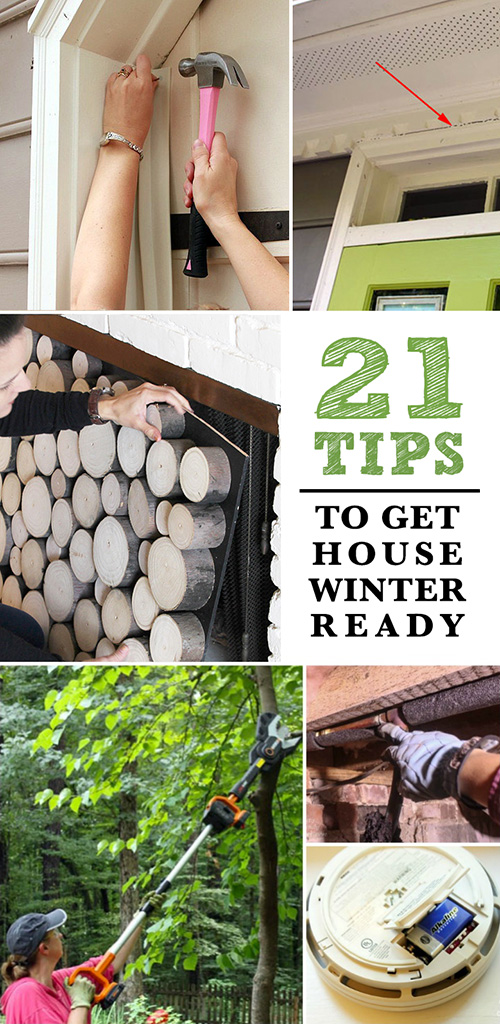 21 Tips to Make Your Home Winter Ready