Tag Archive for: how to

How to Winterize Your Rain Barrel

How to Winterize Your Rain Barrel

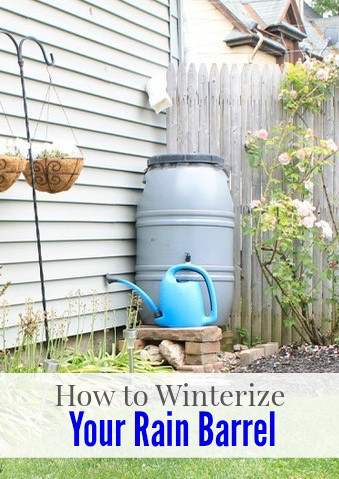
Hello friends. It’s Jessica, from Decor Adventures with some easy tips to get your home ready for the cooler months ahead. I’ll show you how to winterize your rain barrel, which goes perfectly with Brittany’s recent guides on ways you can keep your home warm this winter and how to protect pipes from freezing.

Rain barrels have been growing in popularity and are now a common way to save money on water use for your landscaping. They are also great for corralling water way from certain areas of your property. If you have been looking for a rain barrel, check the local environmental non-profit organizations in your area. They often sell them at a discount.

Now that winter is approaching, those barrels must get properly put away so they can last for many years to come.  We’ve been using our barrel for five years to collect water from the 1-car garage and help water the garden all summer long.

How to Winterize Your Rain Barrel

Here are a few tips on how to winterize your rain barrel:

Connection of a rain barrel to the gutters of a building can be via a few methods:

  • Gutter diverter – an attachment you can connect to a downspout to easily close off the water supply to the barrel and return it to a straight downspout once you aren’t using the barrel over the winter or when it gets full.
  • Flexible gutter – connects the downspout from the gutters on the garage to the rain barrel. These are also called flex-a-spout or vinyl elbow at the home improvement store and are very handy for diverting water in a non-straight path.

Read more

DIY Macrame Plant Hanger

DIY Macrame Plant Hanger

If you follow home decor trends (or just love to add something different or vintage to your home), then a textile and macrame project is a perfect project to try.  If you think they are a nod to the 70’s, you are right but this macrame project is fresh and fun. And it will make a great addition to your home.

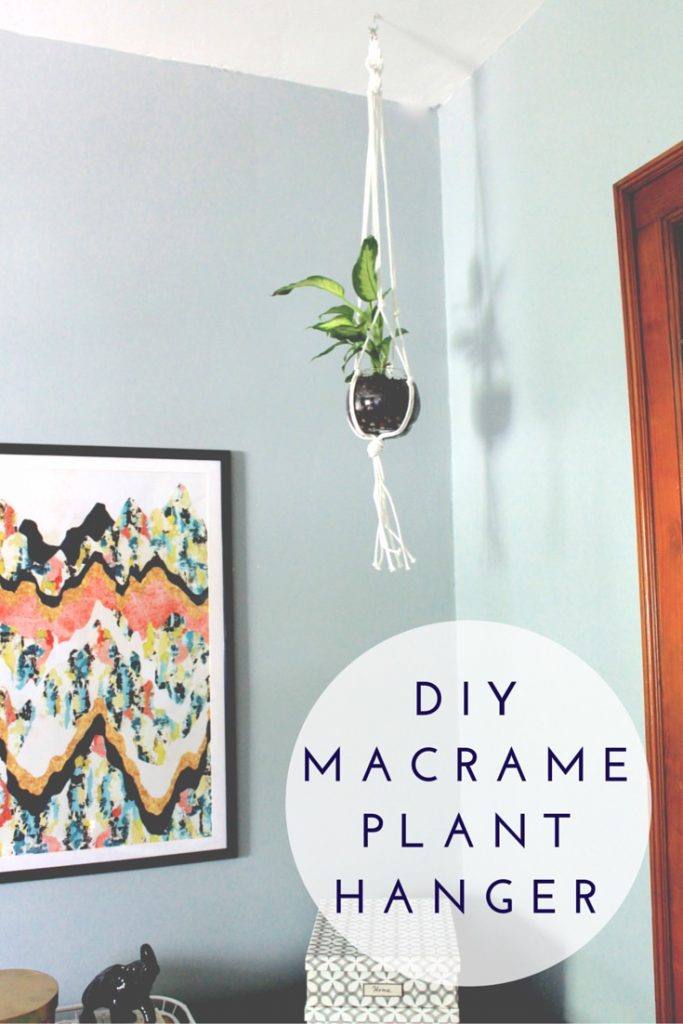
Today I have a quick and easy DIY macrame plant hanger to show you that can be customized by color and size. It’s also a new way to display plants instead of just putting them on a shelf or plant stand. Here’s how to make a DIY Macrame Plant Hanger.

Materials:

DIY Macrame Plant Hanger

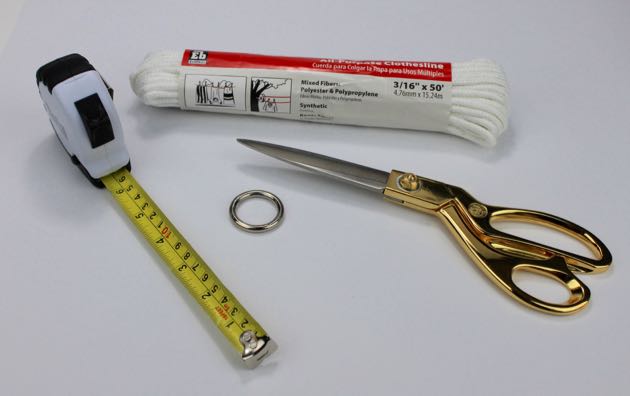
  • 50 feet of cotton or polyester clothesline
  • Scissors
  • Tape measure
  • Plant in a small pot or bowl
  • Small metal ring
  • Cup hook and anchor (Optional for hanging from the ceiling)

Instructions:

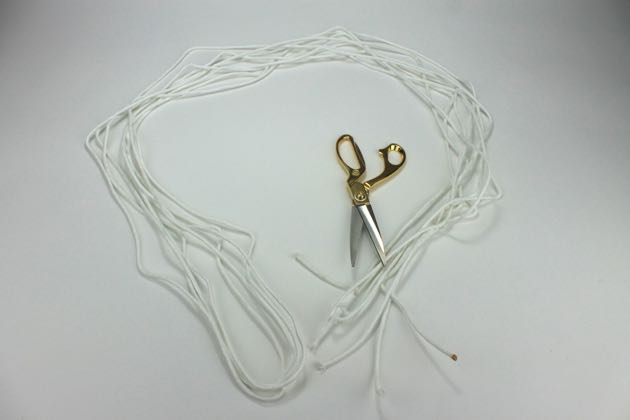
Open the clothesline and fold it in half three times so you have eight strands of clothesline of equal lengths. One end will have all of the ends still connected, and the other will have two looped ends and the two open ends of the clothesline.

DIY Macrame Plant Hanger

Read more

personalized wall shelf

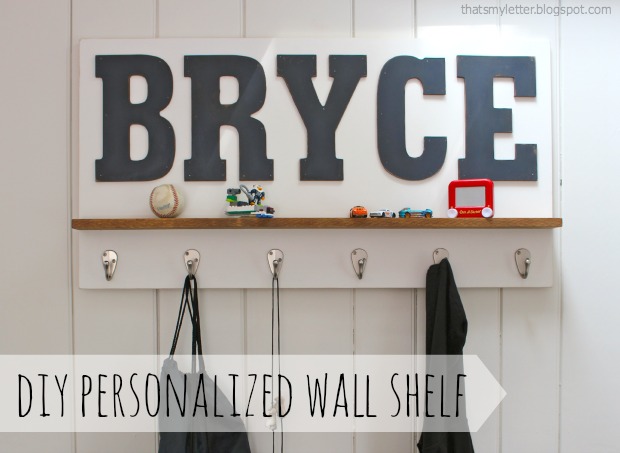
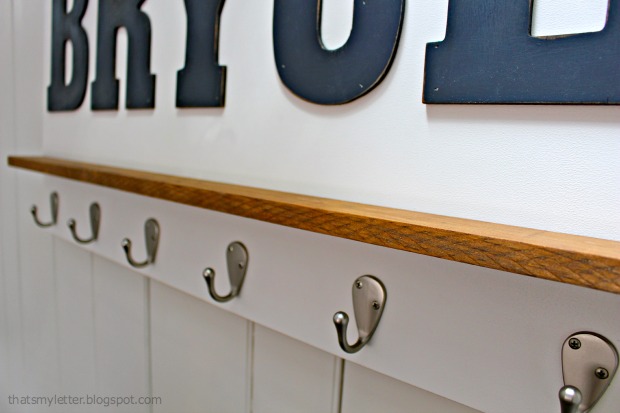
Happy Wednesday Pretty Handy Readers!  Today’s project is a DIY personalized wall shelf and I’ll show you how to make it.  I’m Jaime from That’s My Letter, a fellow DIY blogger who builds, paints and sews.  I made this wall shelf as a gift for Bryce’s birthday, it makes a great statement AND it’s useful too!

personalized wall shelf 1

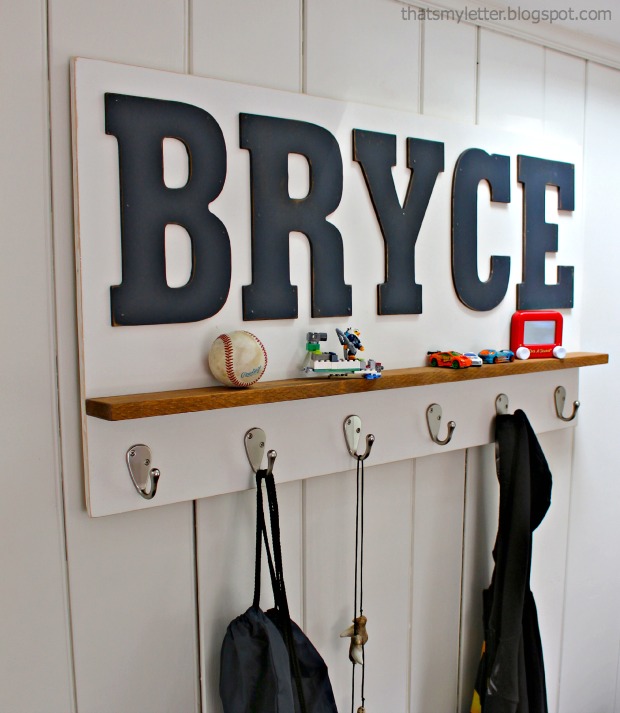
Just a bit of painting and assembly to make this awesome, personalized wall shelf.  And of course you can adjust the paint colors to fit your scheme.  Bryce happens to have navy painted walls in his bedroom so I know this wall shelf will really pop once hung in his space.

personalized wall shelf 2

The stained wood shelf adds just a touch of warmth and coordinates well with the hardwood floors.  For a deeper shelf, use a wider board. I used a 1×3 but you could use a 1×4 or larger.

Materials:
(Amazon affiliate links included)

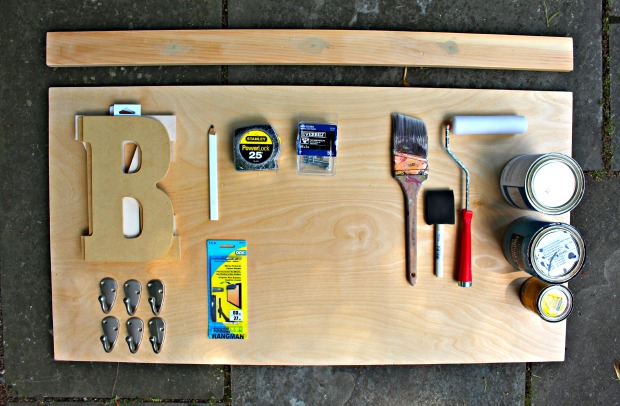
personalized wall shelf supplies

  • 1/2″ or 3/4″ plywood cut to desired size (approx. 2′ x 4′)
  • scrap piece of 1/2″ plywood approx. 4″ x 36″
  • 1×3 pine board cut to width of plywood
  • 9″ MDF Pre-cut letters
  • Single robe hooks
  • French cleat kit
  • paint, roller & brush
  • stain & foam brush
  • sandpaper
  • tape measure
  • pencil
  • wood glue
  • 2″ wood screws
  • 3/4″ wood screws
  • drill & bits
  • nailer & finish nails

Instructions:

Before beginning, layout your letters onto plywood and cut the plywood to size based on the length of the name.

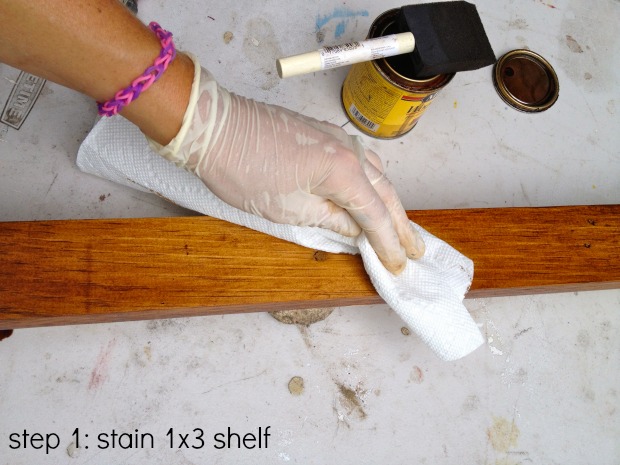
Step 1: Apply stain to the 1×3 shelf piece on all sides using a foam brush. Wipe off the excess.  Set the shelf aside and let it dry.

personalized wall shelf step 1

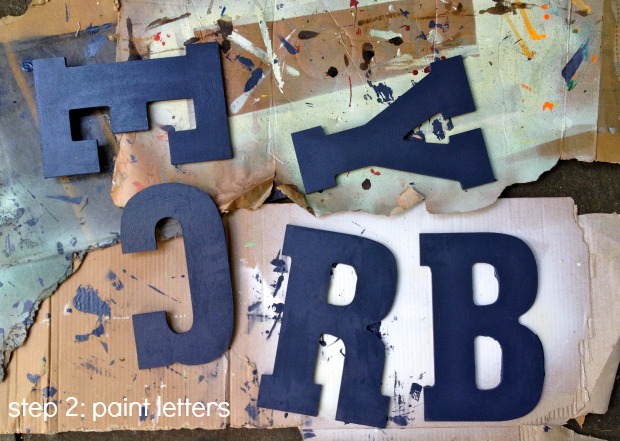
Step 2: Paint your letters.  Paint your plywood back (not shown).

personalized wall shelf step 2

Step 3: Distress the edges of the letters using sandpaper. Read more

striped euro shams

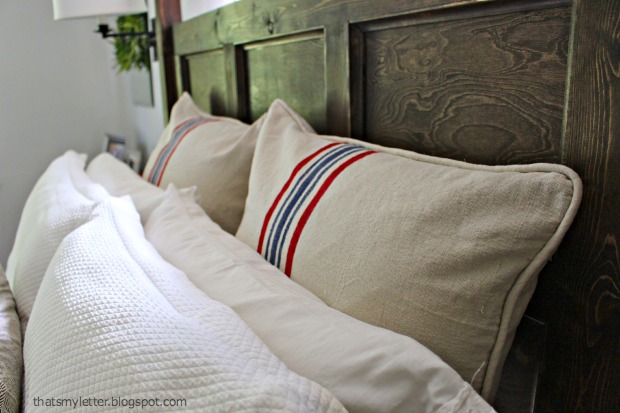
Every DIYer loves a little drop cloth project right?  Jaime from That’s My Letter here to share how to make striped euro shams.

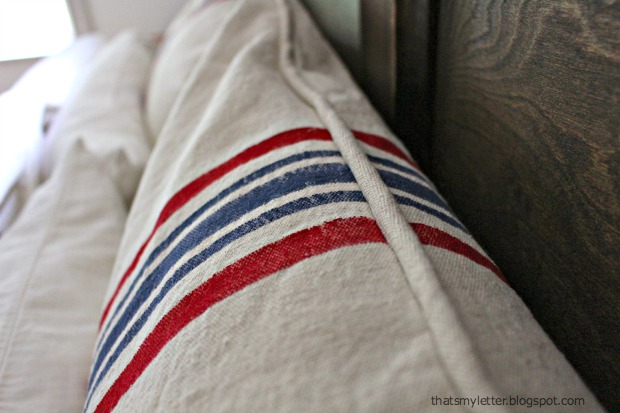
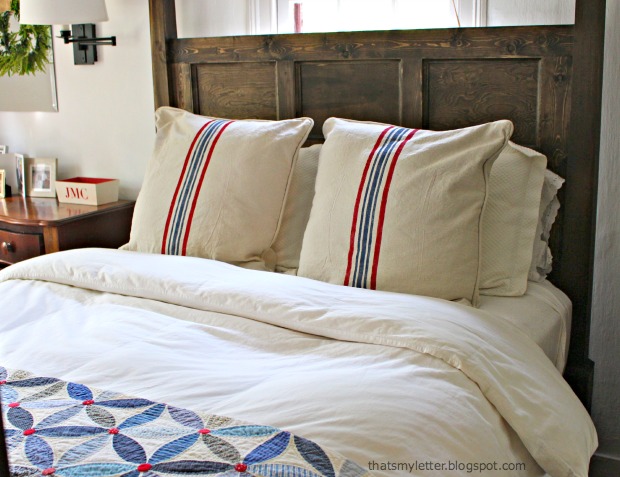
Using drop cloth and acrylic craft paint, I made these grain sack inspired shams to finish off our new poster bed.

striped euro shams 1

I added piping to finish the edges. It wasn’t too hard, and it was worth the extra effort.  Brittany has a great piping tutorial here or you could always leave off the piping if you choose.

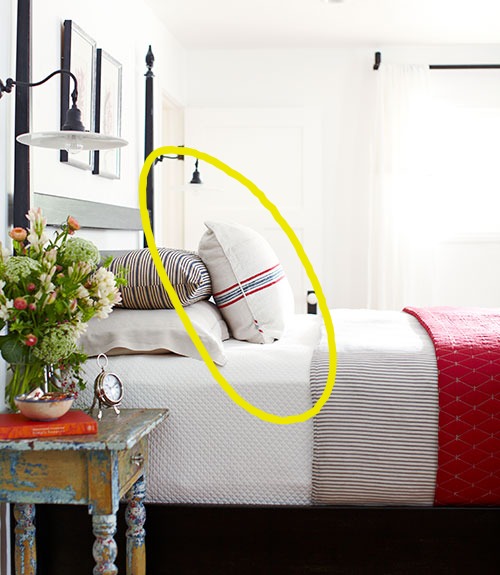
05-CLX-digging-deep-striped-duvet-cover-0613-xln 1

I found my inspiration for these shams from a Country Living article in the June 2013 issue.  The master bedroom in the featured home had the perfect striped lumbar pillow and I knew I just had to have my own!

striped euro shams 3

Similar but different, these striped shams coordinate well with my Joseph’s Coat quilt.  Check out how easy it is to make your own shams:

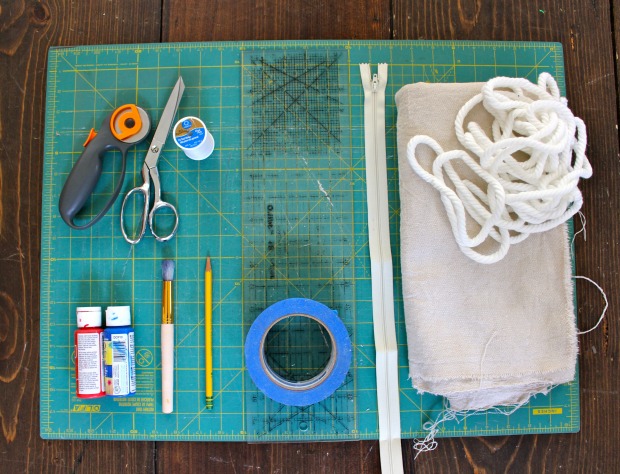
Materials:

striped euro shams supplies

  • drop cloth (2 – 26″ x 26″ square piece per sham)
  • cotton cording (2 yards per sham)
  • 22″ zipper
  • painter’s tape
  • stencil paintbrush or stiff bristle brush
  • acrylic paint
  • pencil
  • clear quilting ruler
  • rotary cutter
  • self healing cutting mat
  • scissors
  • thread
  • sewing machine
  • iron & ironing board

Instructions:

striped euro shams step 1

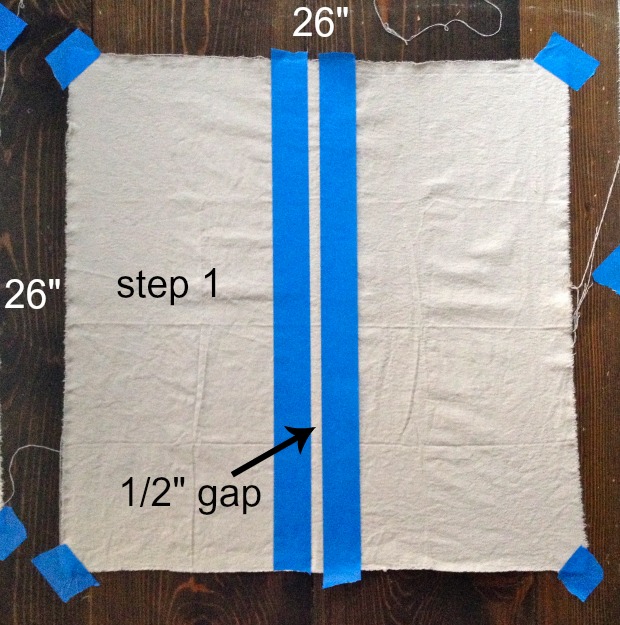
Step 1: Measure your sham inserts and add 1″ to each side.  (My inserts measured 25″ x 25″ therefore I cut the drop cloth at 26″ x 26″.)  Tape the corners of the drop cloth to a hard surface.  Slide a piece of cardboard under the drop cloth to protect your surface. Mark a 1/2″ wide stripe at the center and secure painter’s tape down either side of gap. Read more

How to Make an Old Sign

How to Make an Old Sign

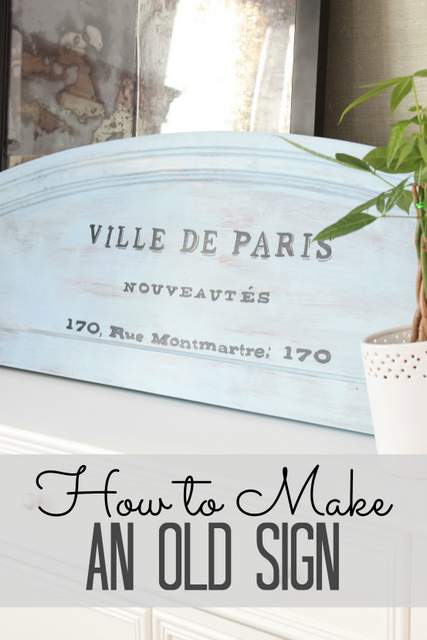
One project I really wanted to make was an old wooden-looking sign. I hoped to stumble upon a salvaged piece or something found. Lucky enough, I happened to find a foot board from a bed right down the street. It was the perfect shape to make into a sign. When someone throws something out, I usually take it for a project! With some paint and lettering, you can make this or any piece into an old sign. Here’s how!

Materials

  • Foot board – You could pick one up at a thrift or salvage store for only a few dollars
  • Sand paper
  • TSP
  • Chalk paint or regular paint
  • Paint brush
  • Sealant like wax or polycrylic
  • Printer and paper
  • Scissors, tape, ballpoint pen

Instructions:

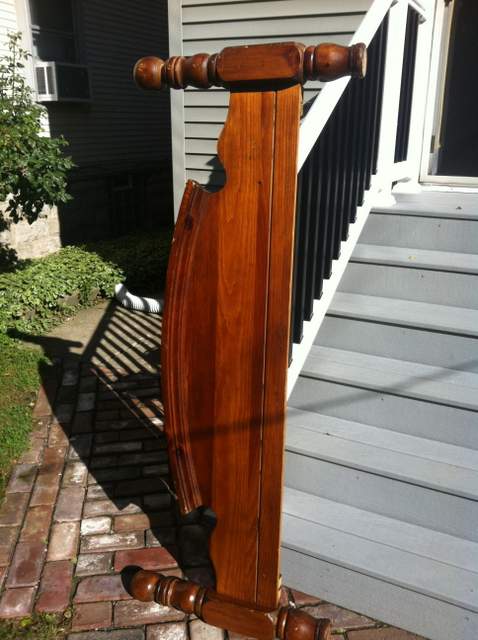
This was the foot board I scored on the curb. It had a perfectly rounded top with molding on it and had the shape of an antique sign. I remember seeing one like this at Ballard Designs that sells for hundreds of dollars. Since I had all the supplies for this, it cost me nothing! The legs were really neat, but we ended up cutting them off to make this a sign. I thought it would look better that way. Who knows, maybe I’ll make something else out of the legs?

Foot Board Before

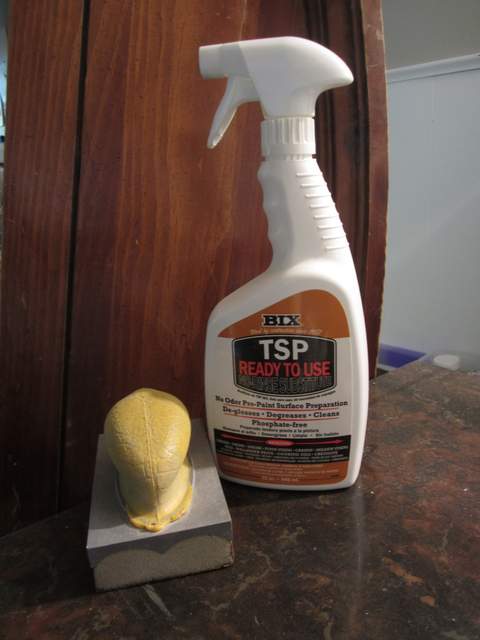
Lightly sand down the foot board and clean it with TSP. This will prep it for painting and take off any dirt.

Sanding and TSP Read more