Tag Archive for: how to

9 holiday storage hacks social media image

9 Holiday Storage Hacks

Now that Christmas is over, you’re probably in one of these two camps.

  • Camp #1: Christmas is over, time to pack everything away pronto.
  • Camp #2: Christmas is over, but I want to enjoy the decorations for a while longer. I’ll put them away in the new year.

Regardless of which camp you belong to, I have several Holiday Storage Hacks to help you store the holiday items for next year!

Plastic and Foam Cups:

There will always be ornaments to pack away after the holidays. Protect them from getting crushed or breaking by storing them inside individual disposable cups. For fragile ornaments, insert a foam cup inside the larger plastic cup before placing the breakable ornament inside. This gives a nice cushion around the ornament and creates a nice even layer in the bottom of your storage bin, which is helpful for the next hack.
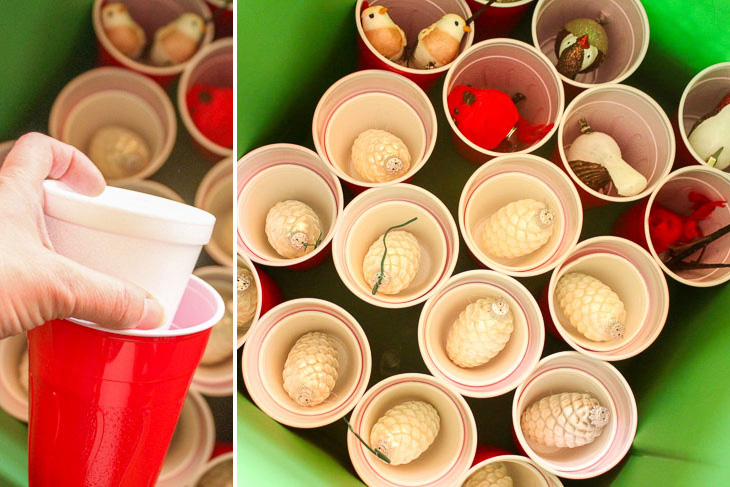
Storage Hacks for Holiday Decorations | Pretty Handy Girl

Lasagna Method:

Don’t just throw your ornaments in the bin. Start at the bottom of your bin and place a layer of ornaments stored in cups. (Easy to do if you use the first hack above!) Place a piece of foam over the cups and continue with a second layer of ornaments. Again, add another piece of foam, then place ornaments that lay flat or are very thin on top of that last layer of foam. They will be protected and ready to go for decorating next year.
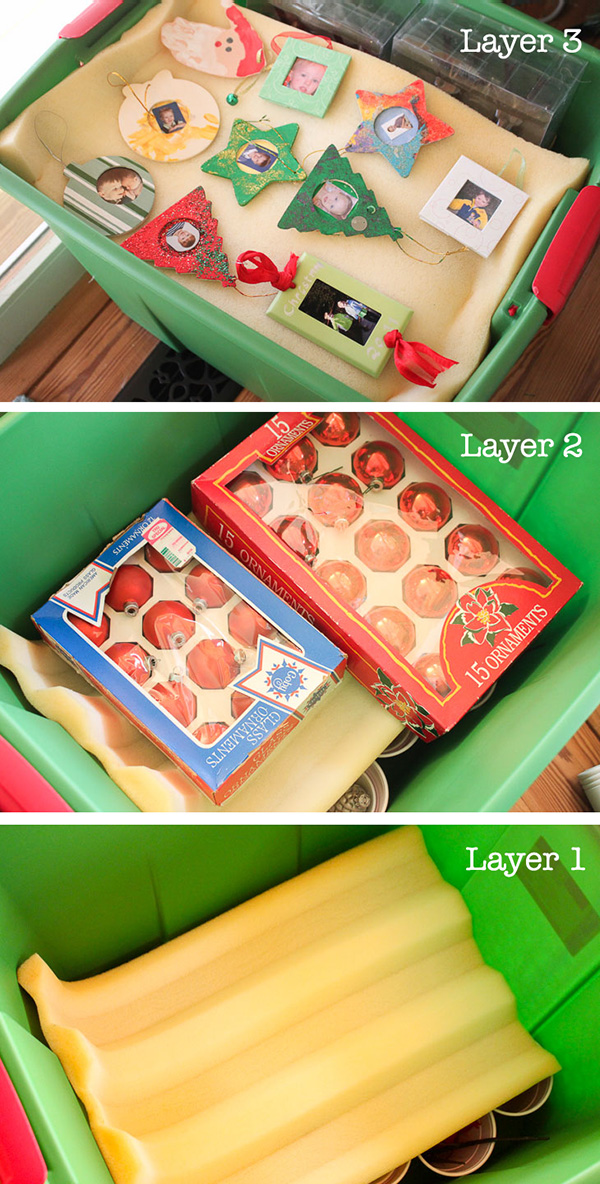
Storage Hacks for Holiday Decorations | Pretty Handy Girl

Saran Wrap the Tree:

Artificial trees can be cumbersome and messy when store them away. To neatly pack your artificial trees use a roll of plastic wrap to secure the branches together, making it easier to carry and store. Bonus, you might actually be able to get that tree back in the box you bought it in!
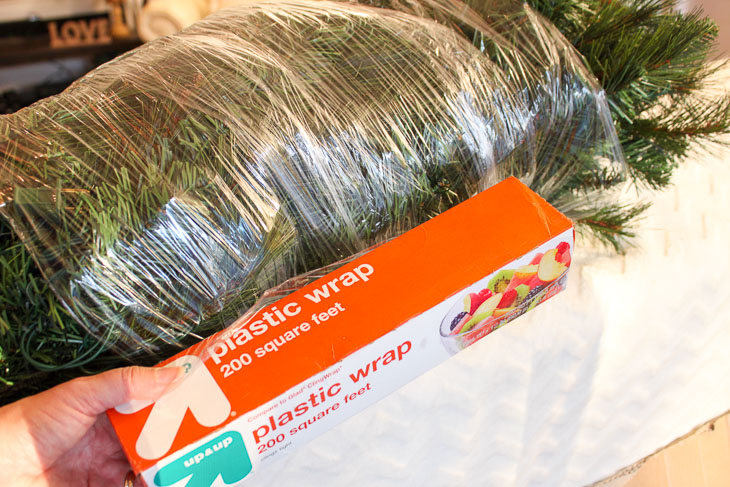
Storage Hacks for Holiday Decorations | Pretty Handy Girl

Linen Zipper Pouches:

If you have a collection of small tea lights and candles, use an old linen zippered pouch from your last blanket purchase. These are perfect for storing your tea lights, batteries, and other similar items until next year. The clear bag also lets you see exactly what’s inside.
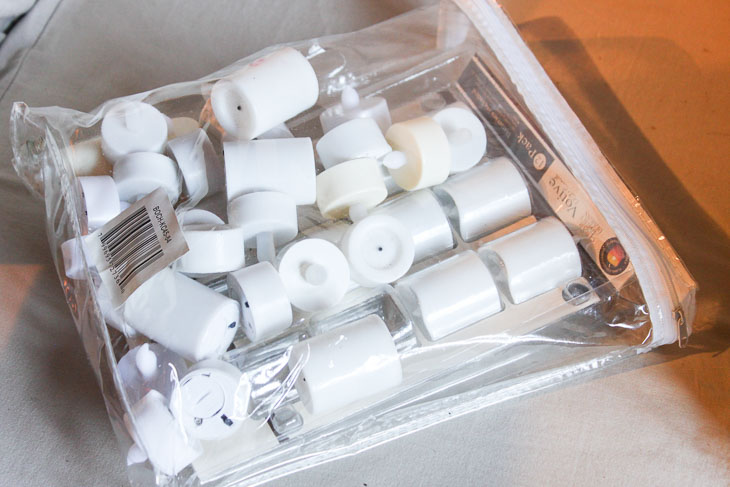
Storage Hacks for Holiday Decorations | Pretty Handy Girl

Cardboard Light Holder:

Do your lights get tangled up by the following year? This year put an end to the frustration by cutting out a large rectangular section of cardboard (shipping boxes or cereal boxes work great.) Make a small slit on one end to hold the end plug of your light strand. Wrap the lights around the cardboard to keep them secure and organized and ready to put up next year. This hack also allows you to store the strands upright to save on space. It may take a bit of extra time now, but will save you time (and curse words) next year!
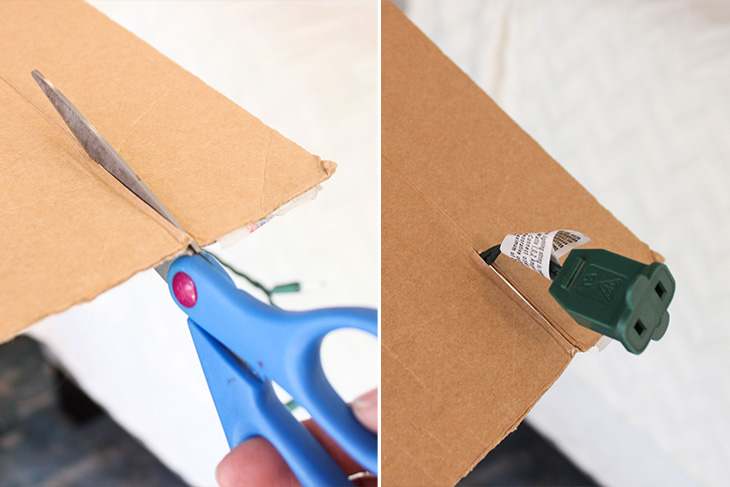
Storage Hacks for Holiday Decorations | Pretty Handy Girl

Store Like Items Together:

I don’t know about you, but in the past my bins were filled with random holiday items. I struggled to find a particular item. To solve this issue, put similar items into one bin. Next year you’ll know exactly where all of the lights are in an instant. Label the outside of each bin to help speed through the decorating process.
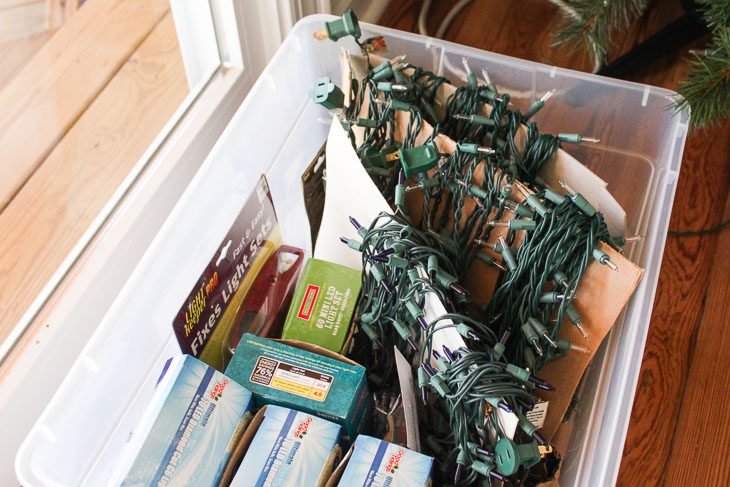
Storage Hacks for Holiday Decorations | Pretty Handy Girl

Hang Wreaths:

Wreaths are large and take up a lot of bin space. To store your wreaths, put them on hangers in an extra closet. If you don’t have closet space, nail a horizontal board to the rafters in your attic or garage and hang them there.
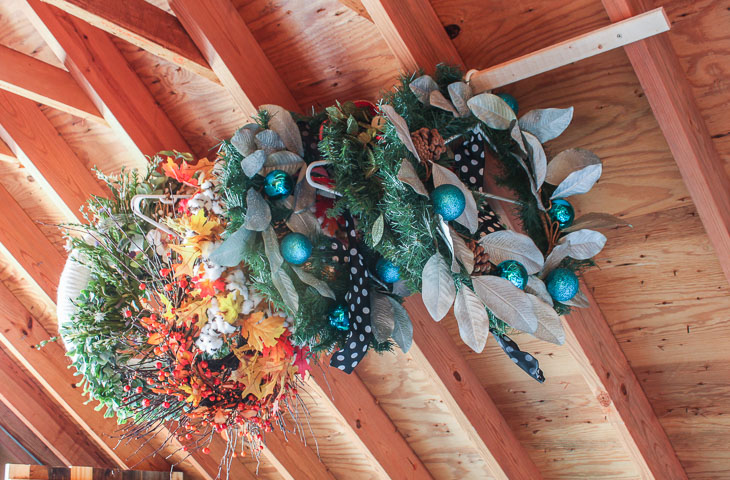
Storage Hacks for Holiday Decorations | Pretty Handy Girl

Gift Wrap Storage:

Gift wrap rolls are long and can be difficult to store. Use a bin or basket in the corner and store your gift wrap upright. This prevents the rolls from getting crushed and they are easy to grab next time you need to wrap a present. Feel free to store birthday and other holiday wraps as well.
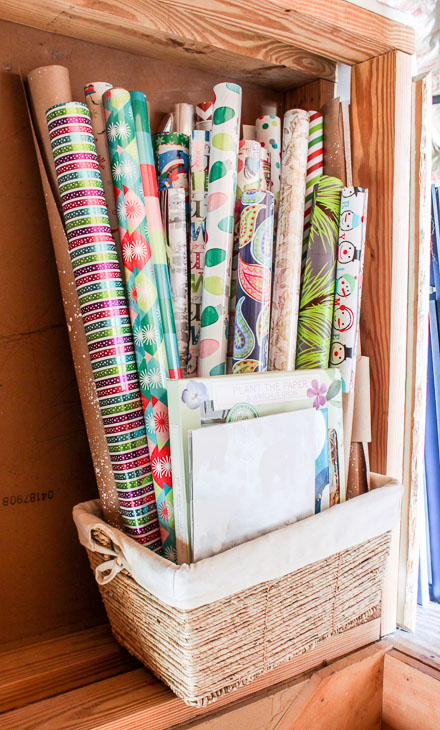
Storage Hacks for Holiday Decorations | Pretty Handy Girl

Or, create this under the bed gift wrap station like Her Toolbelt made:

Bins for Gift Bags, Ribbons, & Tissue Paper:

Fold your gift bags neatly and place them inside clear storage bins. Organize by size or celebration and you’ll have a great place to go whenever you need to quickly wrap a gift. Use another bin for ribbon spools and yet another for scrap ribbons (never let those scraps go to waste.) The clear bins make it easy to grab the correct bin, no matter how last minute you’re putting the gift together.
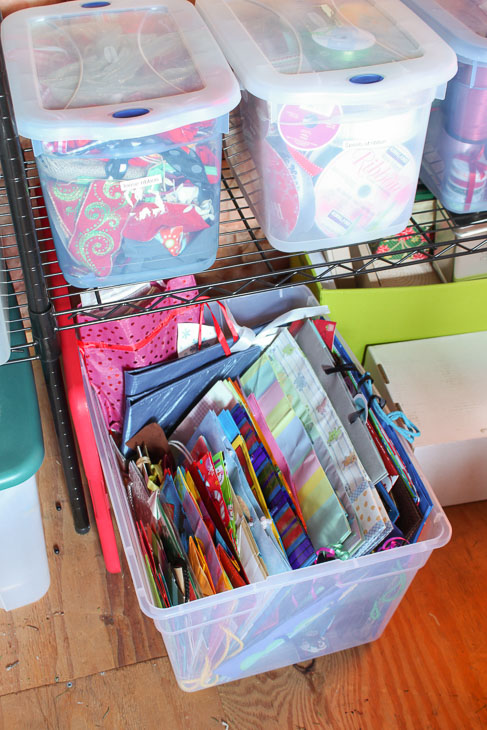
Storage Hacks for Holiday Decorations | Pretty Handy Girl

There you have it! Holiday clean up doesn’t have to be stressful, just keep it organized and use these hacks to make your holiday decor last for years to come. Do you have any storage hacks for holiday decorations that you would add to this list? Please share them in the comments!


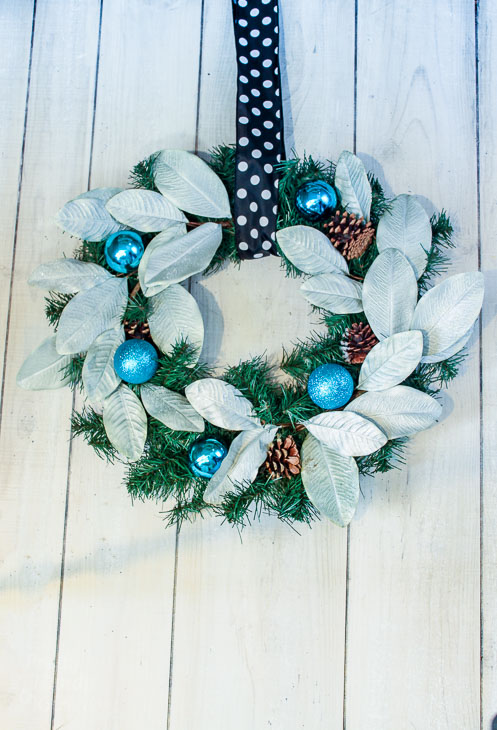
Make an Elegant Holiday Wreath for Less than $20

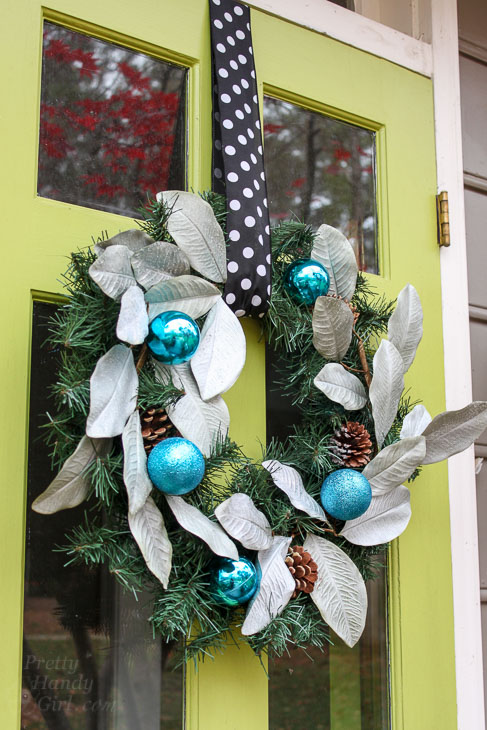
Have you ever been in a home decor store and fell head over heels in love with a wreath only to gag at the $50 or more price tag? Put your wallet away, because today I want to show you how you can turn an inexpensive wreath into an Elegant Holiday Wreath for Less than $20! Who knows, you might already have one of these cheap wreaths and some of the supplies in storage — making your cost almost FREE!

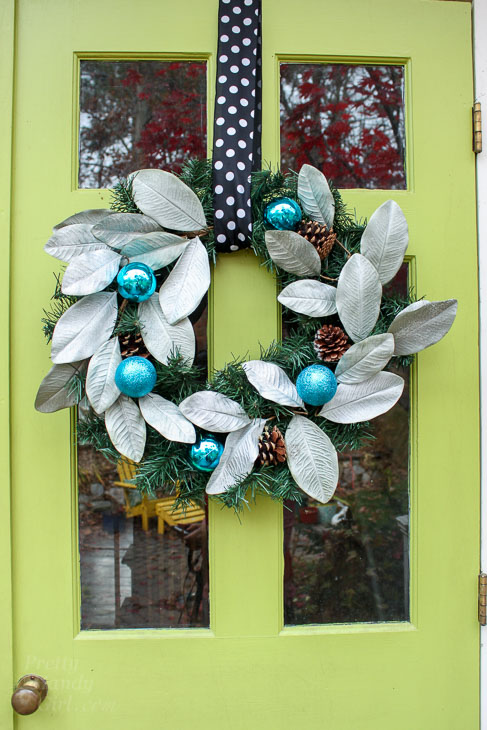
Elegant Wreath for less than $20!

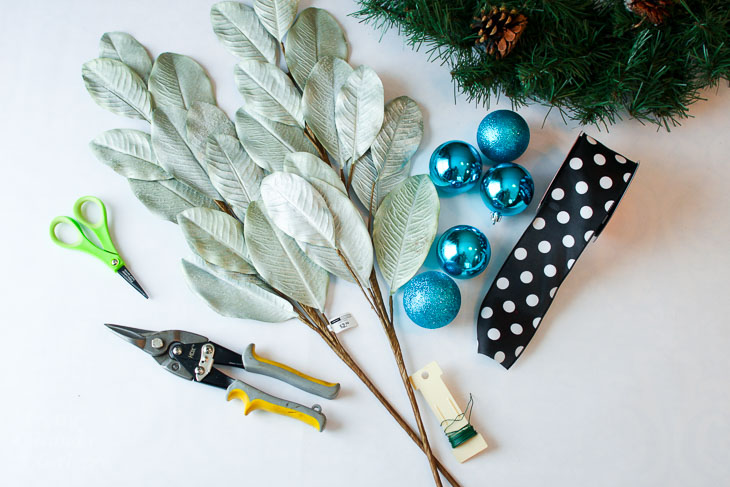
Materials:

(I’ve included affiliate links for your convenience. I earn a small percentage from a purchase using these links. There is no additional cost to you. You can read more about affiliate links here.)

Materials

Instructions:

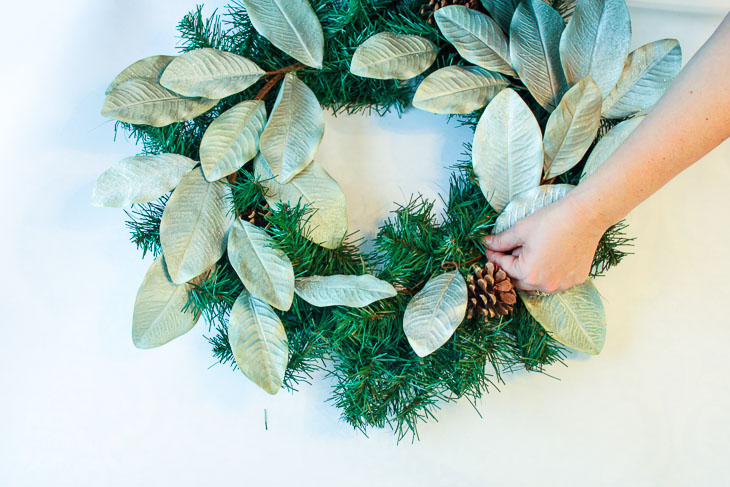
Remove anything you don’t want to keep from your store bought wreath.  Fluff out the wreath by bending the branches to make it look larger and more full.

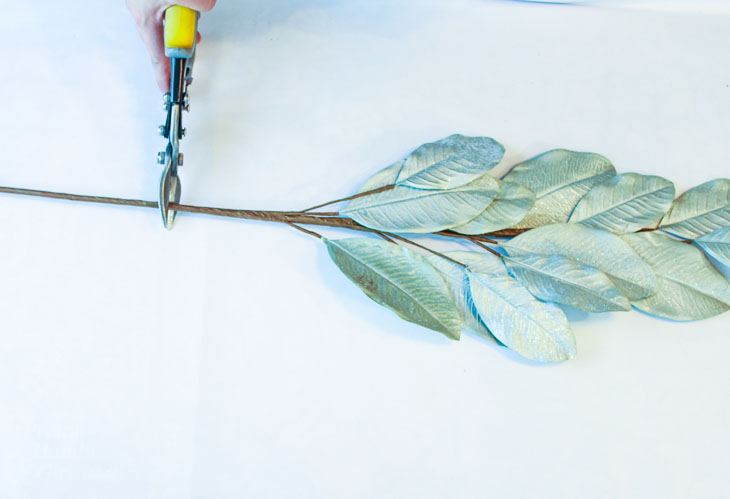
Grab your tree picks and decide where you want to place them on the wreath. Use strong wire cutters to cut off some of the length from the stems.

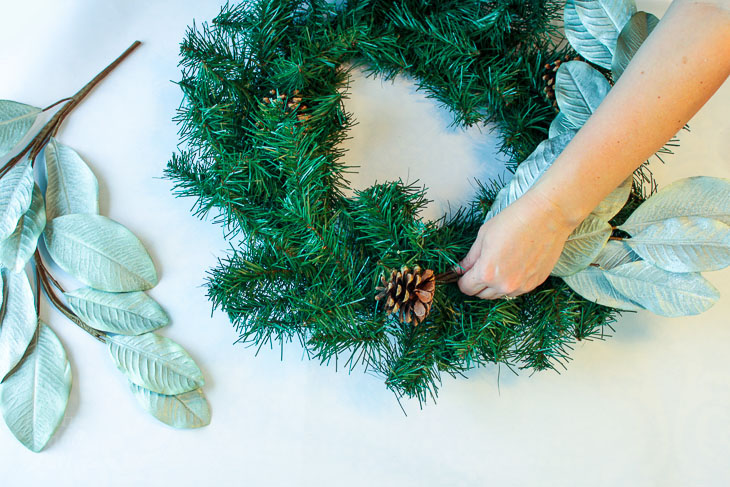
Curve the main branch of the tree pick so it mimics the curve of the wreath. Push the end of the stem under some of the wreath branches then back up so there is tension to hold the pick in place.  Wrap some wreath branches around the entire pick to hold it firmly and disguise the stem. (If you are using heavier tree picks, you can secure them using floral wire.)

Repeat the process for the other tree picks. Leave a blank space at the top for the ribbon.

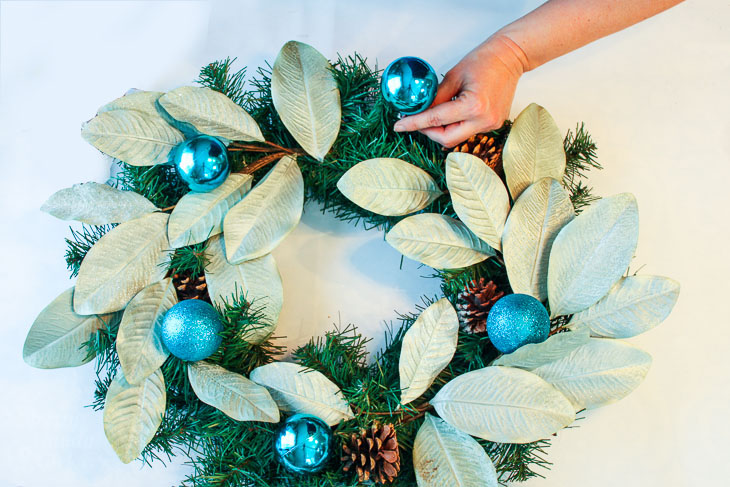
Time to add some color! Make a u-shape with some floral wire and push it through the top of an ornament. Place the ornament on the wreath. Wrap the floral wire around the wreath, twist the wire to secure from the backside of the wreath.

Evenly space the remaining ornaments, then attach with florist wire.

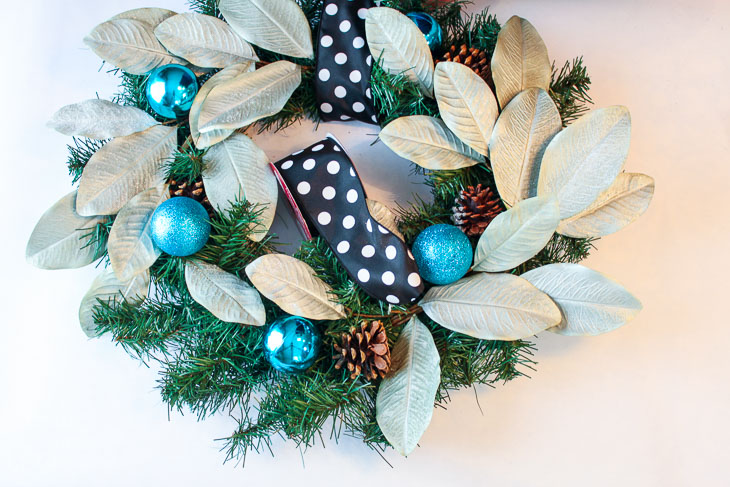
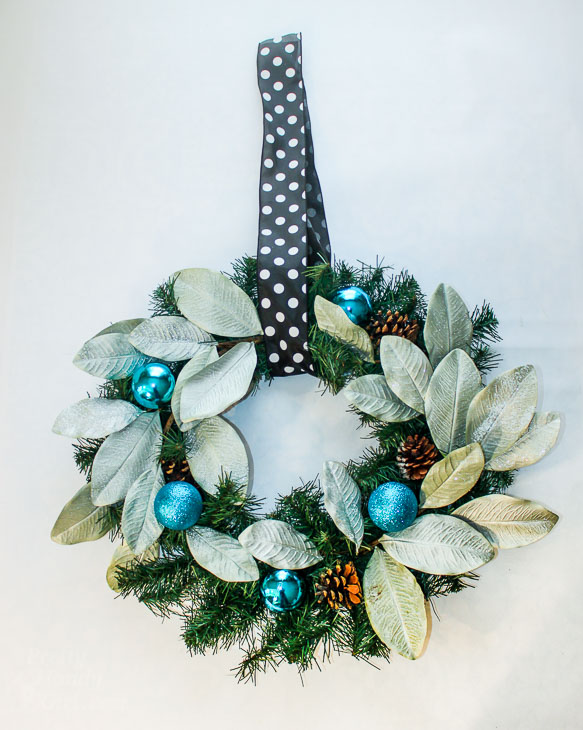
To complete the wreath, take a length of ribbon and loop it around the top of the wreath. You can tie a bow if that is your preference, but I prefer the simple look this year.

And there you have it! An elegant holiday wreath for less than $20 made in just a few minutes.

Here’s the video tutorial showing you how incredibly easy this Elegant Holiday Wreath was to make:

Display your new beautiful wreath on your front door for the entire holiday season!

The great thing about this wreath is you can customize it to any design style or color scheme. Plus, you can change it up each year!

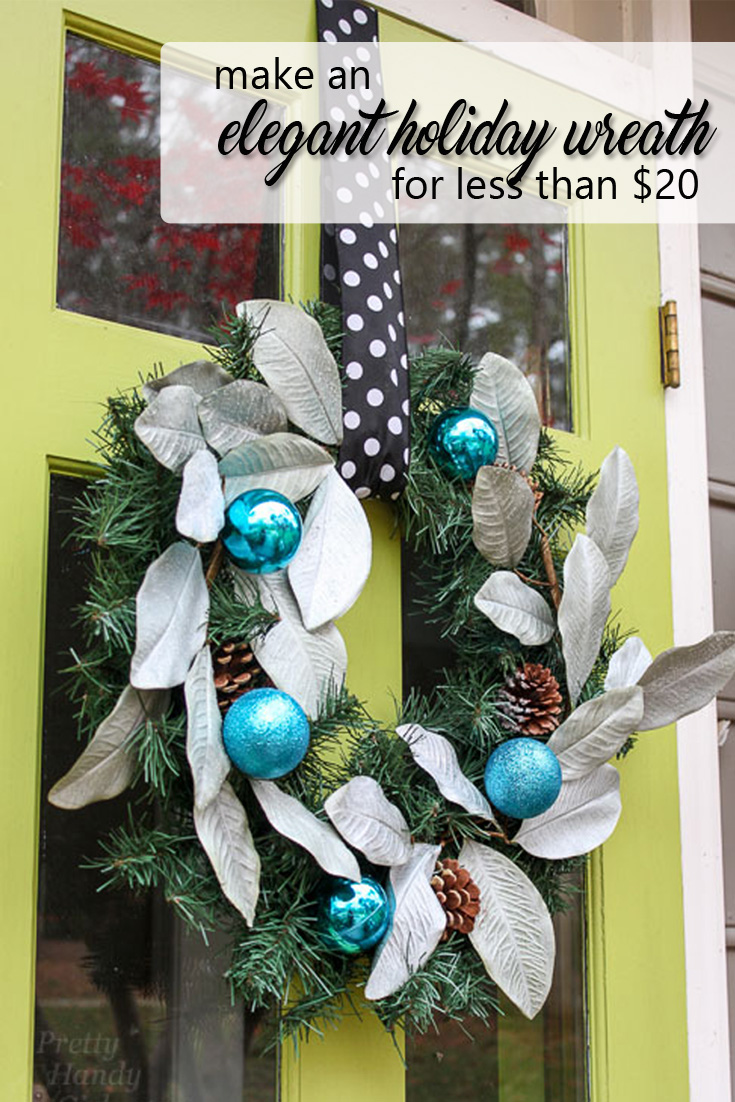
Pin this image and remember: Never spend more than $20 on an Elegant Wreath again!

elegant holiday wreath for less than 20 - pinterest image

Other posts I know you’ll like:

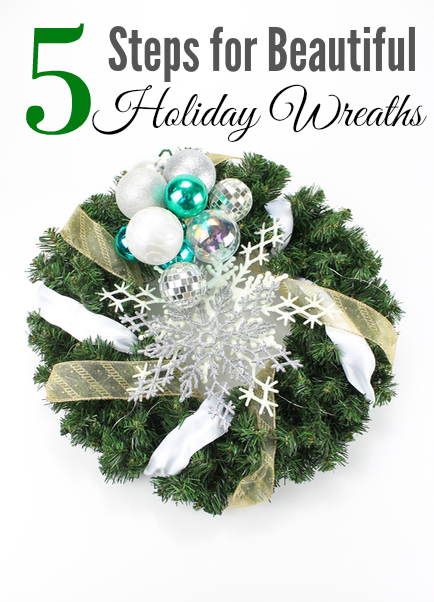
5 Steps for Beautiful Holiday Wreaths

5 Steps for Beautiful Holiday Wreaths


Rosemary Wreath, Juniper Garland Tutorial

DIY Rosemary Wreath & Juniper Garland | Pretty Handy Girl


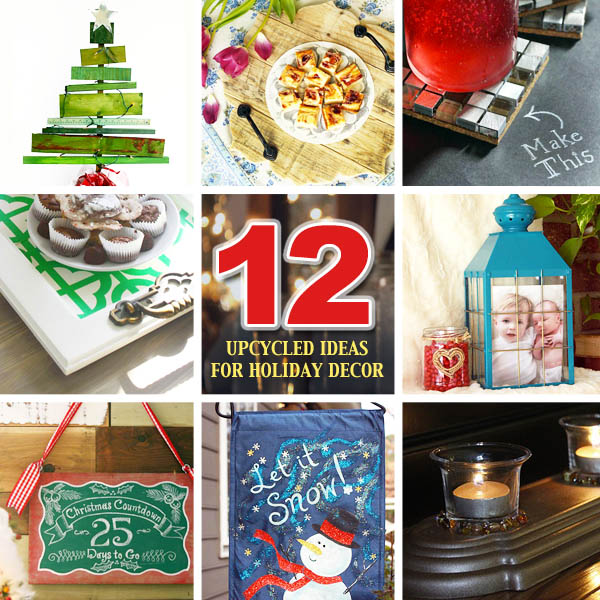
12 Great Upcycled Ideas for Holiday Decor

12 Upcycled Holiday Decor Ideas

Hostess gift ideas pinterest image

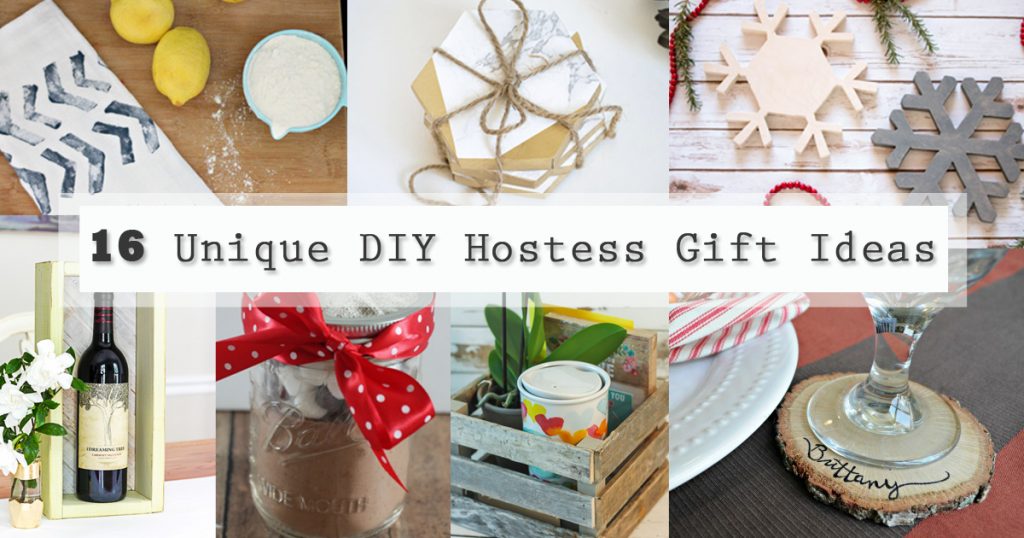
Hostess Gift Ideas social media image16 Unique DIY Hostess Gift Ideas

Holiday festivities are about to begin, and you don’t want to arrive to those parties empty-handed! Thank your hostess by bringing a thoughtful and personal gift that is sure to put a smile on his or her face. Here is a collection of Unique DIY Hostess Gift Ideas!

YEAR-ROUND IDEAS

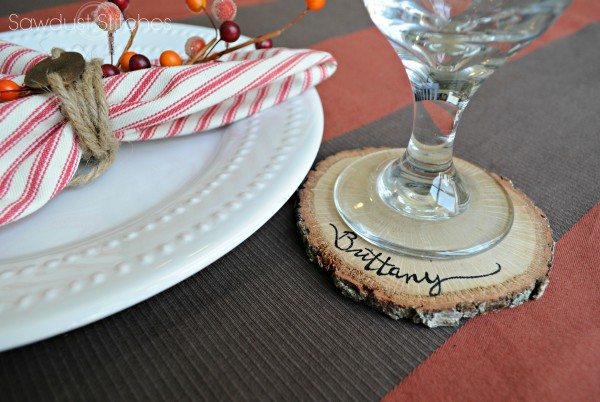
Hostess Gift Ideas - Personalized Wood Slice Coasters

Give your hostess something unique like these Personalized Wood Slice Coasters.


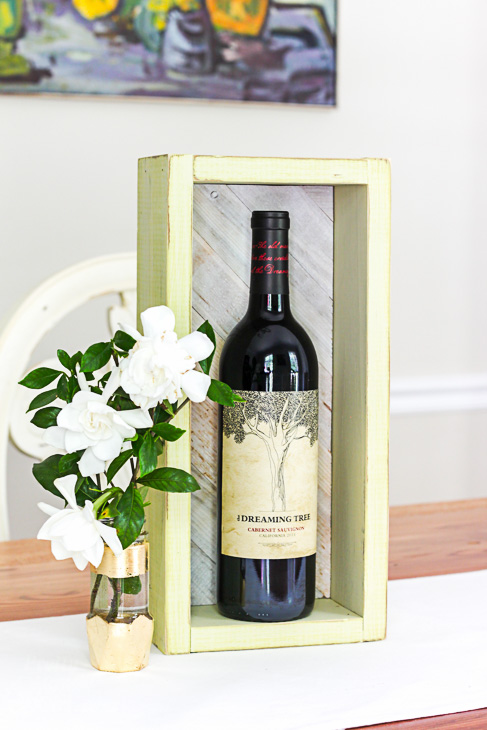
Hostess Gift Ideas - DIY Gift Tray Box

Add wine or a few small items to this DIY Gift Tray Box for a sweet thoughtful gift.


Hostess Gift Ideas - Gold and Marble Coasters

These Gold and Marble Coasters would make a sleek gift for your next dinner party hostess.


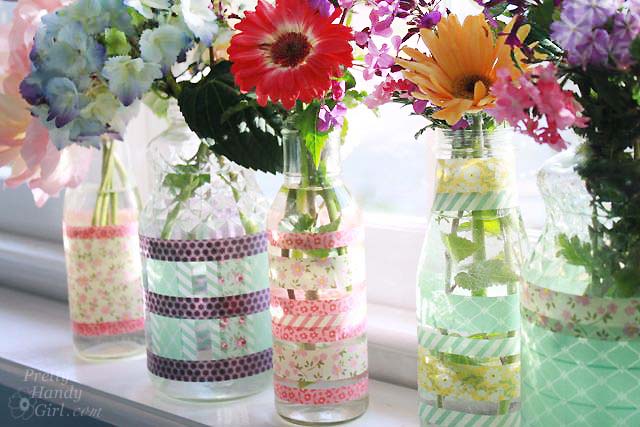
Hostess Gift Ideas Washi Tape Vase

Add some flowers to a Simple Washi Tape Vase for a beautiful gift at the next party.


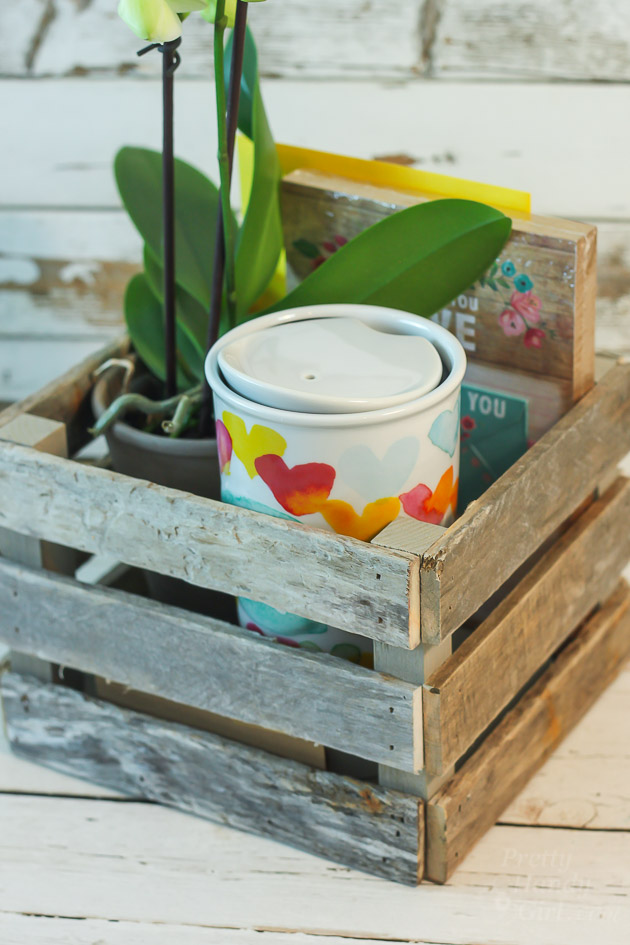
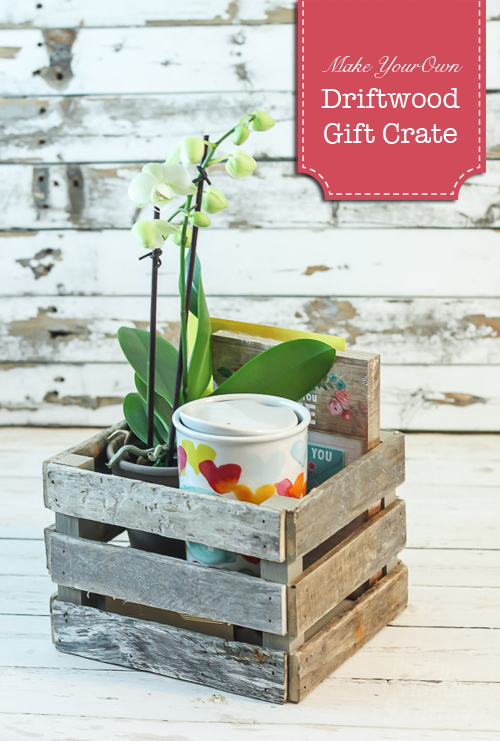
Hostess gift ideas Drift wood Gift CrateBuild a Driftwood Gift Crate and fill it with some items as a kind gesture.


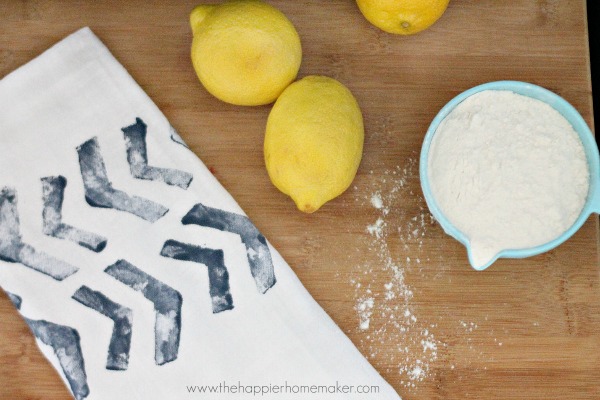
Hostess Gift Ideas - Block Print Stamped Tea TowelDoes your hostess love to work in the kitchen? Make some custom Block Print Stamped Tea Towels.


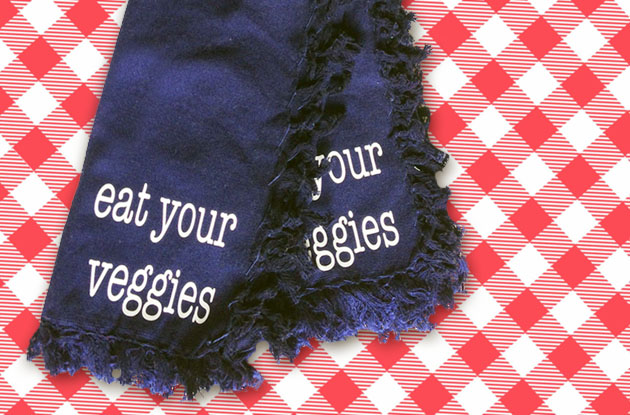
Hostess Gift Ideas - Eat Your Veggies Cloth Napkin Gift SetThis “Eat Your Veggies” cloth napkin set is sure to be the perfect gift for the hostess with a good sense of humor.


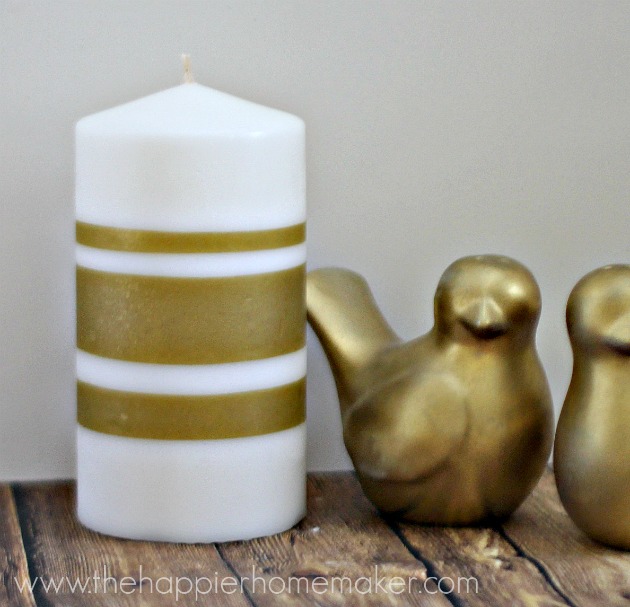
Hostess Gift IdeasFor a hostess who loves gold touches in her home decor, these Tissue Paper Candles would be a perfect thank you.


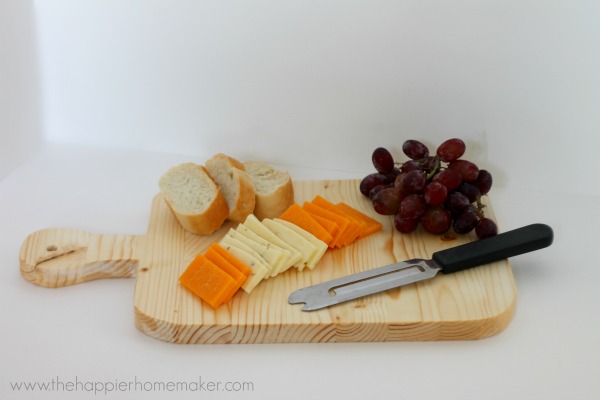
Hostess Gift Ideas - DIY Cutting BoardHow about a custom DIY Cutting Board for your next hostess gift? Useful and beautifully crafted.


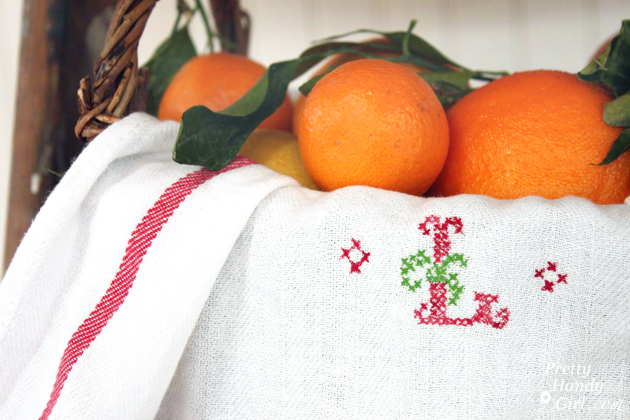
Hostess Gift Ideas - DIY Faux cross stitch Tea TowelImpress your host with this adorable Faux Cross-stitch Tea Towel that is sure to make a lasting impression.


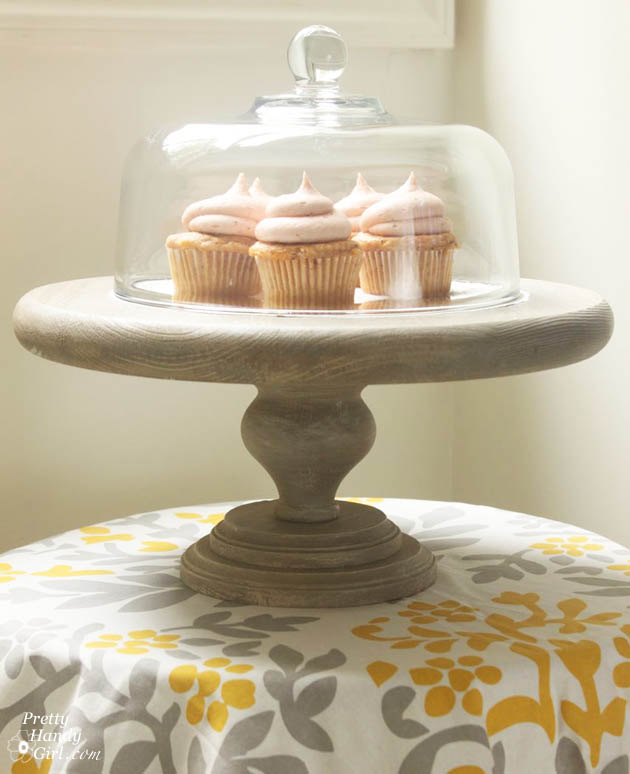
Hostess Gift Ideas - rustic cake standDoes your hostess love to bake? Make this amazing Rustic Cake Stand!

HOLIDAY IDEAS

Hostess Gift Ideas - DIY Snowflake Christmas Trivets

These Snowflake Christmas Trivets would be the perfect gift to keep the table festive and protected.


Hostess Gift Ideas - Paper Bag Ornaments

A Paper Bag Ornament would be a sweet holiday gift for their tree.


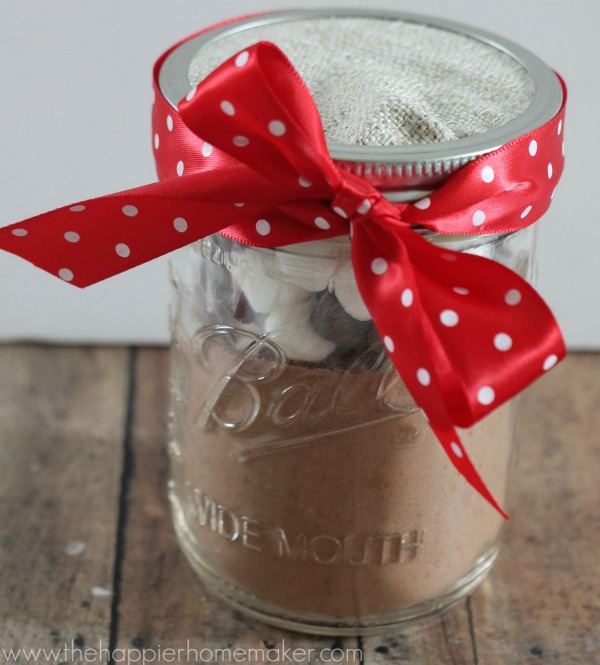
Hostess Gift Ideas - Hot Cocoa Mix in a JarMake your dear friend some Hot Cocoa Mix in a Jar as a thank you for their next holiday gathering.


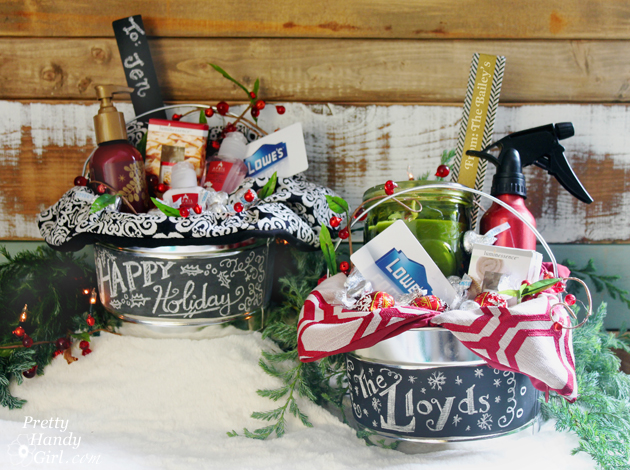
Hostess Gift IdeasAdd some fun items to this Customized Gift Paint Can for a unique and fun gift! (This would also make a fabulous housewarming gift.)


Hostess Gift Ideas - Chalkboard Paint MugsAn adorable set of Chalkboard Painted Mugs would make the perfect gift for a holiday hostess.

I hope this post gave you some great ideas for gifts that you can give to show appreciation for your hostess! We all know how much work goes into a party or gathering. Giving thoughtful gifts is a sure way to keep the invites coming!

If you like this roundup, please Pin this image:

Hostess gift ideas pinterest image


Here are some other posts you might like:

Holiday Decor Ideas12 Great Upcycled Ideas for Holiday Decor


Creative gift wrap ideas21 Creative Gift Wrapping Ideas


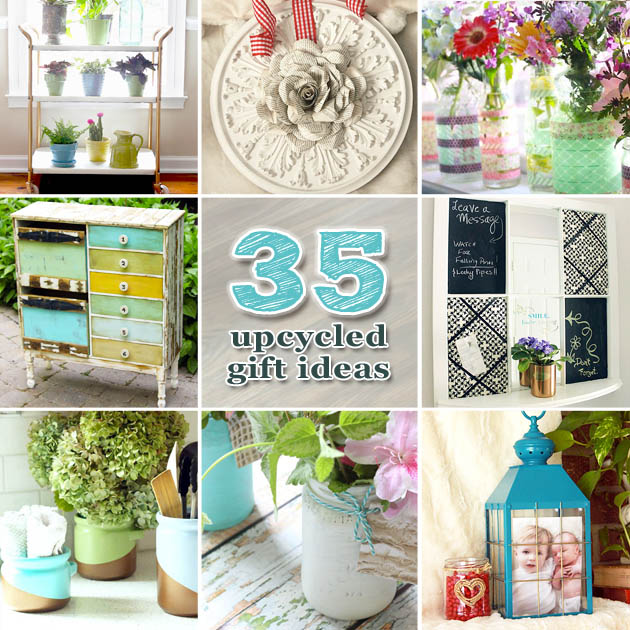
35 upcycled gift ideas35 Upcycled DIY Gift Ideas

8. Complete with "L" brackets on corners. Add gifts and deliver!

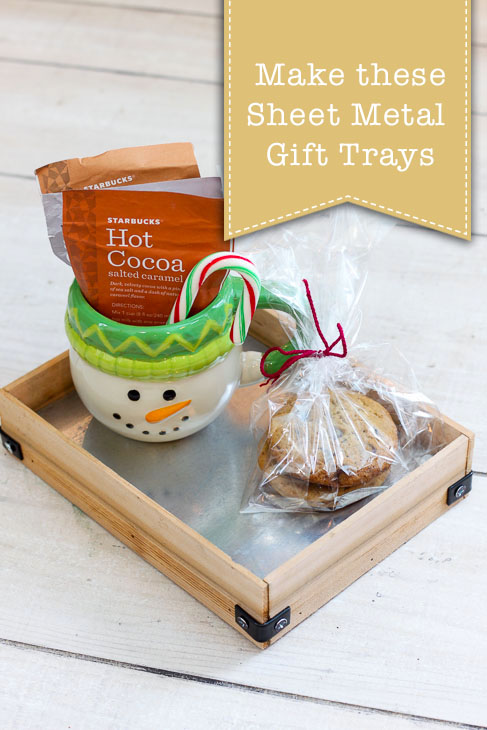
DIY Sheet Metal Gift TraysDIY Sheet Metal Gift Trays

The holidays are fast approaching and it’s time to start thinking about gift giving ideas! Gift trays are a great way deliver gifts to your friends, neighbors or teachers. The best part of a gift tray is it can be reused for anything they want and nothing goes to waste! Follow along with this tutorial to see how to make these DIY Sheet Metal Gift Trays.

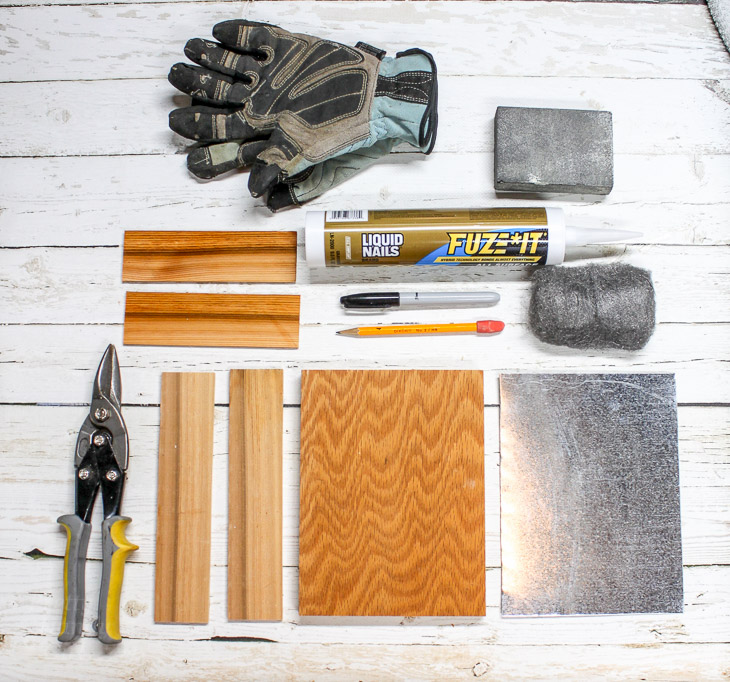
Materials:

(I’ve included affiliate links for your convenience. I earn a small percentage from a purchase using these links. There is no additional cost to you. You can read more about affiliate links here.)

Materials: Sheet Metal Gift Tray

Instructions:

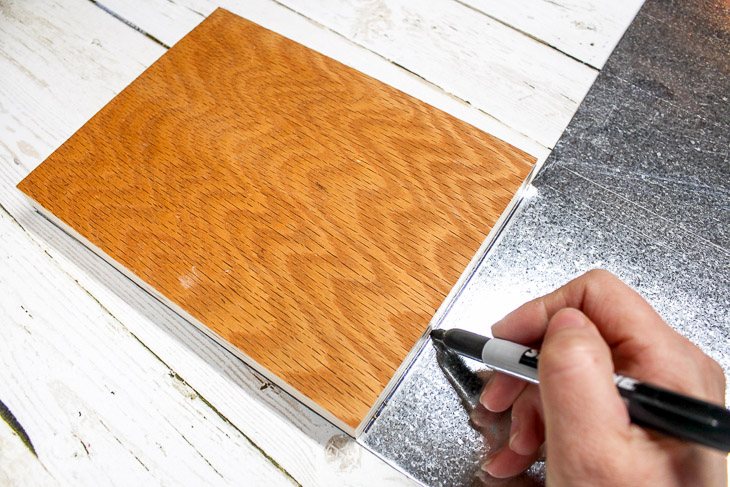
Cut your piece of plywood to the desired size for the tray base. Lay the plywood base on top of the sheet metal and trace with a permanent marker. Use tin snips to cut the metal to size.

1. Cut base and mark sheet metal size.

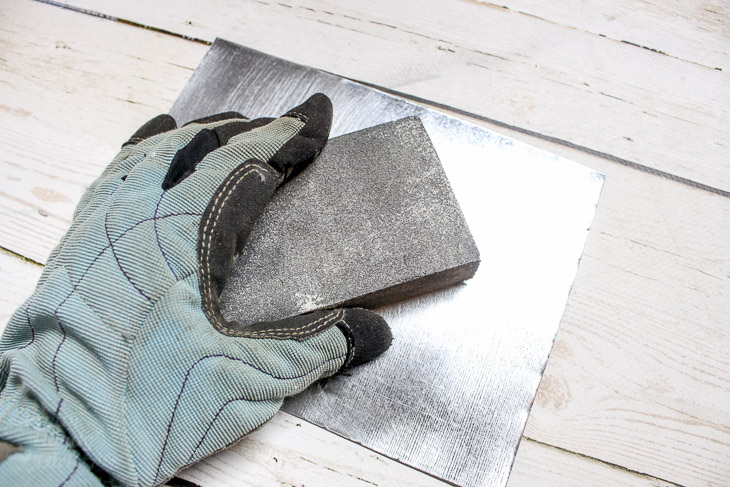
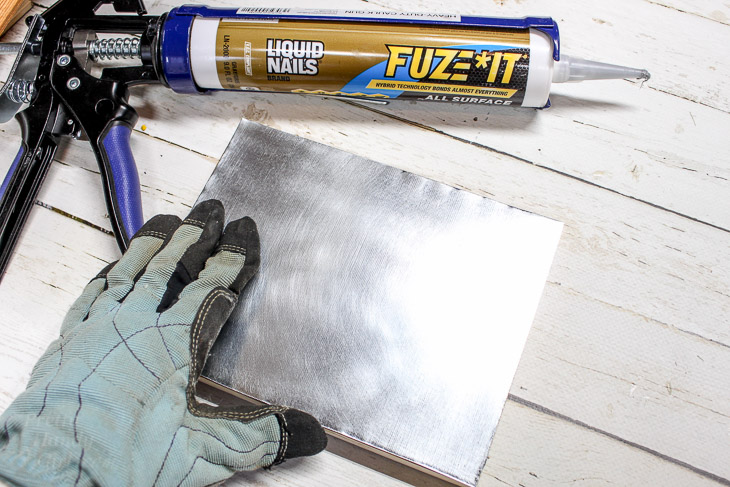
Put on your safety gloves and use the sanding block to remove some of the shine from the sheet metal. Smooth over any sharp edges.

2. Sand Sheet metal edges and base.

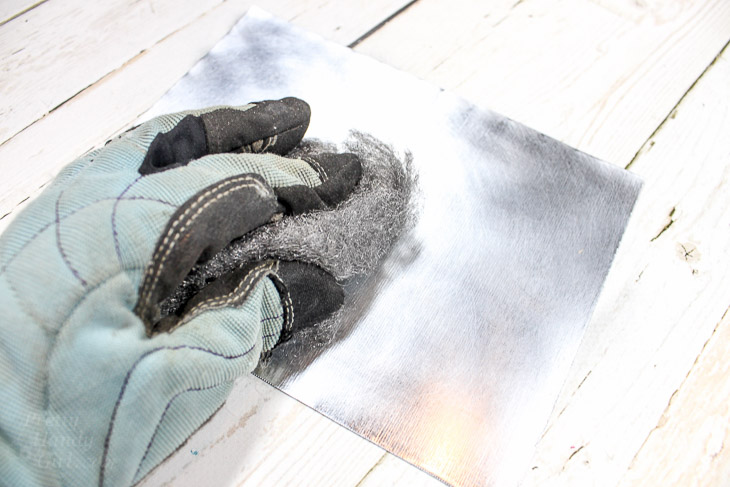
Rub the steel wool over the entire sheet metal piece to give it a soft polished finish.

4. Use steel wool to dull sheet metal surface.

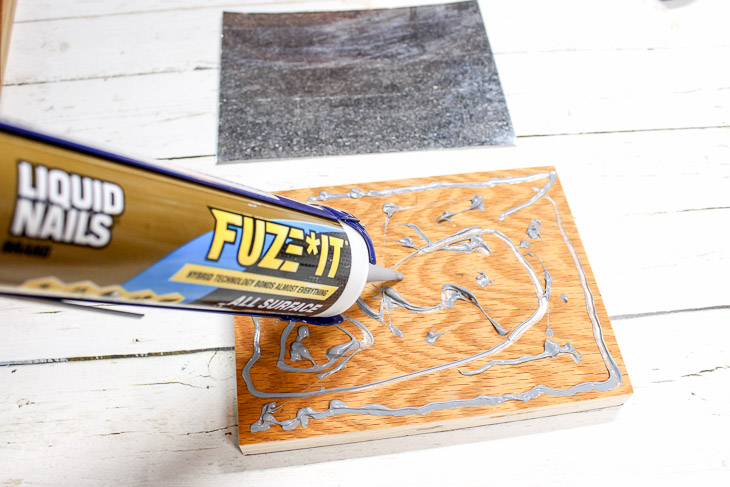
Load a tube of construction adhesive into your caulk gun. Apply a fair amount of adhesive to the plywood. Glue the sheet metal to the top of the plywood.

5. Add Construction Adhesive to wood base

Press the sheet metal down evenly on top of the adhesive. Wipe off any excess if needed with a paper towel.

6. Press sheet metal on top of wood base.

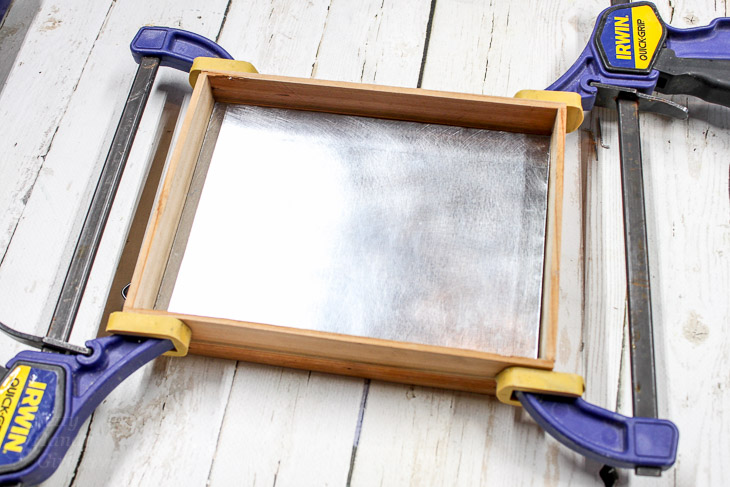
Cut the 2″ pieces of lathe or scrap moulding to the length of the two shorter sides. Next, measure and cut two pieces of lathe for the long ends. (Be sure to allow extra length to overlap the short pieces of lathe/moulding.  Use the construction adhesive and brads to secure the lathe to the sides of the plywood. Clamp the sides until the adhesive cures.

8. Clamp sides while glue cures.

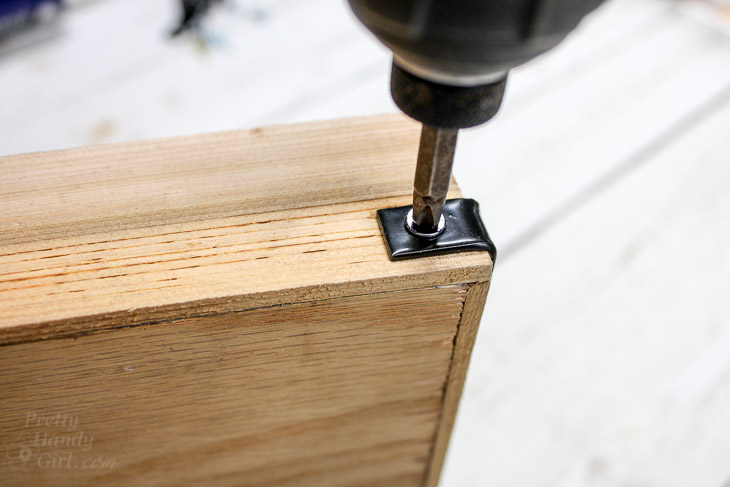
Once the adhesive is cured, remove your clamps. Attach the L brackets on the lower half of each corner using 1/2″ wood screws. The L brackets will reinforce the sides and add an industrial look.

9. Add corner brackets for extra support and decoration.

There you have it! These DIY Sheet Metal Gift Trays are easy to make, look great, and are an extra special and environmentally-friendly way to give gifts!

10. Add gifts and deliver!
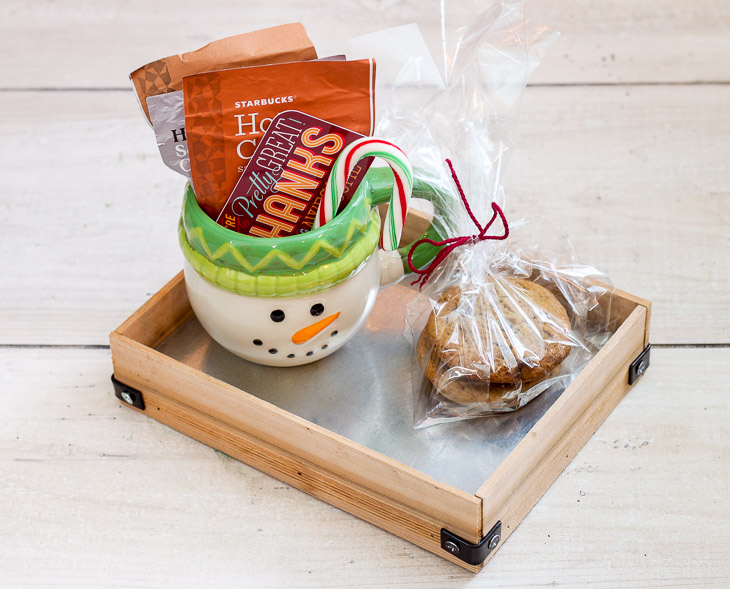
I hope you love this project. Do you have other ideas for quick gift giving? Please share!

signature

Want some more gift giving inspiration?

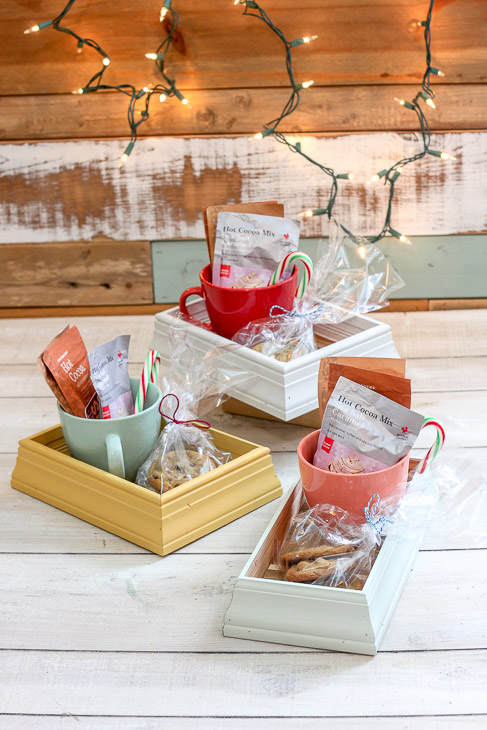
DIY Scrap Moulding Trays

scrap-moulding-trays

Make a Driftwood Gift Crate

Make a Driftwood Gift Crate | Pretty Handy Girl

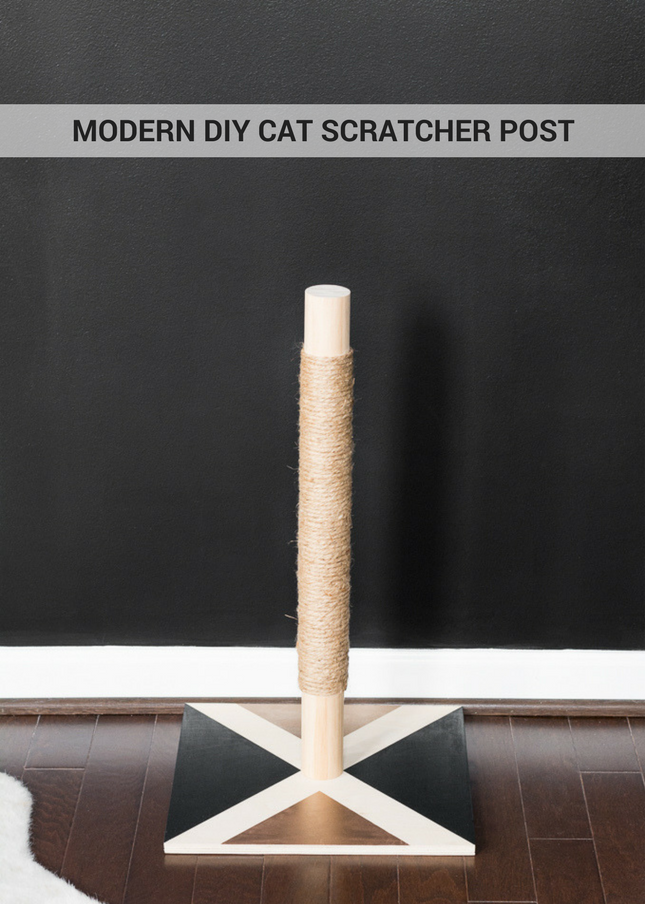
Modern DIY Cat Scratcher Post

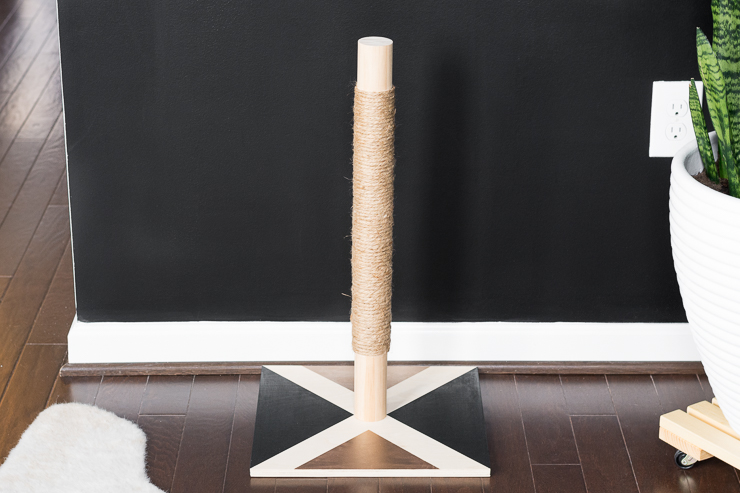
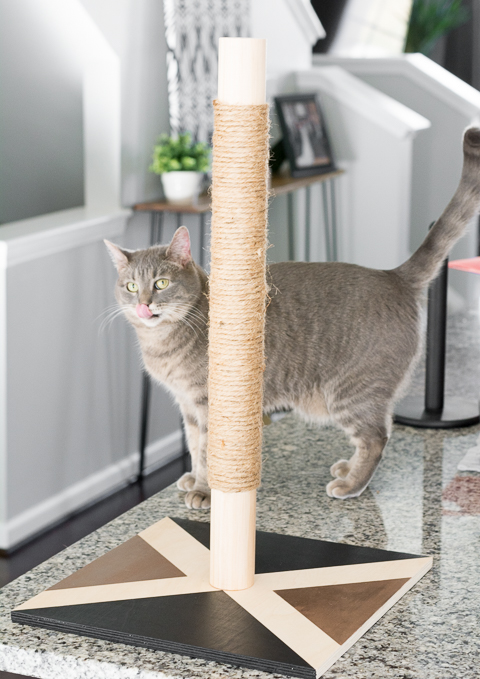
Learn how to make a modern DIY cat scratcher post!

Hello everyone, it’s Brittany again from by Brittany Goldwyn, and this month I’m back to share another pet DIY. Last month I shared a tutorial on how to make a raised pet feeder—this month I’m sharing a tutorial for a simple and modern cat scratcher! Yes, I do love my babies. 🙂

This DIY is simple. I tried to keep the tools and steps to a minimum. This would be a nice alternative to the more complicated tree branch cat tree tutorial I created a few years ago. This one can be knocked out in a few hours (including the time it took the paint to dry.)

Want to make a Modern DIY Cat Scratcher Post for your kitty? Read on!

Materials:

(I’ve included affiliate links for your convenience. I earn a small percentage from a purchase using these links. There is no additional cost to you. You can read more about affiliate links here.)

Instructions:

Step 1: Cut the base piece. 

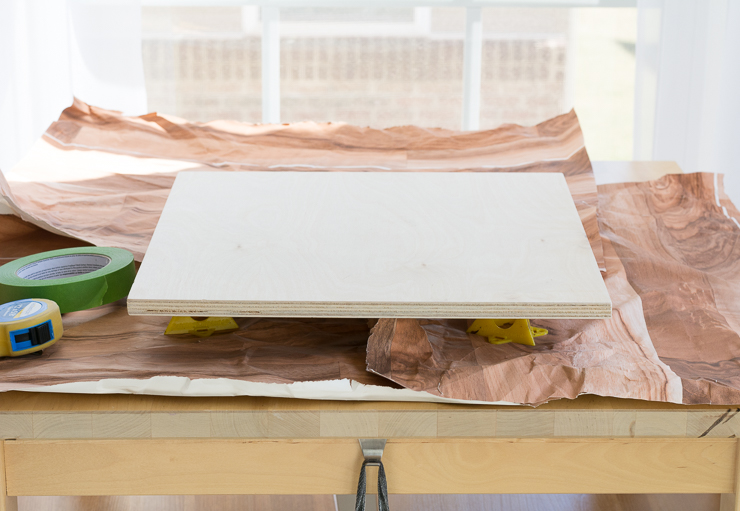
If you’re pulling from your scrap wood pile, find a piece that is large enough to make a stable base. (This one is 14″ x 14″, but something as small as 12″ x 12″ would probably be fine.) If you’re using a new piece of plywood, you can purchase a 2′ x 2′ piece of 3/4″ birch plywood at Lowe’s for about $10. They can help you cut it down to your desired size in store for free.

Modern DIY Cat Scratcher Post

(Note: 1/4″ or 1/2″ plywood will work. However, the added weight of the 3/4″ plywood will help stabilize the base while your kitty is getting some scratches in.)

Step 2: Cut the scratcher piece.

If you’re purchasing a 2″ wooden dowel from a big-box hardware store, it will probably come in a 48″ length. You can have the cutting station cut it in half for you.

Modern DIY Cat Scratcher Post

Step 3: Polish and paint the base.

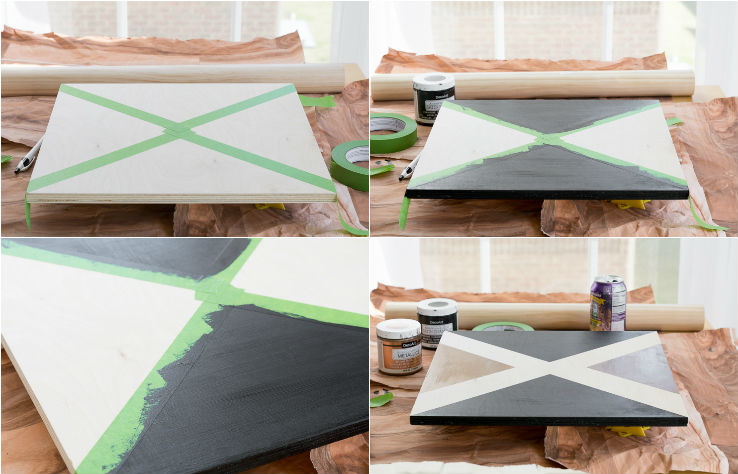
Grab your sandpaper or orbital sander and sand the edges. To customize the piece, you can use painter’s tape and craft paint to paint a design onto the base. (This step is optional but gives a nice personalized touch to the scratcher, plus you can customize it to match your decor. I used DecoArt Americana Decor Satin Enamels in Classic Black and Metallics in Antique Bronze.)

Modern DIY Cat Scratcher Post

Step 4: Start the scratching post.

While the base is drying, grab your jute or sisal, adhesive, and staple gun.

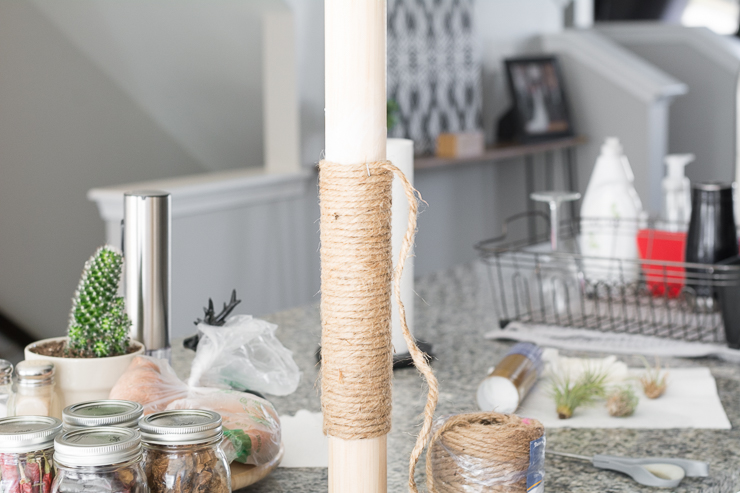
Put on disposable gloves and slather adhesive on the post where the rope will go. This is messy, but it’s the easiest way to ensure your rope remains firmly adhered to the post. Staple the end of the rope onto your post, making sure it is stapled over an area that has glue.

Begin wrapping the rope tightly around the post. stop every 30 seconds or so to ensure you’re not creating any gaps. Add an additional staple halfway through if you need to take a break.

Modern DIY Cat Scratcher Post

Step 5: Finish the scratching post.

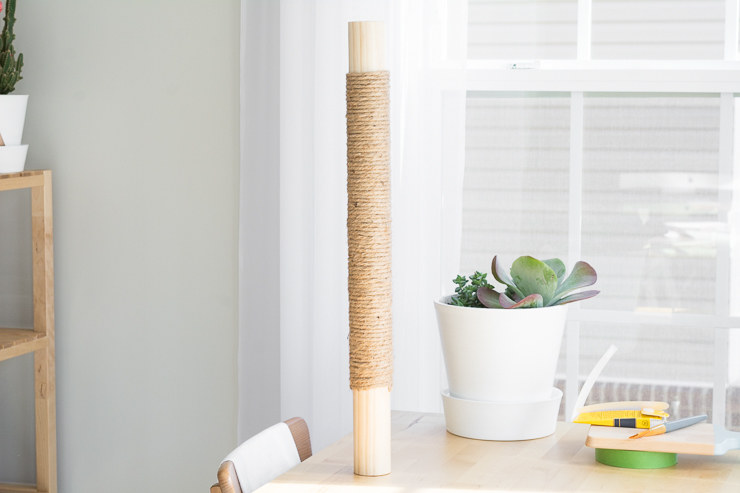
Add additional glue and continue wrapping until you’ve created your scratching post. You can wrap the entire post or just a portion of it as shown below. Secure the rope in place by stapling the end to the post.

Modern DIY Cat Scratcher Post

Once the glue has dried completely, use pliers to remove the staples. (You don’t want kitty’s claws getting caught on one.) If the ends pop up simply add a dab and re-glue.

Step 6: Attach the post to the base.

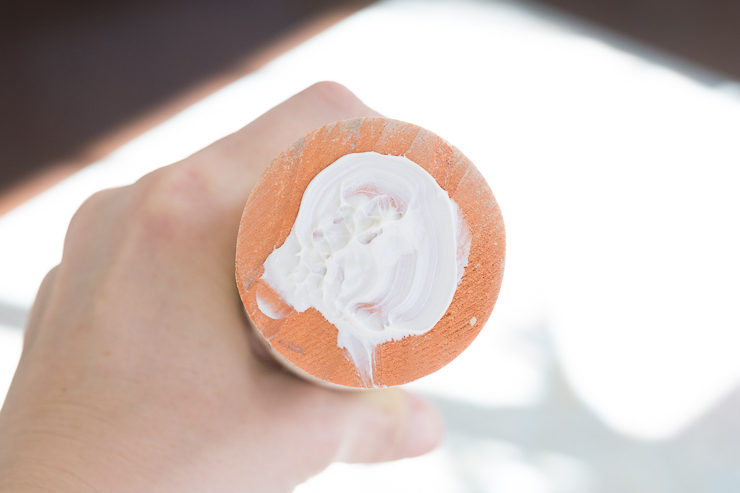
Dab adhesive on the bottom of the post. You want to use enough to ensure the entire base is covered, but don’t use so much that it will seep out when you press the post onto the base. Press the post into the center of the base and let dry. If possible, add a book or something else to the top of the post to apply pressure.

Modern DIY Cat Scratcher Post

Once the glue has dried completely, let your kitty check out the new digs and get to work tearing it apart!

Modern DIY Cat Scratcher Post

I tried to get a photo of my girl using the scratcher, but every time I pulled out my camera she stopped. I even tried to bribe them with catnip…but this is the closest I got to a good photo.

If you like this project, you’ll love these pet projects:

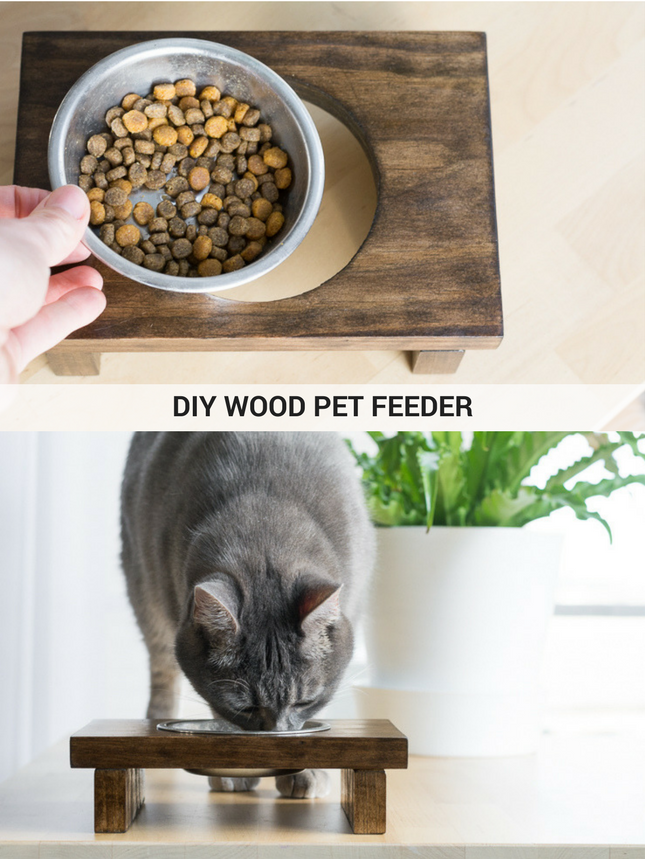
Learn how to make a wooden raised pet feeder.

DIY Pet Feeder

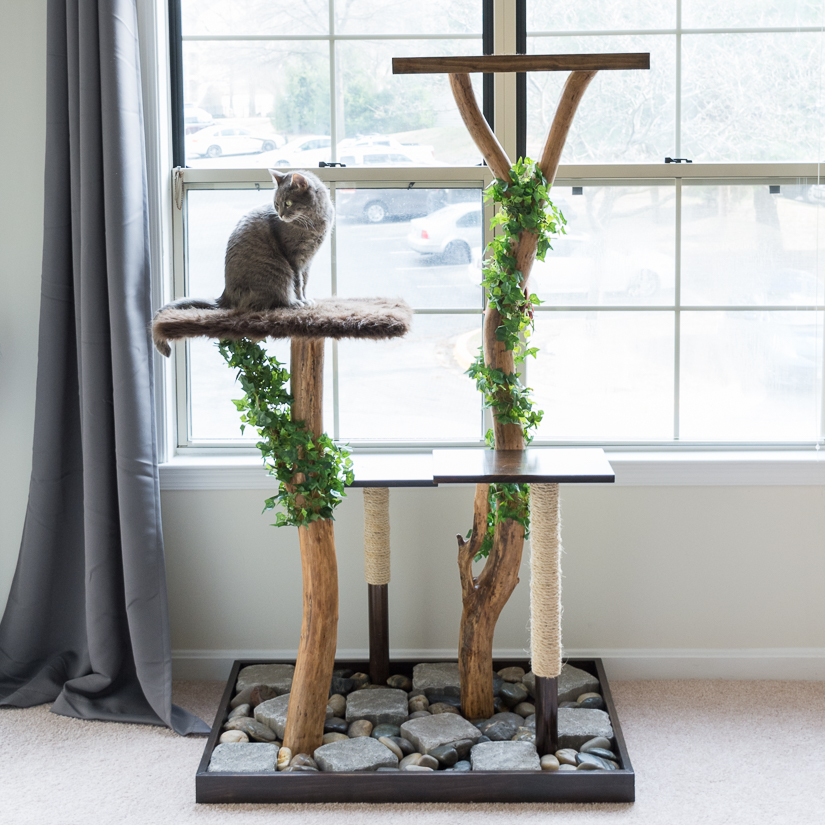
Cat Tree using real branches

DIY Cat Tree Using Real Branches

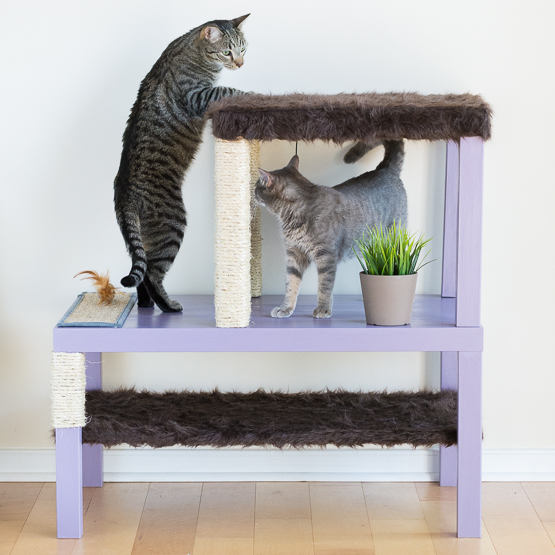
Ikea Cat Condo Hack

Easy DIY Ikea Hack Cat Condo

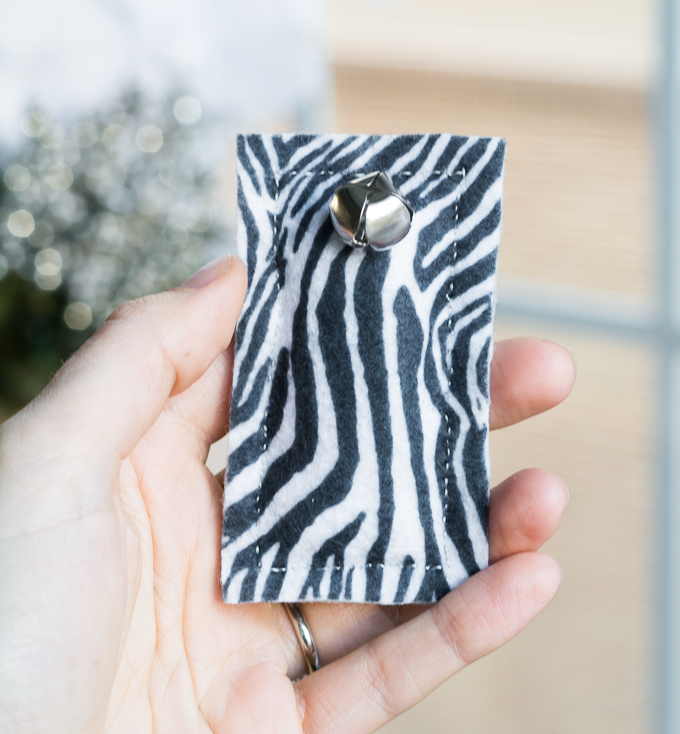
DIY felt cat toys

Easy Felt DIY Cat Toys & Petcube Camera Review

~ Read More of Brittany Goldwyn’s Tutorials ~