DIY Modern Hoop Wreath for Spring with Florals

DIY Modern Hoop Wreath for Spring

DIY Modern Hoop Wreath for Spring

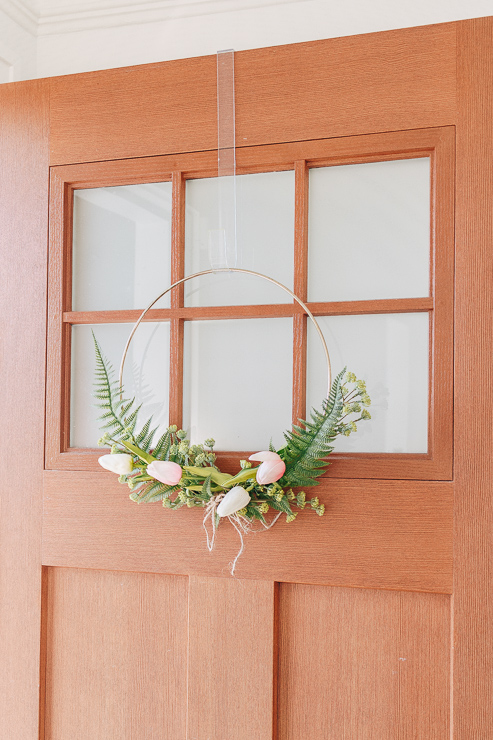
Hello! I’m so excited to be here to show you how to bring a little Spring into your home. I’m betting we all need a little Spring at this point in the year. After two back-to-back snowstorms and weeks of frigid temps here in Seattle — I’m so ready for it!  A great way to bring beautiful spring vibes into your home is with this DIY modern hoop wreath.

I love creating modern hoop wreaths because they are so fun to create and one of my favorite DIY projects ever!  Not only do they look beautiful – they are easy on your wallet since you don’t need much to assemble one.  Hoop wreaths can be made for any season or holiday, so let your imagination run wild with ideas!

DIY Modern Spring Floral Hoop Wreath

Today I’m going to show you how to make a floral version of a modern hoop wreath —perfect for Spring. Let’s get started!

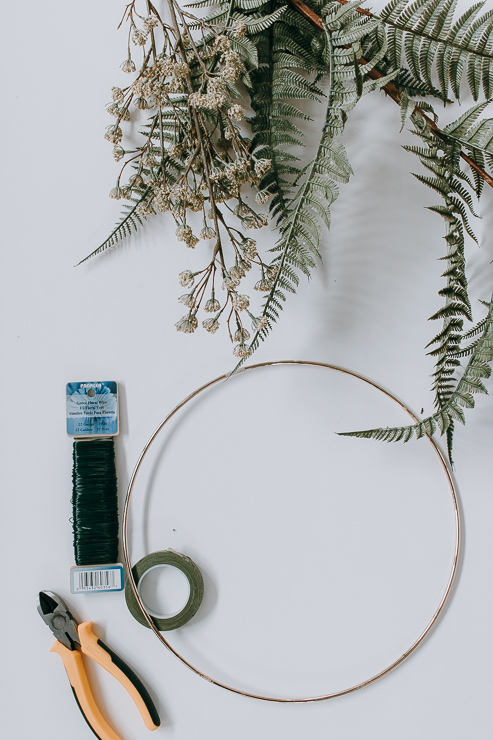
Materials :

(I’ve included affiliate links for your convenience. I earn a small percentage from a purchase using these links. There is no additional cost to you. You can read more about affiliate links here.)

Materials Needed to Make a DIY Modern Hoop Wreath

How to Choose Your Faux Greens and Flowers:

Before we begin, here are a few tips for choosing greens and flowers for the wreath.  Hoop wreaths are particularly beautiful if either one main floral/greenery is used or when a collection of three different flowers are used together.

For this wreath, I used the rule of threes.

Assembling Hoop Wreaths:

First add greenery as a base on the hoop. Then add a secondary green or floral. Finally add your main florals on top for the true showstoppers. For example, this is the order we’ll assemble the Modern Spring Hoop Wreath:

  1. A base of greenery – ferns
  2. Secondary accent of greens or flowers:  Queen Anne’s Lace
  3. Main Florals – Pink and White Tulips

I find Michael’s and Afloral.com have the best selection and most realistic looking faux flowers and greenery.  However, Target is also stepping up their game lately.  These faux ferns and Queen Anne’s Lace were from Target’s Hearth and Hand collection and are very pretty and semi-realistic looking. (I tend to be super picky about my faux flowers!)

Instructions :

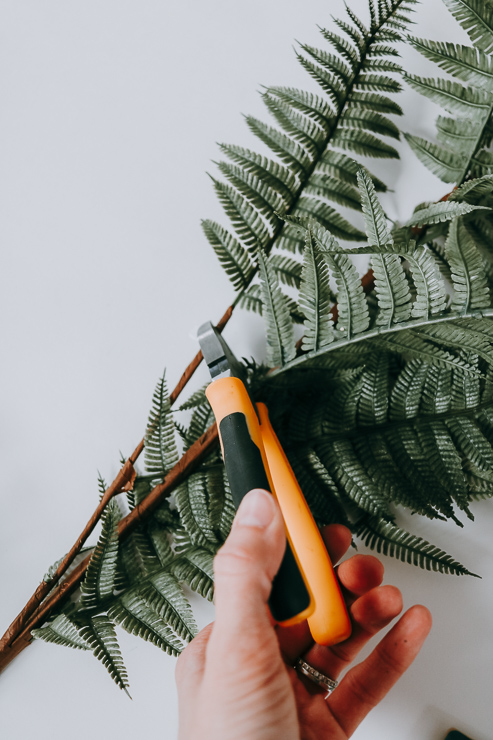
Step 1:  Cut the leaves and flowers from your faux plants (if needed).

Snip off individual greens and leaves before attaching to your wreath

Snip off a few pieces of fern while leaving a little stem to attach to your hoop.  It’s usually easier to snip off the individual leaves which will give you the most flexibility when designing your wreath.

Step 2:  Arrange your greens on the hoop until you like the layout.  

Arrange your Greenery and Florals on your Hoop Prior to Attaching

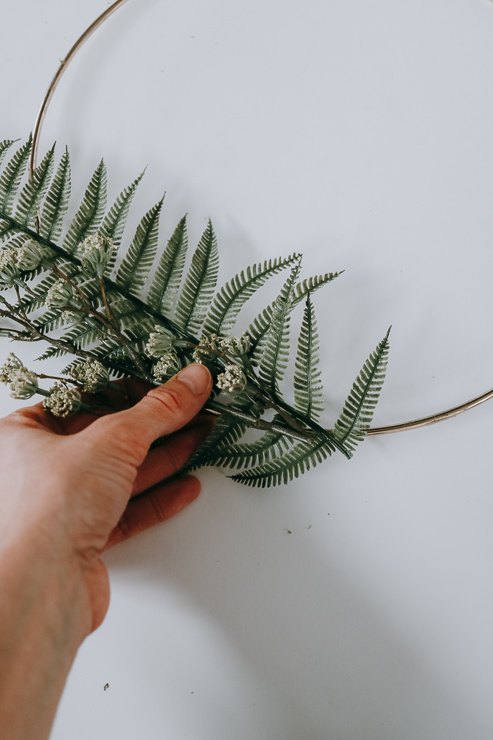
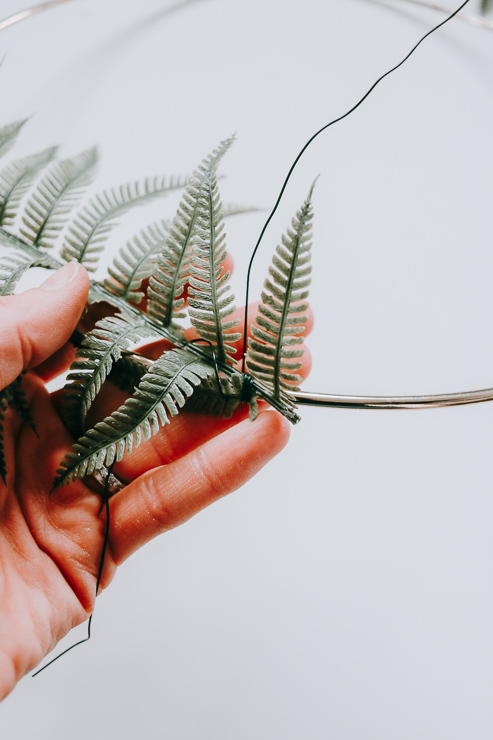
Step 3:  Snip off a piece of wire and use floral wire to attach your fern/greenery to the hoop.

Snip off a piece of Floral Wire and Use this to Wrap your greenery around Hoop

Bend and train the greenery as you wrap it with wire. Luckily the wire is thin and can be easily hidden with the greens and/or flowers.  But, you will need to wrap it fairly tight to keep the greenery from moving when the wreath is hung up.

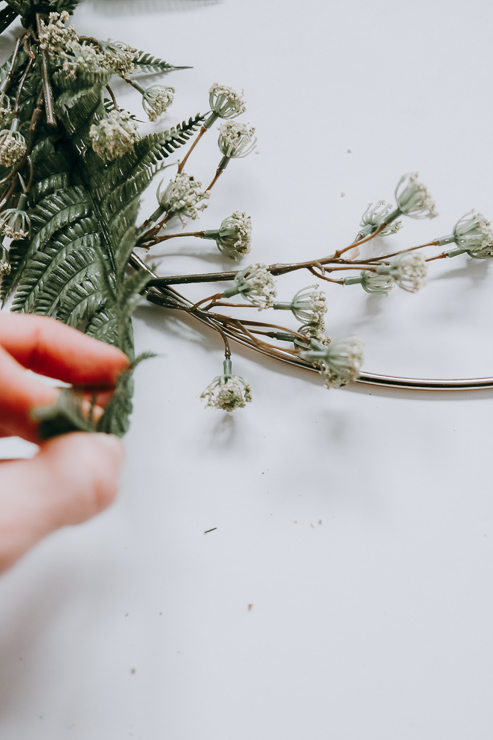
Step 4:  Repeat Steps 2-3 again, using the secondary flowers or greenery. 

Use greenery to help hide the floral wire on your hoop wreath

Tuck the Queen Anne’s lace around and on top of the ferns. It’s really coming together now!

Step 5:  Add the main florals – these beautiful spring tulips!

Faux Tulips add a nice touch to your hoop wreath

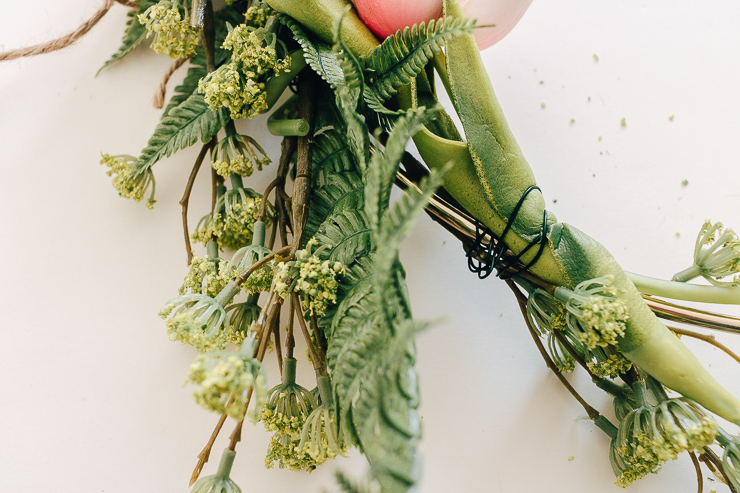
Use your floral wire to attach the stems to the hoop wreath, and then use the greenery you attached earlier to hide the wires.  It works perfectly every time. You may have to play with it a bit until the wires are hidden, but no one will notice once you do.

Attach your greenery and accent florals using green floral wire.

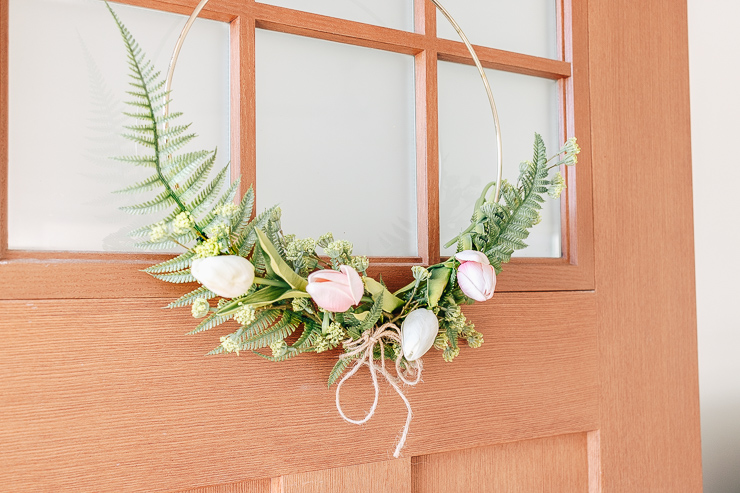
Step 6:  Tie a little bow of jute twine around the center for a sweet rustic finishing touch. 

DIY Modern Spring Floral Hoop Wreath

The jute bow helped hide more of the floral wire and gives the wreath some extra holding power.

That’s all there is to it!

Tips for Hanging and Displaying your New Wreath :

DIY Modern Hoop Wreath for Spring with Florals!

Modern hoop wreaths can be hung with the flowers on the side or at the bottom.  You can use a wreath hanger or a Command light clip. The light clips hold these hoops perfectly and are clear, so you can’t see them. You can also use a suction cup hook or a magnetic hook if you have a metal door. Or tie a pretty ribbon to these wreaths and hang them from the ribbon. I purchased a clear wreath hanger from Amazon that hooks over the door.  These wreaths look beautiful not only on your front door but also on your interior walls, closet doors, hutches, over mirrors etc.

Feel free to get creative with placement and add some spring to all parts of your home!

When you are ready for a change, simply snip off the wire and reuse your greenery and florals for another project.  These modern hook wreaths end up being a very cost effective decor project.

DIY Modern Hoop Wreath for Spring with Florals

I hope you all enjoyed this tutorial.  I’m looking forward to connecting with you again next month!

In the meantime, check out these beautiful spring decor projects on Pretty Handy Girl.

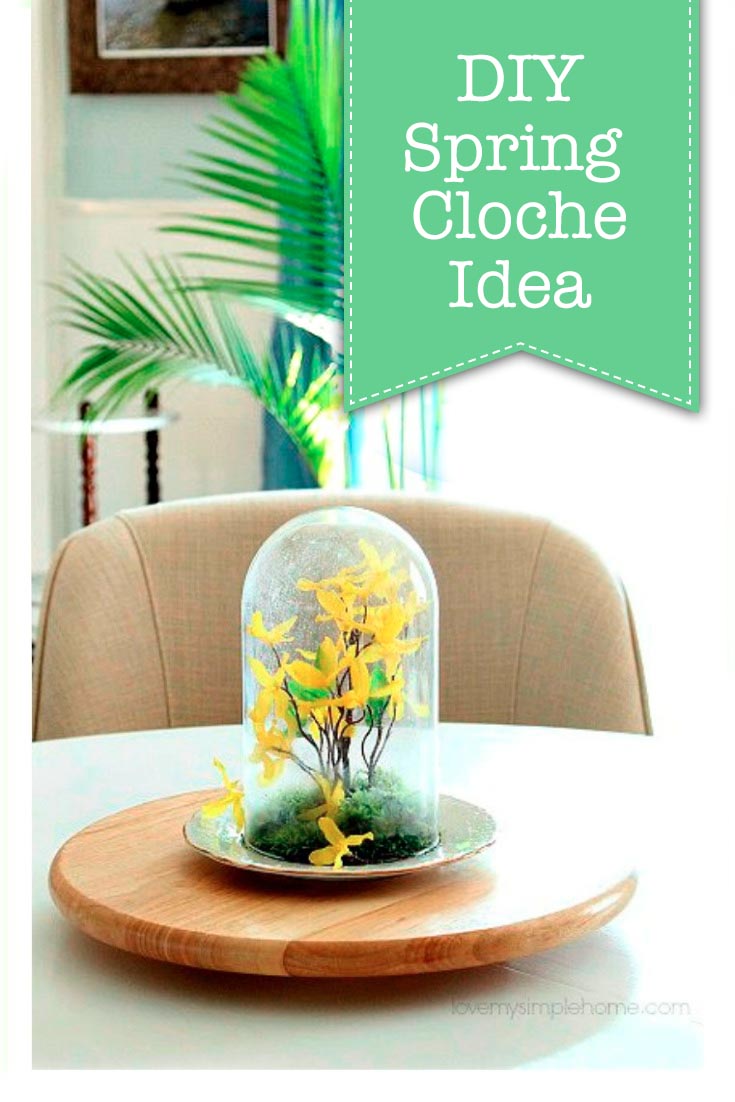
How to Make Spring Cloche Centerpiecekaren signature

~ See More of Karen’s Tutorials ~


karen from decor hintHello!  I’m Karen, the creator of the Home Decor and DIY Blog: Decor Hint . I’m a Native of the East Coast, but I currently live in beautiful Seattle with my hubby, our two wonderful children and our spunky wheaten terrier.

You can usually find me with some sort of craft in one hand and a coffee in the other. And I’m always rearranging furniture or moving lamps from room to room. I have a passion (read: obsession) for decorating, DIY, and gardening. In short, I love making my house into a home.

Like many, I’m inspired by what I see in home decor magazines, but I’m not so inspired by the price tags.  Consequently, I love finding and creating beautiful budget-friendly home decor items. In a head to head competition, I bet you’d never know the difference between the designer items and my DIY creations!  Many of my DIY projects focus on sewing, crafting, upcycling and organizing. Some of my favorite projects have been making pretty wreaths , sewing my own tassel hand towels, and crafting these trendy wood bead garlands . I can’t wait to inspire you and spark your creativity through my DIY projects.

You can always connect with me on Pinterest , Twitter or Instagram.

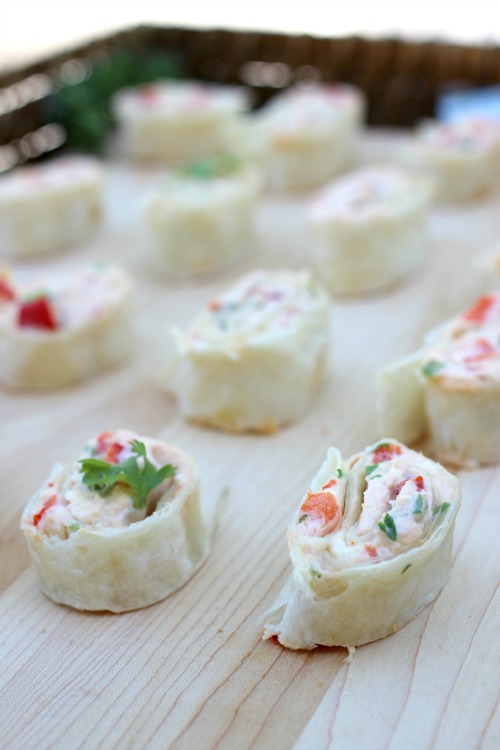
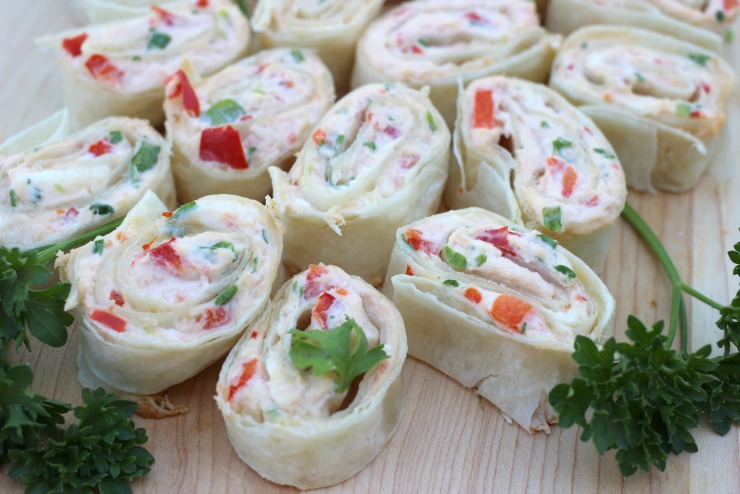
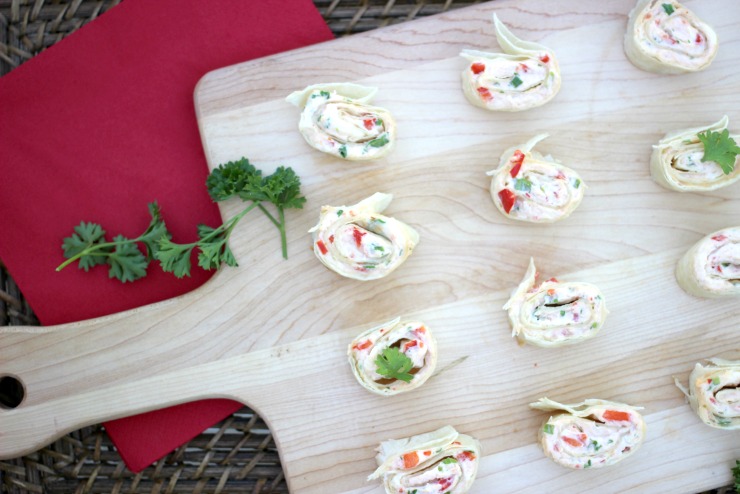
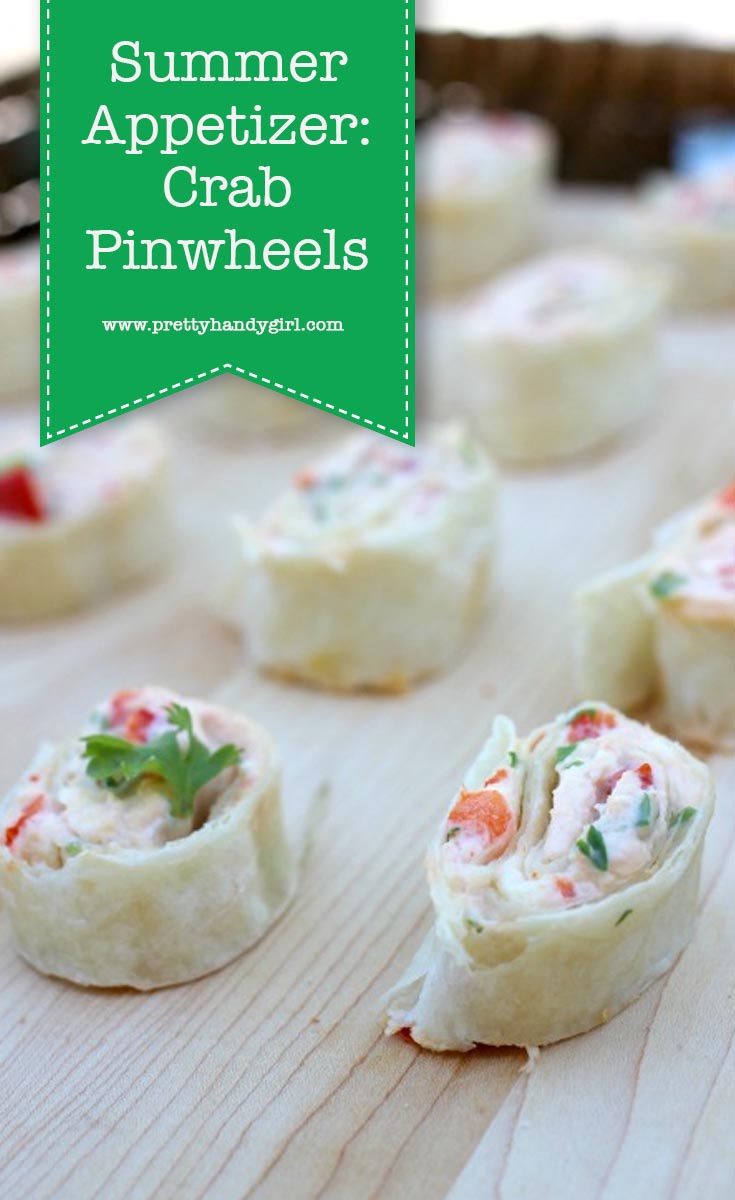
Crab Pinwheels l Pretty Handy Girl

Hi everyone! This is Lindi, visiting again from Love Create Celebrate! I’m happy to be here again, this time sharing a quick and easy summer recipe. These Crab Pinwheels are one of my favourite summer appetizers. You will not be disappointed if you make them!

Crab Pinwheels l Pretty Handy Girl

The recipes I share are always two things 1) delicious and 2) easy! This recipe fits right in! If you are a gardener, I know that you are ready to use those fresh herbs that you’ve been growing all summer long. This recipe is the perfect way to use some of that green onion and parsley!

This is the perfect appetizer for all of those summer celebrations, from family reunions, to backyard BBQs, to potlucks. But potlucks don’t end when school starts! I honestly make this appetizer all year long when I have guests over. You will not be disappointed – even my toddler cannot stop eating them (and may have been stealing them off of the tray while I tried to photograph these ones!)

Ingredients:

  • 250 ml cream cheese package (at room temperature)
  • 3/4 cup red peppers, finely chopped
  • 2 green onions, finely chopped
  • 3 tbsp parsley, finely chopped
  • 1/2 cup grated cheddar cheese
  • cayenne pepper, to taste
  • 1 can crab, drained
  • 5-8 large soft tortillas

Instructions:

  1. Mix your cream cheese, red pepper, green onion, parsley, cheddar cheese, cayenne pepper, and crab together until mixed well.
  2. Spread your mixture on the tortillas and then roll them up. Cut slices of tortilla about 3/4″ thick
  3. Bake at 350 degrees for 8 minutes. Serve while warm.
You can serve them cool, but I definitely prefer them baked! This recipe makes at least 40 pinwheels.
Crab Pinwheels l Pretty Handy GirlCrab Pinwheels l Pretty Handy Girl

It only takes 20 minutes to prepare and cook these lovely appetizers, and your guests will thank you for making them!

If you need a drink to go with them, I shared my favourite Summer drink a couple of weeks ago: The Adult Tropical Slushie!

Crab Pinwheeels I PHG

Enjoy!

Lindi Signature

~Read more of Lindi’s Posts~


Pin for later!

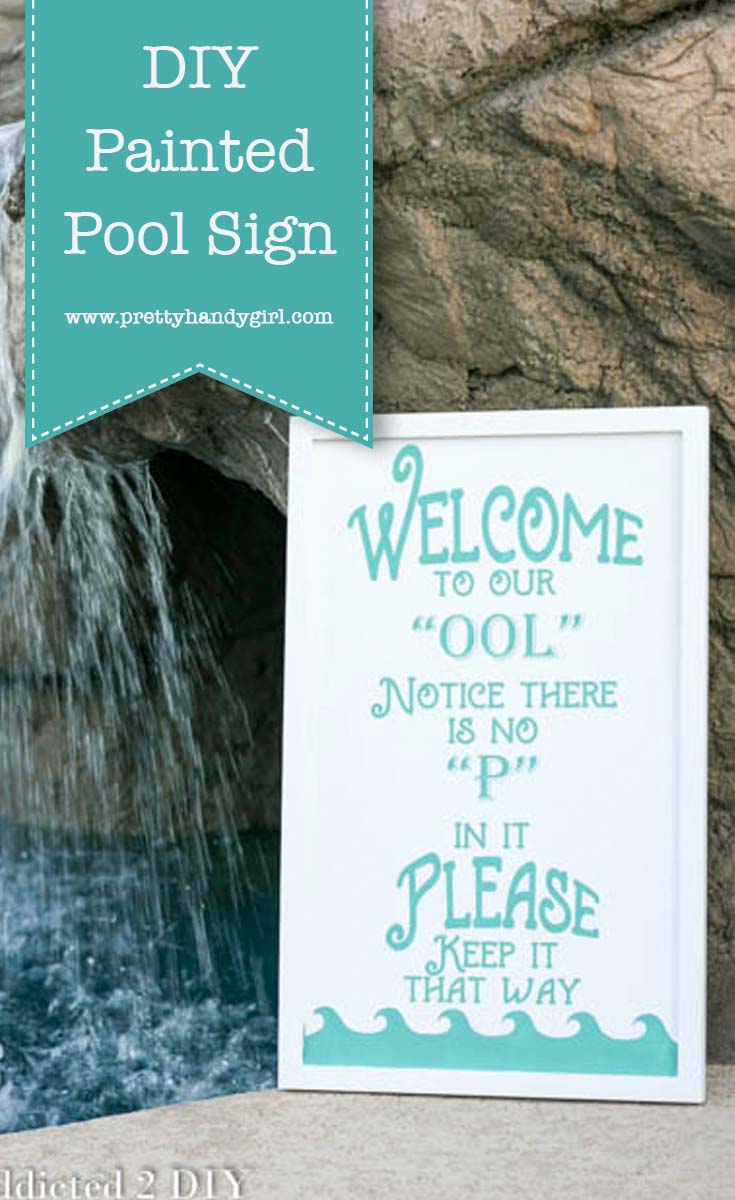
DIY-Painted-Pool-Sign

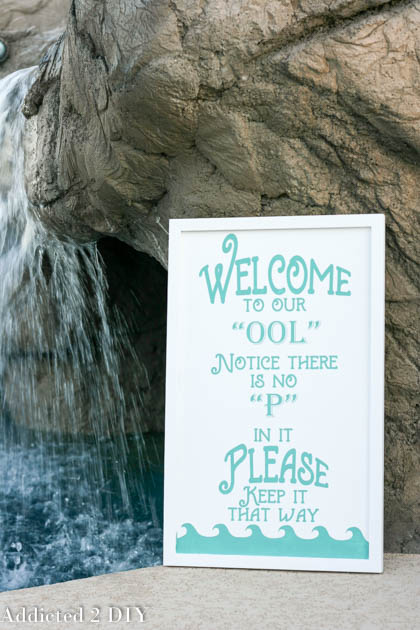
Hey everyone!  Katie again from Addicted 2 DIY.  It’s hard to believe, but it’s been two months now since we finished building our dream pool.  If you’ve ever wondered what you can learn (and save) by contracting your pool out yourself, I’ve got all of the handy details on my blog.  Now that we have our own pool to make fun family memories in, I thought a fun sign would be a great addition.  I designed this sign based off of one we had by our pool when I was a kid.  According to my mom, this one looks way nicer.  She wouldn’t lie to me, right?

To help you make your own sign, I’m also including the free SVG file I created for you to download.  Please use it for personal use only.

Here’s what you’ll need for your own sign:

  •  1×2 plywood project board (2’x4′)
  • 3 – 3/4″ x 3′ square poplar dowels
  • 1 1/2″ brad nails
  • brad nailer
  • wood glue
  • 220 grit sandpaper
  • orbital sander
  • 24″ clamps
  • wood filler
  • paint colors of your choice
  • paint roller and/or paintbrush
  • adhesive vinyl
  • transfer paper
  • electronic cutting machine (I have a Silhouette CAMEO)
  • Welcome to Our OOL SVG file

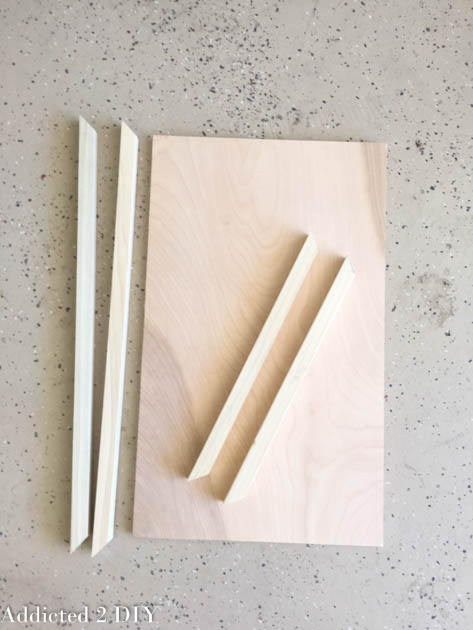
Start by cutting your plywood down to 12″ x 20″.  If you don’t have the ability to do this, you can always ask the helpful employees at the home improvement store.  Cut the square dowels on a 45 degree angle to frame the plywood.  The inside measurements should be 12″ and 20″.

supplies-for-wood-sign

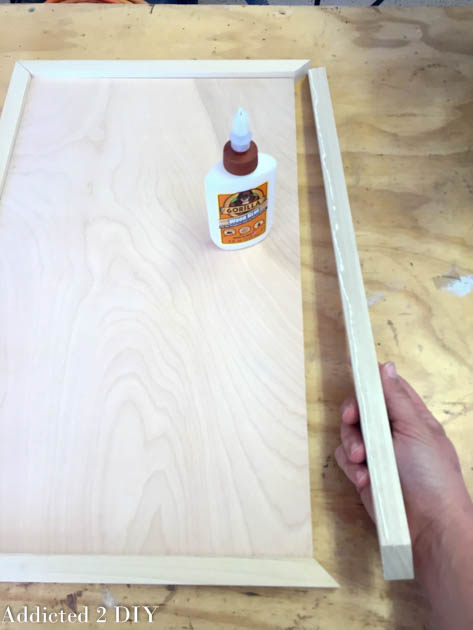
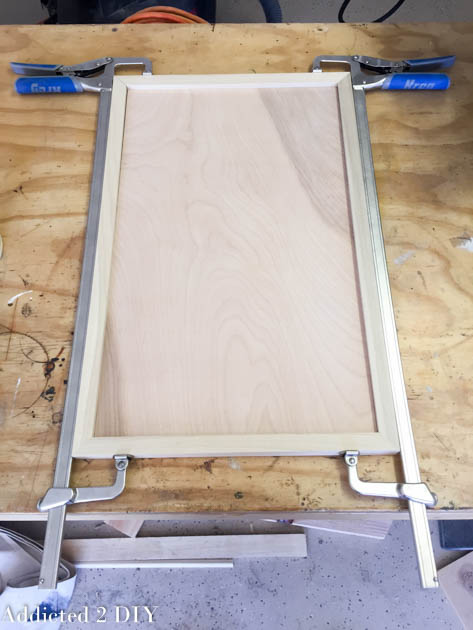
Frame the plywood with the dowels using wood glue.

add-trim-to-sign

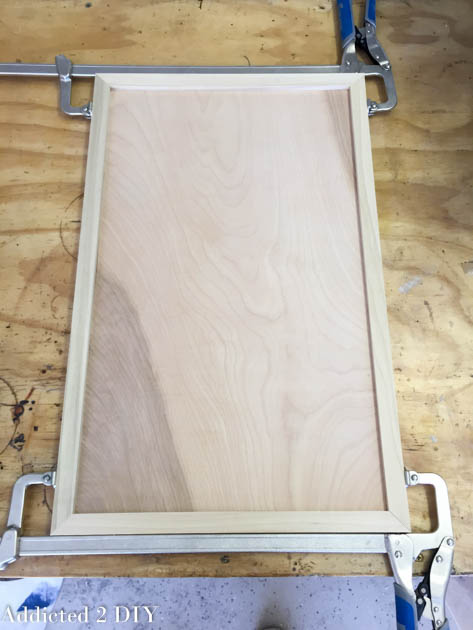
Clamp the edges…

build-wood-sign clamp-trim-to-plywood

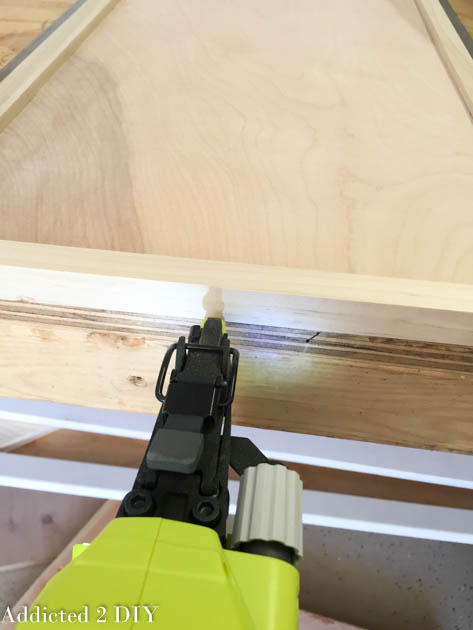
…and nail them to the plywood with your brad nailer.

nail-trim-to-plywood

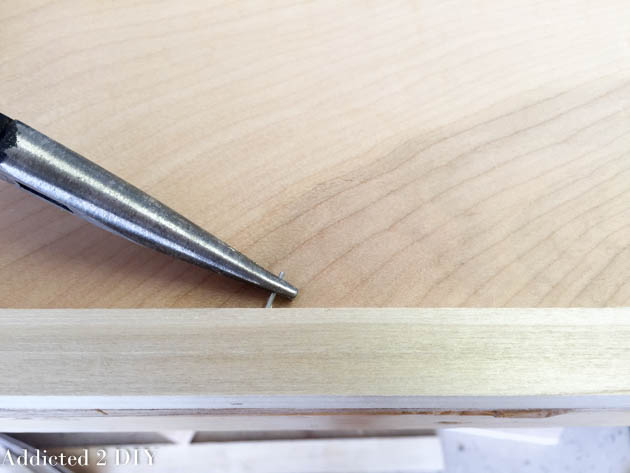
Since the plywood is only 1/2″ thick, you’ll have to be careful not to nail the trim too high.  I had one nail go astray, but I was able to get it out with needle-nose pliers.  It’s nothing a little wood filler can’t fix later on.

remove-nail-from-wood-trim

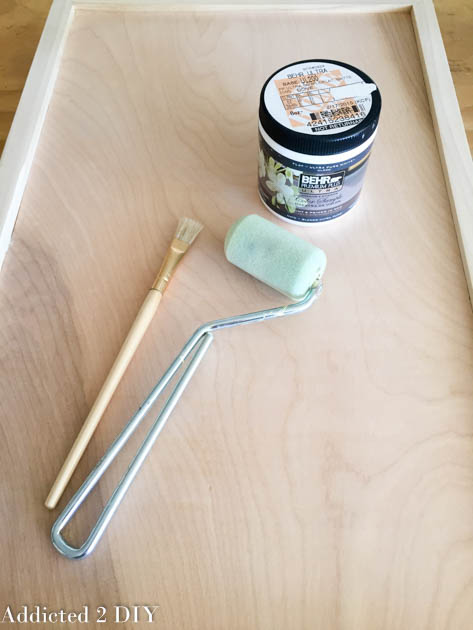
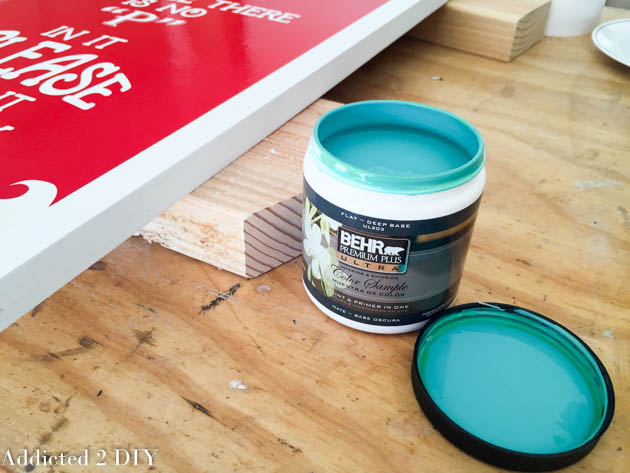
When your entire piece is assembled, sand it with 220 grit sandpaper to get rid of any rough spots.  Paint the entire sign, front and back, with your base color.  I love using sample size jars of paint for projects like this.

painting-wood-sign

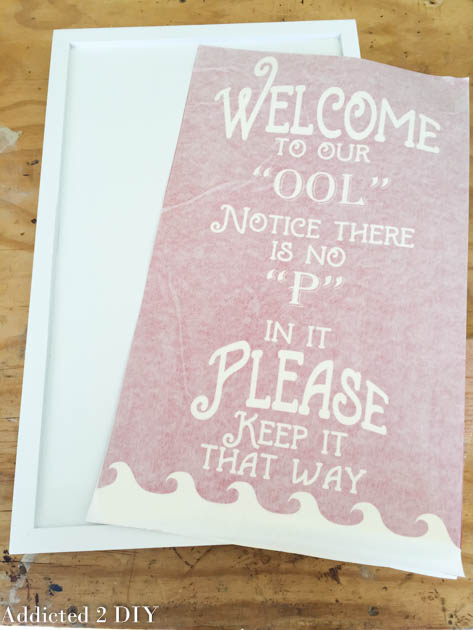
Cut your message out on an electronic cutting machine.  Weed out the vinyl design and cover it with transfer tape.

vinyl-for-wood-sign

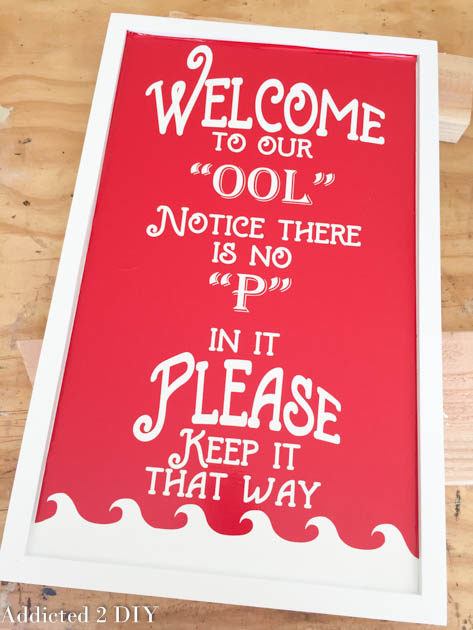
Peel the backing off of the vinyl and carefully center it over the plywood face.  Smooth it with a scraping tool (or credit card.) Carefully peel off the transfer paper.

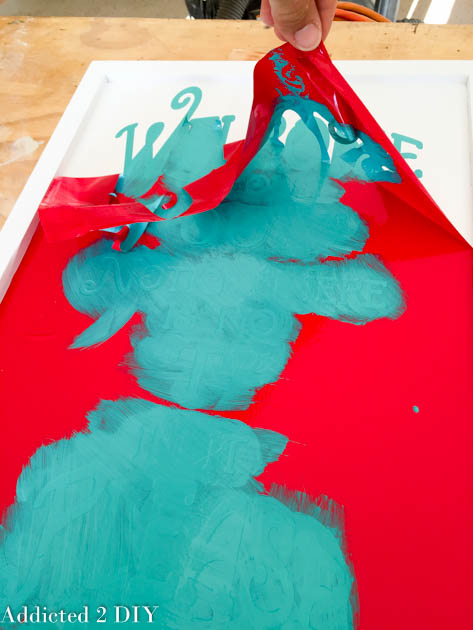
put-vinyl-on-wood-signGrab your second paint color and stencil the design with a paint brush or roller.  You can mask off the frame of the sign with painter’s tape or paper to protect it from any paint mishaps.  I opted to go slow and carefully paint inside the frame.

paint-for-wood-sign

Once your design is completely stenciled, carefully peel the vinyl off of the face of the sign.

stencil-swimming-pool-sign

You can leave your sign as it, or distress it a bit.  Whatever you like!  I love distressing things, but I decided that I really liked a cleaner look for this sign.

sign-for-pool

swimming-pool-sign

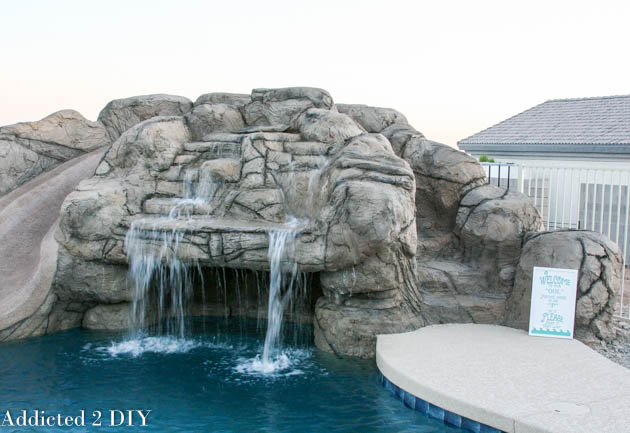
I’m so happy with how it turned out!  I’m no graphic designer, so I spent several hours coming up with a design that was just right, but it was well worth it.  My kids think it’s hilarious!  Let’s just hope everyone that comes and visits us will follow the rules!  I’m thinking it will look great somewhere near our grotto/water slide.  Once we get that area landscaped, I’ll give it a more permanent location.  Now that this sign is done, I kind of want to make another one for the waterfall that says “Mt. Wannahockaloogie” from Finding Nemo.  We have a “Nemo” mosaic inside the grotto, so it would tie in perfectly.  I may be the only one that gets it, but that’s okay.

Katies-sign

~learn more about Katie~


Pin for later!

DIY Pool Sign | Pretty Handy Girl

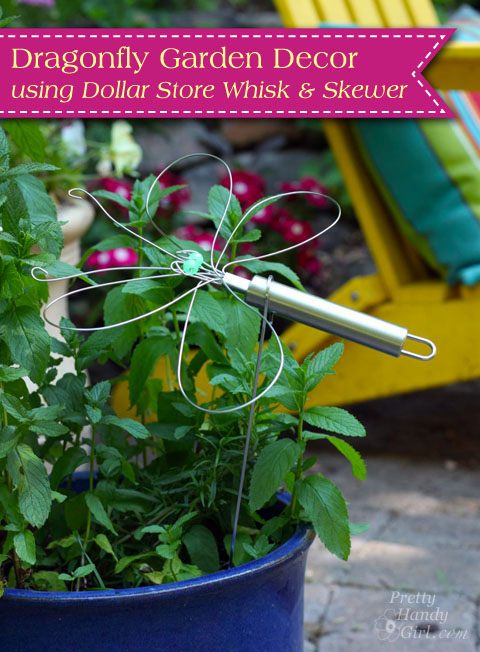
Dragonfly Garden Decor using a Dollar Store Whisk and Skewer | Pretty Handy Girl

Dragonfly Garden Decor using a Dollar Store Whisk and Skewer | Pretty Handy Girl

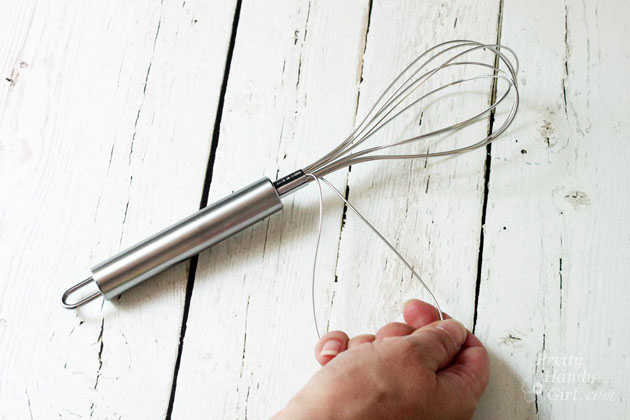
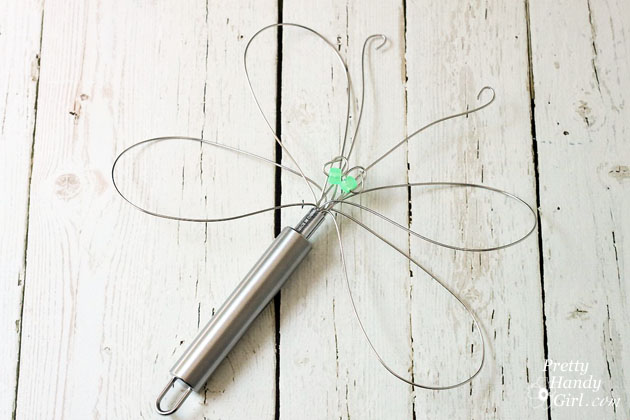
Summertime is coming and I’m enjoying spending more time in our garden. I’m always looking for cute craft ideas that I can do with the kids while school is out. When I saw this great idea for making a wire whisk dragonfly on Morena’s Corner, I knew I had to try it. I altered Morena’s plans slightly using plastic beads and used a skewer for the plant stake. The cost and materials are minimal to make this Dragonfly Garden Decor using a Dollar Store Wire Whisk and Skewer. This craft can be done with the kids, but you’ll need to be the one to cut and bend the wires and watch out for the pokey edges with real little kids.

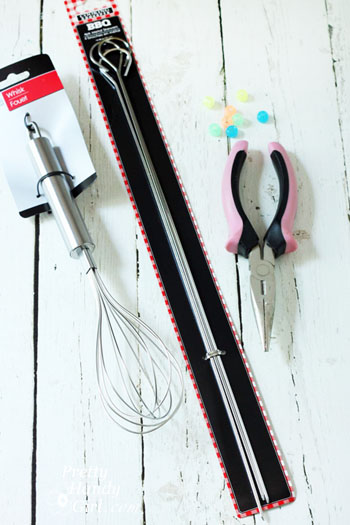
Dragonfly Garden Decor Materials:

Dragonfly Garden Decor using a Dollar Store Whisk and Skewer | Pretty Handy Girl

  • Wire whisk
  • Wire skewer
  • Beads
  • Needle-nosed pliers

Dragonfly Garden Decor Instructions:

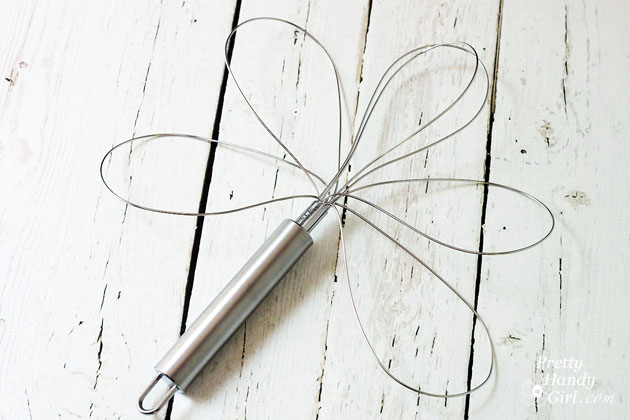
Begin by bending the first wire loop out to the side to create a wing.

Dragonfly Garden Decor using a Dollar Store Whisk and Skewer | Pretty Handy Girl

Repeat with three more loops (2 on each side).

Dragonfly Garden Decor using a Dollar Store Whisk and Skewer | Pretty Handy Girl

Use the needle-nosed pliers to cut one wire loop into two short pieces as shown below. (You might need to twist the pliers back and forth to cut the wires.) Read more

grilled fruit kabobs honey coconut yogurt dip

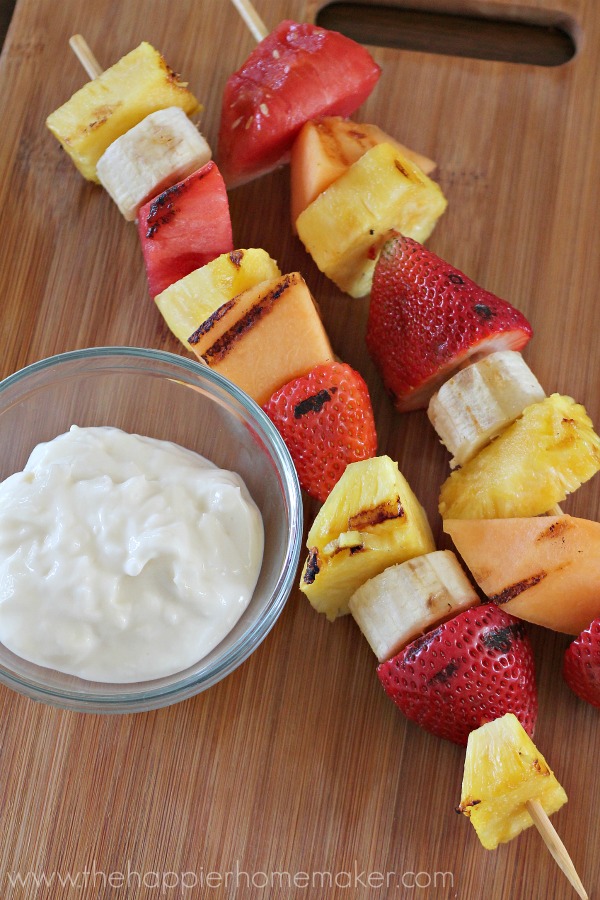
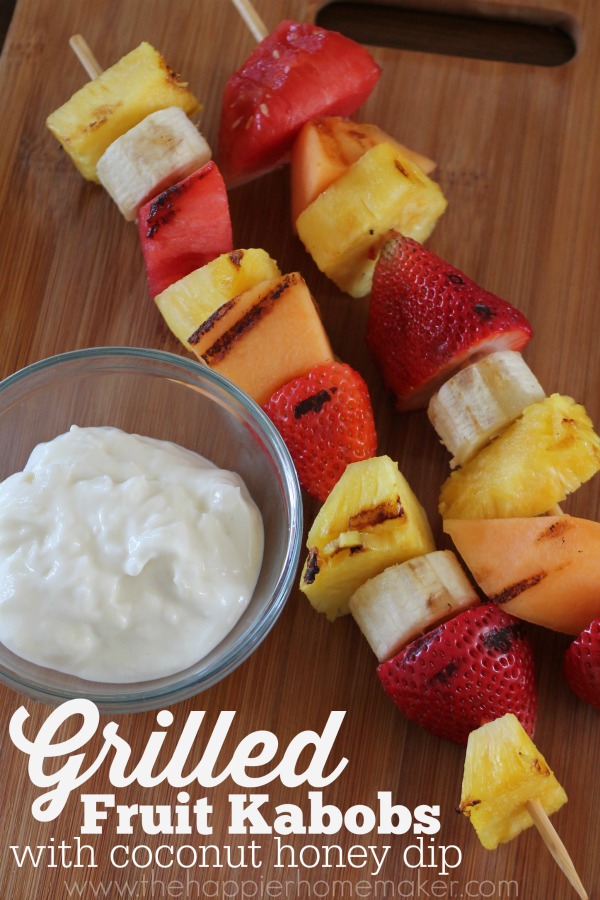
Hi there! I’m back this month with a fun summer recipe that’s just as healthy as it is delicious-grilled fruit kabobs with coconut honey dip! While fruit kabobs are nothing new, taking them to the grill adds an extra special flavor that’s perfectly complimented by a creamy yogurt dip sweetened by honey and coconut!

Ingredients:

  • fruit of choice
  • 3/4 cup lowfat vanilla Greek yogurt
  • 3 tbsp honey
  • 3 tbsp shredded sweetened coconut

Instructions:

Chop fruit into approximately 1″ pieces. You can choose any kind of fruit you prefer. I used watermelon, cantaloupe, pineapple, banana, and strawberries but some other great options are peaches, plums or mango! Read more