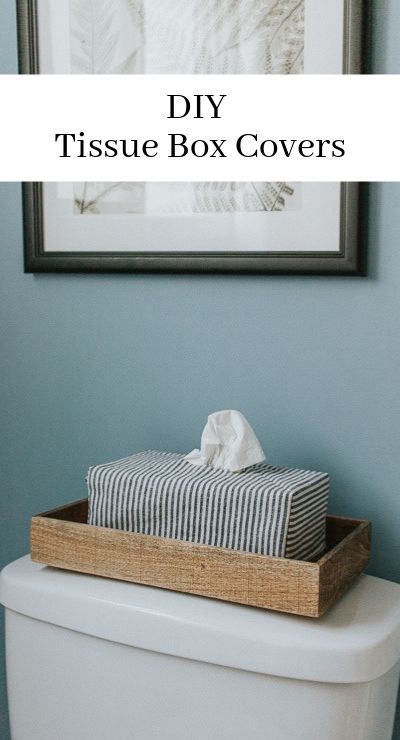
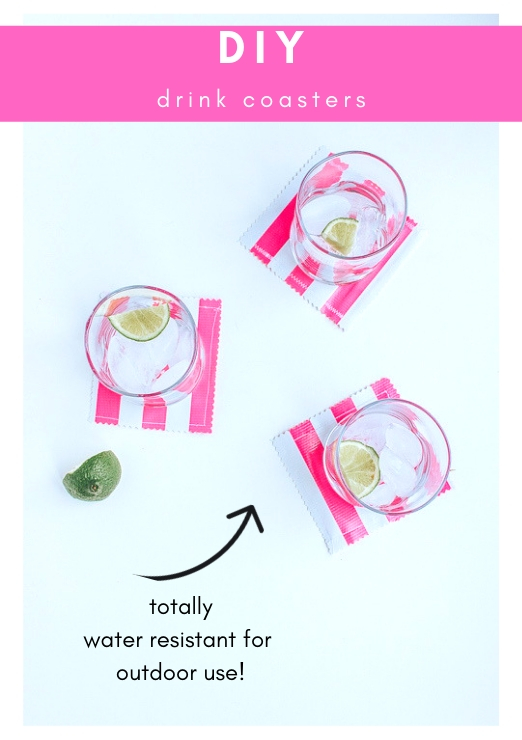
Hey Guys, happy Summer! I’m back today with another easy home project for you – a simple stylish DIY Fabric Tissue Box Cover.
I don’t know about you, but I think most tissue boxes are tacky. They stick out like a sore thumb in our house! Unfortunately, it’s not the type of thing I can just put away in a closet (believe me, I’ve tried!) Our family has allergies and young kids—needless to say—the tissues must remain out.
Until the tissue manufacturers come out with some better patterns, I’ll be covering mine up! These fabric tissue covers do just the trick. You don’t need too much fabric to make them. They blend in nicely with your decor, and you can wash them if needed!
Of course you could buy tissue box covers. But, these are customizable and you can make them with a $2 piece of fabric (or less.) So, go ahead and save some money by doing this yourself. I’ve seen some tissue box covers selling for almost $40! Yikes.
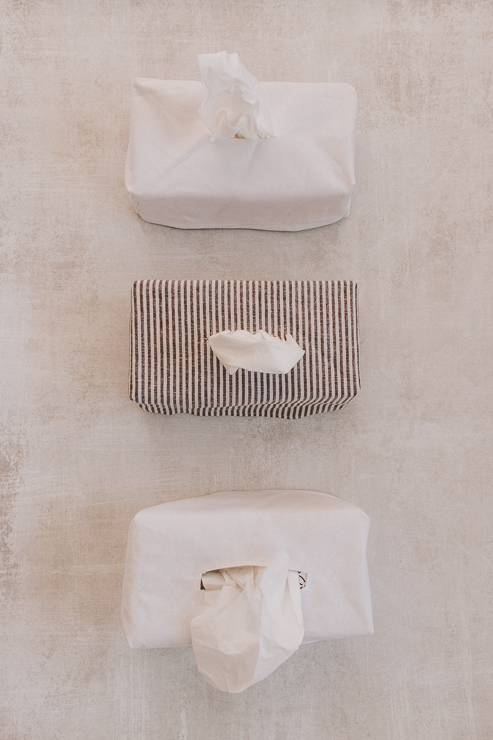
I wanted to make the process as simple as possible for you. You’ll be happy to know, I did this project over and over and over again until I found the perfect method for making them. Yes – I have over 5 tissue box covers now. Ha!
Ok, let’s get started.
Materials:
(I’ve included affiliate links for your convenience. I earn a small percentage from a purchase using these links. There is no additional cost to you. You can read more about affiliate links here.)
Instructions:
Follow these steps to make your stylish tissue box covers.
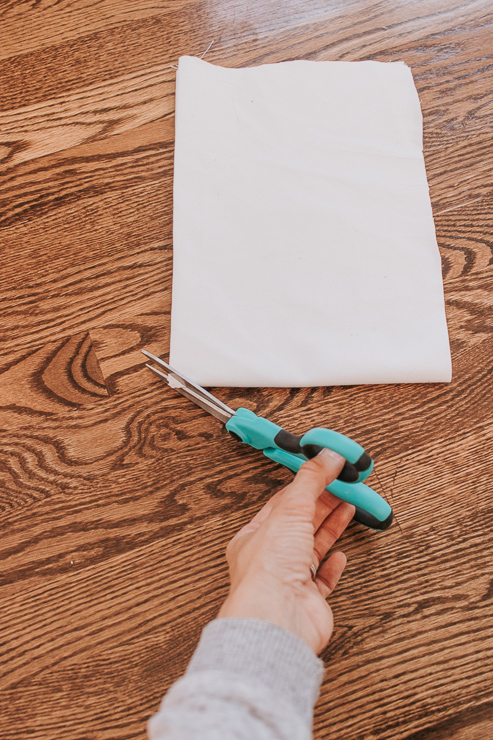
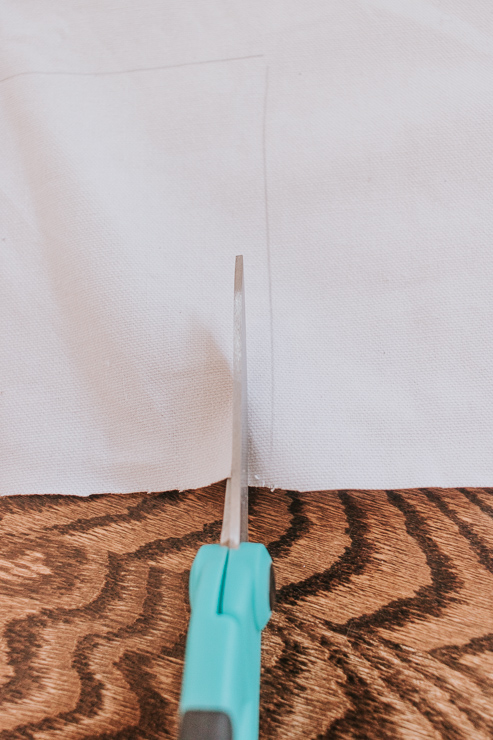
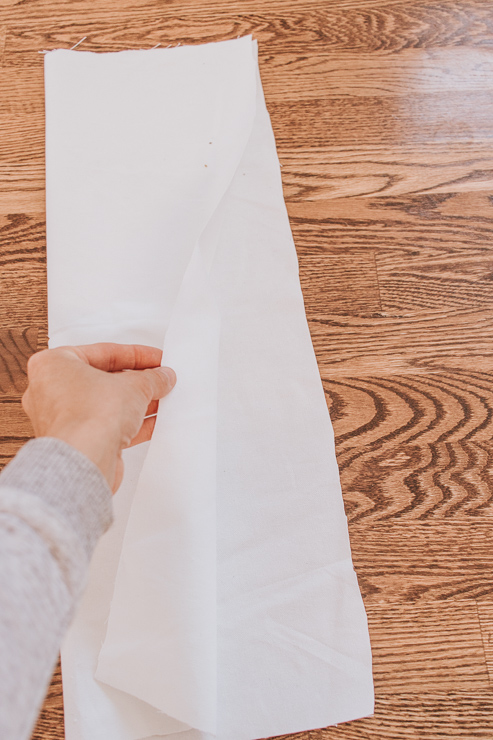
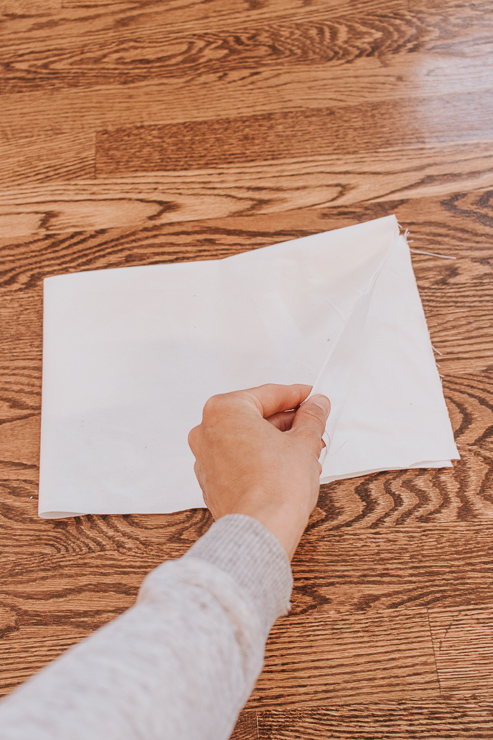
Step 1: Cut out your Rectangle.
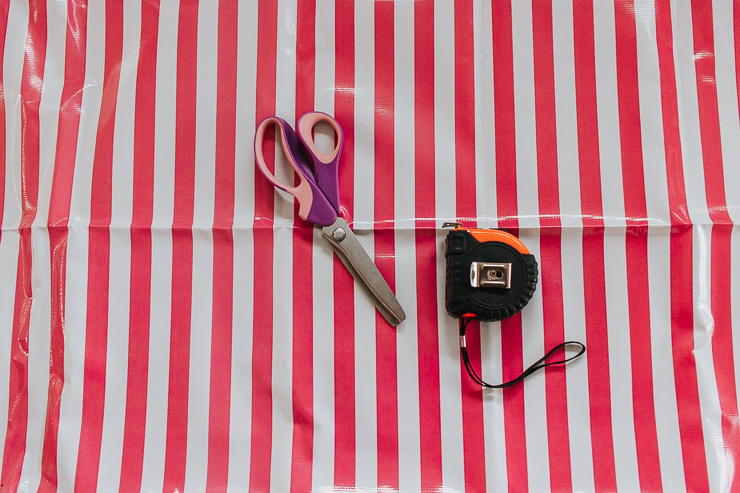
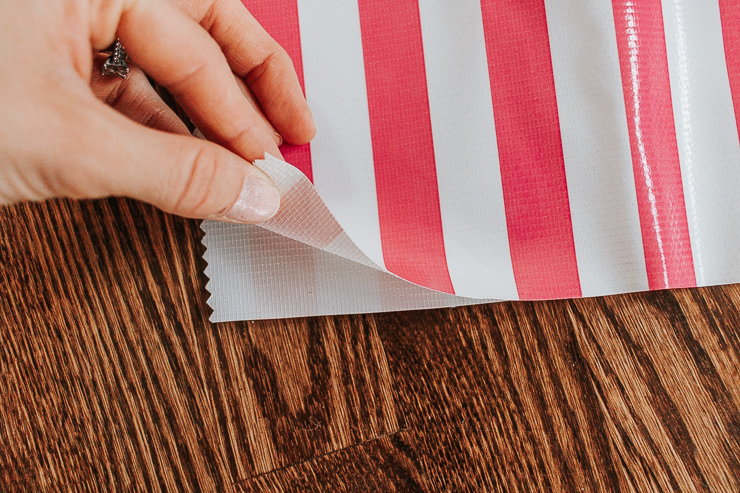
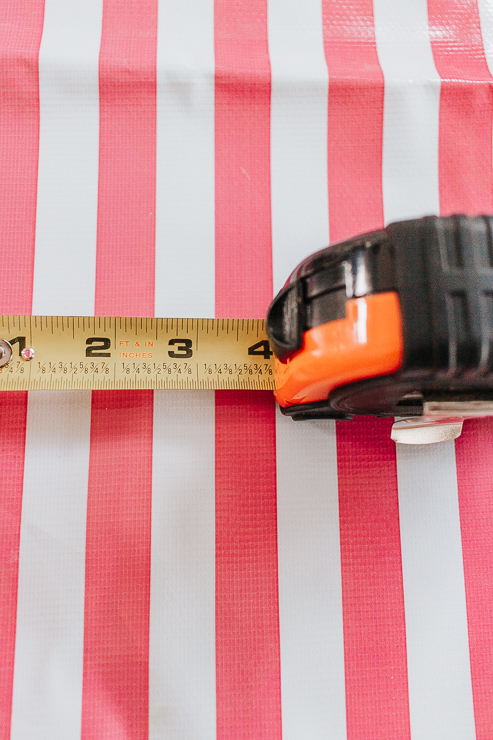
I’m assuming most tissue boxes are generally the same dimensions. But, measure your box to double check. For a standard rectangular tissue box, I started with a rectangle of fabric sized 16 inches by 24 inches.
Now cut your fabric to size.
Step 2: Cut a Center Hole.
Make a hole where the tissues will be dispensed. Here’s an easy way to do this. Take your rectangle of fabric and fold it in half lengthwise, then fold it in half again. Snip a little piece of the corner section – this will create a small hole perfectly centered in your fabric.
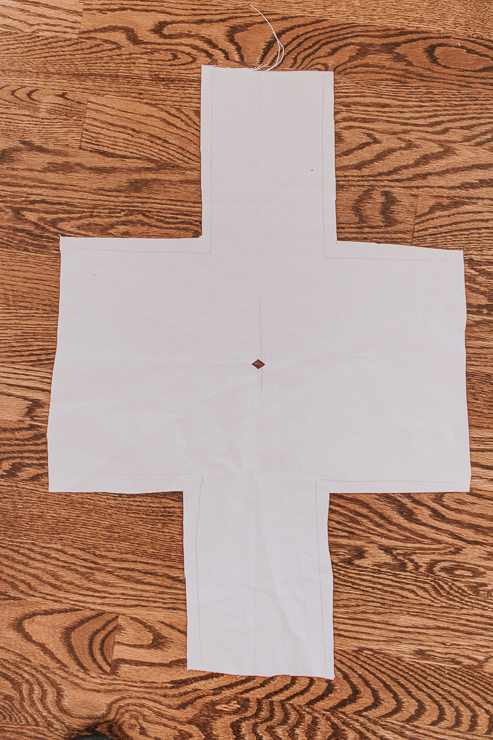
Step 3: Measure and Mark your Corners.

Place your tissue box in the center of your fabric. Hold the tissue box in place with one hand. With your other hand, use your pencil to mark a square at the corner of the tissue box. Repeat for all four corners.
It should look like this …
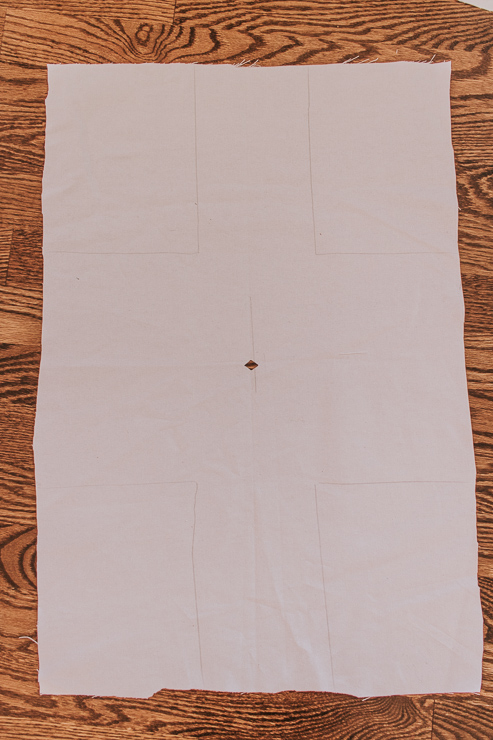
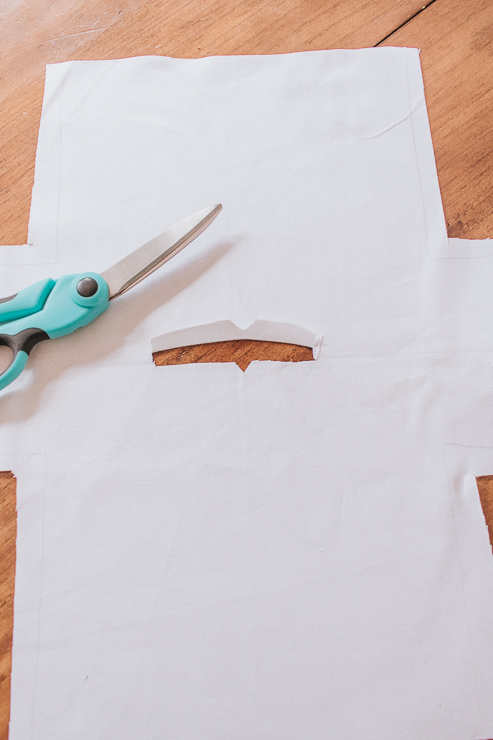
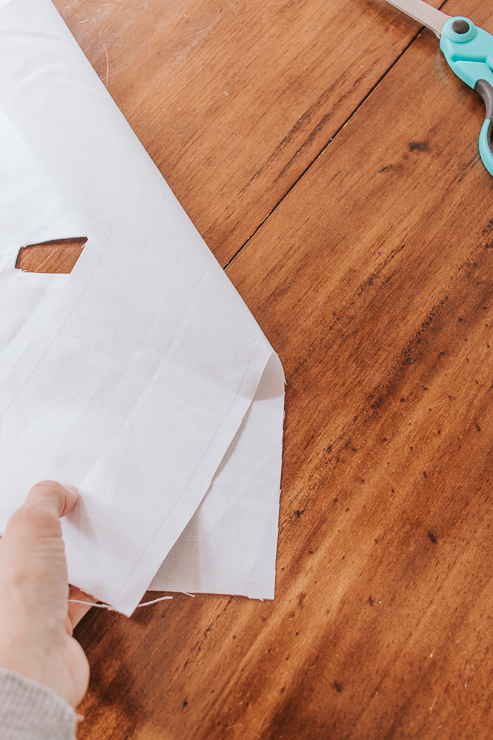
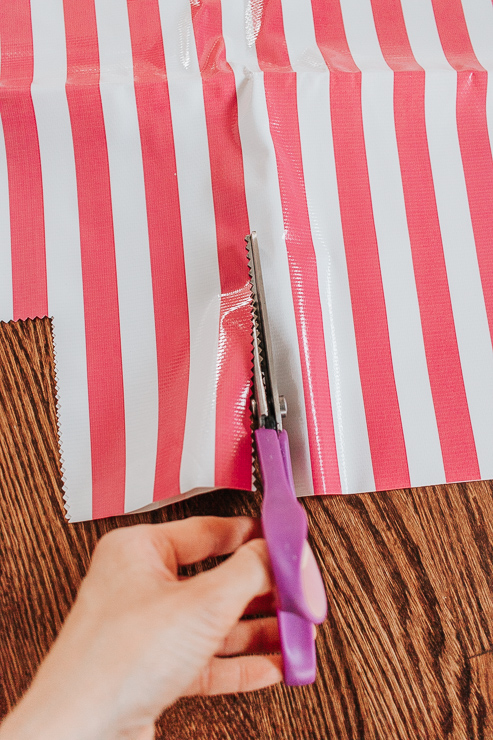
Step 4: Cut Out the Corners.
To make nice mitered corners, cut out the squares marked above. But, to allow for your seam, subtract about 1/4 – 1/2″ from the marked lines. Essentially, you’re cutting slightly outside where you made the pencil lines as shown below.
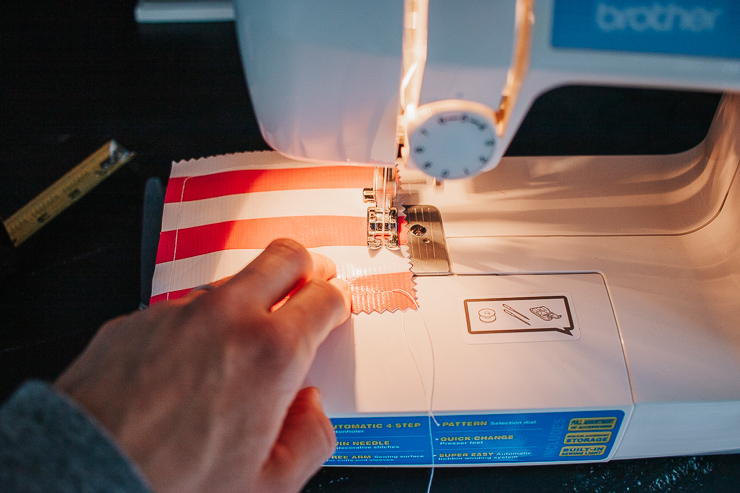
Step 5: Sew Your Tissue Box Hole.
Remember the little hole we cut out of the center earlier? Now you can cut it slightly bigger to accommodate your tissues. Cut, a skinny rectangle and fold flaps toward the inside of the fabric tissue cover. Iron them to keep them from folding back. It doesn’t have to be super neat. The tissues will help cover it up!
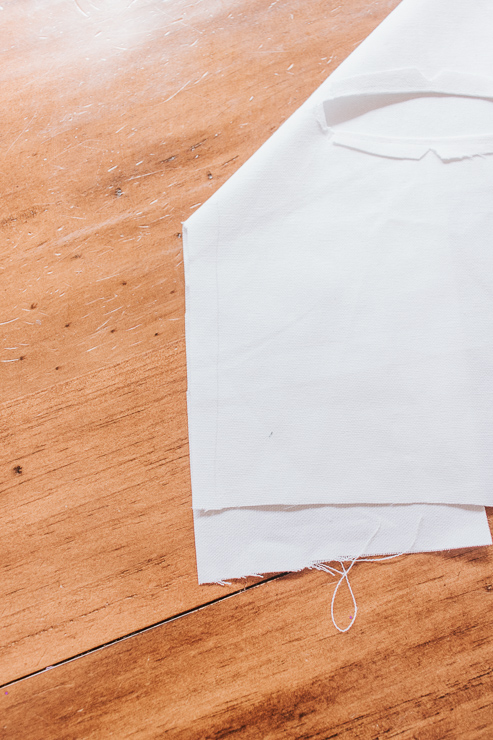
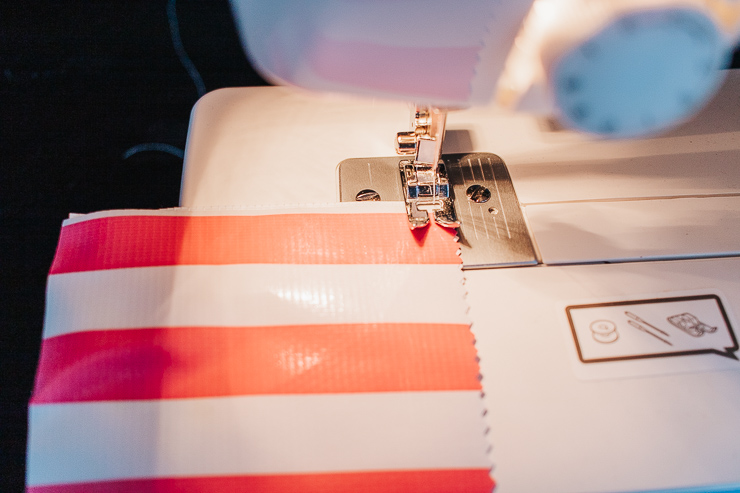
Step 6: Sew your Corners.
Take your piece of fabric and fold it so the corner pieces line up as shown below. You want to make sure you sew the pencil mark side on the underside so they don’t show. When you fold the fabric, the pencil marks should be facing out. Stitch along the pencil line.
Repeat and sew all four corners the same way.
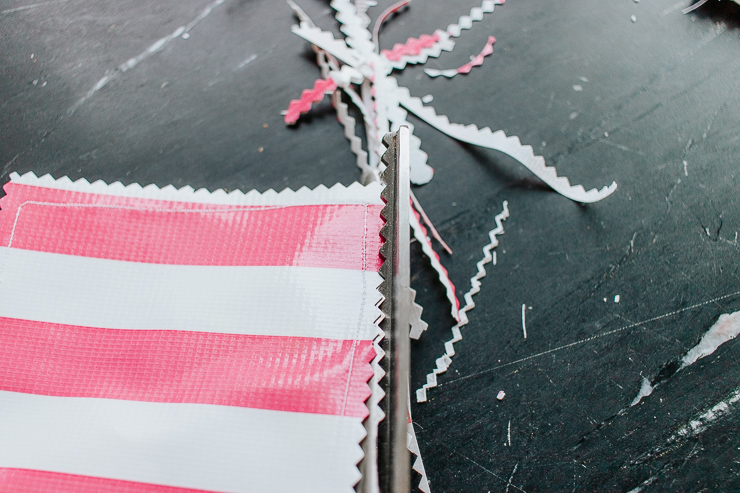
Step 7: Trim the Bottom.
Woot! Your little tissue box cover is taking shape now. Turn your cover right side out and place it over your tissue box.
The ends are long, huh? Well, we can easily just cut those down and sew a clean seam all the way around! You may be wondering why I started with a larger piece of fabric only to have excess at the end.
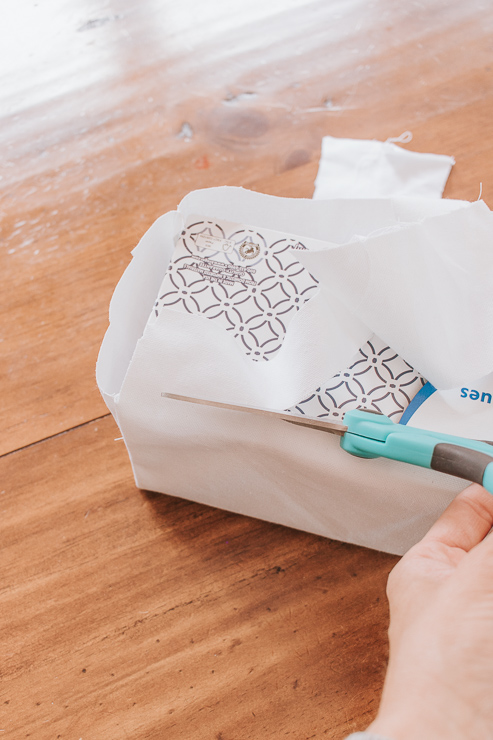
Trust me – I did this five times over! Having excess fabric ensures all your ends meet nicely and cover the tissue box entirely.
Let’s finish up by cutting away all the excess fabric minus 1/2″ to create a nice seam.
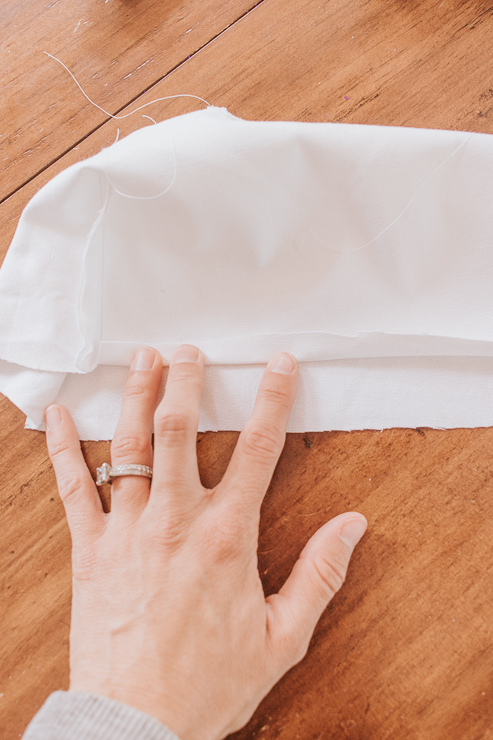
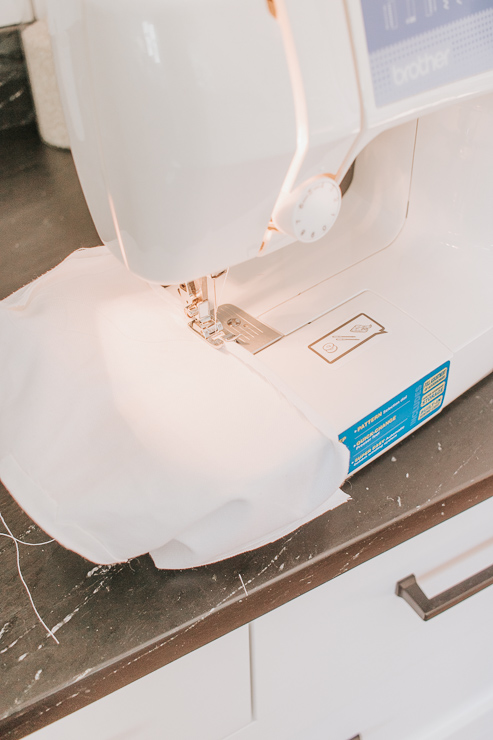
Fold over the excess. Iron the seams. Now stitch along the edge of the folded seam.
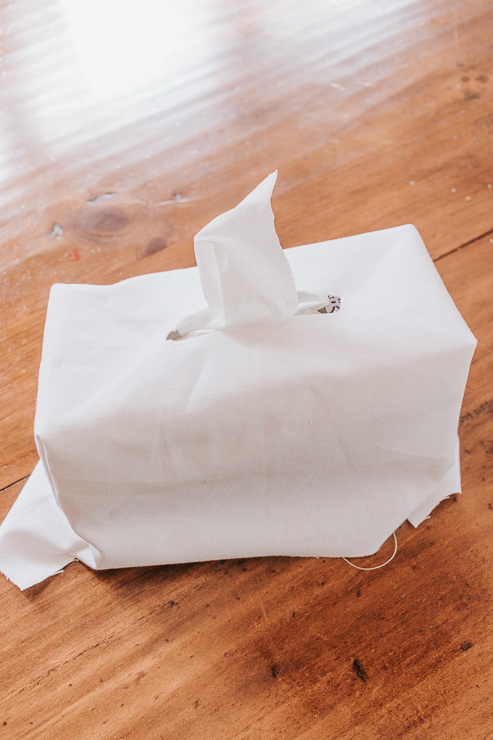
Step 8: Flip your Tissue Box cover Right Side Out.
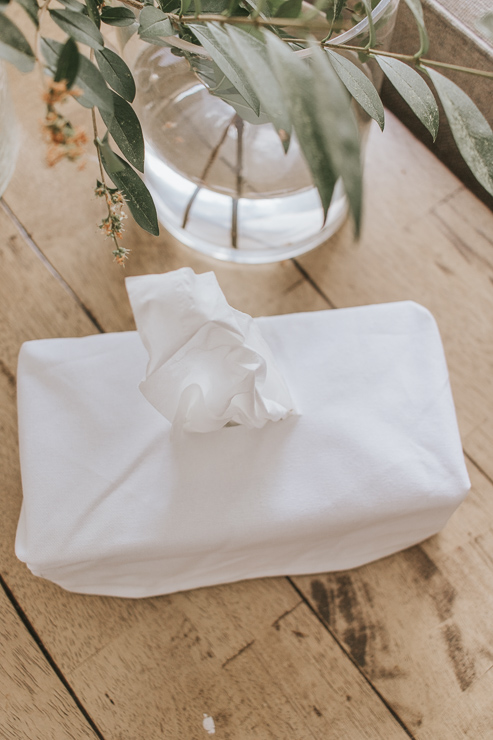
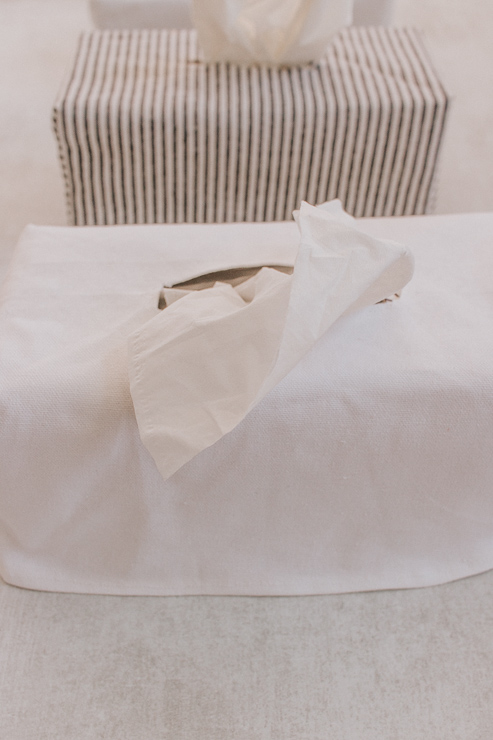
You are all done! Flip your tissue box right sides out and place it over your tissue box.
Soooooooo much better. Right?
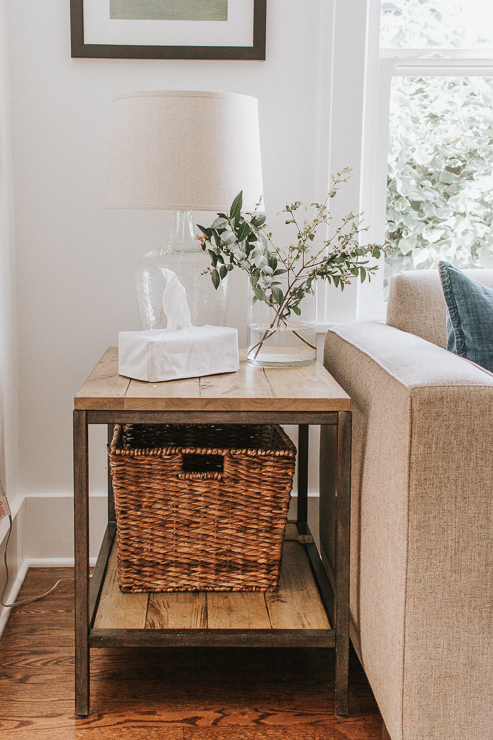
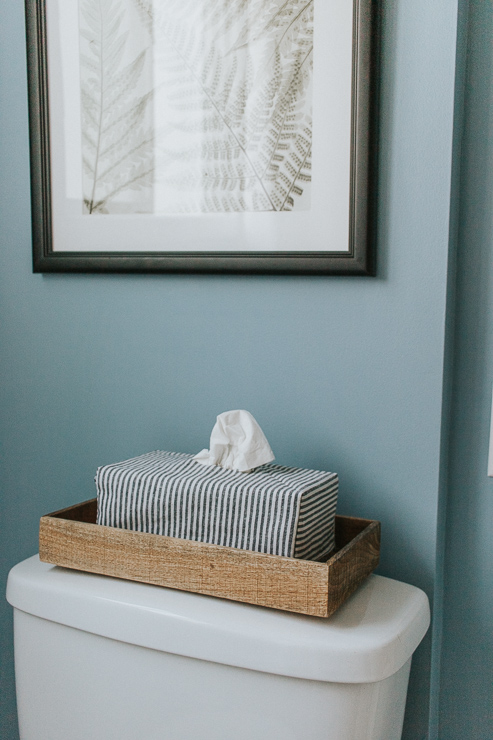
These fabric tissue box covers look great everywhere and you can customize them with fabric of your choice. Place one in your bathroom, in your bedroom, and in your living room. Anywhere you want!
No more ugly tissues boxes. And my husband doesn’t have to ask – “where are the tissues, now?” LOL.
Even though I prefer a sturdier canvas or heavy cotton fabric for this project, you can make these tissue box covers with any fabric. Add some embroidery for a personalized touch! Or get out some fabric markers and create a Scandi design on plain canvas. This is a fun project allowing you to get creative with different looks.
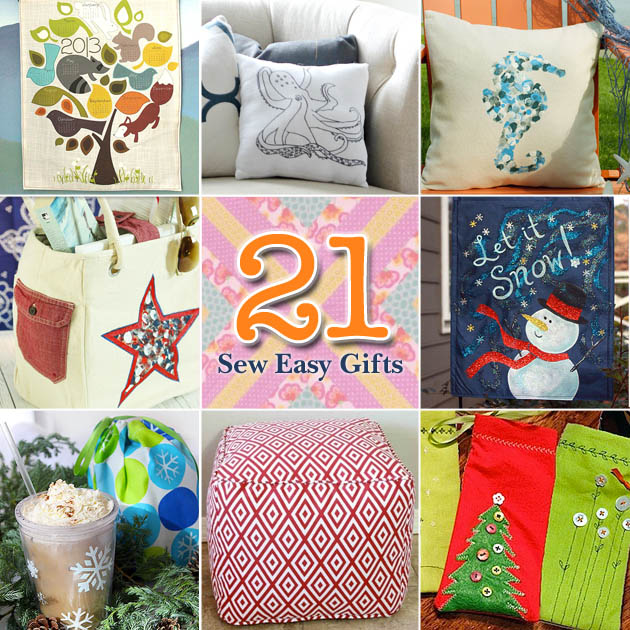
I hope you enjoyed this tutorial for a DIY fabric tissue box cover. For more fun sewing projects for your home, check out these sewing posts from Pretty Handy Girl. Or these 21 Sew Easy Gift Ideas:
Or learn how to make some of my popular projects from Decor Hint:
I’ll see you right back here next month! Enjoy the start of Summer!

~ See More of Karen’s Tutorials ~

 Hello! I’m Karen, the creator of the Home Decor and DIY Blog: Decor Hint . I’m a Native of the East Coast, but I currently live in beautiful Seattle with my hubby, our two wonderful children and our spunky wheaten terrier.
You can usually find me with some sort of craft in one hand and a coffee in the other. And I’m always rearranging furniture or moving lamps from room to room. I have a passion (read: obsession) for decorating, DIY, and gardening. In short, I love making my house into a home.
Like many, I’m inspired by what I see in home decor magazines, but I’m not so inspired by the price tags. Consequently, I love finding and creating beautiful budget-friendly home decor items. In a head to head competition, I bet you’d never know the difference between the designer items and my DIY creations! Many of my DIY projects focus on sewing, crafting, upcycling and organizing. Some of my favorite projects have been making pretty wreaths , sewing my own tassel hand towels, and crafting these trendy wood bead garlands . I can’t wait to inspire you and spark your creativity through my DIY projects.
You can always connect with me on Pinterest , Twitter or Instagram.
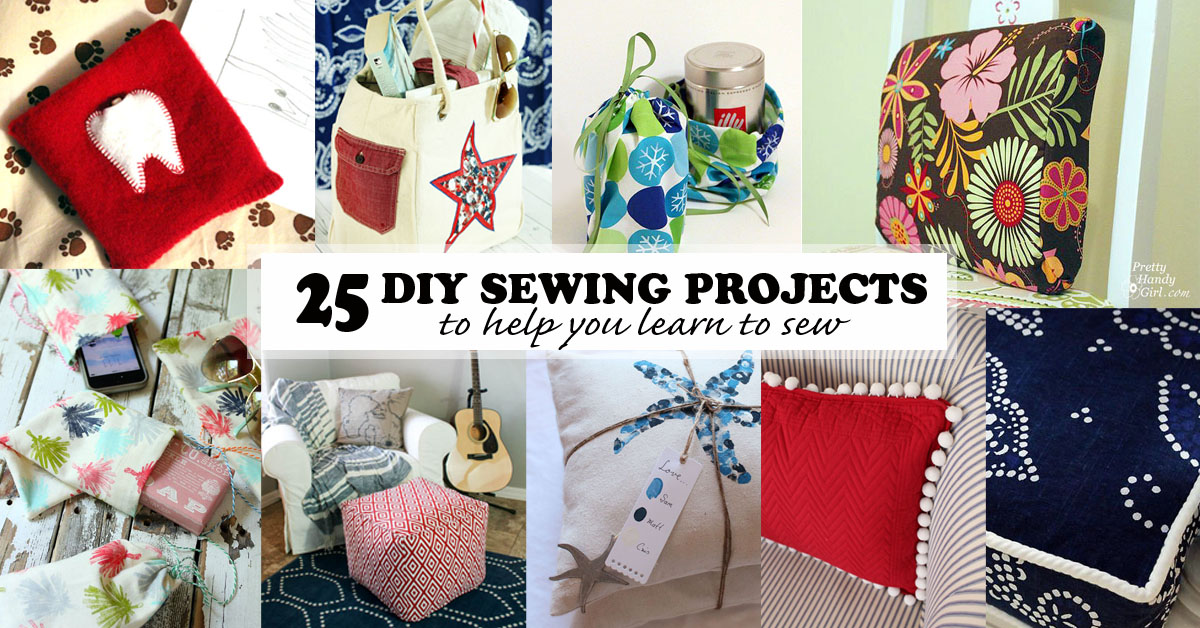
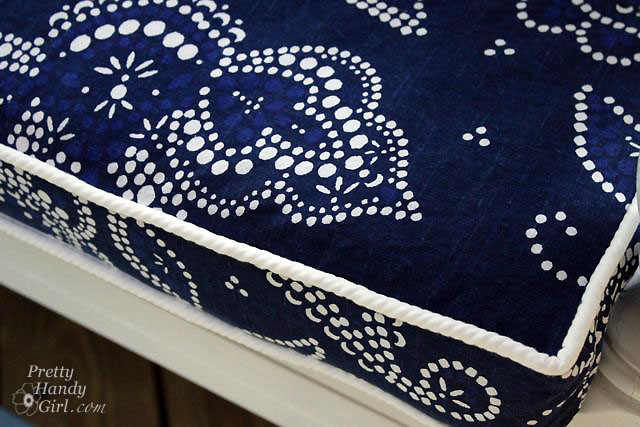
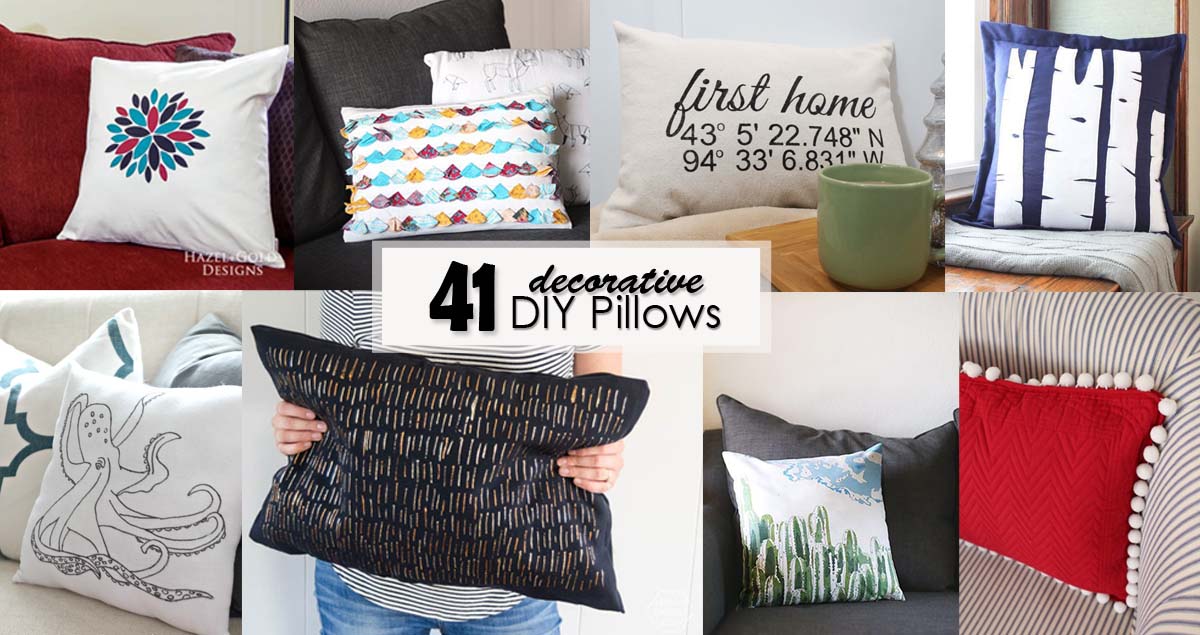
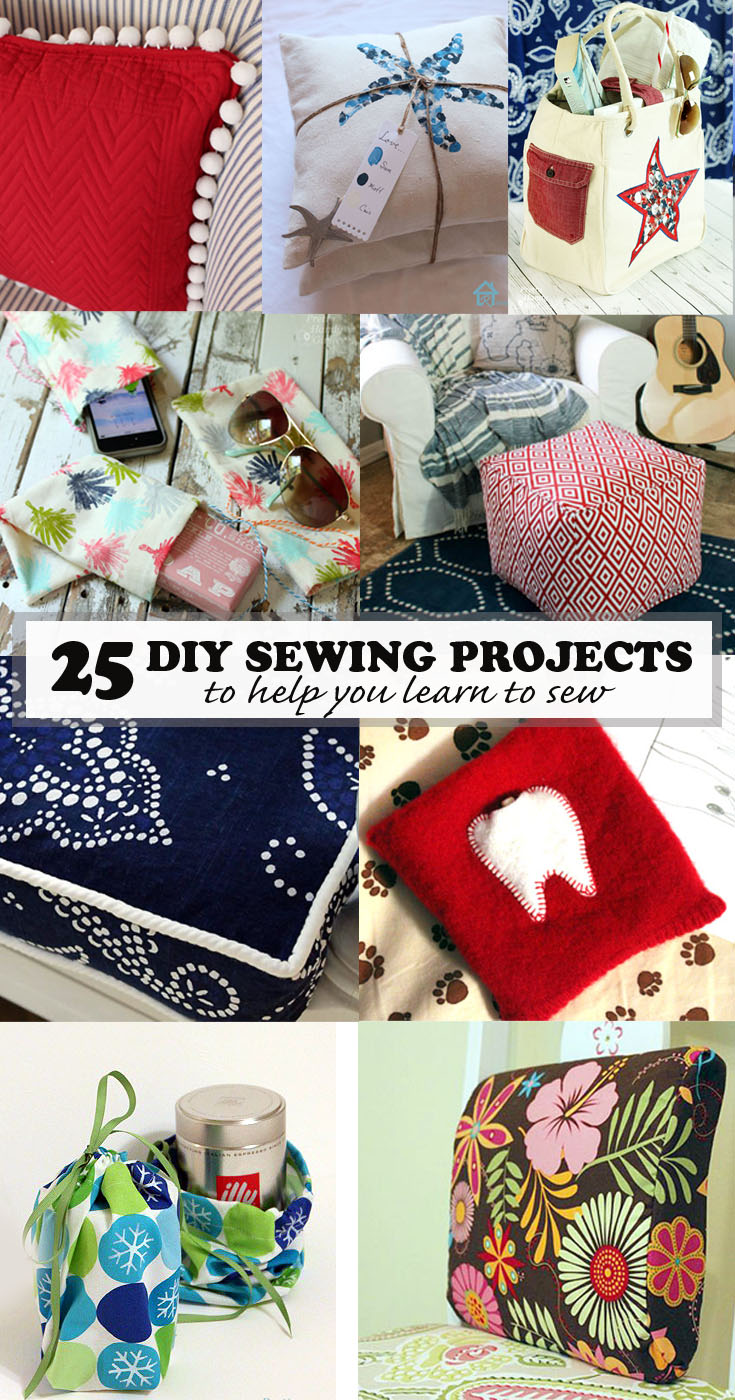 Do you want to learn to sew or maybe practice some of the basic skills that you already know? These tutorials are a perfect collection of projects that will help you do just that! They are simple enough for beginners and creative enough for anyone that knows or is learning to sew. Here are 25 DIY Sewing Projects to Help You Learn to Sew!
 Make this simple and cute Tooth Fairy Pouch from a sweater in just 10 minutes!
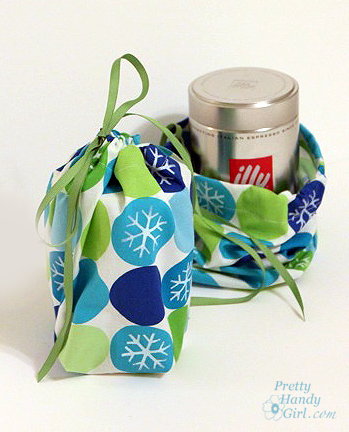
 Follow this tutorial to make your own piping for cushions.
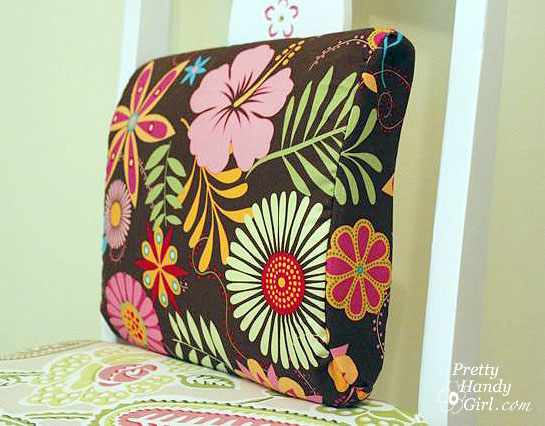
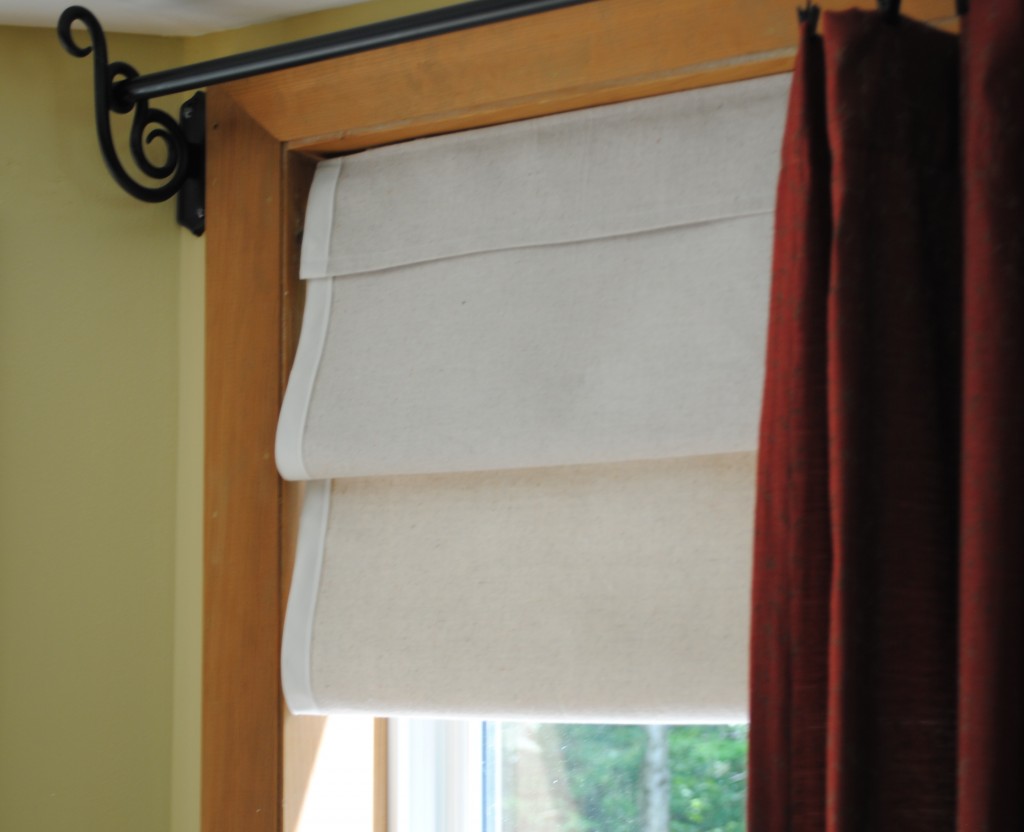 Add some pretty detail to your window coverings with these Faux Roman Shades.
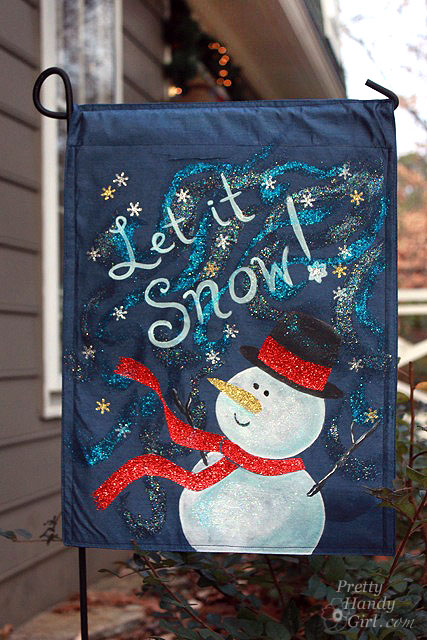 Sew inexpensive placemats to create this Snowman Flag.


 Use some sewing skills to customize a Tote Bag with parts of an old shirt.


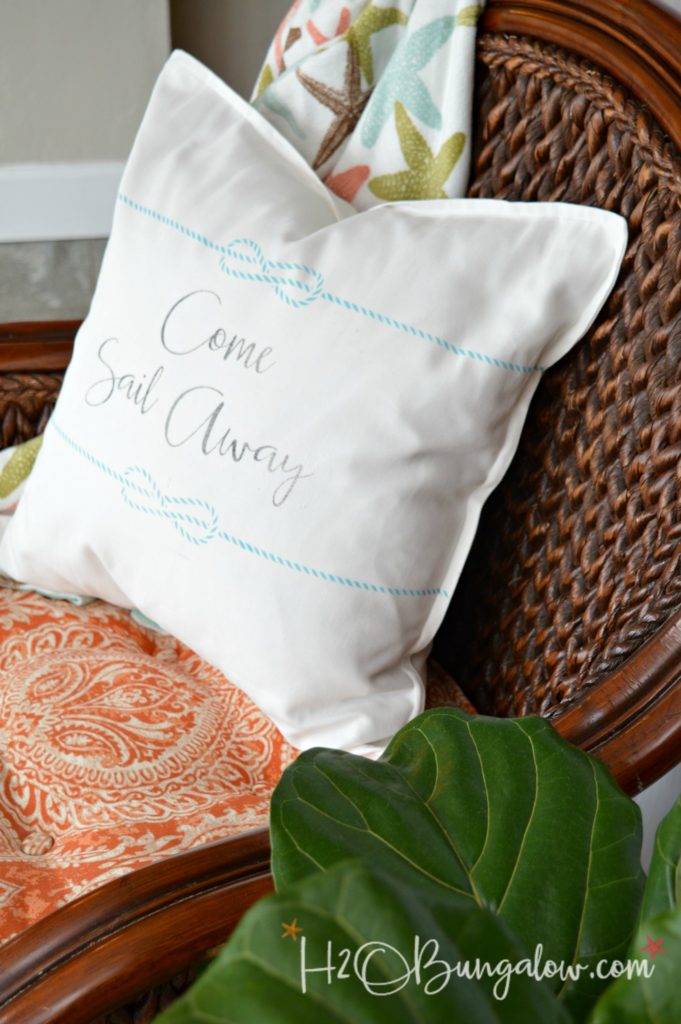
 Repurpose a skirt into a pretty rectangular pillow


 Make a beautiful Shabby Chic Throw Pillow Cover
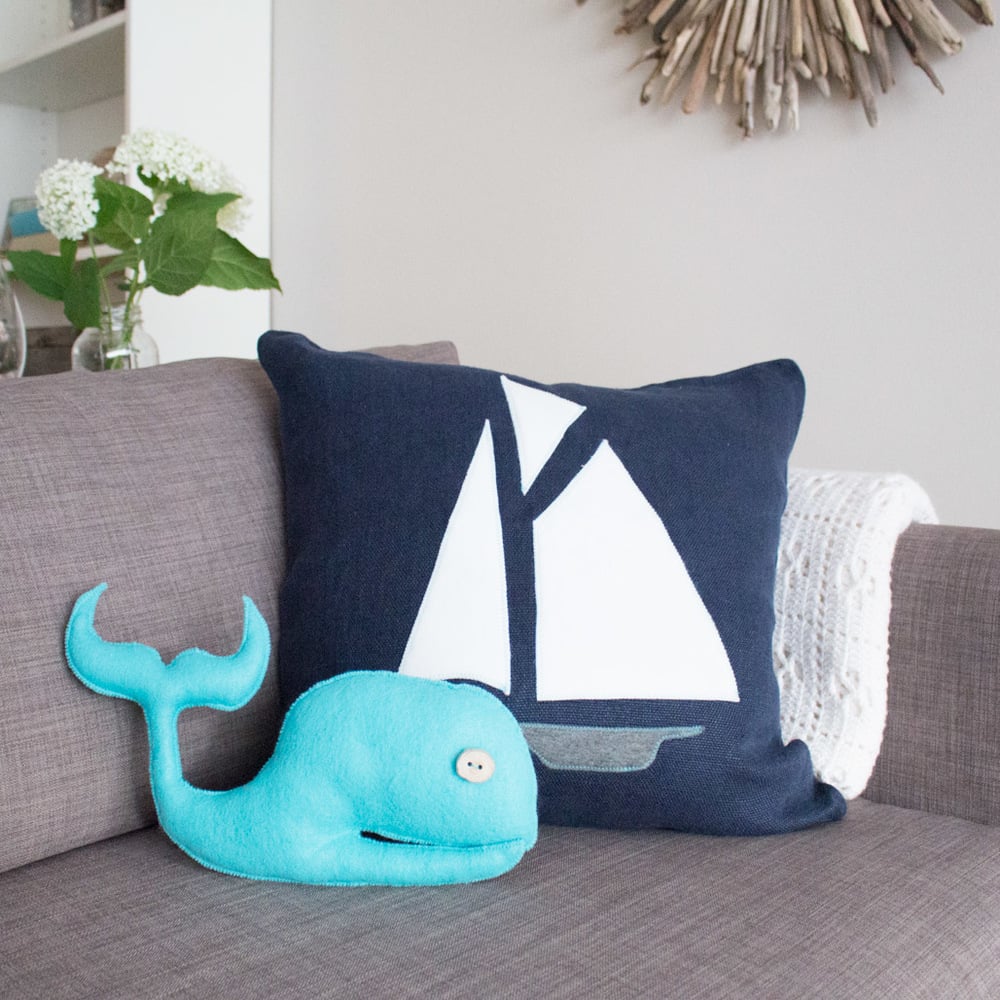
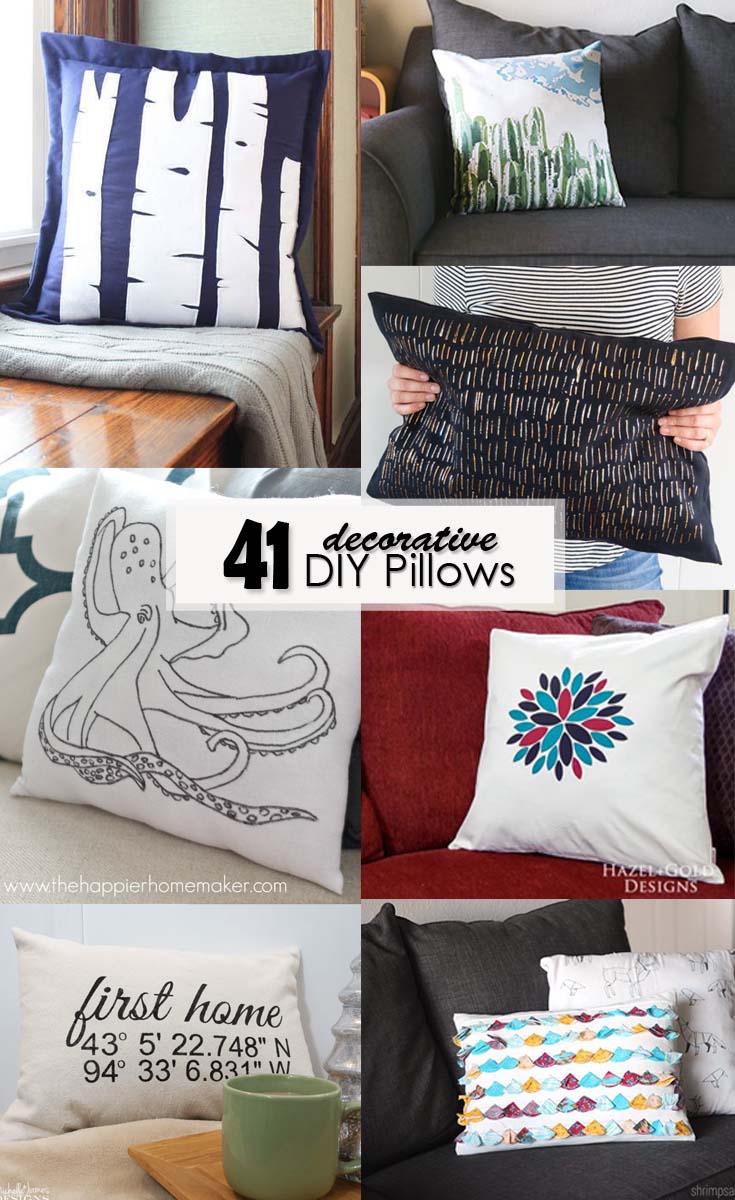
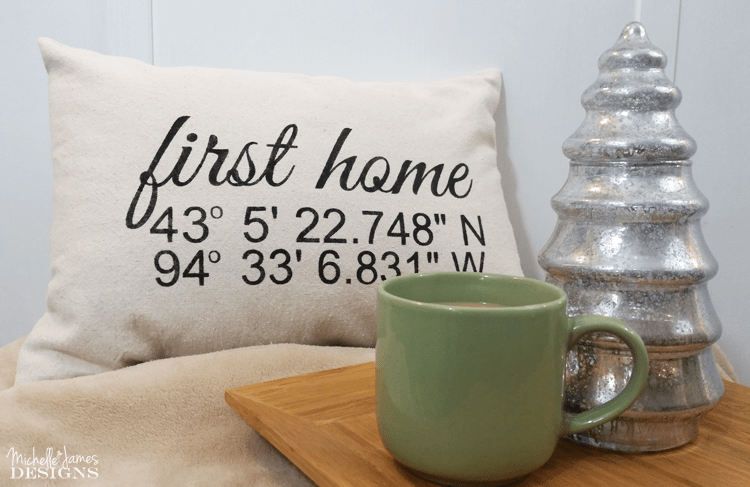 A Map Coordinates Throw Pillow
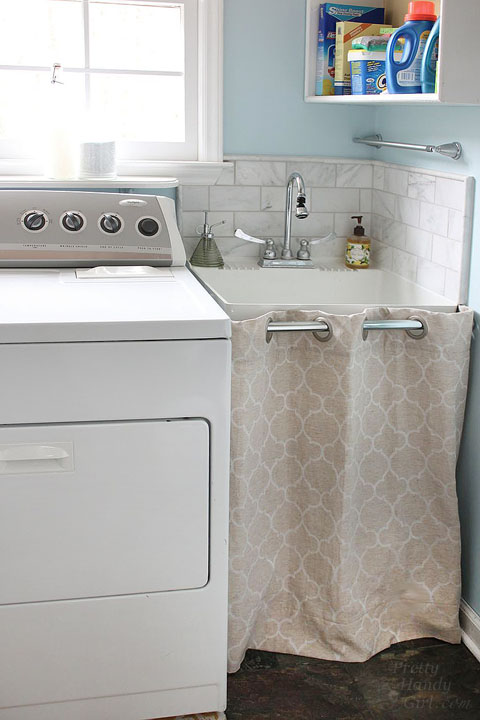
 Repurpose cloth dinner napkins
  Make a St. Patrick’s day pillow
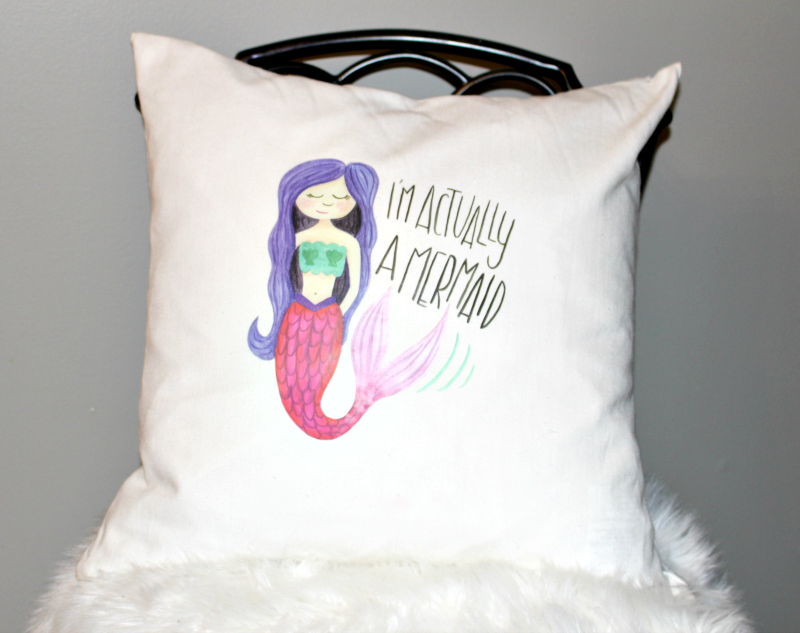 This adorable DIY Mermaid Pillow
 Create Striped Euro Shams
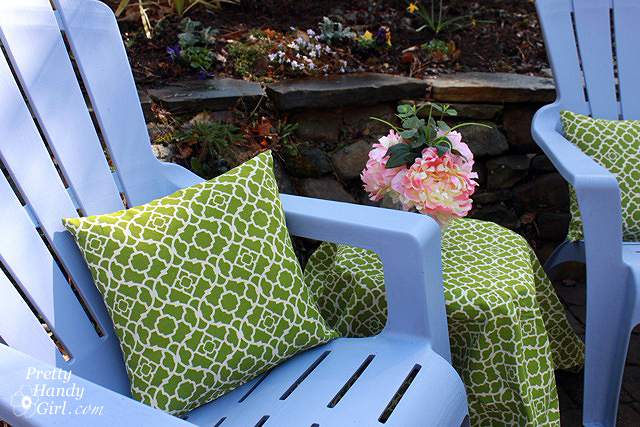
 DIY Outdoor pillows
 Use Fingerprints in stars
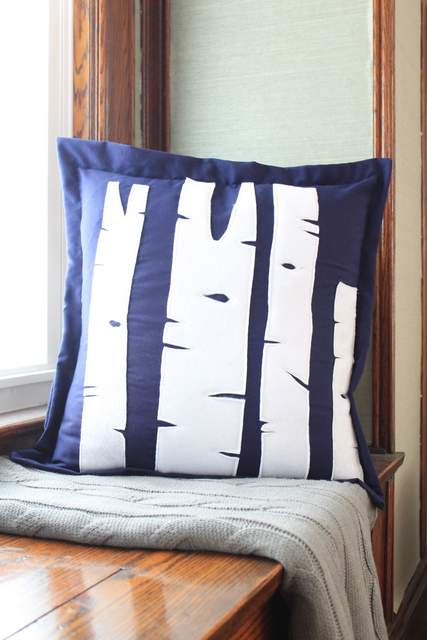
 Design these Birch Tree Pillows
 Make a Modern Flower pillowcase
  Use Paint by Number skills
 Make a Beautiful Tasseled Pillow
 Use Curtain Panels
 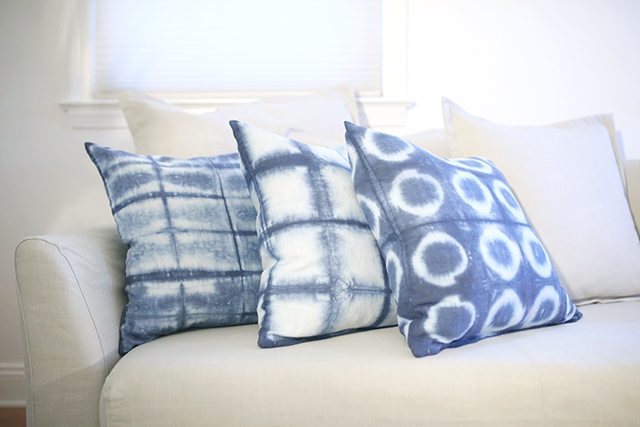 Try out Shibori Dyeing
 This DIY Anthro-inspired Octopus Pillow
 Make your own Back Pillow
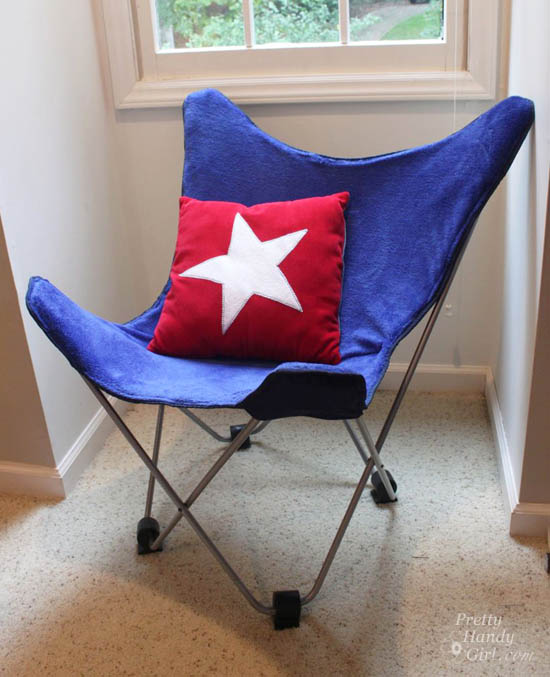
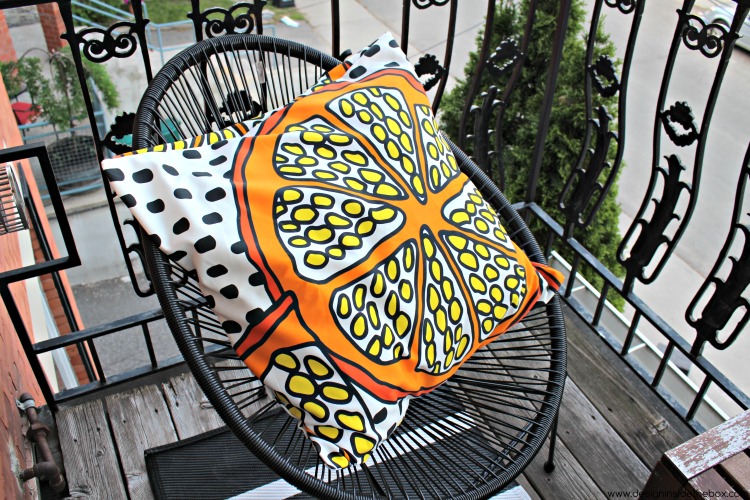 Make this bright and bold pillow
 Turn a drop cloth into a pillow
 Create Felted Pillows
 Make a Simple Ruffled Farmhouse Pillowcase
 A 15-Minute Ruffled Burlap Pillow
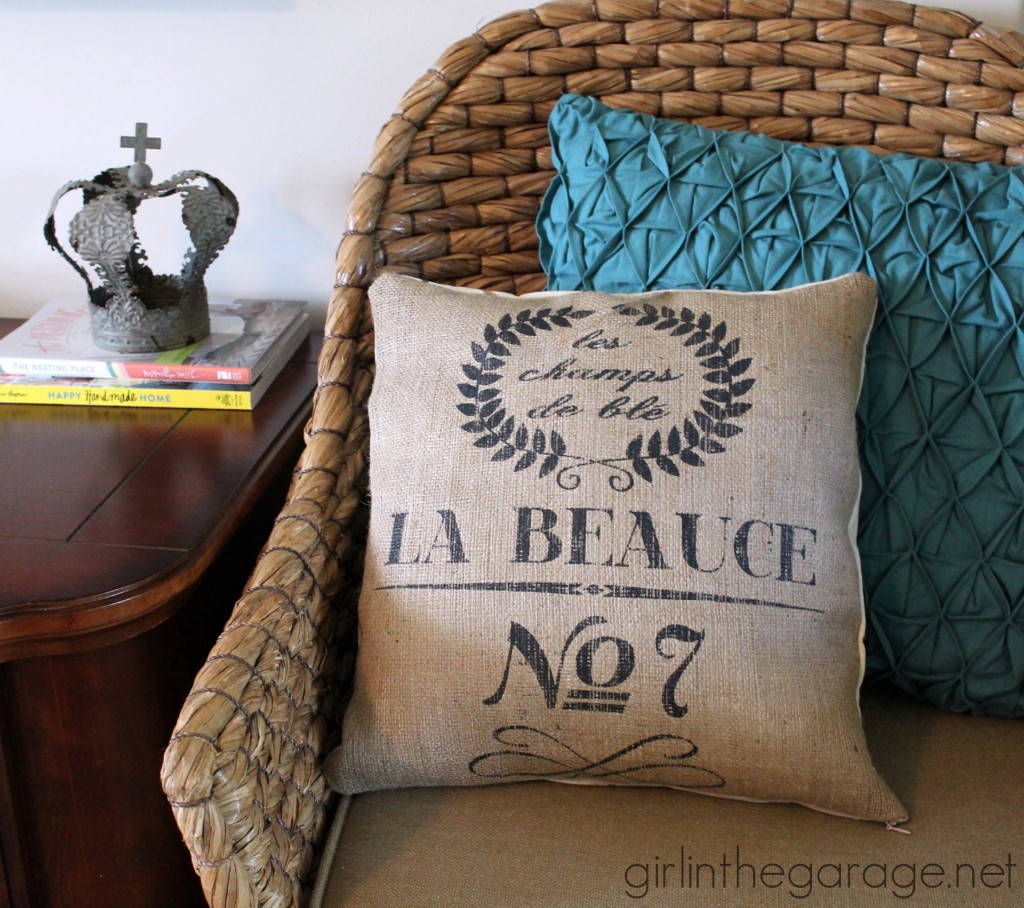
 Repurpose Placemats into Pillow covers