Home State Pride Spring Garden Flag | Pretty Handy Girl

Home State Pride Spring Garden Flag | Pretty Handy Girl

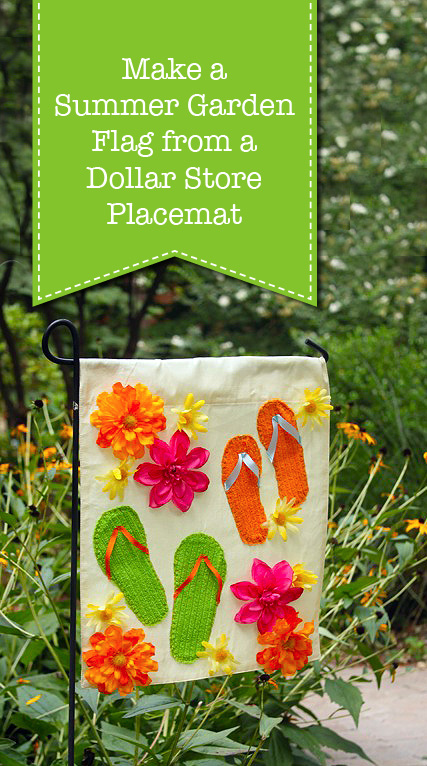
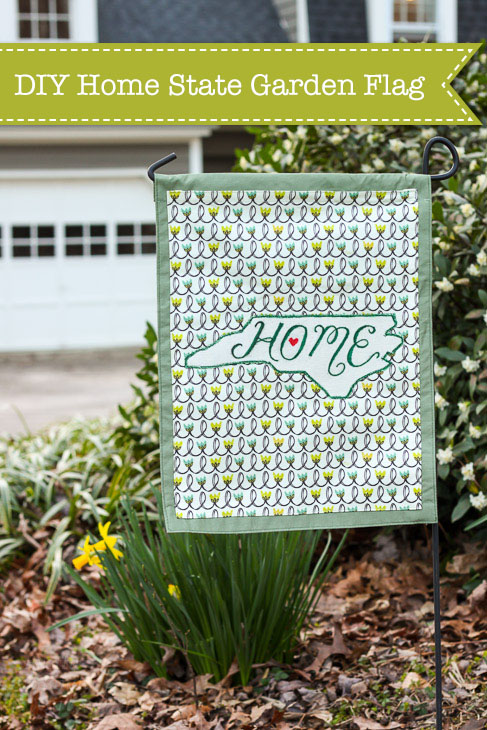
You know I’m a lover of saving money when it comes to decorating. That’s why I love to create garden flags made from placemats! They are the perfect size for a garden flag stand. You can decorate flags using a variety of paints, fabric and even fake flowers. Best of all, if you have the fabric, these Home State Pride Spring Garden Flags will only cost you a dollar because the placemat is from The Dollar Tree!

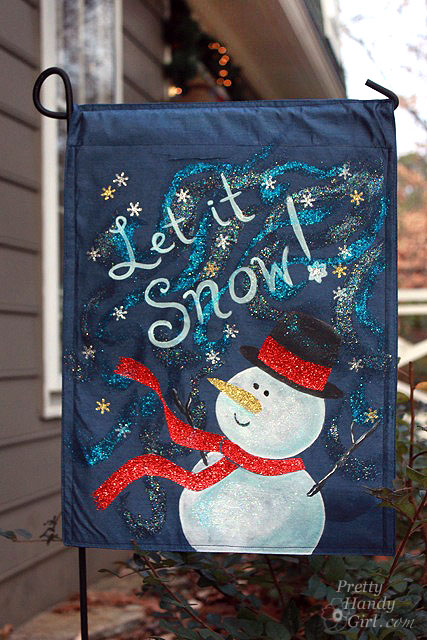
Previously, I made a Snowman, Valentine’s Day, Fall and Summer Flag, but I really wanted a Spring flag for our yard. That’s how I came up with the idea to create this Home State Pride Garden Flag.

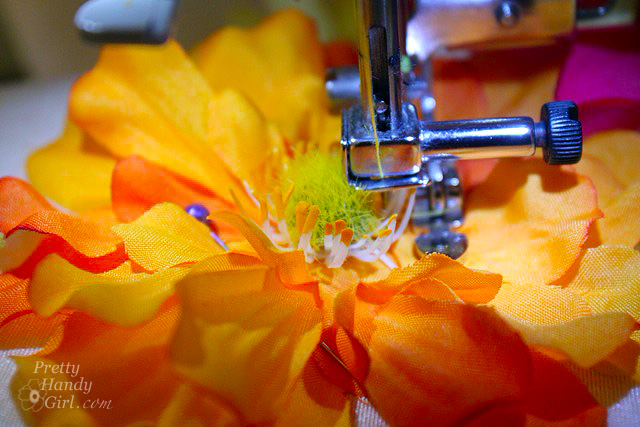
Want to learn how to make one in less than an hour? Grab some fabric, some thread and let’s get sewing!

Materials:

(I’ve included affiliate links for your convenience. I earn a small percentage from a purchase using these links. There is no additional cost to you. You can read more about affiliate links here.)
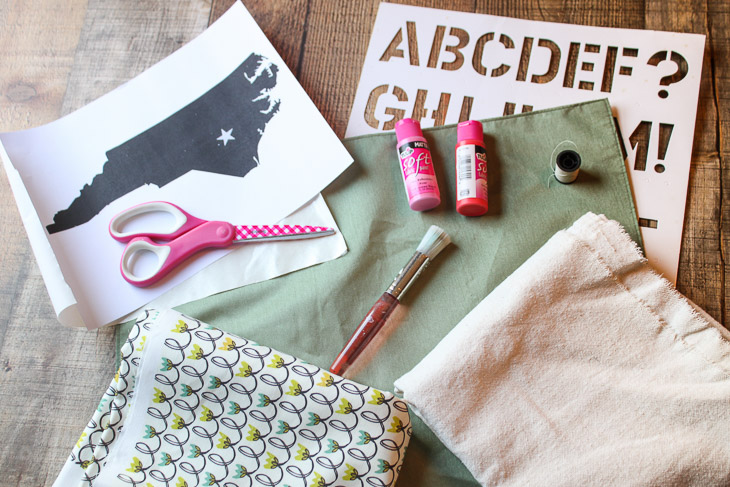
Home State Pride Spring Garden Flag | Pretty Handy Girl

Optional (if you don’t want to hand letter):

Instructions:

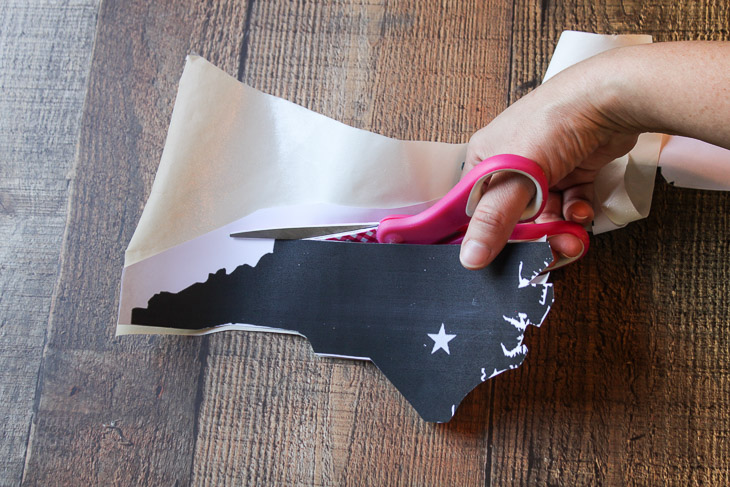
Search online for your state’s shape. Print it on a sheet of letter paper. Lay the state on a piece of double-sided fusible interface. (You can use pieces of tape if you need to secure the shape in place.

Home State Pride Spring Garden Flag | Pretty Handy Girl

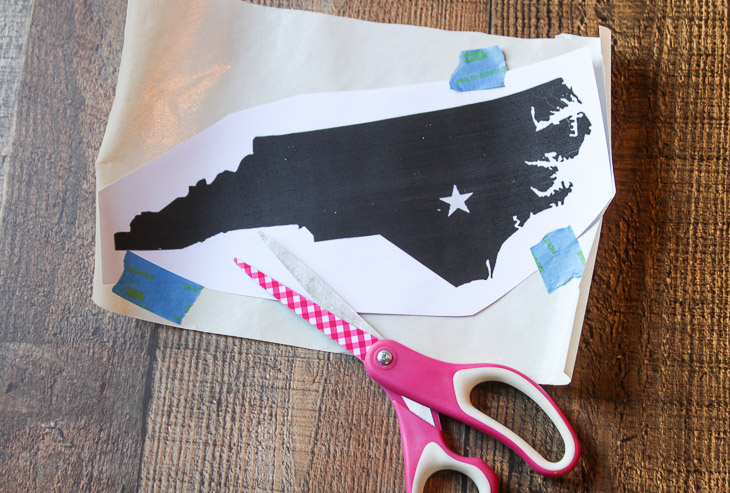
Cut out around the outline of the state shape.

Home State Pride Spring Garden Flag | Pretty Handy Girl

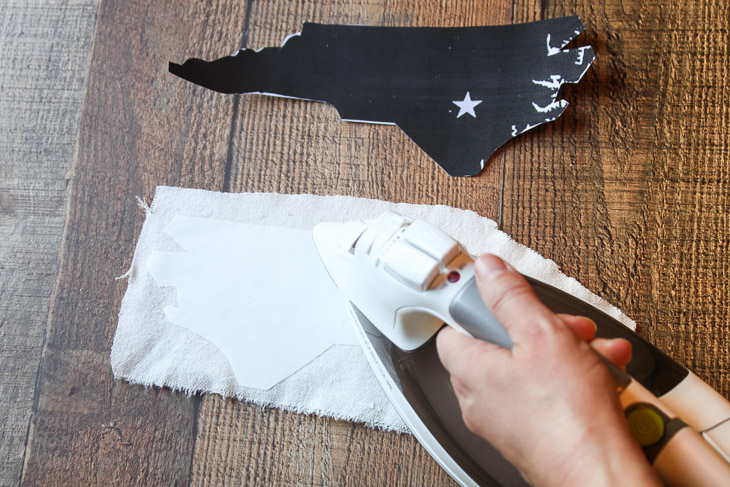
Discard the state print out. Flip the fusible interfacing over so the state shape is backwards. Iron the fusible interfacing onto the solid fabric.

Home State Pride Spring Garden Flag | Pretty Handy Girl

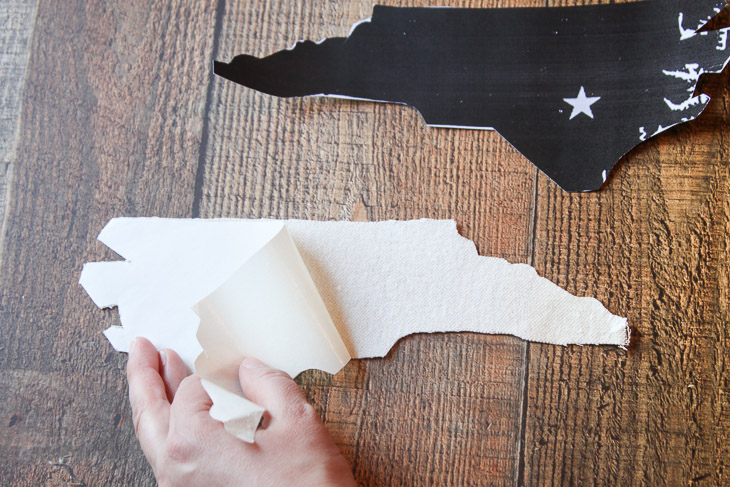
Cut around the edges of the interfacing. Remove the backing from the interfacing. Set the fabric state aside.

Home State Pride Spring Garden Flag | Pretty Handy Girl

Measure and fold over 1 ½” from one short side of the placemat. Iron to hold in place.

Home State Pride Spring Garden Flag | Pretty Handy Girl

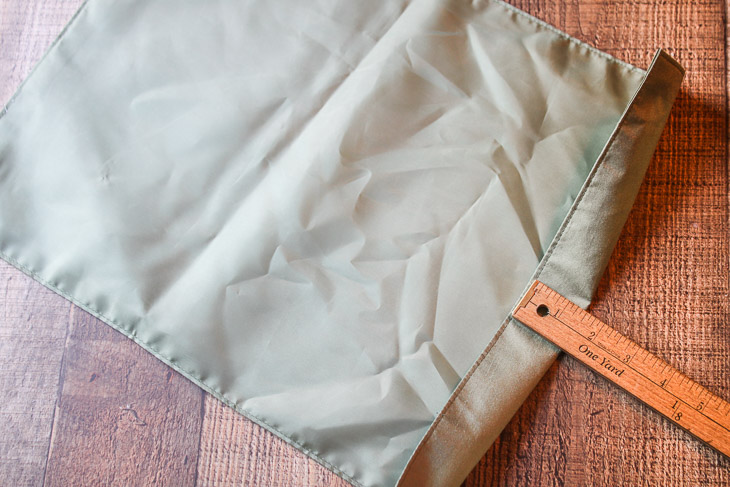
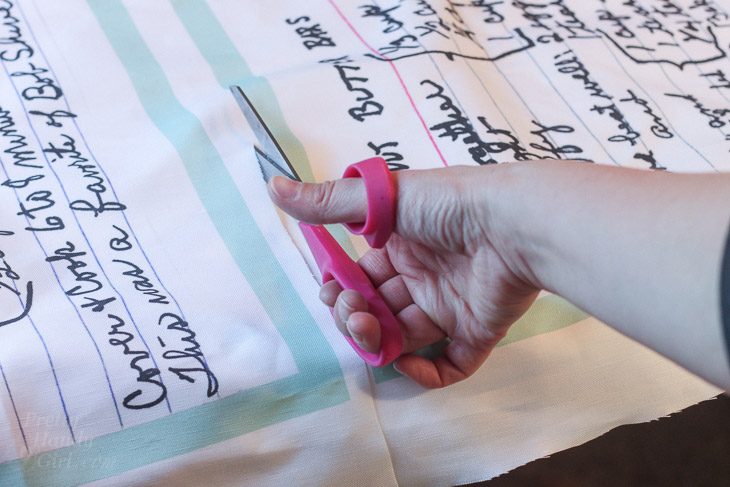
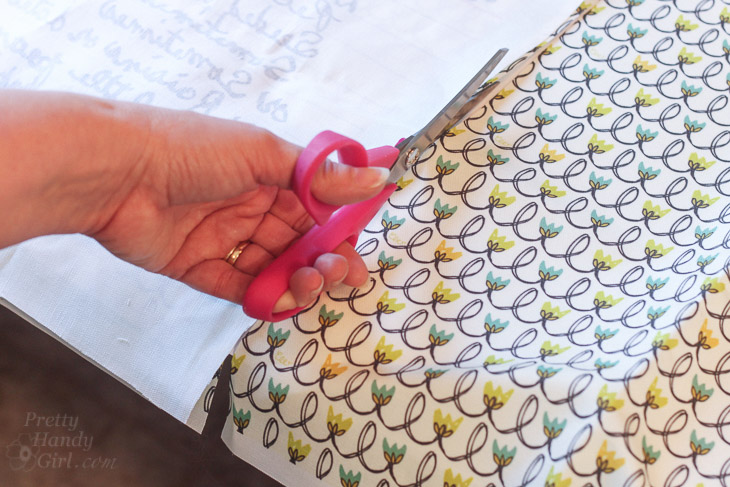
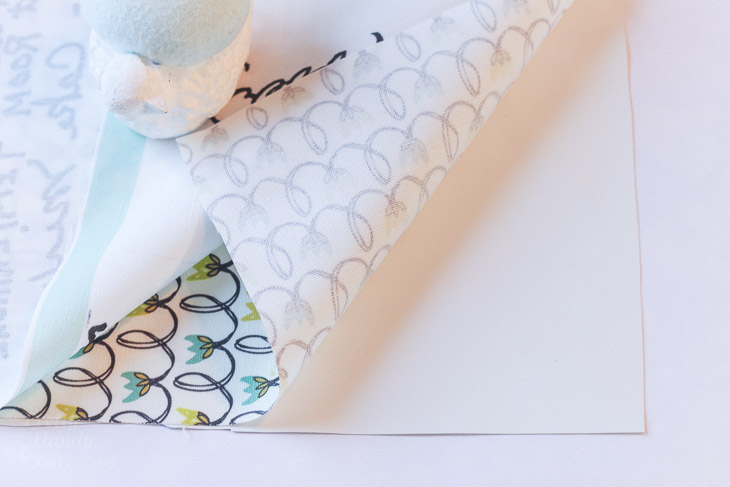
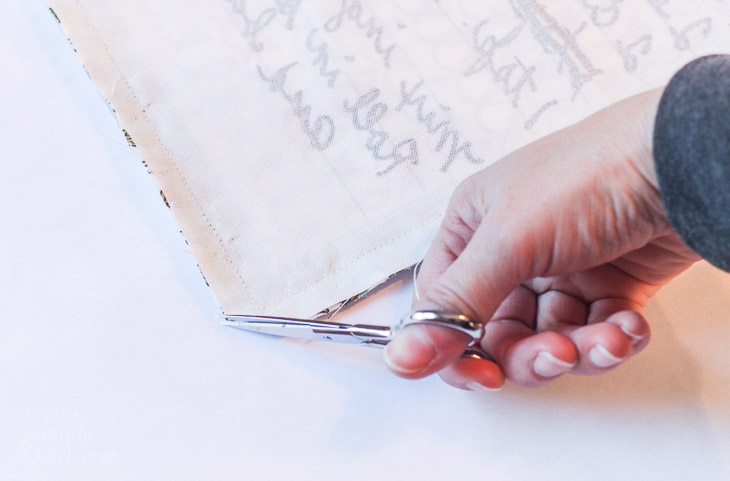
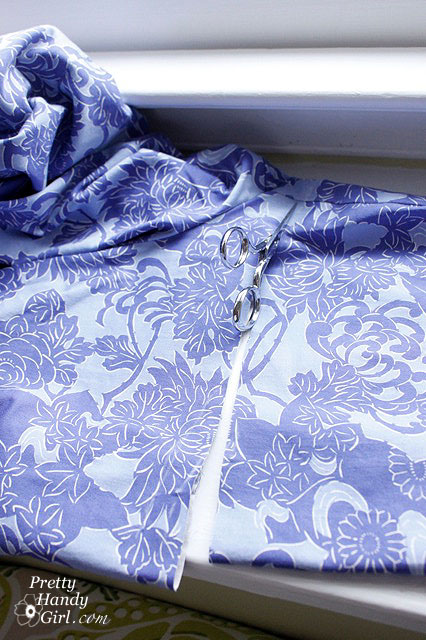
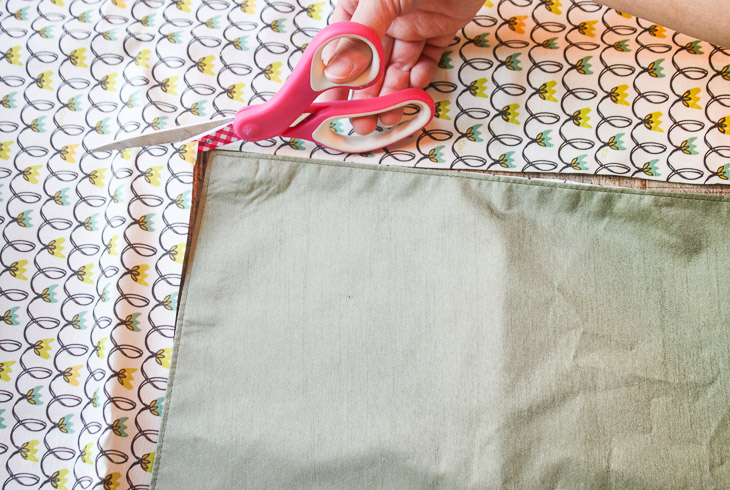
Lay the placemat on top of the patterned fabric (leaving the folded edge folded.) Cut around the placemat shape.

Home State Pride Spring Garden Flag | Pretty Handy Girl

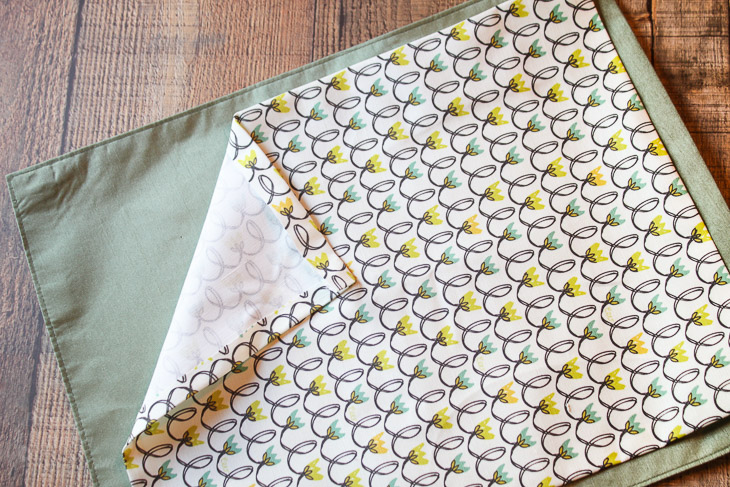
Fold the edges of the patterned fabric under approximately 1/2″ on all sides. Iron the folds.

Home State Pride Spring Garden Flag | Pretty Handy Girl

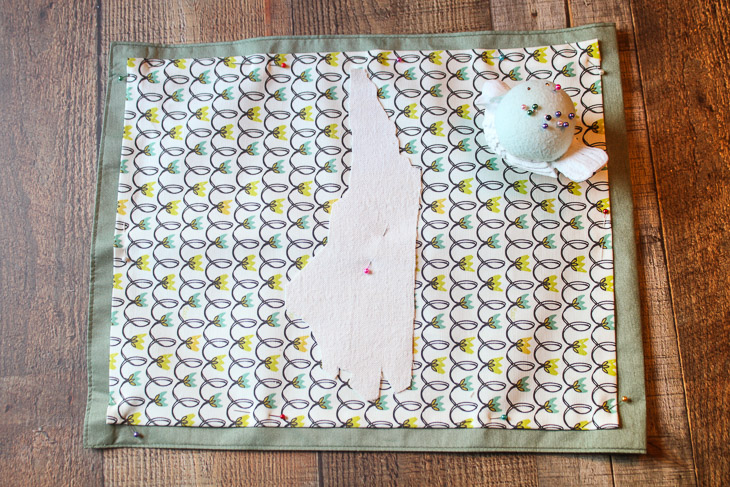
Center the patterned fabric on the placemat and secure with pins. Center the state cut out on the patterned fabric.

Home State Pride Spring Garden Flag | Pretty Handy Girl

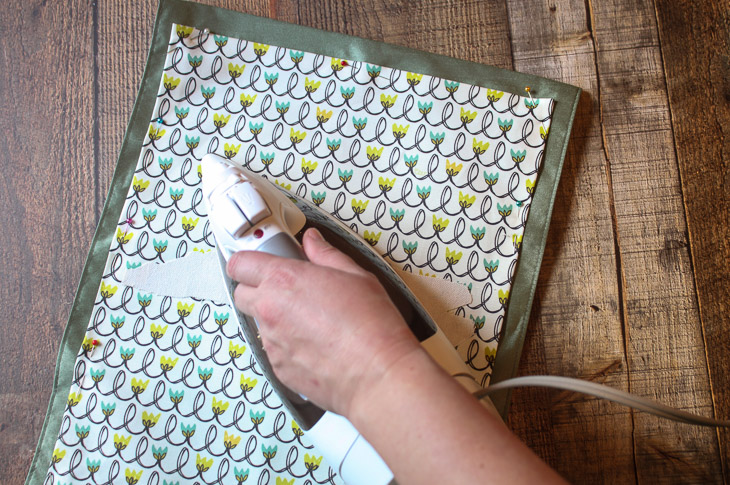
Iron the state shape to the patterned fabric until the interfacing melts and bonds.

Home State Pride Spring Garden Flag | Pretty Handy Girl

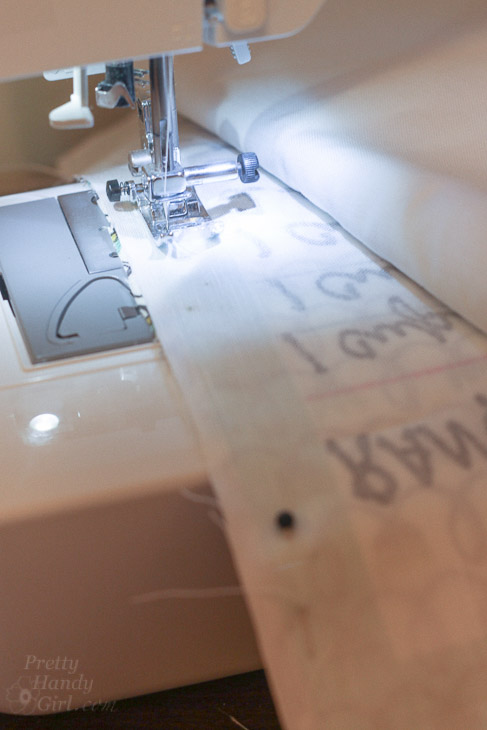
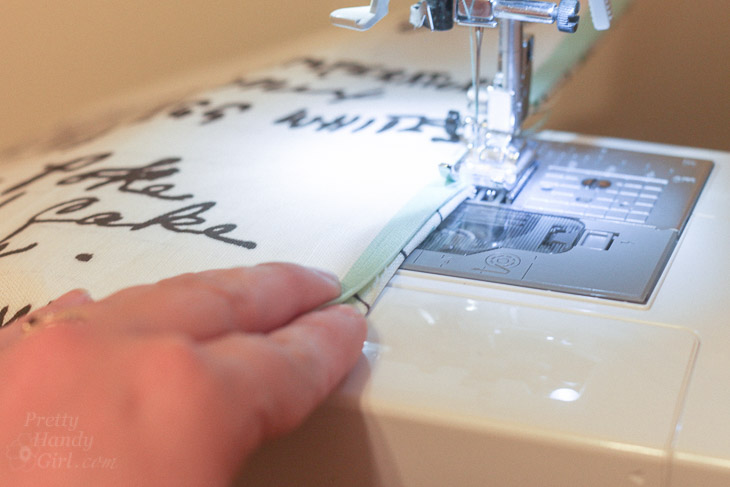
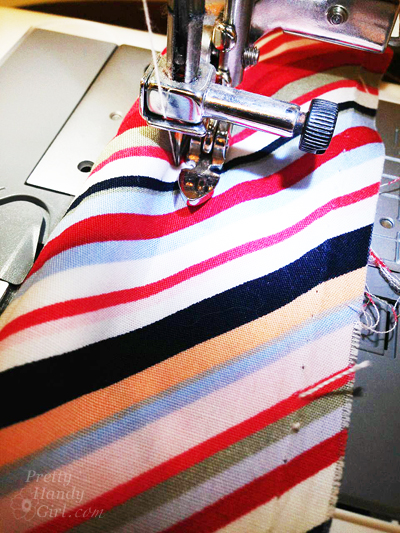
Open up the folded edge of the placemat and stitch around the perimeter of the patterned fabric.

Home State Pride Spring Garden Flag | Pretty Handy Girl
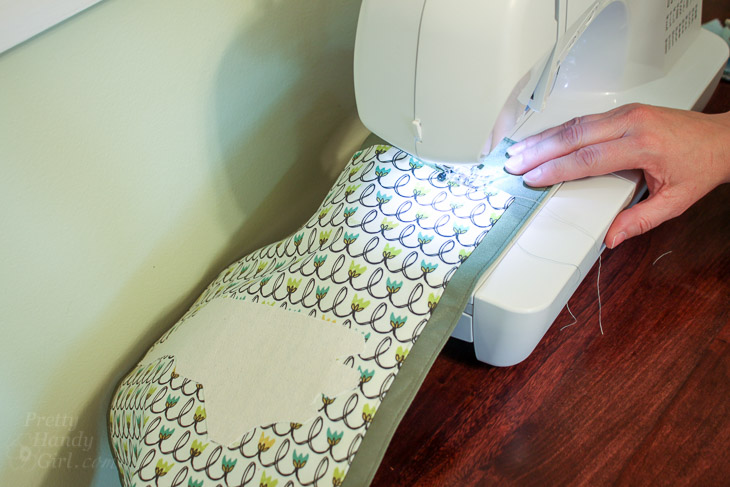
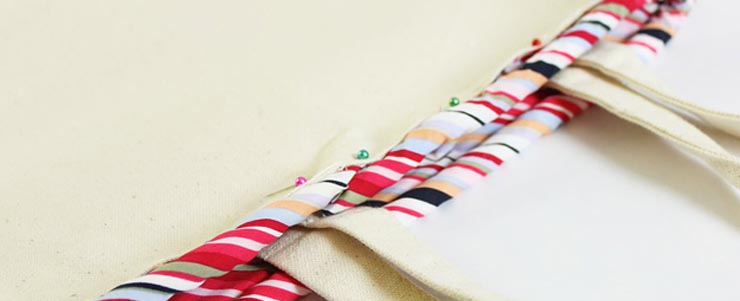
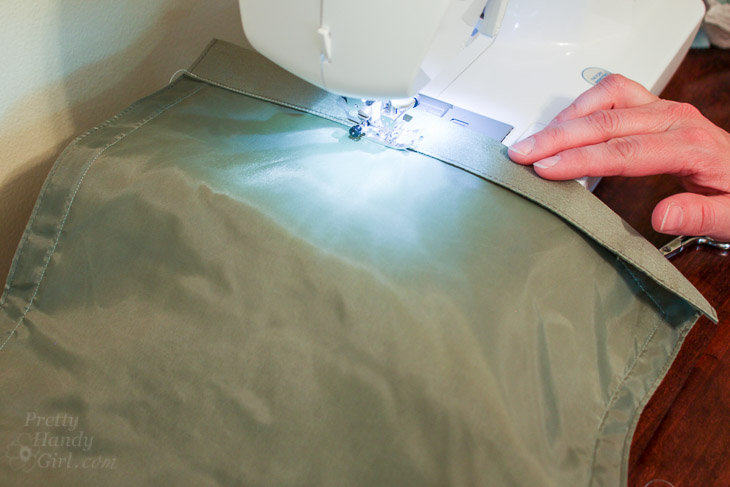
Flip the placemat over and stitch the folded edge down to create a pole pocket.

Home State Pride Spring Garden Flag | Pretty Handy Girl

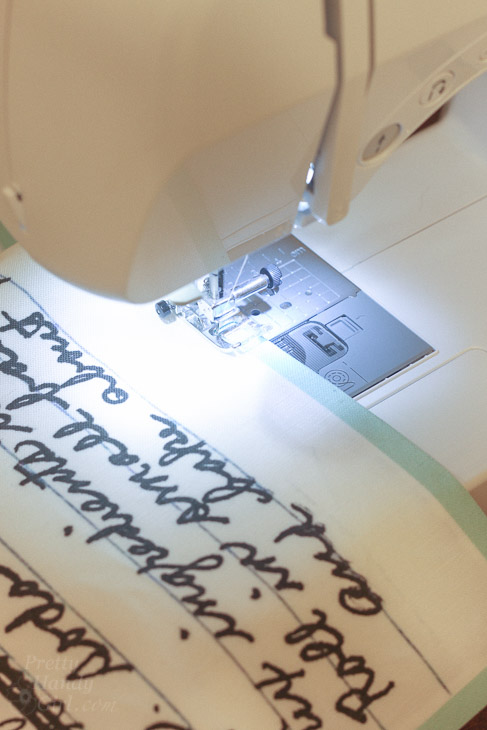
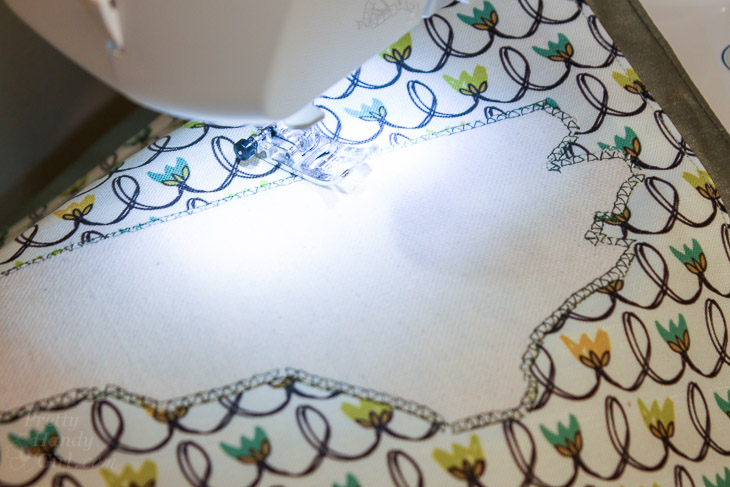
Choose a decorative stitch (if you have a sewing machine that will make decorative stitches) and sew around the border of the state flag cut out.

Home State Pride Spring Garden Flag | Pretty Handy Girl
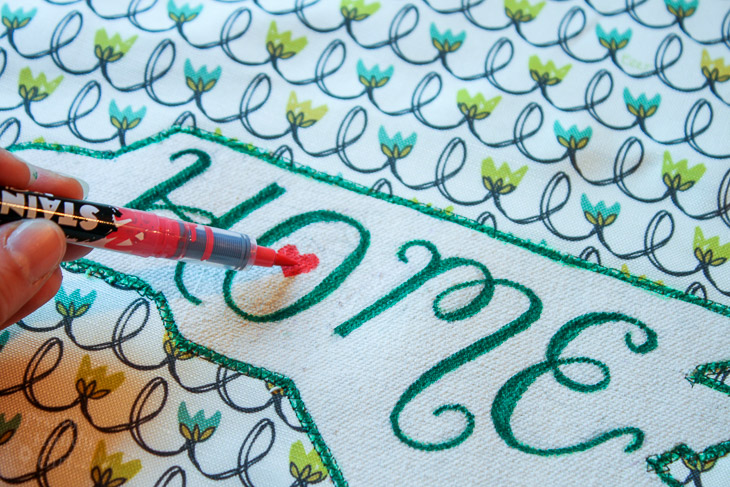
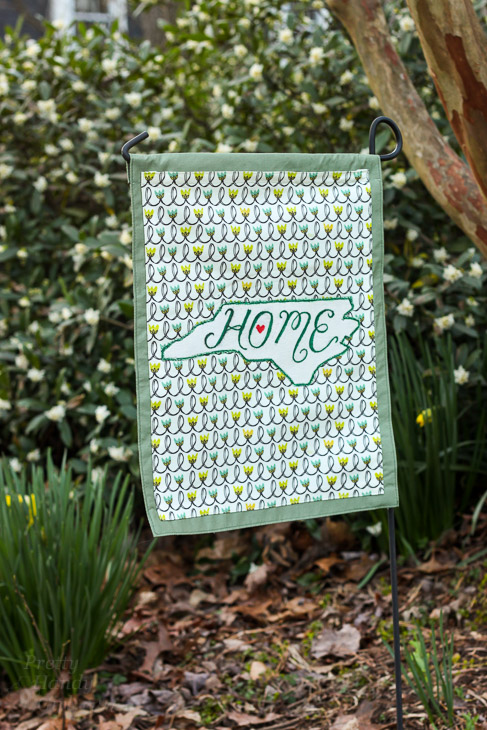
Lightly trace your letters in pencil. Draw over the pencil lines with Sharpie Stained Markers. (I chose to outline the state shape to help it stand out better.)

Home State Pride Spring Garden Flag | Pretty Handy Girl

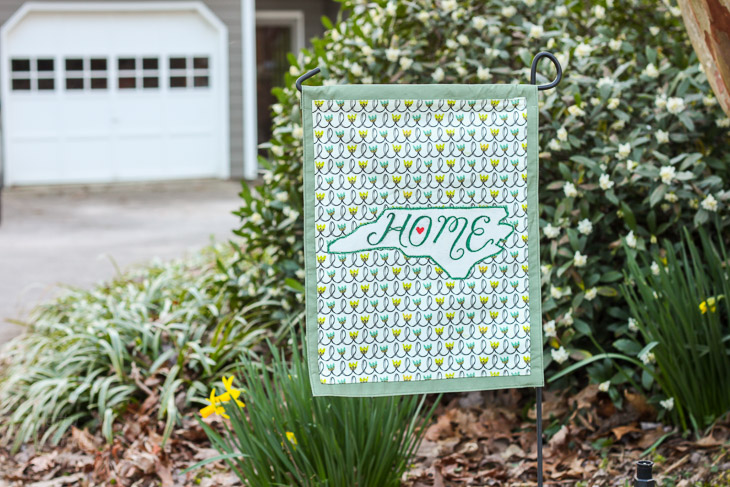
Hang your DIY Home State Pride Garden Flag out in the yard and enjoy!

Home State Pride Spring Garden Flag | Pretty Handy Girl

Be sure to pin this project for a friend (because friends don’t let friends pay full price for home décor! Right?!)

Home State Pride Spring Garden Flag | Pretty Handy Girl

Like these cute garden flags? Stay tuned because we’ll have a lot more on Friday.

How to Sew Reversible Recipe Card Placemats | Pretty Handy Girl

How to Sew Reversible Recipe Card Placemats | Pretty Handy Girl

A few months ago, my husband’s grandmother passed away. She was an amazing woman, super smart, and always had a kind word to say about anything. She also had an amazing laugh, the kind that brought you to laughter yourself. Recently I came across the box full of recipes that she gave us as a wedding present. It was fun reading through them and picking ones that had little notes about her favorites and her husband’s favorites (my husband’s grandfather.) I decided to follow the idea of Emma from Hello Beautiful, who memorialized her grandmother’s handwriting on tea towels. I thought it would be fun to take some of the recipe cards and make reversible placemats for my mother-in-law.

Before we get started, I have to wish you all a Happy New Year! Yes, I know it’s been two weeks since the official new year. But, I’ve been sleeping in and taking time to chill. Our kids have been out of school after a snow/ice storm shut down Raleigh. Yes, I know, go ahead and laugh. But, we don’t have enough plows to clear all the neighborhoods and our streets are currently skating rinks. Don’t believe me? Check this video of a man skating on his neighborhood street.

If you are snowed in (or if you have some time on your hands) take an afternoon to make these memorable recipe placemats.

Want to learn How to Sew Reversible Recipe Placemats? Let’s get it done.

Materials:

Optional: 1 ½ yards of water resistant fabric (I used black out shade material.) You’ll want to use at least one layer of fabric or batting in between your layers or the pattern side will show through on your recipe card side.

Instructions:

Start by taking a photo of your recipe card. I used my iPhone and the Turbo Scan App. Bring your scan into a photo editing program. Clean up the scan and enlarge to 13 ½” x 18 ½”. Add an 1½” coordinating border to your scan. This will give you enough excess for seam allowance and to leave you with an inch border.

Combine your scans into one document. For six placemats, you can format them like this:

How to Sew Reversible Recipe Card Placemats | Pretty Handy Girl

My final document size for the six placemats is: 48″ x 42″ to fit on the Linen Cotton Canvas Ultra Fabric. I left a half inch border of white on the outside of my image.

Upload your file to Spoonflower.com and order 1 ½ yards of Linen Cotton Canvas Ultra Fabric.

Cut your fabric between recipes.

How to Sew Reversible Recipe Card Placemats | Pretty Handy Girl

Lay each recipe placemat on top of the pattern fabric and cut your patterned fabric to the same size. Cut your water resistant fabric to size.

How to Sew Reversible Recipe Card Placemats | Pretty Handy Girl

Layer the water resistant layer first, the patterned fabric second, and the recipe fabric face down next (as shown below.)

How to Sew Reversible Recipe Card Placemats | Pretty Handy Girl

Pin the layers together.

How to Sew Reversible Recipe Card Placemats | Pretty Handy Girl

Stitch through the three layers around the outside of the border. (Be sure to stay slightly inside the colored border to avoid having a white line showing.) Leave a 2-3″ gap unstitched.

How to Sew Reversible Recipe Card Placemats | Pretty Handy Girl

Trim off the corners at an angle.

How to Sew Reversible Recipe Card Placemats | Pretty Handy Girl

Pull all three layers through the gap to turn your placemat right side out.

How to Sew Reversible Recipe Card Placemats | Pretty Handy Girl

Use a pen or pointed object to poke the corners out.

How to Sew Reversible Recipe Card Placemats | Pretty Handy Girl

Stitch along the inside edge of the border with coordinating thread to secure all three layers (and to create a pretty border.)

How to Sew Reversible Recipe Card Placemats | Pretty Handy Girl

Topstitch the gap closed. Keep your stitches as close to the edge as possible.

How to Sew Reversible Recipe Card Placemats | Pretty Handy Girl

Now set your table and wait for your guests to start reading the recipes!

How to Sew Reversible Recipe Card Placemats | Pretty Handy Girl

If you get tired of the recipe side, flip them over to the pattern side.

How to Sew Reversible Recipe Card Placemats | Pretty Handy Girl

I gave the placemats to my mother-in-law for Christmas. She was definitely surprised and touched by the gift.

How to Sew Reversible Recipe Card Placemats | Pretty Handy Girl

It’s nice to have a memento of my husband’s grandmother around. Hopefully we’ll see the placemats come out next time we are at his parents.

Do you have any writing of a loved one that you’d like to memorialize? This is such a nice way to keep the memory alive.

Disclosure: This is NOT a sponsored post. Spoonflower was mentioned in this post only because I like their ability to print anything on fabric. They have not idea I like them. You will always be notified if you are reading a sponsored post.


Make a Summer Garden Flag from a Dollar Store Placemat | Pretty Handy Girl

I have to admit, I’m a little addicted to making garden flags out of fabric placemats from the dollar store (The Dollar Tree to be exact.) In fact this flag was made using all materials from The Dollar Tree. I bought fake flowers, bar towels and a placemat to make this summery flag. Best of all, you could make this flag with or without a sewing machine.

If you missed my previous flags, this was our winter flag:

and our Fall flag.

fall_yall_garden_flag_2

And our Valentine’s Day flag (that I’m embarrassed to say hung until this week.):

Yup, they are all made with dollar store placemats!

I finally caught up to the correct season and made this cheery garden flag!. As I like to say, “Better late than never!”  Read more

Make Piping Out of Thrift Store Finds | Pretty Handy Girl

How to Make Piping from Thrift Store Finds | Pretty Handy Girl

I used to buy expensive piping from my local fabric store, until the day I learned how to make my own piping. When I saw how easy making custom piping is, I never bought another yard! More recently I found a way to make piping for even less! I frequent my local thrift stores in search of items that can yield thin strips of fabric to make my own piping.

Here are a few things you can buy at a thrift store to make piping:

  • Shirts
  • Pants
  • Ties
  • Fabric Belts
  • Scarves
  • Curtains
  • Linens
  • Tablecloths

Here are some tips for harvesting the material from  your thrift store finds:

Old Shirts: Cut off the arms and remove the cuffs.  Cut the front and back shirt panels out.

Customize a Tote Bag with an Old Shirt | Pretty Handy Girl

Pants:

Similar to the shirts, cut off the legs and remove the cuffs.

CutoffPants1

Have leftover pant material? Pant legs can also make cute bucket liners!

Ties and Fabric Belts:

Ties and fabric belts can be split open. If the fabric is at least 5″ wide, it can be cut in half.

Piped Tote Bag Tutorial | Pretty Handy Girl

Scarves:

Cut scarves into 2.5″ strips.

Stenciled and Dyed Scarves Tutorial | Pretty Handy Girl

Now let’s use that fabric to Make Beautiful Piping Out of Thrift Store Finds.

How to Sew Piping: Read more

It's inevitable your little ones will get bump or bruise. Make them a Boo-Boo Bear to sweeten those tough times by Prodigal Pieces www.prodigalpieces.com #prodigalpieces

It's inevitable your little ones will get bump or bruise. Make them a Boo-Boo Bear to sweeten those tough times by Prodigal Pieces www.prodigalpieces.com #prodigalpieces

Hello PHG readers! I’m coming over from my blog, Prodigal Pieces, to share with you a sweet DIY that is easy to whip up and will make everyone smile (not to mention it makes a perfect last-minute gift!).

Do you remember the days as a child when you would stumble and hurt your knee or have some bump that required a little TLC? As a mom to 6 wonderful kids, I know how precious those times can be, and that’s where Boo-Boo Bear (a rice ice and heat pack) can sweeten those troubled times.

Boo-Boo Bear is sweet little friend who serves as a comforting ice pack that is the perfect temperature for those bumps and bruises that come along, AND he can also be lightly warmed in the microwave to soothe aches and pains. Want to make one for a special little person in your life? Read more