Make it May a Stay at Home Series by Pretty Handy Girl

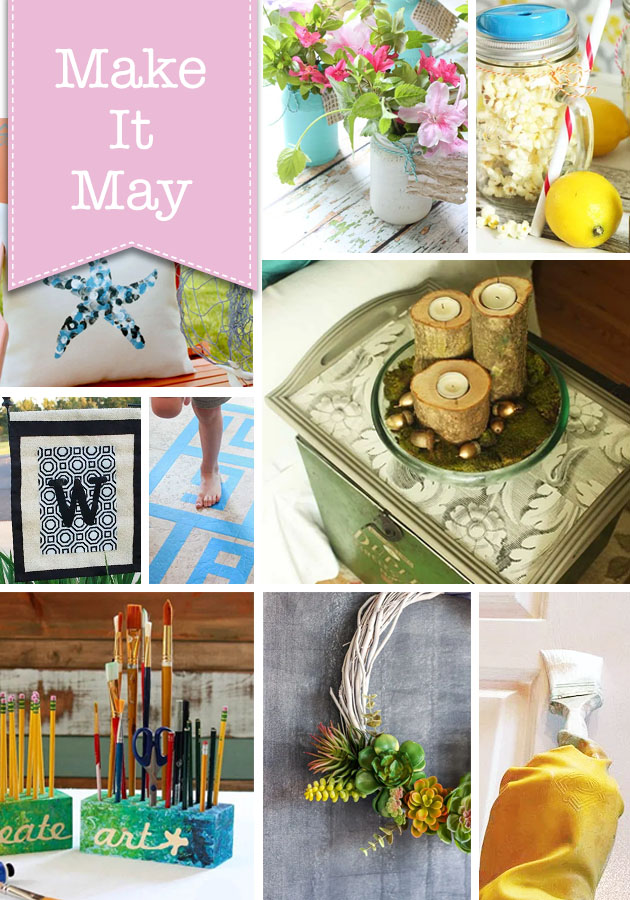
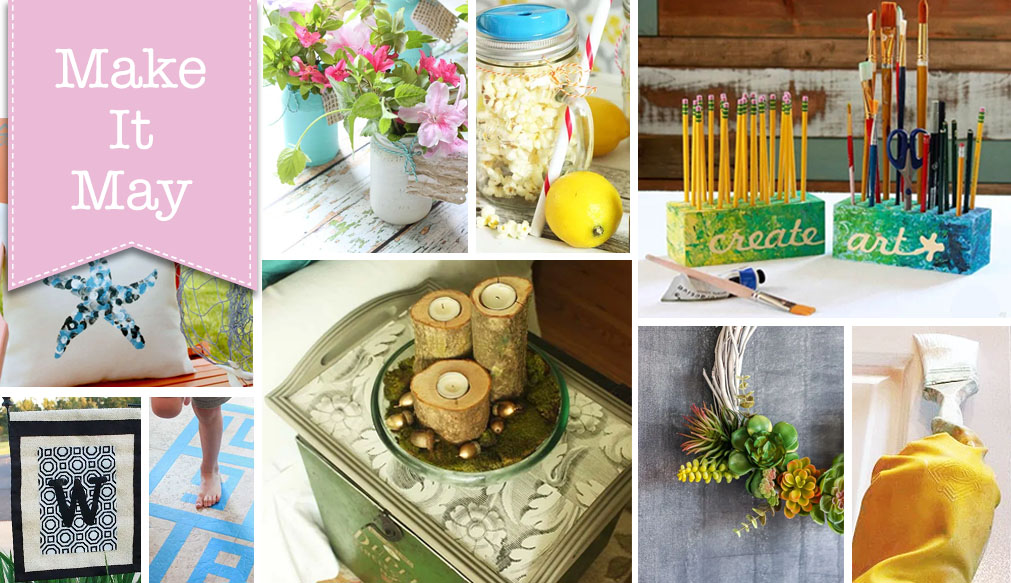
Make It May! A Stay at Home Series

My friends, I know with confidence that COVID-19 has changed your life. I truly hope you and your loved ones are safe and healthy during this scary outbreak. While my entire family is home with me 24/7, I’ve been keeping busy with home and garden projects. All while also trying to keep up with cooking and caring for my family. But, I’m also trying to carve out time for myself to keep me sane. Personally, I know a little sunshine, sweat, and creativity will get me through this ordeal. Although I can get outside, I know many of you still have to work or don’t have the ability to get outside. Please share how you’re staying sane in this insane time! Specifically, what are you doing to “Make It” through?

With the goal of helping us all “Make It” through May, I’m going to be sharing some hand-picked tutorials with you that I know you can make while staying home and with limited supplies.

From Monday – Friday look for one “Make It May” project a day. If you haven’t already, you’ll want to subscribe to my email list to get each project delivered to your email. (Did you know if you subscribe to my email list you can simply reply to any email to chat with me? You can ask me questions, tell me how your project turned out, or just say Hi!)

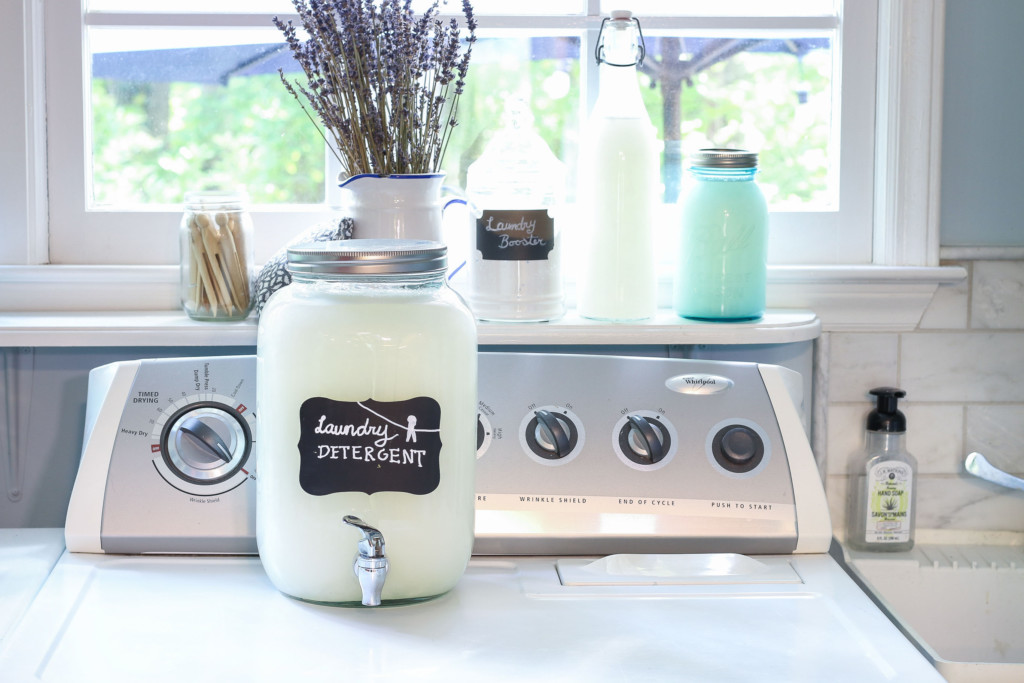
This morning’s Make It May project was the recipe for making your own laundry detergent. You may wonder why anyone would want to make detergent when you can buy it at the store? I’ve been making my own laundry detergent for nine years now and one batch lasts us 6-9 months.

Make Your Own Laundry Detergent for Only $1.25 per year

We just ran out last week and luckily I didn’t have to “run out” to the store to buy more. Plus, did I mention the detergent I make costs us $1.25 per year? It’s true! If you missed that tutorial this morning, here it is again.

Next week I’ll be bringing you five tutorials you can make for yourself, make with the kids, or make as a last-minute Mother’s Day gift! I can’t wait to share all 21 projects with you!

Once the projects publish you can see All the Make It May Projects Here!

Have a great weekend and don’t forget to subscribe below.


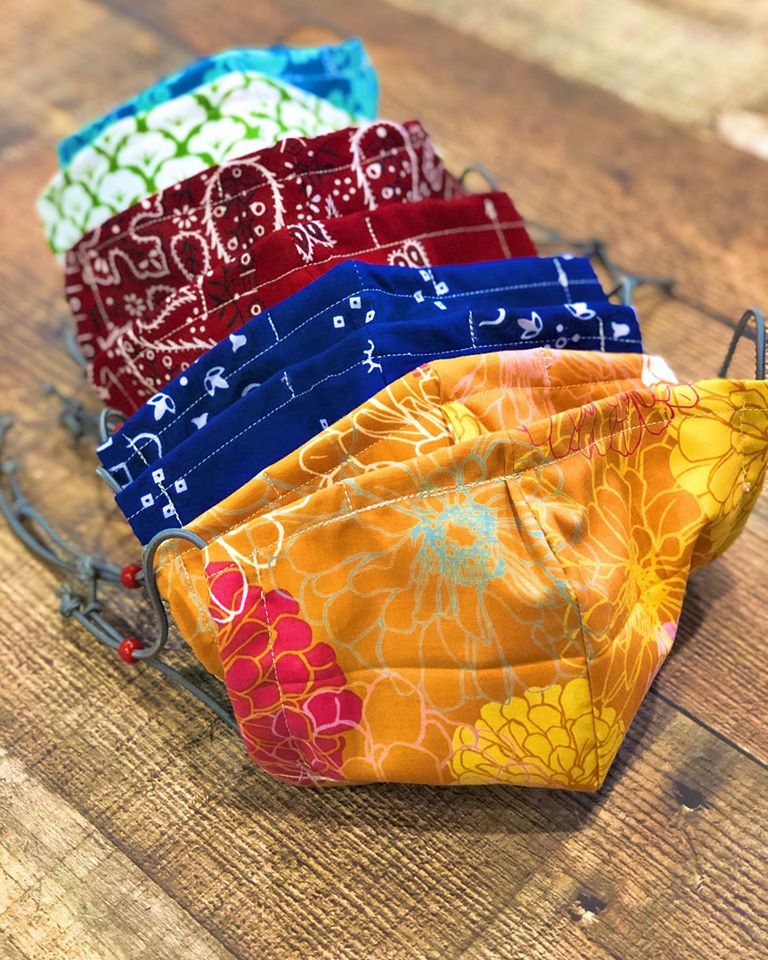
Over the weekend I completed something I’m really proud of! Honestly, I worked like a dog because I felt the urgency to share this tutorial with the world. If you happen to follow me on social media, you already know that I created the Best Fit Face Mask. After struggling with several different patterns online I bemoaned the fit on all of them. Not one of the face mask were any I could wear for any length of time. You could say, I consider myself a face mask connoisseur especially because I searched for years to find my more form-fitting and comfortable masks used for carpentry or demolition.


Best Fit Face Mask

As a general contractor and woodworker, I had searched for form-fitting and comfortable masks to protect my lungs from dust and debris and had my favorites. Several didn’t have a good tight fit around the nose, which inevitably meant I was blowing sawdust out my nose at night. A good fitting mask doesn’t allow air to come in next to your nose. For that reason, I knew there were better options than most of the sewing mask patterns I found. After a weekend, I designed this easy sew Best Fit Facemask Tutorial for use by the public and medical professionals trying to protect N95 and surgical masks while also staying safe during the COVID crisis. (These are not a replacement for N95 or surgical masks. These masks are designed to add an additional layer of protection.) Looking for a simple, stylish, and better fitting face mask? Well, I have you covered. Get it? Covered? ;-D

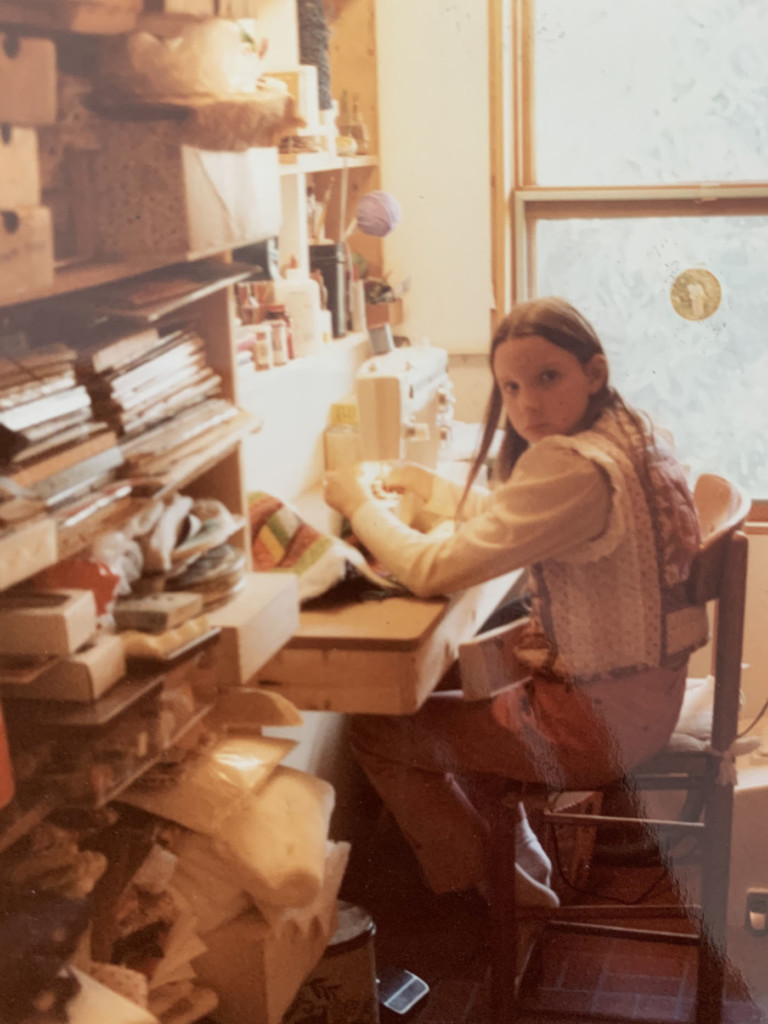
Truth be told, my Mom reminded me I’ve been sewing and perfecting this design for almost forty years! This is me sewing a quilted rainbow vest (remember Punky Brewster?!)

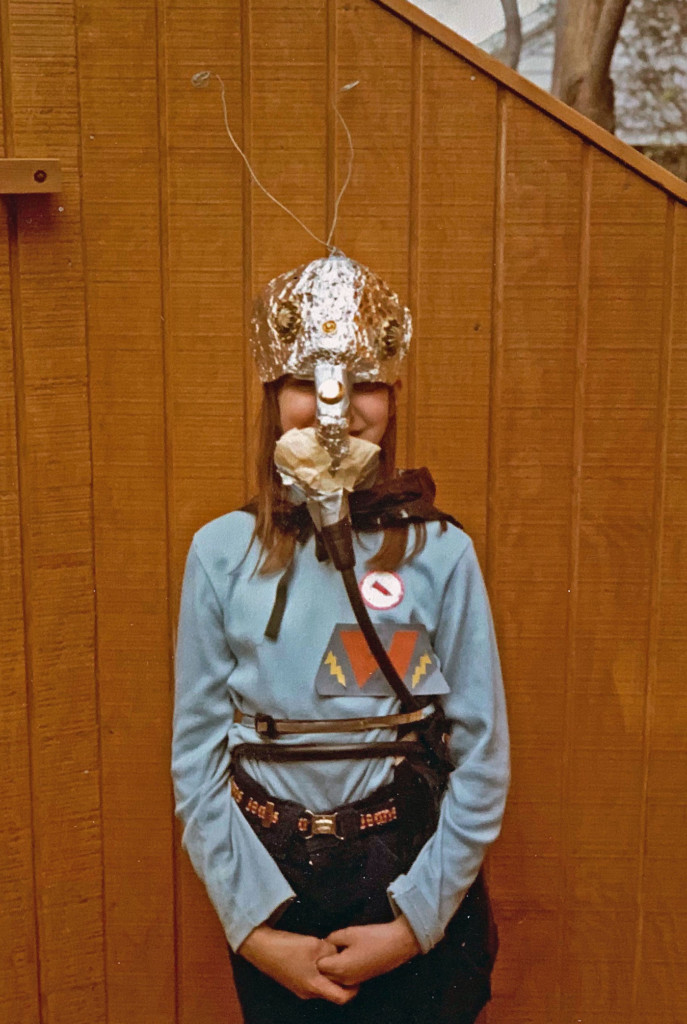
And this was my costume for Future Day in elementary school. It’s a bit crazy that I thought the future was a place where we’d have so much smog we couldn’t breathe clean air. My costume was a mask with an oxygen tank on my back made from an egg carton. Kind of scary how our current day is a place where we fear the air we are breathing.

Thank goodness, we don’t have to wear tin foil covered milk jugs on our heads. I much prefer wearing the Best Fit Face Mask, a more form-fitted cloth mask with adjustable ties around the ears to fit a wider variety of faces (and keep from irritating the ears after wearing for long periods of time). The mask pattern also has an optional filter pocket, should you need the extra protection (although, frankly it gets harder to breathe the more layers you add.)

Here are a few details about the mask:

  • Two Sizes (Medium and Large)
  • Easy to Sew
  • Filter Pocket
  • Adjustable Nose Clip
  • Fitted around nose, chin and cheeks
  • Less Fabric Waste

Are you ready to make your own Best Fit Face Mask?
Click here to be taken to the full instructions with video and downloadable instruction sheet with templates!

One more thing, I share several options for materials, especially because there seems to be a shortage of elastic.


Prefer to purchase a Best Fit Face Mask? This is the link to the database of sellers.

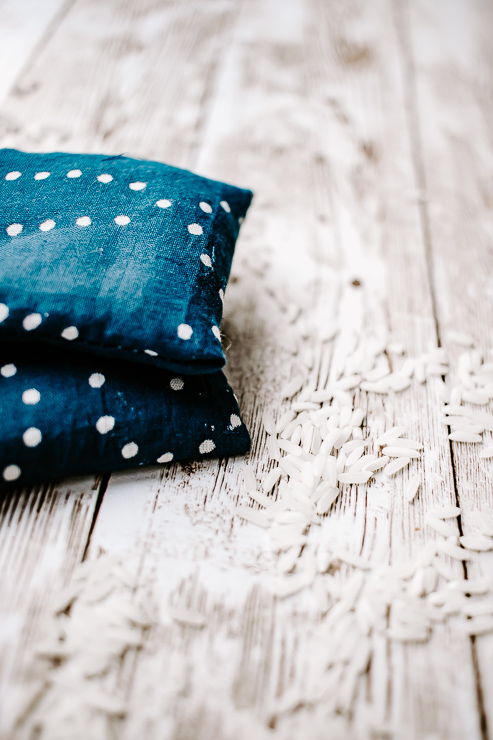
Hand Warmers with Rice DIY

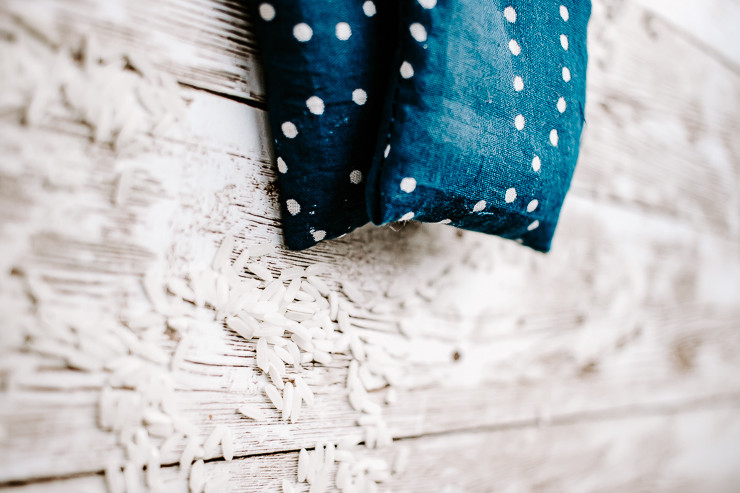
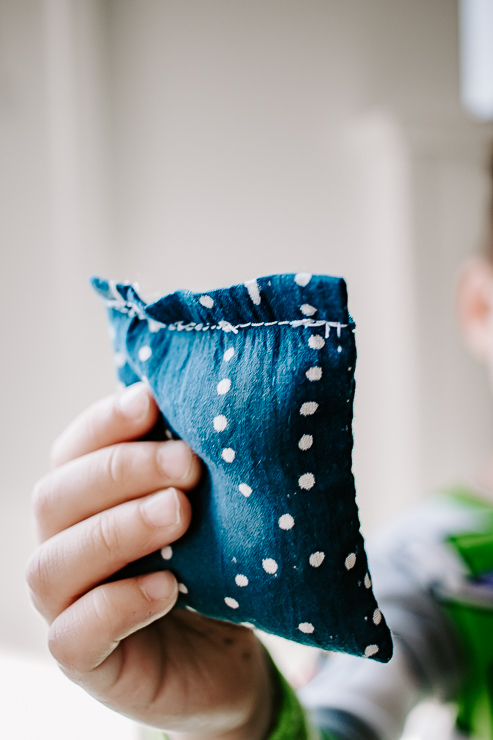
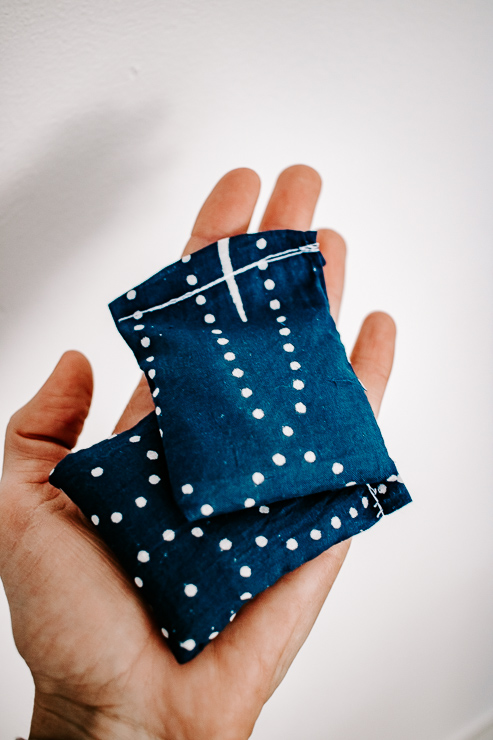
Since most of us are in the full swing of winter, I thought hand warmers would be the perfect DIY project for your weekend. Learn how to make these Easy DIY Hand Warmers You’ll Want to Take Everywhere!

How to Make Easy DIY Hand Warmers
Easy DIY Hand Warmers You’ll Want to Take Everywhere

Friends! I’m so excited to be back today with a new project for you – these cozy little DIY hand warmers. This is a great way to use any leftover fabric scraps you may have laying around. Sometimes a fabric is just too beautiful to throw away.

Hand Warmers with Rice DIY

I have tons of leftover fabric pieces that I’m always repurposing into something new. These DIY hand warmers are perfect because you don’t need a lot of fabric to make them. And they take no time at all to complete.

Read on for the full tutorial.

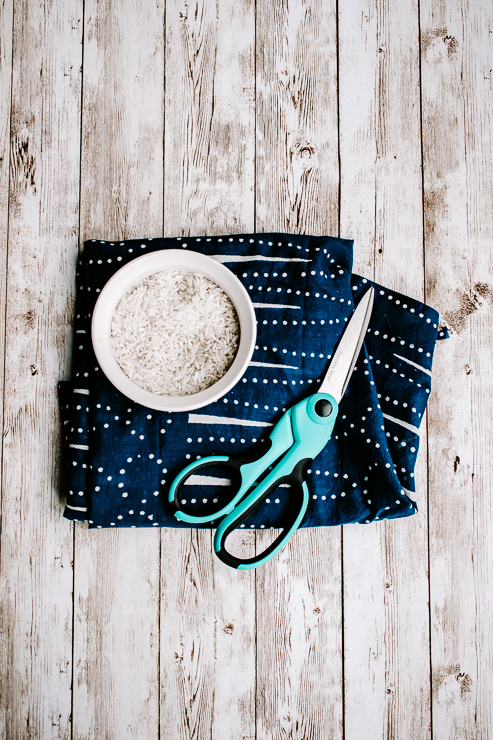
Materials:

(I’ve included affiliate links for your convenience. I earn a small percentage from a purchase using these links. There is no additional cost to you. You can read more about affiliate links here.)

Materials needed for hand warmers

Instructions:

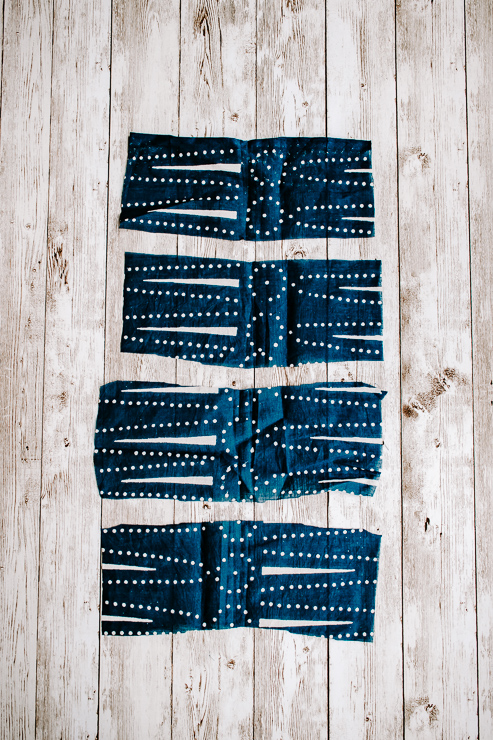
Cut rectangles out of fabric

Step One: Cut Your Fabric

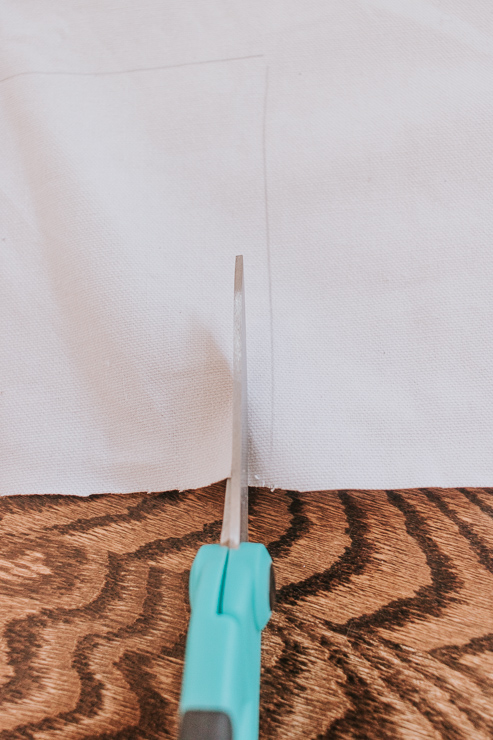
Take your fabric and cut out a rectangle roughly about 3.5 inches tall by 8.5 inches wide. Don’t worry about the measurements being exact, we can even it up later. Just make sure you have a rectangle like shown above. This is the basic shape and you’ll see why in a minute.

Step Two: Fold your Fabric in Half and Sew Two Edges Closed

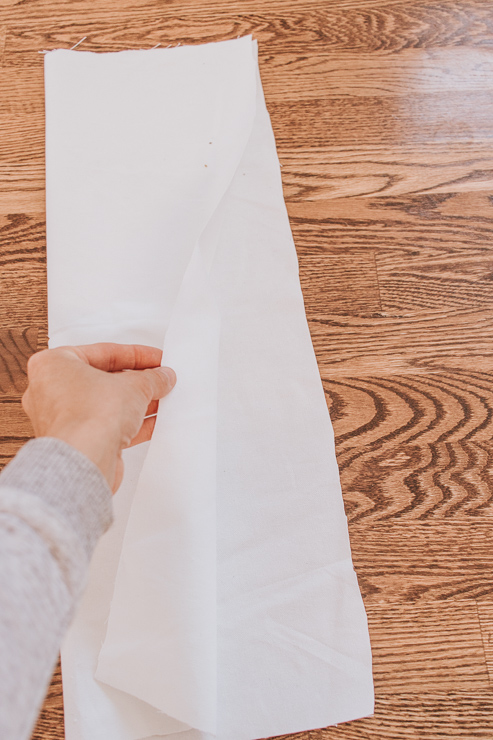
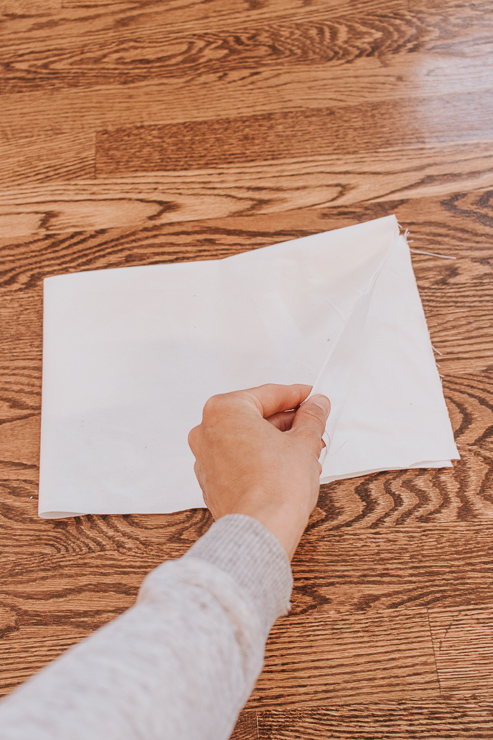
Fold fabric in half to make a square

Now that we have our rectangles cut, take each one and fold it in half. This will make a little square. Note: Make sure the print sides of the fabric are facing each other. (If your fabric is only one-sided, you want to make sure the non-print side is facing out, and the pattern is on the inside.

Pssst: that’s why we cut the rectangle shapes in the first step – it’s just one less side to have to sew!

Fold fabric in half

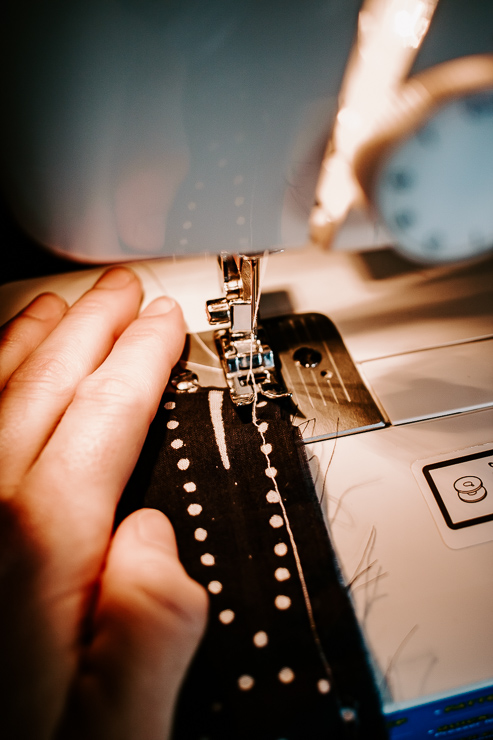
You will find that you have three open edges on your fabric square. Sew the two parallel edges closed. For added strength, sew each edge several times to ensure it is closed tightly.

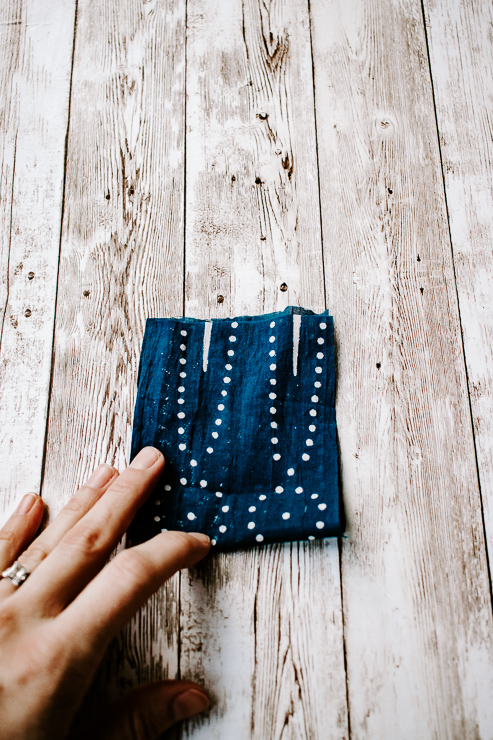
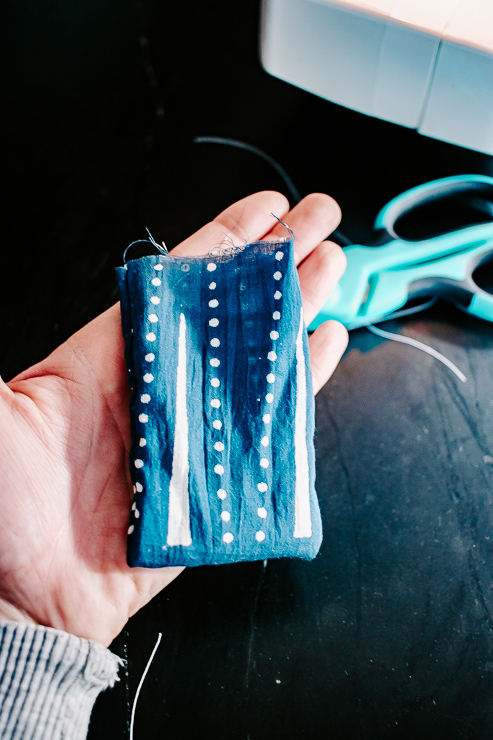
Now flip your little square right sides out. The stitches will be on the inside. And now you have a cute little pocket!

Showing a Fabric Pocket for making Hand Warmers

Step Three: Fill your Fabric Pocket with Rice

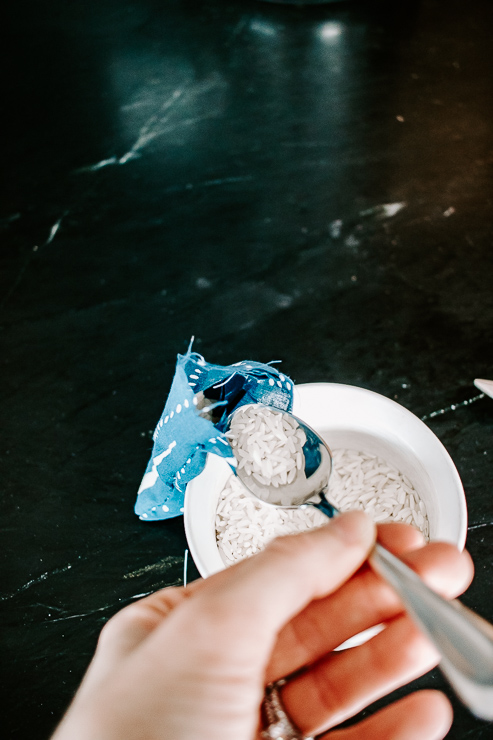
Spoon some rice into the open edge of each little fabric pocket. You really don’t need too much here. Make sure to leave enough space at the top to comfortably sew the open edge closed after filling. Do not overfill your pocket.

Fill Fabric Pockets with Rice

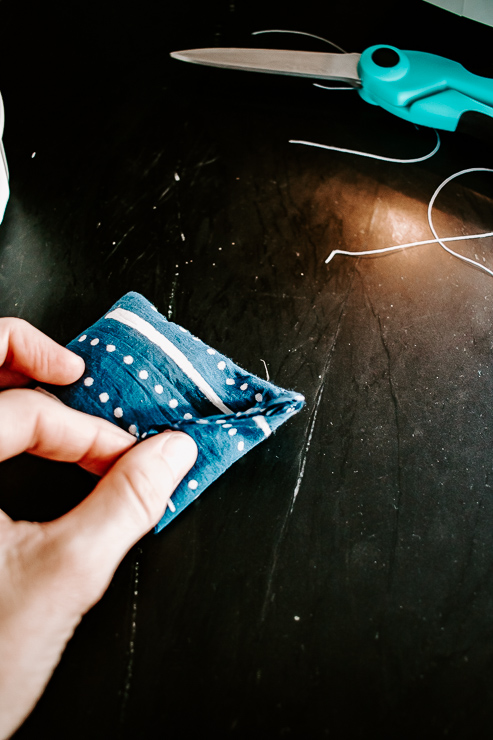
Because I wasn’t too concerned about it looking perfect, I folded the open edge down to close it while sewing. And that leads us to Step 4!

Step Four: Sew pouch closed

Sew Fabric Edges Shut

We are almost done! All we need to do is close up that last open edge. You can sew it up by tucking in the raw edges and stitching over top. Or create a neat little fold and stitch on top, as I did. Just make sure it’s sewn tight so no rice falls out.

Sew Fabric Edges Shut

And that’s it! These little DIY rice warmers take all of five minutes to make and they are so handy during the chilly winter months!

How to Use DIY Hand Warmers

Now that we have our cozy little warmers, we need to “warm” them up in the microwave.

I heat my warmers anywhere from 10-30 seconds in the microwave. I would start with the lowest amount of time and increase the time slowly. These rice warmers can get very hot, so be careful! And please keep a close eye on them as they are heating at all times.  It takes some experimentation to find out what the perfect temperature is for you.

Easy DIY Hand Warmers

These hand warmers can last a fairly long time. I had one still giving off some heat after 30 minutes! They will naturally cool down after a while. Just reheat them as needed.

These hand warmers are perfect to take on walks. Before you leave the house, heat them up and tuck a few in your coat pockets to keep your hands nice and toasty. Or, grab a few to take to the neighborhood park with the kids. I’m always cold sitting on the park bench watching my kids play!

Hand Warmers with RIce DIY

You can also use these at home. Tuck them under your feet or under a cozy blanket for a real cozy treat! I’ve actually made larger versions of these as heating pads in our home. My kids love them. It’s the perfect soother for a bellyache or leg ache. And bonus, the larger ones hold heat much, much longer.

Easy DIY Hand Warmers

If you like this tutorial, check out my post on making scented rice sachets.

Stay warm folks and I’ll meet you right back here next month!

karen signature

~ See More of Karen’s Tutorials ~


karen from decor hintHello!  I’m Karen, the creator of the Home Decor and DIY Blog: Decor Hint. I’m a Native of the East Coast, but I currently live in beautiful Seattle with my hubby, our two wonderful children, and our spunky wheaten terrier.

You can usually find me with some sort of craft in one hand and a coffee in the other. And I’m always rearranging furniture or moving lamps from room to room. I have a passion (read: obsession) for decorating, DIY, and gardening. In short, I love making my house into a home.

Like many, I’m inspired by what I see in home decor magazines, but I’m not so inspired by the price tags.  Consequently, I love finding and creating beautiful budget-friendly home decor items. In a head to head competition, I bet you’d never know the difference between the designer items and my DIY creations!  Many of my DIY projects focus on sewing, crafting, upcycling and organizing. Some of my favorite projects have been making pretty wreaths, sewing my own tassel hand towels, and crafting these trendy wood bead garlands. I can’t wait to inspire you and spark your creativity through my DIY projects.

You can always connect with me on Pinterest, Twitter or Instagram.


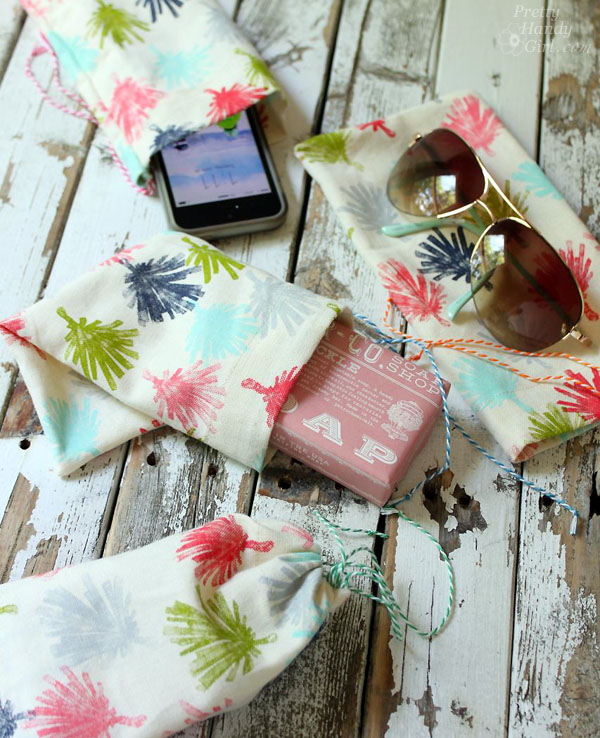
Still have some scraps of fabric? You could make these adorable gift bags.

Sew Easy Anthropologie Cloth Napkin Gift Bags | Pretty Handy Girl

diy sewing projects to help you learn to sew social media image

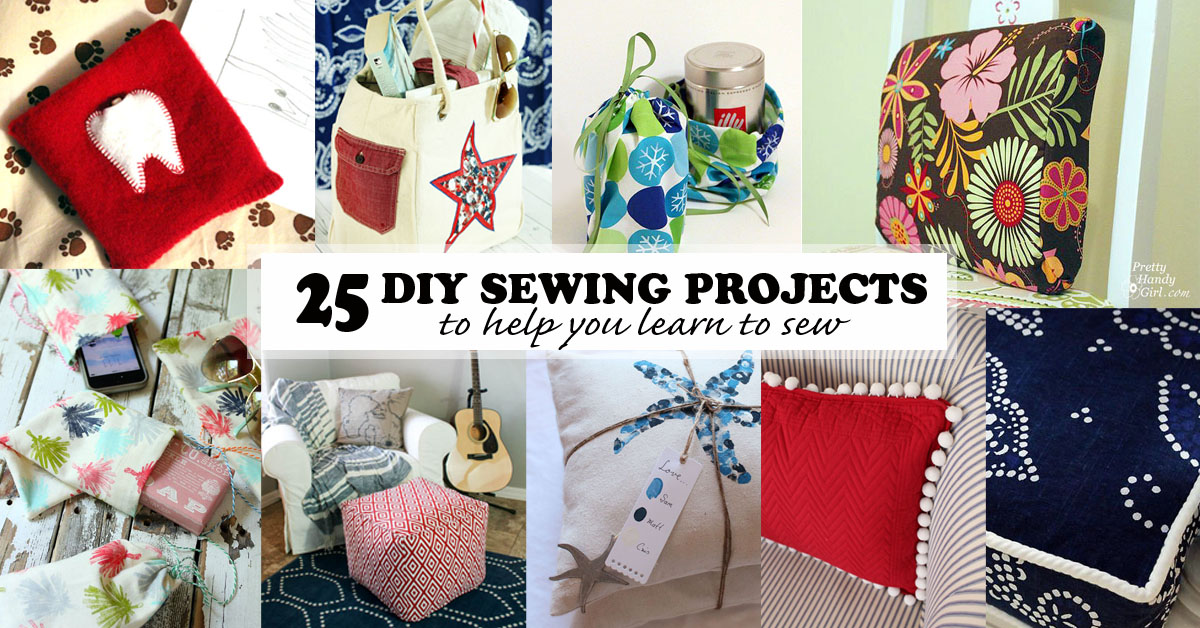
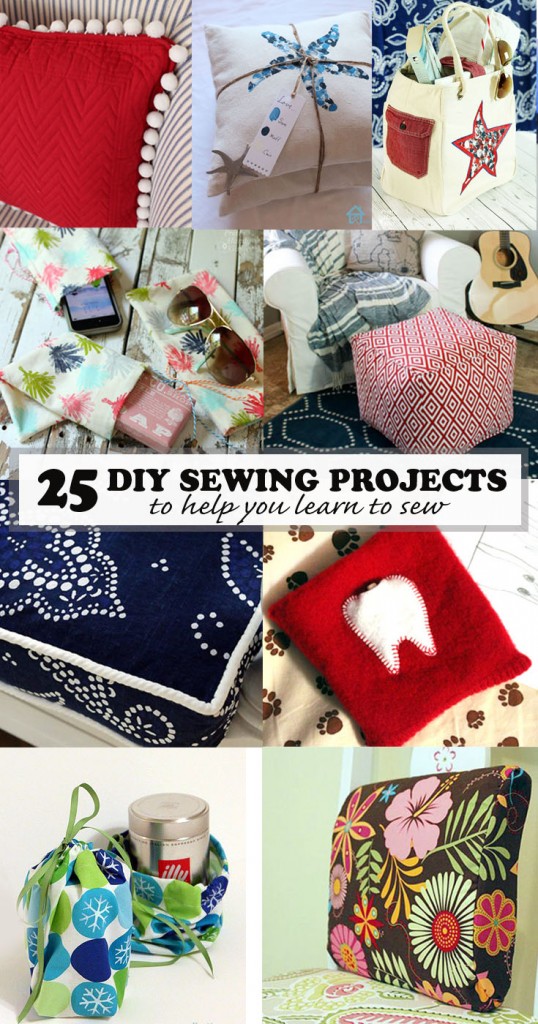
diy sewing projects to help you learn to sew pinterest imageDo you want to learn to sew or maybe practice some of the basic skills that you already know? These tutorials are a perfect collection of projects that will help you do just that! They are simple enough for beginners and creative enough for anyone that knows or is learning to sew. Here are 25 DIY Sewing Projects to Help You Learn to Sew!

25 DIY Sewing Projects to Help You Learn to Sew

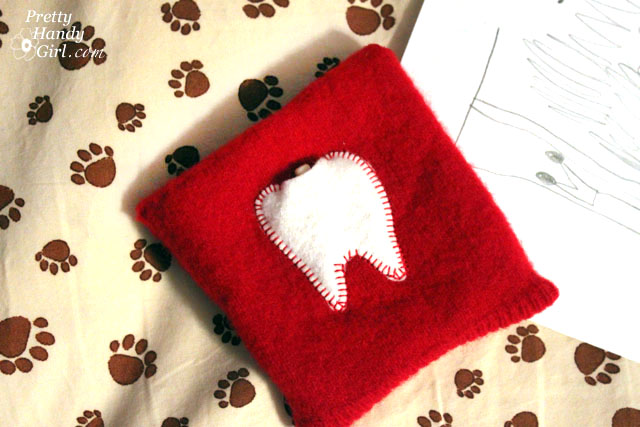
Easy Sewing Projects to help you learn to sew - 10 minute tooth fairy pouchMake this simple and cute Tooth Fairy Pouch from a sweater in just 10 minutes!


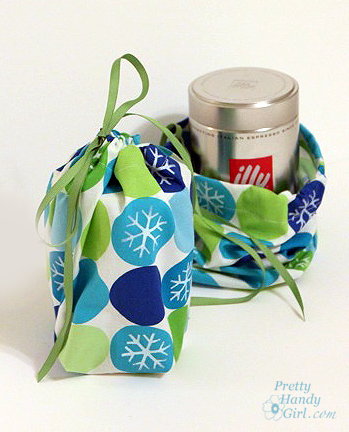
Easy Sewing projects to help you learn to sew - drawstring gift bag tutorial

These Drawstring Gift Bags are the perfect simple project for gift-giving all year long.


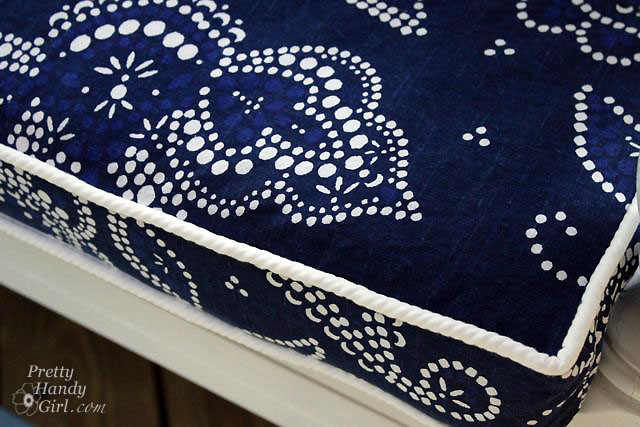
Easy Sewing Projects to help you learn to sew - Make your own pipingFollow this tutorial to make your own piping for cushions.


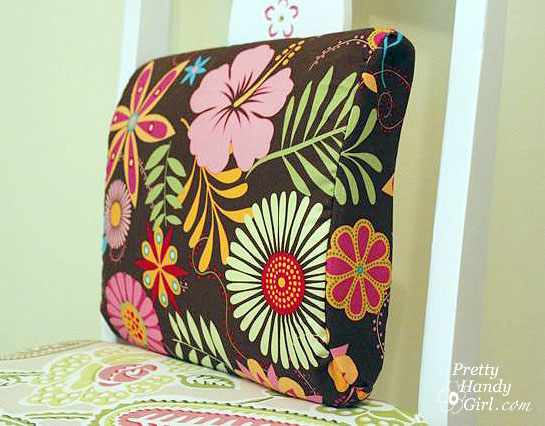
Easy Sewing Projects to help you learn to sew

Make your own back pillow with these instructions to save your back and neck and improve your posture.


Easy sewing projects to help you learn to sew- faux roman shadesAdd some pretty detail to your window coverings with these Faux Roman Shades.


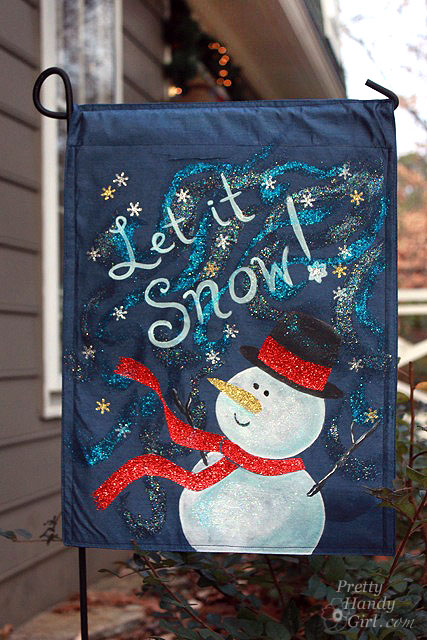
easy sewing projects to help you learn to sewSew inexpensive placemats to create this Snowman Flag.


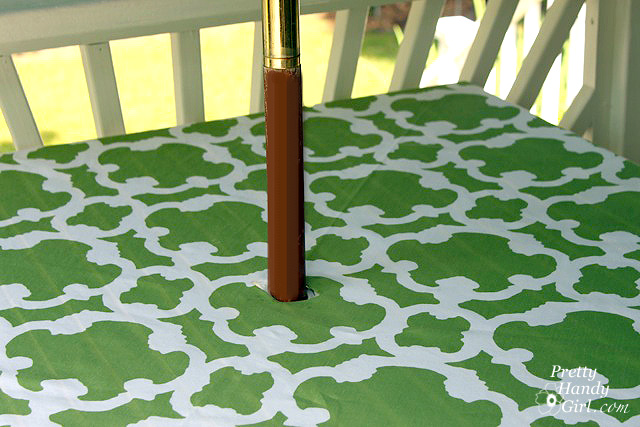
Easy sewing projects to help you learn to sew - no sew patio tablecloth

This Umbrella Ready Patio Tablecloth is actually a no sew project, but it is clever and worth reading!


Easy sewing projects to help you learn to sew -dog safety reflector bandana

Create a DIY Dog Safety Reflector Bandana with this simple tutorial and keep your buddy safer while walking in the dark.


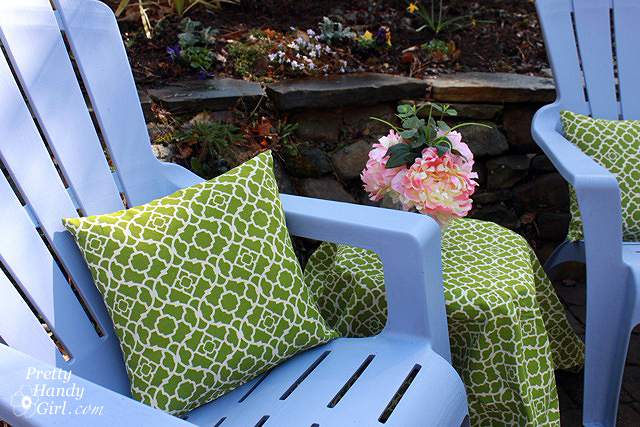
easy sewing projects to help you learn to sew - recover outdoor pillows

Recover Your Outdoor Pillows to add some fresh design to your patio.


easy sewing projects to help you learn to sew - thumbprint envelope pillows

Make an envelope pillow with this unique and personal Thumbprint Pillow tutorial.


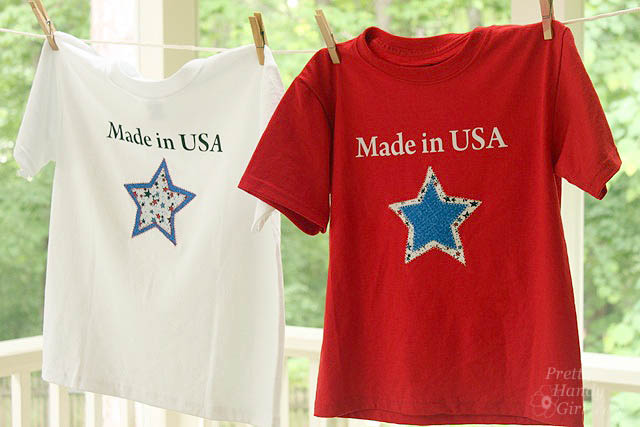
easy sewing projects to help you learn to sew - made in usa star shirts

Stitch on decals with this Made in USA Star Shirts Tutorial.


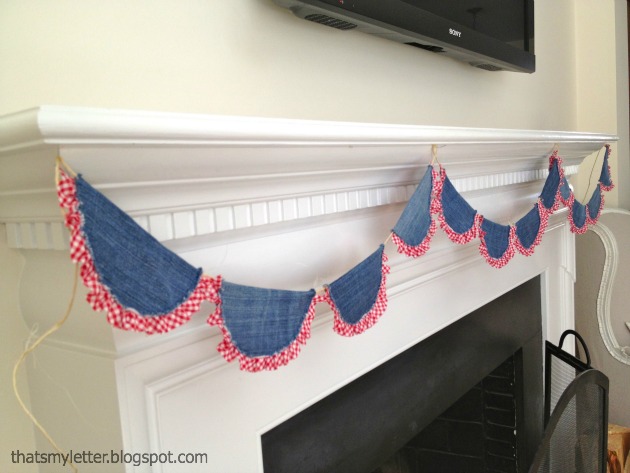
easy sewing projects to help you learn to sew - patriotic denim bunting tutorial

Sew bunting with this Patriotic Denim Bunting tutorial which repurposes old blue jeans.


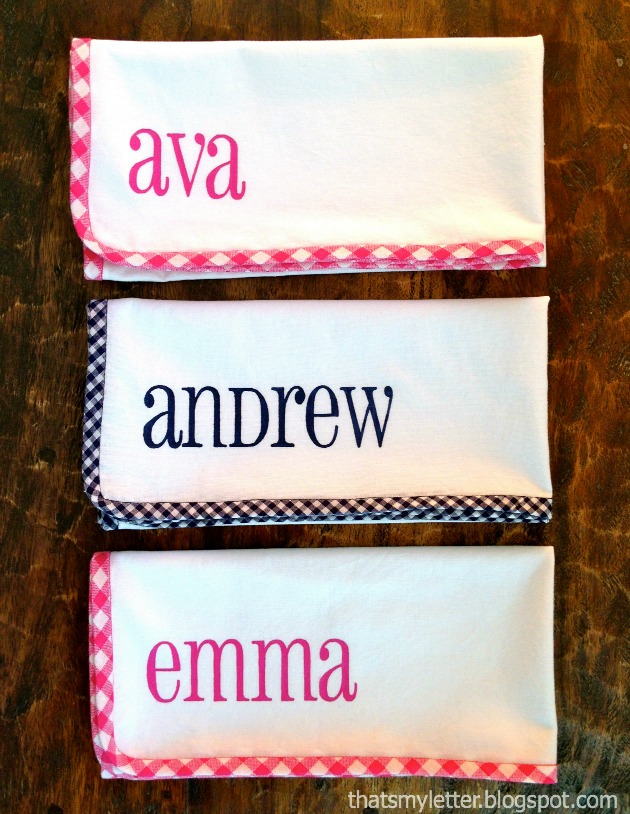
Practice some basic skills to make these customized Kids Cloth Napkins.


easy sewing projects to help you learn to sew - diy fabric coasters

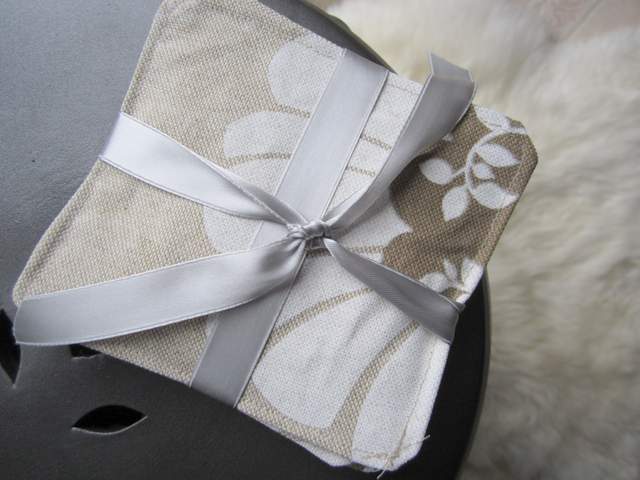
Another great project to learn some basic skills is this DIY Fabric Coaster tutorial.


easy sewing projects to help you learn to sew - pom pom placemat pillow tutorial

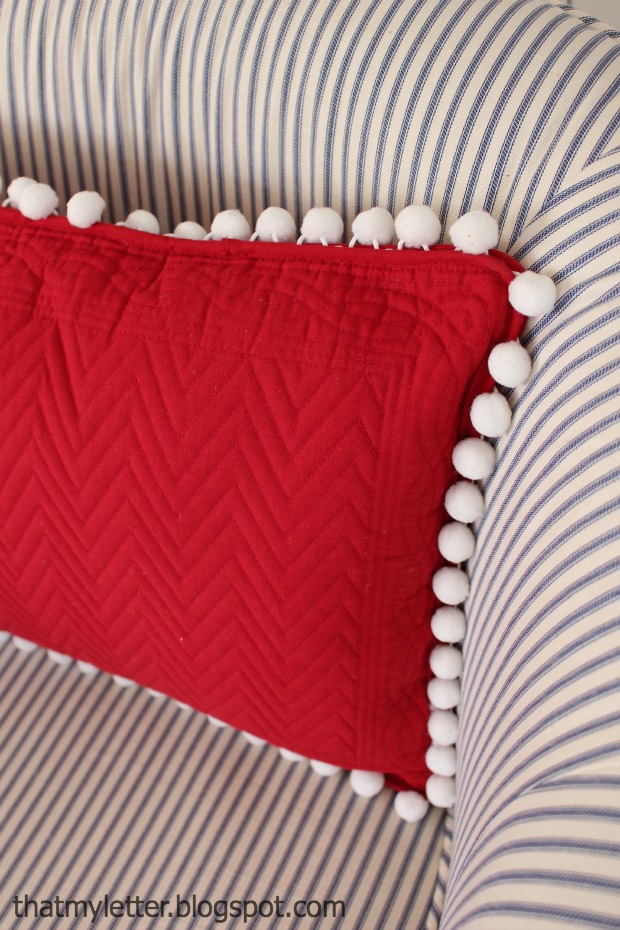
Add trim with this Pom Pom Placemat Pillow tutorial.


easy sewing projects to help you learn to sew - gift basket liner

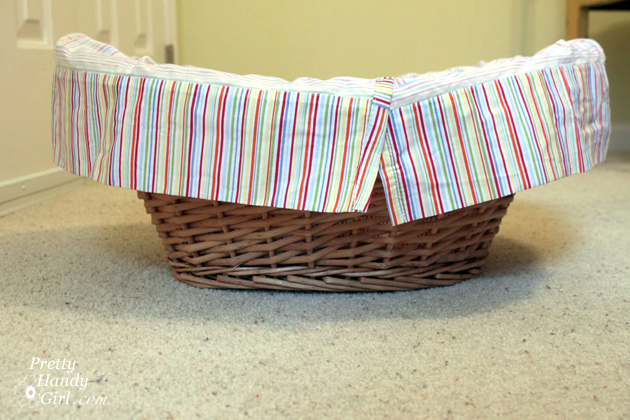
 Sew a Basket Liner with this laundry gift basket tutorial – bonus: it has a great detergent recipe too!


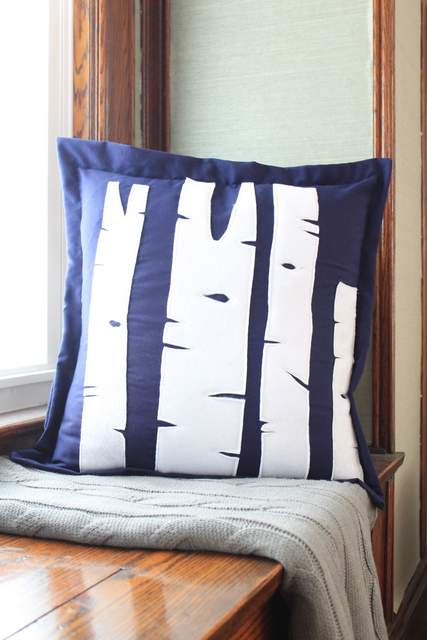
easy sewing projects to help you learn to sew - birch tree pillows

Discover another technique for sewing pillows by following this Birch Tree Pillows tutorial.


easy sewing projects to help you learn to sew - napkin gift bags

Practice basic skills and sew up some of these Easy Napkin Gift Pouches for small gifts.


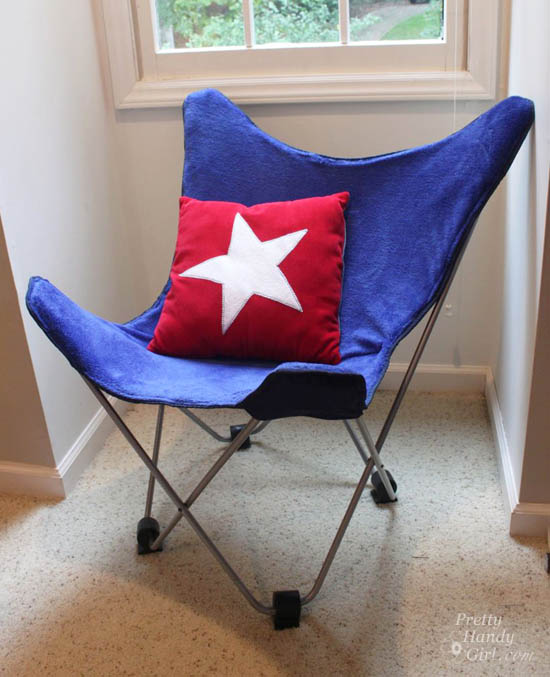
easy sewing projects to help you learn to sew - recover butterfly chair

Learn how to Recover a Butterfly Chair and give it a new life for years to come.


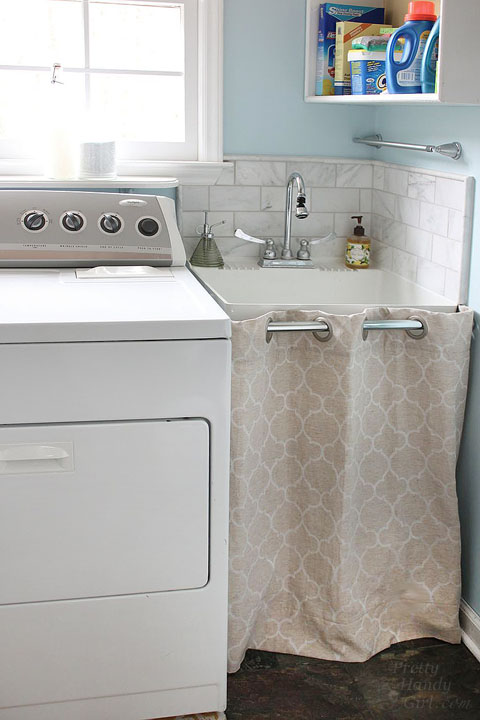
easy sewing projects to help you learn to sew - hidden storage under laundry sink hem curtain

See how to create Hidden Storage under your laundry room sink by hemming.


easy sewing projects to help you learn to sew - pouf ottoman tutorial

Discover how to sew this Pouf Ottoman – it’s easier than you think!


easy sewing projects to help you learn to sew - custom canvas tote using drop cloth canvas

Learn to sew this custom Canvas Tote using a drop cloth canvas.


Customize a tote bag with an old shirtUse some sewing skills to customize a Tote Bag with parts of an old shirt.


framed wall quilt

Practice quilting skills by making this beautiful and artistic Framed Wall Quilt.


make your own piping

Stop paying full price or searching for piping that matches and just Make Your own Piping from anything!

I hope you got some great inspiration from these projects and feel confident enough to pull out that machine for your next project! Share this post with anyone you think might benefit from it as well!

Hi, I’m Sheri from Hazel + Gold Designs. Here are a few fun stats about me: I like love chocolate and peanut butter (together of course.) If you like stats, I have been crocheting for about 16 years, crafting for 20, and woodworking for about 4 years. I found a passion in making and being creative and began documenting my projects online at Hazel + Gold Designs.

When not working on projects, I enjoy spending time with my husband, four children, perfect dog, and ornery cat. You can find me on FacebookPinterestInstagram and Twitter.

Read all of Sheri’s tutorials.

~Find more of Sheri’s projects here ~


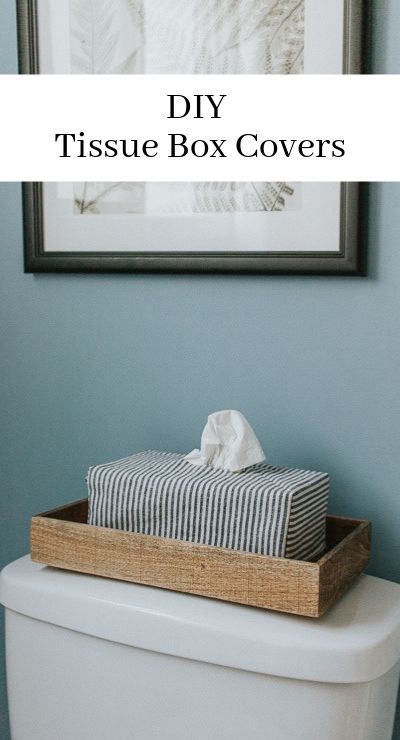
Make these easy DIY tissue box covers. Use any fabric and cover up those ugly tissue boxes!

Hey Guys, happy Summer! I’m back today with another easy home project for you – a simple stylish DIY Fabric Tissue Box Cover.

I don’t know about you, but I think most tissue boxes are tacky. They stick out like a sore thumb in our house! Unfortunately, it’s not the type of thing I can just put away in a closet (believe me, I’ve tried!) Our family has allergies and young kids—needless to say—the tissues must remain out.
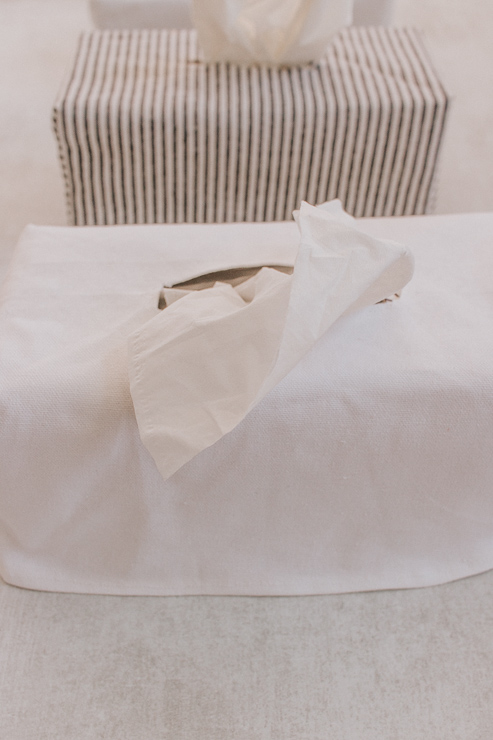
Tissue Box Covers - White and Striped Fabric

Until the tissue manufacturers come out with some better patterns, I’ll be covering mine up! These fabric tissue covers do just the trick. You don’t need too much fabric to make them. They blend in nicely with your decor, and you can wash them if needed!

Of course you could buy tissue box covers. But, these are customizable and you can make them with a $2 piece of fabric (or less.) So, go ahead and save some money by doing this yourself. I’ve seen some tissue box covers selling for almost $40! Yikes.

I wanted to make the process as simple as possible for you. You’ll be happy to know, I did this project over and over and over again until I found the perfect method for making them. Yes – I have over 5 tissue box covers now. Ha!
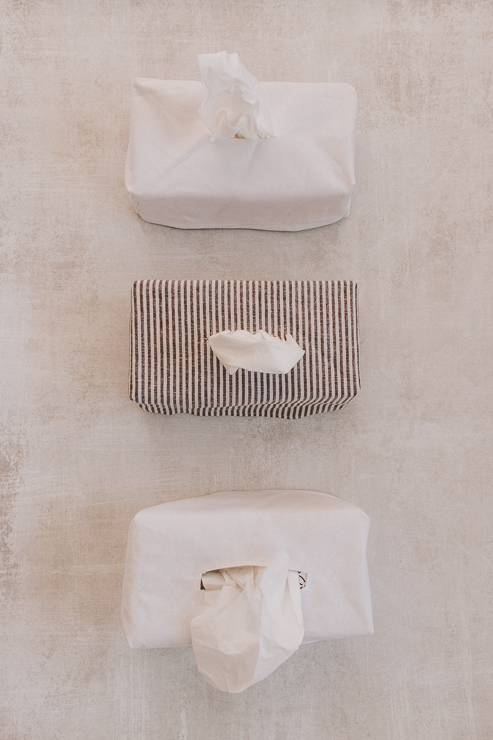
Tissue Box Covers - White Canvas and Striped Fabric

Ok, let’s get started.

Materials:

(I’ve included affiliate links for your convenience. I earn a small percentage from a purchase using these links. There is no additional cost to you. You can read more about affiliate links here.)

Instructions:

Follow these steps to make your stylish tissue box covers.

Step 1: Cut out your Rectangle.

I’m assuming most tissue boxes are generally the same dimensions. But, measure your box to double check. For a standard rectangular tissue box, I started with a rectangle of fabric sized 16 inches by 24 inches.

Now cut your fabric to size.

Step 2: Cut a Center Hole.

Make a hole where the tissues will be dispensed. Here’s an easy way to do this. Take your rectangle of fabric and fold it in half lengthwise, then fold it in half again. Snip a little piece of the corner section – this will create a small hole perfectly centered in your fabric.
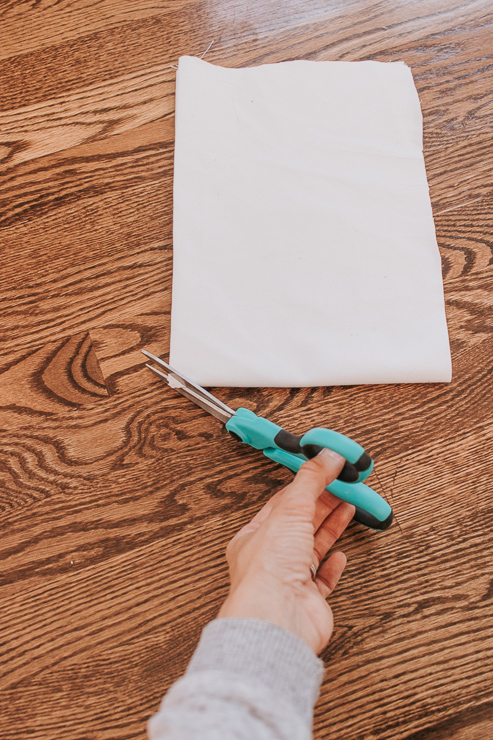
Snip corner to create a hole in the center of your fabric


Step 3: Measure and Mark your Corners.

Measure Squares to Make Mitered Corners


Place your tissue box in the center of your fabric. Hold the tissue box in place with one hand. With your other hand, use your pencil to mark a square at the corner of the tissue box. Repeat for all four corners.

It should look like this …
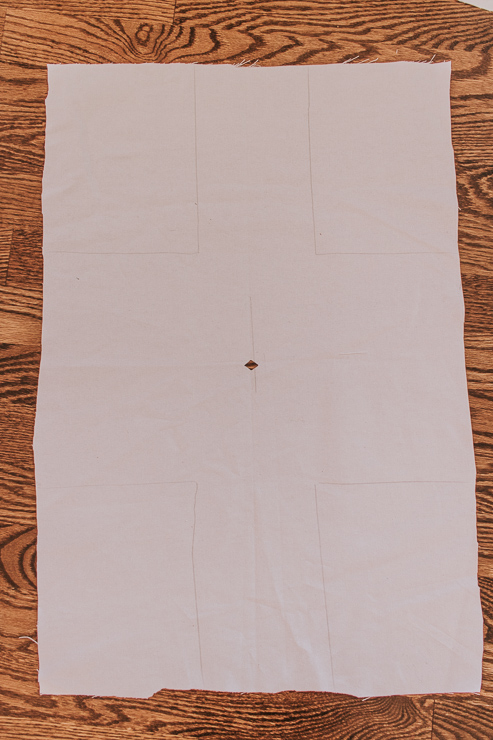
Create a hole in the center of the fabric

Step 4: Cut Out the Corners.

Cut your Squares out of Fabric

To make nice mitered corners, cut out the squares marked above. But, to allow for your seam, subtract about 1/4 – 1/2″ from the marked lines. Essentially, you’re cutting slightly outside where you made the pencil lines as shown below.
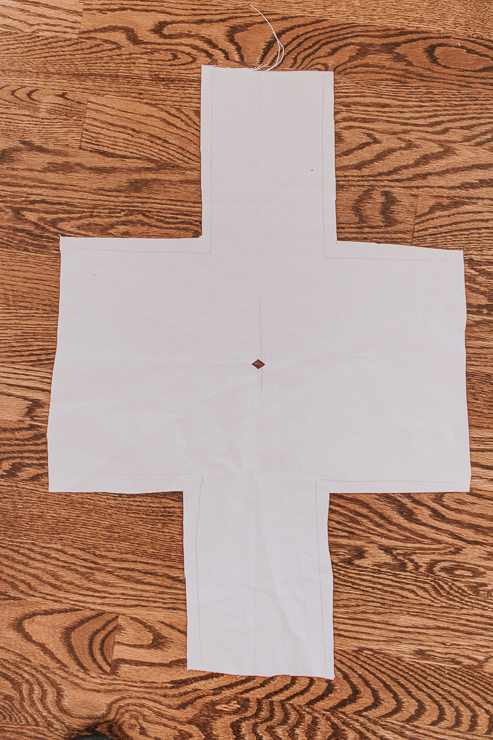
Tissue Box Cover before it's sewn together

Step 5: Sew Your Tissue Box Hole.

Remember the little hole we cut out of the center earlier? Now you can cut it slightly bigger to accommodate your tissues. Cut, a skinny rectangle and fold flaps toward the inside of the fabric tissue cover. Iron them to keep them from folding back. It doesn’t have to be super neat. The tissues will help cover it up!
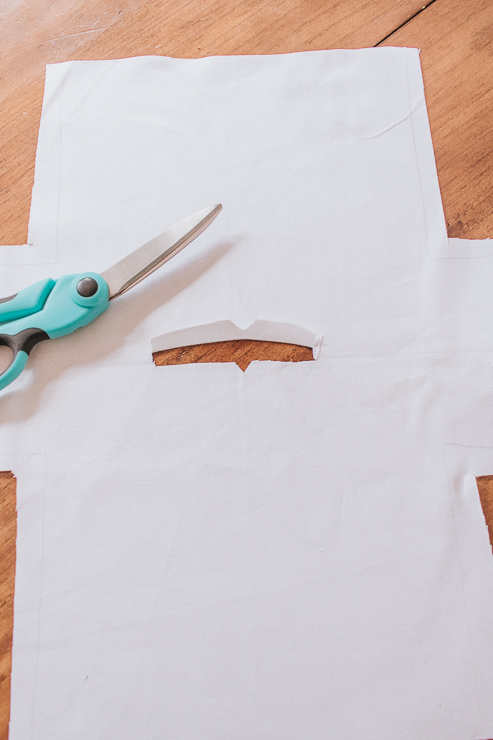
Create a Center Hole for Tissues

Step 6: Sew your Corners.

Take your piece of fabric and fold it so the corner pieces line up as shown below. You want to make sure you sew the pencil mark side on the underside so they don’t show. When you fold the fabric, the pencil marks should be facing out. Stitch along the pencil line.

Repeat and sew all four corners the same way.

Step 7: Trim the Bottom.

Woot! Your little tissue box cover is taking shape now. Turn your cover right side out and place it over your tissue box.
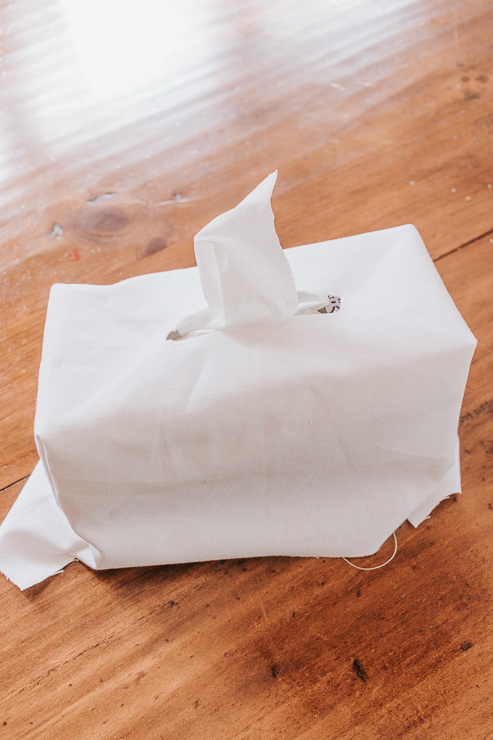
Tissue box cover with excess fabric at bottom

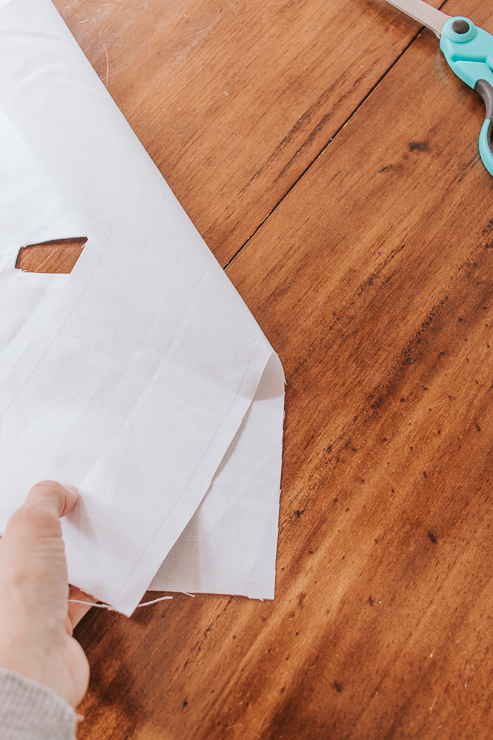
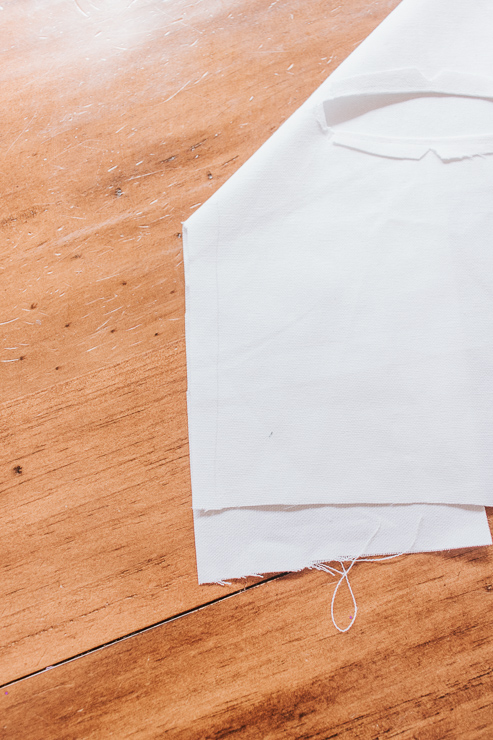
The ends are long, huh? Well, we can easily just cut those down and sew a clean seam all the way around! You may be wondering why I started with a larger piece of fabric only to have excess at the end.
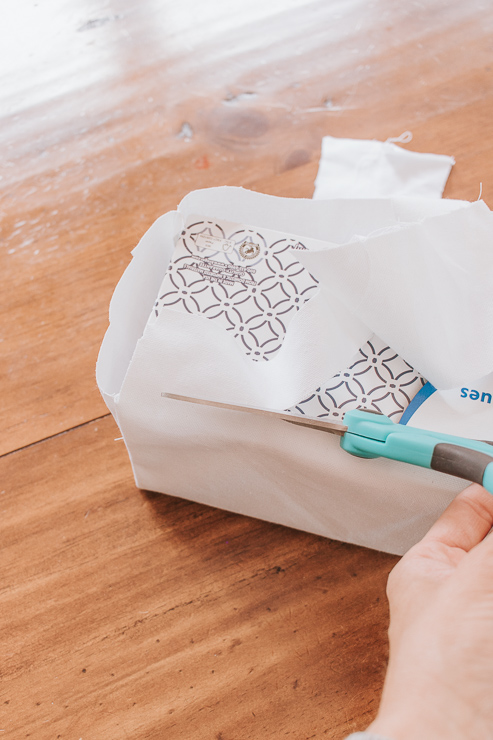
Trim excess fabric from tissue box cover

Trust me – I did this five times over! Having excess fabric ensures all your ends meet nicely and cover the tissue box entirely.

Let’s finish up by cutting away all the excess fabric minus 1/2″ to create a nice seam.
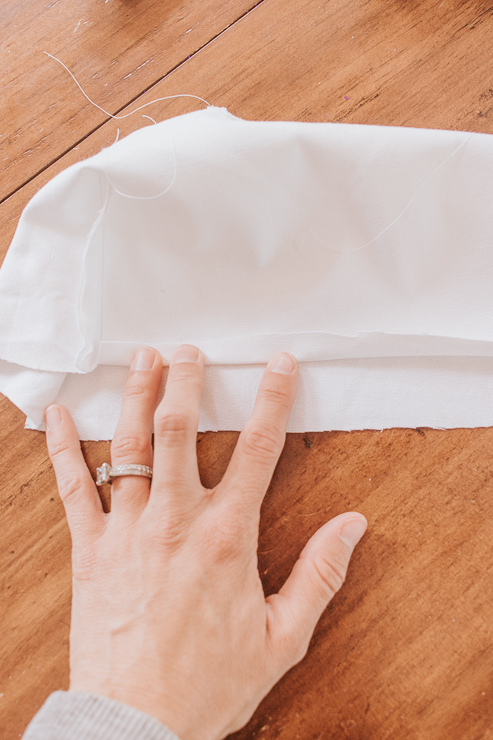
Iron Down a Small Seam on the bottom

Fold over the excess. Iron the seams. Now stitch along the edge of the folded seam.
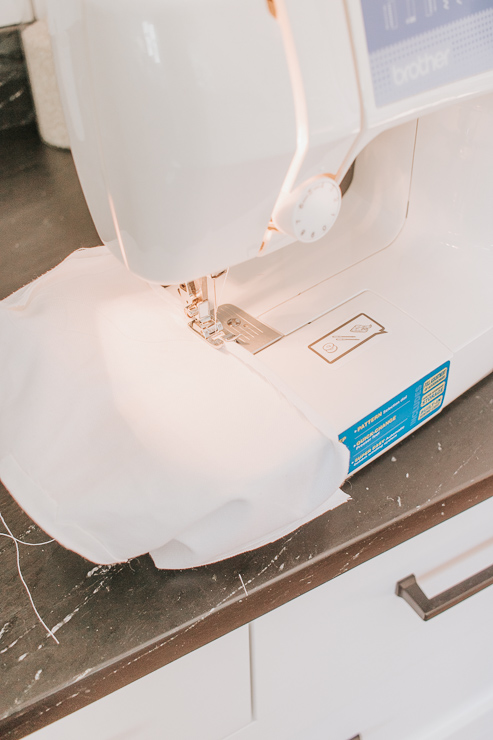
Sewing Tissue Box Cover

Step 8: Flip your Tissue Box cover Right Side Out.
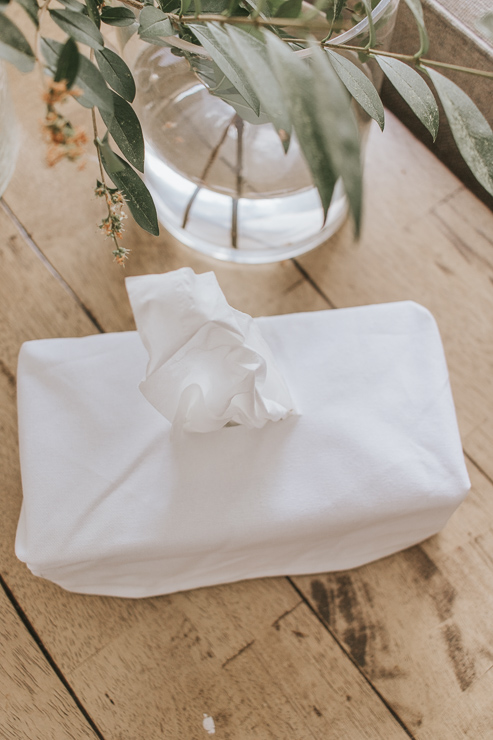
White Tissue Box Cover on Table

You are all done! Flip your tissue box right sides out and place it over your tissue box.

Soooooooo much better. Right?

These fabric tissue box covers look great everywhere and you can customize them with fabric of your choice. Place one in your bathroom, in your bedroom, and in your living room. Anywhere you want!
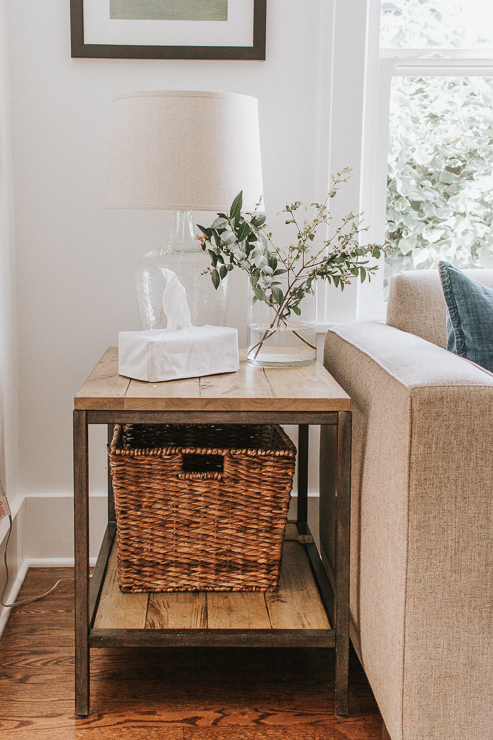
DIY Tissue Box Covers - Easy and Simple Tutorial for covering up those ugly tissue boxes!

No more ugly tissues boxes.  And my husband doesn’t have to ask – “where are the tissues, now?” LOL.
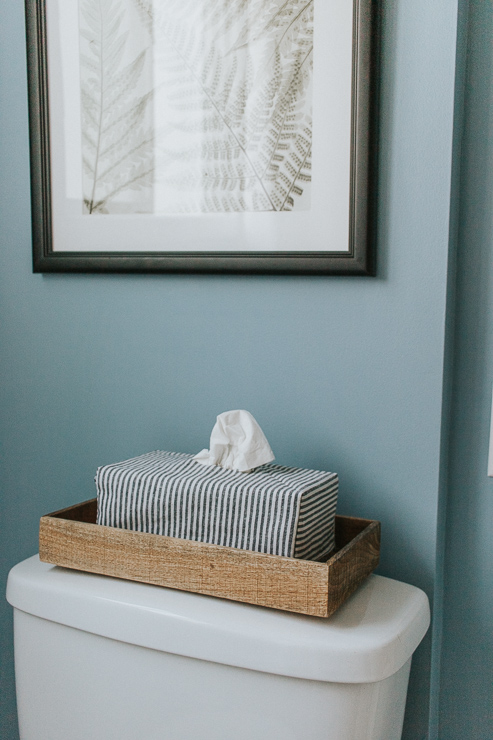
DIY Tissue Box Covers - Easy and Simple Tutorial for covering up those ugly tissue boxes!

Even though I prefer a sturdier canvas or heavy cotton fabric for this project, you can make these tissue box covers with any fabric.  Add some embroidery for a personalized touch!  Or get out some fabric markers and create a Scandi design on plain canvas.  This is a fun project allowing you to get creative with different looks.

I hope you enjoyed this tutorial for a DIY fabric tissue box cover.   For more fun sewing projects for your home, check out these sewing posts from Pretty Handy Girl. Or these 21 Sew Easy Gift Ideas:
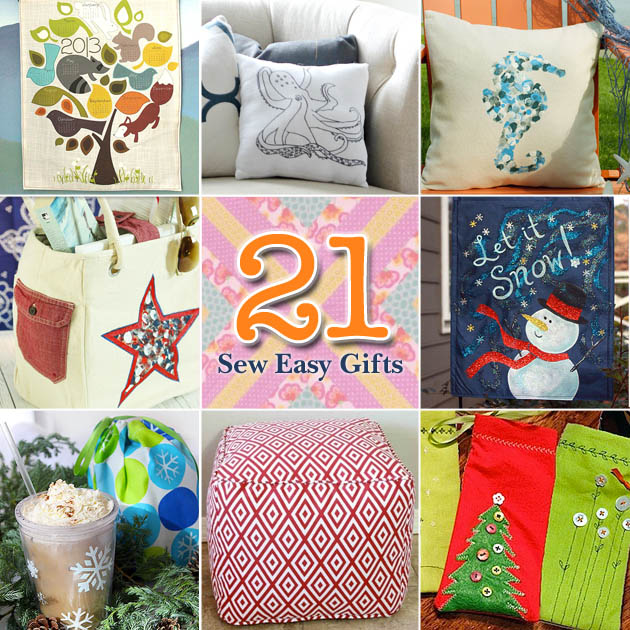
21 Sew Easy Gift Ideas You Can Make Yourself | PrettyHandyGirl

Or learn how to make some of my popular projects from Decor Hint:

I’ll see you right back here next month! Enjoy the start of Summer!

karen signature

~ See More of Karen’s Tutorials ~


karen from decor hintHello!  I’m Karen, the creator of the Home Decor and DIY Blog: Decor Hint . I’m a Native of the East Coast, but I currently live in beautiful Seattle with my hubby, our two wonderful children and our spunky wheaten terrier.

You can usually find me with some sort of craft in one hand and a coffee in the other. And I’m always rearranging furniture or moving lamps from room to room. I have a passion (read: obsession) for decorating, DIY, and gardening. In short, I love making my house into a home.
Like many, I’m inspired by what I see in home decor magazines, but I’m not so inspired by the price tags.  Consequently, I love finding and creating beautiful budget-friendly home decor items. In a head to head competition, I bet you’d never know the difference between the designer items and my DIY creations!  Many of my DIY projects focus on sewing, crafting, upcycling and organizing. Some of my favorite projects have been making pretty wreaths , sewing my own tassel hand towels, and crafting these trendy wood bead garlands . I can’t wait to inspire you and spark your creativity through my DIY projects.

You can always connect with me on Pinterest , Twitter or Instagram.