Learn how to make this White-Washed Patriotic Flag Sign and hang it with pride in your home.
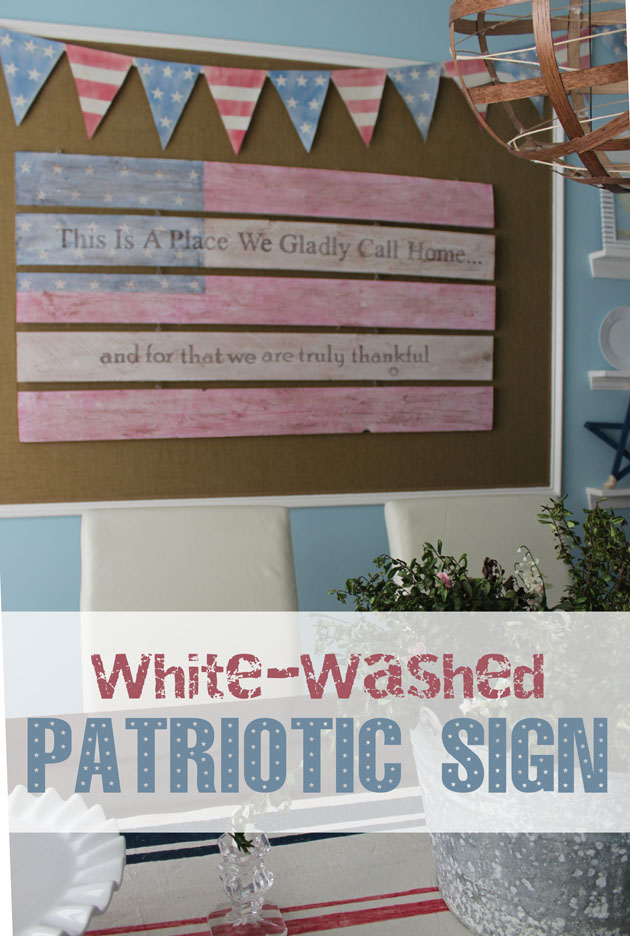
White-Washed Patriotic Sign

White-Washed Patriotic Flag Sign Tutorial

The other day I was at the fabric store but after not finding that perfect fabric for one of my projects,  I went to the other section of the store to take a break from it all.  While there I saw a little sign that read:

This Is A Place We Gladly Call Home…
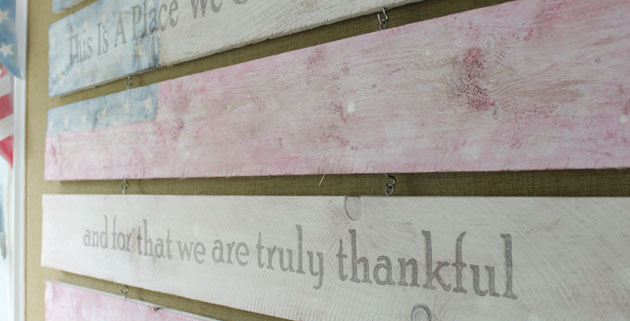
and for that we are truly thankful

Those words totally spoke to me!  I didn’t buy the little sign but I came home thinking about how to create my own version.  The sign was more expensive than the materials to make my own sign ten times bigger!
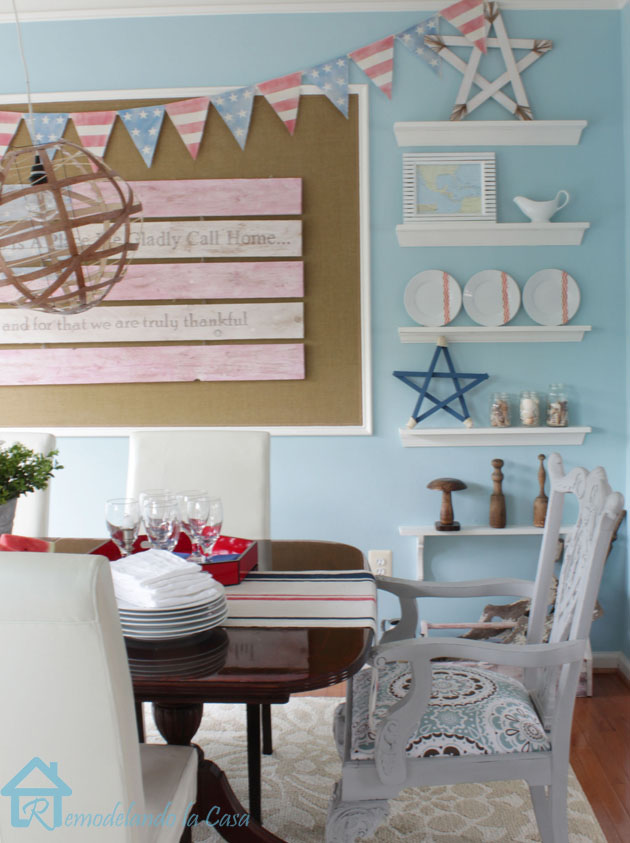
Patriotic sign final2

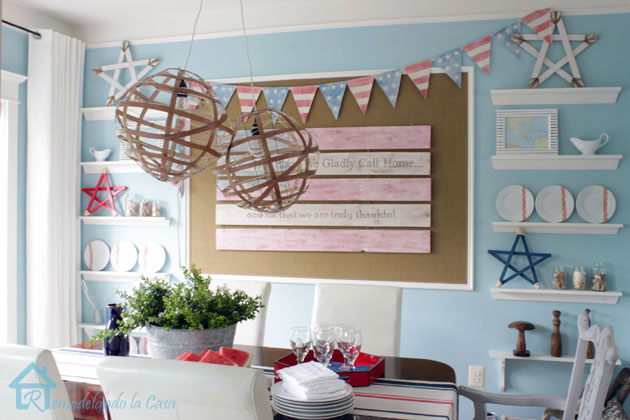
My sign came out beautiful, especially with the large American flag on the background. I’m happy to show you how to create your own White-Washed Patriotic Flag Sign! Let’s make this sign.

Materials:

(I’ve included affiliate links for your convenience. I earn a small percentage from a purchase using these links. There is no additional cost to you. You can read more about affiliate links here.)

Optional: Gold Sharpie marker

Instructions:

Cut off the tops to get rid of the “dog ears.” Mark the area for the blue square on the flag.
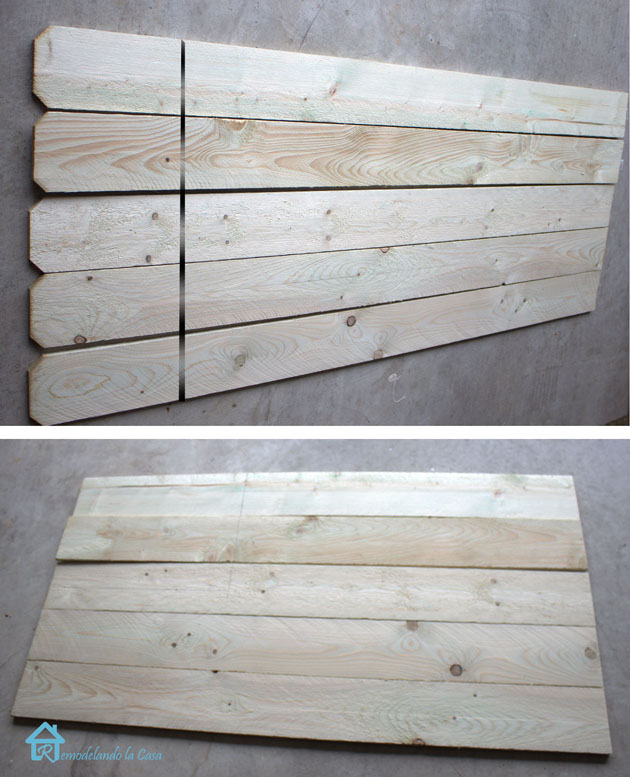
fence cut

Add star stickers inside the square. Paint over the star stickers with blue paint. 
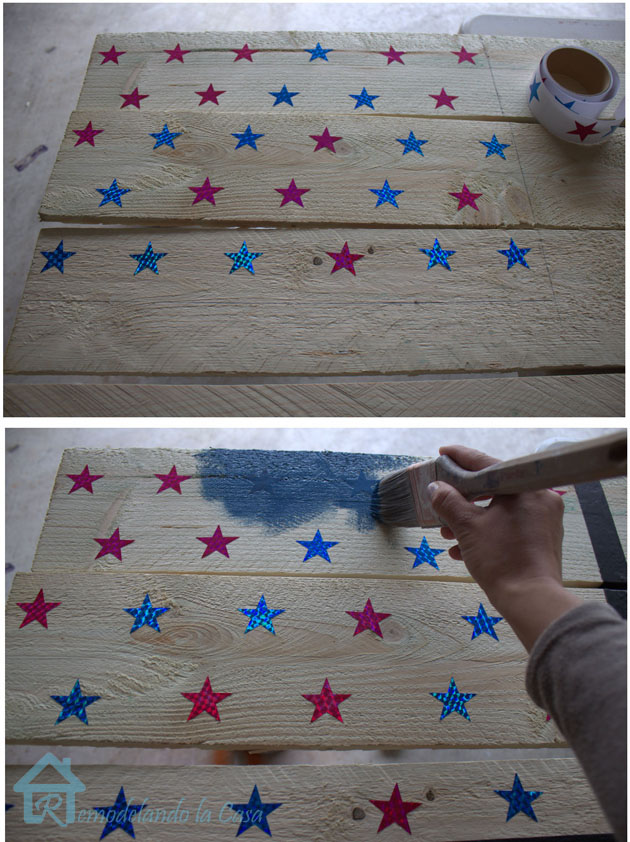
adding star stickers to sign

Paint the red stripes next.  After the paint dries, remove the star stickers.  Give your boards a light sanding.
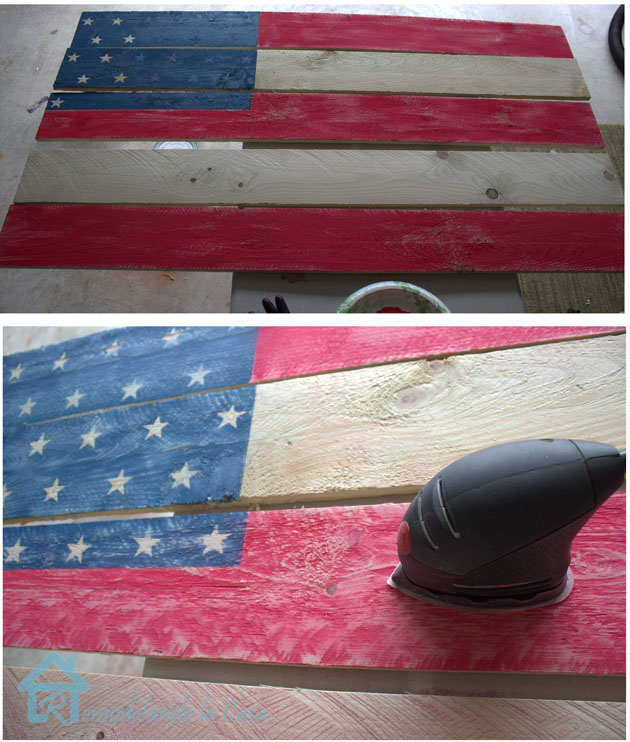
sanding flag sign

You can leave your patriotic sign like this or if you want to give it the white-washed look, continue.

White acrylic paint and water is mixed at a 50-50 ratio to create a white-wash. Apply three coats of the white-wash.  Wait for the paint to dry between coats.
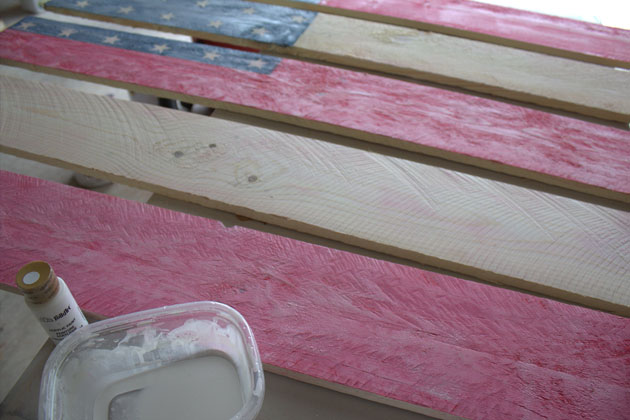
wash out white on sign

Print out your quote on the computer:

This Is A Place We Gladly Call Home…
and for that we are truly thankful

Transfer the lettering onto the boards using graphite paper.
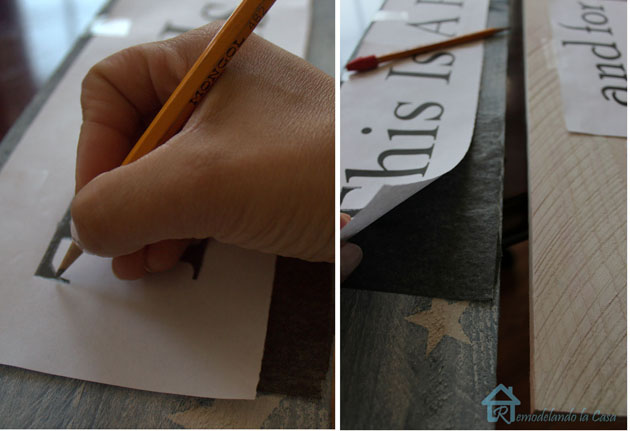
transfering letters onto wood

Using a brown Sharpie, trace the letters and fill them in.
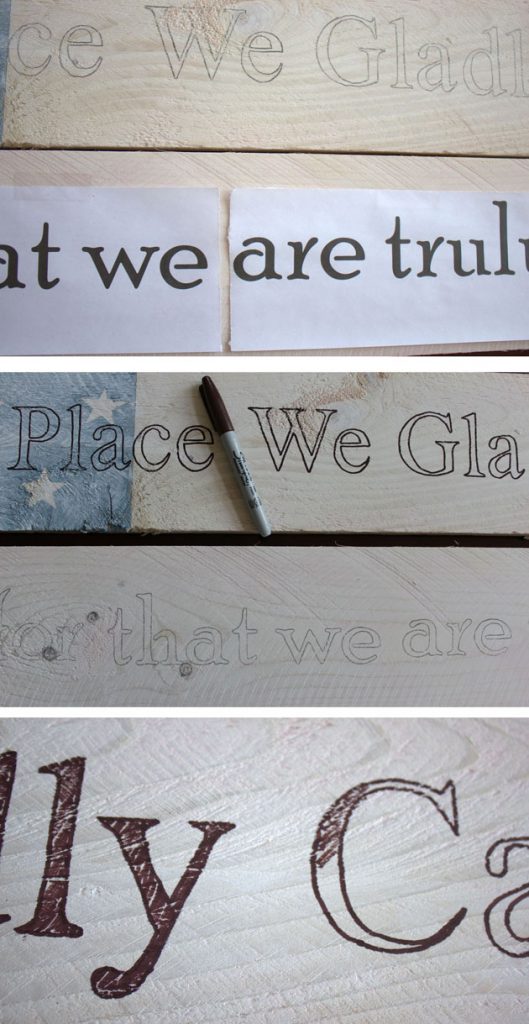
tracing letters on wood

Do you want them a bit fancier?   Use a gold Sharpie to create shadows.
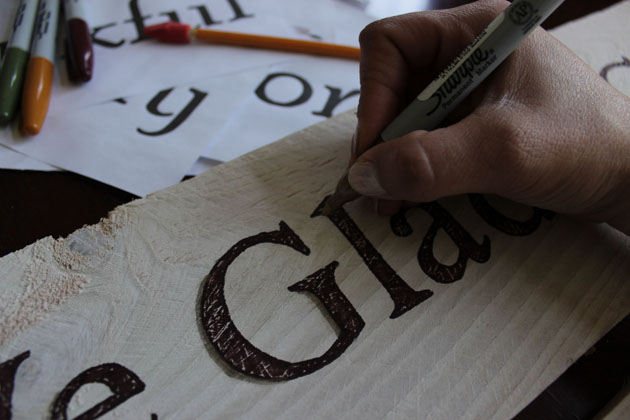
tracing shadows on letters

After the letters are filled in, it will look like this:
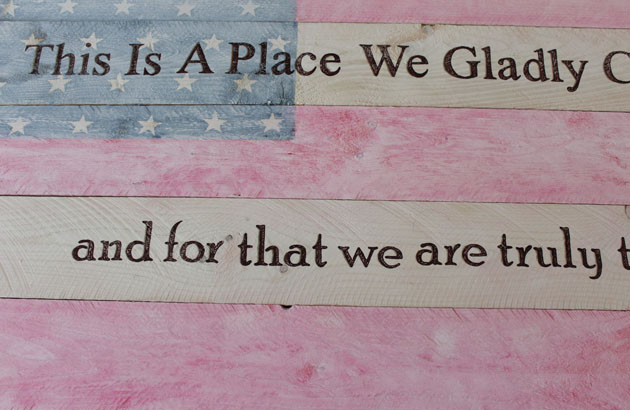
sign after finishing letters

Give the letters an extra two coats of the white-wash to make them blend better.
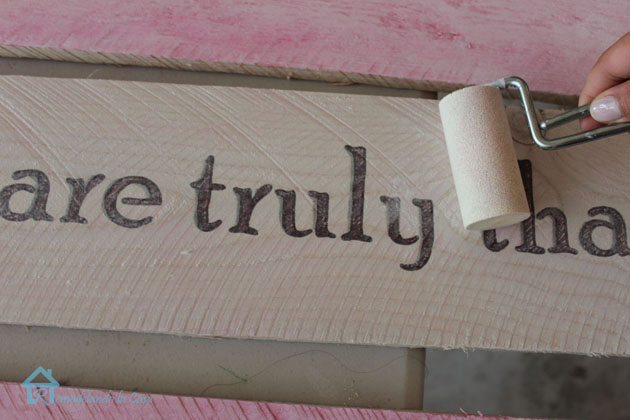
letters wash out

Lightly rub stain on the entire sign.
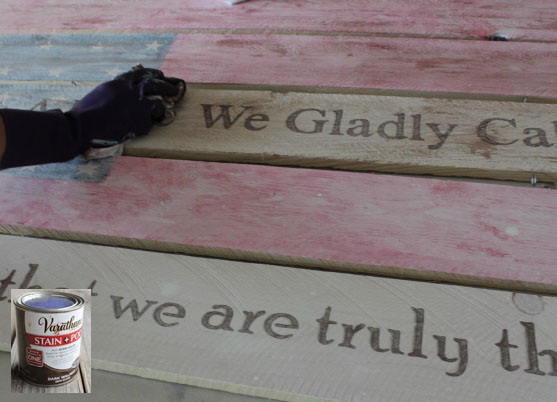
Staining sign

We’re finished making the White-Washed Patriotic Flag Sign. Now it’s time to assemble and hang the sign.

Assembling the Sign:

To hold the boards together, attach cup hooks and screw eyes between the boards.  (I chose to paint mine silver since I only had gold.)
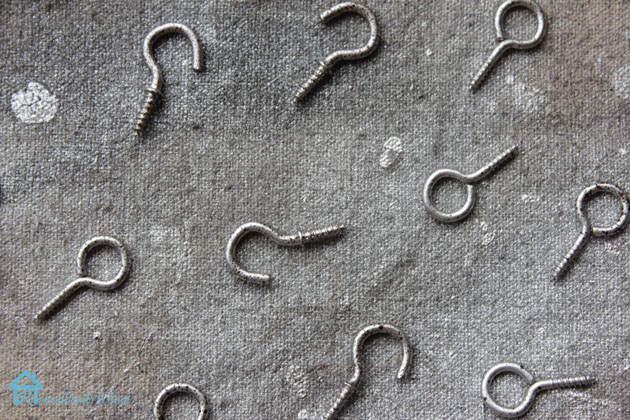
cup hooks and screw eyes

No need to pre-drill, the boards are fairly soft so the hooks and screw eyes will go in easily.

hooks in place2

Attach two extra screw eyes to the top to hang it onto the wall.
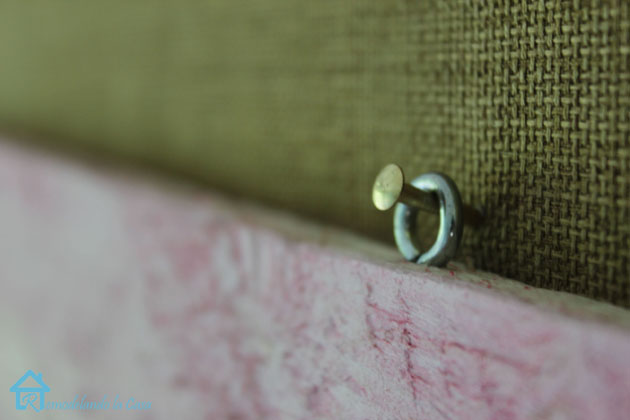
how to hang sign

This was a very easy way to put the sign together, hang it, and… it doesn’t take much space when it is time to store it away!
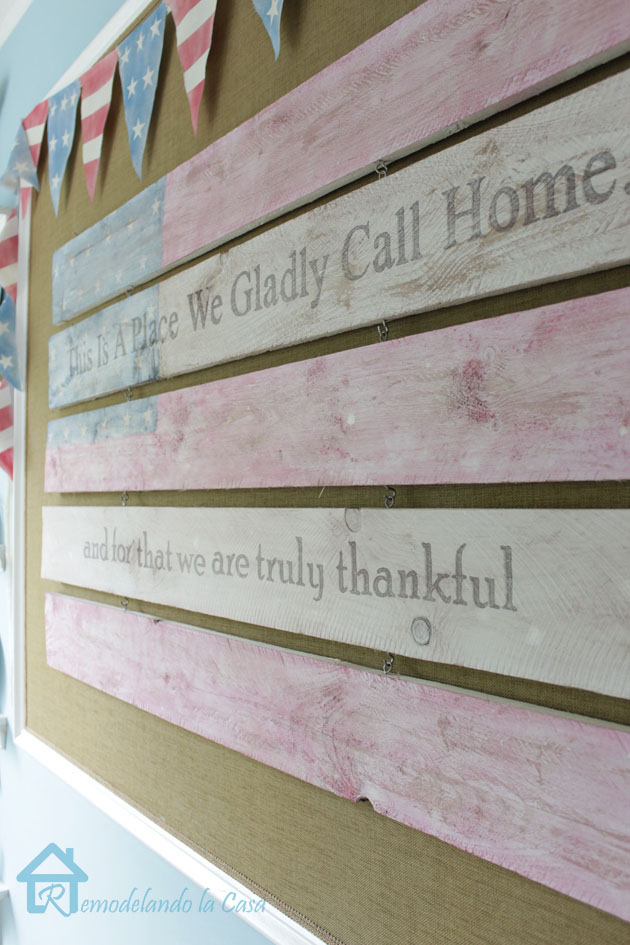
Patriotic sign final3

I hung some more patriotic decorations and our dining room is ready for a celebration!
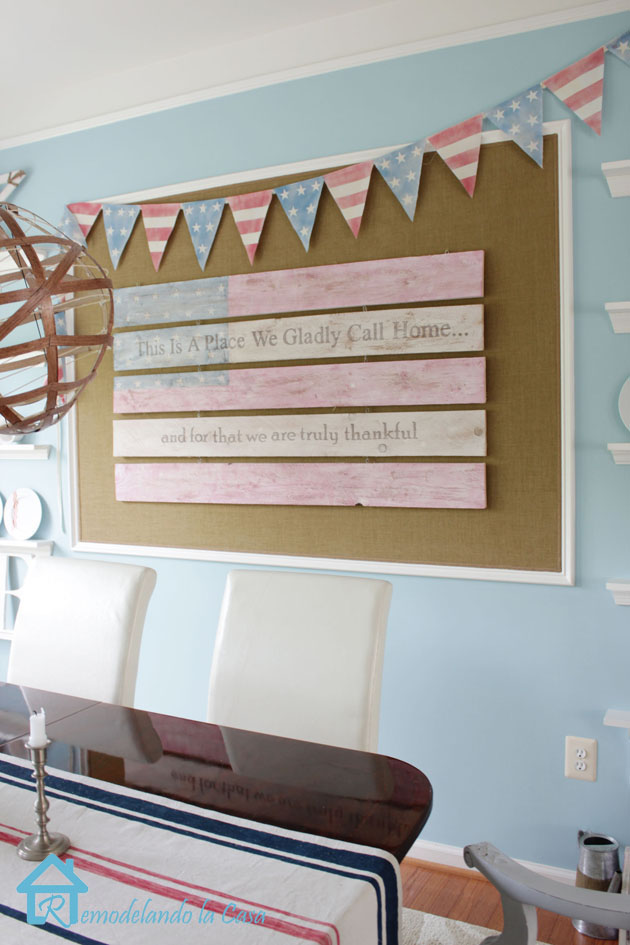
Patriotic sign final1

What do you think of this White-Washed Patriotic Flag Sign Tutorial?
Patriotic sign final4

Thanks so much for stopping by!
Photobucket

  ~ See all Cristina’s Projects ~

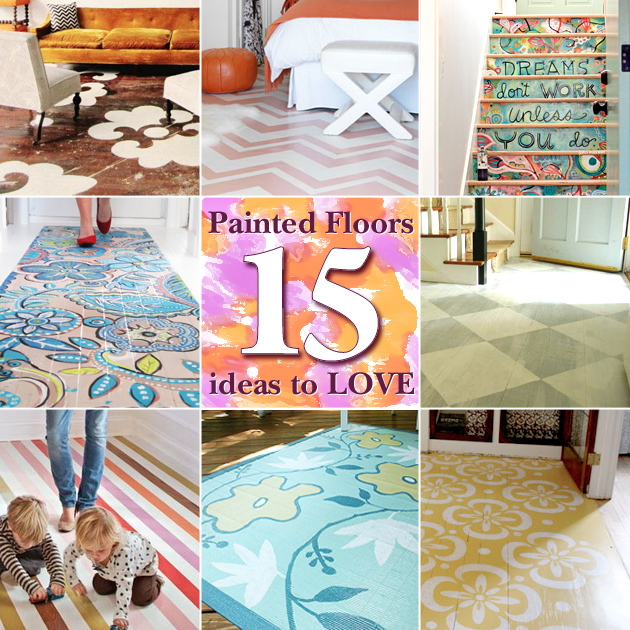
15_painted_floor_ideas

Hey everyone, I have a very special guest for you today! Her name is Caitlin and she is a fabulous interior designer. She lives in the San Jose, CA area with her wonderful husband and their two adorable daughters.
caitlin_pic
She and I share a similar design style and I use her as my sounding board. (Maybe more often than she would like.) She’s arguably one of my best friends, but she and I have been known to fight on occasion too. I also know a lot of embarrassing things about her, but she’d kill me if I told you them like she used to be able to belch like a full grown man when she was TWO!
Big_burp
Why am I embarrassing this poor gal? Because that’s what sisters do! It’s true, she’s my littlest sister and Caitlin has agreed to fill in for me on occasion when I need a break.) Please welcome her with open arms (or I’ll have to beat you up…that’s sister talk for you better not mess with my baby sis.)
Hi everyone, this is Caitlin, a loyal admirer of Pretty Handy Girl from the start.  One might argue that I am one of her biggest fans.  Thank you Brittany for allowing me to pop on over and visit you and your Pretty Loyal followers.  As an interior designer, I am a sucker for all things home design and today I wanted to give overdue attention to the workhorse of our homes.  Day in and day out the floors we walk all over don’t get enough love. Sure, the walls are the first place we typically think of dressing up with paint, wallpaper, artwork and stencils.  But many times our poor floors get covered up and forgotten about. Not anymore! Today we are celebrating those hardworking horizontal surfaces we couldn’t do without.  Here are my top fifteen picks for hand painted floor treatments and even one for those of you afraid to commit.  But be warned, you’ll love these floors so much you might want to get rid of all your furniture just so you can appreciate them even more. Read more

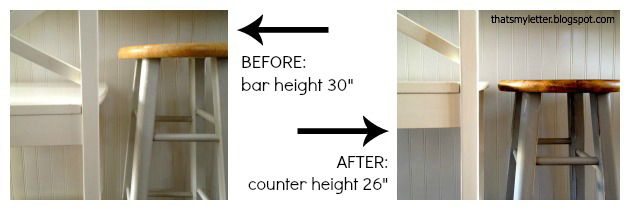
counter stools

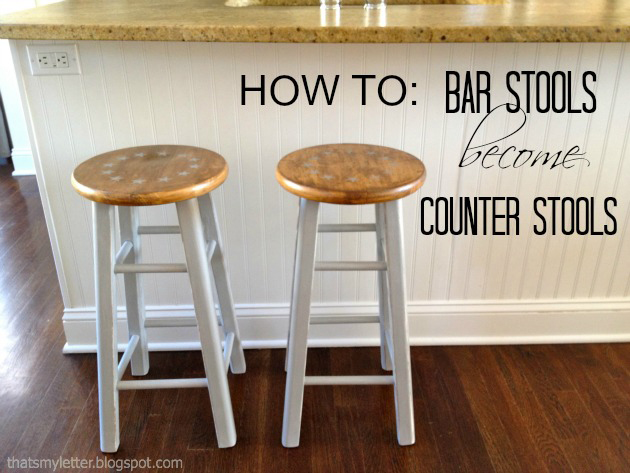
Yes you can make those wood bar stools fit your counter.  Here’s an easy DIY fix to make bar stools into counter stools (and a quick makeover too!).

Bar stools typically sit at 30″ high, this is fine and dandy if you have a proper bar where the countertop is elevated higher than the working countertop space.  Kitchen designs are trending now away from the proper bar towards one even countertop surface.  No worries, you can still use those bar stools for your counter by easily cutting off the bottom 4″ to reduce the stools to a counter height of 26″:

counter stools1

(The white stools above are counter height and in the picture for comparison purposes.)

In addition to fixing the height of your stools give them a fresh look with a quick paint job and a new design: Read more

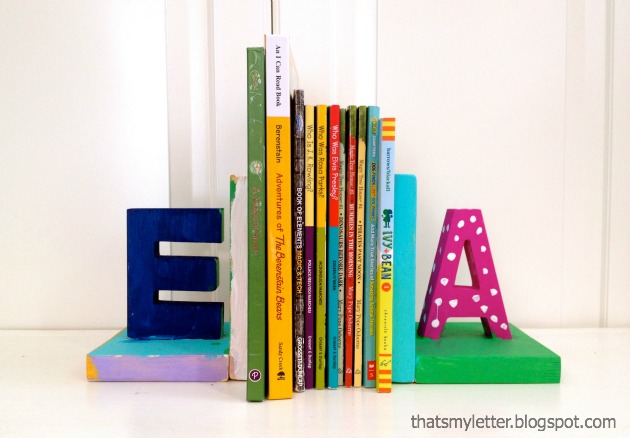
bookend3

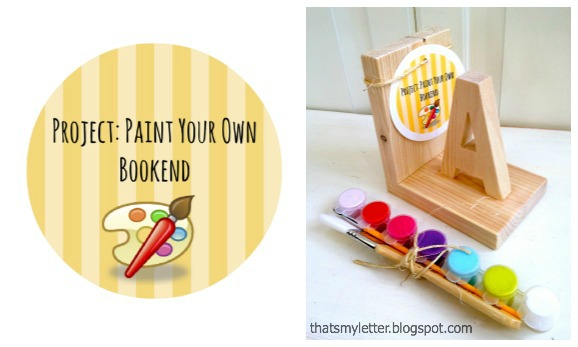
Do your kids want to build and paint just like you?  This project a great beginner build for young ones who want to get in there and make something to call their own. And once they’re done building they can paint it too!

bookend9

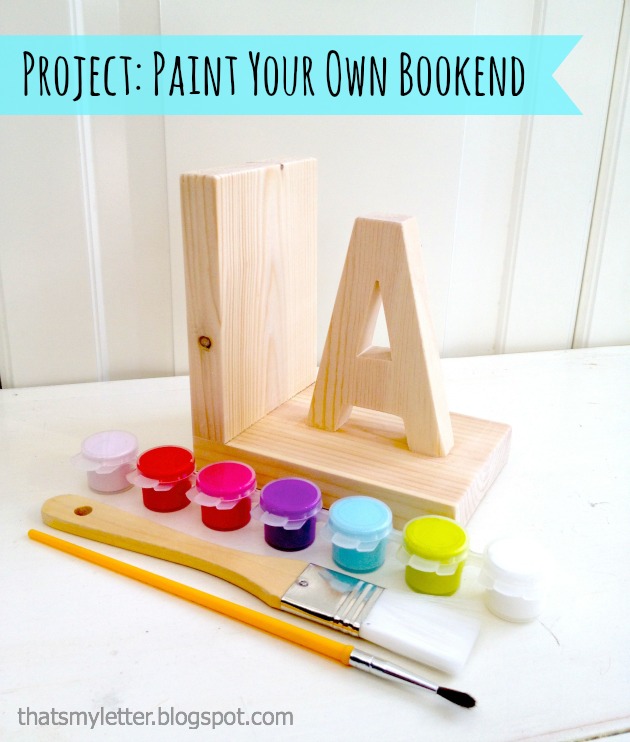
Or give the build as a unique personalized gift for that artsy friend who loves to paint:

bookend4

Attach a cute gift tag (download my tag free from here) and include some fun acrylic paint colors and brushes:

bookend11

This project is super kid friendly, I tested it at my 6 year old daughter’s birthday party and all the girls absolutely loved building their own project .  We used kid sized drills (like these kid sized drills) and they truly enjoyed painting their bookends: Read more

close_up_ice_planter_bucket_imperfect

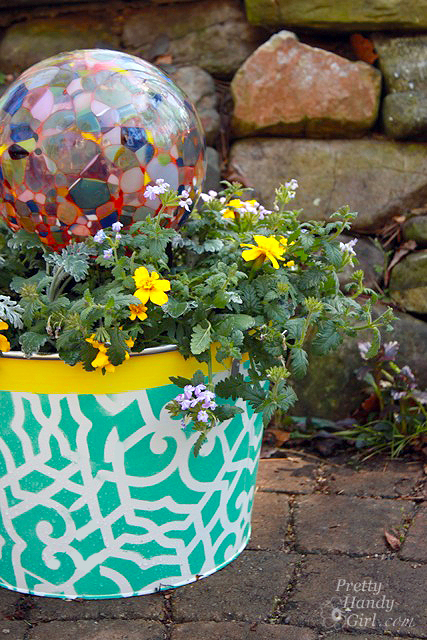
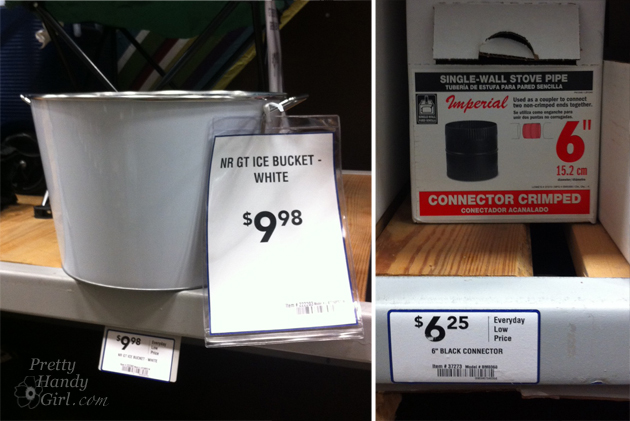
Being a Lowe’s Creative Ideas blogger is one of my favorite jobs as a DIY blogger. I love walking the aisles of Lowe’s, with my provided gift card in hand, dreaming of finding mundane objects to transform into amazingly beautiful objects. For example, what do you get when you cross an ice bucket with a stove pipe connector?

materials-ice_bucket_planter

Read more