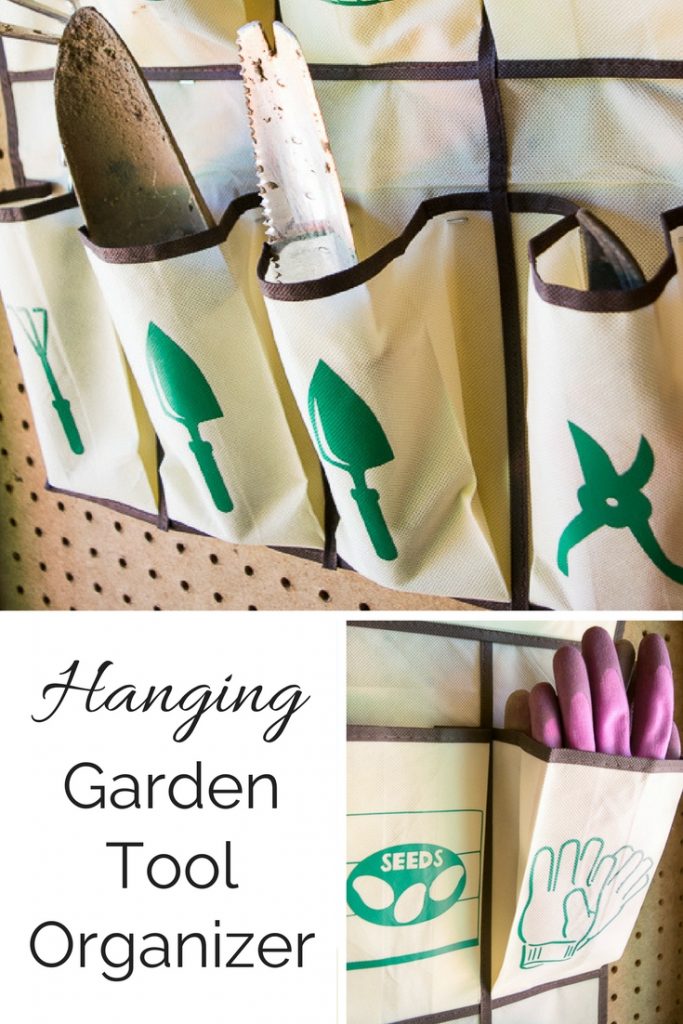
Get all your gardening tools in one spot with this hanging garden tool organizer!

Get all your gardening tools in one spot with this hanging garden tool organizer!

Hi again, I’m Vineta from The Handyman’s Daughter and I’m back this month with a smart idea for organizing your garden tools. My garden tools were always scattered throughout the shed making it hard to get started on a gardening project. Thanks to this Hanging Garden Tool Organizer, there’s now a place for everything.

Seattle’s Spring got off to a slow start, so as soon as the sun came out I was anxious to get new plants in the ground. I recently built a garden trellis and it was time to add climbing vines! Unfortunately, when I opened the garden shed, I faced this disaster . . .
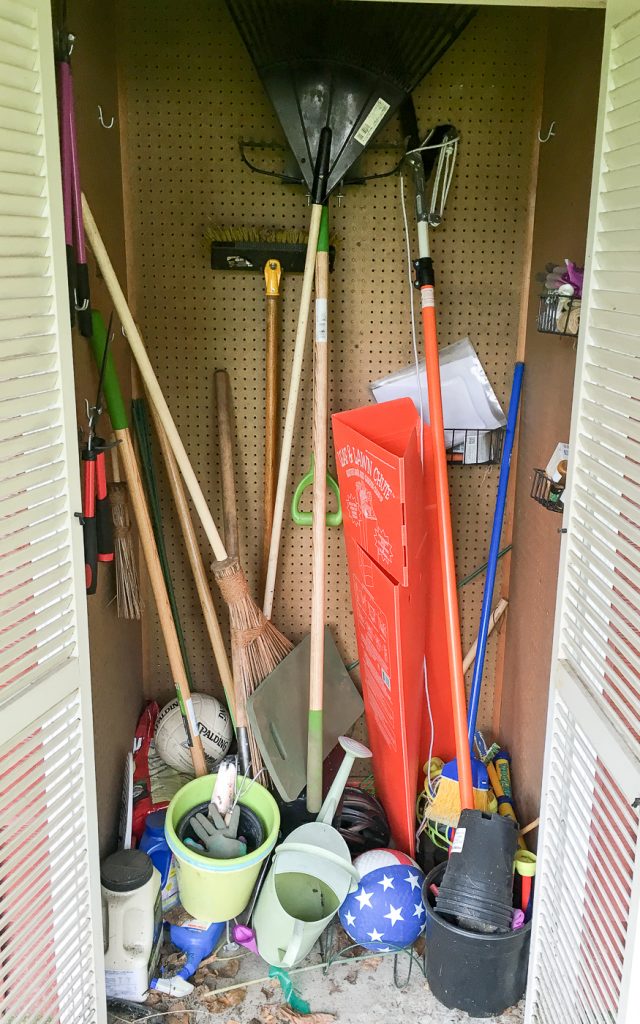
Our garden tool shed was a disaster! But with my new hanging garden tool organizer, small tools each have their own space.

Toys, leaves, and even my husband’s long lost bike helmet littered the floor. Sadly half the hooks on the pegboard walls were empty. Obviously I needed a better organizational system before someone got a rake to the head!

I cleared everything out (including too many spiders) and took inventory. Toys were relocated to the new storage bench I built for the backyard; plastic pots were recycled; and broken tools were tossed. Bigger shovels and rakes went back on the hooks, but I needed to create a home for the small hand tools and gloves.
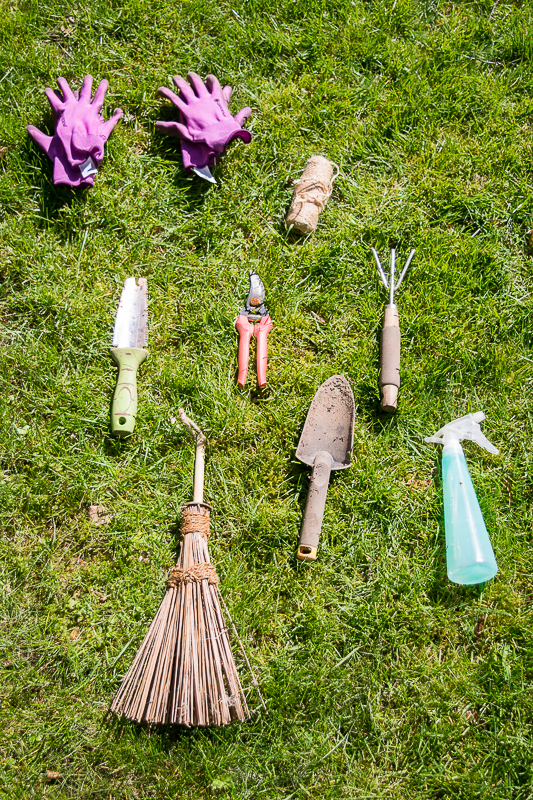
My new hanging garden tool organizer created a home for all these garden tools, and more!

I didn’t want to throw all the smaller items in a bucket where they would get lost again. An inexpensive shoe organizer was the perfect solution. Adding labels to each pocket helps keep everything in its place.

Materials:

(I’ve included affiliate links for your convenience. I earn a small percentage from a purchase using these links. There is no additional cost to you. You can read more about affiliate links here.)
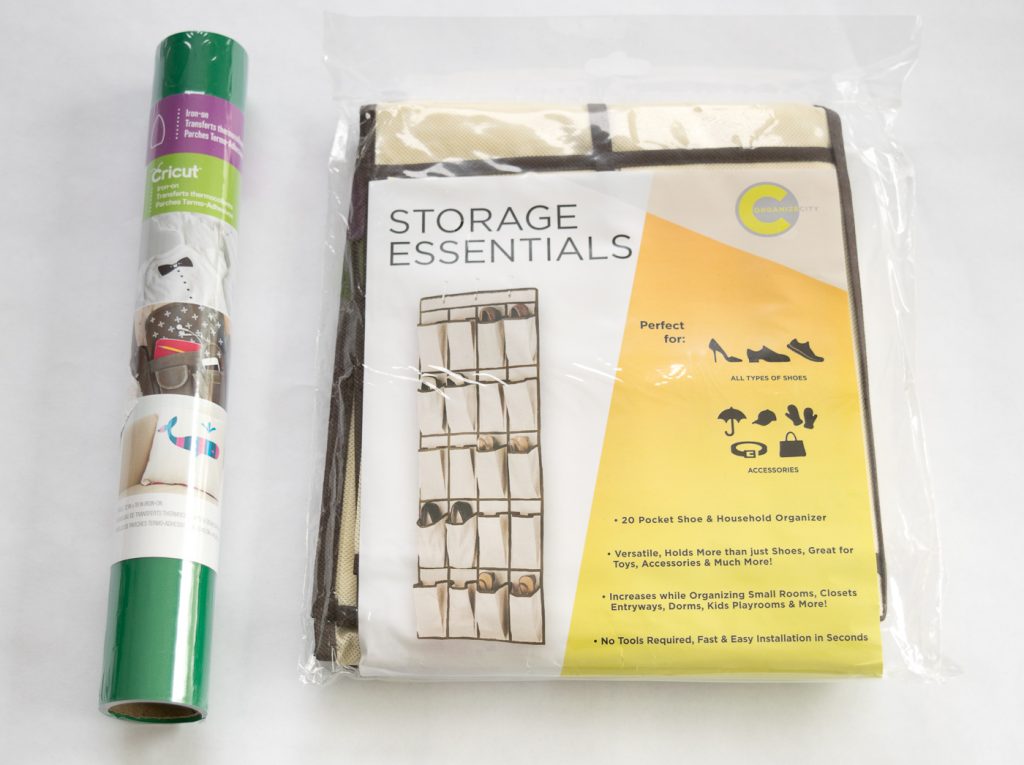
These are all the supplies you'll need to make a hanging garden tool organizer!

How to Make a Hanging Garden Tool Organizer:

Start by measuring the size of one pocket of the shoe organizer. (Mine are a little over 4 inches wide and 7 inches long.) If you don’t want to use all the pockets, feel free to trim off the extras. I only needed a dozen for all my small items, so I cut off the bottom two rows.
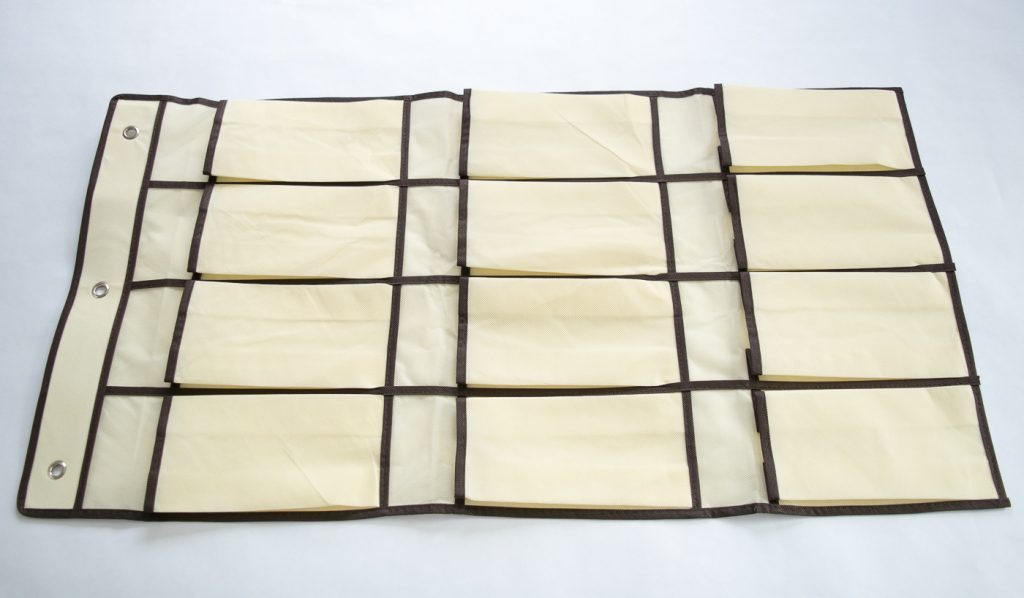
If there are more pockets than you have tools, trim off the bottom rows of your organizer.

Make a list of all the tools you want to store in the pockets. Using the software that comes with your vinyl cutting machine, create labels with text or images. (Mine are a combination of this design and clip art I found online.) Don’t forget to mirror the image if it has text!
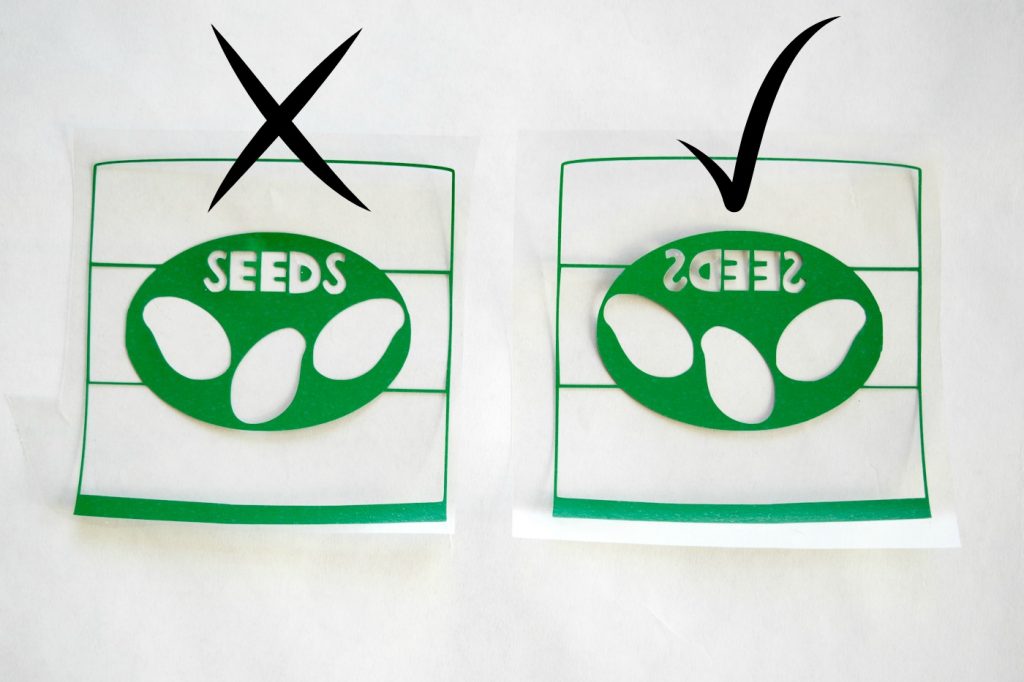
Make sure to create a mirror image if you're using text with iron-on vinyl!

Place the iron-on vinyl onto the sticky mat (shiny side down) and feed the mat into the machine. Send your design to cut. Cut apart the individual designs and weed out the negative space.
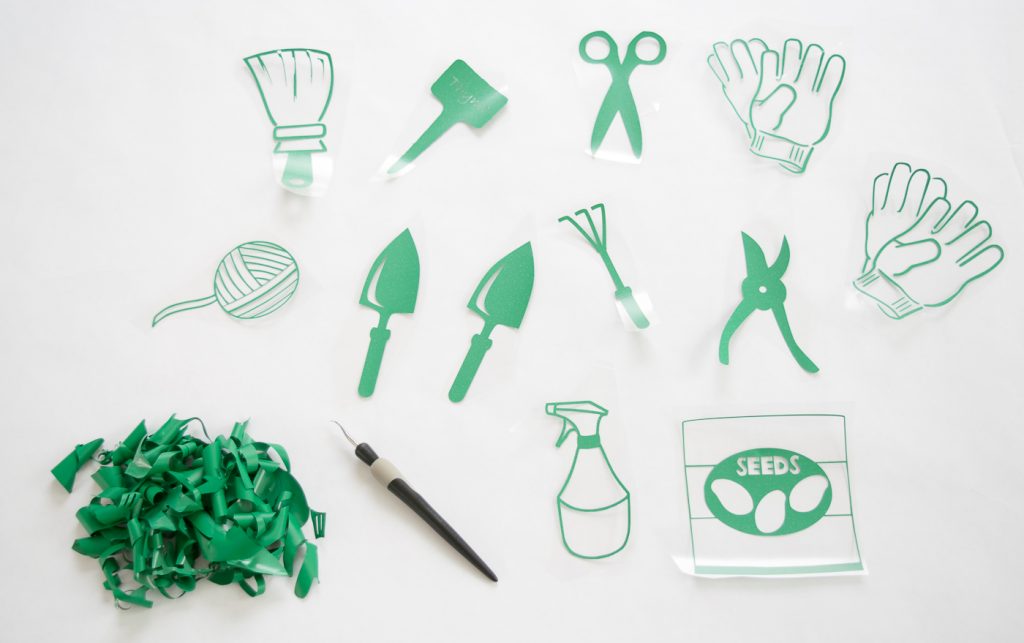
Each design corresponds to an item to be stored in the hanging garden tool organizer.

Place each design (plastic side up) on a pocket of the shoe organizer. It’s a good idea to keep heavier tools like the trowel and pruning shears at the bottom and lighter items like seeds and gloves at the top.
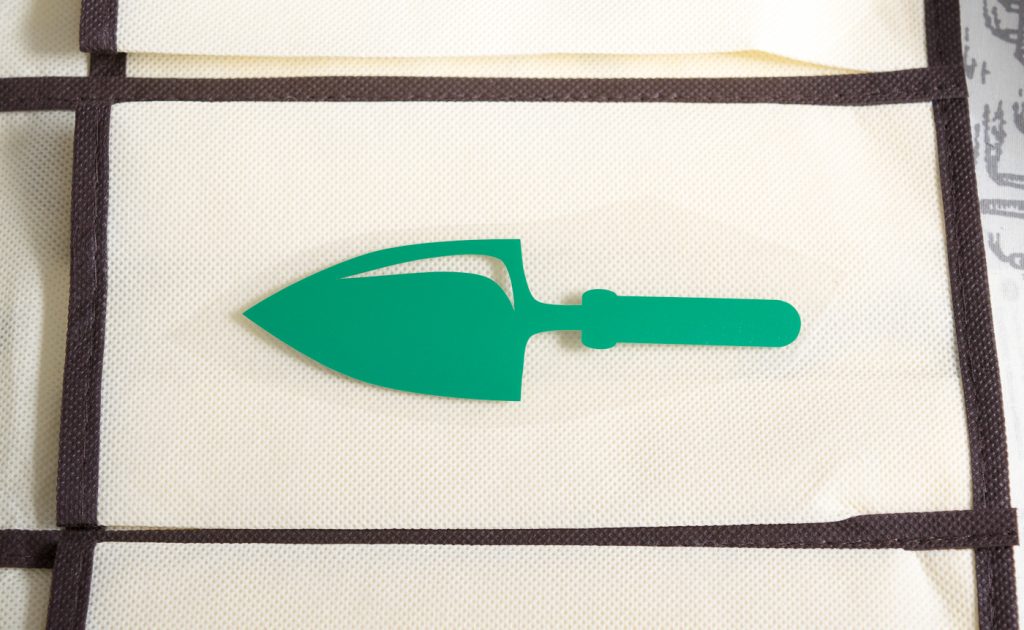
When using iron-on vinyl, make sure to apply it with the clear plastic side up.

Set your iron to the highest setting. Lay a piece of cotton cloth (a thin tea towel or even a t-shirt is fine) on top of your design. Iron it in place. Move the iron around over the design for 30 seconds to adhere the vinyl to the pocket. Be careful not to leave the iron in one spot too long or you risk scorching the fabric.
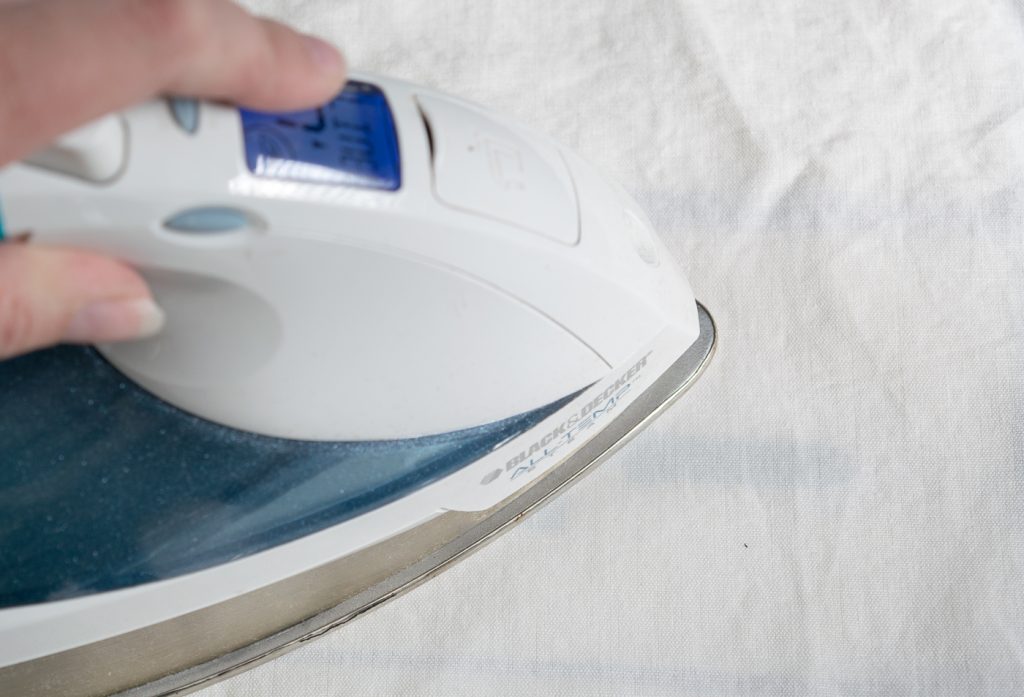
Iron your design to the pocket of your hanging garden tool organizer.

Your design is adhered properly when the clear plastic peels away cleanly. If it still sticks, iron more!
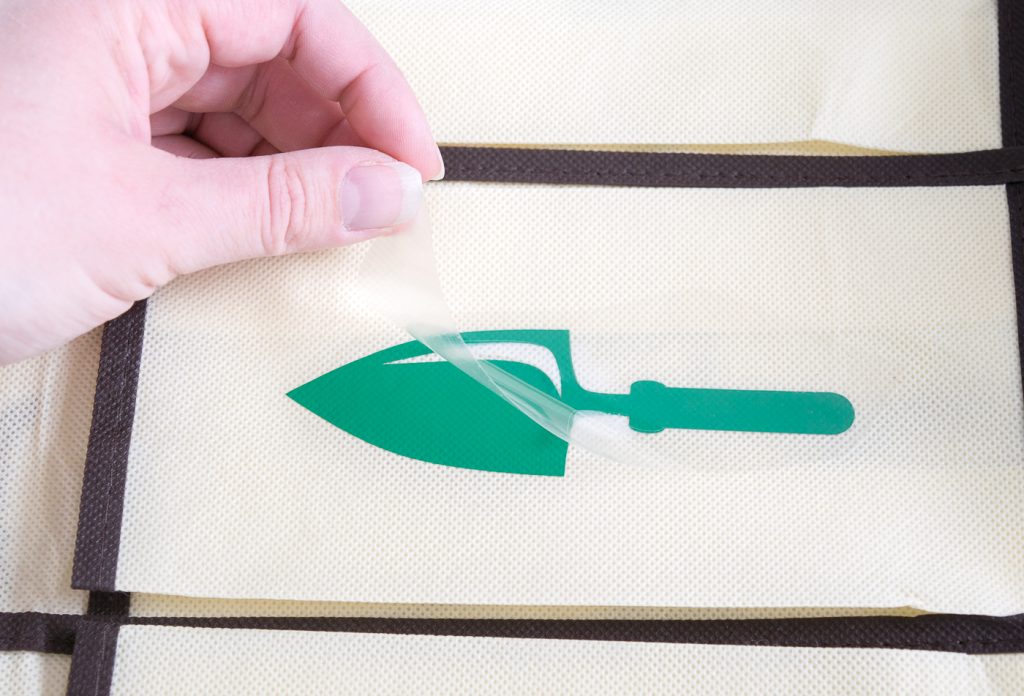
You know your design is ironed onto the fabric well when the plastic peels up easily.

Once the iron on is cool, move on to the next one. I had never used iron-on vinyl before and was pretty impressed at how flexible it is. The vinyl looks like it would peel up easily, but it adhered firmly.
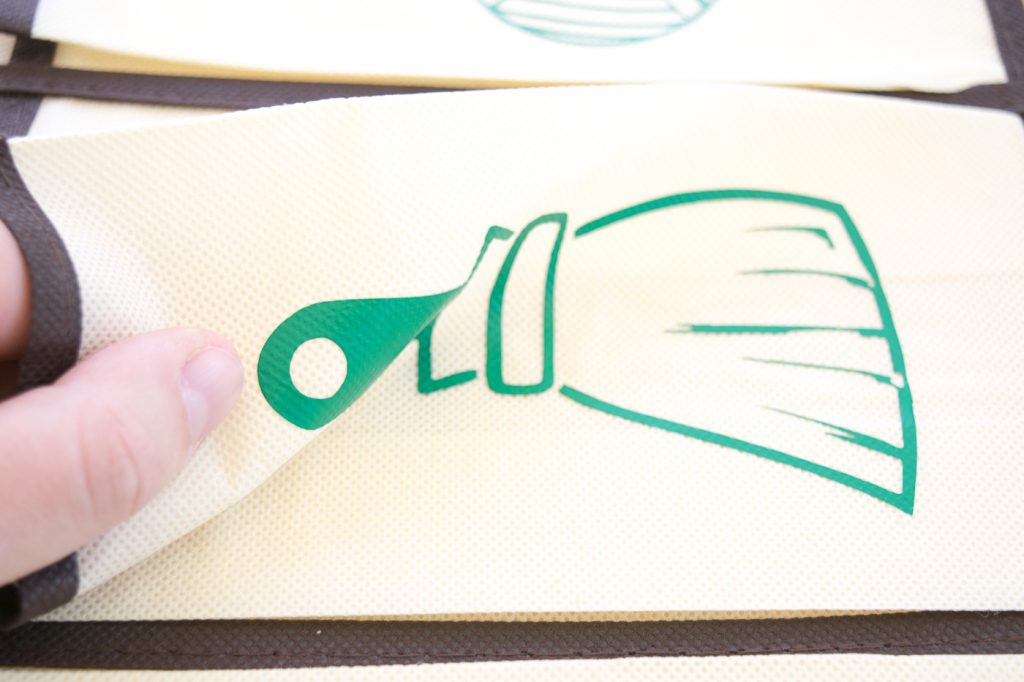
The iron-on vinyl is more flexible than it looks!

Hang your organizer. My organizer came with over-the-door hooks, but they were too big for the louvered doors of my shed. I used hooks to hang it on the pegboard wall. Time to fill up your organizer.
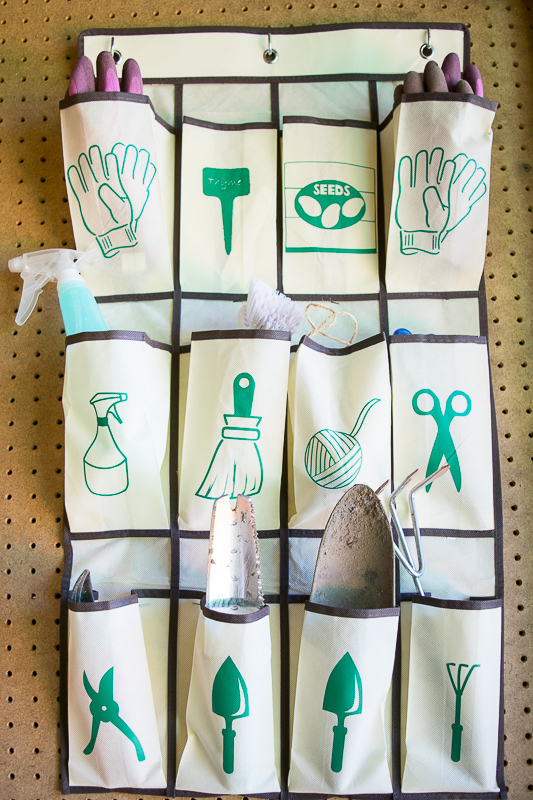
Get your shed or garage organized with this hanging garden tool organizer!

The heavier tools flopped forward so I stapled the fold of the pockets to the pegboard to keep them straight.
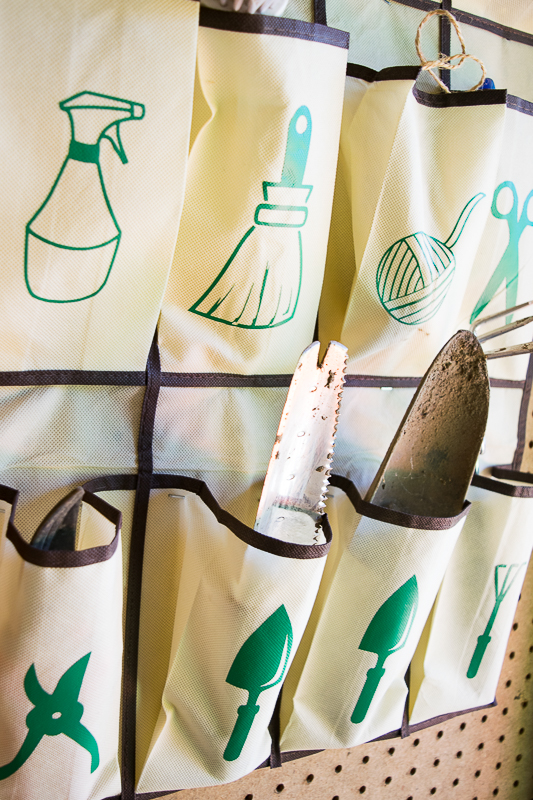
If the tools fall forward too much, staple the fold of the pocket to the wall to keep them straight.

No more hunting for that matching glove! They always have a home now.
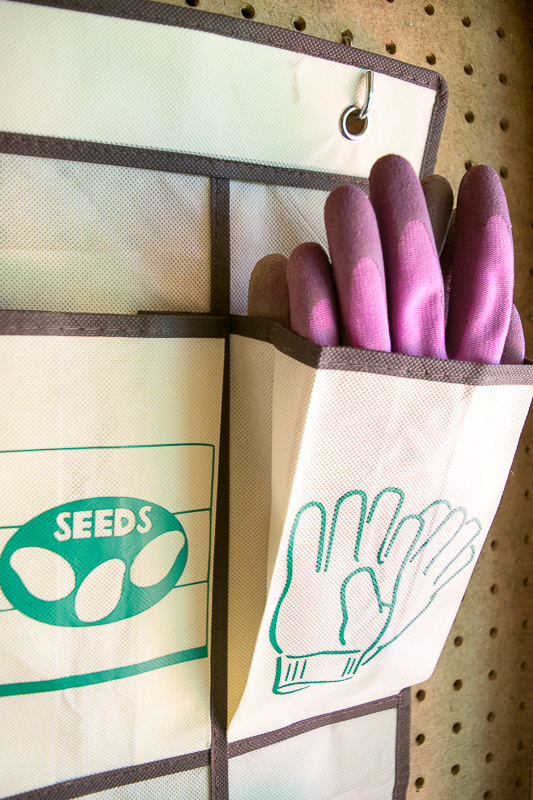
No more hunting for that missing gardening glove! Matching pairs fit perfectly in the pockets of this hanging garden tool organizer.

Now my garden shed is neat and organized! I can instantly see what tools are missing and hunt them down in the garden before they turn to rust. The images on the garden tool organizer make it easy for even the little kids to help with clean up.

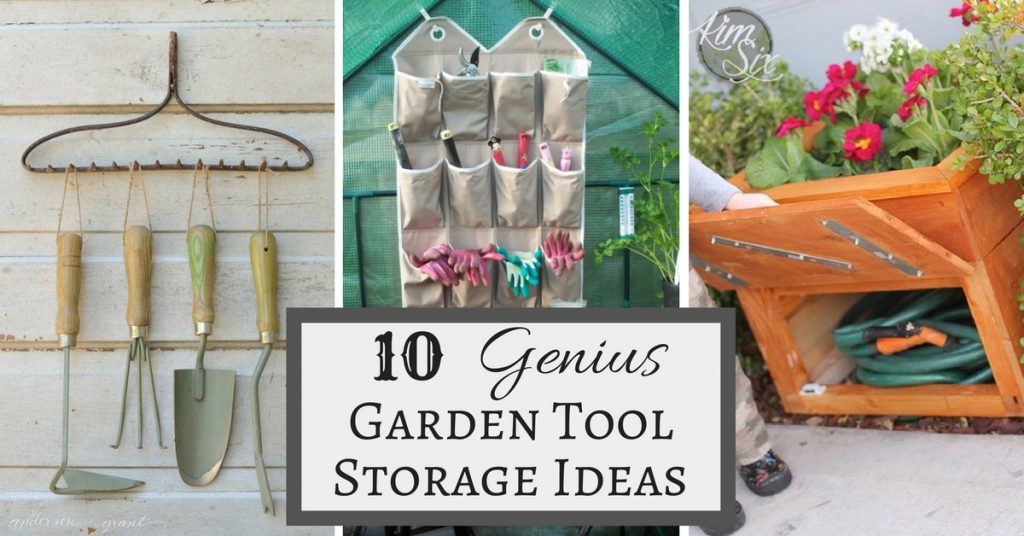
Need more garden tool storage ideas? I’ve found some genius garden tool storage ideas, including the inspiration for this project, here.

Get organized with these 10 genius garden tool storage ideas!

Thanks for reading and don’t forget to check out my blog at The Handyman’s Daughter for more projects!

~ view more of Vineta’s projects ~
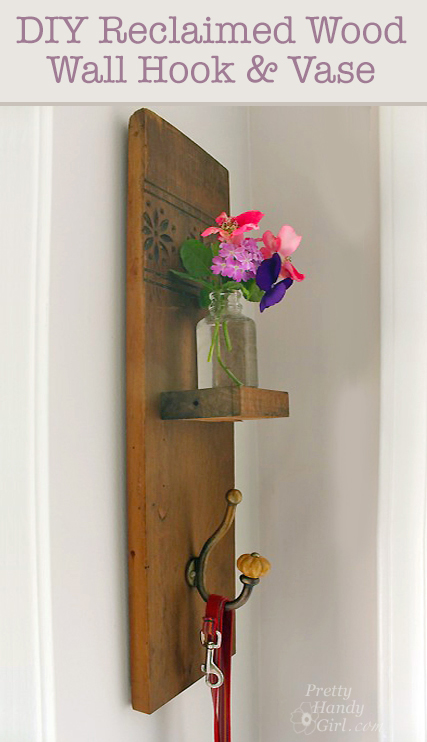
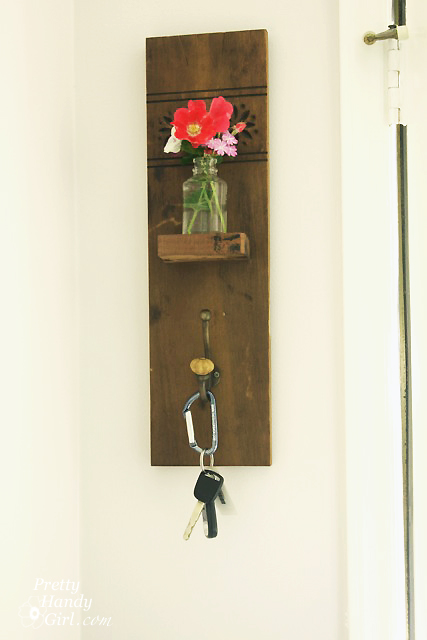
DIY Reclaimed Wall Hook & Vase | Pretty Handy Girl

DIY Reclaimed Wall Hook & Vase | Pretty Handy Girl

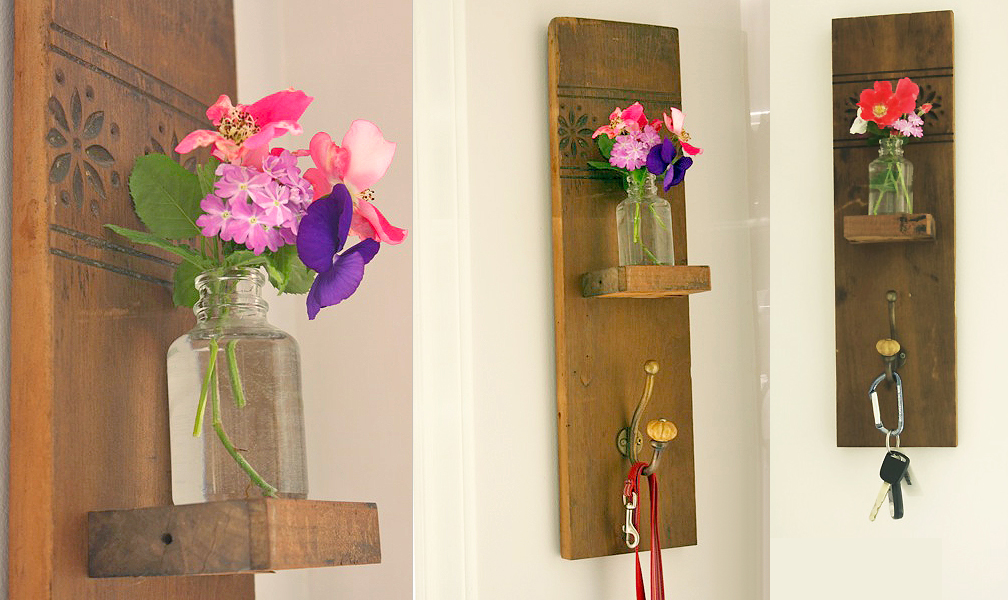
Good Monday morning! I want you to imagine something for a moment. There you are rushing out the door to take the dog for a walk, but you spend 10 minutes looking for the leash. Or you’re late for an appointment, but where the heck did you put your keys? Arrghhhh. Frustrating right? I’m here to solve those problems and show you how to make a Reclaimed Wood Wall Hook & Vase. It’s a fairly simple DIY tutorial that I know you can handle. Plus, this is a great project to get you started if you’re still new to working with wood. Ready to get building?

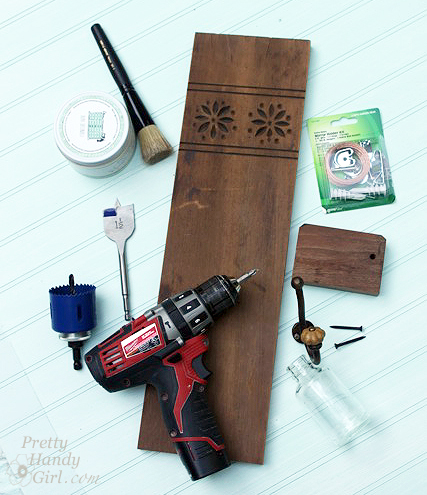
Materials:

(I’ve included affiliate links for your convenience. I earn a small percentage from a purchase using these links. There is no additional cost to you. You can read more about affiliate links here.)

Vintage Coat Hook Wall Vase | Pretty Handy Girl Guest Post

Optional:

Instructions:

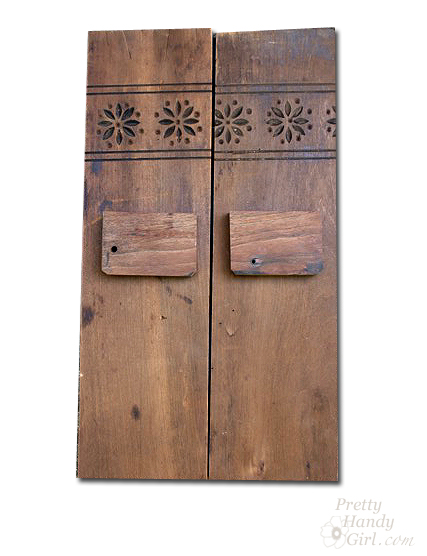
Start by cutting your wood to size. (I actually made two of these sconces that flank either side of our doorway.)

Vintage Coat Hook Wall Vase | Pretty Handy Girl Guest Post

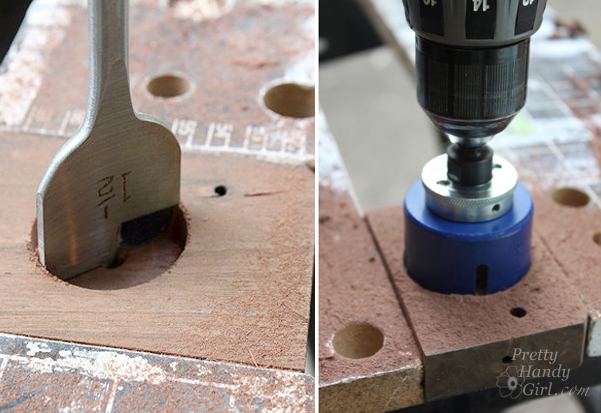
Clamp the little shelf to a work bench and drill a hole in the center. (For me this was a two step process because my Forstner bit didn’t cut the center area, so I drilled with the largest spade bit I owned first, then widened the hole to correct size with the forstner bit.)

Vintage Coat Hook Wall Vase | Pretty Handy Girl Guest Post

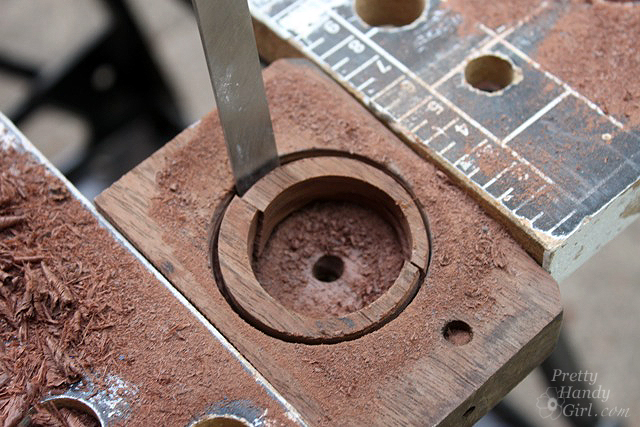
Use a chisel to break out the excess wood.

Vintage Coat Hook Wall Vase | Pretty Handy Girl Guest Post

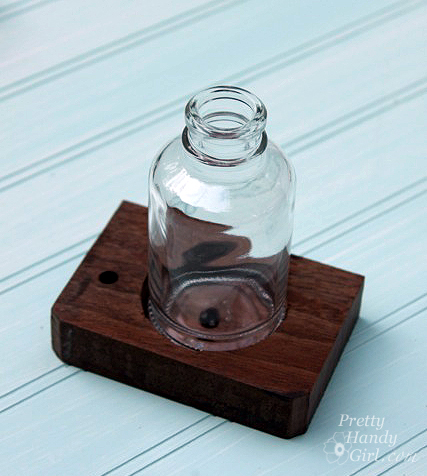
Check the fit by inserting your bottle into the hole.

Vintage Coat Hook Wall Vase | Pretty Handy Girl Guest Post

Lay out the location of the coat hook, shelf and vase and mark the location of each with a pencil.

Vintage Coat Hook Wall Vase | Pretty Handy Girl Guest Post

Pre-drill two holes through the wood back piece where the shelf will sit.

Vintage Coat Hook Wall Vase | Pretty Handy Girl Guest Post

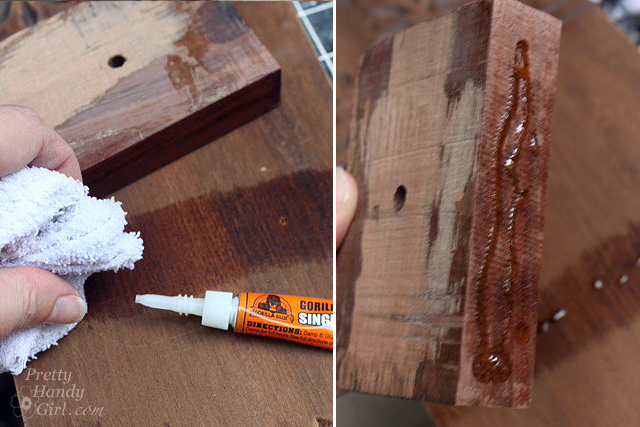
Wet your shelf and the back piece, then add Gorilla glue. (The wet wood allows the glue to soak into the two wood surfaces to create a stronger bond.)

Vintage Coat Hook Wall Vase | Pretty Handy Girl Guest Post

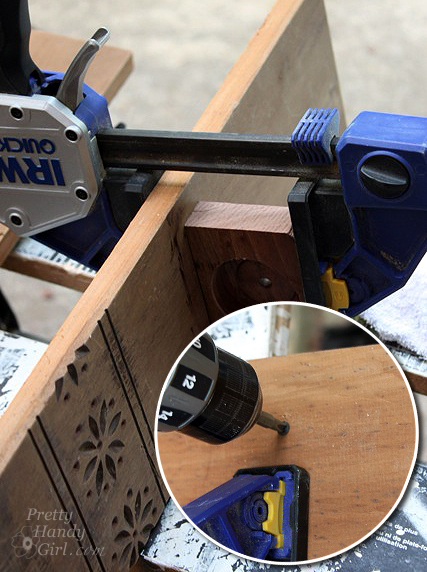
Clamp the shelf in place (offset the clamp to expose the pre-drilled holes.) Drive the wood screws through the back and into the shelf to secure it.

Vintage Coat Hook Wall Vase | Pretty Handy Girl Guest Post

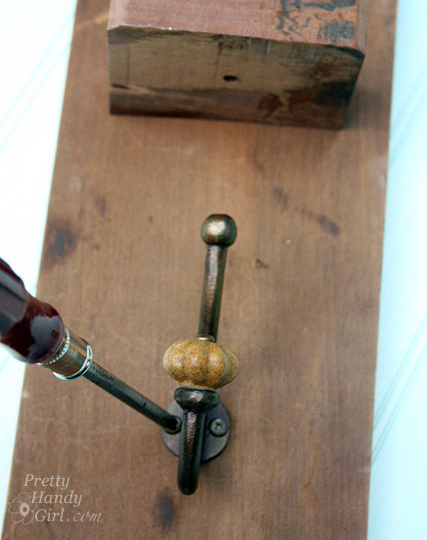
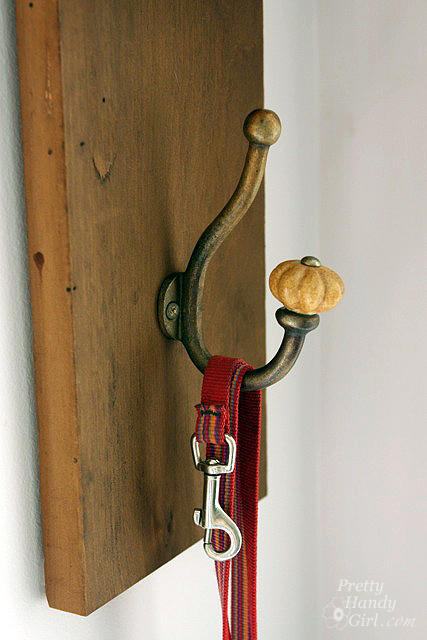
Attach the coat hook below the shelf using small wood screws provided with the hook.

Vintage Coat Hook Wall Vase | Pretty Handy Girl Guest Post

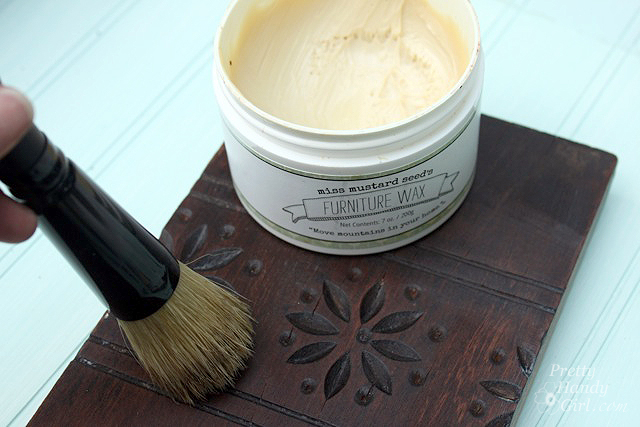
To give the reclaimed wood a beautiful luster and finish, apply furniture wax to the wood. Wait 3-5 minutes for the wax to penetrate and then buff it off with a clean dry cloth.

Vintage Coat Hook Wall Vase | Pretty Handy Girl Guest Post

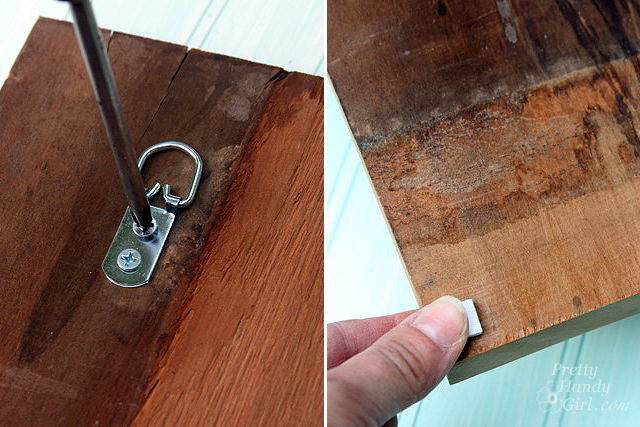
Attach one D-hook to the top center of the back of the wall sconce. Add rubber bumpers to the bottom corners to avoid any rubbing or swaying on the wall.

Vintage Coat Hook Wall Vase | Pretty Handy Girl Guest Post

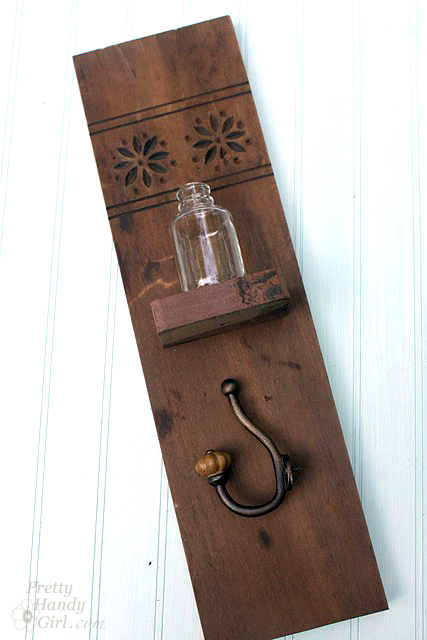
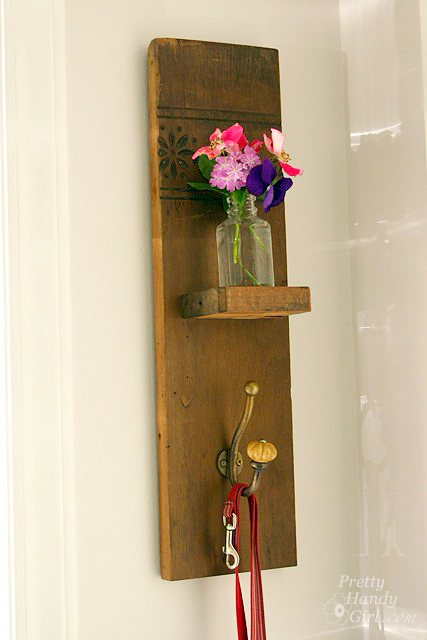
Hang your Reclaimed Wood Wall Hook & Vase on the wall!

Vintage Coat Hook Wall Vase | Pretty Handy Girl Guest Post

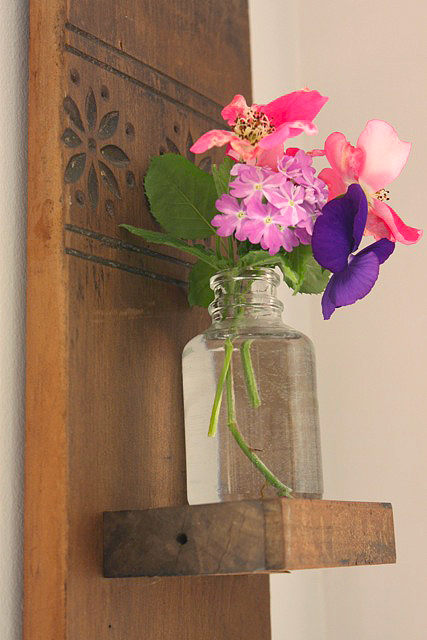
Fill the vase with fresh flowers. They are guaranteed to brighten your morning as you are rushing out the door!

Vintage Coat Hook Wall Vase | Pretty Handy Girl Guest Post

And never search for your dog leash…

Vintage Coat Hook Wall Vase | Pretty Handy Girl Guest Post

…or keys again!

Vintage Coat Hook Wall Vase | Pretty Handy Girl Guest Post
What do you think? Could you build this reclaimed wood wall hook & vase yourself? Have faith in  yourself, because I know you can!

Vintage Coat Hook Wall Vase | Pretty Handy Girl Guest Post

Hope you have a less hectic week now!

PHGFancySign


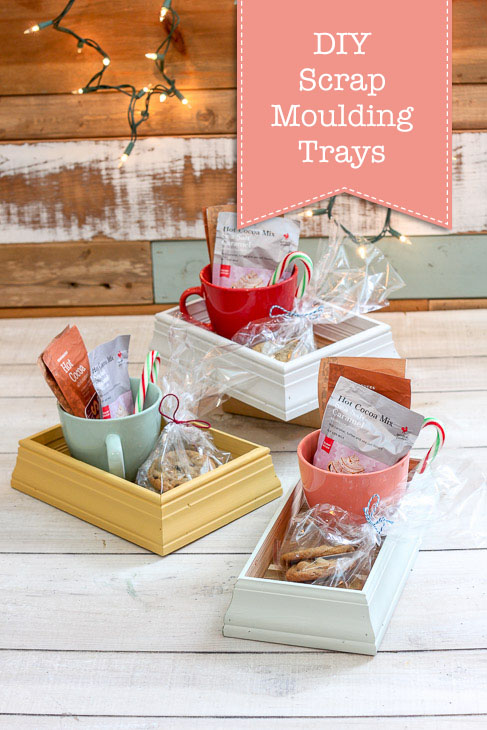
DIY Scrap Moulding Trays | Pretty Handy Girl

Are you on a purge mission to get rid of excess stuff? Me too! How about your workshop? Do you have scrap wood you need to get rid of? Yes? Perfect. Today I have a simple tutorial to show you how to make DIY Scrap Moulding Trays.

DIY Scrap Moulding Trays | Pretty Handy Girl

DIY Scrap Molding Trays

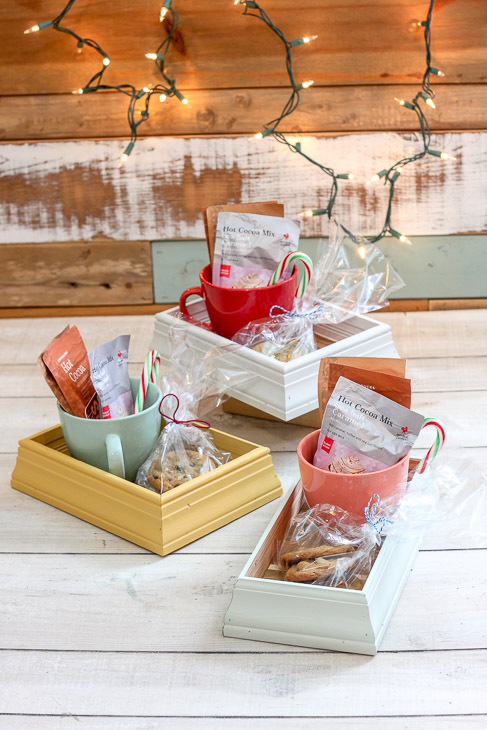
These trays are really cute and can be given as gifts and used to corral things together. Honestly, they are now one of my favorite scrap wood projects!

DIY Scrap Moulding Trays | Pretty Handy Girl

Regardless of how you use these scrap molding trays, they are a great way to reuse materials.

Materials:

Optional: Clamps

Instructions:

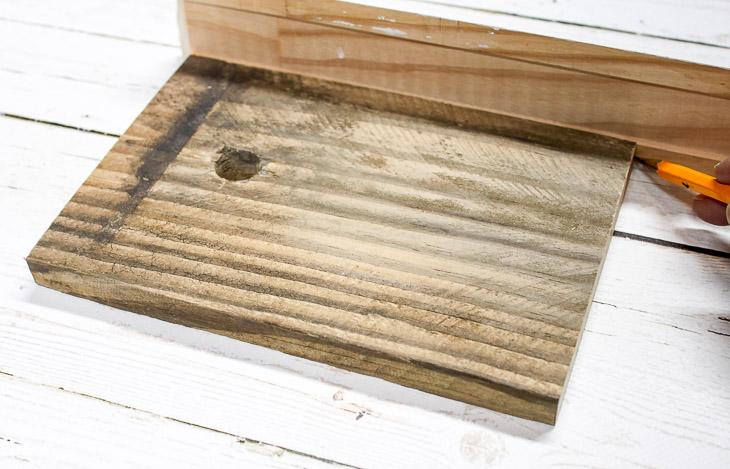
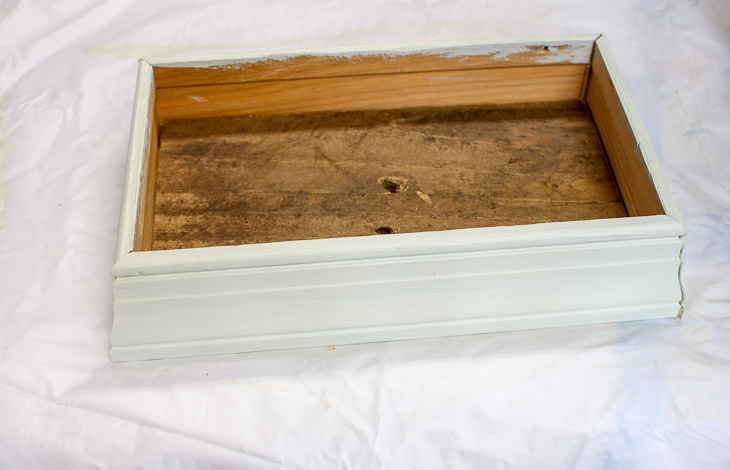
Cut a 45Ëš angle into one end of your case molding (the longer side of the cut should be on the outside of the molding.) Never used a miter saw before? Watch this video tutorial to learn how to use a miter saw.

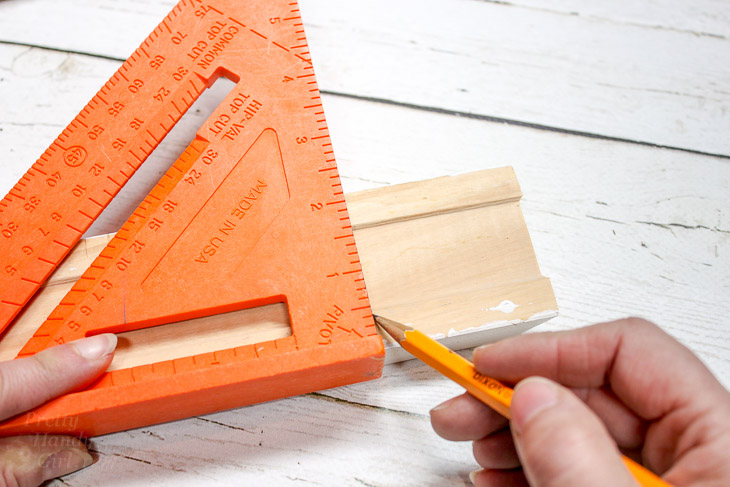
Line up the inner edge of the cut against one corner of your base wood. Mark the location of the other corner onto the molding.

DIY Scrap Moulding Trays | Pretty Handy Girl

Extend the line along the molding using a speed square.

DIY Scrap Moulding Trays | Pretty Handy Girl

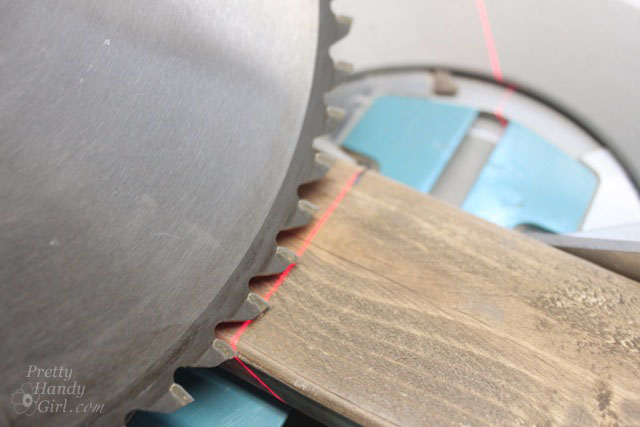
Line up the mark with your saw blade and cut at a 45Ëš angle.

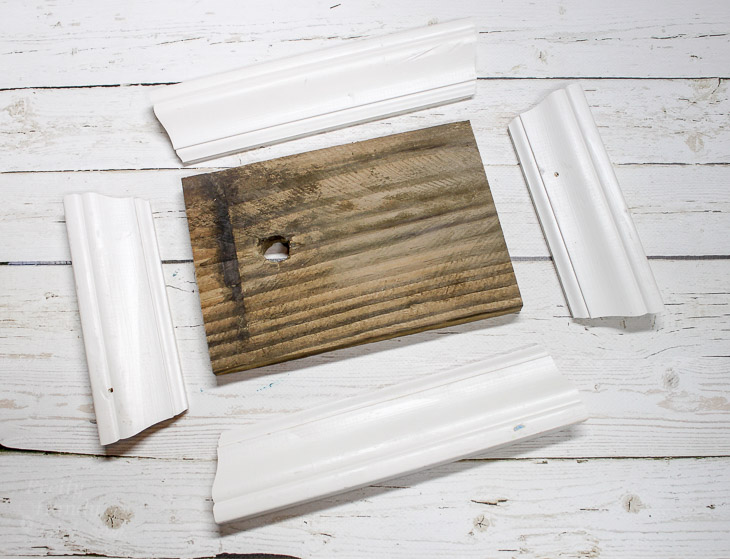
Repeat for the remaining sides until you have four sides cut with all ends mitered to 45˚.

DIY Scrap Moulding Trays | Pretty Handy Girl

Test fit all the molding sides against the baseboard and make any adjustments as needed.

DIY Scrap Moulding Trays | Pretty Handy Girl

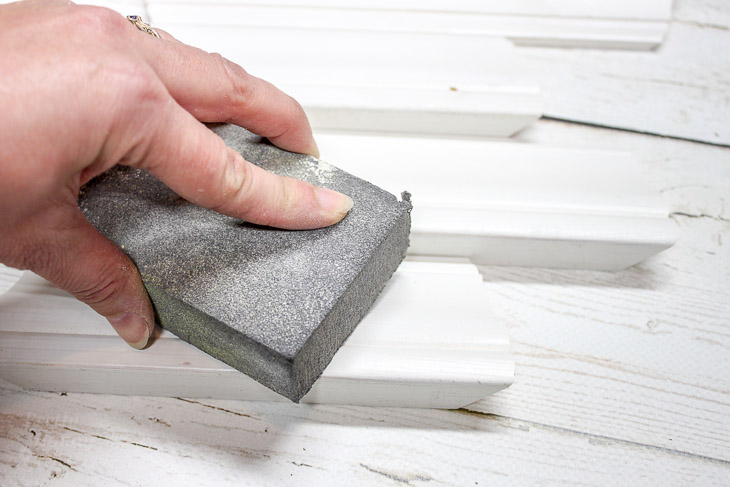
Sand any rough spots off with a sanding sponge.

DIY Scrap Moulding Trays | Pretty Handy Girl

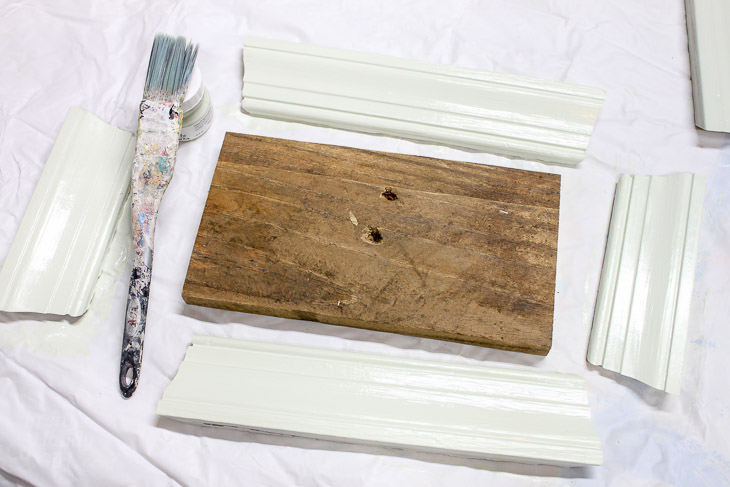
Paint the molding your color of choice. I used a variety of Fusion paints. This is the first time I’ve used Fusion Mineral Paints, but it definitely won’t be the last! They go on smoothly and don’t require a primer. Plus, with a light sanding afterward the paint doesn’t feel chalky.

DIY Scrap Moulding Trays | Pretty Handy Girl

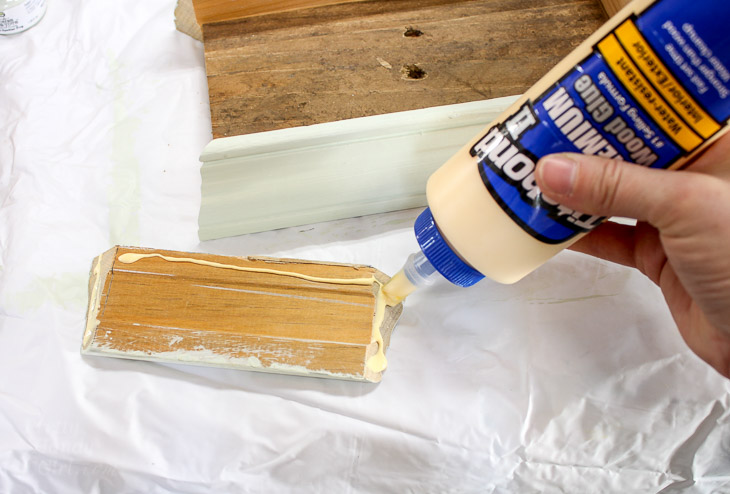
Squeeze wood glue onto the corners and bottom edge of the molding pieces.

DIY Scrap Moulding Trays | Pretty Handy Girl

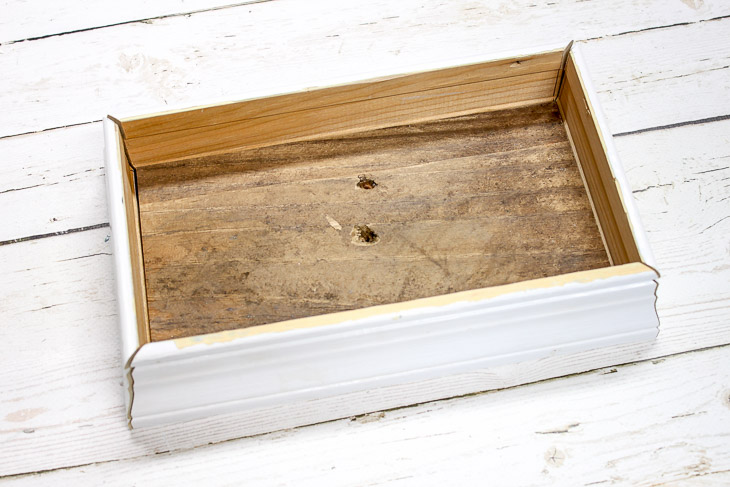
Set them in place around the base.

DIY Scrap Moulding Trays | Pretty Handy Girl

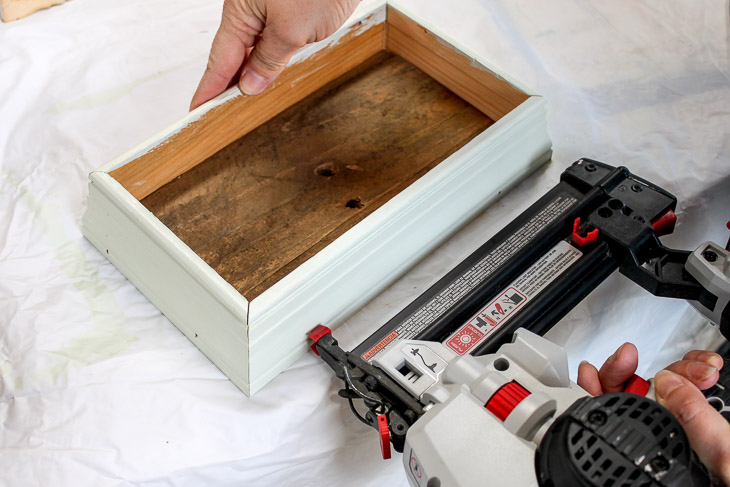
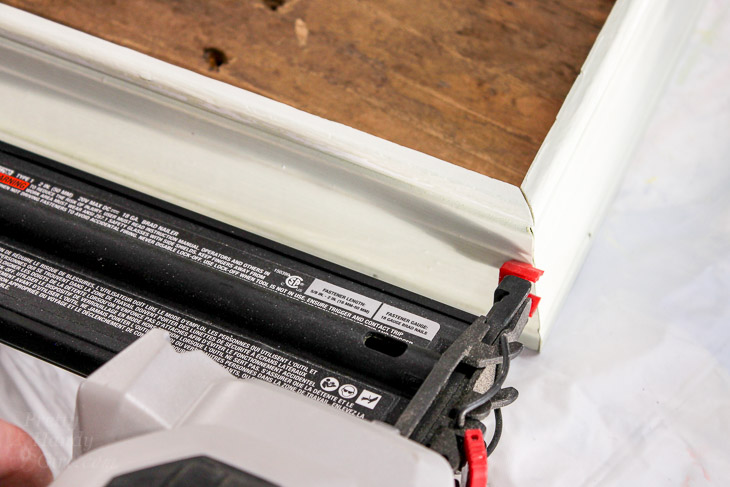
Nail 1 ¼” brad nails through the molding and into the base.

DIY Scrap Moulding Trays | Pretty Handy Girl

Secure the corners with one or two more brad nails.

DIY Scrap Moulding Trays | Pretty Handy Girl

Time to load up your tray with goodies and give them as gifts.

DIY Scrap Moulding Trays | Pretty Handy Girl

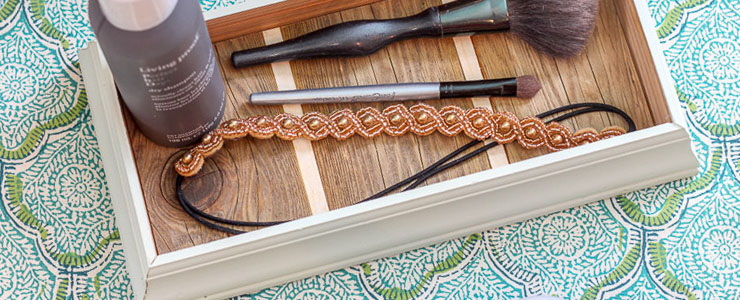
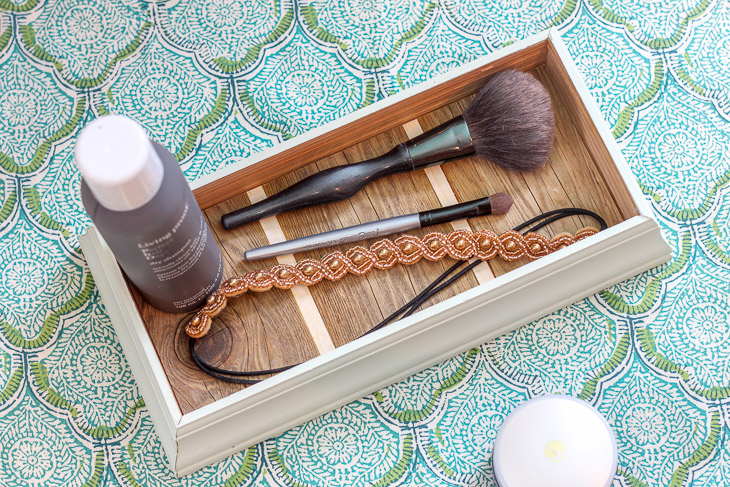
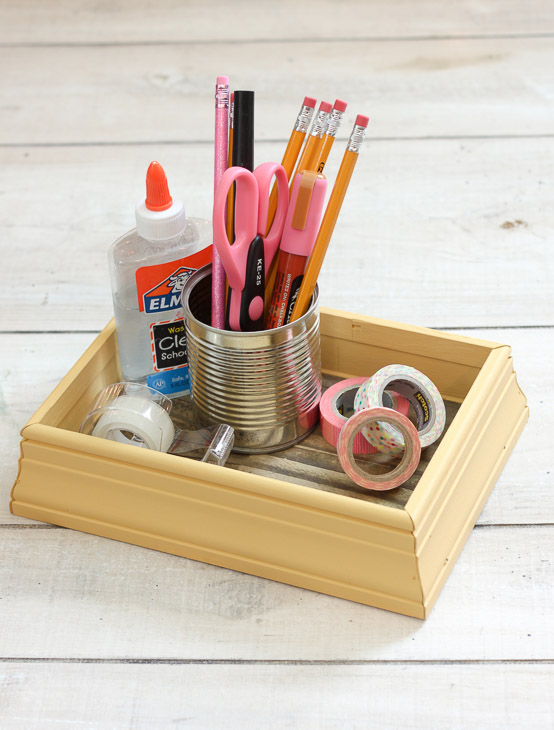
Or use your tray to organize your desk.

DIY Scrap Moulding Trays | Pretty Handy Girl

If you fell in love with the tray with the striped bottom, you can learn how to make striped wood block here:

How to Make a Striped Wood Block | Pretty Handy Girl

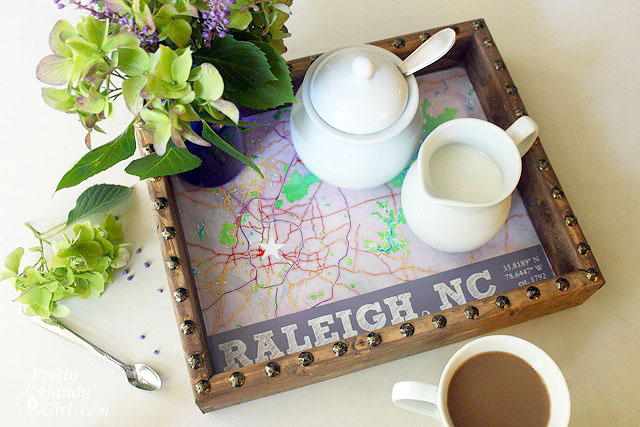
Another tray you can make with scraps is this fun Nailhead State Capital Tray:

What do you think? Want to use up your scraps to make some fun trays?

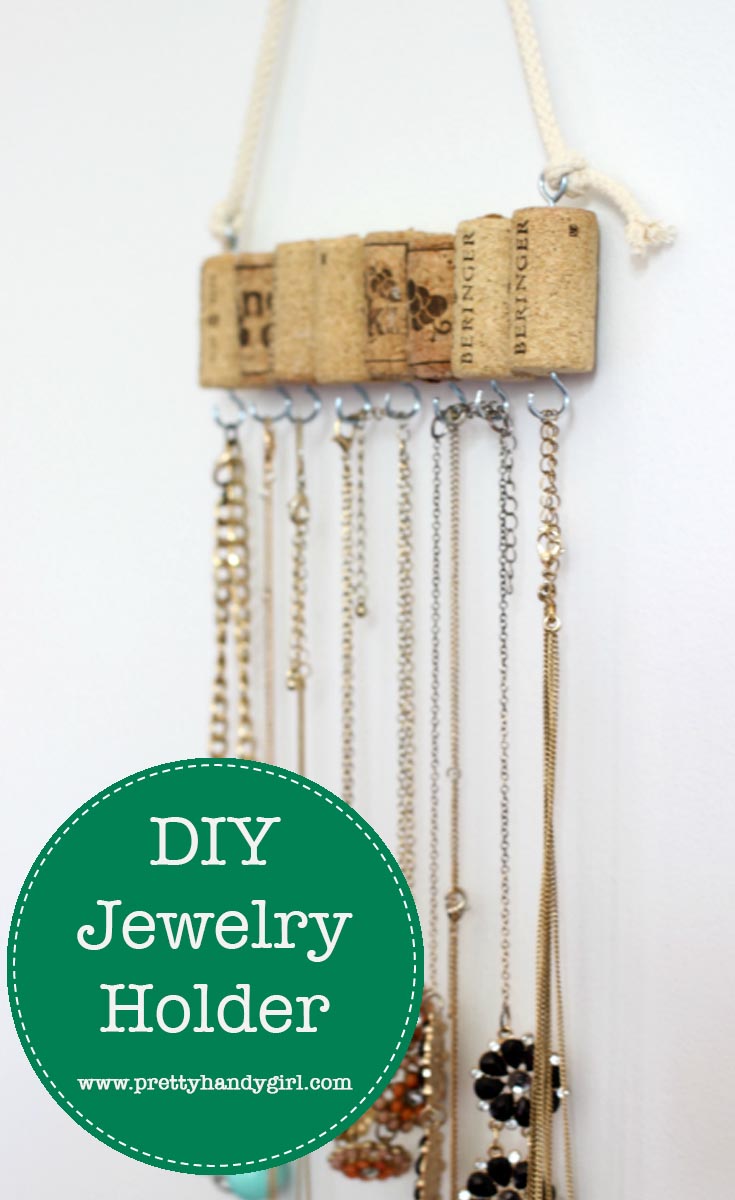
Love this DIY Jewelry Holder! Perfect use for those old corks!

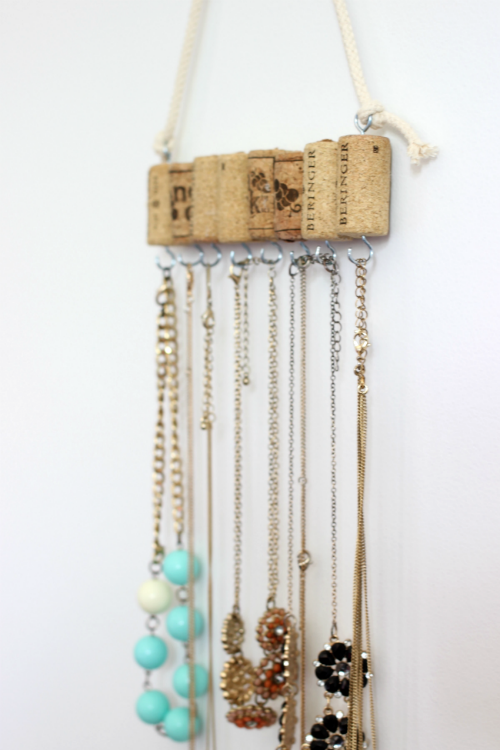
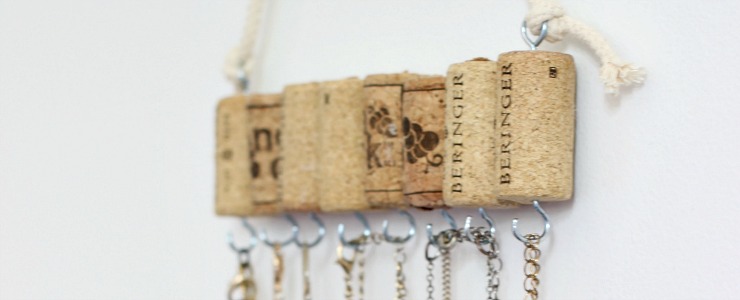
Hi everyone! This is Lindi, visiting again from Love Create Celebrate. I admit it, I’m a hoarder. Aren’t all DIYers? I have trouble throwing anything away that could be “useful” one day (wine corks included!) When I was trying to plan out some DIY projects for my Master Bedroom Closet Renovation, I saw the old corks in a mason jar on my counter and was immediately struck with inspiration. Maybe my DIY Jewelry Holder will inspire you to keep your corks too!

Love this DIY Jewelry Holder! Perfect use for those old corks!

I finished this entire project in just a few minutes! It’s amazing what you can do with a few old corks!

(I’ve included affiliate links for your convenience. I earn a small percentage from a purchase using these links. There is no additional cost to you. You can read more about affiliate links here.)

Materials: 

Tools:

Love this DIY Jewelry Holder! Perfect use for those old corks!

Instructions: 

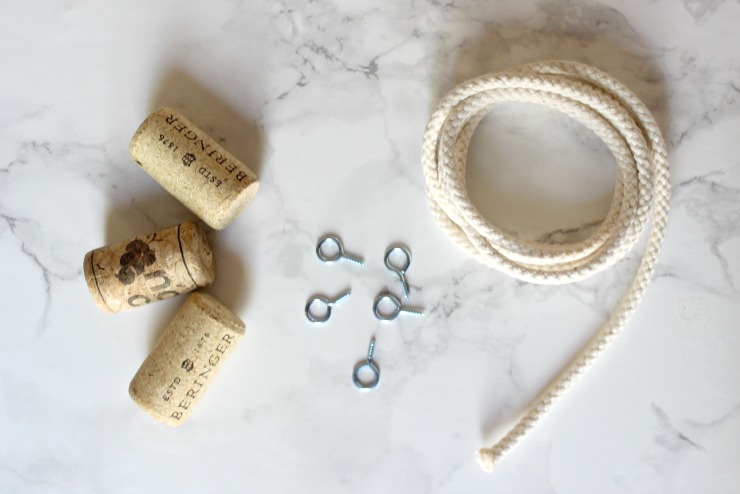
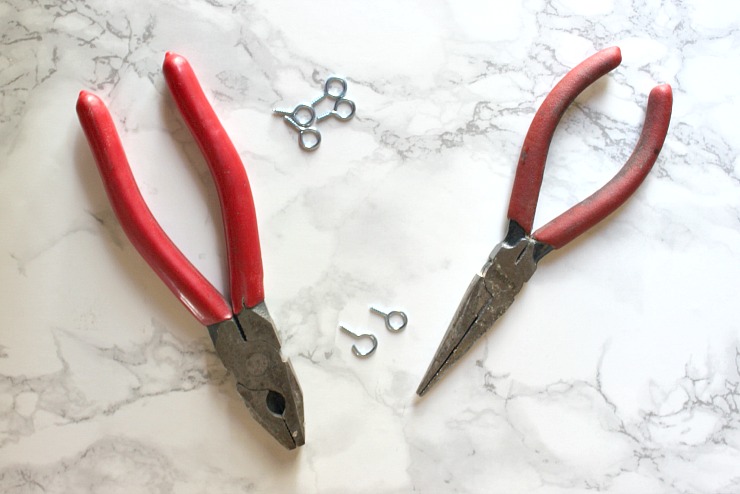
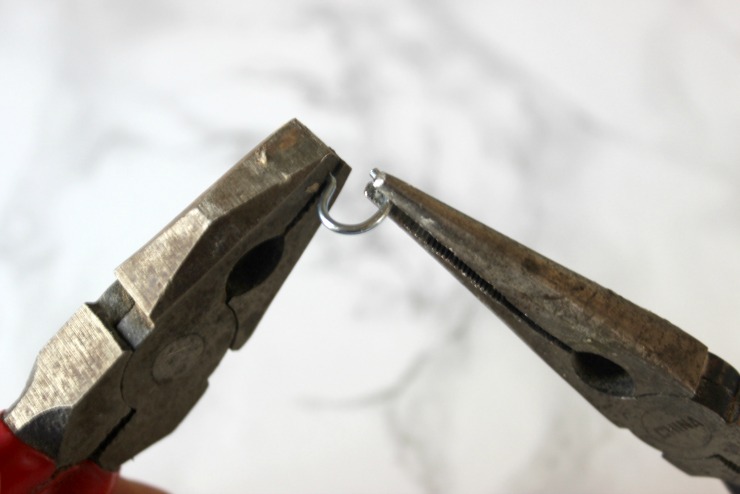
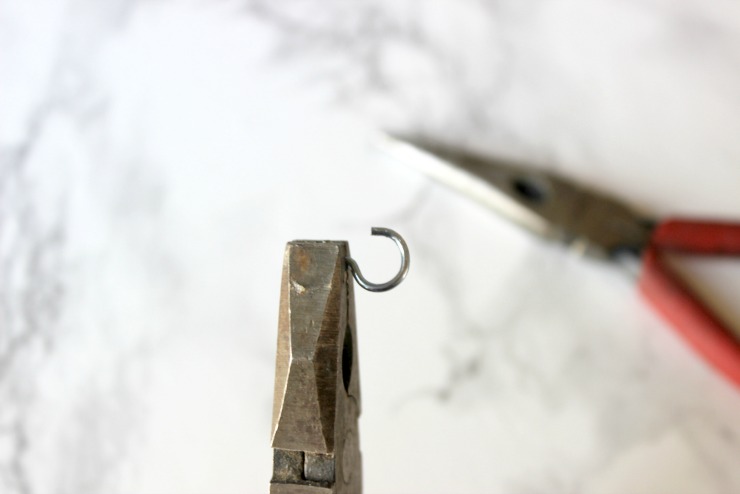
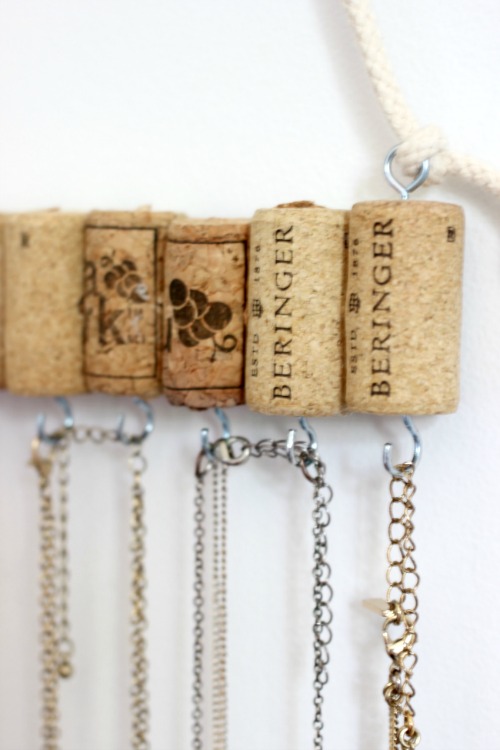
Grab your pliers and eye hooks. Use the pliers to open up some of the eye hooks so that you can hang jewelry on them. Use one set of pliers to hold the eye hook in place. This is much easier than trying to stabilize the hook with your hand.

Love this DIY Jewelry Holder! Perfect use for those old corks!

Using the needle-nose pliers, pull the eye hook open. You only need an opening of approximately 1/4″.

Love this DIY Jewelry Holder! Perfect use for those old corks!

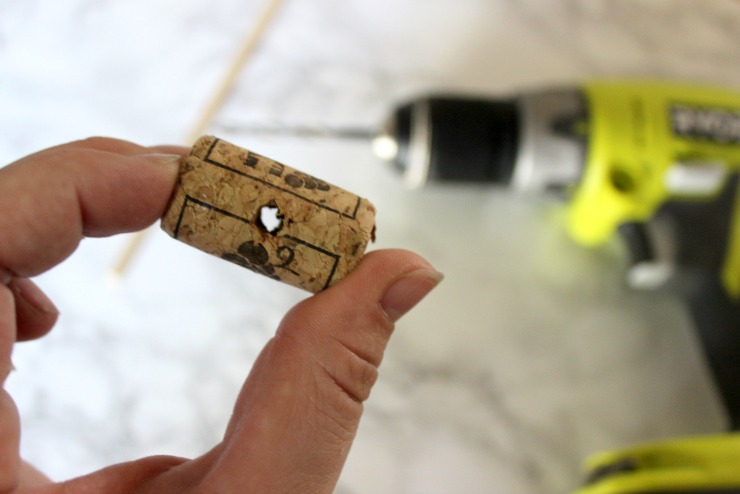
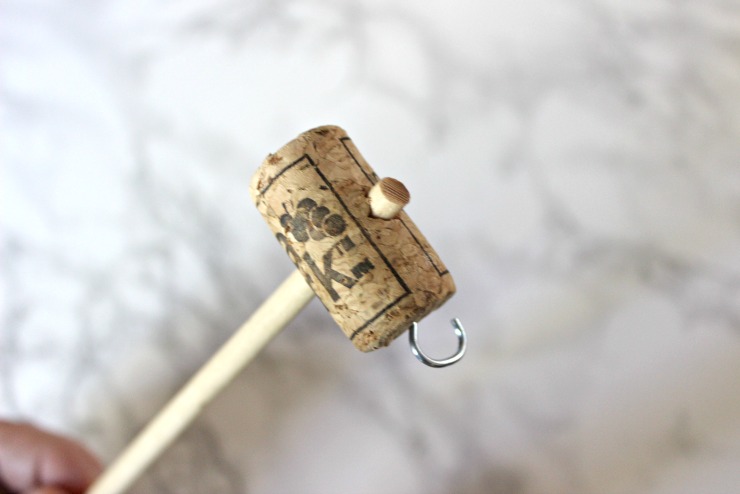
Grab your drill and drill a hole into the center of the corks (as shown below). You can just eyeball it because it doesn’t have to be perfect. Two of your corks should only be drilled half way through (they will be the corks on either end of the jewelry holder.)

Love this DIY Jewelry Holder! Perfect use for those old corks!

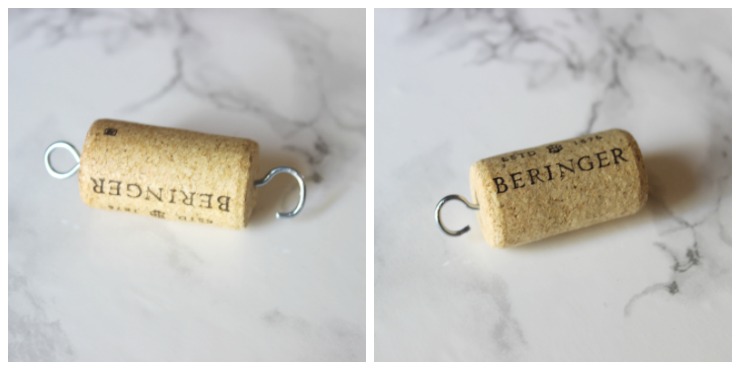
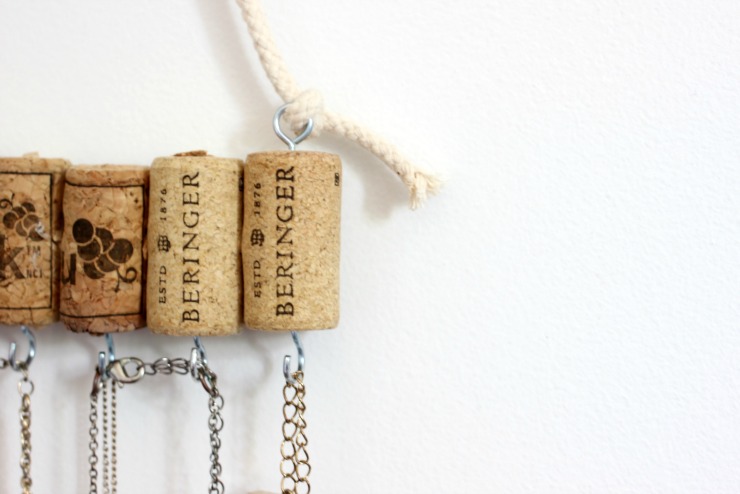
Once your holes are drilled, you can put the eye hooks in place. Twist an open eye hook into each cork. For the end corks, twist two closed eye hooks into the top of the corks.

Love this DIY Jewelry Holder! Perfect use for those old corks!

Line up the corks side by side and measure their total width. Measure the length of dowel you need and use a saw to cut the dowel to the correct length. Slide the corks onto the dowel rod. Cap the dowel off with the two end corks.

Love this DIY Jewelry Holder! Perfect use for those old corks!

Tie a piece of rope into the closed eye hooks for hanging your jewelry holder.

Love this DIY Jewelry Holder! Perfect use for those old corks!

Wouldn’t this make a great gift? Sometimes our family has a DIY gift exchange at Christmas time. I just might have to make a second one to throw in for some family members that would love it!

Love this DIY Jewelry Holder! Perfect use for those old corks! Love this DIY Jewelry Holder! Perfect use for those old corks!

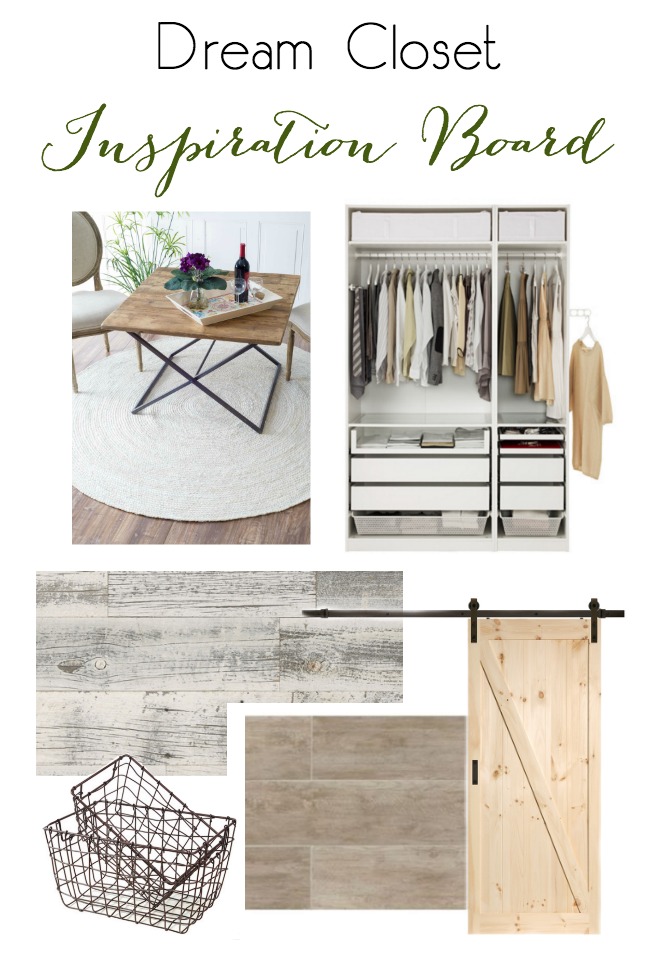
This DIY Jewelry Holder is going to find a permanent home in my Dream Closet. I’m in the middle of the six-week long Dream Closet Renovation, and I’d love for you to come check out the progress!

dream-closet-inspiration-board-copy

For more DIY decor inspiration visit Love Create Celebrate.

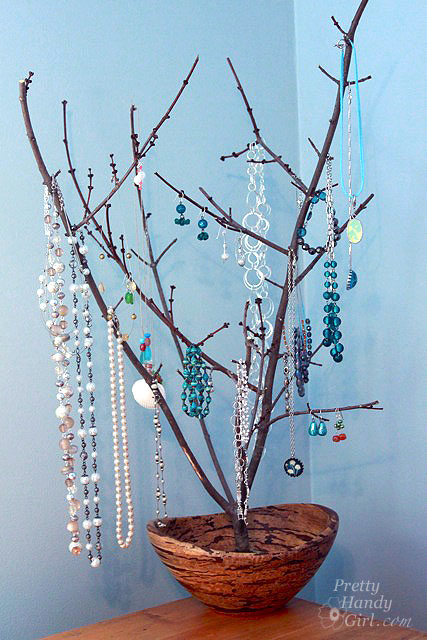
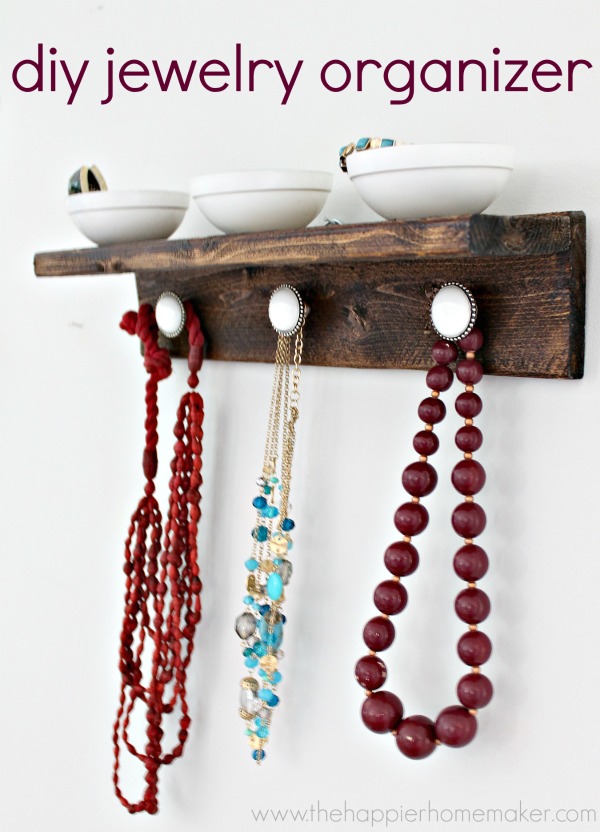
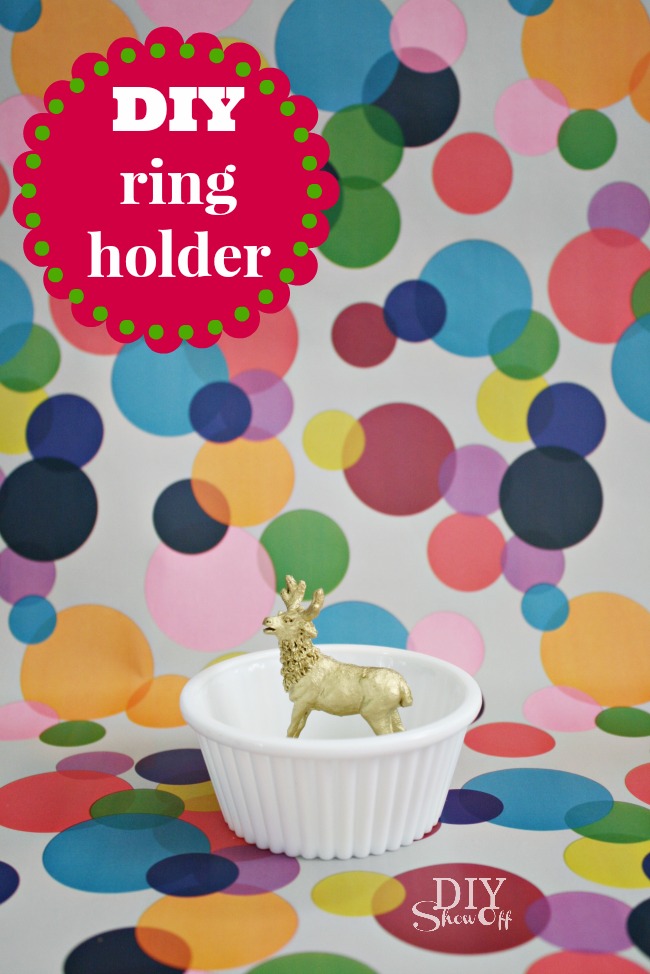
You might also like these jewelry holders:

Branch Jewelry Holder

Branch Jewelry Holder

DIY Jewelry Organizer

DIY Jewelry Organizer

DIY Jewelry Holder

DIY Ring Holder

Lindi Signature~ view more projects by Lindi ~

Pin for later!

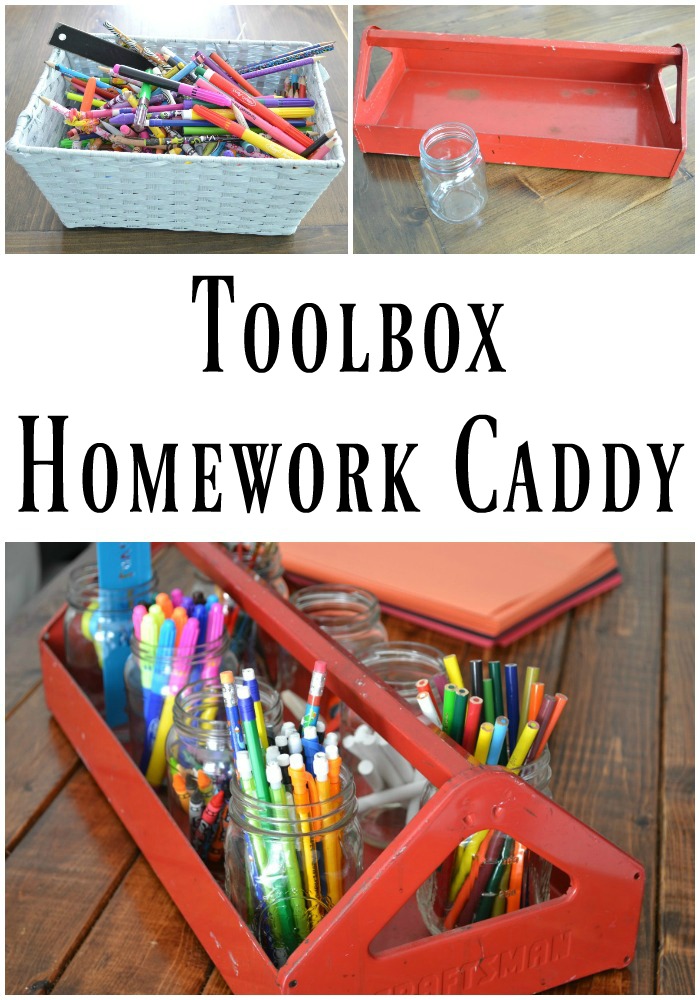
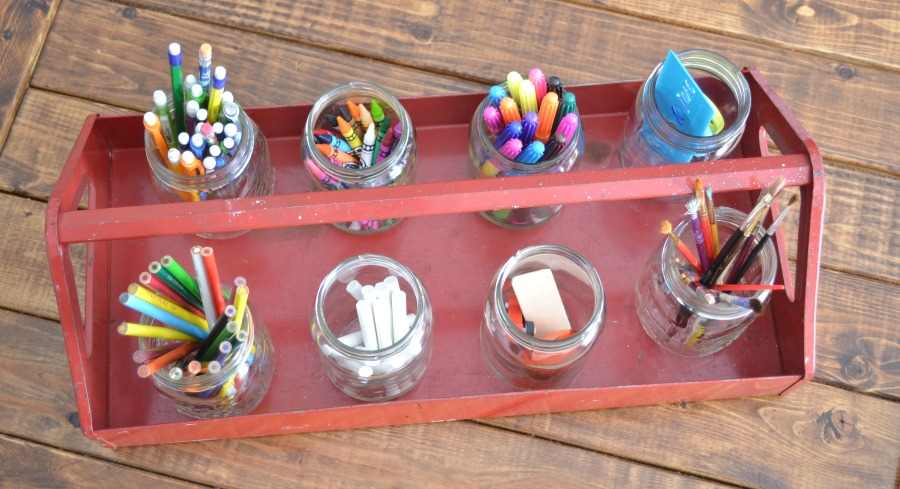
Get organized before the school year creeps up on you. This toolbox homework caddy will help your kids find everything they need. | Toolbox Homework Caddy

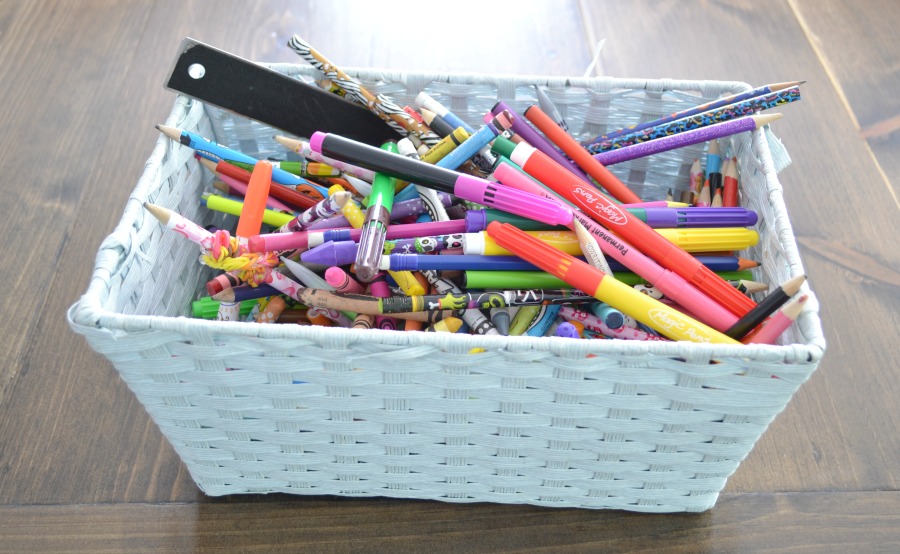
I know you are probably sitting by the pool and homework isn’t quite on your list of things to do, yet. But before you know it, the leaves will be changing and the kids will be in full school mode.  Evenings of “Mom, do you know where the pencils are?” are on the horizon. When all the writing and drawing utensils in the house exist in an pile of color, it’s tough to find what you need.

Get organized before the school year creeps up on you. This toolbox homework caddy will help your kids find everything they need. | Toolbox Homework Caddy

Surviving evenings of homework during the school year can be a bear, but having everything in one place will help.  That’s where this toolbox homework caddy comes in.

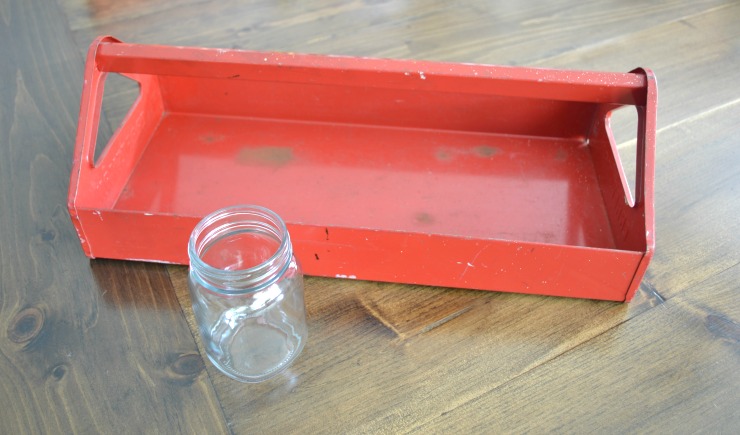
I used an old toolbox because that is what I had and I like that it has a little paint splattered and not fussy, but you can use anything you have around.  You will need jars. Mason or pickle work great, but I prefer pickle jars because they are free.

Get organized before the school year creeps up on you. This toolbox homework caddy will help your kids find everything they need. | Toolbox Homework Caddy

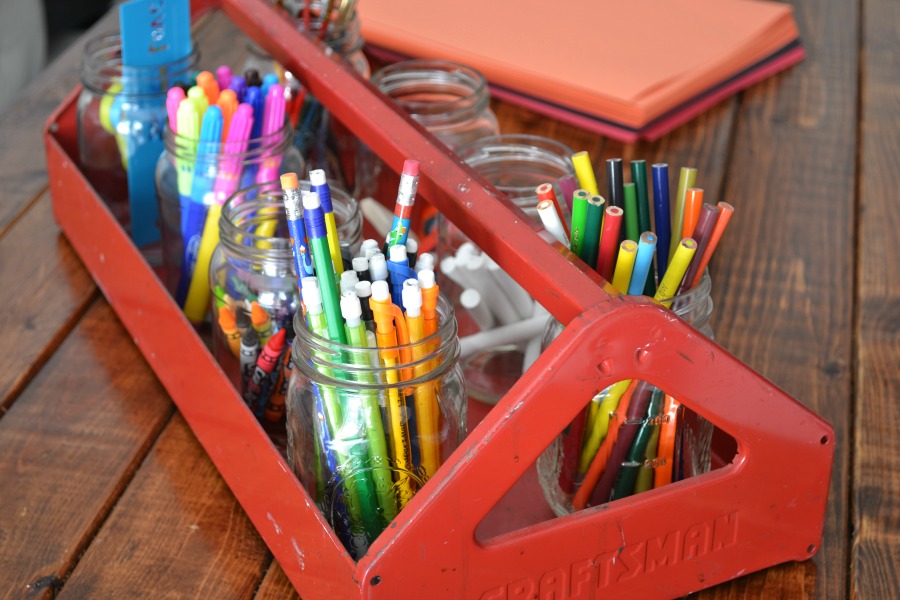
This toolbox holds 8 jars which is perfect for all the things kids need to get their schoolwork done.

Get organized before the school year creeps up on you. This toolbox homework caddy will help your kids find everything they need. | Toolbox Homework Caddy

Some things you can add to the jars to help with getting homework done are colored pencils, crayons, markers and pencils.  Some chalk, paint brushes, scissors and rulers, erasers and a pencil sharpener are also great ideas.

Get organized before the school year creeps up on you. This toolbox homework caddy will help your kids find everything they need. | Toolbox Homework Caddy

Keep the homework caddy in an easy to reach place, like a playroom coffee table, bookcase or desk. Add a stack of colored paper next to it and you just may encourage some creativity along with productivity.

Now all that’s left to do is decide on a backpack 🙂

Jillian's Signature

-See more tutorials from Jillian here