
Pantry Progress Update
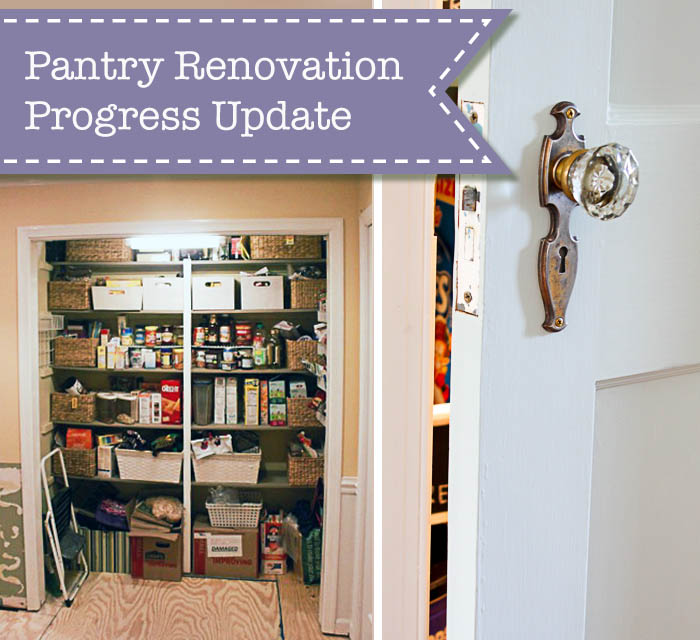
I’m really anxious to show you a sneak peek of the pantry renovation project. I’m not 100% done, but the finish line is close. This is a good spot to give you a pantry progress update and show you the process of turning a bi-fold door pantry into something with more functional storage, not to mention coolness factor.
This is where the project began:
That was our 6′ wide and 3′ deep pantry back in 2012 shortly after a small water leak left us with a gutted kitchen. After the restoration crew installed the new subfloor (because of the asbestos abatement), I took the ugly bi-fold doors off and fully intending to include the pantry in my complete DIY kitchen renovation. By the time I finished the kitchen renovation, I was exhausted and longing for a break. Four years later, this is where the pantry progressed until a few months ago.
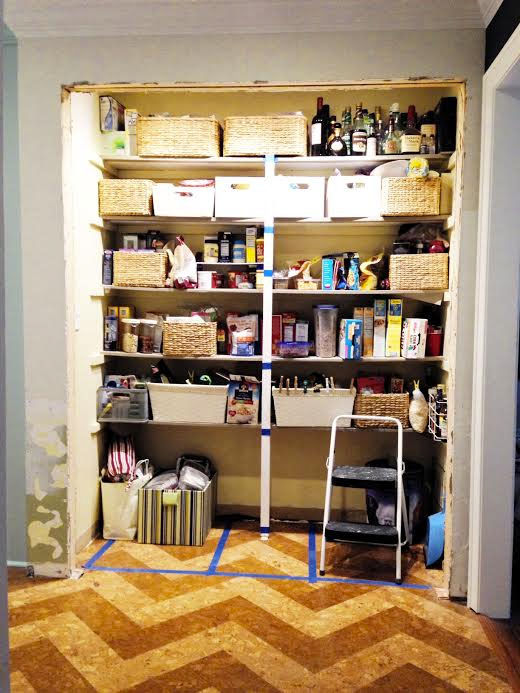
Big difference right? Just kidding. I installed flooring and a new light fixture, but that’s it. I had dreams of making an open pantry and showed this sketch to my friend Sandra from SawdustGirl.com back in 2013.
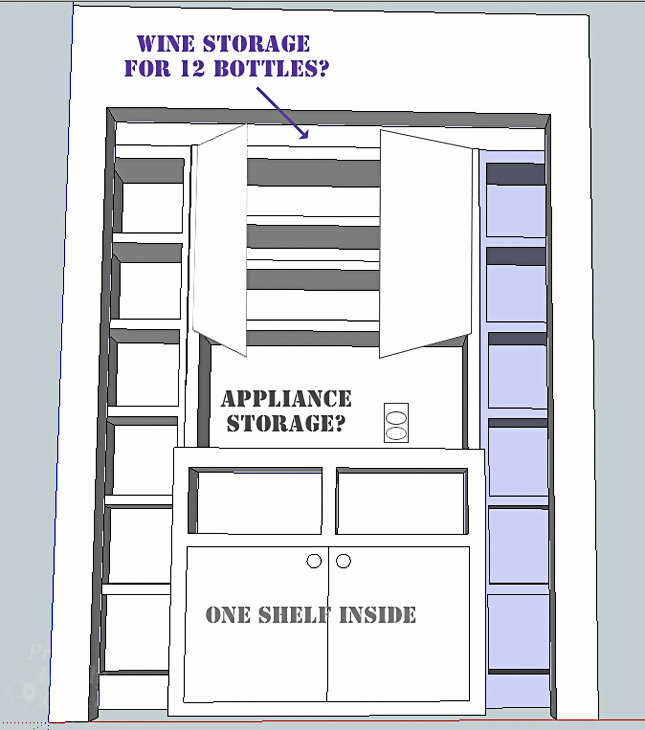
She and I talked through some ideas and then I sat on the project for a couple of years. By this time I had revised my idea on the pantry and drew up a new sketch:
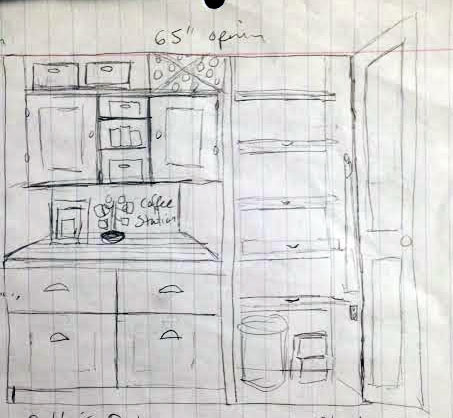
(Please don’t show that to my illustration professors. That’s one rough sketch there.)
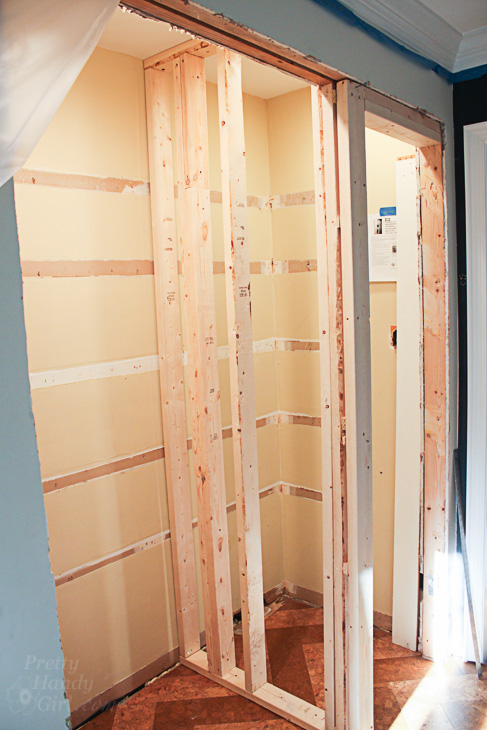
The idea was to partition off the right hand side of the pantry and create a small closet with a door. To get the most storage possible, I moved over to SketchUp to draw out plans for the small closet.

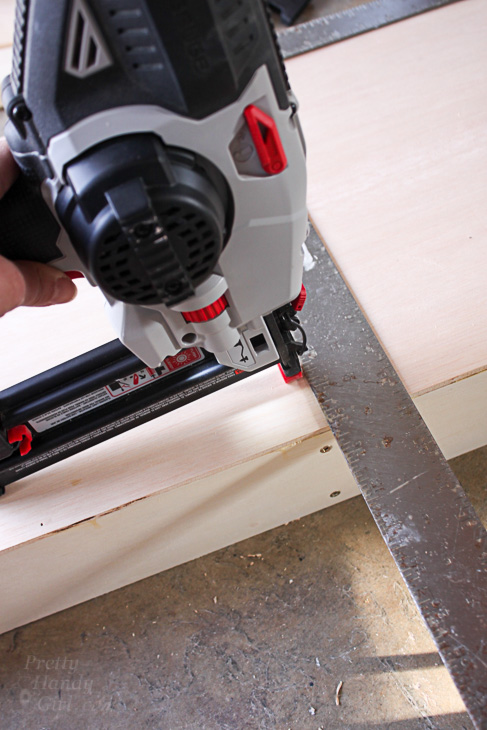
Next it was time to cut the shelves out and get this project rolling.
![]()
Our dining room took over pantry duties as I began the framing process in the gutted pantry.
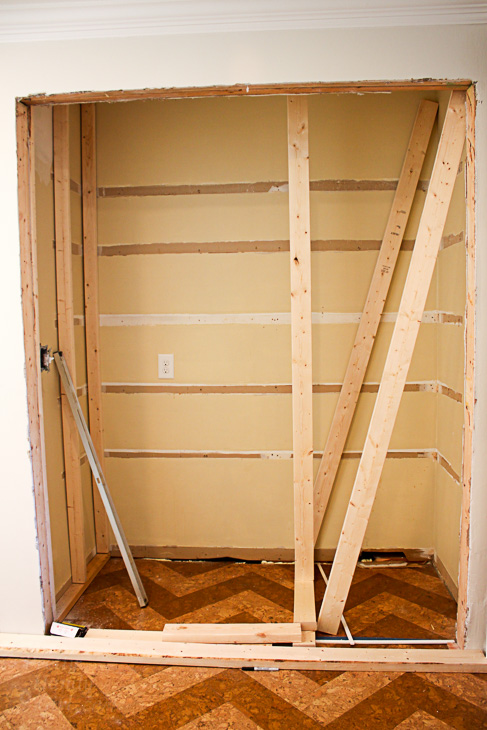
I’m sure you’re going to ask me why I didn’t remove the framing over the doorway. I decided to leave it in place because the door frame is made up of a large double header and the kids’ bathtub is directly over the header. Basically I didn’t want to risk the tub falling through the ceiling.
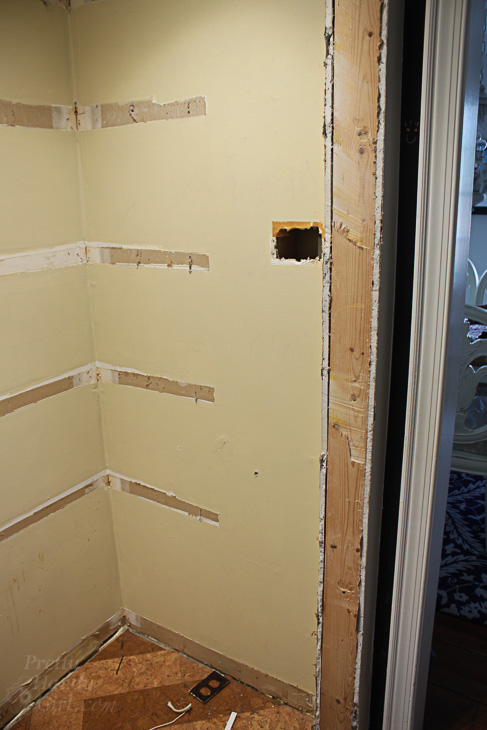
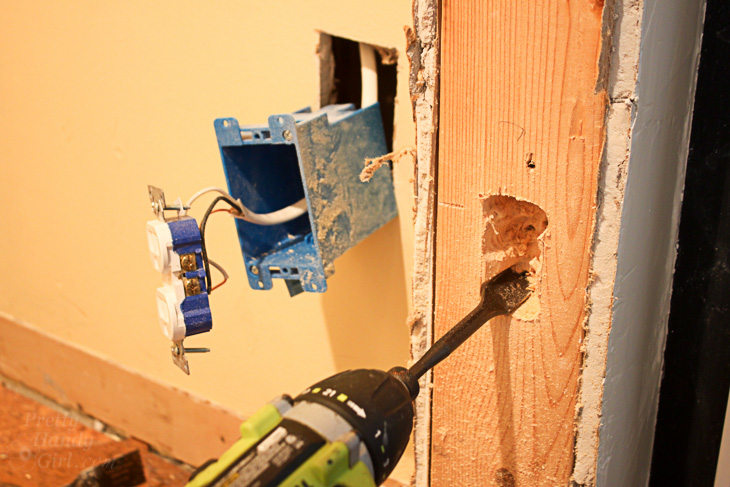
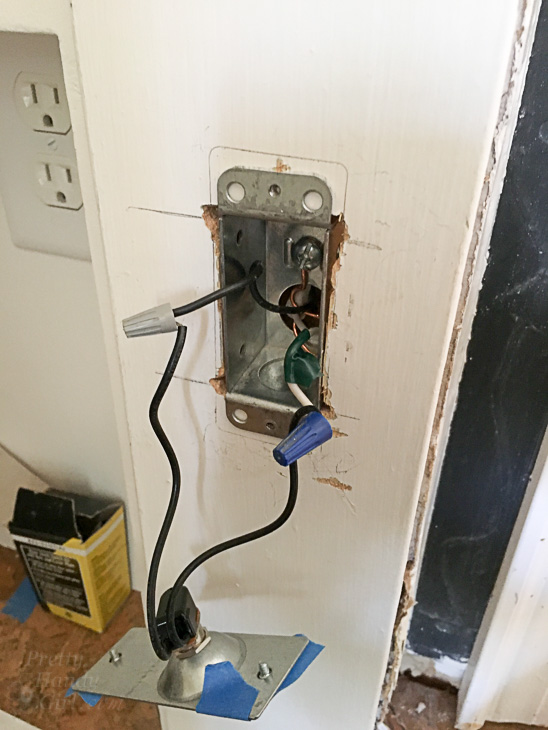
New wiring was run for two outlets on the left side and I moved an outlet down toward the floor on the right side.
You may remember when I showed you how to Add Energy Efficient LED light fixtures in recessed can lights. Those lights were the ones I installed on each side of the partition.
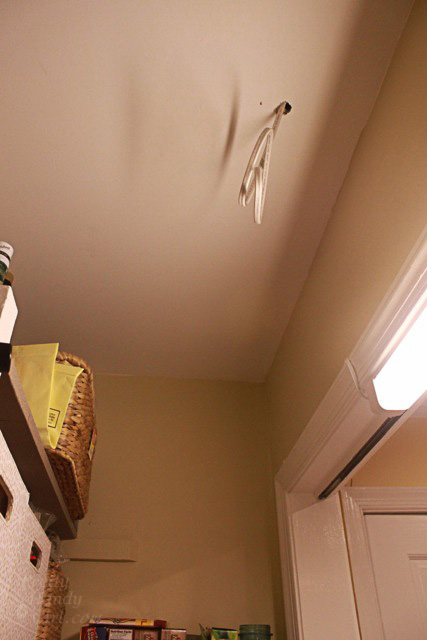
I tried to hire my favorite electrician to install a door frame switch for the light, but he explained how to do it and left without taking my money. (I owe him big time.)
In the end, I’m grateful for his advice and for pushing me out of my comfort zone. It wasn’t as hard as I expected.
Next up on the to do list was to build the cabinetry for the closet.
I constructed two boxes. One deep box for the back and a shallow box for the side shelves. I’m not going to show you how to build cabinets because Sawdust Girl does it so much better than I do!
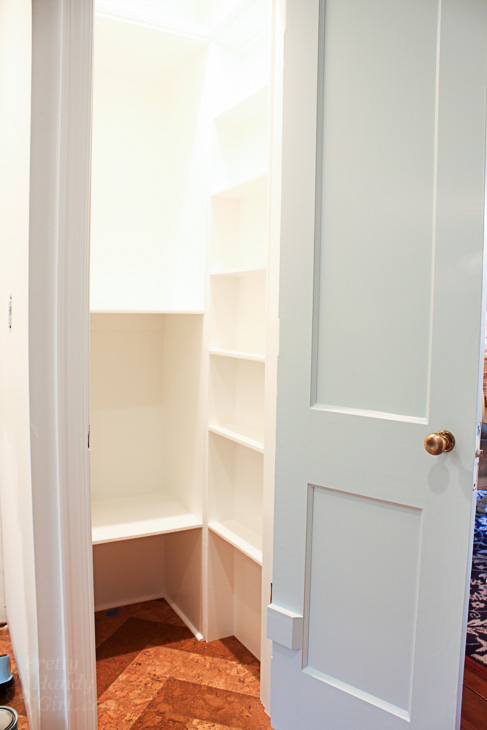
After the boxes were built and painted, I carefully installed them into the closet. Some white caulk and trim moulding were added to give it a more finished look.
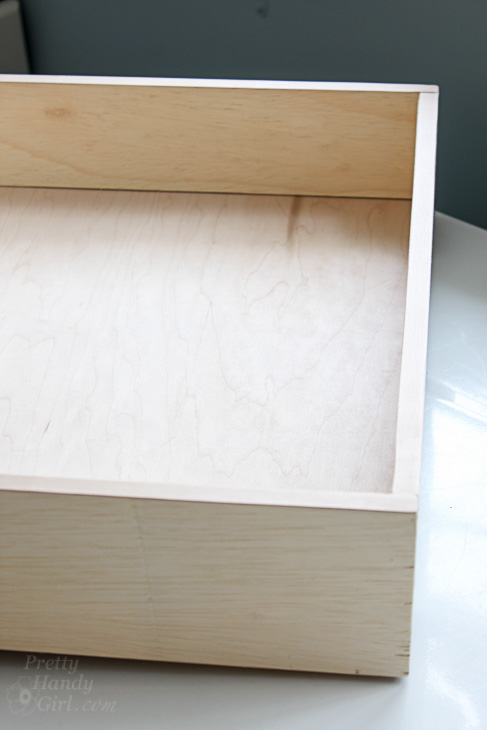
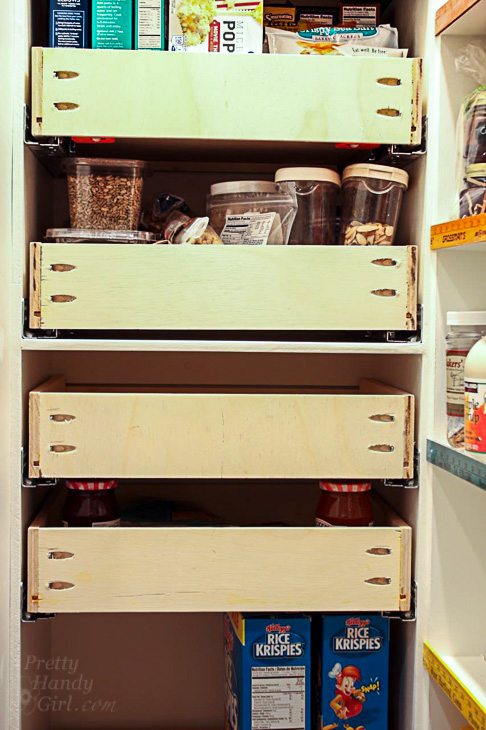
Next I built the drawer boxes for inside the larger cabinet box. Again, Sawdust Girl has the best instructions for building drawer boxes here. But, here’s a tutorial to show you how to finish off plywood edges.
Blum drawer slides (affiliate link) were used on the drawers, per Sandra’s suggestion.
Want to see the full reveal? Click here to see my Pantry Reveal with Hidden Wine Storage.
![]()

I love your idea of the revised closet!! What the home builders throw together is the bare minimum and a nuisance. The only problem I have is with placing a swinging door because the kitchen is like a square. While the folding doors ‘work’ (I hate them); there is no space for a swinging door as it would cause somebody to get knocked out or pushed into the closet…lol Even flipping the plan would not solve my problem.
Since a small bathroom is on the other side of the pantry with a door, On the other side of the wall is a space where I could create a little closet in a small bathroom (as there is none), removing the swinging door and replacing it with a ‘barn-type’ door.
I don’t know if any of this makes sense other than me drawing a small graph that would really be rough looking!! Any suggestions?
Diana, you might need to send me some photos to PrettyHandyGirl @ gmail.com. I’m having a hard time envisioning it.
Great ideas are flowing!
Looking good! Can’t wait to see it finished!
I can’t wait to see the final completion of your pantry/small closet! It looks so much more functional and organized already. I really wish we had just one closet in our home that was this big to turn into a pantry, but we have a system that works out pretty well anyways.
I bet you could use the same principles to make a custom closet, too! Oh, the ideas are flowing! 😉
I love pantry makeovers, can’t wait to see this one Brittany!
Can’t wait to see the finished pantry either!
In serious need of a pantry closet makeover myself, I cannot wait to see your finished result! Love your ideas so far. I know the finished product will be spectacular!