31 Days of Handy Home Fixes | Pretty Handy Girl

Curtain rods, towel bars, and other wall mounted accessories are relatively easy to hang. The trick is securing them to a stud so they can hold up to the abuse. But, how often have you found that you don’t have a stud where you want it mounted? Probably 98% of the time, right? That’s where it is important to use good wall anchors (specifically for your type walls.) Today I’m talking about drywall anchors.

Day 15: Use Good Wall Anchors

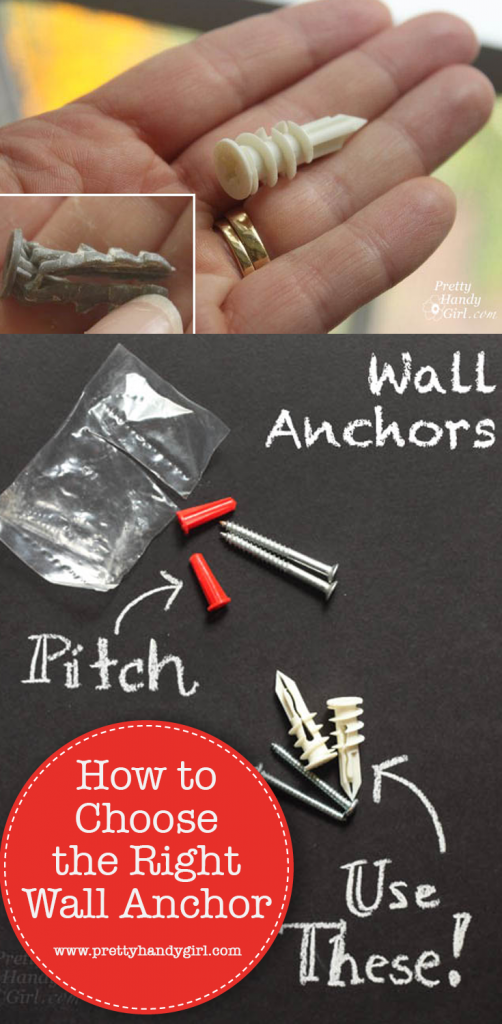
You are probably thinking, “Okay, no problem. The towel bar I bought came with wall anchors. I’ll just use those.” And that would be a mistake!

use_better_anchors

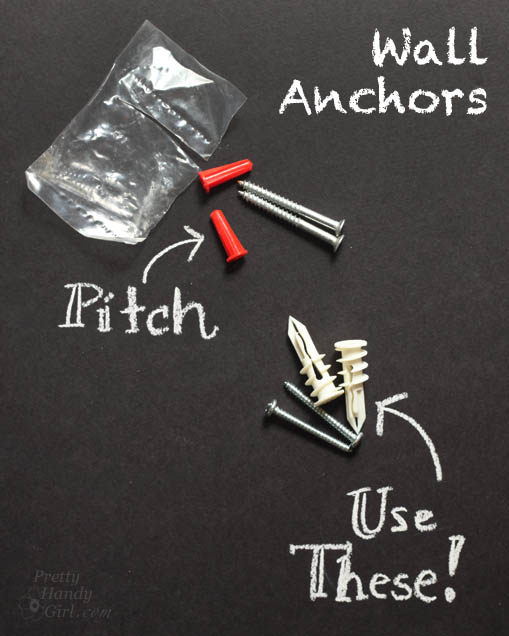
Why? Because those freebie wall anchors get mangled and they won’t hold up to regular use. DO NOT USE those El Cheapo wall anchors that come with your curtain rods, shelves, towel bars, toilet paper holders, etc. In fact, don’t even save them if you don’t use them. PITCH ‘EM…NOW… JUST DO IT!

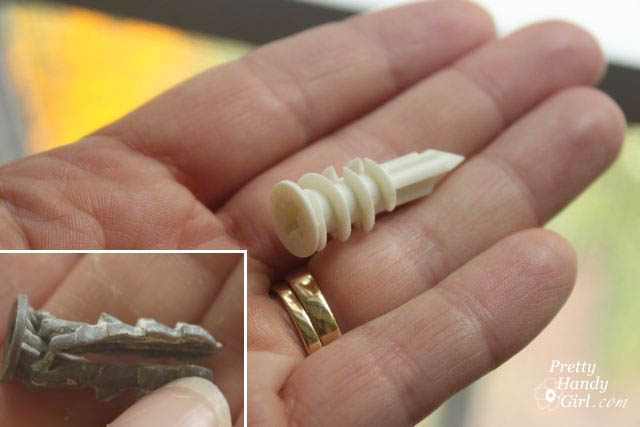
I am a big fan of the TOGGLER wall anchors because they are easy to drill into drywall and you can remove them fairly easily with a phillips head screwdriver. There are several other brands and types of wall anchors that will work just as well. When purchasing wall anchors, pay attention to the weight limit and wall types they are designed for.

Now, pin this post because friends don’t let friends use el Cheapo Wall anchors!

Good & Bad Wall Anchors | Pretty Handy Girl

PHGFancySign

Pin for later!

how to choose the right wall anchor

I’m participating in Nester’s 31 Days Challenge. Check out all the other bloggers who are participating!

31 Day Writing Challenge

Don’t miss a single tip! Sign up to get all the tips in your email:


Sign Up for Email Subscription


Other tips in the 31 Days of Handy Home Fixes series:


personalized wall shelf

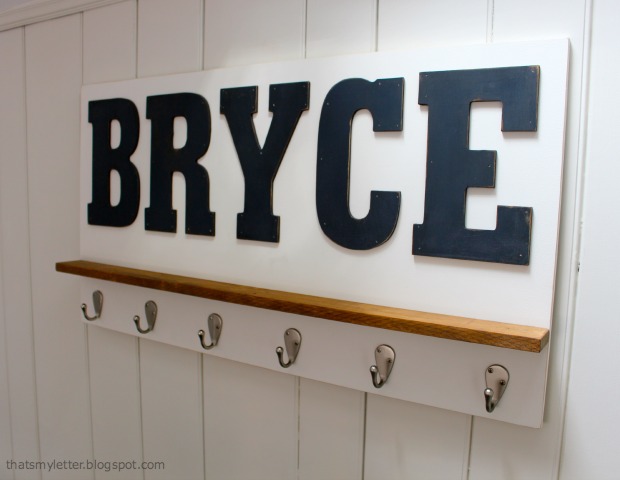
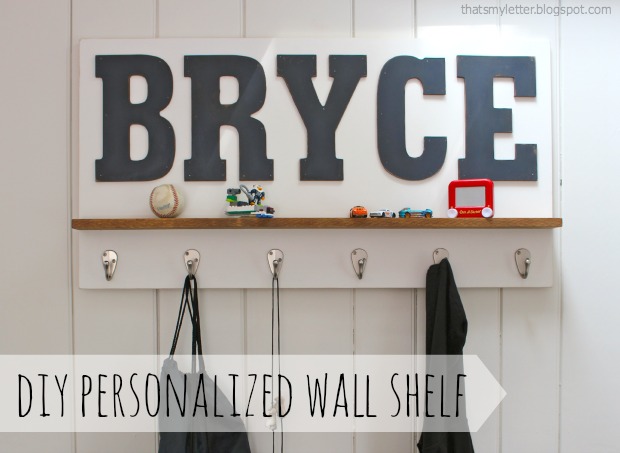
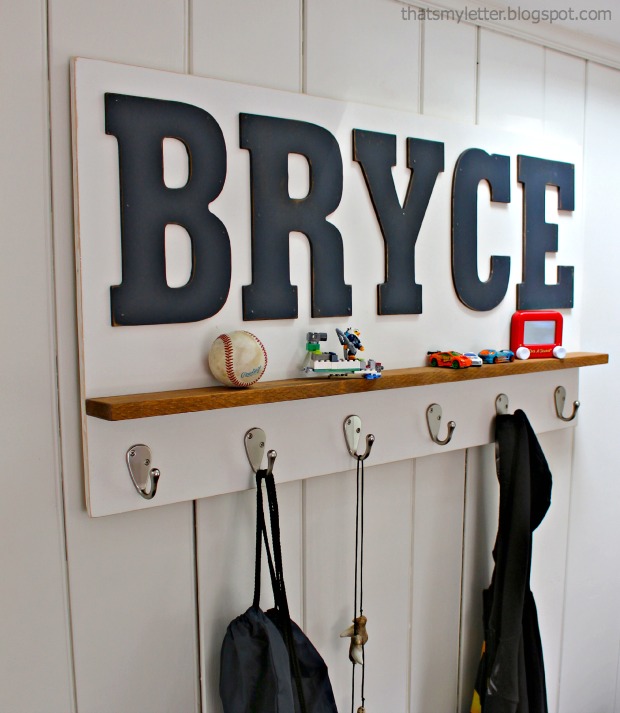
Happy Wednesday Pretty Handy Readers!  Today’s project is a DIY personalized wall shelf and I’ll show you how to make it.  I’m Jaime from That’s My Letter, a fellow DIY blogger who builds, paints and sews.  I made this wall shelf as a gift for Bryce’s birthday, it makes a great statement AND it’s useful too!

personalized wall shelf 1

Just a bit of painting and assembly to make this awesome, personalized wall shelf.  And of course you can adjust the paint colors to fit your scheme.  Bryce happens to have navy painted walls in his bedroom so I know this wall shelf will really pop once hung in his space.

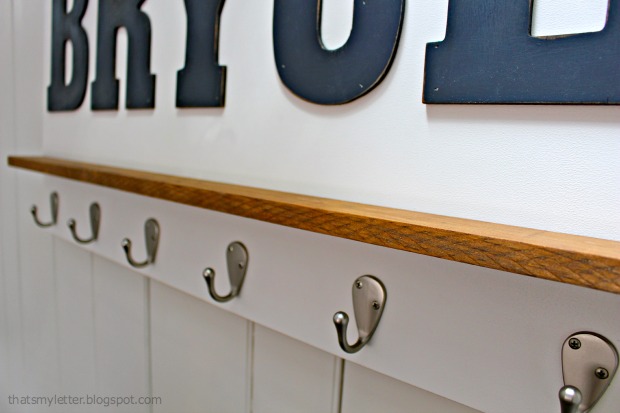
personalized wall shelf 2

The stained wood shelf adds just a touch of warmth and coordinates well with the hardwood floors.  For a deeper shelf, use a wider board. I used a 1×3 but you could use a 1×4 or larger.

Materials:
(Amazon affiliate links included)

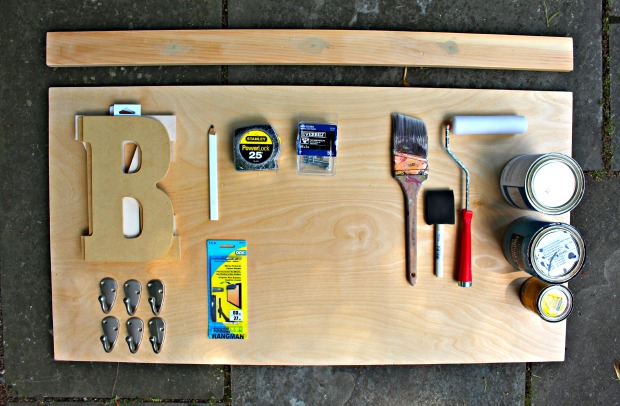
personalized wall shelf supplies

  • 1/2″ or 3/4″ plywood cut to desired size (approx. 2′ x 4′)
  • scrap piece of 1/2″ plywood approx. 4″ x 36″
  • 1×3 pine board cut to width of plywood
  • 9″ MDF Pre-cut letters
  • Single robe hooks
  • French cleat kit
  • paint, roller & brush
  • stain & foam brush
  • sandpaper
  • tape measure
  • pencil
  • wood glue
  • 2″ wood screws
  • 3/4″ wood screws
  • drill & bits
  • nailer & finish nails

Instructions:

Before beginning, layout your letters onto plywood and cut the plywood to size based on the length of the name.

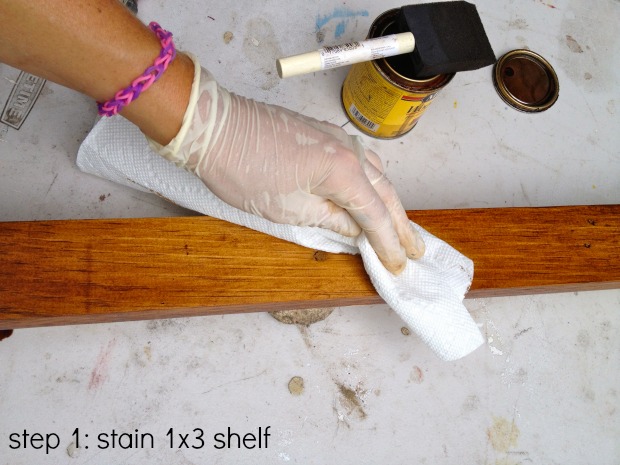
Step 1: Apply stain to the 1×3 shelf piece on all sides using a foam brush. Wipe off the excess.  Set the shelf aside and let it dry.

personalized wall shelf step 1

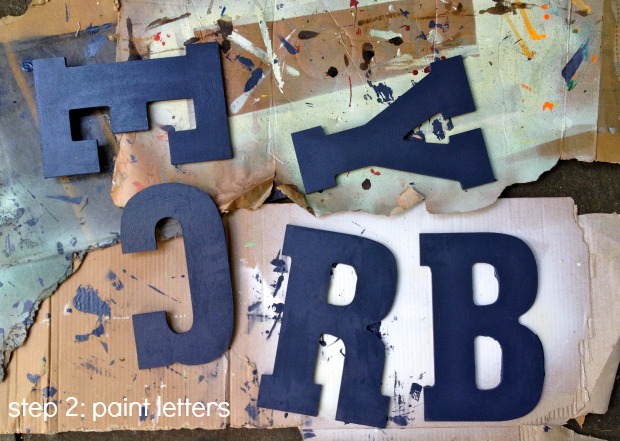
Step 2: Paint your letters.  Paint your plywood back (not shown).

personalized wall shelf step 2

Step 3: Distress the edges of the letters using sandpaper. Read more

Wall-Mounted Desk Tutorial | Pretty Handy Girl

Need a desk but lack floor space or the funds to buy a desk? This Wall-Mounted Desk tutorial will meet your needs! Plus, you can customize the length to meet your needs.
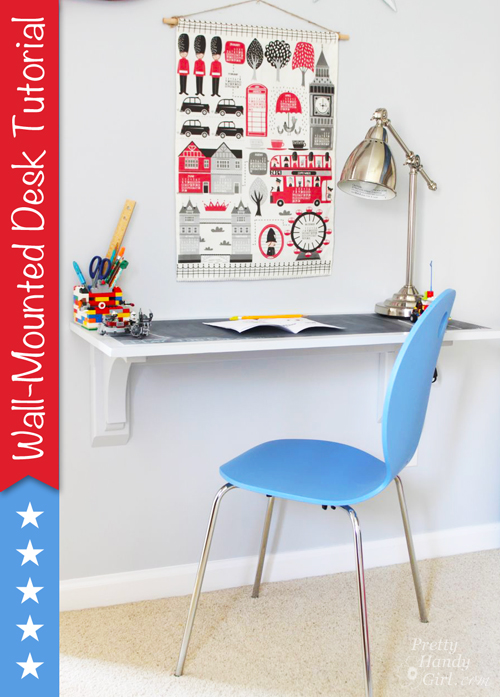
Wall-Mounted Desk Tutorial | Pretty Handy Girl

Wall Mounted Desk Tutorial

Hey, I hope you had a fabulous weekend! Was it productive? Full of DIY activities? Well, I’m back with a tutorial for building a wall-mounted desk. The great thing about a desk that is wall-mounted is it can be small or large and it won’t take up any floor space! This gives a nice clean look and makes the room feel larger. Plus, the materials will almost certainly cost less than buying a desk.

My son is starting to have more homework in school. (I didn’t realize that first grade was the new 3rd grade!) I figured soon enough he’s going to need a spot to sit and work on homework. Plus, he’s an avid Lego builder and this makes a great surface for him to build on.

Materials:

  • Finish grade plywood (my desktop is 16″ x 40″)
  • Painter’s Tape
  • 1 – 2″ x 4″ x 93″
  • 2 – 9.5″ x 9.5″ bird’s mouth brackets
  • 4 – 3″ cabinet mounting screws
  • Paint
  • Paint brush
  • Drill
  • Drill bits
  • Level
  • Pencil

Instructions: 

Begin by assessing where you want to mount your desk. For better perspective, you can outline the desk area with painter’s tape on the floor.
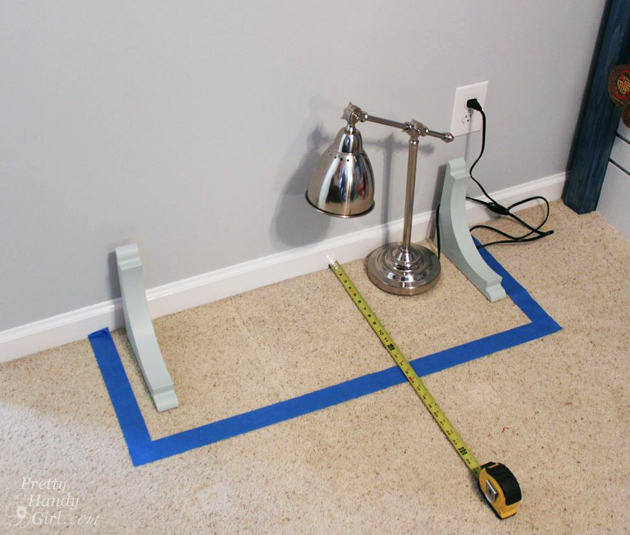
Wall-Mounted Desk Tutorial | Pretty Handy Girl

Cut your finish grade plywood to size. Using the Kreg Rip Saw with my miter saw is much easier than hauling out the table saw and getting as assistant to help lift the plywood. If you put a piece of rigid foam insulation underneath, you can cut almost anywhere! Just set your saw blade depth slightly below the plywood.
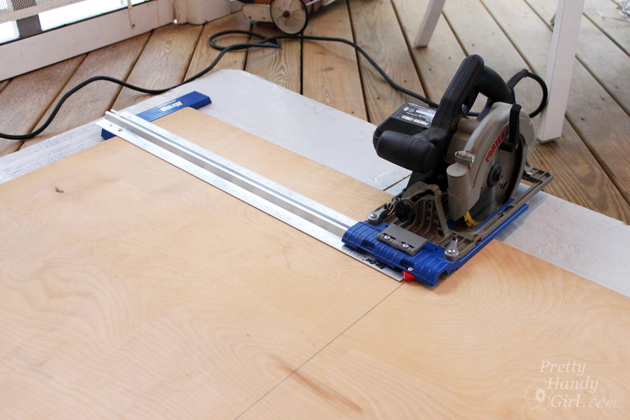
Wall-Mounted Desk Tutorial | Pretty Handy Girl

Cut your 2″x4″ stud 4″ narrower than the length of your desk top surface. (My desktop is 40″ long, therefore my mounting stud is 36″ long.)  Locate the studs in your wall. Mark their location.

Wall-Mounted Desk Tutorial | Pretty Handy Girl

Pre-drill holes in the mounting board at the stud locations. Use a small bit slightly narrower than your screws. Then use a larger bit the width of your screw head to create a countersink hole. Drive the cabinet mounting screws into one end of the mounting board and into the stud. Use a level to make sure your mounting board is level, then drive the additional mounting screws into the other studs.
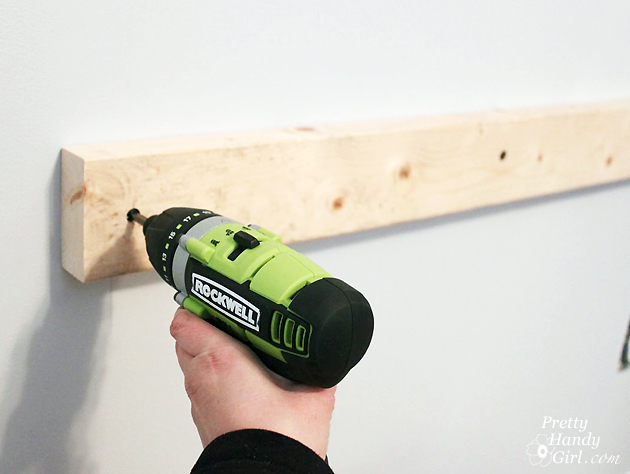
Wall-Mounted Desk Tutorial | Pretty Handy Girl

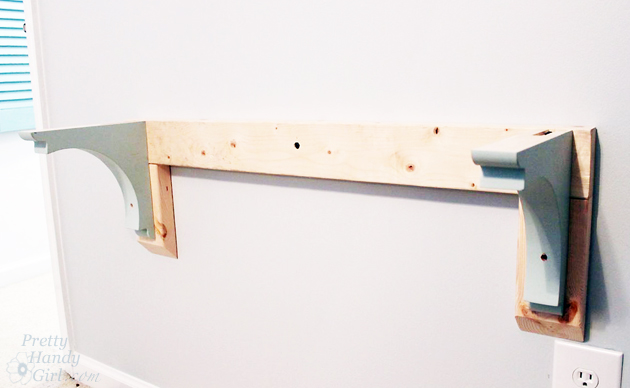
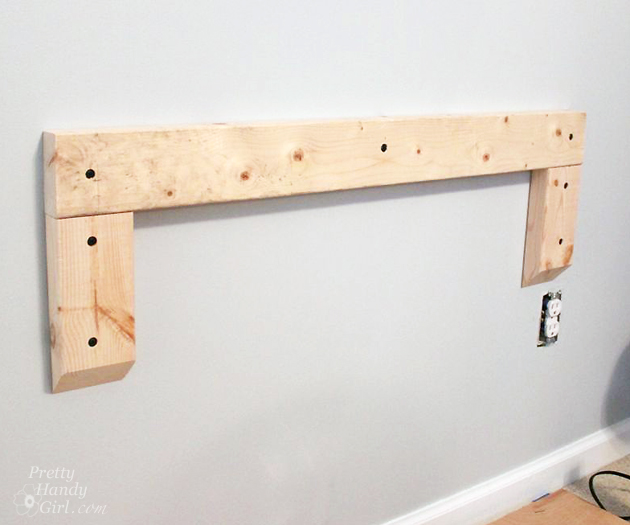
Cut two pieces of 2″x4″ at 8″ long. These will create the supports for the shelf brackets. For a clean look, bevel the end at a 45 degree angle when you cut them. Attach the 2″ x 4″ pieces below each end of the mounting board as shown below.
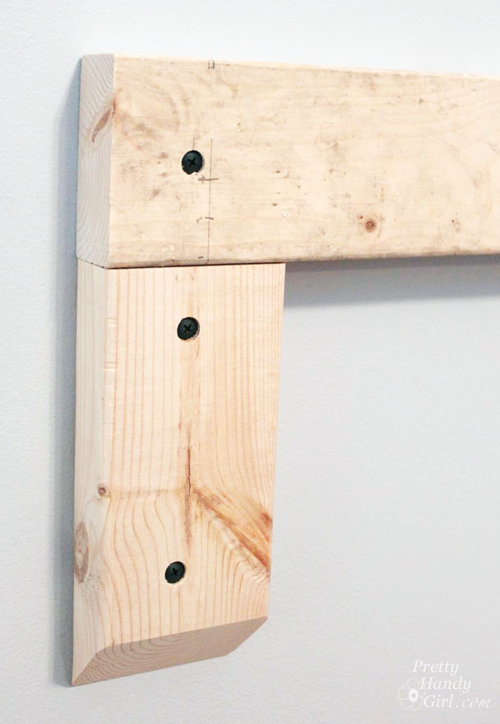
Wall-Mounted Desk Tutorial | Pretty Handy Girl

Your mounting boards should look like this:
Wall-Mounted Desk Tutorial | Pretty Handy Girl

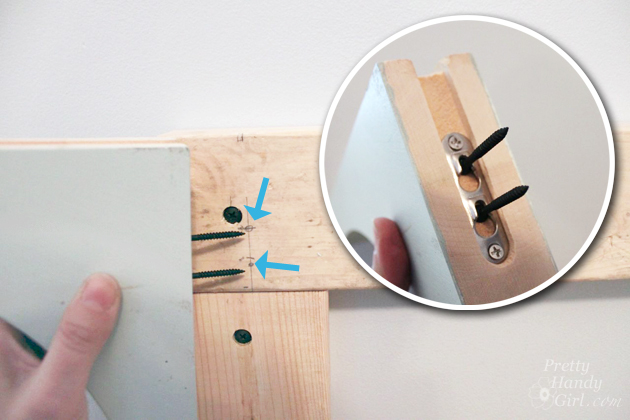
Set two small screws into the shelf bracket keyholes. Line the bracket up with the top of the mounting board and center it on the vertical supports already attached to the wall. Make a pencil mark where the screws need to be set.
Wall-Mounted Desk Tutorial | Pretty Handy Girl

Use the pencil to mark the depth of the keyholes on the screws so you know how deep to drive the screws into the bracket support.
Wall-Mounted Desk Tutorial | Pretty Handy Girl

Attach the small screws to the vertical support where the pencil marks were and drive them to the point where you marked on each screw.

Slip the bracket onto the screws.

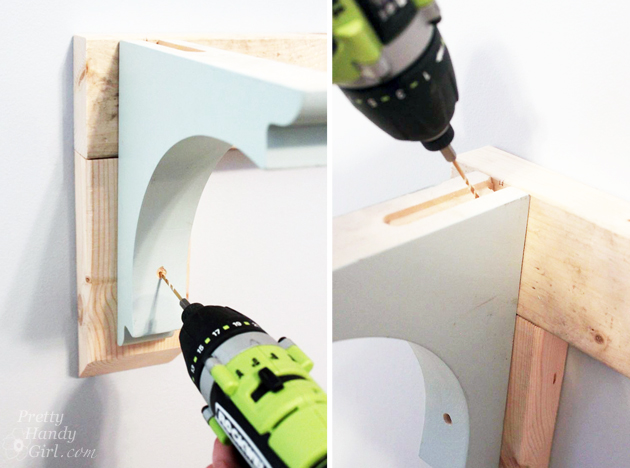
For added support, pre-drill one hole through the top of the bracket and into the mounting board. Pre-drill a second hole through the bird’s eye bracket at the narrowest point.
Wall-Mounted Desk Tutorial | Pretty Handy Girl

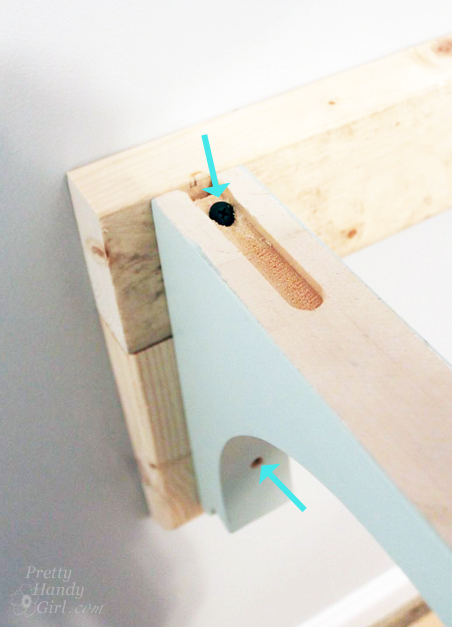
Drive screws into the two pre-drilled holes to further secure the shelf brackets to the mounting boards.
Wall-Mounted Desk Tutorial | Pretty Handy Girl

Repeat for the second bracket.

Wall-Mounted Desk Tutorial | Pretty Handy Girl

Lay your desktop surface on top of the brackets. You can either drive small screws through the top of the desk and into the mounting board. Or drive a small screw up through the underside of the bracket and into the desktop. I prefer the latter because you won’t have to wood putty the desk surface.

Wall-Mounted Desk Tutorial | Pretty Handy Girl

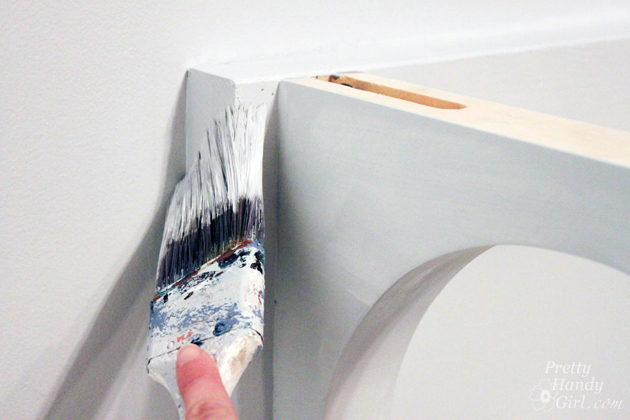
Wood putty all your holes. Allow the putty to dry and sand the putty smooth. Paint your brackets, mounting boards, and desktop. I chose to paint my desktop beforehand with a chalkboard surface.
Wall-Mounted Desk Tutorial | Pretty Handy Girl

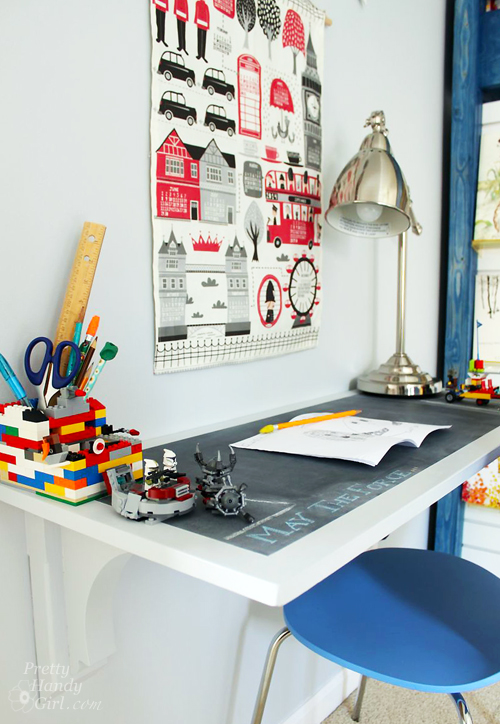
Let the paint dry. If you want to protect the desk surface, you may choose to paint a few coats of polycrylic on top.
Wall-Mounted Desk Tutorial | Pretty Handy Girl

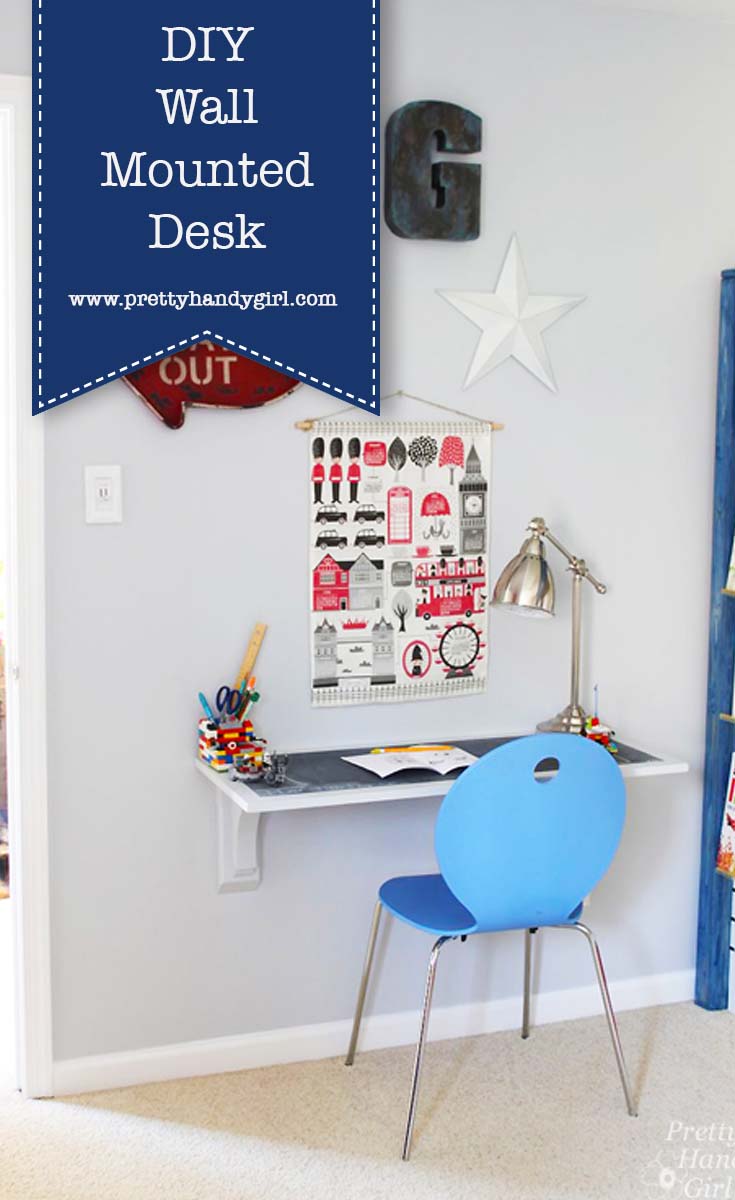
And my son has a spot to do homework, legos, or create a little book.

Wall-Mounted Desk Tutorial | Pretty Handy Girl

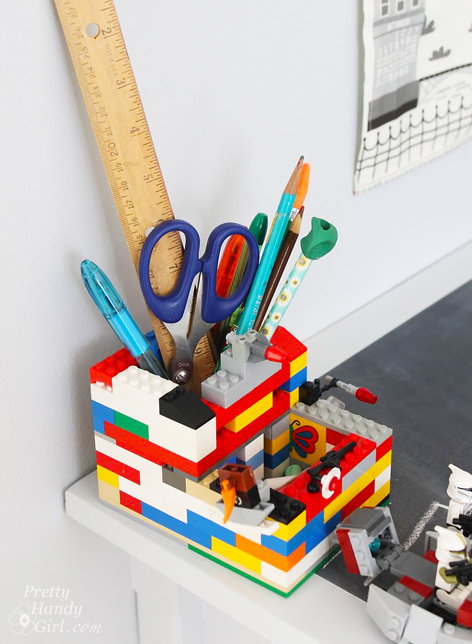
Don’t you just love his lego pencil holder he created?! I think he needs to start an Etsy store ;-).
Lego Pencil Holder | Pretty Handy Girl

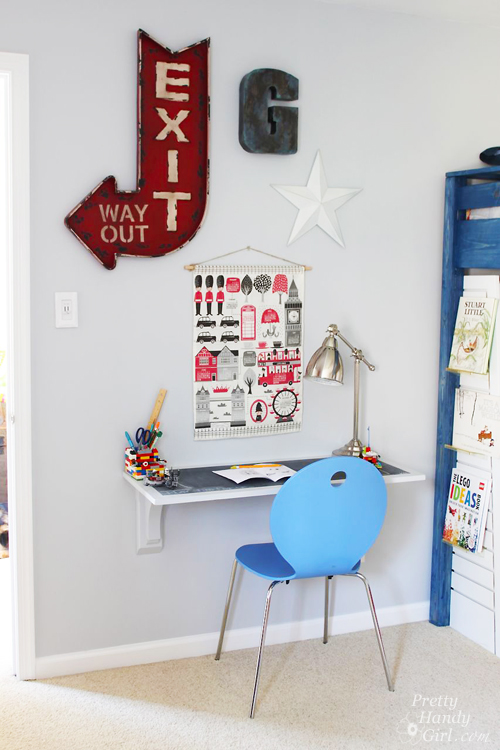
I had fun decorating the wall with some vintage signs and an adorable London themed tea towel calendar from Spoonflower. Making tea towel calendars every year in November/December has been a tradition I started over a year ago. We anxiously await the release of the newest calendar designs on Spoonflower.
Wall-Mounted Desk Tutorial | Pretty Handy Girl

Source List:

I hope you found this tutorial helpful. It was an easy solution for my son’s room. Best of all, you can expand the width, but if you do add more brackets.

PHGFancySignPin for later!

DIY Wall Mounted Desk

If you liked this tutorial, you might also like this inexpensive desktop for $40!

DIY Aged Chippy Paint Technique | Pretty Handy Girl

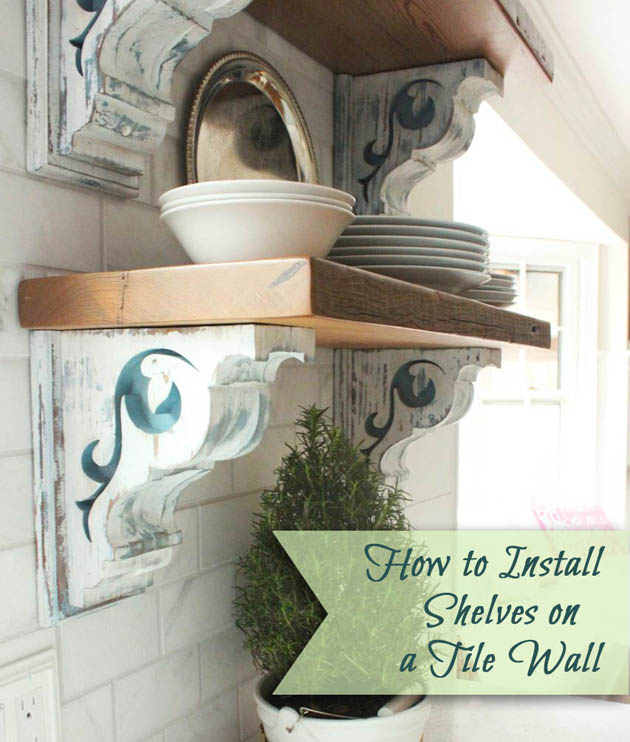
How to Install Shelves on a Tile Wall (using Corbels) | Pretty Handy Girl

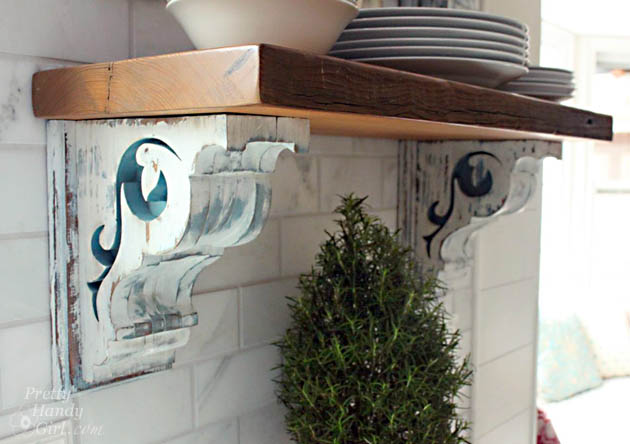
After painstakingly tiling my backsplash, I was more than a bit hesitant to drill holes into the tiles to hang the corbels and open shelving. But, I convinced myself to stop being a wussy procrastinating and just do it.

I’m so pleased with how they turned out and I didn’t chip or crack a single tile. In hindsight I really didn’t need to stress this project. It was less nerve-wracking than I had anticipated.

Here’s the full tutorial so you can install your own open shelving on a tile wall!

Materials:

  • Diamond drill bit (the same diameter as the screws you are using)
  • Wood screws to attach anchor board (must be long enough to go through board, tile, drywall and at least an inch into a stud)
  • Drill
  • Spray bottle filled with water
  • Level (long and a small one if you have one)
  • Pencil
  • 2 regular drill bits (1 the same diameter as the screw + 1 large enough to create a countersink for the screw head)
  • Shelf brackets (I used corbels and a 1″x6″ pine board as an anchor)
  • Kreg jig
  • Pocket hole screws (long enough to attach corbel to anchor board without going through the board)
  • Joint compound or wood putty

Instructions:

Start by determining the height you want your shelves to hang. Read more