Pretty Handy Girl DIY Gifts & Apparel

Pretty Handy Girl DIY Gifts & Apparel

Happy Friday everyone! I’m so excited to be launching my own line of graphic t-shirts, clothing and gifts. I’ve dreamed of having a line of DIY themed shirts and clothing that would allow those of us Handy Girls and Handy Guys to show off our DIY muscle. One of the main obstacles was my lack of desire to purchase shirts in bulk and hope that I wouldn’t be stuck with leftover inventory. Plus, I used to run a baby carrier business and knew how time consuming it was to ship out multiple packages every day. I vowed to never run a shipping type busines again.

A few months ago, Zazzle contacted me about working with them to launch my own product line. They were the answer to my hesitations! It was so easy to create my own designs and set up the shop in an afternoon. (Granted, I spent several more days enjoying the creative process of designing new graphics and products for the store.) Zazzle takes care of all the details. You can upload your own graphics, photos, and designs. Or you can create your own custom graphic text designs with their “customize it” tools. Then they print and ship the orders! You don’t have to lift a finger. Plus, you earn a commission on each item purchased from your shop! AND, to sweeten the deal, you can sign up to become an associate and earn more.

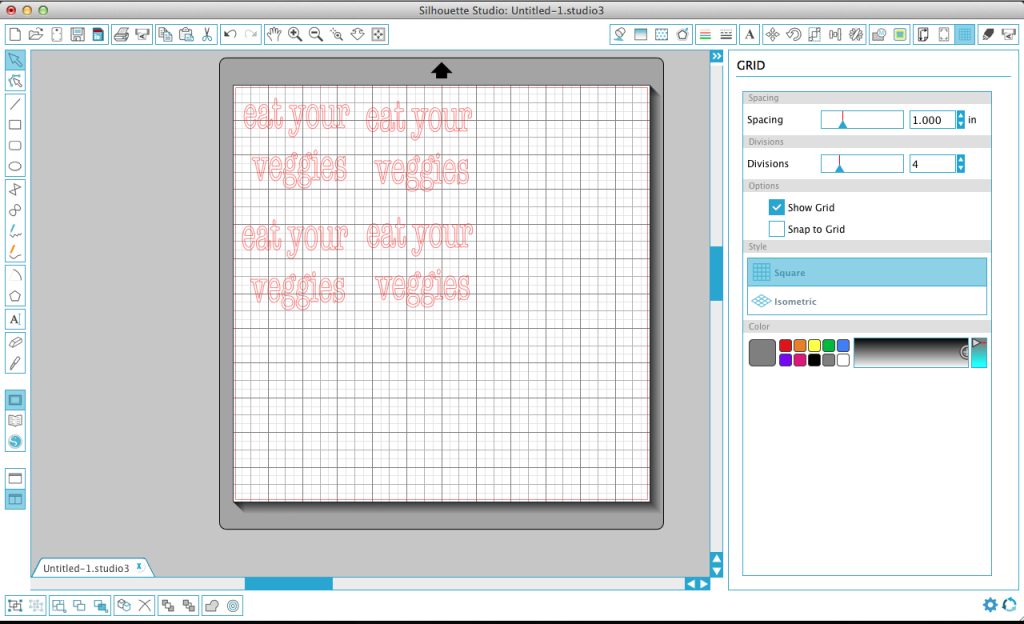
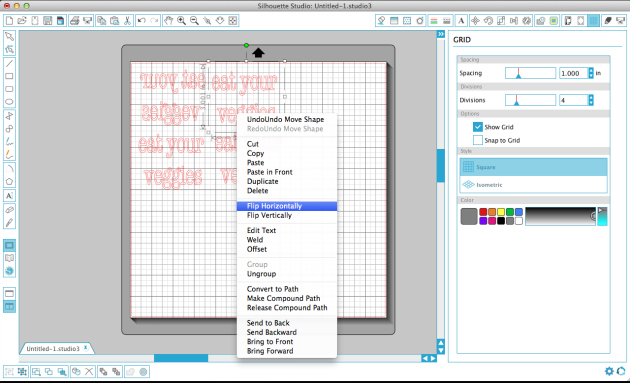
If you think you don’t have the time to figure out how to set up products, you are in luck. I took a bunch of screenshots to show you EXACTLY how to list your products step-by-step.

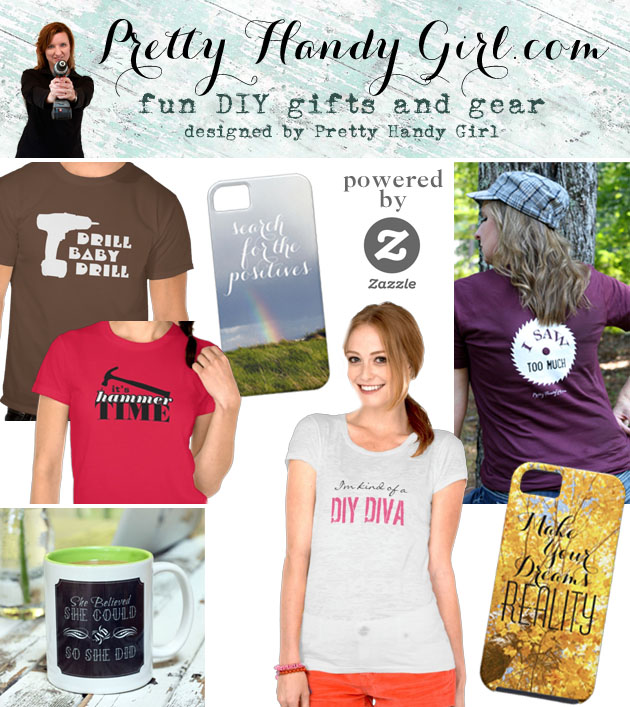
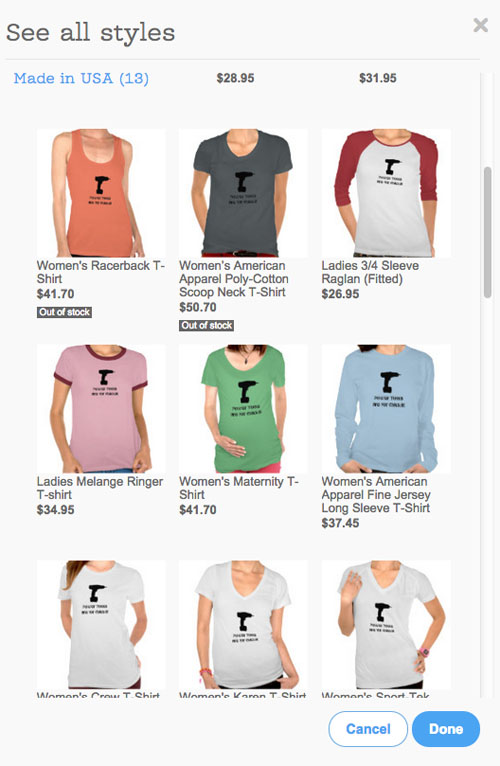
But before I get to the tutorial, I want to share some of my favorite products from my Zazzle store! I ordered two shirts and this one gets the most comments:

I Saw Enough funny DIY shirt | Pretty Handy Girl

“I Saw Enough” Shirt

I Saw Too Much funny DIY shirt | Pretty Handy Girl

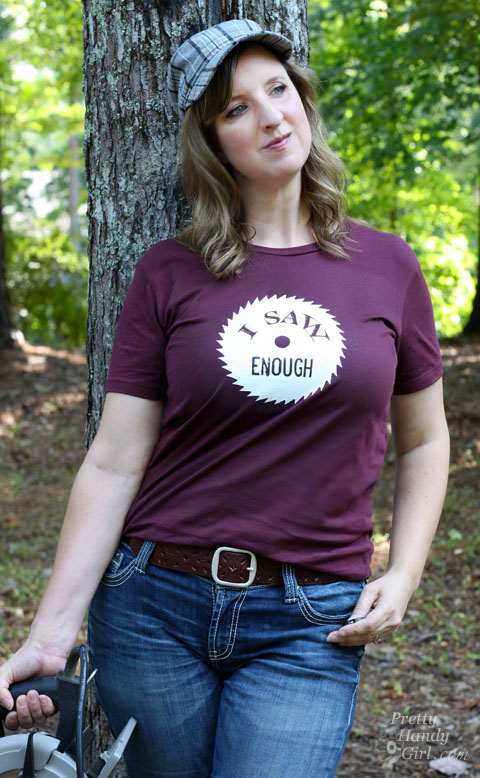
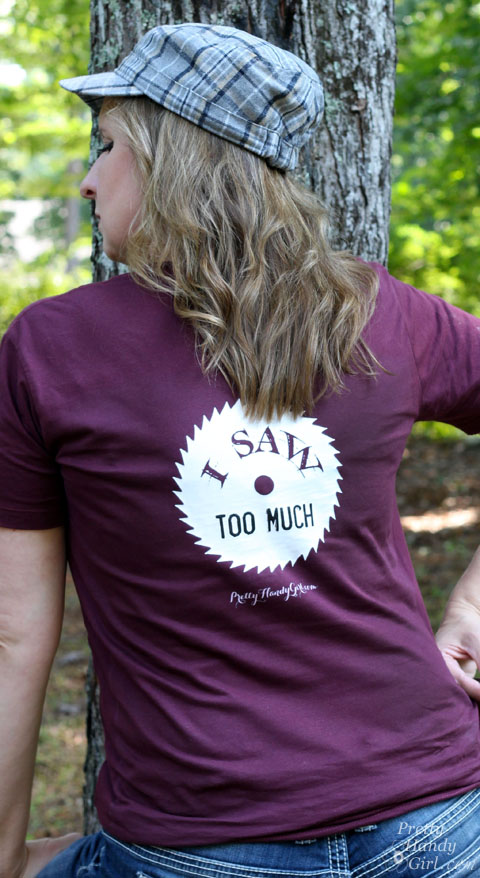
“I Saw Too Much” You have to giggle at the double meanings. This shirt is the perfect shirt for any gal or guy who likes to build and use the power tools.

Power tools are for chicks shirt | Pretty Handy Girl

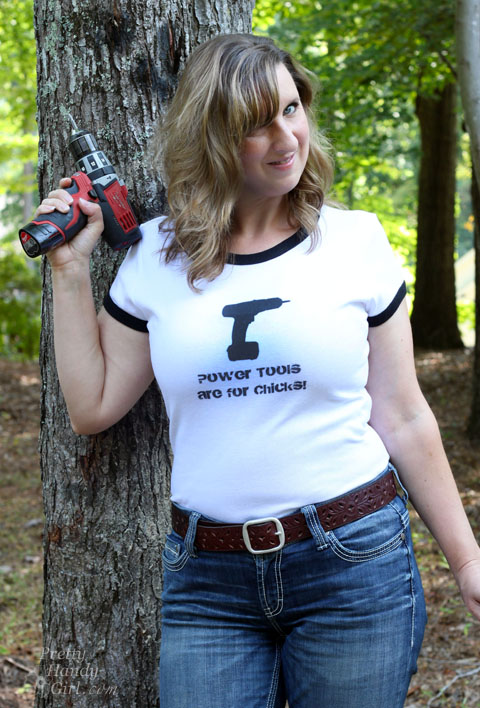
In my house my husband knows he’s not allowed to touch my power tools. This “Power Tools are for Chicks” is a funny reminder that power tools aren’t just for the boys!

Here’s the coolest part (in my opinion) about the Zazzle shop. If you see a design you like, but would prefer a different color or a completely different shirt style, you can customize it on your choice of clothing or products!

Pretty Handy Girl Shirt Options on Zazzle | Pretty Handy Girl

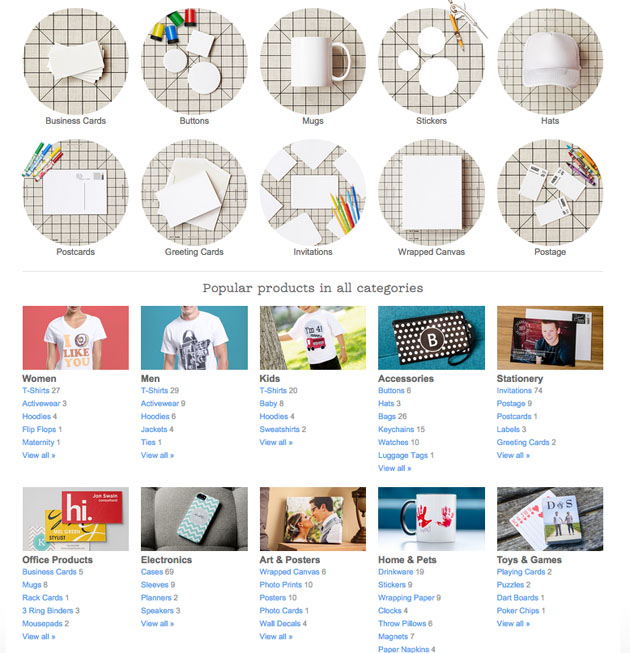
Zazzle has more products than I can name! But, to give you a little taste: pillows, phone cases, office products, art prints, cards, accessories, t-shirts and much much more! You’ll have to peek for yourself!

Zazzle Customized Products You Design!

The last item I purchased for myself was a custom coffee mug. I thought an empowering message was a great way to start each day. This famous quote is printed on a blackboard texture background and imprinted on a stylish mug that has a variety of interior colors you can choose from. Read more

how to stamp with potatoes

Hey there! It’s Melissa from The Happier Homemaker back again with a fun and easy DIY tutorial you can even get the kiddos involved with! I’ve been noticing block printing coming up a lot in my home decor magazines and catalogs lately. Last week when I was prepping a little rainy day potato stamping activity for my 3 boys, I decided it may be time to try a little block printing DIY of my own.

Supplies:

  • Flour Sack Tea Towels
  • Large Raw Baking Potato
  • Knife
  • Craft Paint
  • Fabric Medium
  • Iron and Ironing Board

Instructions:

Cut your potato in half and use your knife to {carefully} cut your design.  Simple shapes work best for this type of stamping.

diy potato stamped towel

On a paper plate, or paint palette, mix your craft paint with fabric medium in a 2:1 ratio (or according to fabric medium instructions.) Read more

personalized wall shelf

Happy Wednesday Pretty Handy Readers!  Today’s project is a DIY personalized wall shelf and I’ll show you how to make it.  I’m Jaime from That’s My Letter, a fellow DIY blogger who builds, paints and sews.  I made this wall shelf as a gift for Bryce’s birthday, it makes a great statement AND it’s useful too!

personalized wall shelf 1

Just a bit of painting and assembly to make this awesome, personalized wall shelf.  And of course you can adjust the paint colors to fit your scheme.  Bryce happens to have navy painted walls in his bedroom so I know this wall shelf will really pop once hung in his space.

personalized wall shelf 2

The stained wood shelf adds just a touch of warmth and coordinates well with the hardwood floors.  For a deeper shelf, use a wider board. I used a 1×3 but you could use a 1×4 or larger.

Materials:
(Amazon affiliate links included)

personalized wall shelf supplies

  • 1/2″ or 3/4″ plywood cut to desired size (approx. 2′ x 4′)
  • scrap piece of 1/2″ plywood approx. 4″ x 36″
  • 1×3 pine board cut to width of plywood
  • 9″ MDF Pre-cut letters
  • Single robe hooks
  • French cleat kit
  • paint, roller & brush
  • stain & foam brush
  • sandpaper
  • tape measure
  • pencil
  • wood glue
  • 2″ wood screws
  • 3/4″ wood screws
  • drill & bits
  • nailer & finish nails

Instructions:

Before beginning, layout your letters onto plywood and cut the plywood to size based on the length of the name.

Step 1: Apply stain to the 1×3 shelf piece on all sides using a foam brush. Wipe off the excess.  Set the shelf aside and let it dry.

personalized wall shelf step 1

Step 2: Paint your letters.  Paint your plywood back (not shown).

personalized wall shelf step 2

Step 3: Distress the edges of the letters using sandpaper. Read more

DIY Message Cloth Napkin Gift Idea

Bringing a hostess gift to someone whose home you are staying in is apparently a pretty universal thing.  I had never heard of such a thing until I was in my late 20’s.  It’s not a mind blowing concept but I have come to appreciate the simplicity of the thoughtful gesture.  Granted, if you are a “Real Housewife”, then I’m pretty sure if you don’t show up with a bottle of Cristal you get the stink eye.  Hostess gifts don’t have to be spendy, they just need to be thoughtful.  Today I am going to show you how to create an inexpensive gift for the hostess with a sense of humor. Gather around and learn how to make these “Eat Your Veggies” cloth napkins.

Materials:

  • Silhouette Cutter
  • Computer
  • Iron on Heat Transfer material
  • Napkins
  • Iron
  • Ironing Board
  • Towel
  • Tape Measure

Instructions:

Start by pre-washing the napkins.  Measure how big the lettering should be by folding the napkin (half fold or quarter fold napkins) and measure the printable area.

hostess gift idea

Arrange the words as you would like them to appear on the napkins.  Watch your dimensions!  Duplicate the image as many times as you have napkins.

hostess gift idea

Right click on the image and flip the image horizontally.  This will be the mirror image allowing the words to be read once they are applied to the napkin.

hostess gift idea

Send the wording or images to the Silhouette or other craft cutter.

hostess gift idea

Once the image is cut,  weed out the negative spaces. Read more

Sew Easy Anthropologie Cloth Napkin Gift Bags | Pretty Handy Girl

Sew Easy Anthropologie Cloth Napkin Gift Bags | Pretty Handy Girl

When I want to give a small gift as a thank you or to make someone’s day I like to dress it up by presenting the gift in a little fabric drawstring pouch. These cloth napkin gift bags are “sew” easy to make and they cost about 1/3 the cost of the cloth napkin! Gather a few simple supplies and your sewing supplies and join me.

Materials:

  • Cloth napkin
  • Thread
  • Baker’s string or thin ribbon
  • Seam ripper
  • Scissors
  • Safety pin
  • Chopstick, paint brush or other stick type object

Instructions:

Fold the cloth napkin into fourths. Cut along the folds to yield four squares.

Sew Easy Anthropologie Cloth Napkin Gift Bags | Pretty Handy Girl

Fold the napkin fabric in half right sides together. Read more