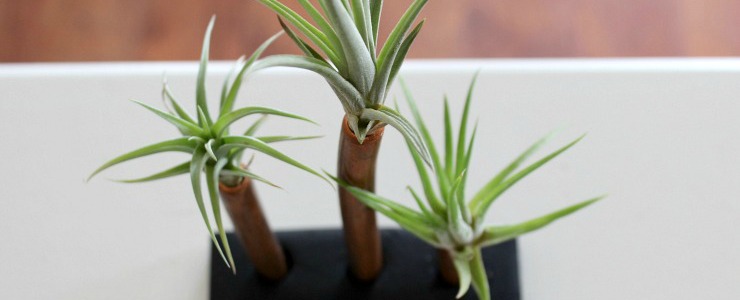
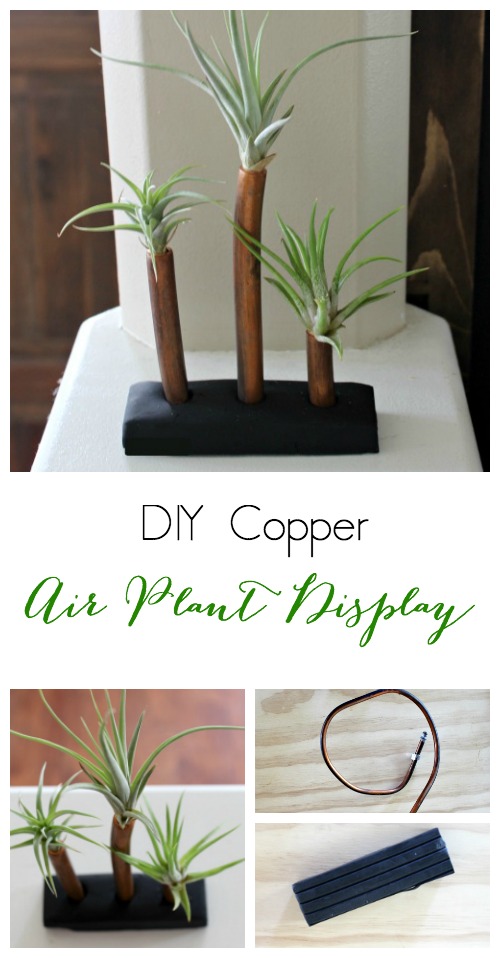
Hi everyone! This is Lindi, visiting again from Love Create Celebrate. Is it fall where you are? I live in Northern Canada and autumn has definitely come to my neck of the woods! The leaves are falling, the air is crisp, and the apple pies are baking. Fall is my favorite season! I know that we all decorate for fall with pumpkins and leaves, but I love incorporating copper into my fall decor. This little Air Plant Display looks great in any season, but really shines during autumn!
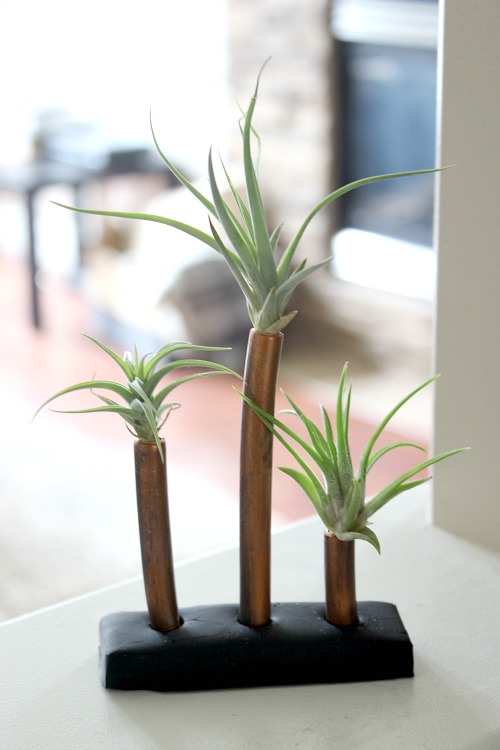
We recently had to replace our old dishwasher (long sad story…), that had old soft copper tubing. My husband knows me so well that he saved this without even asking me. He was sure I would want to DIY something with it, and he was 100% correct (for once! haha). My mind was swimming with ideas. Since I’m mildly obsessed with these no-soil, low maintenance air plants, I thought I would combine the two!
(I’ve included affiliate links for your convenience. I earn a small percentage from a purchase using these links. There is no additional cost to you. You can read more about affiliate links here.)
Materials:
Instructions:
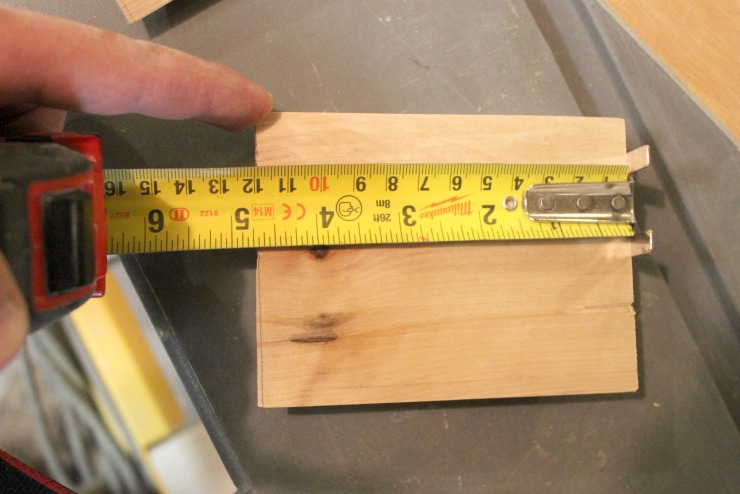
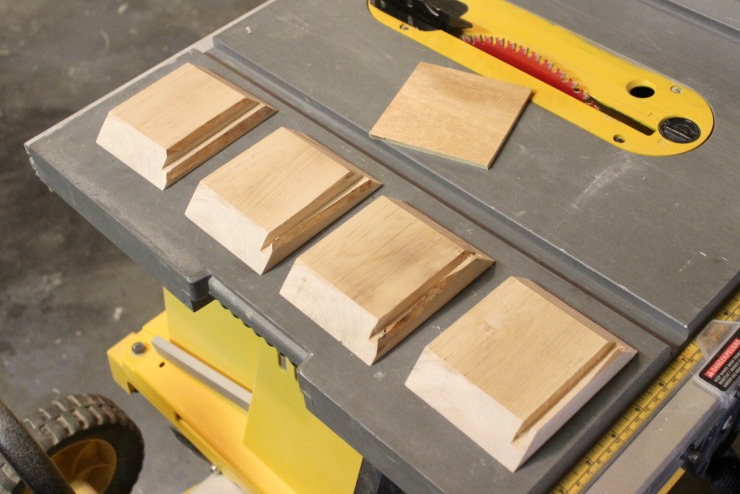
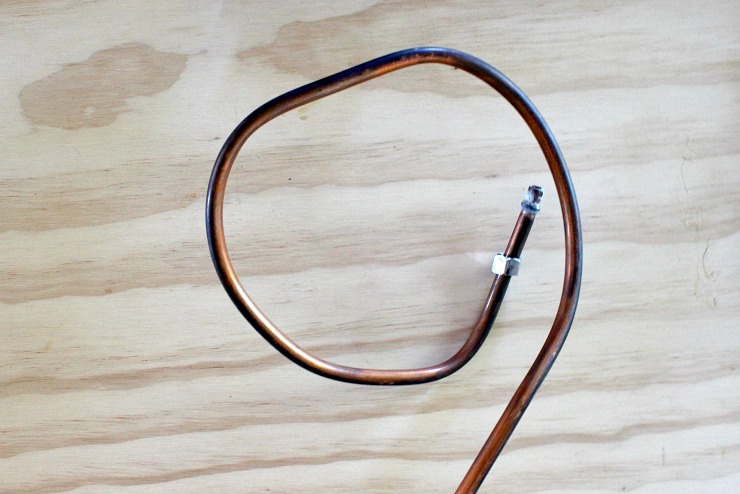
This project couldn’t be easier! Just grab your copper tubing and cut it to the sizes you want using the pipe cutter.
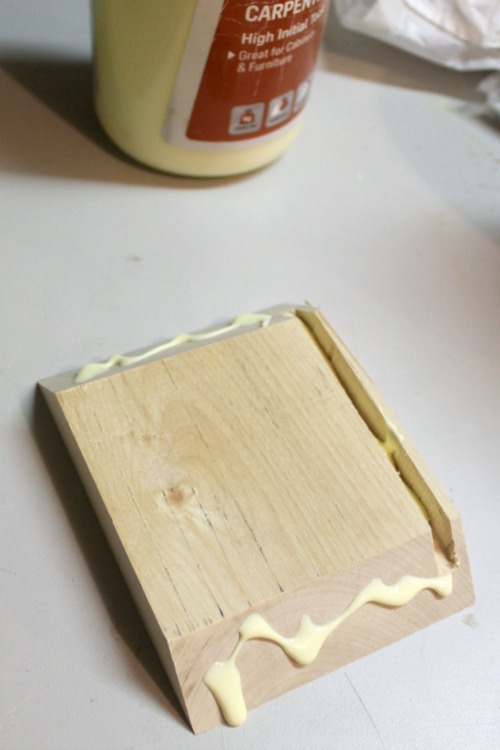
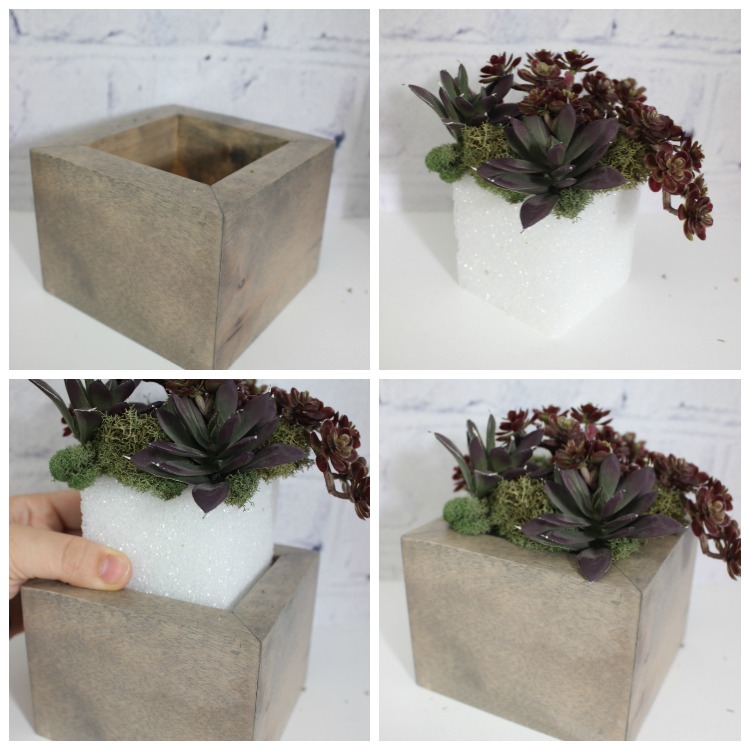
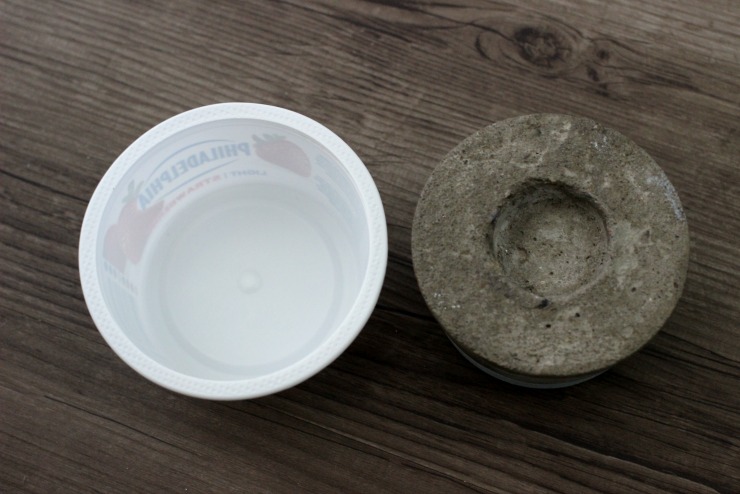
Then mold your baking clay into a base for your plants. You can press the edges on a flat surface and use a knife to cut the edges straight.
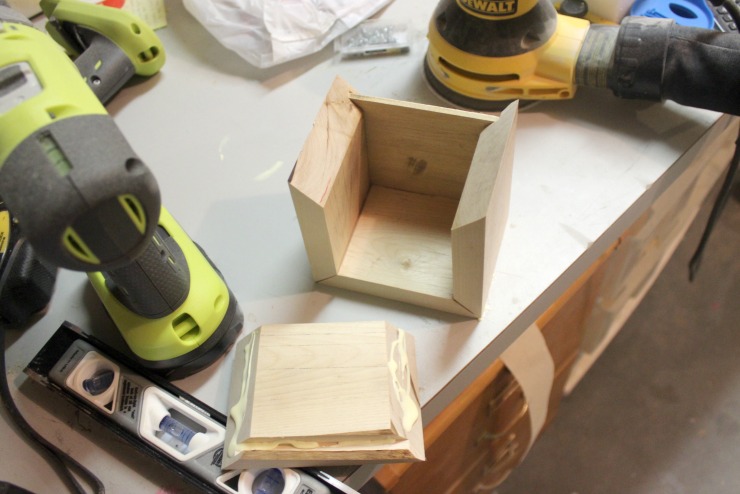
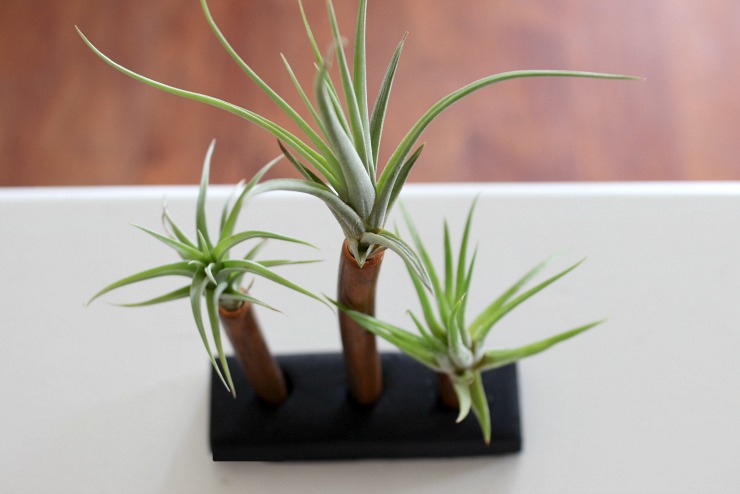
Set the copper pipe into the clay base. Then bake it together (as per the instructions on the clay package).
Since I’m a visual learner, I made a quick DIY video to show you how to do it yourself:
Don’t forget to subscribe to my channel on YouTube!
Do you like copper as much as I do? What do you think of this project? I’d love to hear your thoughts!

If you love the look of copper, be sure to check out the Copper Fall Wreath I made last year!

For more DIY decor inspiration visit Love Create Celebrate.
 ~
~