Once the weather turns cold and the heat kicks on, your home starts to get dry and static electricity arrives once again. This minor nuisance that causes siblings to shock each other for fun can actually be dangerous if it ignites lint that has built up in or around your dryer.
Why you should clean out your dryer ductwork:
According to The Consumer Product Safety Commission, ( CPSC ), annually there are tens of thousands of Dryer Fires leading to many injuries or death, due to dryer exhaust duct fires. You should clean your dryer hose and around it once a year, and inspect the vent and hose for any blockages at least every 6 months.
You could pay a professional to clean your dryer ductwork, but the price could be anywhere from $65.00 to $150.00! Ummm — no thanks — I’ll keep my money and do this myself. It only takes about 15 – 20 minutes to do and it is easy! As long as your ductwork is fairly accessible, you can handle this!
If your dryer exhaust hose tube is longer than 10′ this may be a bit more difficult. And if it is longer than 10′, did you know that your dryer may be working extra hard to dry your clothes? Worse yet is if you have a long tube that goes up into the attic (or the eaves) and then out the roof. The warm moist air from the dryer enters the cold attic, and condensation forms in the exhaust tube. Do you know where this little story is going? Well, at first your dryer can’t dry as quickly because the tube is blocked by water. Eventually it will fill with enough water to cause the exhaust tube to split and guess where all that water goes? Through your ceiling, that is where! Trust me on this one, it happened to us in our old house.
So, why don’t you sit back down and let me give you a little tutorial on cleaning out your dryer exhaust ductwork.
Instructions:
Start by unplugging your dryer and turn off the gas if you have a gas dryer.
Remove your lint trap and remove any lint from the screen.

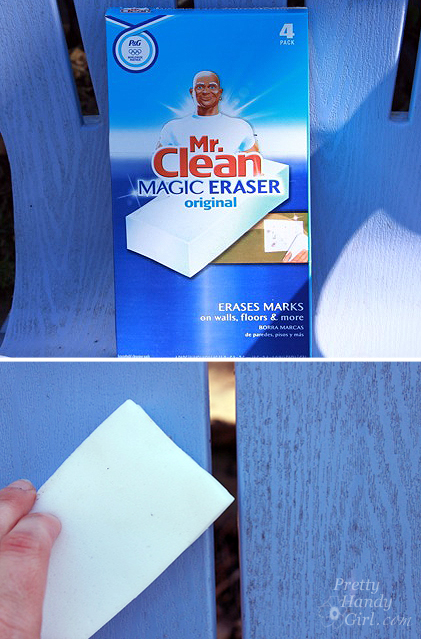
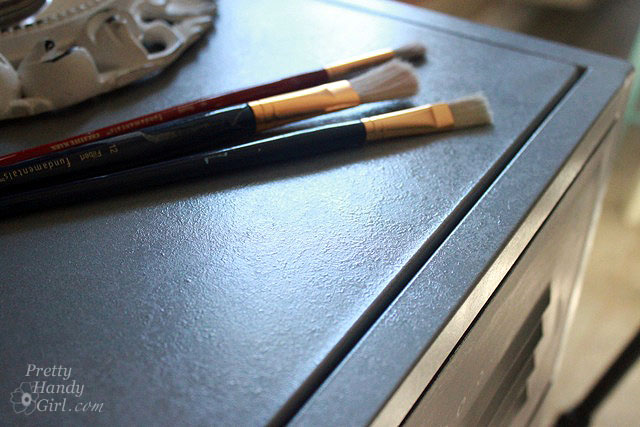
Using a brush (designed for cleaning out the coils under your fridge) bend the brush and run it inside the lint trap. Then follow up by using a shop vac or vacuum to suck up any lint and dirt loosened by the brush.

Pull the dryer away from the wall and disconnect the exhaust duct tube from the wall and the dryer. There are normally two kinds of hose clamps holding the tube to the dryer and wall port. The first is a ring with two prongs. Simply squeeze the prongs toward one another to loosen the clamp.

The second type of hose clamp requires a screwdriver to loosen the bolt attached to the clamp.

Slide the exhaust tube off the dryer and the port (hole in the wall.)
Use your vacuum to clean out both the dryer and wall ports.

Then use the vacuum to clean out the dryer exhaust tube.

If you have an older style vinyl tube, it is important that you replace it with a metal one. The vinyl and foil ones are fire hazards. Also, if you can’t get your tube clean, go ahead and replace it.
If your tube is long or difficult to clean out, you may want to purchase a hose brush like this one:
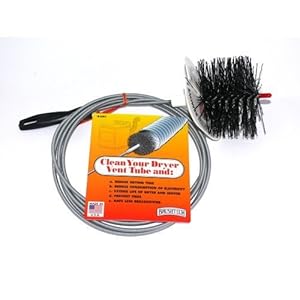 Amazon.com: Brushtech B68C 10-Feet Long Dryer Vent Duct Cleaning Brush: Home & Garden. (affiliate link)
While you have the dryer pulled out, vacuum off the back of the dryer, the washer, and the wall behind both. Eliminate as much lint as possible. A clean laundry room is safer than a lint covered one.

Re-attach the dryer tube to the wall and the dryer.

Gently push the dryer back towards the wall being careful not to crush the tube.

Locate your exterior dryer vent.

If you can reach the exterior vent, go ahead and clean it out also. Make sure the vent closes properly when the dryer isn’t running.Otherwise you may get birds, rodents or bugs in your vent. I don’t think I need to tell you that they won’t be helping your dryer’s efficiency!

And that is it?! That was easy wasn’t it. Be sure to keep your home and family safe by cleaning your dryer exhaust ductwork yearly.
Update: I wanted to let y’all know that the flex foil pipe shown in this tutorial is FLAMMABLE! Luckily I found this out before we had a fire.
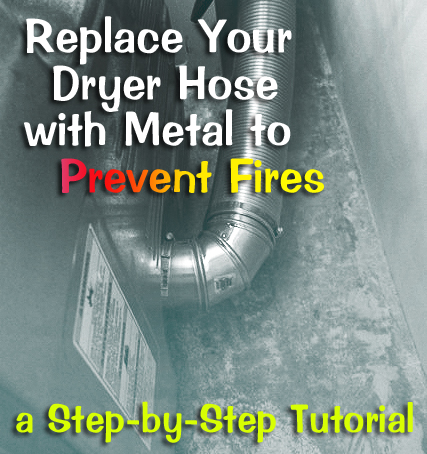
Read about installing semi-rigid non-combustible duct in this easy tutorial!

You might also like:
Learn how to keep your HE Washer Clean like the day it was delivered!

DIY Laundry Detergent & Miracle Stain Remover