Tag Archive for: Maintenance

change-ugly-recessed-lights

Do you have those old discolored recessed can lights in your home that use big hot flood bulbs? If so, it’s time for an upgrade!

Update Ugly Recessed Can Lights with Energy Efficient LED
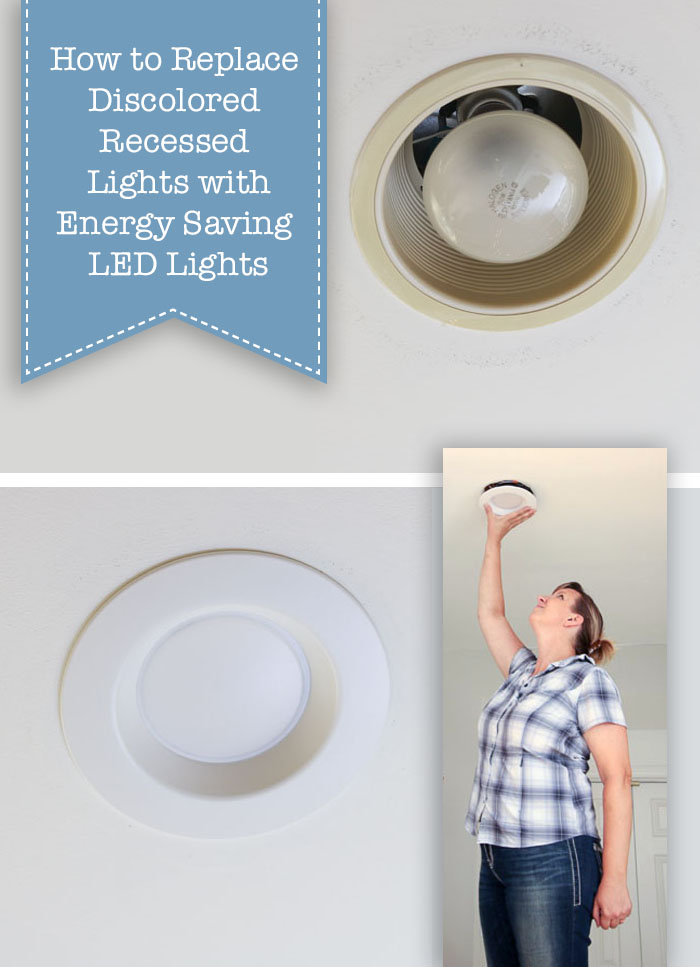
How to Update Ugly Recessed Can Lights with Energy Efficient LED Lights

Today I want to show you how to update ugly recessed can lights with energy saving LED recessed lights. This process is quick and easy, not to mention the new lights will look better, last longer, and save you money on your energy bill! What more could you want? Change out all your ugly recessed lights in no time by following this simple tutorial.

Materials:

(I’ve included affiliate links for your convenience. I earn a small percentage from a purchase using these links. There is no additional cost to you. You can read more about affiliate links here.)

Instructions:

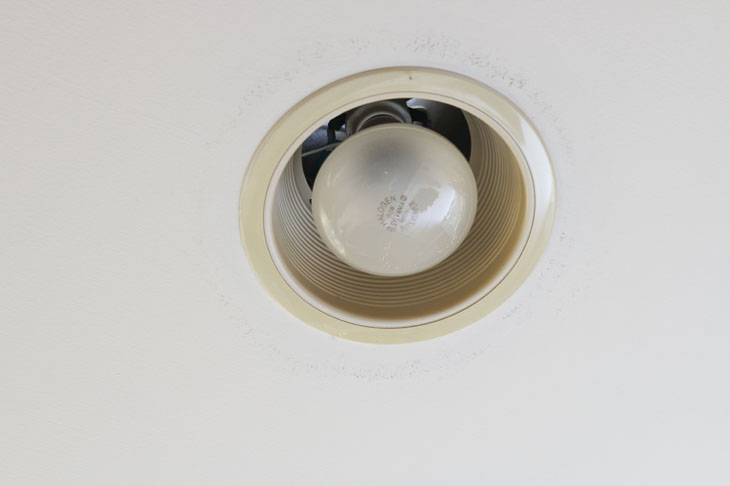
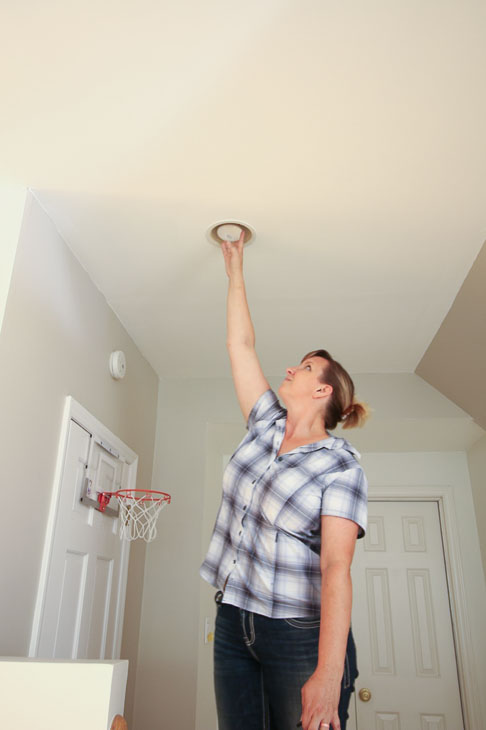
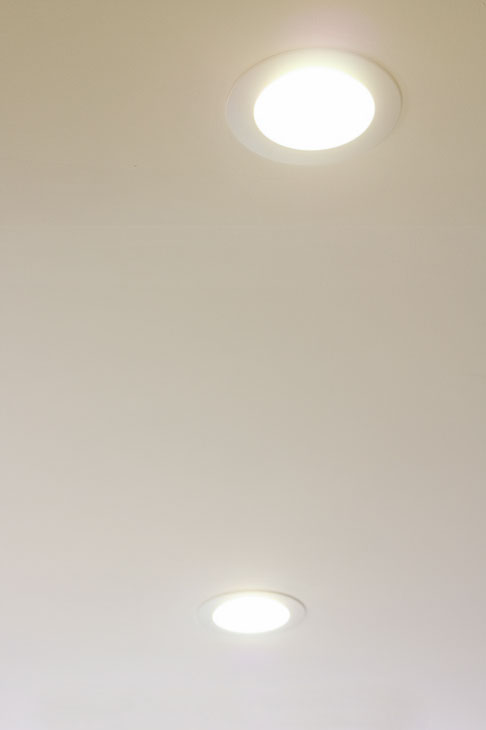
Here is what my old lights look like. Not only are they ugly, but they use the large flood light bulbs that use too much energy, radiate heat, and burn out quickly. I don’t know about you, but I am tired of changing these burned out bulbs.

Update Ugly Recessed Can Lights with Energy Efficient LED

Want to see how quickly you can change out your lights? Here’s a one minute video (that’s how fast you can do it):

The first step to replacing these recessed lights is to remove the light bulb by simply unscrewing it from the socket. Unless you’re extraordinarily tall, you’ll probably need a step ladder for this project.

Update Ugly Recessed Can Lights with Energy Efficient LED

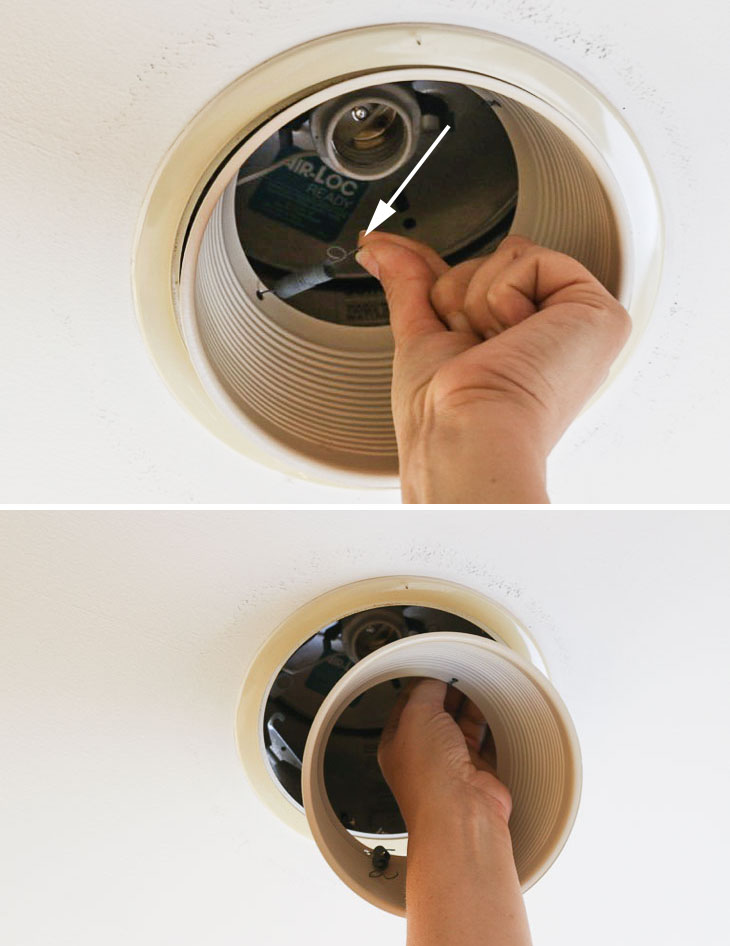
Next, find two small springs inside the baffle, as shown in photo below. They look like a wire with a loop in the center. Pull up and out on the springs to release the baffle inside your can light.

Update Ugly Recessed Can Lights with Energy Efficient LED

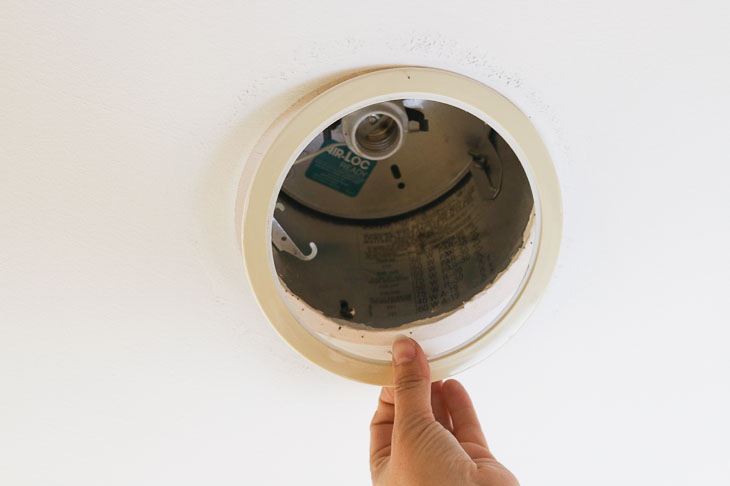
Remove the trim by simply pulling it off the ceiling.

Update Ugly Recessed Can Lights with Energy Efficient LED

Grab your new retrofit LED recessed light and screw the adapter into the light bulb socket, exactly as you would screw in a light bulb. It’s that easy!

Update Ugly Recessed Can Lights with Energy Efficient LED

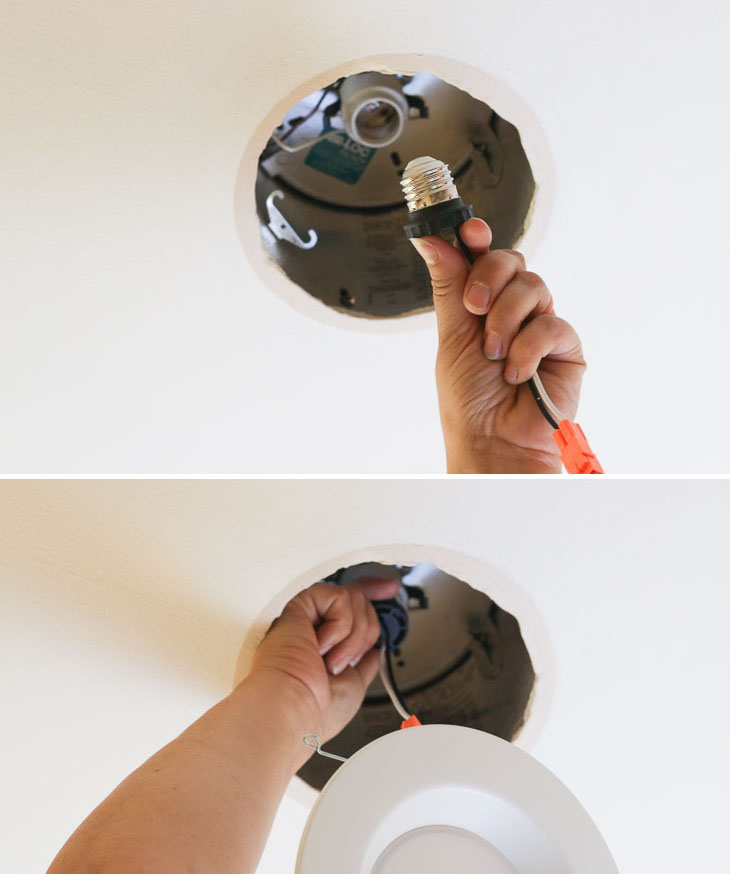
Inside the opening, find two metal clips. Squeeze the spring hinges on your LED light and insert them into the clips inside the old recessed can. These will hold the light in place.

Update Ugly Recessed Can Lights with Energy Efficient LED

Finally, gently push your light up into the ceiling. Believe it or not, you’re done!

Update Ugly Recessed Can Lights with Energy Efficient LED

Now you have a beautiful, white, and energy-efficient LED recessed light. Take some time to admire it.

Update Ugly Recessed Can Lights with Energy Efficient LED

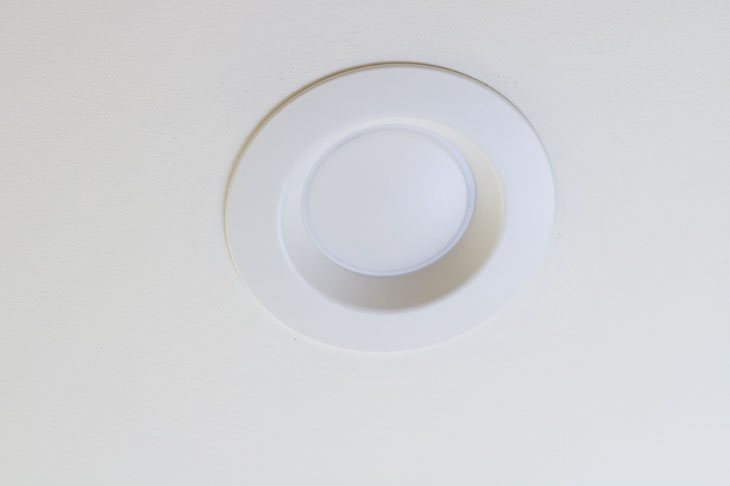
Now you can easily change out all the can lights in the room and voila, your lighting is upgraded! This is such a quick, easy, and inexpensive project. There is no point in putting it off any longer.

Update Ugly Recessed Can Lights with Energy Efficient LED

I hope you enjoyed this tutorial. Feel free to share any questions or thoughts in the comment section below. Thank you for reading!

Update Ugly Recessed Can Lights with Energy Efficient LED

Liked this project? I know you’ll love these other lighting upgrades:

Update Ugly Recessed Can Lights with Energy Efficient LED

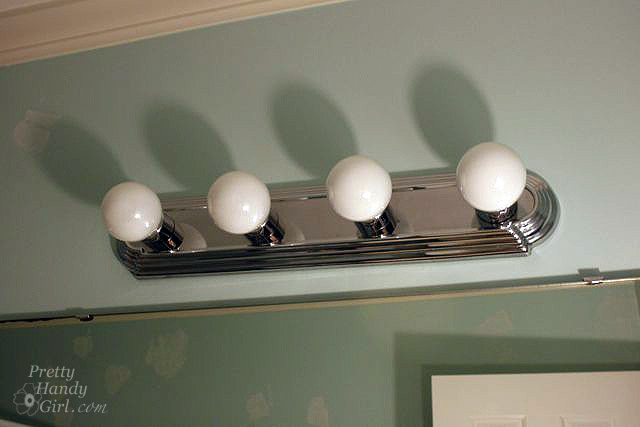
Change Out a Dated Hollywood Strip Light


Update Ugly Recessed Can Lights with Energy Efficient LED

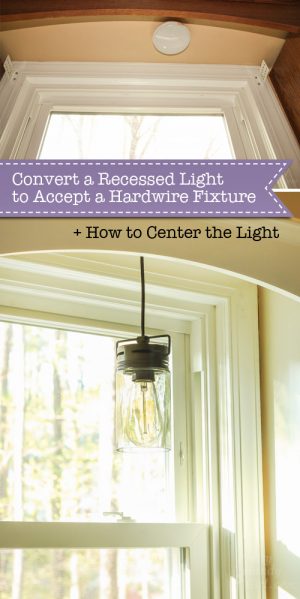
How to Convert a Recessed Can Light to Accept a Hard-Wired Light

How to Winterize Your Rain Barrel

How to Winterize Your Rain Barrel

Hello friends. It’s Jessica, from Decor Adventures with some easy tips to get your home ready for the cooler months ahead. I’ll show you how to winterize your rain barrel, which goes perfectly with Brittany’s recent guides on ways you can keep your home warm this winter and how to protect pipes from freezing.

Rain barrels have been growing in popularity and are now a common way to save money on water use for your landscaping. They are also great for corralling water way from certain areas of your property. If you have been looking for a rain barrel, check the local environmental non-profit organizations in your area. They often sell them at a discount.

Now that winter is approaching, those barrels must get properly put away so they can last for many years to come.  We’ve been using our barrel for five years to collect water from the 1-car garage and help water the garden all summer long.

How to Winterize Your Rain Barrel

Here are a few tips on how to winterize your rain barrel:

Connection of a rain barrel to the gutters of a building can be via a few methods:

  • Gutter diverter – an attachment you can connect to a downspout to easily close off the water supply to the barrel and return it to a straight downspout once you aren’t using the barrel over the winter or when it gets full.
  • Flexible gutter – connects the downspout from the gutters on the garage to the rain barrel. These are also called flex-a-spout or vinyl elbow at the home improvement store and are very handy for diverting water in a non-straight path.

Read more

fix drywall cracks permanently

Do you have a crack in your drywall that keeps coming back?

Today’s post will help you fix this annoying problem in 5 easy steps using 3M’s Patch Plus Primer.

This weekend I was cleaning out the guinea pig cage that sits in our living room (did you know guinea pigs can live from 5 to 8 years, what the!!!) and noticed a crack in our wall under the window.

Apparently the previous homeowners tried to fix it since there was evidence of old joint compound around the crack.

Dealing with old rental homes has taught me a thing or two about drywall and plaster. After reading this post I guarantee you’ll be able to permanently fix any drywall crack in no time.

(I’ve included affiliate links for your convenience. I earn a small percentage from a purchase using these links. There is no additional cost to you. You can read more about affiliate links here.)

Materials:

That’s not a bad supply list.  My grocery list puts it to shame and is far more expensive (and that’s without buying Dogfish Head IPA beer).

Let’s get started and eliminate your cracked drywall 🙂 Read more

Clean Your Dryer Ducts - Prevent Fires

Once the weather turns cold and the heat kicks on, your home starts to get dry and static electricity arrives once again. This minor nuisance that causes siblings to shock each other for fun can actually be dangerous if it ignites lint that has built up in or around your dryer.

Why you should clean out your dryer ductwork:

According to The Consumer Product Safety Commission, ( CPSC ), annually there are tens of thousands of Dryer Fires leading to many injuries or death, due to dryer exhaust duct fires. You should clean your dryer hose and around it once a year, and inspect the vent and hose for any blockages at least every 6 months.

You could pay a professional to clean your dryer ductwork, but the price could be anywhere from $65.00 to $150.00! Ummm — no thanks — I’ll keep my money and do this myself. It only takes about 15 – 20 minutes to do and it is easy! As long as your ductwork is fairly accessible, you can handle this!

If your dryer exhaust hose tube is longer than 10′ this may be a bit more difficult. And if it is longer than 10′, did you know that your dryer may be working extra hard to dry your clothes? Worse yet is if you have a long tube that goes up into the attic (or the eaves) and then out the roof. The warm moist air from the dryer enters the cold attic, and condensation forms in the exhaust tube. Do you know where this little story is going? Well, at first your dryer can’t dry as quickly because the tube is blocked by water. Eventually it will fill with enough water to cause the exhaust tube to split and guess where all that water goes? Through your ceiling, that is where! Trust me on this one, it happened to us in our old house.

So, why don’t you sit back down and let me give you a little tutorial on cleaning out your dryer exhaust ductwork.

Instructions:

Start by unplugging your dryer and turn off the gas if you have a gas dryer.

Remove your lint trap and remove any lint from the screen.

Clean Your Dryer Ducts - Prevent Fires

Using a brush (designed for cleaning out the coils under your fridge) bend the brush and run it inside the lint trap. Then follow up by using a shop vac or vacuum to suck up any lint and dirt loosened by the brush.

Clean Your Dryer Ducts - Prevent Fires

Pull the dryer away from the wall and disconnect the exhaust duct tube from the wall and the dryer. There are normally two kinds of hose clamps holding the tube to the dryer and wall port. The first is a ring with two prongs. Simply squeeze the prongs toward one another to loosen the clamp.

Clean Your Dryer Ducts - Prevent Fires

The second type of hose clamp requires a screwdriver to loosen the bolt attached to the clamp.

Clean Your Dryer Ducts - Prevent Fires

Slide the exhaust tube off the dryer and the port (hole in the wall.)

Use your vacuum to clean out both the dryer and wall ports.

Clean Your Dryer Ducts - Prevent Fires

Then use the vacuum to clean out the dryer exhaust tube.

Clean Your Dryer Ducts - Prevent Fires

If you have an older style vinyl tube, it is important that you replace it with a metal one. The vinyl and foil ones are fire hazards. Also, if you can’t get your tube clean, go ahead and replace it.

If your tube is long or difficult to clean out, you may want to purchase a hose brush like this one:

Brushtech B68C 10-Feet Long Dryer Vent Duct Cleaning BrushAmazon.com: Brushtech B68C 10-Feet Long Dryer Vent Duct Cleaning Brush: Home & Garden. (affiliate link)

While you have the dryer pulled out, vacuum off the back of the dryer, the washer, and the wall behind both. Eliminate as much lint as possible. A clean laundry room is safer than a lint covered one.

Clean Your Dryer Ducts - Prevent Fires

Re-attach the dryer tube to the wall and the dryer.

Clean Your Dryer Ducts - Prevent Fires

Gently push the dryer back towards the wall being careful not to crush the tube.

Clean Your Dryer Ducts - Prevent Fires

Locate your exterior dryer vent.

Clean Your Dryer Ducts - Prevent Fires

If you can reach the exterior vent, go ahead and clean it out also. Make sure the vent closes properly when the dryer isn’t running.Otherwise you may get birds, rodents or bugs in your vent. I don’t think I need to tell you that they won’t be helping your dryer’s efficiency!

Clean Your Dryer Ducts - Prevent Fires

And that is it?! That was easy wasn’t it. Be sure to keep your home and family safe by cleaning your dryer exhaust ductwork yearly.

Update: I wanted to let y’all know that the flex foil pipe shown in this tutorial is FLAMMABLE! Luckily I found this out before we had a fire.

prevent_fires_replace_dryer_hose

Read about installing semi-rigid non-combustible duct in this easy tutorial!

Clean Your Dryer Ducts - Prevent Fires


You might also like:

keep HE Clothes Washer CLean

Learn how to keep your HE Washer Clean like the day it was delivered!

Miracle Stain Remover


DIY Laundry Detergent & Miracle Stain Remover