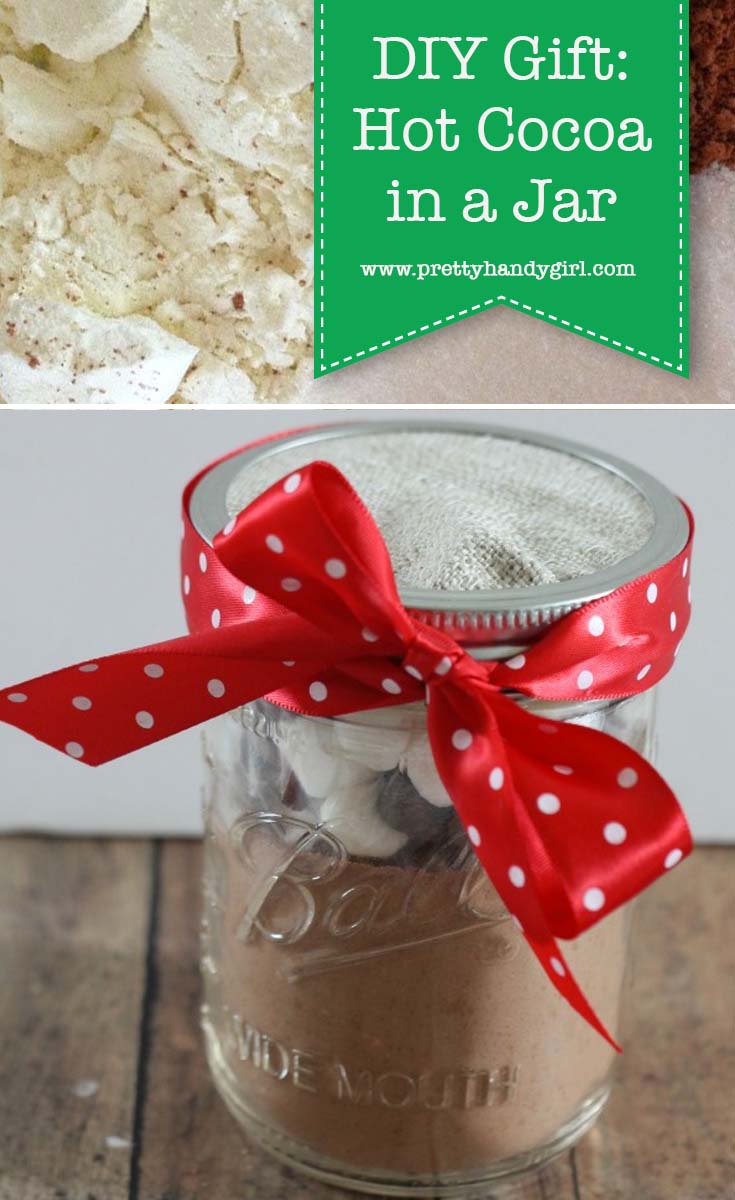
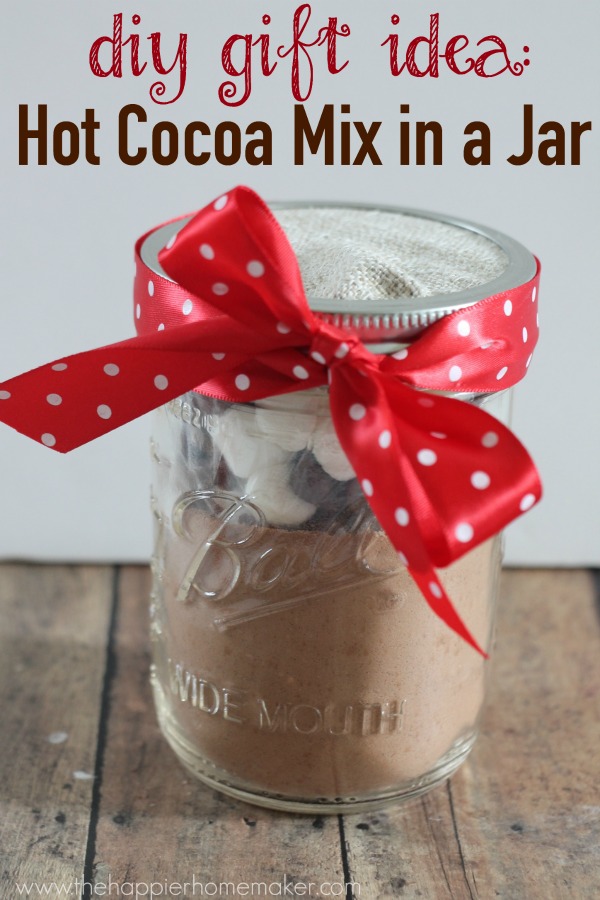
diy gift idea hot cocoa mix in a jar

Hot Cocoa Mix in a Jar

I love making homemade gifts during the holidays. Not only is it more personal than something store-bought, but it’s a budget saver as well.  One of my favorite quickie gifts to make is hot cocoa mix.  With mason jars being all the rage, this gift in a jar is the perfect neighbor or teacher gift for the holidays!

Hot Cocoa Mix in a Jar Supplies:

  • 4 tbsp cocoa powder
  • 4 tbsp sugar
  • 8 tbsp powdered milk
  • 1/2 cup mini marshmallows
  • 1/4 cup chocolate chips (optional)
  • 16 oz pint sized mason jar (I used a wide mouth jar)
  • sandwich bag
  • scrap fabric
  • ribbon

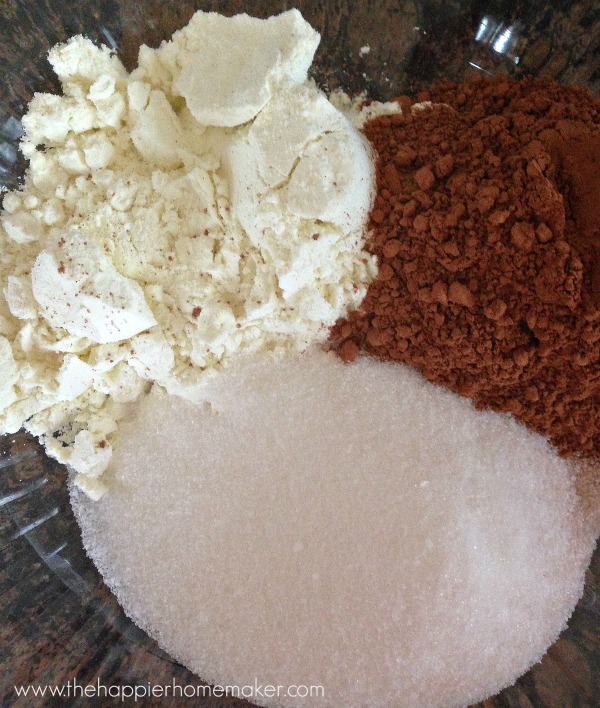
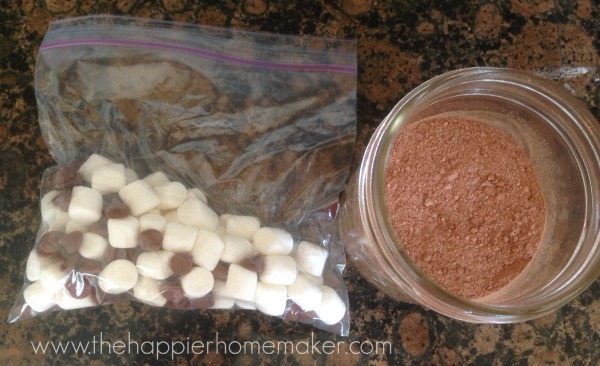
homemade cocoa mix ingredients

Combine powdered milk, sugar, and cocoa mix in a large bowl until well blended. Pour mix into a mason jar. If necessary, wipe down the inside of the jar to remove any mix residue on the top half of the jar.

cocoa gift in jar

Add marshmallows and chocolate chips to the sandwich bag.  Squeeze all excess air out of the bag and twist to form a “ball” of marshmallows.

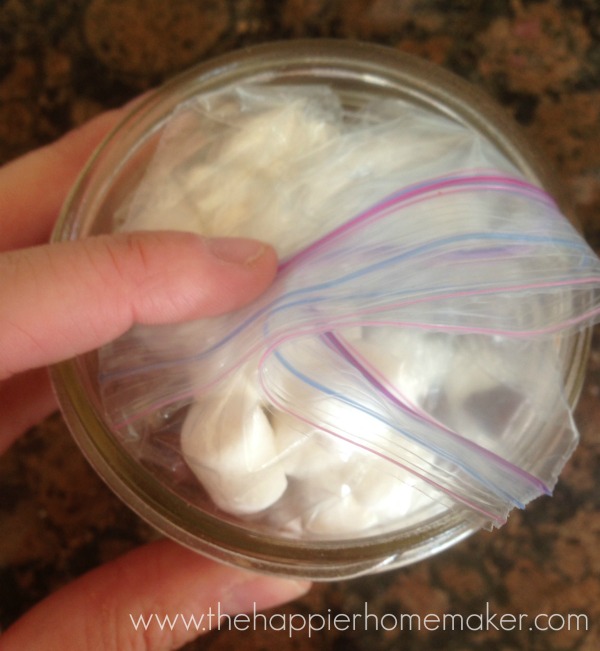
packaging cocoa jar gift

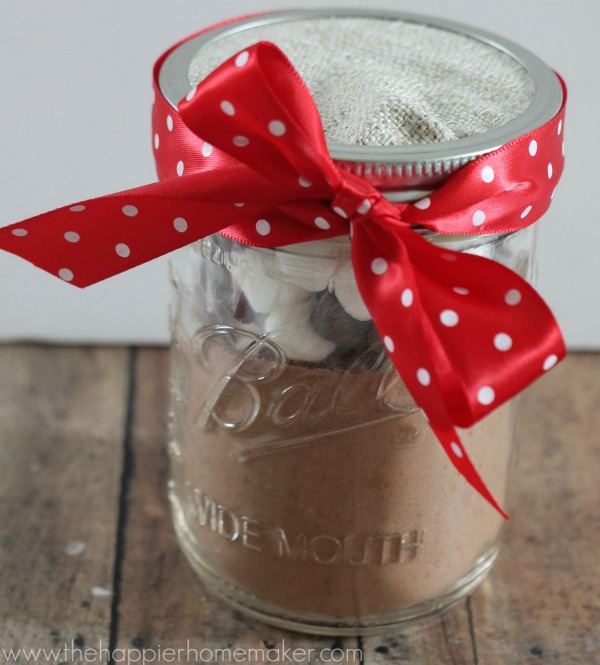
Carefully place the marshmallow bag on top of the cocoa mixture with the excess plastic at the top so the lid will conceal it.  Be sure to add your bag slowly so that you don’t cause the cocoa mix to spill.

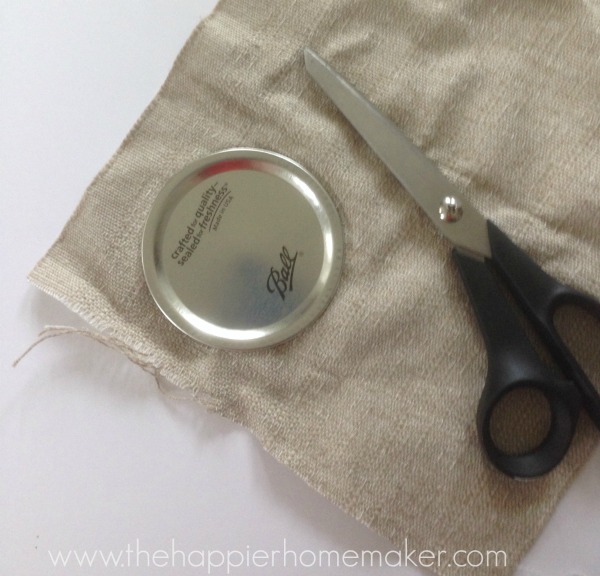
mason jar topper diy

Cover the mason jar top with fabric. It’s a fast and easy way to make the packaging look a little more “fancy!” Simply cut a piece of scrap fabric slightly larger than your top.

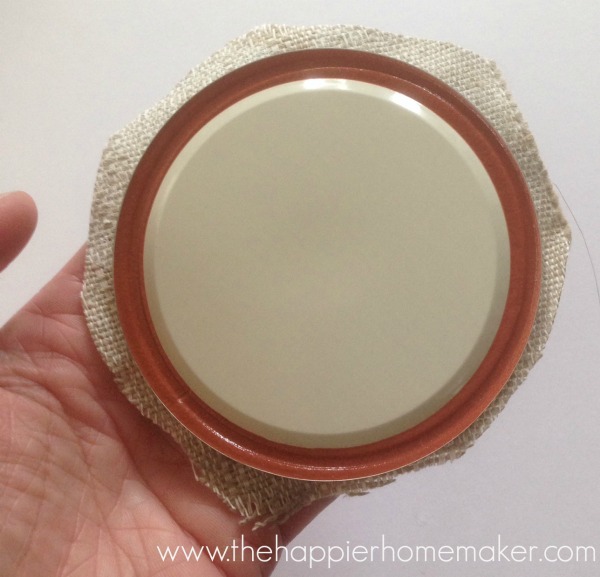
making mason jar topper

Place the fabric and top on the jar and use the canning ring to secure it in place.  Tie a ribbon around the top to finish it off! Gift with the instructions to add 3 tbsp to 8oz of hot water.

how to make hot cocoa in jar

Do you like to make homemade gifts as well? What are your favorite DIY gifts to make or receive?

MelissaSignature~ read more about Melissa ~


Pin for later!
Last minute DIY gift idea: hot cocoa in a jar! | Pretty Handy Girl

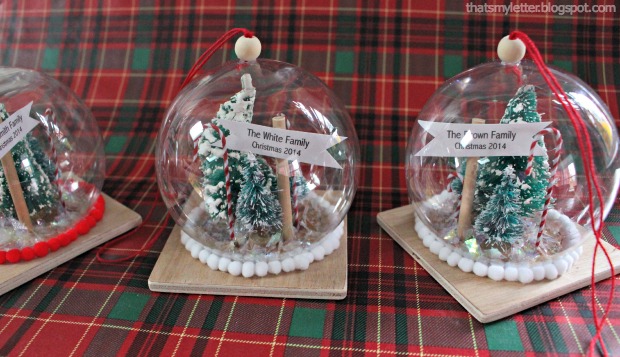
snowglobe ornament

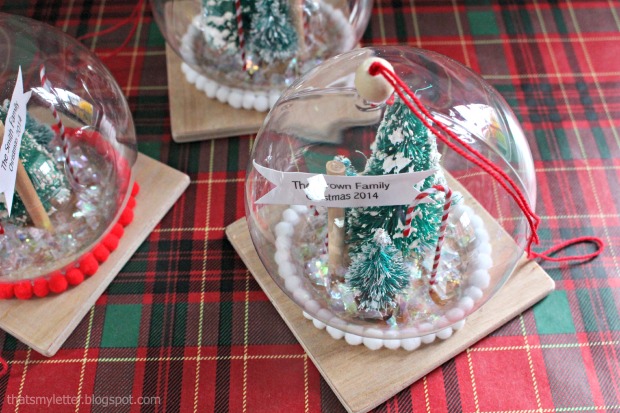
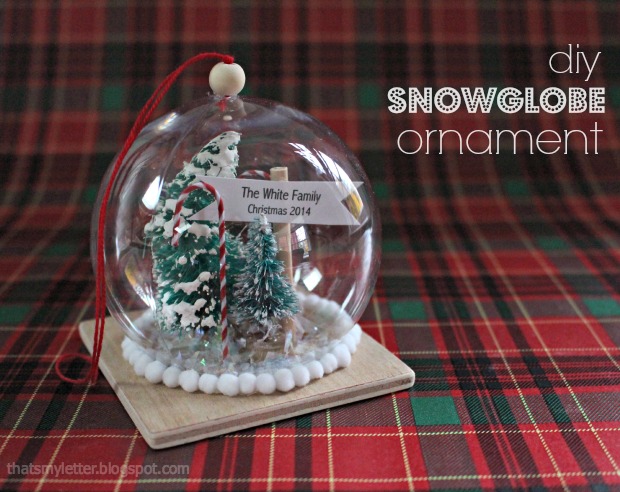
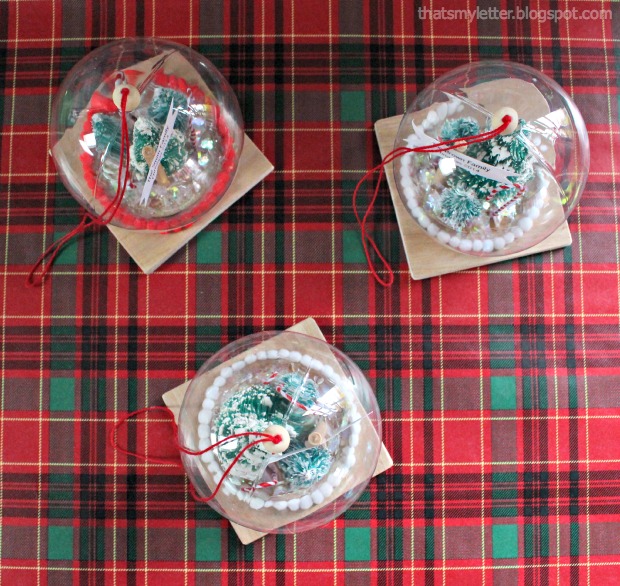
Jaime here today from That’s My Letter and it’s officially holiday prep time!  Today I’m sharing a DIY snow globe ornament with a wood base that makes a perfect gift for anyone big or small.

This snow globe ornament is constructed on a wood base where all the interior pieces can be glued to the base and then the clear globe is placed over the scene.  The globe is plastic and the entire ornament is very lightweight so it won’t weigh down your tree branches!

snowglobe ornament 4

You can put nearly anything inside the snow globe as long as it fits under the dome.  I used bottle brush trees, wire candy canes and a wood dowel sign with the family name printed on cardstock.  Add a little faux snow and you have the cutest little winter scene.

snowglobe ornament 2

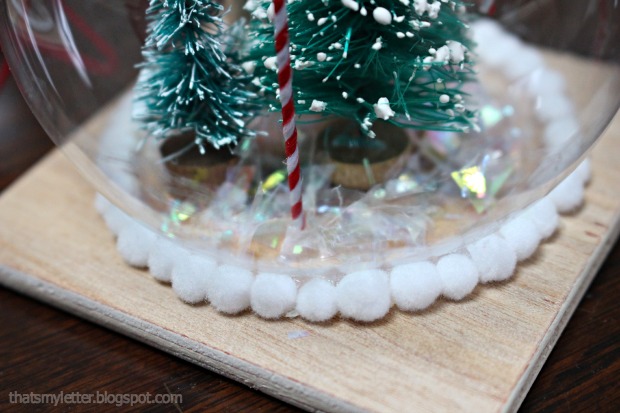
The faux snow will cover any unsightly hot glue and adds just that tiny bit of sparkle.

snowglobe ornament 3

Add a small wood ball on top to compliment the wood base with a string for hanging and you have a keepsake ornament that will look beautiful on or off the tree.

snowglobe ornament 1

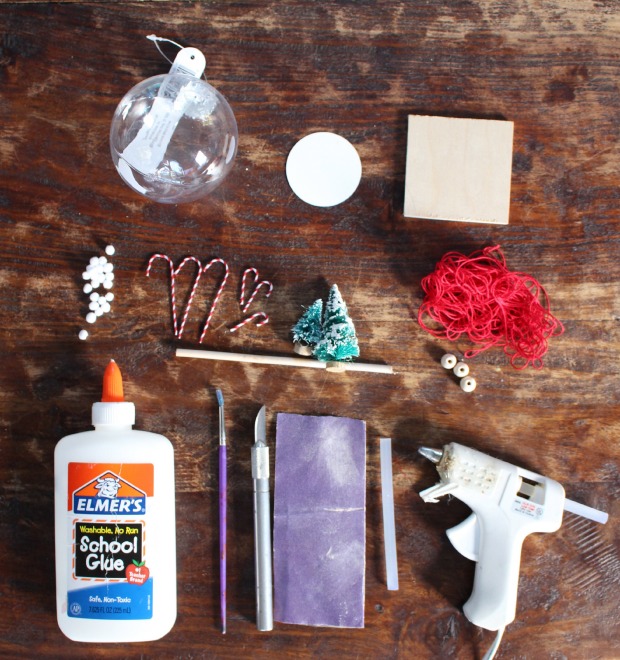
Materials:

snowglobe ornaments supplies

  • 3″ clear plastic craft ornament
  • 2″ circle (cut from cardstock, only used as a template)
  • 3″ wood square (1/4″ plywood)
  • mini pom poms
  • mini wire candy canes
  • mini bottle brush tress
  • 1/8″ dowel
  • small wood balls with hole in center
  • red string
  • white glue
  • paint brush
  • faux snow
  • x-acto knife
  • sandpaper
  • hot glue gun & glue sticks
  • scissors
  • pencil
  • black sharpie marker

Instructions:

Step 1: Using an x-acto knife cut around the ornament opening enough to remove the neck portion.  Don’t worry about being neat here the goal is to remove the neck and have a wide enough opening for scissors. Read more

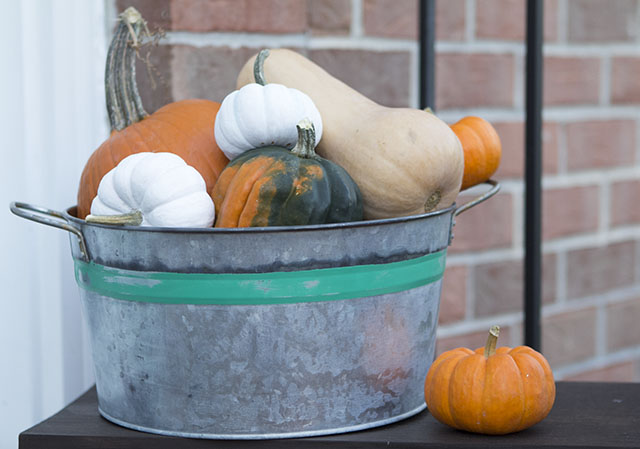
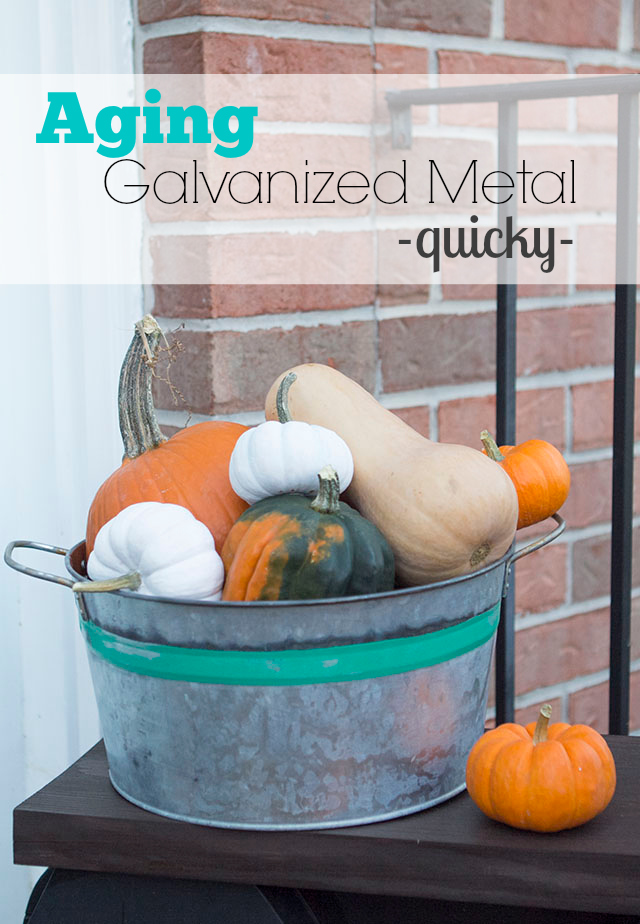
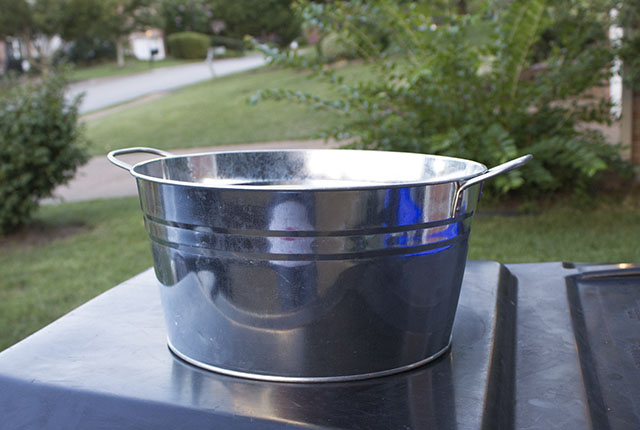
galvanized metal bucket aging

Hey everyone, it’s Jacque here from The DIY Village!  I am so excited to share this DIY tutorial with you.  I love the look of old metal buckets, but finding them with the nice patina is easier said than done. I am constantly coming across nice, bright and shiny buckets. I finally found a bucket that I liked the shape of and decided I would age it myself. Get ready to learn the quick process of aging galvanized metal that allows you to age it in minutes instead of decades!

Materials: 

  • Galvanized Metal Bucket
  • Painter’s Tape
  • Spray Paint
  • Cotton Balls
  • Rubber Gloves
  • Nail Polish Remover
  • Sand Paper
  • Zep Toilet Bowl Cleaner
  • Steel Wool

Instructions:

Start with a clean galvanized metal bucket.  Make sure all debris is removed by wiping the bucket down with a damp rag.

metal butcket

Decide where you’d like your painted stripe to appear on your bucket.

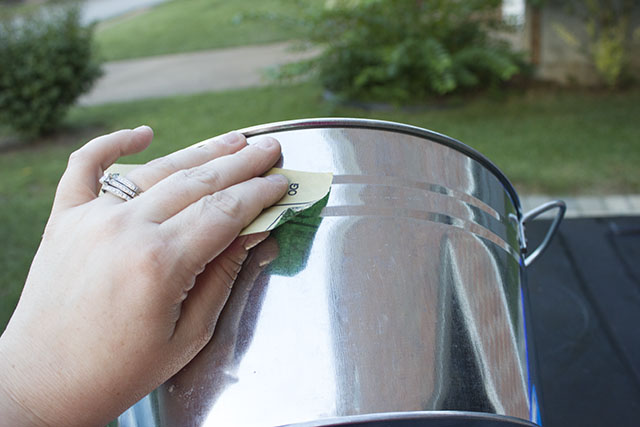
sand band

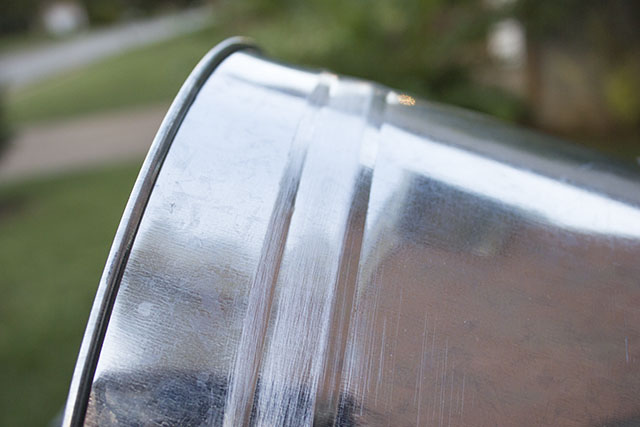
I positioned mine where the bends in the bucket are.

Sanded

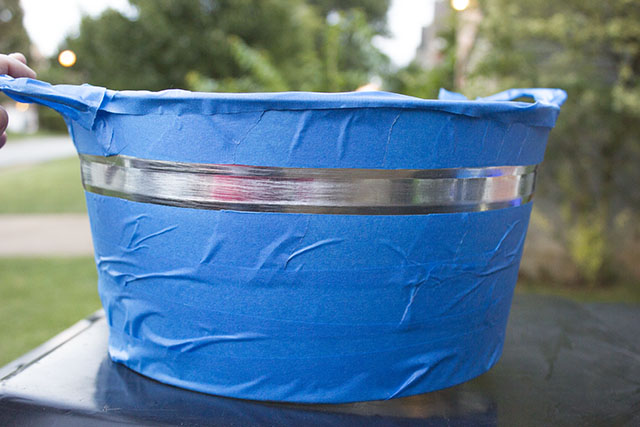
Tape off the rest of the bucket leaving a metal band showing through.

tape off bucket

Spray a couple coats of spray paint in the color of your choice on the band area. (Red would also be a fun option for a vintage look.)

Read more

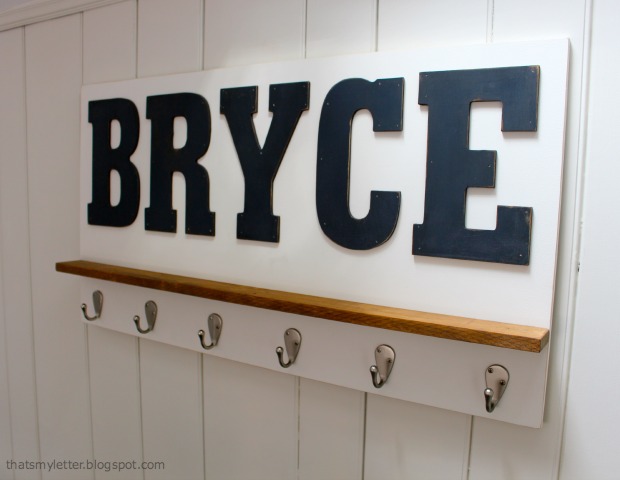
personalized wall shelf

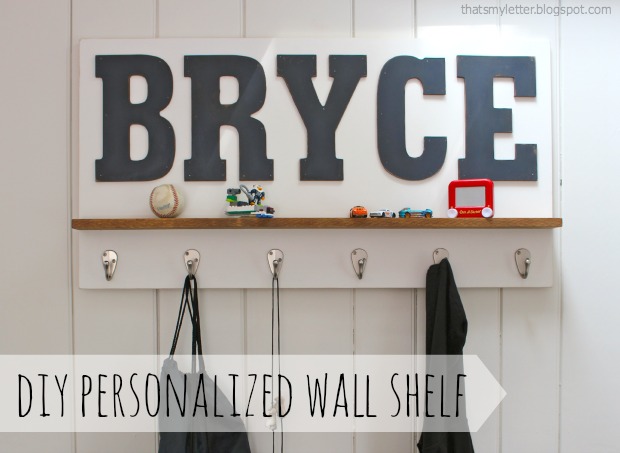
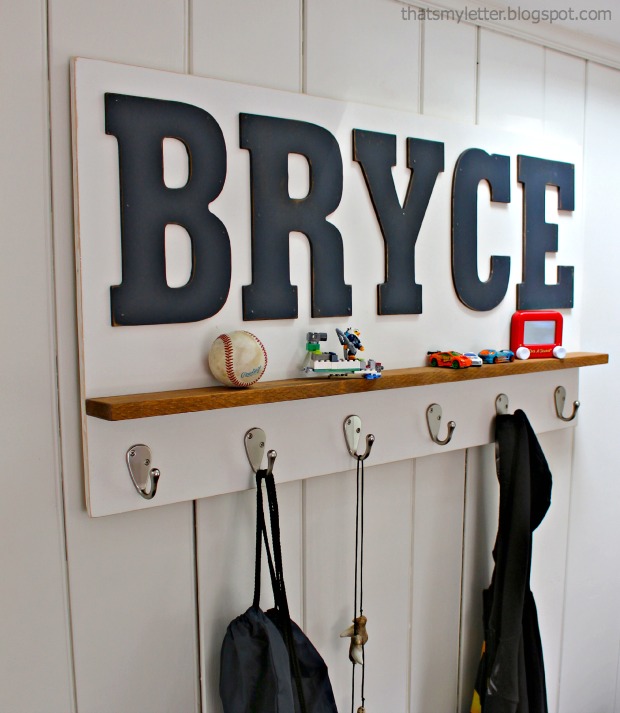
Happy Wednesday Pretty Handy Readers!  Today’s project is a DIY personalized wall shelf and I’ll show you how to make it.  I’m Jaime from That’s My Letter, a fellow DIY blogger who builds, paints and sews.  I made this wall shelf as a gift for Bryce’s birthday, it makes a great statement AND it’s useful too!

personalized wall shelf 1

Just a bit of painting and assembly to make this awesome, personalized wall shelf.  And of course you can adjust the paint colors to fit your scheme.  Bryce happens to have navy painted walls in his bedroom so I know this wall shelf will really pop once hung in his space.

personalized wall shelf 2

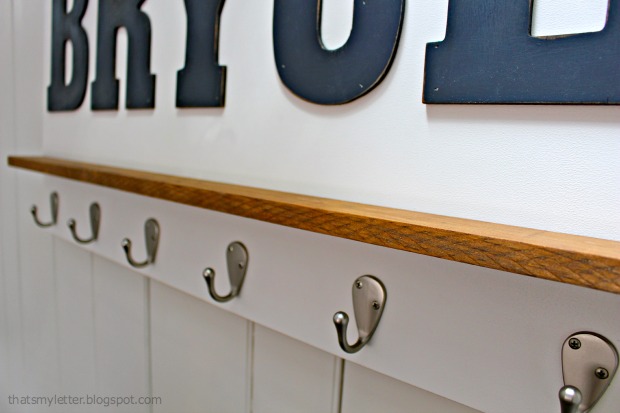
The stained wood shelf adds just a touch of warmth and coordinates well with the hardwood floors.  For a deeper shelf, use a wider board. I used a 1×3 but you could use a 1×4 or larger.

Materials:
(Amazon affiliate links included)

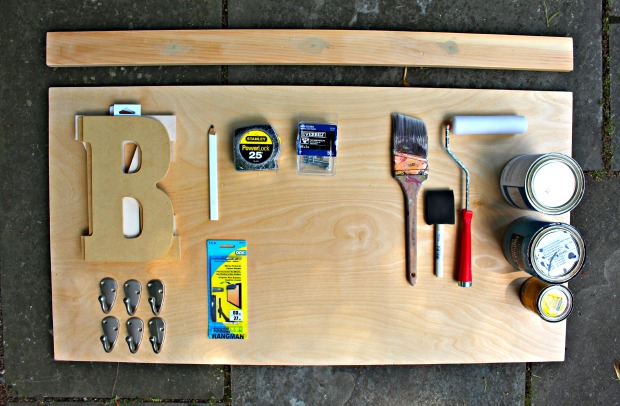
personalized wall shelf supplies

  • 1/2″ or 3/4″ plywood cut to desired size (approx. 2′ x 4′)
  • scrap piece of 1/2″ plywood approx. 4″ x 36″
  • 1×3 pine board cut to width of plywood
  • 9″ MDF Pre-cut letters
  • Single robe hooks
  • French cleat kit
  • paint, roller & brush
  • stain & foam brush
  • sandpaper
  • tape measure
  • pencil
  • wood glue
  • 2″ wood screws
  • 3/4″ wood screws
  • drill & bits
  • nailer & finish nails

Instructions:

Before beginning, layout your letters onto plywood and cut the plywood to size based on the length of the name.

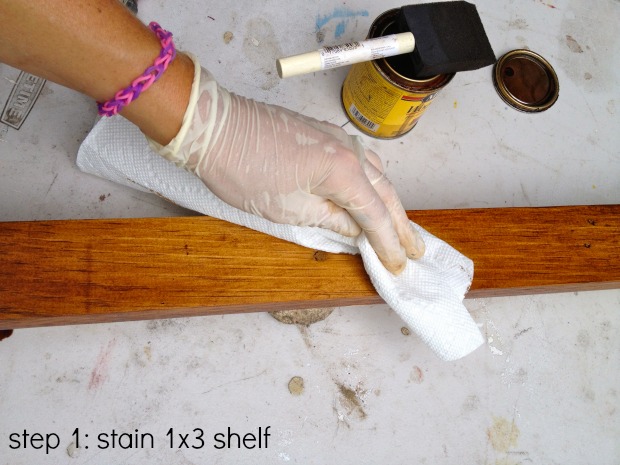
Step 1: Apply stain to the 1×3 shelf piece on all sides using a foam brush. Wipe off the excess.  Set the shelf aside and let it dry.

personalized wall shelf step 1

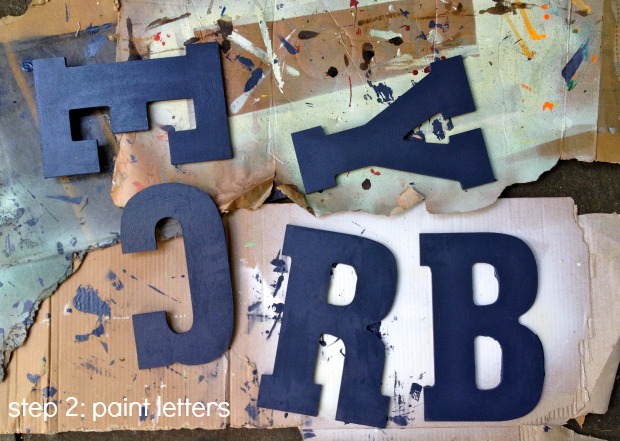
Step 2: Paint your letters.  Paint your plywood back (not shown).

personalized wall shelf step 2

Step 3: Distress the edges of the letters using sandpaper. Read more

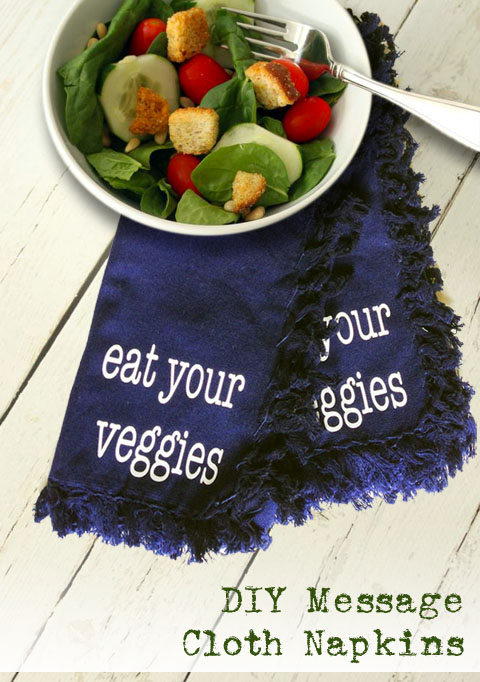
DIY Message Cloth Napkin Gift Idea

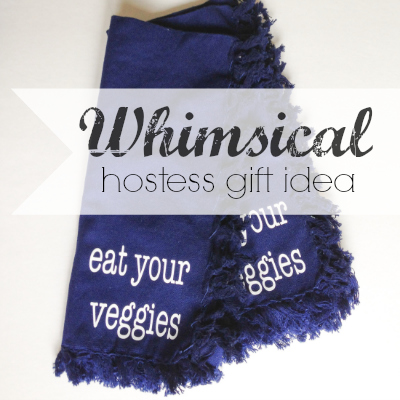
Bringing a hostess gift to someone whose home you are staying in is apparently a pretty universal thing.  I had never heard of such a thing until I was in my late 20’s.  It’s not a mind blowing concept but I have come to appreciate the simplicity of the thoughtful gesture.  Granted, if you are a “Real Housewife”, then I’m pretty sure if you don’t show up with a bottle of Cristal you get the stink eye.  Hostess gifts don’t have to be spendy, they just need to be thoughtful.  Today I am going to show you how to create an inexpensive gift for the hostess with a sense of humor. Gather around and learn how to make these “Eat Your Veggies” cloth napkins.

Materials:

  • Silhouette Cutter
  • Computer
  • Iron on Heat Transfer material
  • Napkins
  • Iron
  • Ironing Board
  • Towel
  • Tape Measure

Instructions:

Start by pre-washing the napkins.  Measure how big the lettering should be by folding the napkin (half fold or quarter fold napkins) and measure the printable area.

hostess gift idea

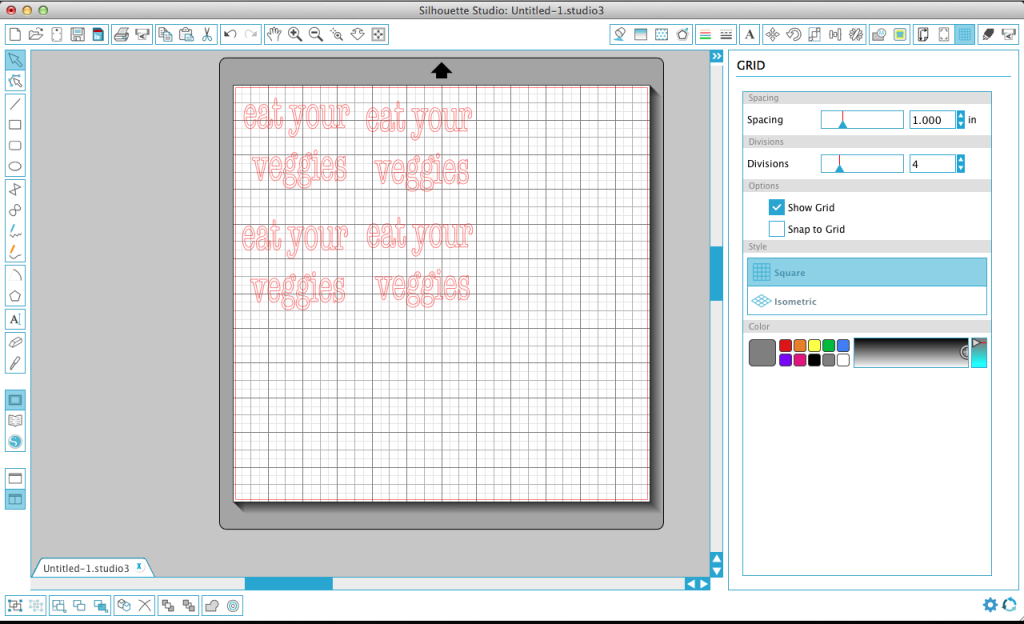
Arrange the words as you would like them to appear on the napkins.  Watch your dimensions!  Duplicate the image as many times as you have napkins.

hostess gift idea

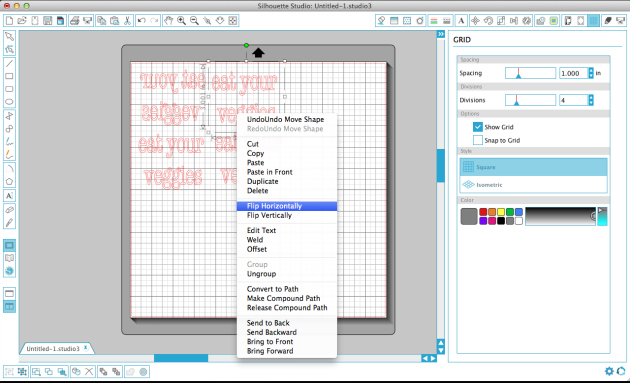
Right click on the image and flip the image horizontally.  This will be the mirror image allowing the words to be read once they are applied to the napkin.

hostess gift idea

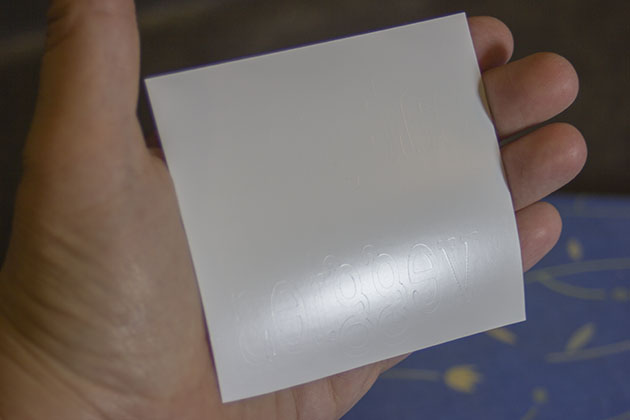
Send the wording or images to the Silhouette or other craft cutter.

hostess gift idea

Once the image is cut,  weed out the negative spaces. Read more