Welcome back for another Tool Tutorial Friday – How to use a jig saw. Today I have two lessons for you. The first will cover the basics of using a Jig Saw. THEN….I’ll show you a professional trick for cutting a hole inside a piece of wood without sawing from the edge!
Let’s get this party started…well, this tutorial at least.
(This post contains affiliate links. To learn more about affiliate links, you can read my disclosure page.)
A jigsaw is a good introductory power saw to own. Being small and handheld, makes it a bit less intimidating than the bigger power saws. The jig saw can cut straight lines (when pushed up against a guide like a long level or board.) But, it really excels at cutting curves, profiles and circle cuts.
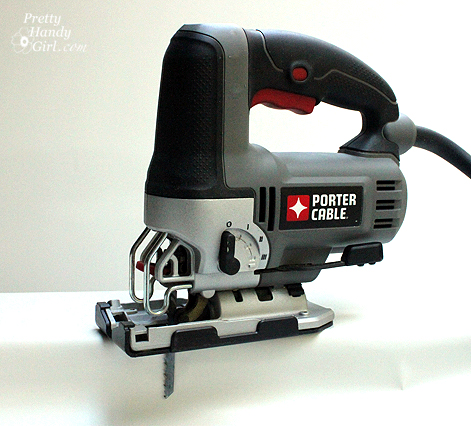
Below is a picture of my jig saw (a Porter Cable orbital jigsaw that I highly recommend) and its parts. Not every jig saw will look the same or have the same features, but this gives you a good idea.
I have used a jig saw to cut curved handles into a crate, cut profiles in panels to fit around an outlet or the baseboards and a few other craft type projects. Jig saws are modestly priced starting at $25 up to over $150. When buying a jig saw, look for strong and solid construction. One of the features that I really like on a jigsaw is an LED light that automatically comes on when the trigger is depressed. My first jig saw was a cheap model. I regretted that purchase because it really did a poor job when cutting through anything thick or hard. Learn from my mistake and invest in at least a middle of the road model and save yourself the need to buy a new one when the cheap one doesn’t cut very well.
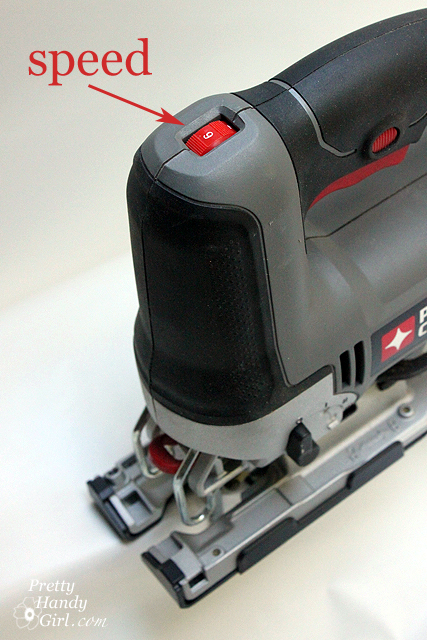
Most jigsaws have a speed control. Sometimes it might only be a high – low switch. The speed control is located on top of my jig saw, but this will vary depending on the jig saw you buy.
The jig saw has a straight blade that moves up and down to cut. The teeth of the blade always face forward to cut into the wood as you press it into the cut.
Most modern jig saws have a quick release blade. This is how to remove the blade on the Porter Cable jig saw:
I have not needed to replace this blade yet, and I’ve been using it for 2 years.
Before we watch the video, a little reminder:
DISCLAIMER
The viewer assumes all responsibility and liability associated with the hazards of woodworking. Pretty Handy Girl is not responsible for any errors or omissions that may be present in this tutorial. She also assumes no liability for any action or inaction of a viewer.
Please use extreme caution when using power tools. Read your tool manual thoroughly and wear protective safety gear. Take your time familiarizing yourself with a tool before using it. (If you are missing the manual, you can easily find it online by going to the manufacturer’s website or google your saw’s make and model + manual.)
Please recognize that I have tried to put together a basic jig saw usage tutorial to get you started. I have tried my best to show the safest way to use a jig saw. That being said, I am not a professional (I only play one on this blog ![]() .)
.)
And now, the basics of using a jig saw!
Here is the video:
Now for my professional tip. Let’s imagine that you want to cut a large hole in the middle of a piece of wood. For example, a curved handle hole in a crate or an outlet opening in a sheet of beadboard. Obviously you don’t want to cut in from the side. That wouldn’t look very professional, now would it? But, how do you do it? I’m going to use the outlet hole as an example today.
You’ll need a few tools first:
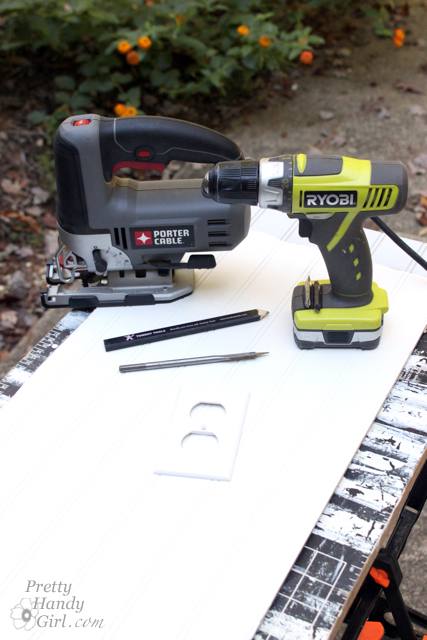
- Jig saw
- Drill with a spade bit slightly wider than your jig saw blade
- Pencil
- Dark lipstick (bear with me)
- Outlet cover
Cut your beadboard to size (make any adjustments and profile cuts before proceeding.)
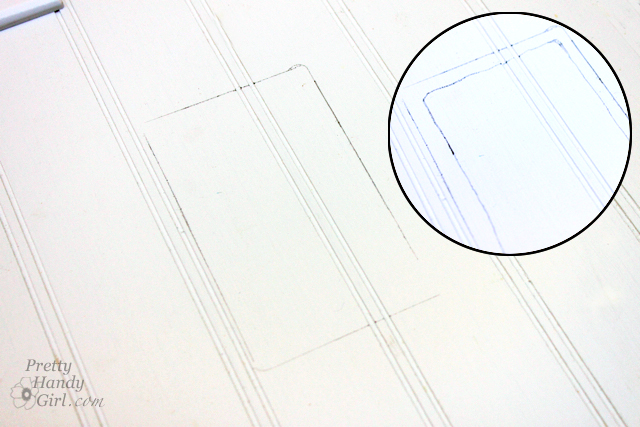
Instead of measuring where the hole is and then transferring those measurements onto the board, you can use this trick instead! (1) Rub the lipstick around the outer edge of the outlet sockets. (2) Press your bead board up against the outlet. Gently pound your fist onto the outlet through the bead board. When you remove the beadboard, you will see the location of the outlet. (3) Lay your outlet cover in line with the socket impressions. (4) Trace around the outlet cover.
Draw a second line about 1/8″ inside the first. This will be your cut line.
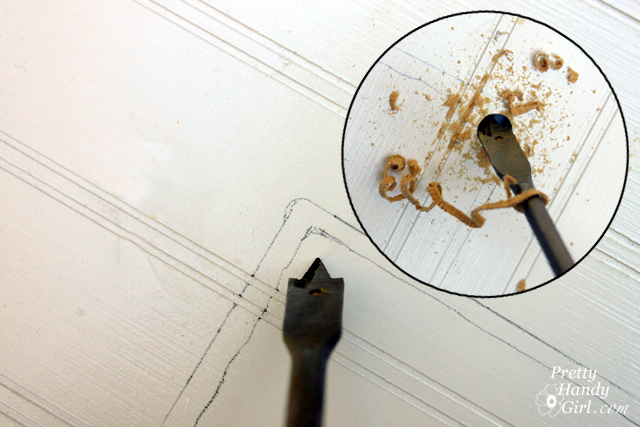
Insert the spade bit into your drill. Position the spade bit inside one corner, and drill a hole.
Repeat for the other three corners.
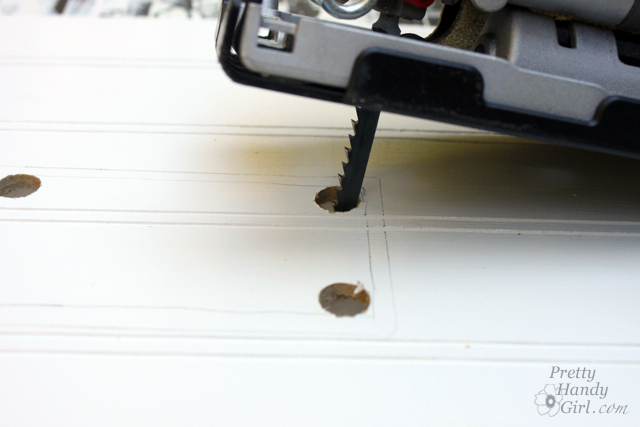
Position your jig saw blade inside one hole, move the blade to the back of the hole before you start your saw up. Otherwise, the teeth will grab at the front edge and could cause the saw to jerk out of your hands.
Cut from hole to hole along the cut line until the square hole for the outlet is completely cut. Here is a quickie video showing exactly how to cut the hole:
Hope this tutorial helps you get jiggy with it!















 Rhonda Jones!