Saving Etta: Revealing the Downstairs Bedrooms
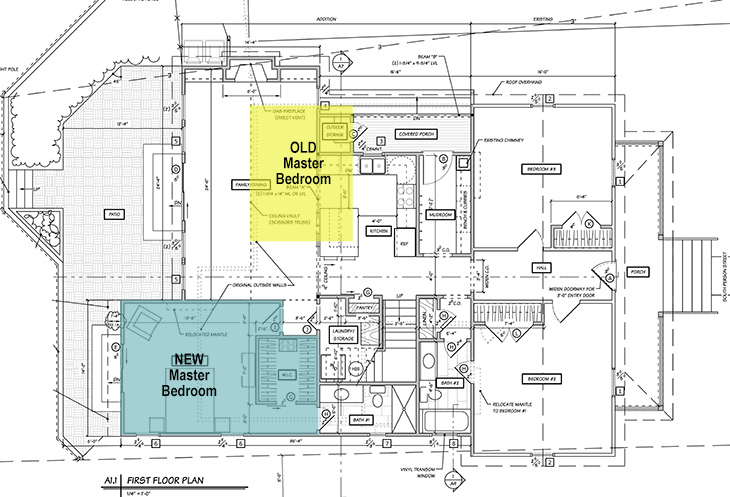
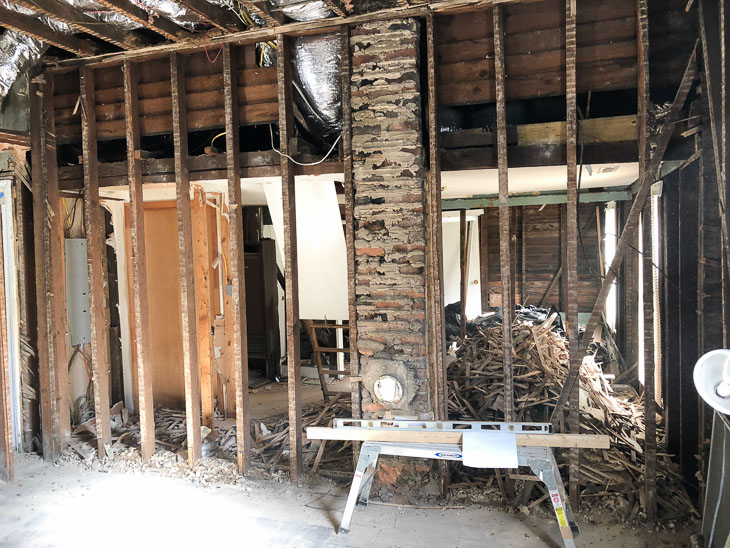
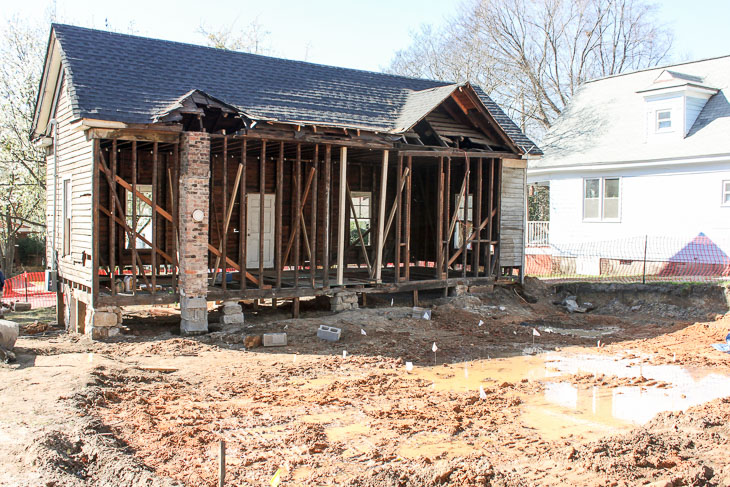
I’m thrilled to be able to reveal the downstairs bedrooms to you today. If there were two rooms that get me emotional in the Saving Etta house, it would be these two front bedrooms. They make up the majority of the 1900 portion of the house I was able to save. Except for the original kitchen, all the other rooms in the house were added on over the years. Unfortunately those additions weren’t built to last (or built with any building codes in mind.) Although we tried to save the original kitchen, one of the girders was completely rotted out and the rest of the floor joists were almost laying on the dirt. We determined it would be best to remove it and build completely new framing behind those front bedrooms.
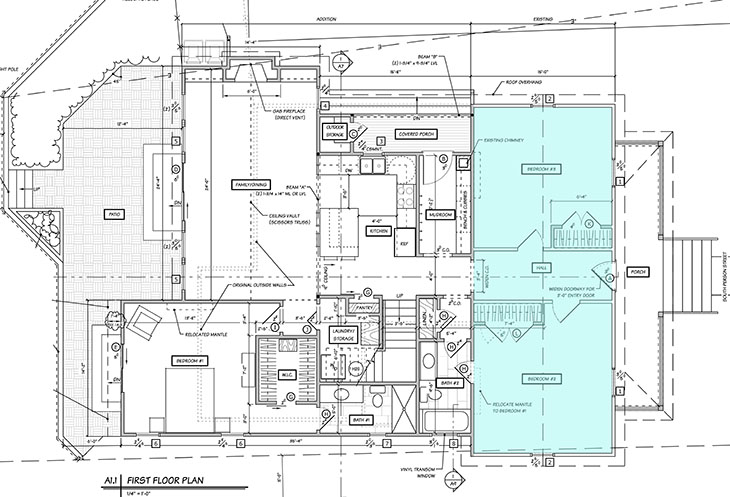
Here is the proposed floor plan where I’ve highlighted the bedrooms you’re touring today:
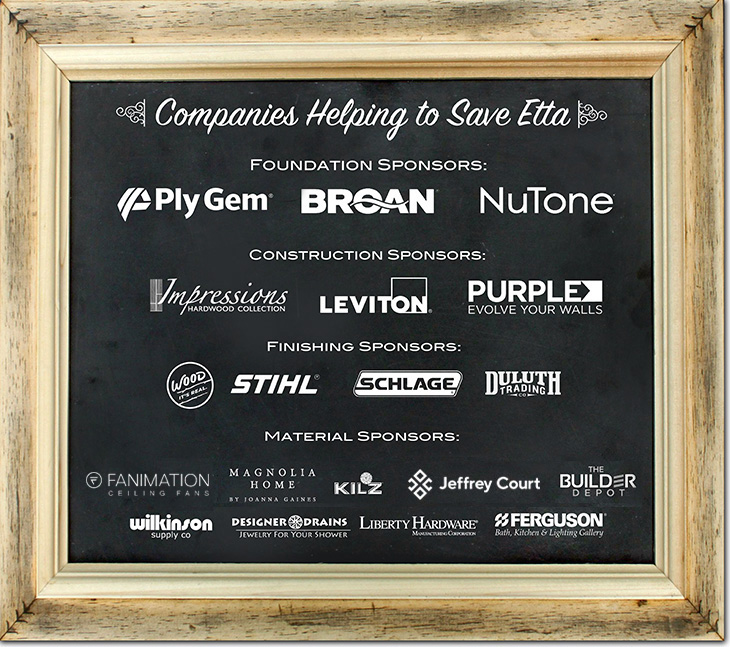
Before we get this show on the road, I owe a huge thank you and a big shout out to all the Saving Etta sponsors. As you all know, I’m very particular about the brands I work with and I can honestly say my sponsors are the cream of the crop when it comes to selling products for your home and lifestyle.
(I’ve included affiliate links for your convenience. I earn a small percentage from a purchase using these links. There is no additional cost to you. You can read more about affiliate links here.)
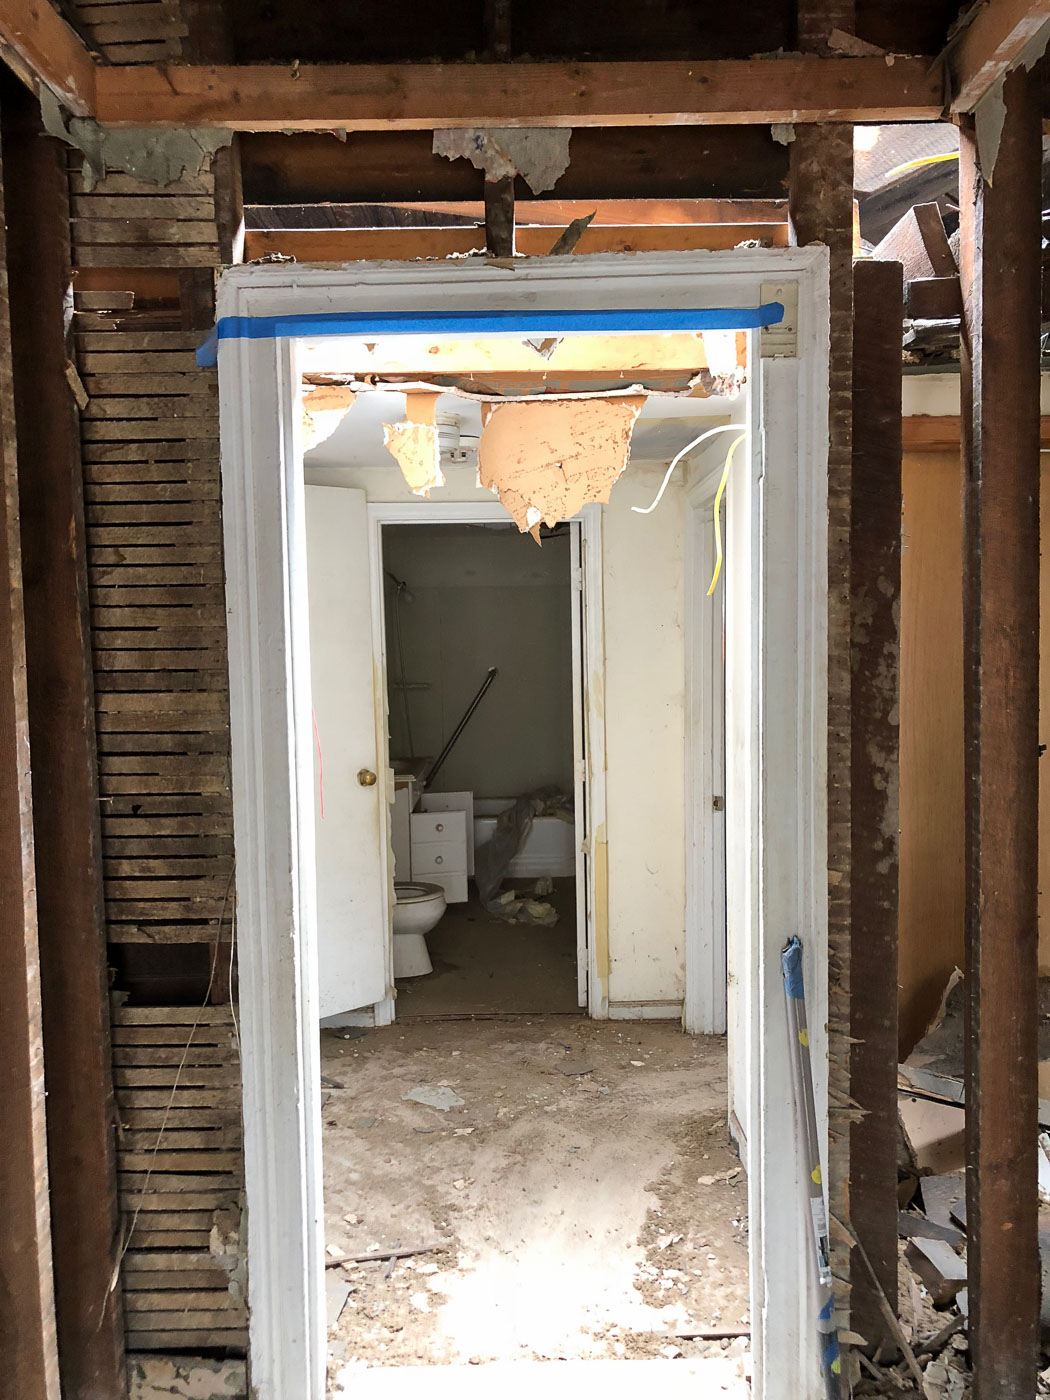
Before Starting Demolition:
Before we get to the tour, I’m going to rewind the clock to show you how the rooms looked when I bought the house.
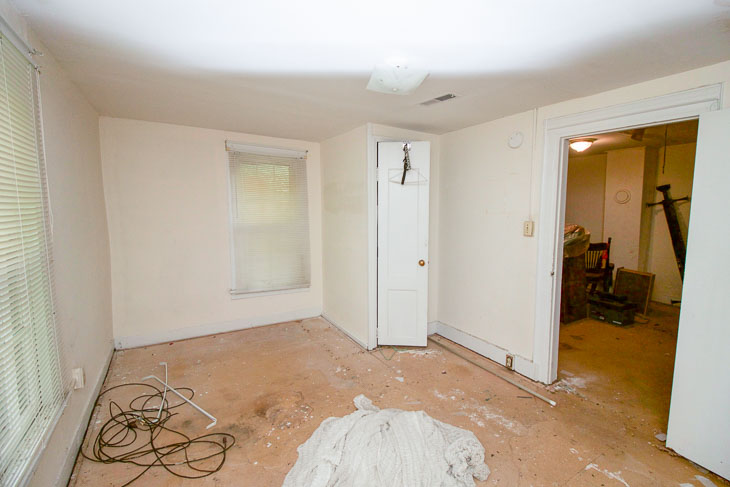
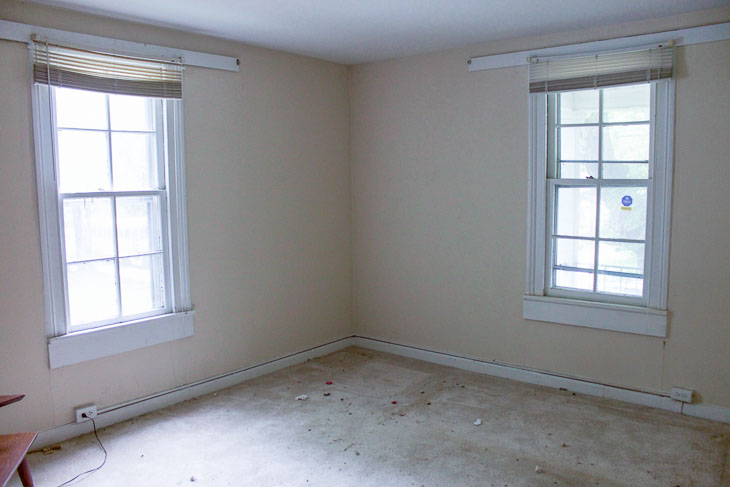
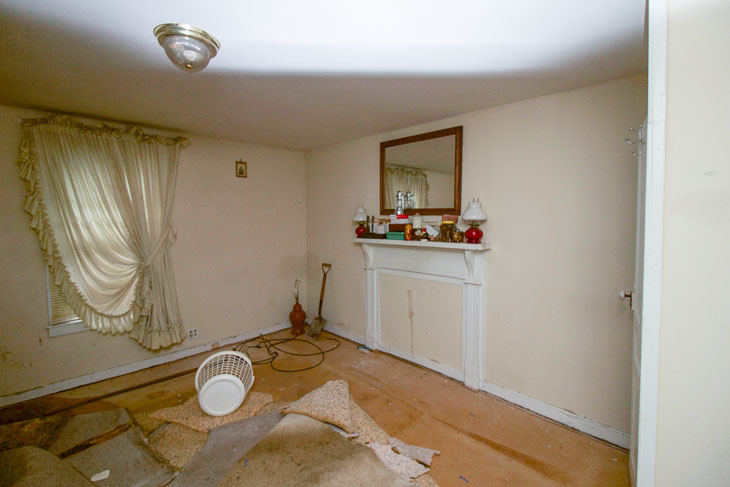
These photos are from the south bedroom (on the right when you enter from the front porch steps.)
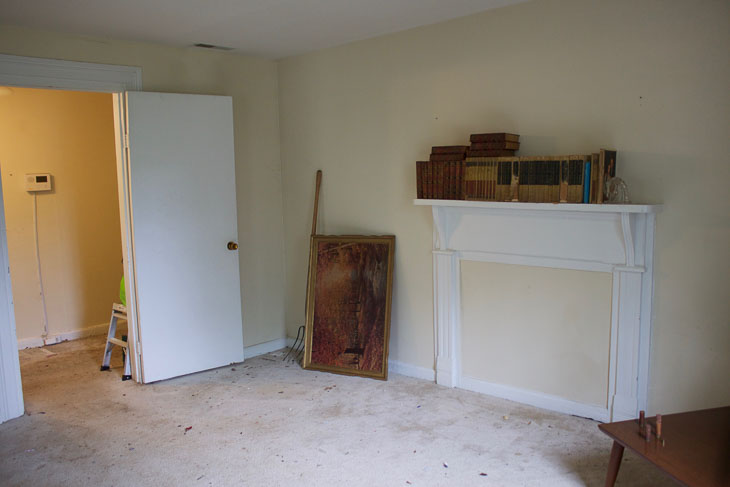
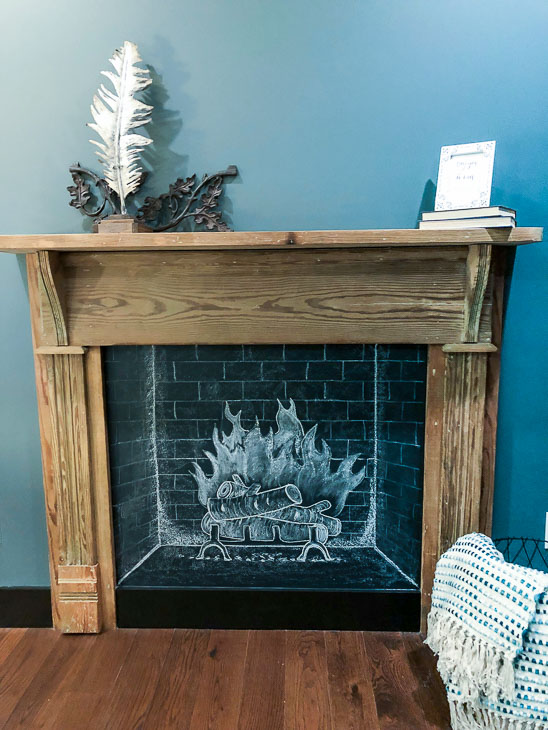
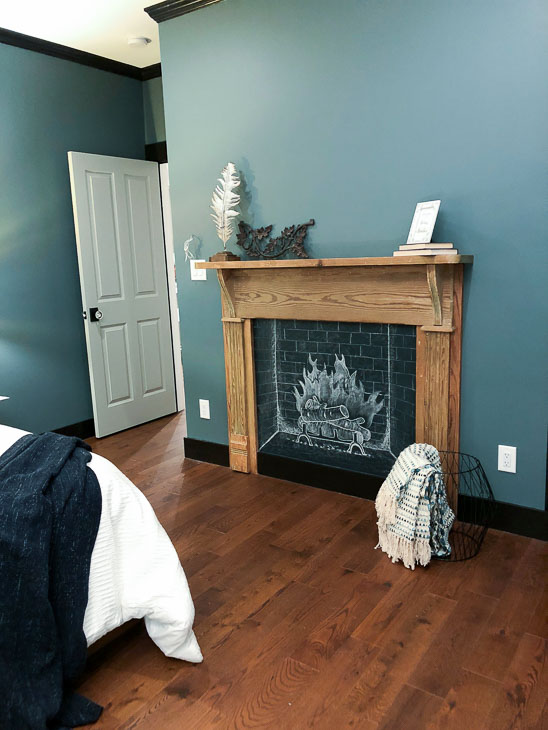
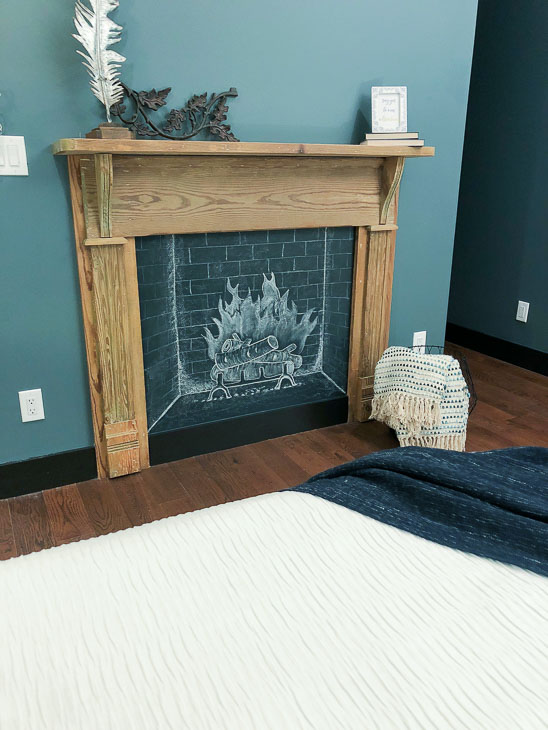
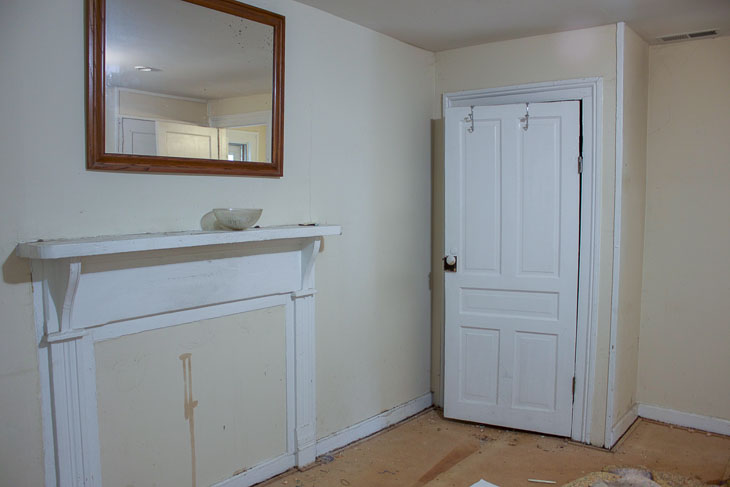
The original mantel was still in the room. Although there was no hearth, I’m fortunate the mantel was left alone. Unfortunately the original door was replaced with a cheap hollow core door.

This room was a living room and had carpeting throughout. The moldings on the windows had some decorative trim, but otherwise the room was fairly devoid of architectural features.
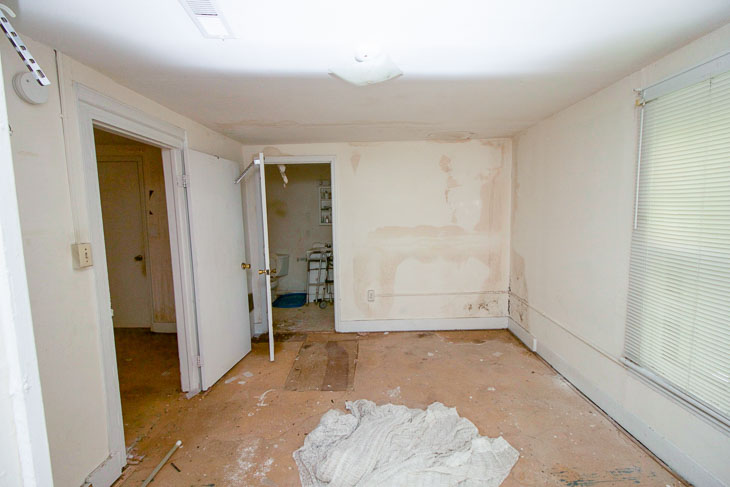
The north bedroom had an identical mantel, but this room also had two closets. I think this room was used as a bedroom in recent years. But I’m not 100% sure because most of the contents had been removed because of the presence of black mold growing in here.
At first I thought the mold was caused by a roof leak, but I later learned it could be attributed to the window air conditioner unit. The moisture had been leaking down the wall and under the carpet, creating a toxic growth of black mold.
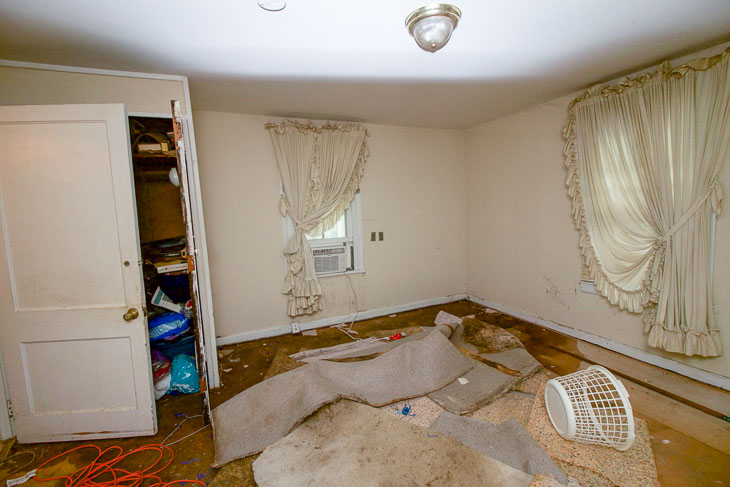
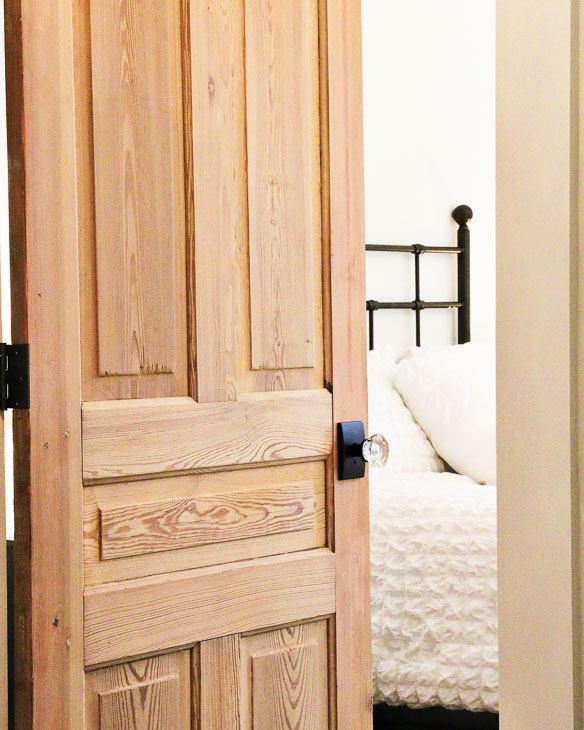
Despite this unwanted presence in the room, there was a very desirable element still in this room! See that closet door below? In the corner of the room I found one of the original 1900 doors. Luckily I also found another door to match in another local property that was slated to be completed demolished.
Demolition Begins:
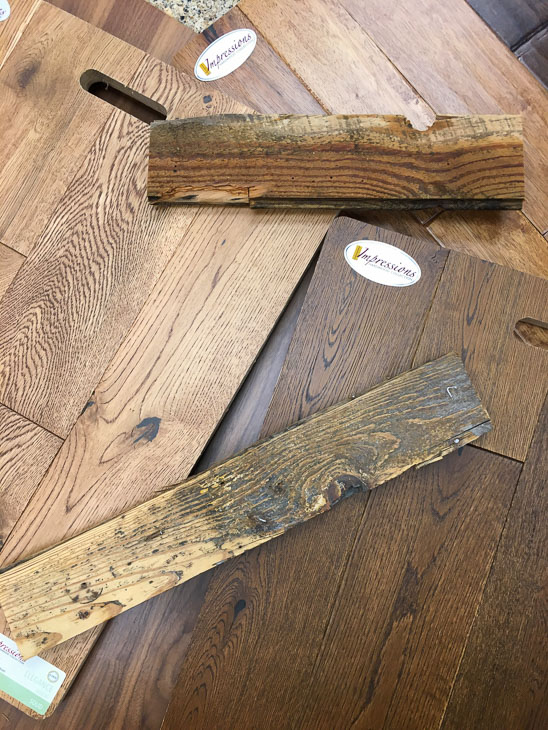
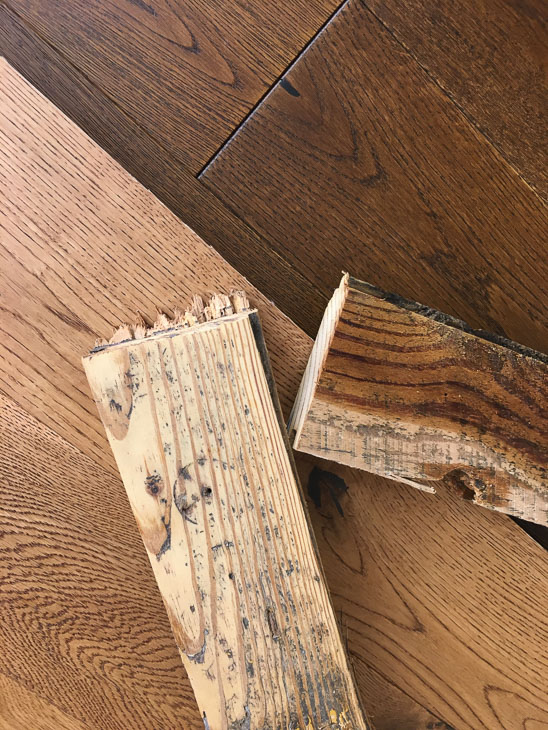
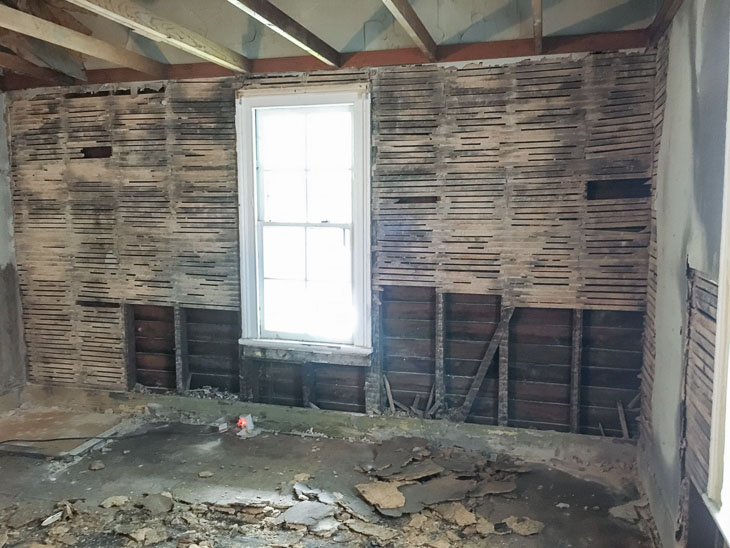
After carefully removing all the carpeting from the front bedrooms, I began to pull up the particle board subfloor. It was tedious work involving a pry bar and a hammer to pull up all the nails from each board. Contrary to my initial thoughts, the particle board would only pry up in fist size pieces when I put a flat scraper underneath. Instead I had to remove ALL the nails first. Underneath a layer of resin paper, I found the old pine floor planks. I was really excited about the prospect of being able to refinish these original wood floors.
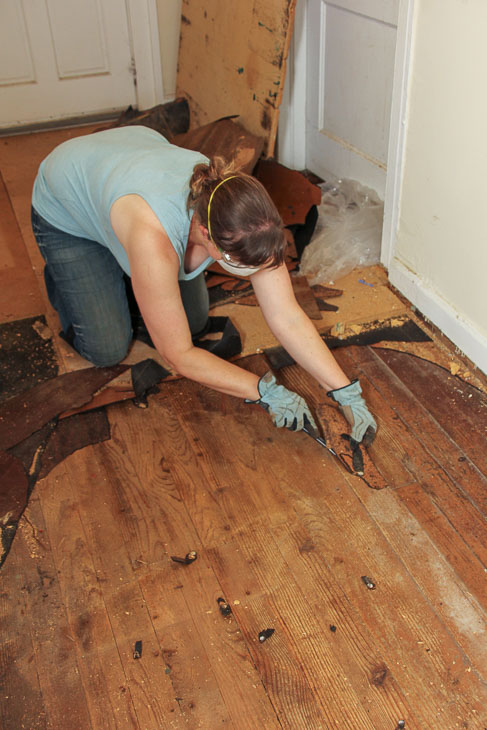
My optimism began to wane as I pulled up the sub-flooring in the south bedroom. Underneath it were several layers of vinyl, tar paper, and glued down lineoleum sheets. (Of course before pulling up these layers, I dutifully sent samples to be tested for asbestos.) When the results came back negative, I spent three days trying to get all the layers removed. But, I lost steam and this is where I stopped:
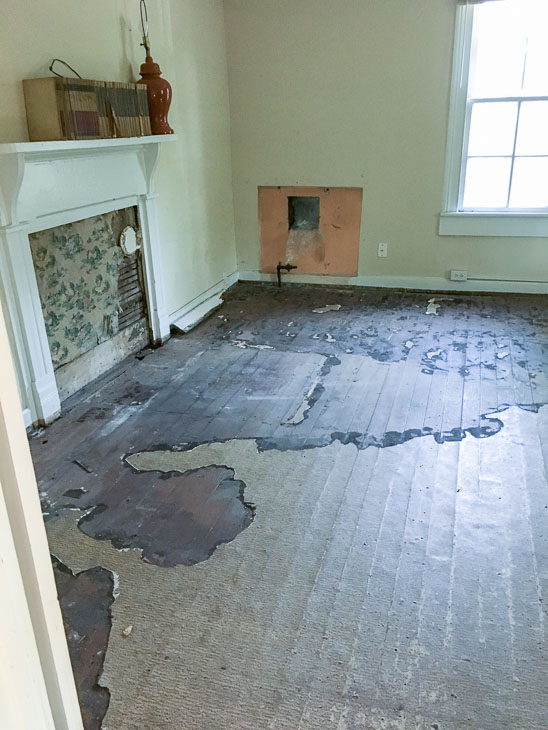
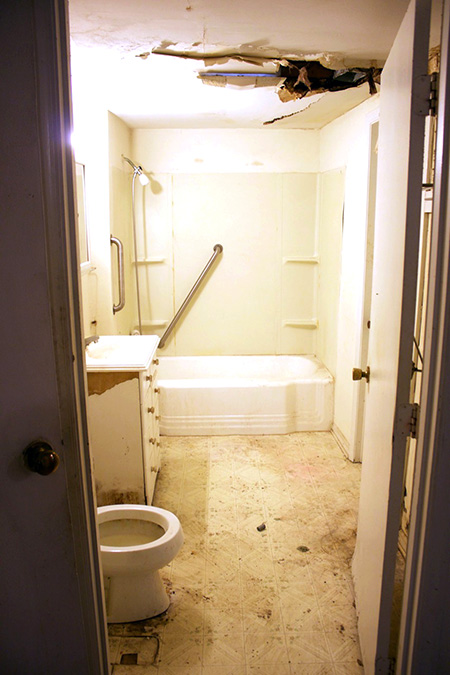
I was going to rent a floor scraper, but decided to wait for the mold remediation team to demo and clear the black mold from the north bedroom. After remediation, the full extent of the damage to the wood floor was revealed. There were many spots where the floor had rotted after being exposed to too much moisture. I also discovered patched areas using sheets of plywood in the foyer and the north bedroom.
After another trip into the crawlspace, I realized there was no subfloor under the pine planks. They were laid directly onto the joists. After wracking my brain trying to figure out how to salvage the old pine flooring (and how to find matching planks to fill in the holes), I realized my dream of restoring those original floors would be nearly impossible. Sadly, I decided to move forward and save time by putting in new flooring when the time came.
Post Asbestos Abatement:
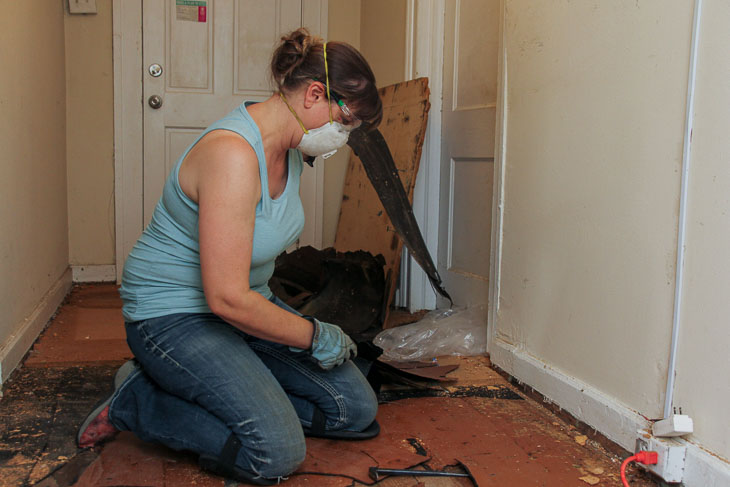
As if that wasn’t enough of a hit to my budget, I had to test the sheet rock before demolition continued. Consequently we found asbestos in the joint compound. I quickly scheduled the asbestos abatement team (a company I had used in the past) to strip the drywall from the house. After a few days of abatement, I was finally allowed to enter the property and was greeted by this sight.
This is a view of the north bedroom (the one that previously had black mold.)
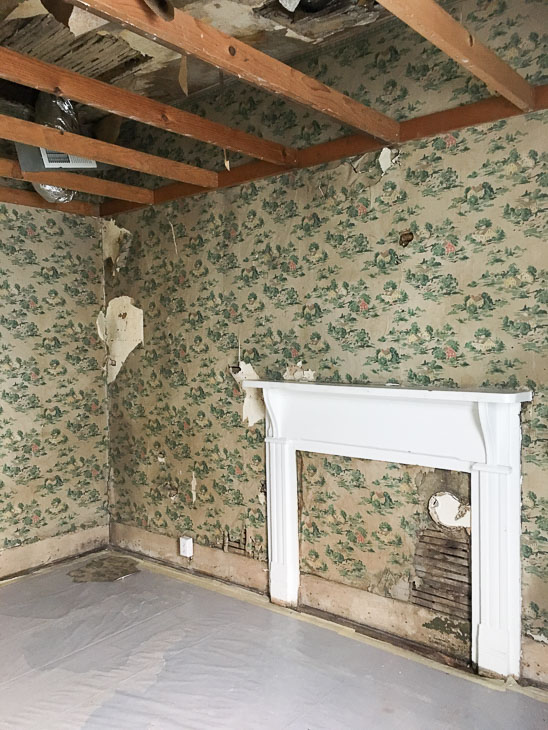
Across the hall in the south bedroom I was met with this amazing sight:
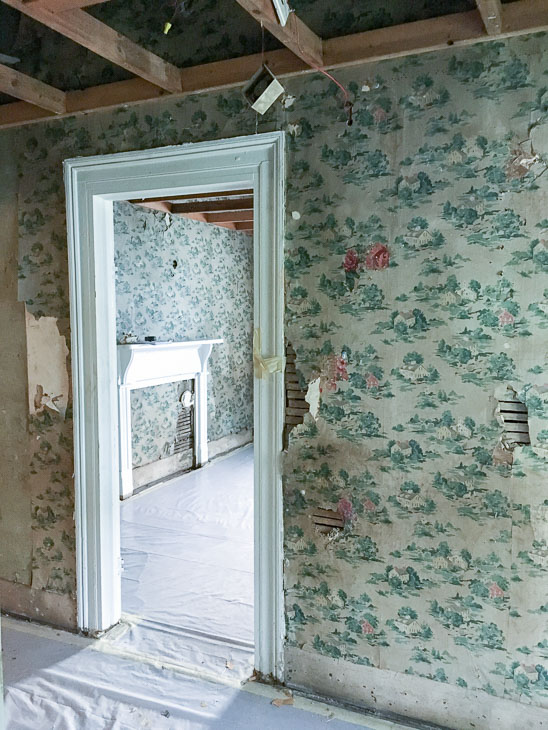

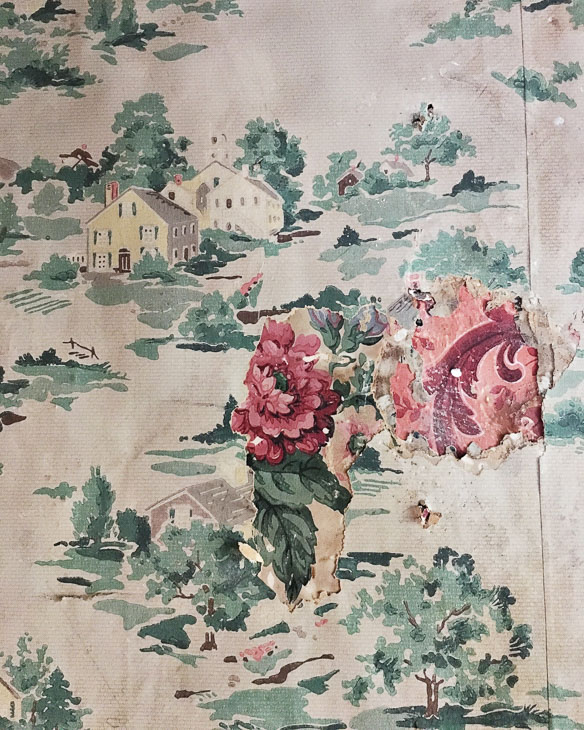
Vintage wallpaper was everywhere and it was exciting to see the little surprises hiding behind the drywall. Notice the two additional layers of wallpaper beneath the pastoral scene:
Besides the wallpaper, what made my mouth fall open was the view of the original ten foot ceilings! At some point in time the ceiling had been lowered to eight feet (most likely to make the space easier to heat).
Demo Help from Friends:
Pretty Handsome Guy, my friend Sarah, and I worked on removing the lathe to get down to the studs in the south side bedroom.

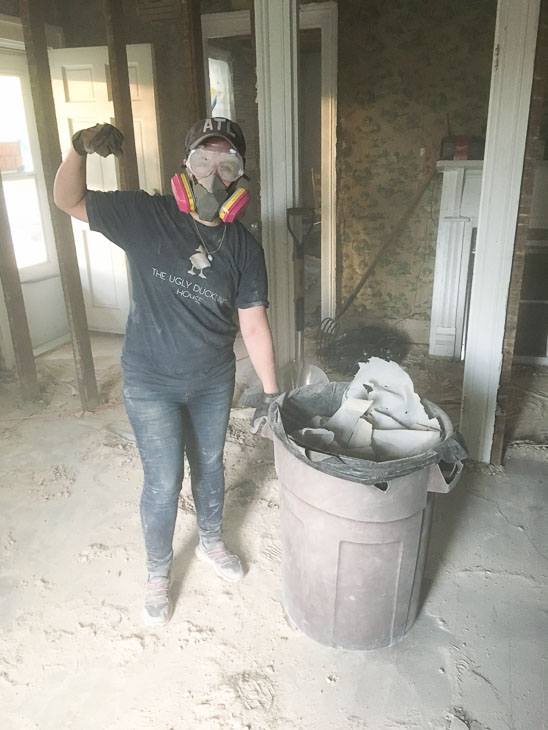
I can’t even begin to explain how sweaty, messy, and dirty this job was. The demolition required respirators and goggles. Regular dust masks were not enough protection.

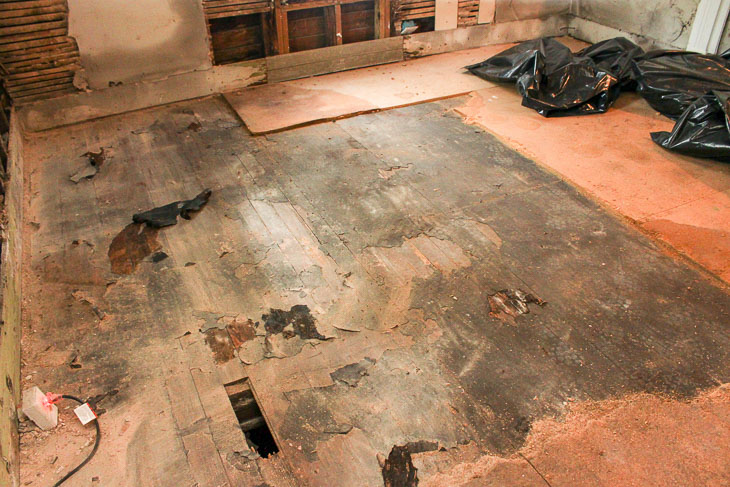
Finally the entire south room was stripped down to the studs and all the lathe was thrown into the back of the house, while the insulation was shoveled into giant garbage bags. The view below is looking toward the foyer and into the north side bedroom.
You can see the big pile of lathe in the back room. During the removal of the additions, the excavator scooped it up and dropped it into the dumpster like they were a small pile of pick up sticks.
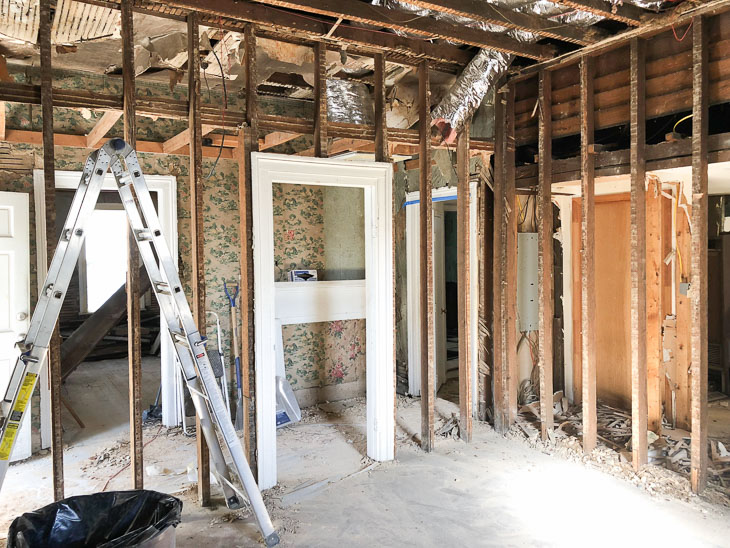
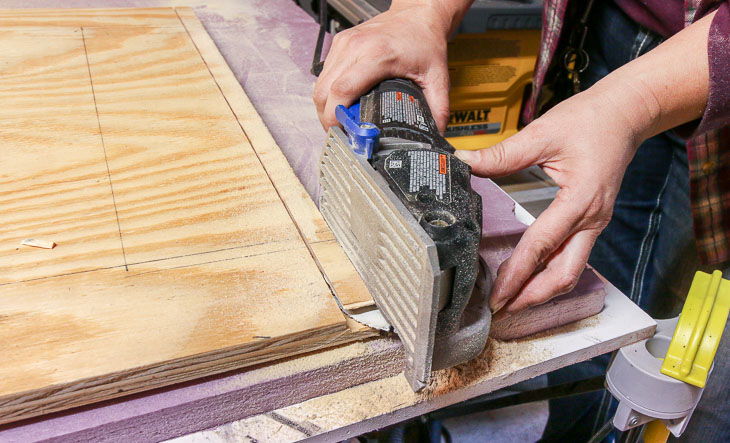
Completing Demolition:
To be completely truthful, after completing demo on the south bedroom, I had no desire to go through the same dirty demo labor in the north room. I asked my demo contractor to include that task in his bid. His guys breezed through the demo in record time. Sometimes it’s better to pay the professionals.
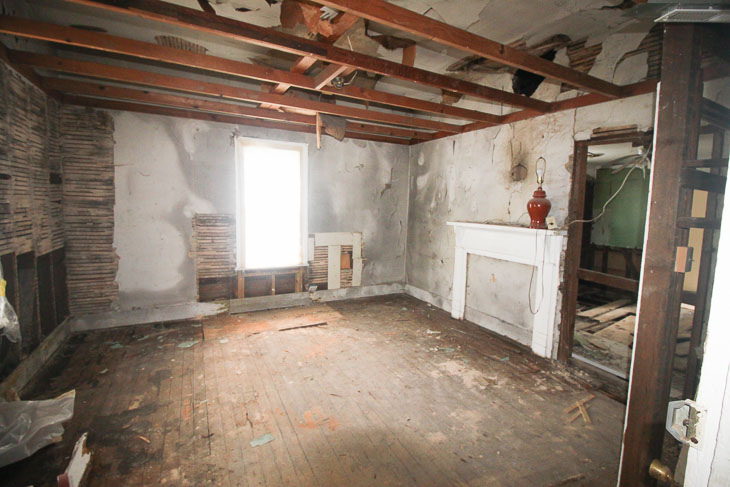
Below is the view from the north bedroom. The front door can be seen on the right.
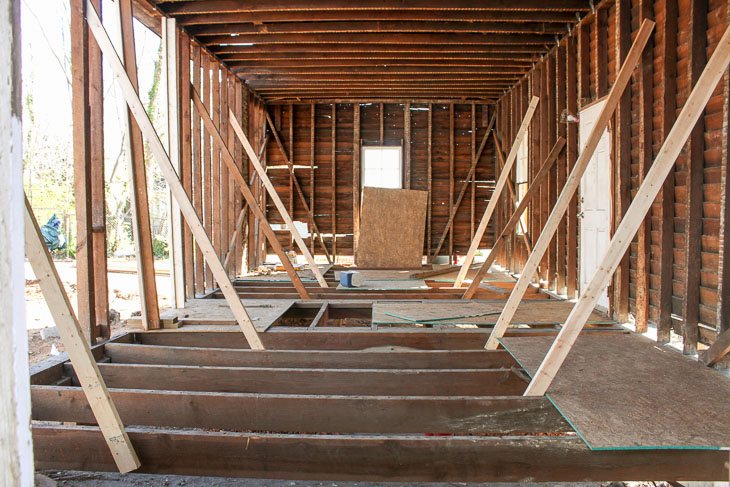
This is all that was left of the house after demolition and removal of all those poorly built additions. Shortly after this photo was taken we had a big storm roll through Raleigh. I was terrified I’d find the house blown over when I made it back downtown the next day. But, this old gal was one tough old house.
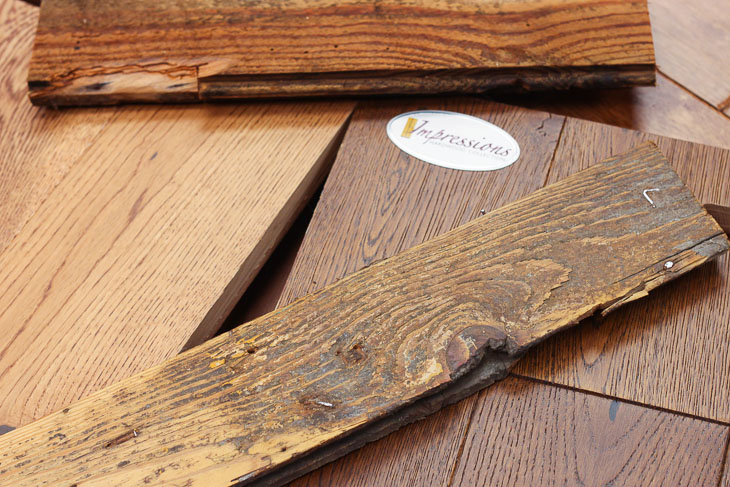
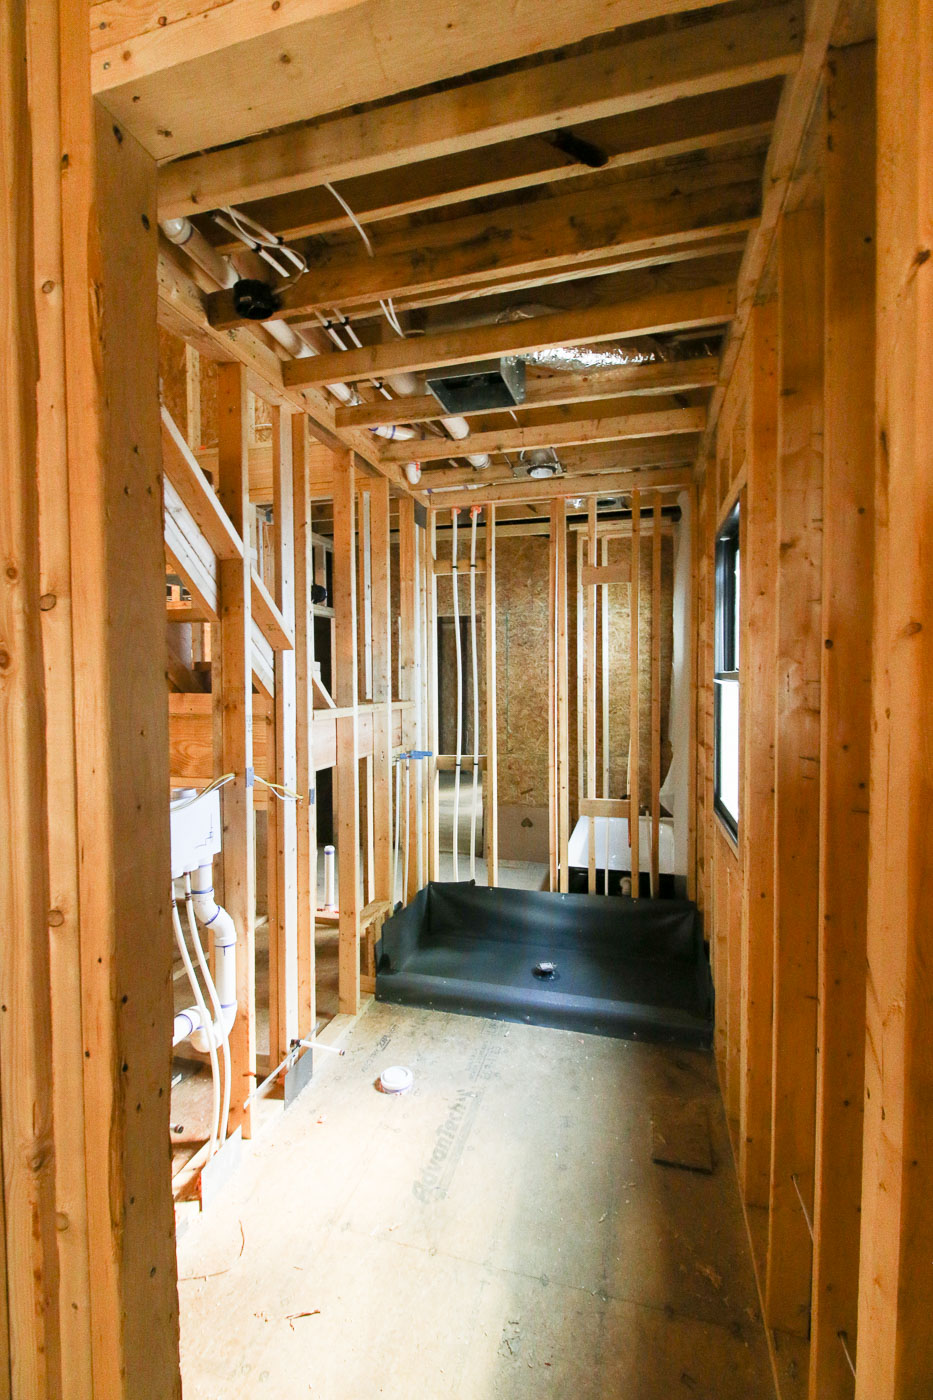
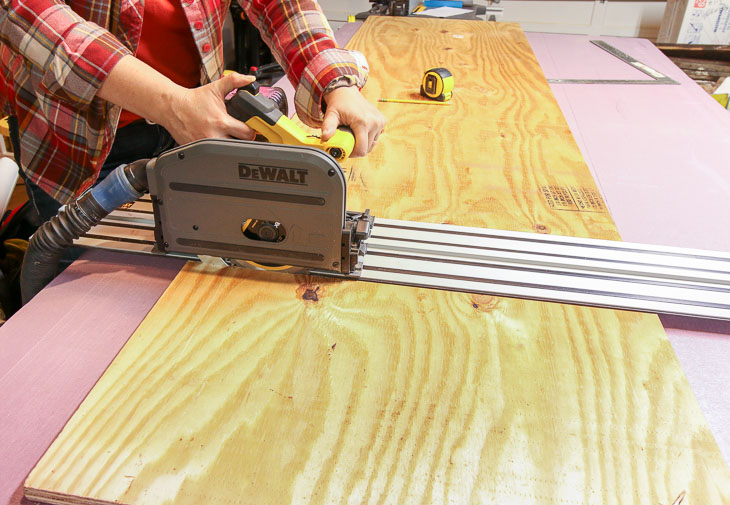
Flooring Old to New:
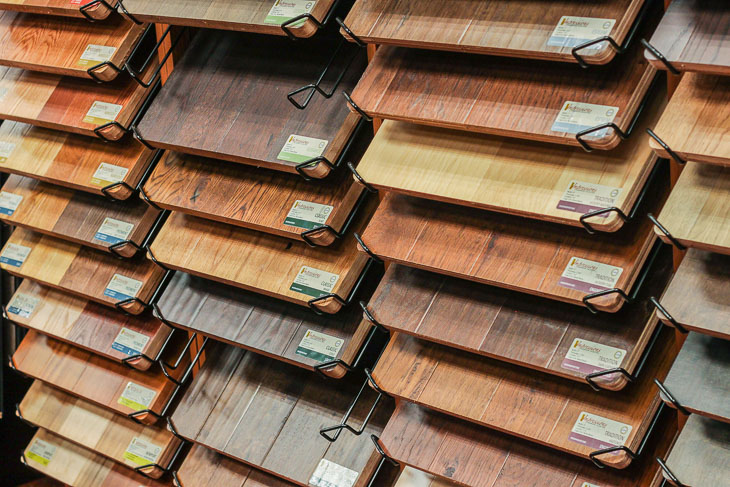
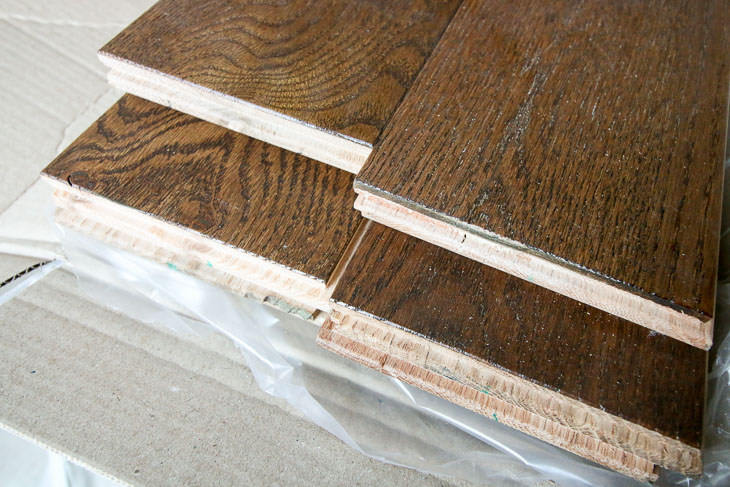
While the footers were being dug, I set out on an excursion to find new flooring to replace the old. I was determined to find solid wood flooring with an aged appearance.
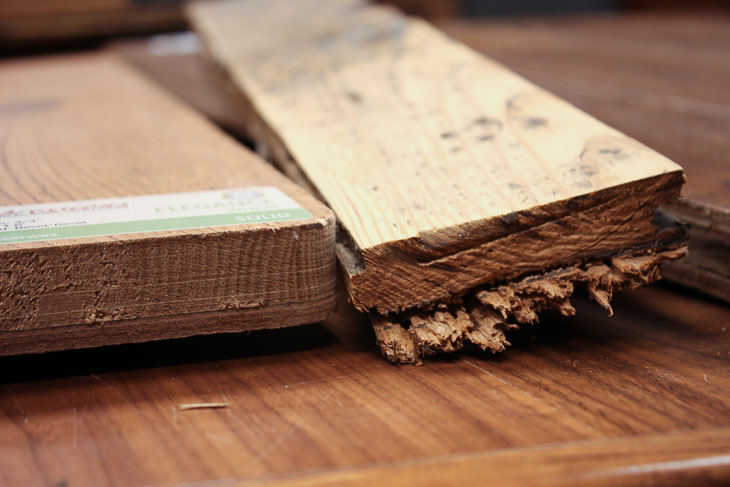
Luckily my friends at Impressions Hardwood Collection helped me find flooring perfect for a historic house. You won’t believe how good they look in the downstairs bedrooms!
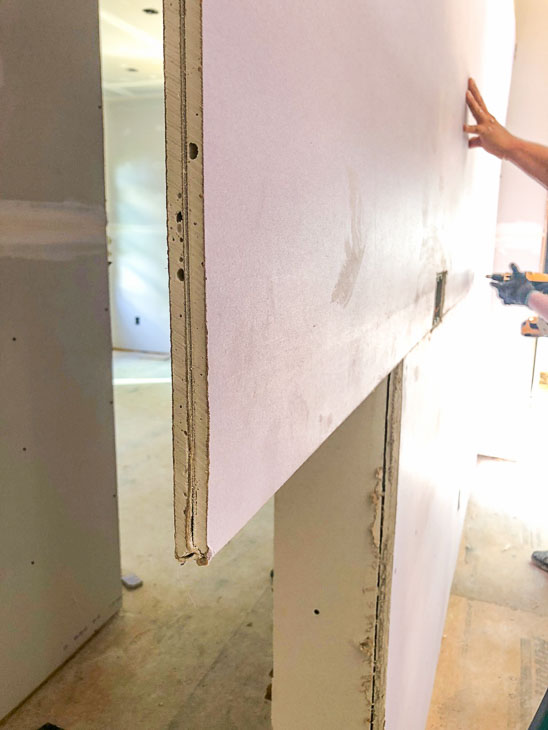
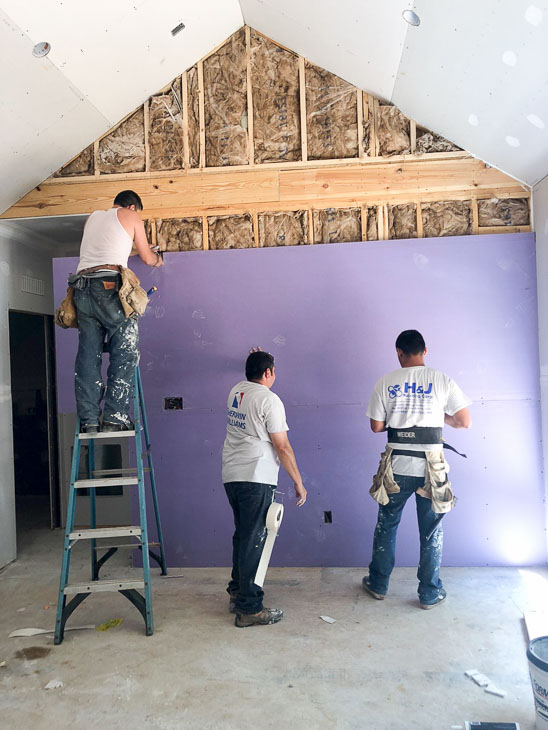
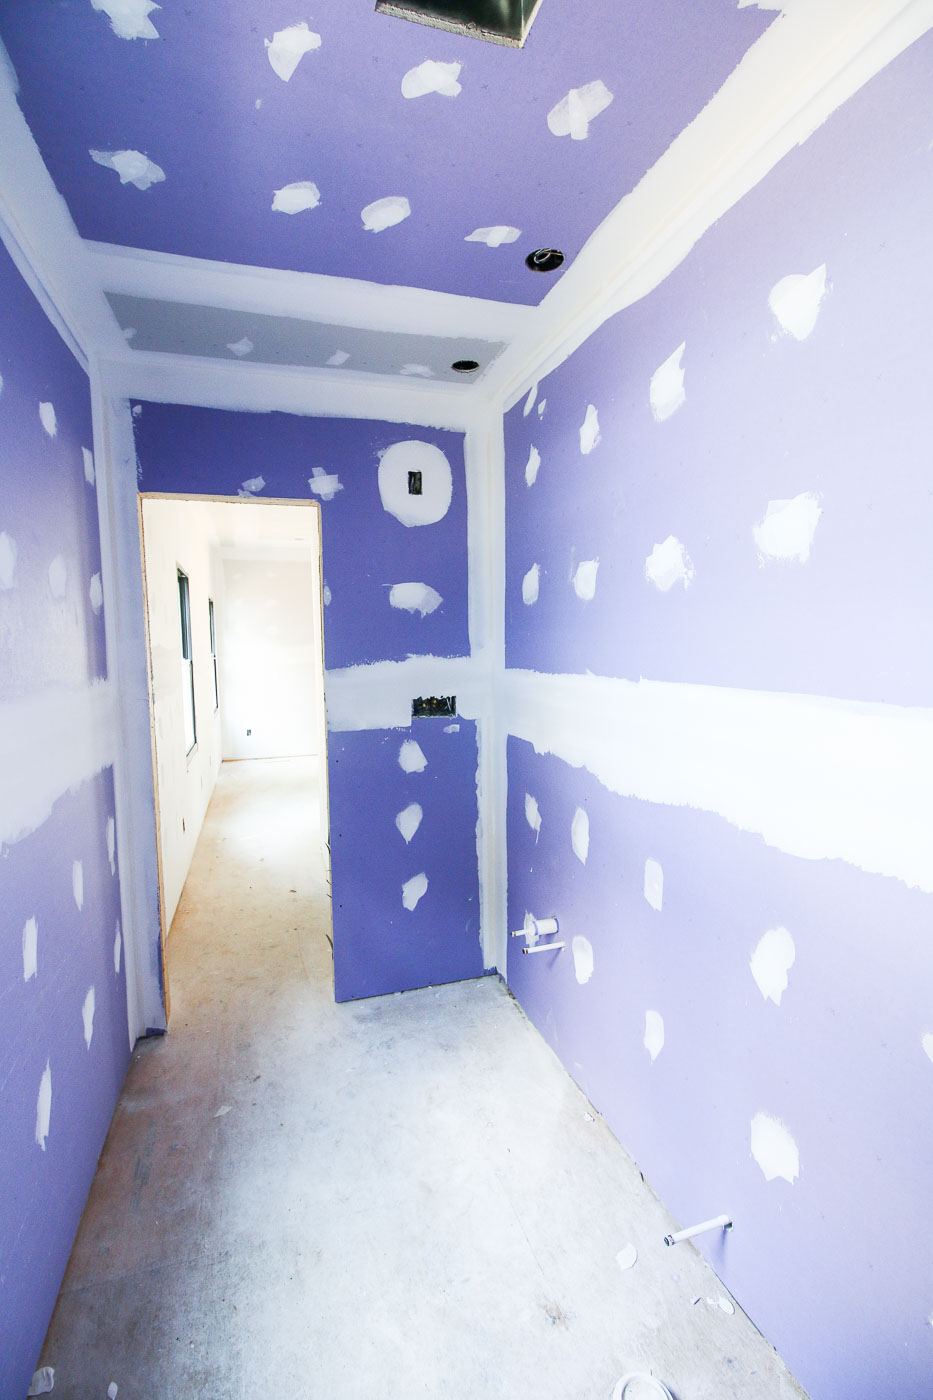
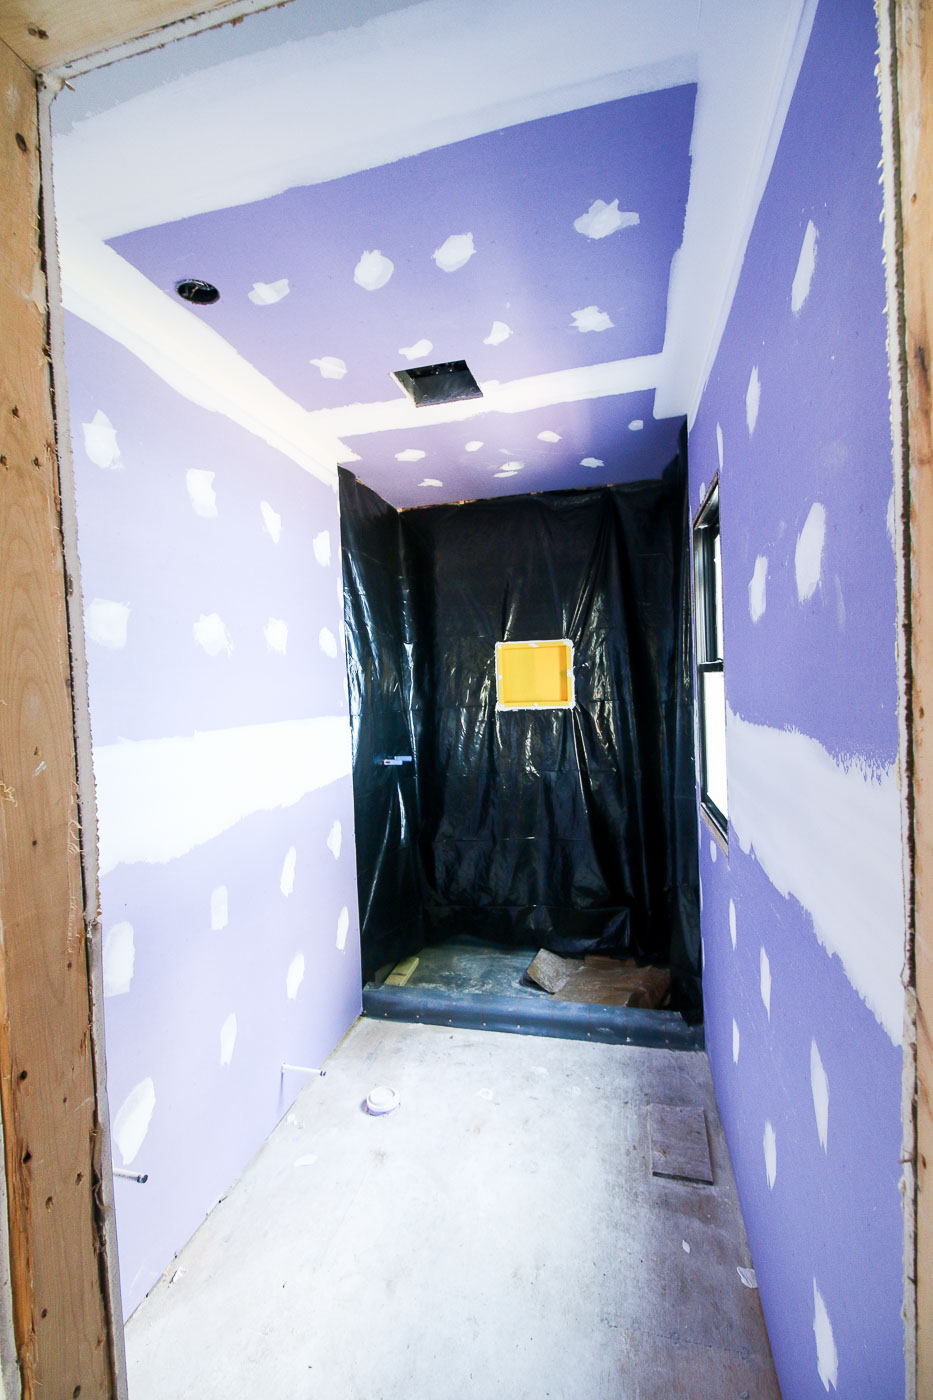
With everything stripped down, it was time to rebuild. You can see the Saving Etta framing process here and a photo of the north bedroom during drywall here.
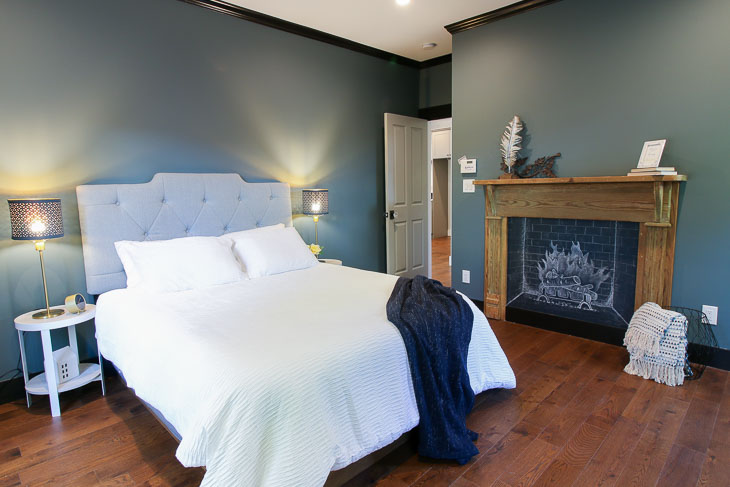
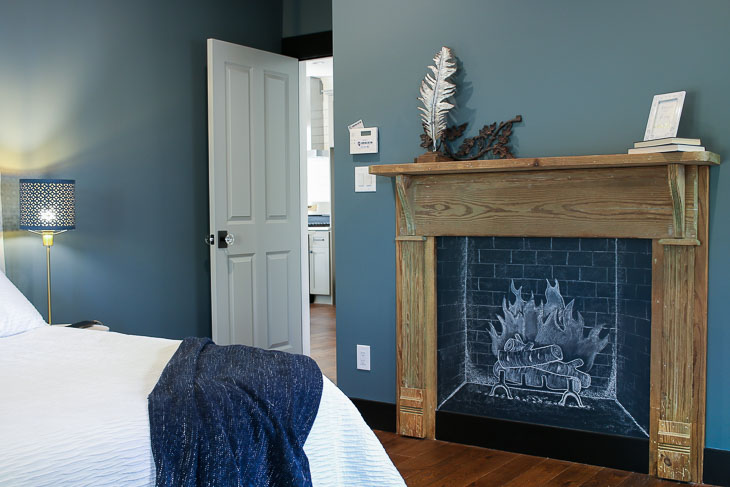
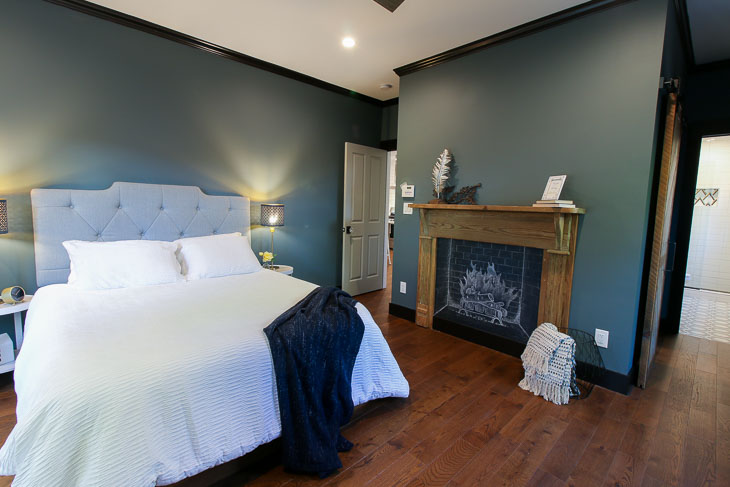
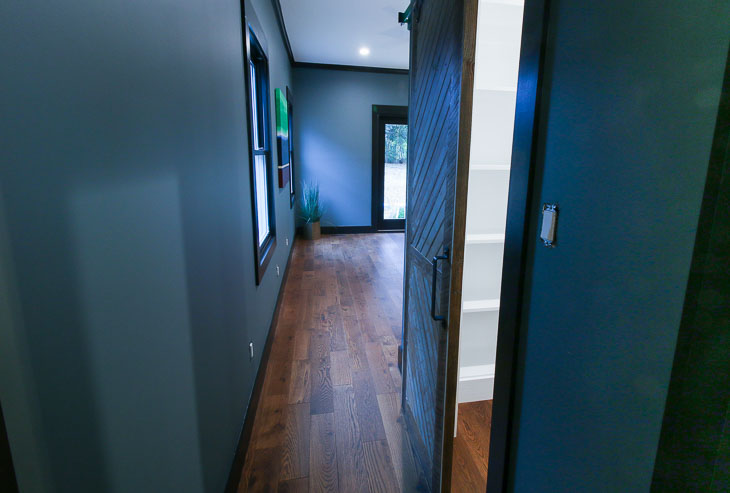
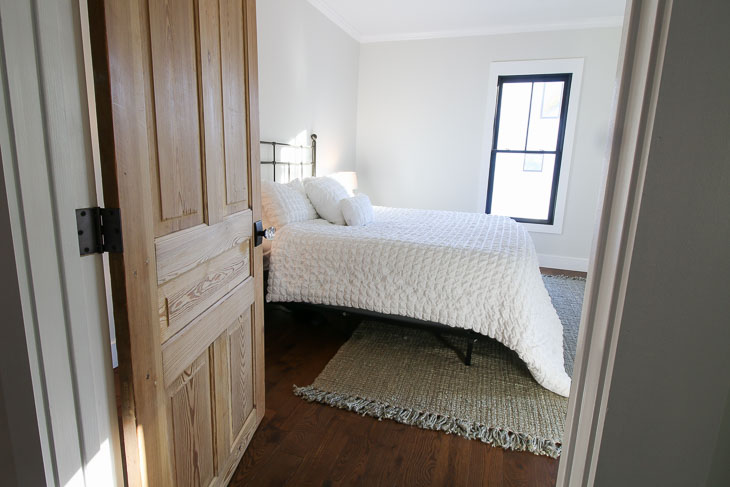
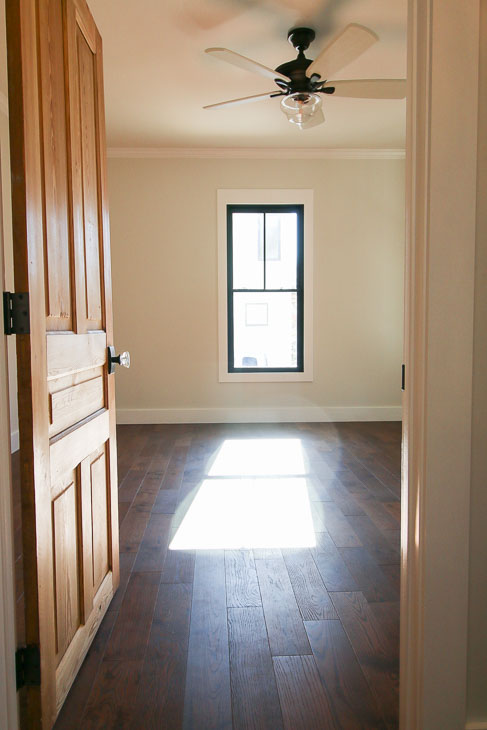
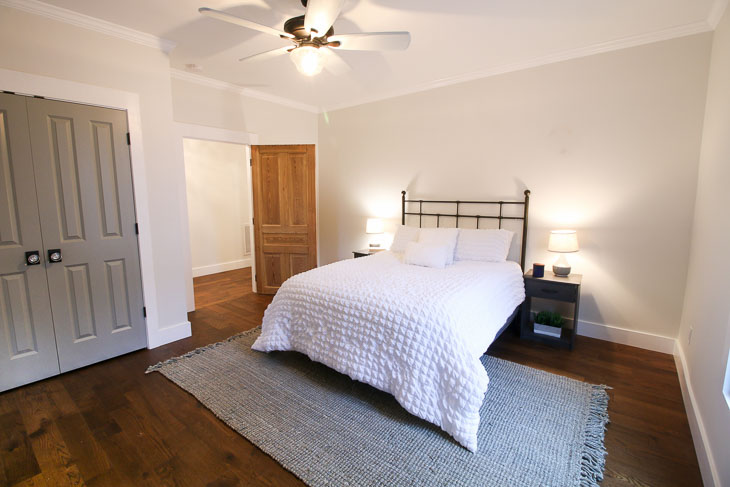
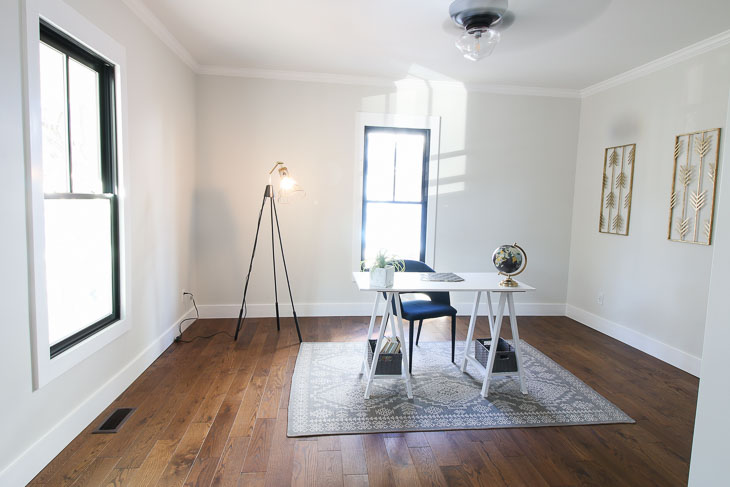
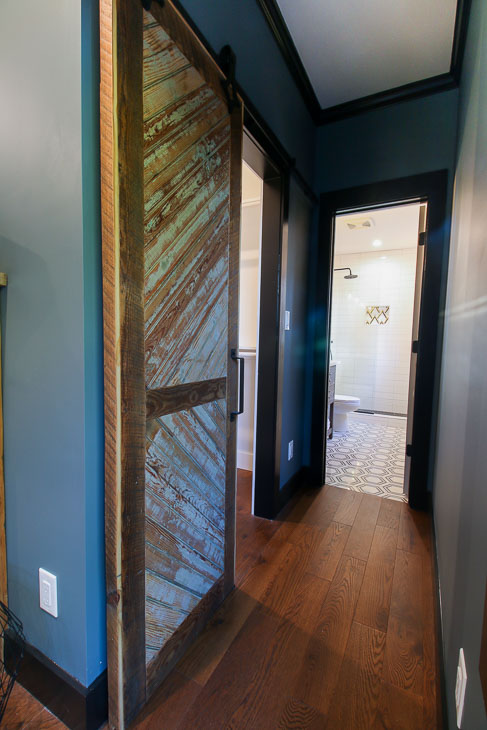
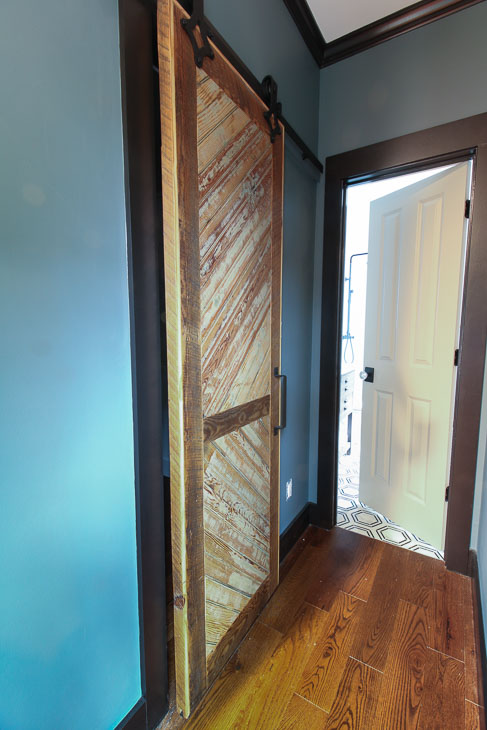
Downtairs Bedrooms Reveal:
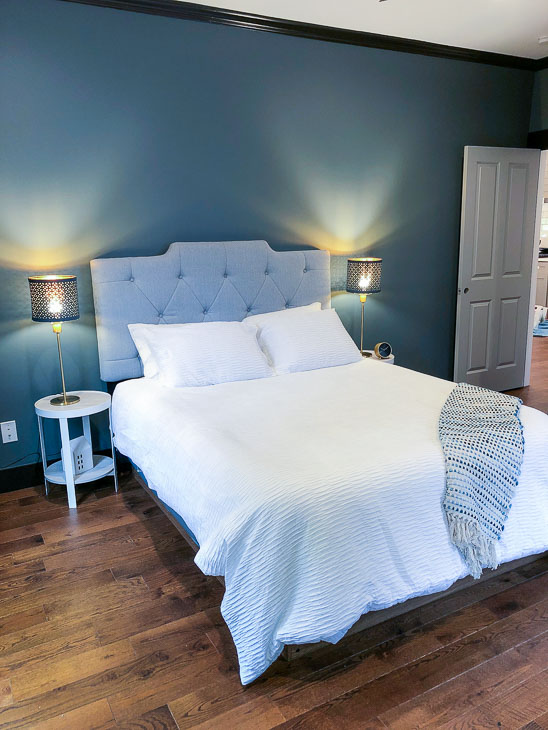
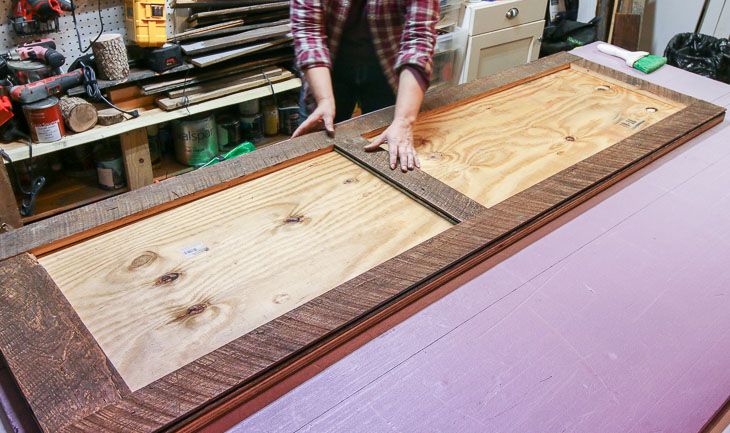
The two downstairs bedrooms are exactly the same size as when the house was built. The walls and doorways were put back exactly where they were in 1900.
The only change was adding closets to each room to make them more functional as bedrooms.
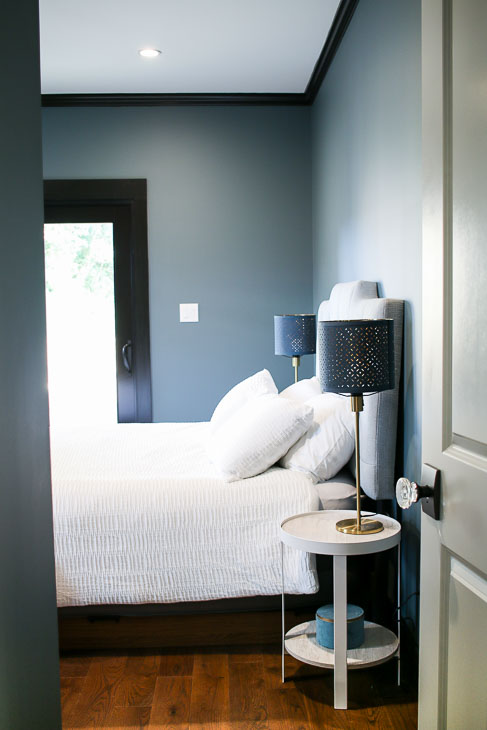
Speaking of closets, you have to get a closer look of the beautiful door knobs and paint color.
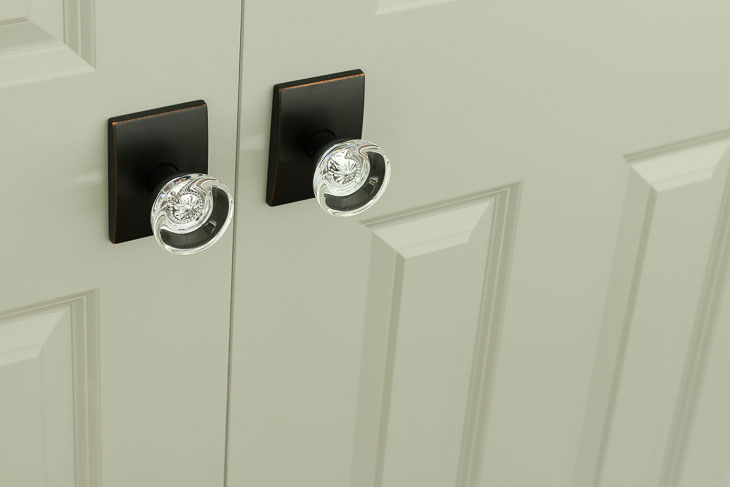
The knobs are by Schlage and are the Hobson series glass knobs with Century backplates. I fell head over heels in love with these knobs and wish I could replace all the door knobs in my house with them.
The closet doors (and all new doors in the house) were painted Cupola by Magnolia Home paint.
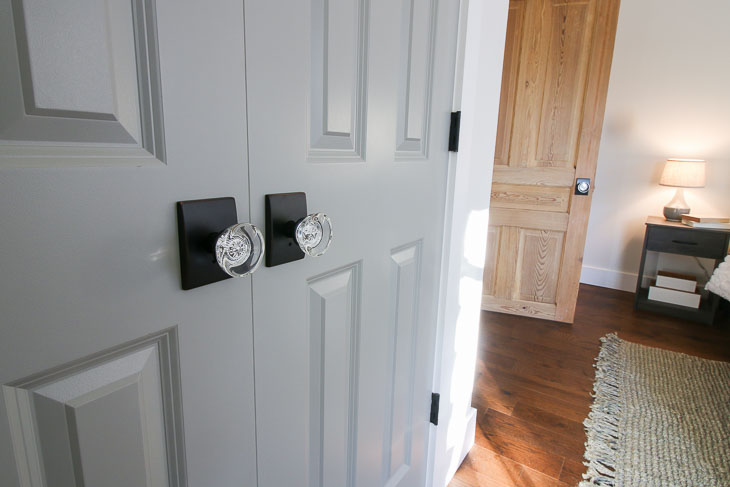
You’ll notice the bedroom doors were left wood. After stripping the many layers of paint off them, I couldn’t bring myself to cover up the old growth wood grain and square peg construction. I felt their beauty needed to be appreciated and serve as a conversation starter for guests.
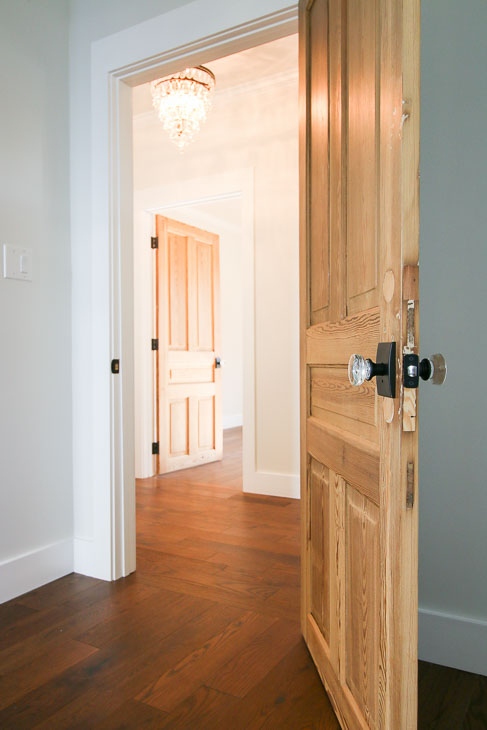
Hopefully a future homeowner won’t be tempted to paint them. ;-(
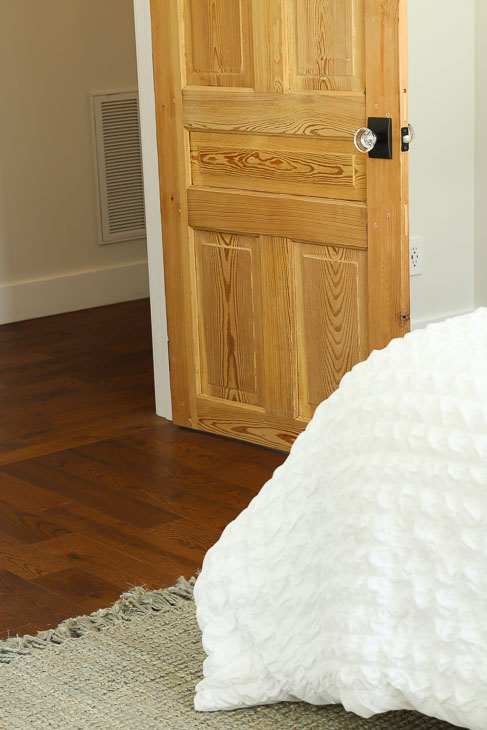
Because, then you wouldn’t see the beautiful square peg construction:
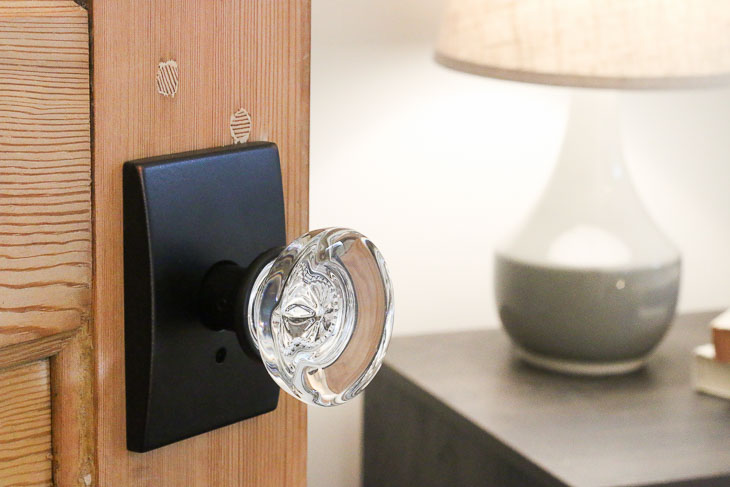
Isn’t it amazing how those Schlage glass knobs look beautiful on both natural wood and painted doors?
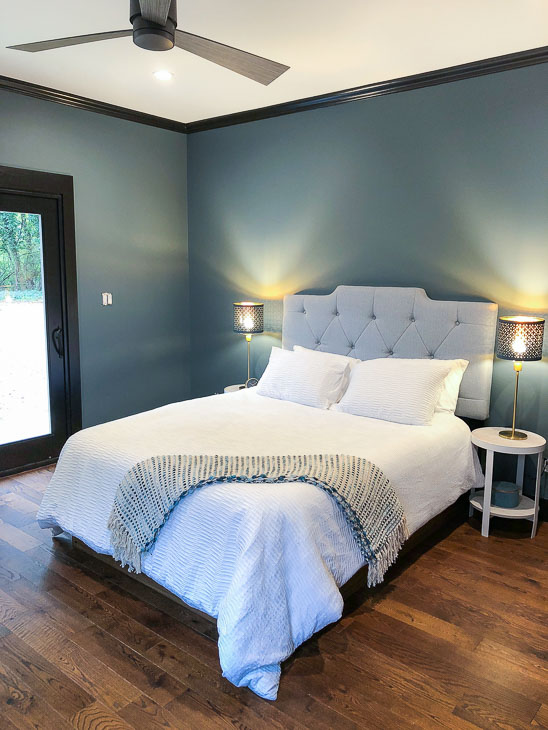
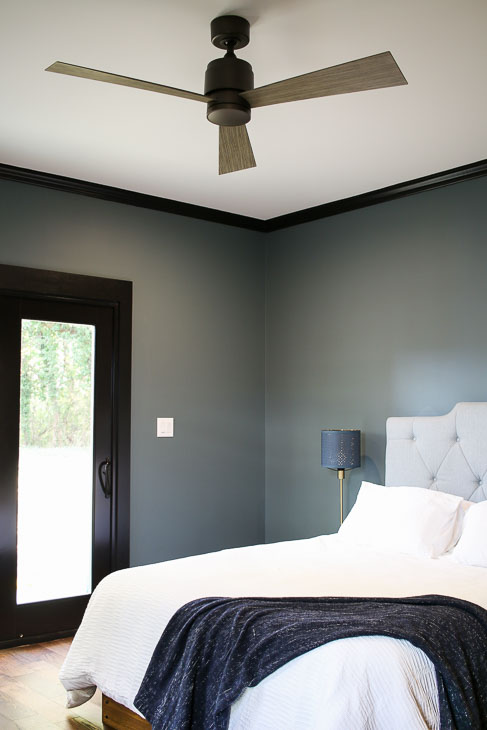
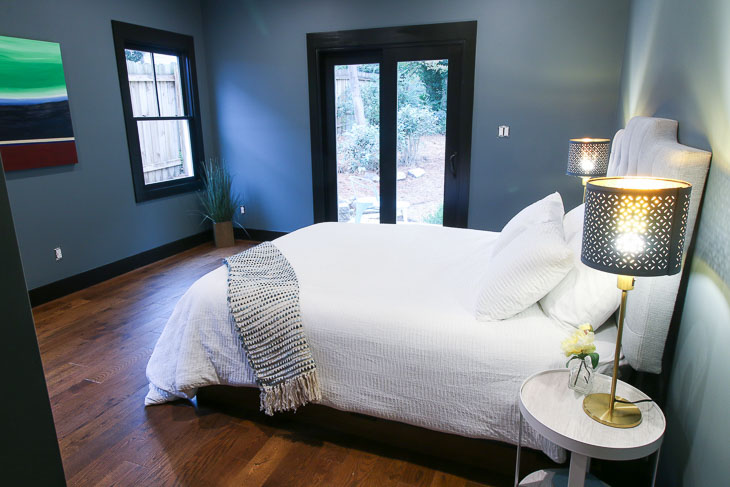
Speaking of amazing, let’s talk about attractive ceiling fans. If you live in the south, you know ceiling fans are non-negotiable. It’s important to have them for comfort. For years I was resigned to the fact that ceiling fans were utilitarian and therefore not stylish. (Or the stylish fans I found were too expensive for my budget.) Alas, that was before I discovered Fanimation’s ceiling fans. The fans I selected for the downstairs bedrooms are the Distinction Fan with mix and match blades and light kits.
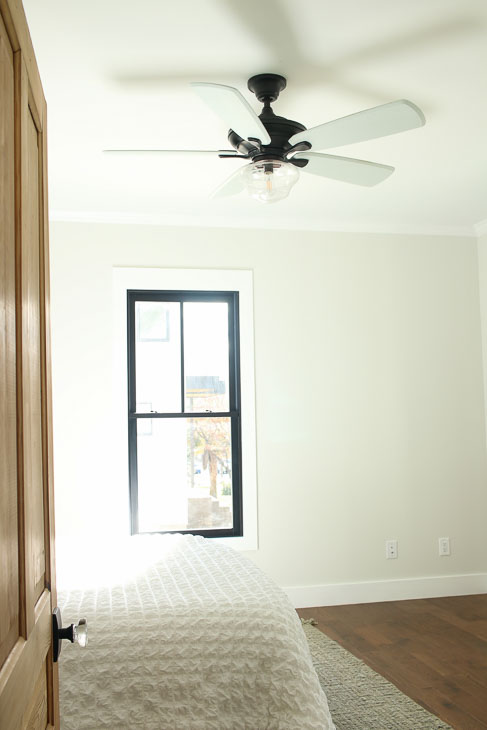
The white blades are a trick I use to help the fan disappear against the white ceiling. A schoolhouse glass light kit offers a subtle vintage appearance.
The north bedroom was staged an office, and as you can tell, the same Fanimation Distinction fan is right at home with modern decor.

When the fan is turned on, the blades virtually disappear:
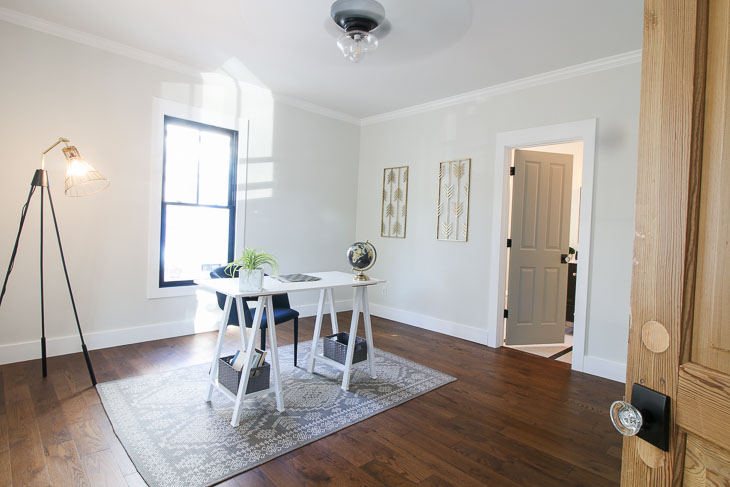
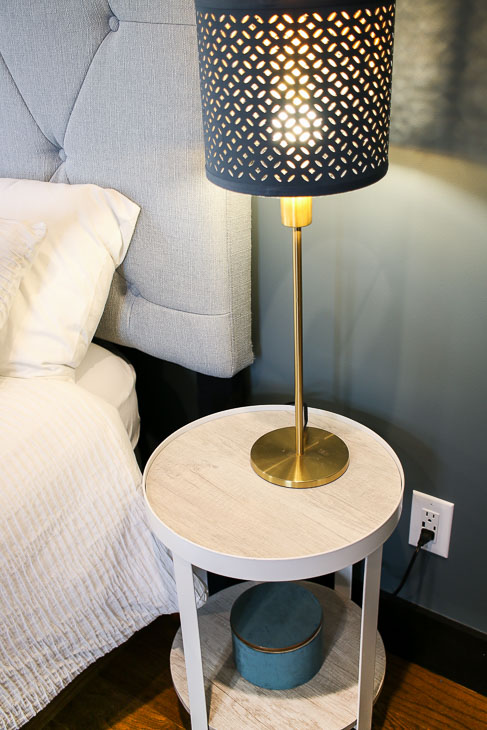
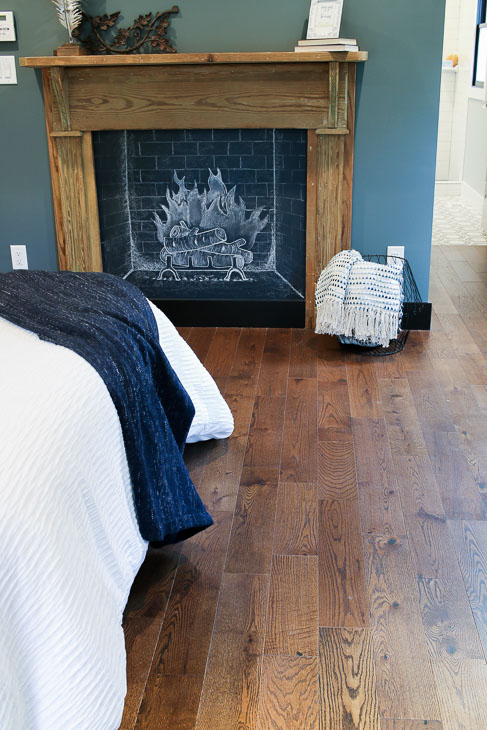
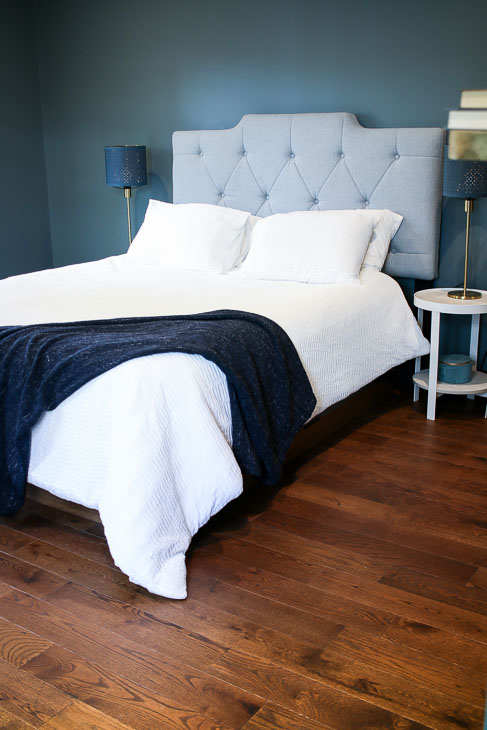
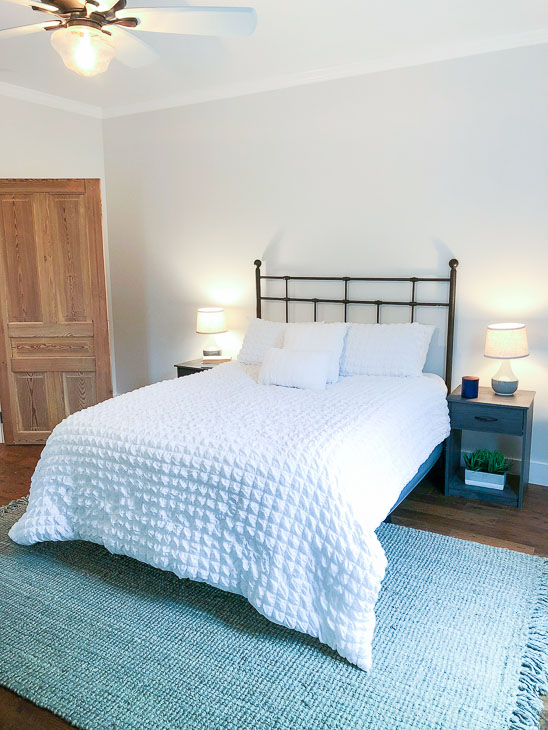
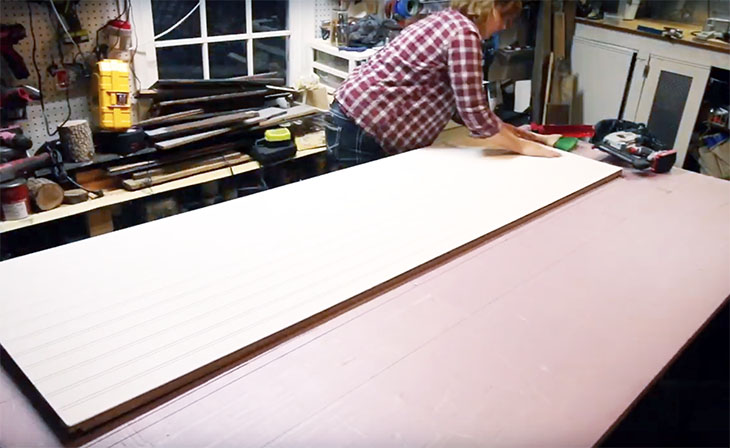
Let’s talk about the other finishes in the bedrooms. You probably can’t take your eyes off the beautiful wood floors, right?! They are from the Impressions Hardwood Collection, Elegance Series in Flint stain color. The Elegance series is a pre-finished hardwood floor with a low luster top coat. It receives a wire brushing to bring out the grain in the wood, giving it an aged and antique look. Well, what do you think? Is the Elegance Series flooring a good solution for not being able to save the original?
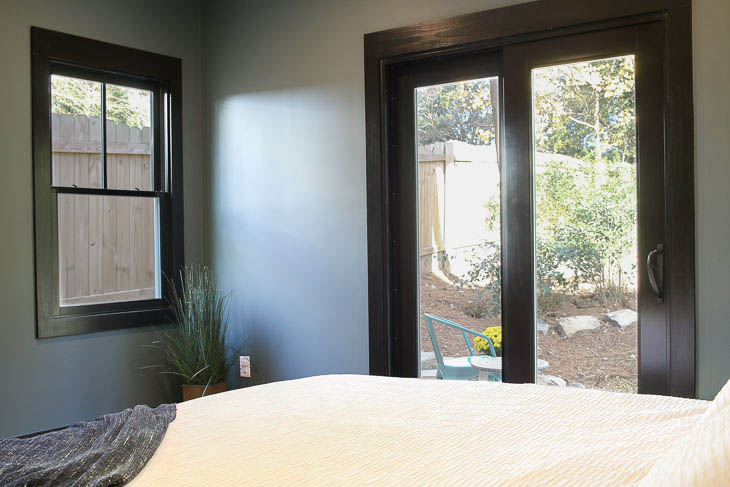
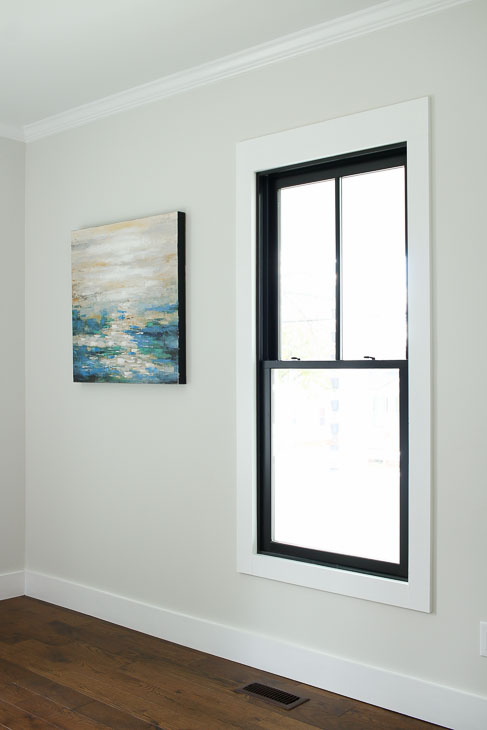
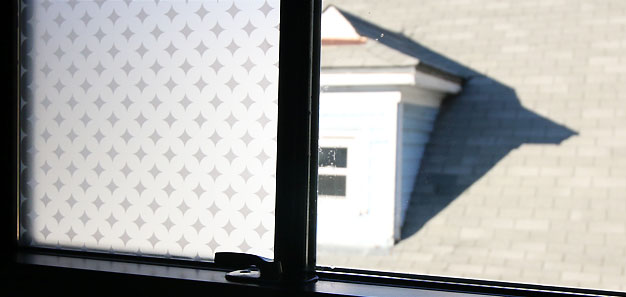
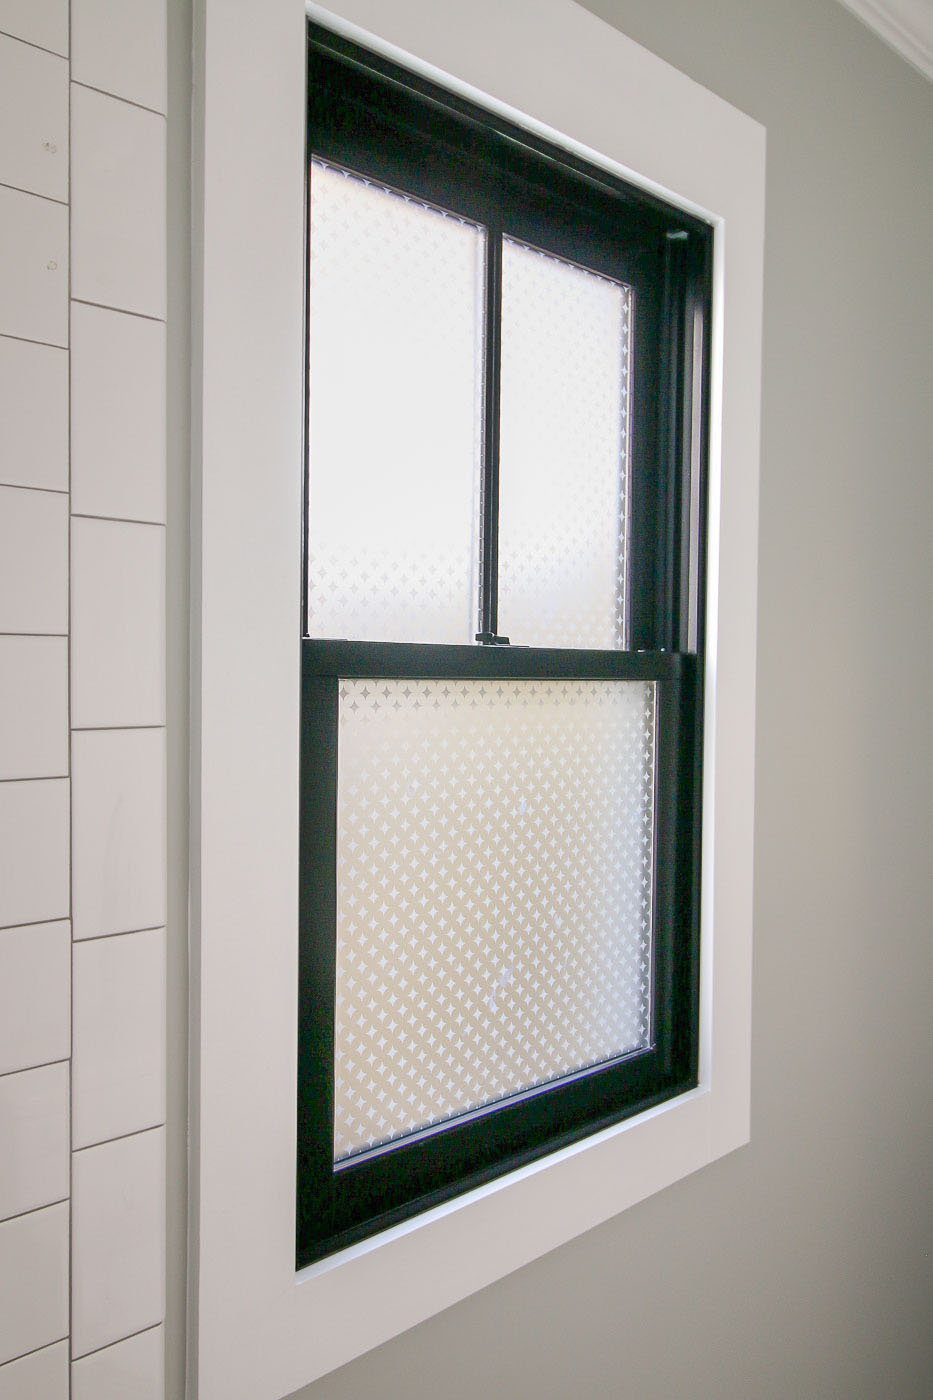
One of the other original features I couldn’t save were the windows. They had no weights in them, and several of the panes had been repaired with plexiglass. Plus, I needed to block some of the sound from the street. Instead, I worked with the folks at Plygem to select windows that fit with the style of this historic house. These are Plygem Mira windows with a black frame interior and white exterior. What makes them so beautiful is the simulated divided light grilles. You’d have to get super close to see the grilles are on the outside of the glass, but there is a divider in between the energy efficient panes of glass.

Best of all, they help block outdoor street noises. I chose double hung windows. Want to know why? Double hung means the upper and lower sashes move independently. Did you know if you lower the top sash and raise the bottom window, hot air will flow out the top and cool air rushes into the room from the bottom. It’s a natural way to cool a room in the summer!
Can we all agree, these rooms are the heart of the Saving Etta house?
What do you think? Do you like the flooring I chose?
What about those natural wood doors? Would you paint them? I hope not. Let me know if you have any questions in the comment section.

Disclosure: Impressions Hardwood Collection, Schlage, Fanimaton, Magnolia Home Paint and Plygem were all sponsors of the Saving Etta project. I was provided with complimentary products to use in the Saving Etta house. I was not told what to write or say about the products.
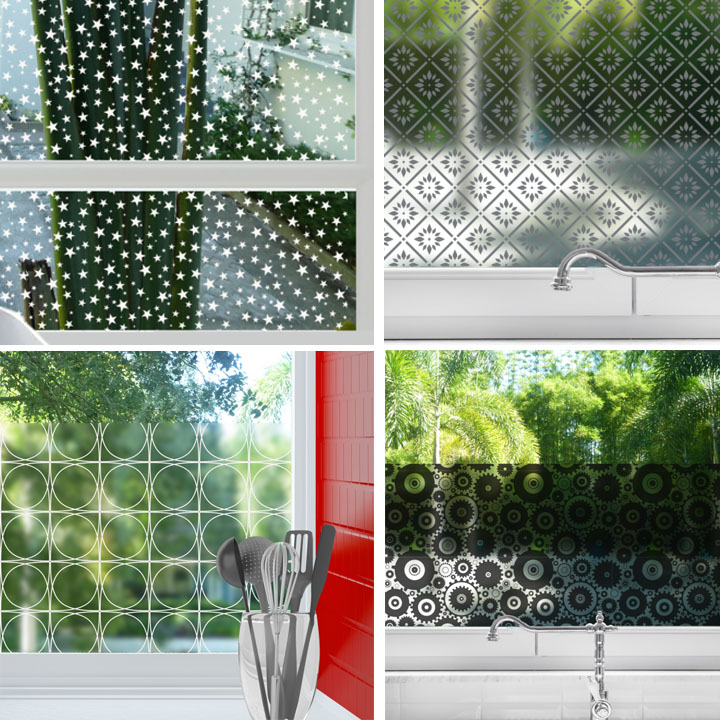
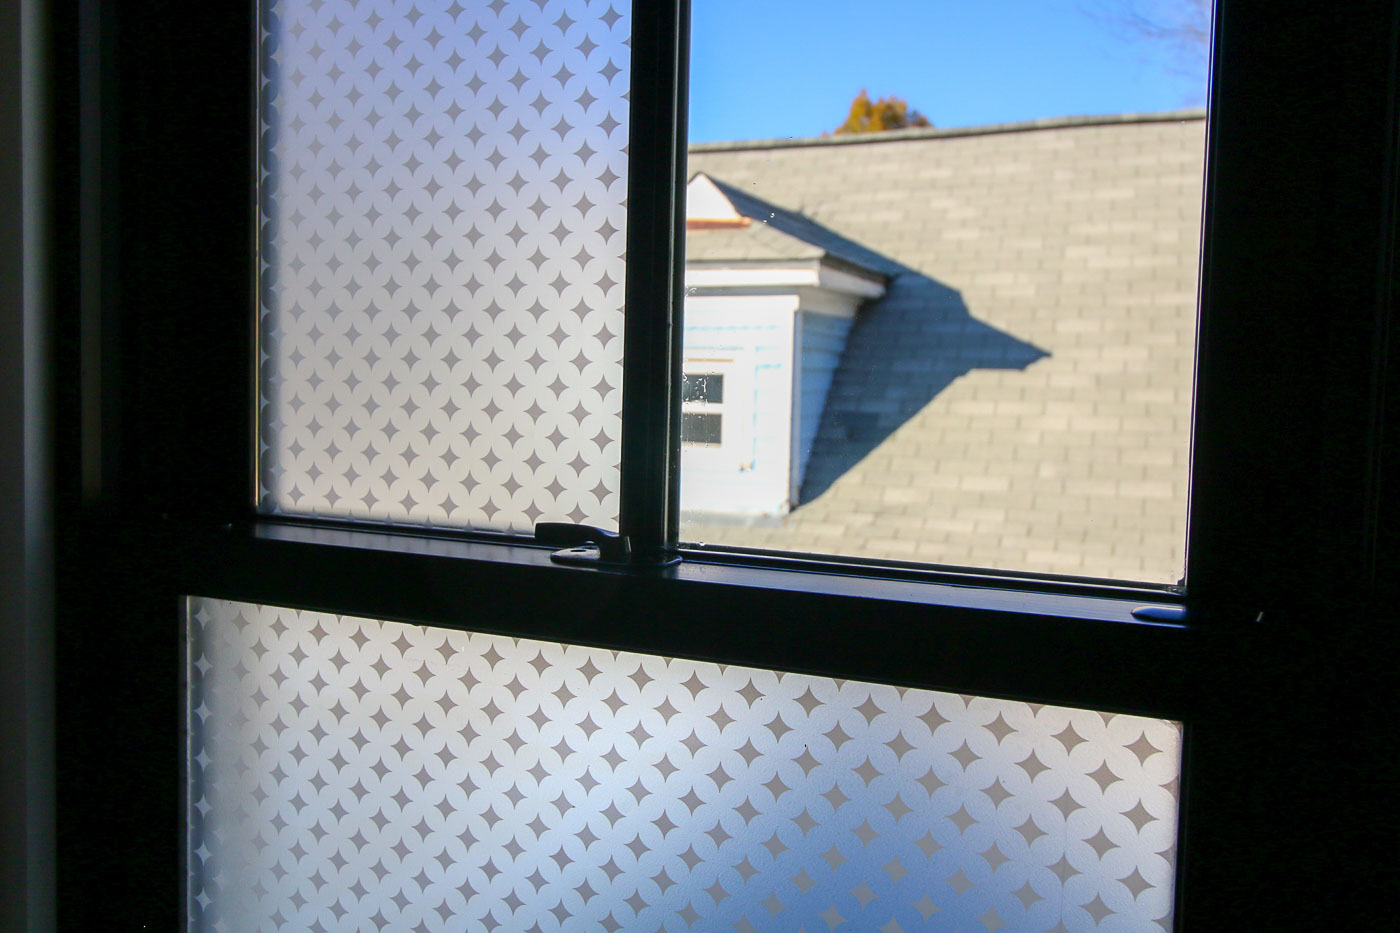
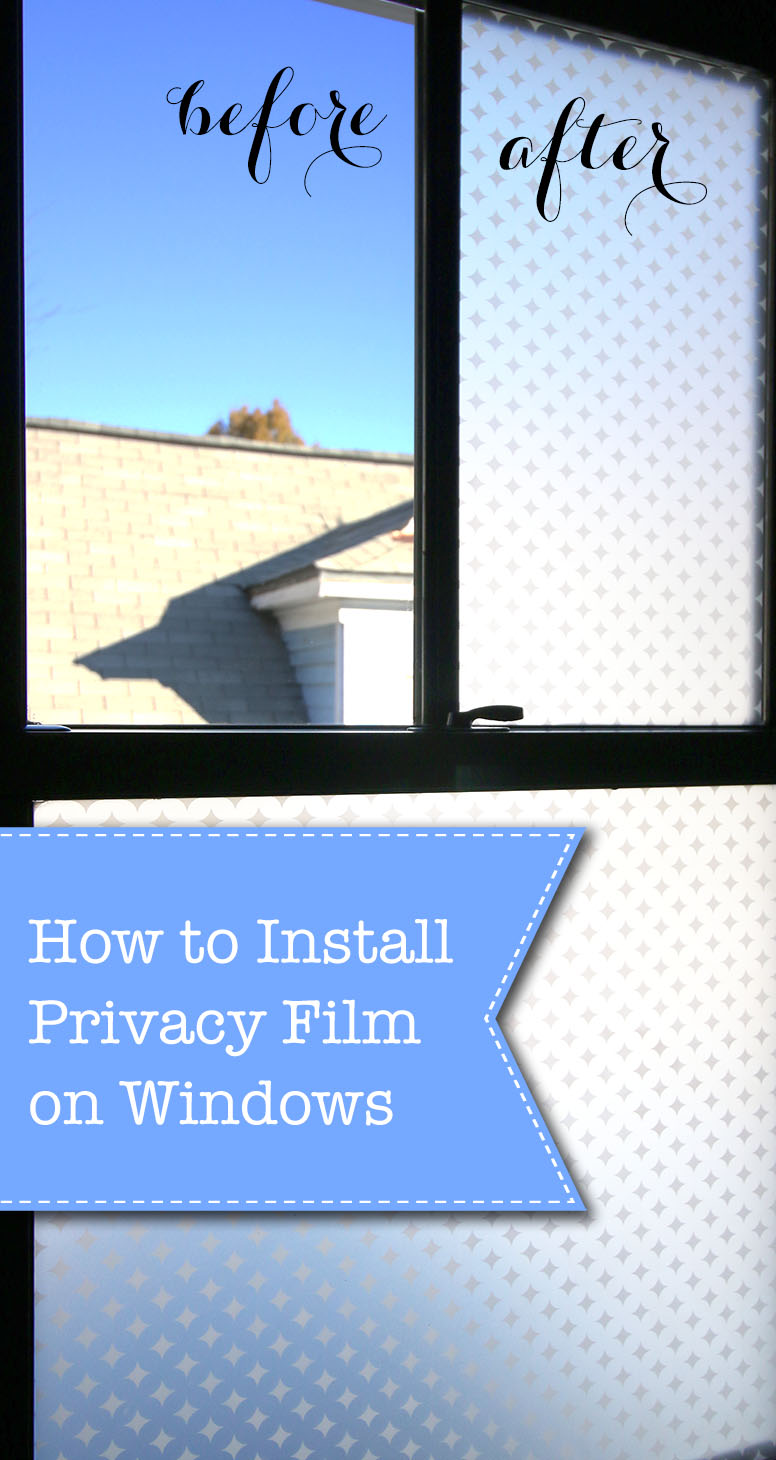 How to Install Privacy Film on Windows
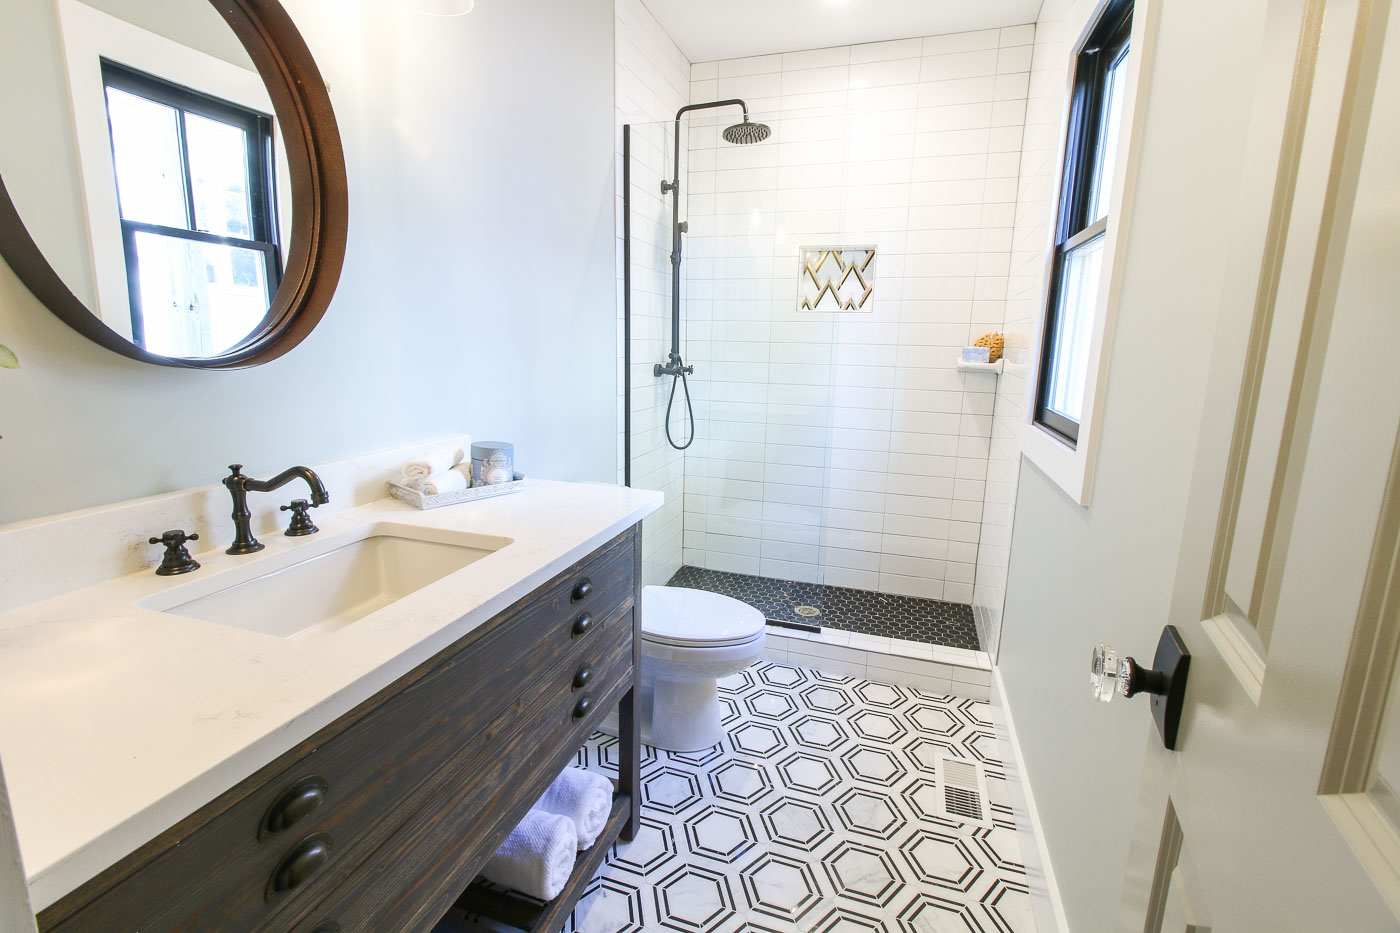
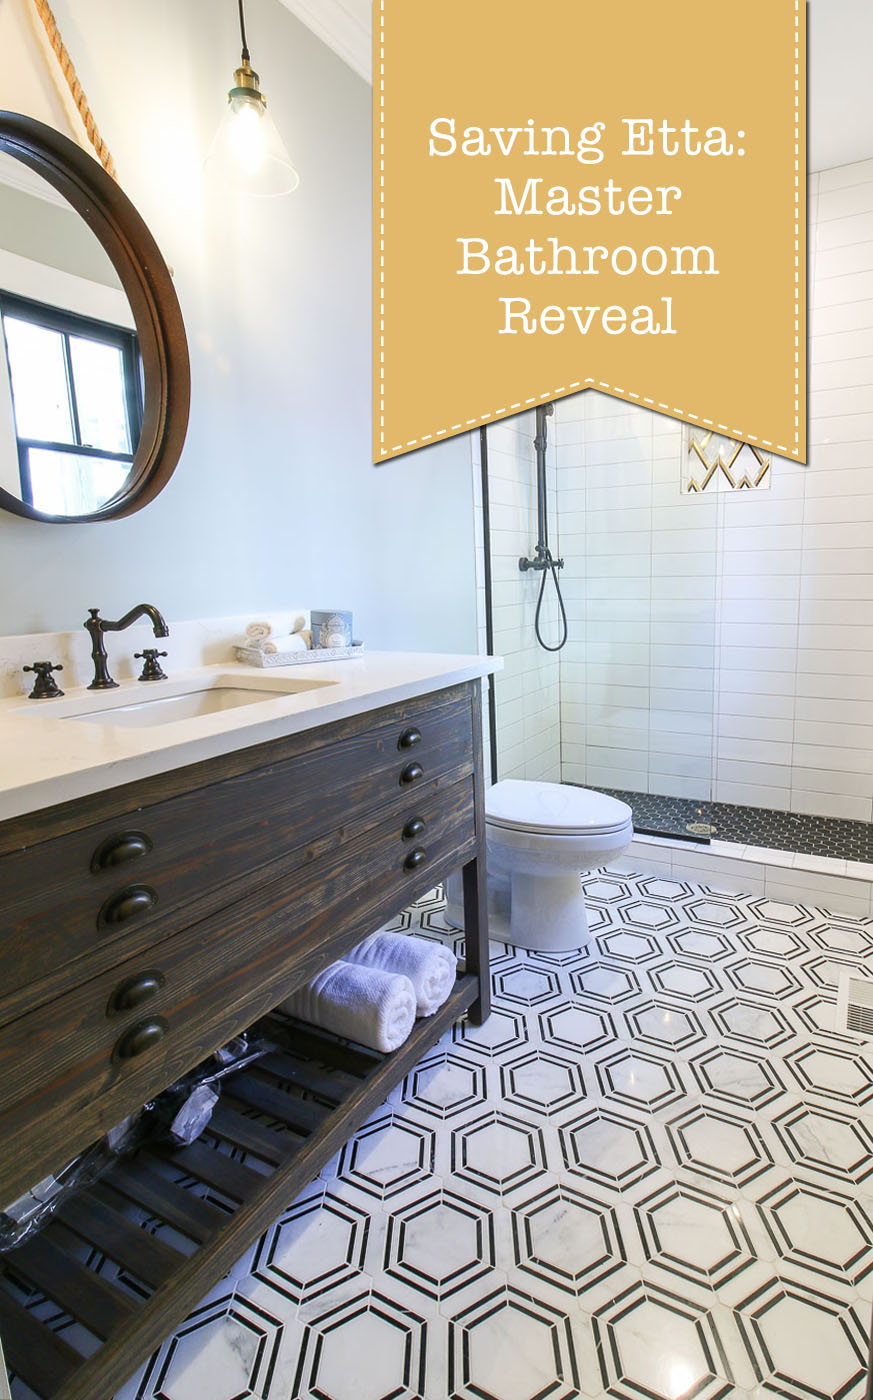 Saving Etta: Master Bathroom Reveal
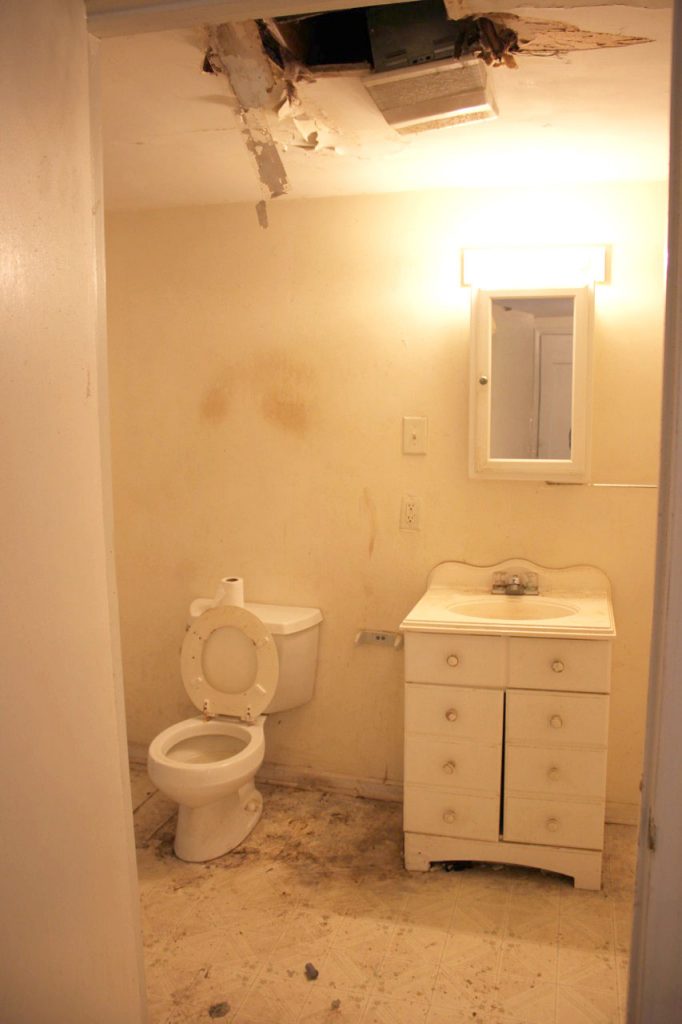


 Saving Etta: Master Bedroom Reveal