DIY Industrial Charging Station

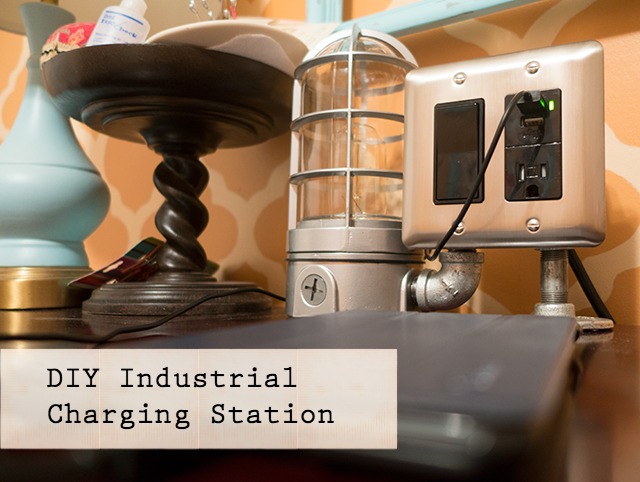
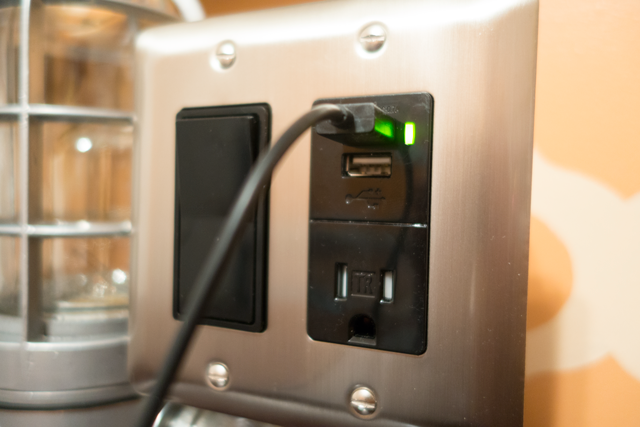
Have you ever been in need of an electrical outlet only to find that they’re hidden by furniture or in a hard to reach place?  How about that elusive time of day when you’re cell phone’s down to 1% and you have a handful of charging cables, but nothing to plug it into?  This seems to be a regular occurrence at The DIY Village, so we’ve finally solved these problems!  We created a DIY industrial USB charging station that has an accessible outlet; 2 usb ports capable of charging all of your devices; and even has a built-in accent light!  We think it would be the perfect addition to an office, your teenagers room, or even a college dorm room!  

DIY Industrial USB Charging Station Materials List:

(Contains some affiliate links)

DIY Industrial USB Charging Station Tool List

DIY Industrial USB Charging Station Instructions:

In order to make room for connectors and fittings that you’ll be using to build your Industrial Charging Station, you’ll need to remove (2) 1/2-inch and (1) 3/4-inch knockouts from the handy box.  (Set the handy box aside)

Handy-Box-Knockouts

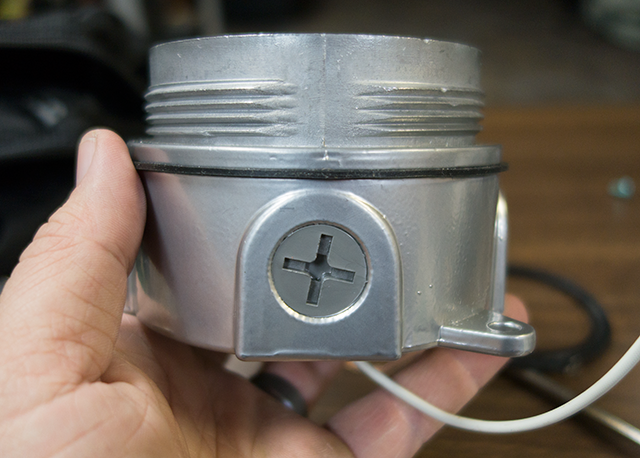
The hardwired emergency light has screw-out plugs that give you installation options.

Emergency-Light-Base

Remove one of the side plugs from the light base and re-route the wiring through the opening. Read more

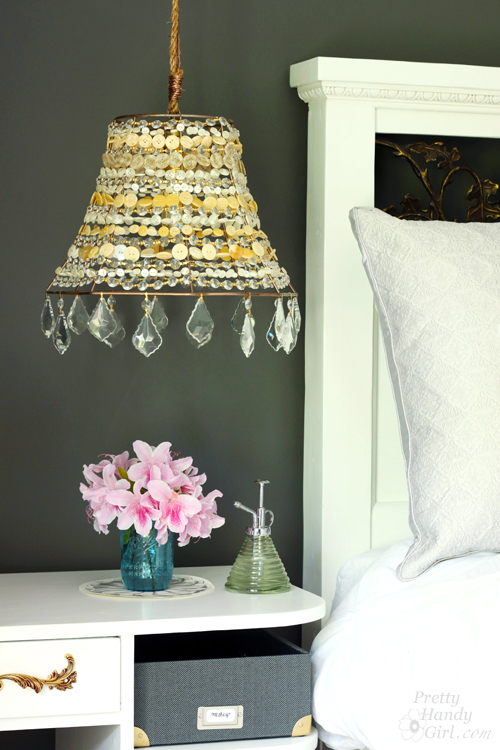
DIY Button Pendant Light | Pretty Handy Girl

DIY Button Pendant Light |Pretty Handy Girl

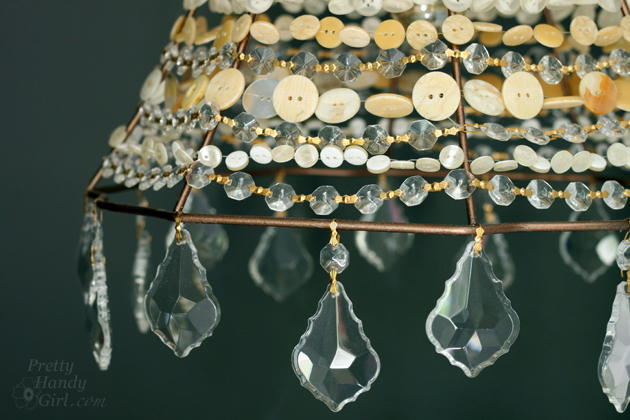
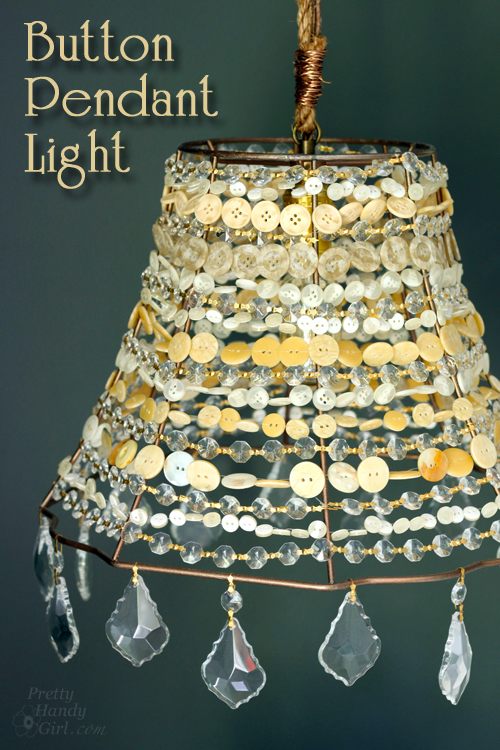
While I was house touring on Tybee Island and having  fun antique and salvage shopping in Savannah, I spied some bare lamp shade frame hanging lights. They immediately inspired me to design a DIY Button Pendant Light for over my bedside table in our master bedroom. Part of the desire was born out of the necessity to have more space on my bedside because the table actually doubles as my makeup vanity.

DIY Button Pendant Light | Pretty Handy Girl

Making a Button Pendant Light is an easy DIY project, but you’ll need some patience while threading the buttons. I’ll also show you how to wire a lamp socket and lamp plug! Ready to get started?

(I’ve included affiliate links for your convenience. I earn a small percentage from a purchase using these links. There is no additional cost to you. You can read more about affiliate links here.)

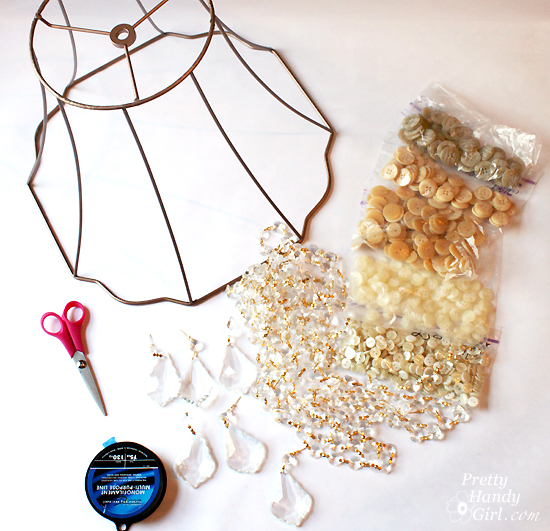
Materials:

DIY Button Pendant Light |Pretty Handy Girl

Optional:

Instructions: Read more

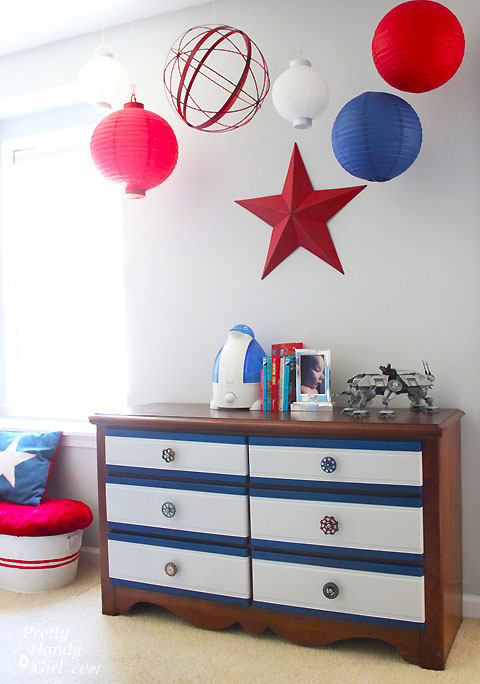
Hanging Ceiling Art | Spheres & Lanterns | Pretty Handy Girl

Hanging Ceiling Art | Spheres & Lanterns | Pretty Handy Girl

It’s Monday, and I have a cure for the Monday doldrums! Let’s hang some fun colorful spheres and lanterns to lift your spirits!

I came up with a great way to hang lanterns and spheres from the ceiling (regardless of where the studs were.) Plus, I reduced the holes from 7 down to 4 in the ceiling.

This is a simple project, here’s what you’ll need:

Materials:

materials

  • 1 – 8′ long slim piece of flat moulding painted with ceiling paint
  • Tape measure
  • Pin
  • Pencil
  • Drill with drill bits
  • 2″ wood screws
  • Cup hooks
  • Finishing line
  • Paper lanterns and a sphere (or other objects to hang)
  • Scissors
  • Touch up ceiling paint
  • Small paint brush

Instructions:

Start by determining where you want to hang your art. Begin by knocking on the ceiling (or use a stud finder) to determine where your first stud is. Gently insert the pin until it stops (indicating a stud there.) Read more

How_to_Install_Lutron_Maestro_Sensor

Teaching kids to turn off the lights in a room they are no longer in is a tough job. No matter how many times I try to explain that leaving the lights on wastes electricity, it just doesn’t seem to sink in. In their defense, they are like little wind up tops flitting from room to room playing with trains in one; reading in another and barely stopping to use the toilet in the bathroom (putting the lid down is a whole other issue! Ugh.)

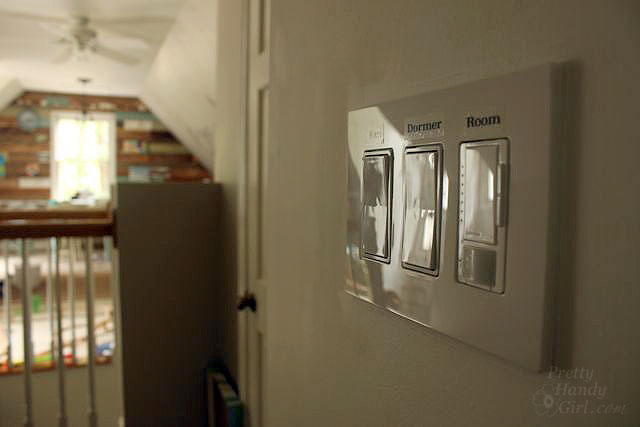
When Lutron approached me about giving my kids a helping hand with the lights, I was immediately intrigued. It turns out that Lutron has just introduced the Maestro occupancy sensor dimmer that can be easily installed in place of an existing light switch. (Single pole switches are easiest. Dual or Multi-location switches may require a little more wiring and programming to work properly.) After some thought, I decided to try the Maestro in our art & craft studio. This is the room that we least notice when the bulbs are burning (it is over the garage and is separated by our guest room from the rest of the house.)

Follow along to see how to install your own. Your attentive nature may be rewarded at the end. 😉 Read more

how_to_install_hard-wired_pendant_light

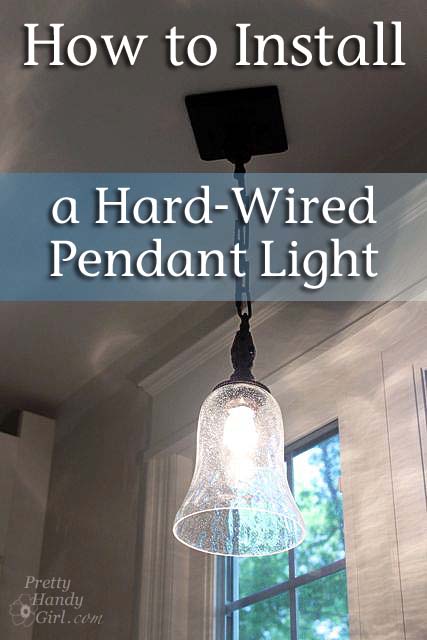
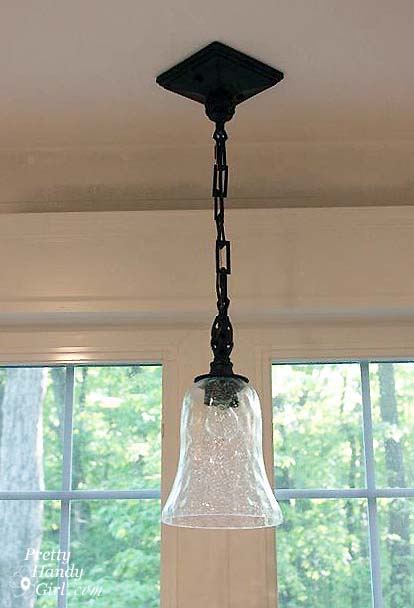
You may have noticed that pretty little seedy glass pendant light over our sink from my video the other day. It was a breeze to install, so I want to share with you the tutorial.

(I’ve included affiliate links for your convenience. I earn a small percentage from a purchase using these links. There is no additional cost to you. You can read more about affiliate links here.)

And now it’s tutorial time!

Materials:

Instructions:

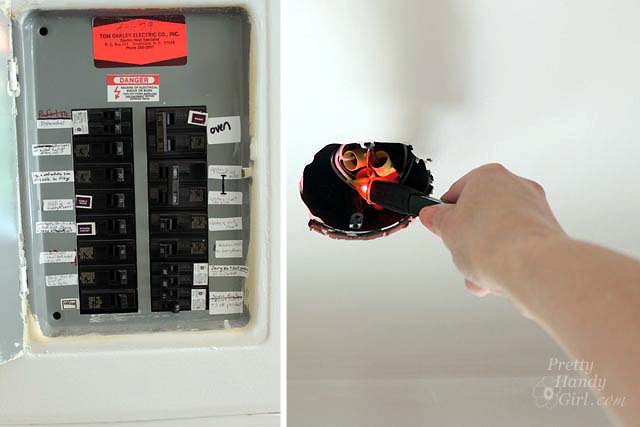
Safety First! Turn off the power to the light fixture circuit. If there is no light fixture installed, check the power with a voltage tester. (I had to flip 6 circuits before I found the one that fed power to that junction box! And you know, I updated the labeling in our circuit breaker once I found it. This is required by code.)

turn_off_power_check_wires

Modifying the Height of a Light Fixture:

Use a ruler to measure how low you want your pendant light to hang. If you need to, put a piece of painter’s tape at that mark to give yourself a visual reference spot to see if you like that height. (Or corral a partner into holding the light fixture for you while you make up your mind.)

uttermost_pendant_light

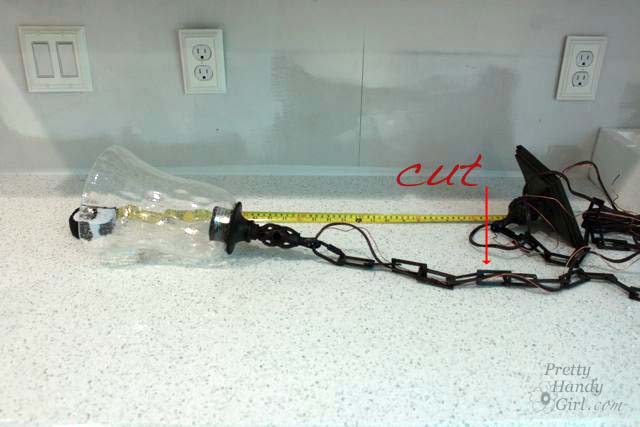
Lay your tape measure on the counter and stretch the light fixture out next to the ruler (be sure to set the glass shade on to gauge the full height.)

figure_link_to_remove

Assess where to separate the chain to reach the desired height.

remove_chain_light_links

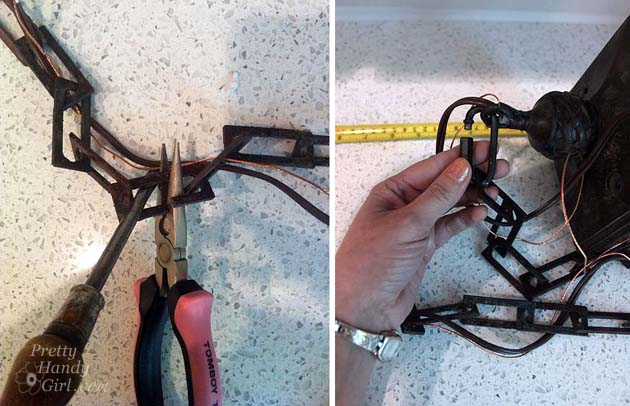
You can separate chain links by using two screwdrivers and rotating them in opposite directions as shown below:

Read more