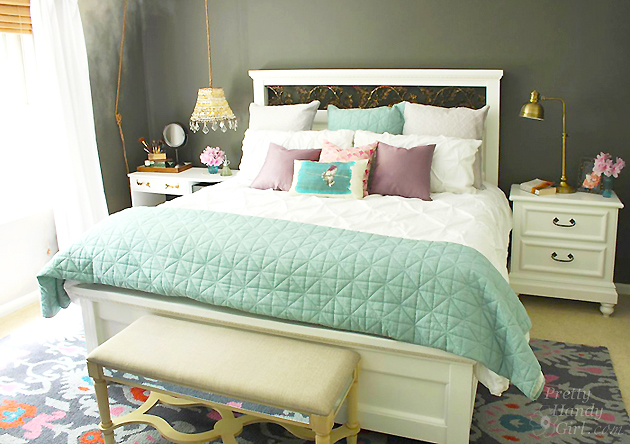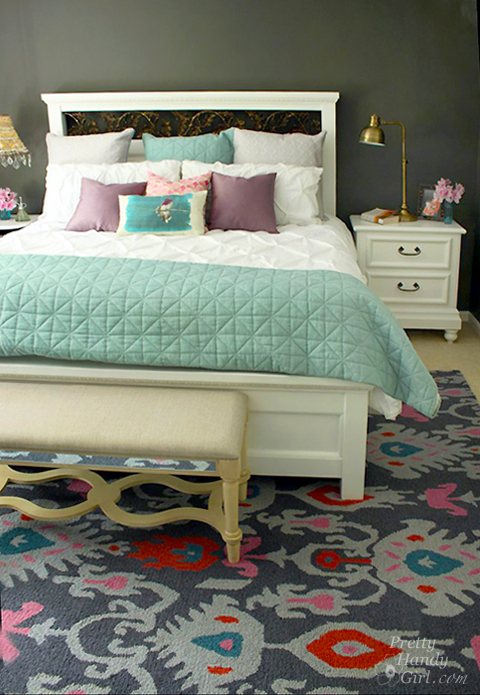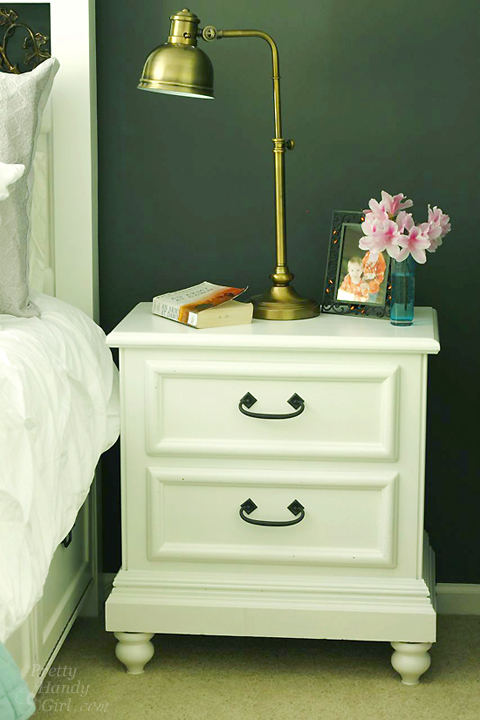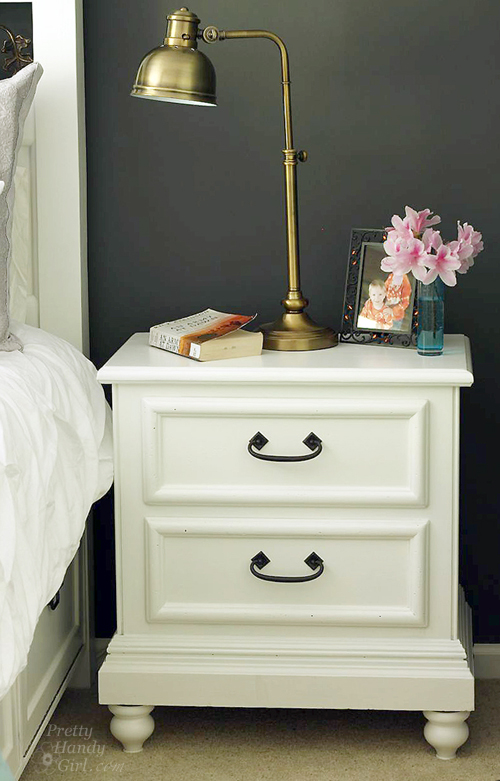
The best way to give your room a makeover on a budget is if you can use your existing furniture. Notice that I didn’t say using it “as is”. Heck no! Update your solid furniture by adding moulding, paint and new feet!
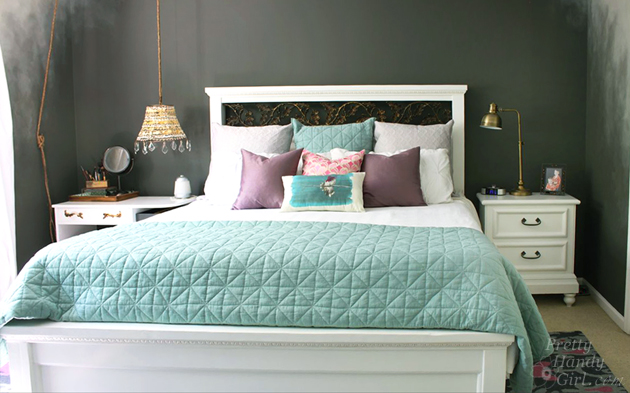
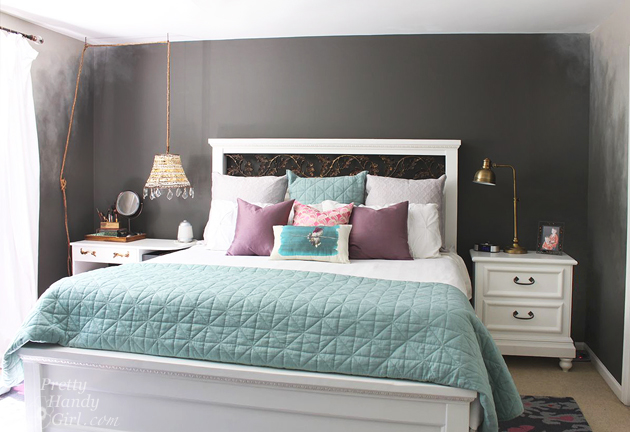
(Pretty Handy Dog is already staking his claim on his preferred spot on the new bed.)
When I decided to build our new bed, I wanted to use our existing nightstand and vanity to save money. But, the nightstand was a little too short for the new bed height. By adding new feet and painting it the same color as our new bed, I was able to give the knotty pine nightstand a second life.
(I’ve included affiliate links for your convenience. I earn a small percentage from a purchase using these links. There is no additional cost to you. You can read more about affiliate links here.)
Materials:
- Nightstand
- Baseboard moulding
- Sanding sponge
- Wood putty
- Putty knife
- Zinsser BIN primer
- Paint (used Benjamin Moore Advance)
- Paint brush
- 4 Tulip Feet
- 4 Straight Leg Top Plates
- Gorilla Glue
- Hammer
- Finish nails
- Miter saw
Optional:
- Scrap 2×4 pieces of lumber to brace base
- Kreg jig and pocket screws
- Drill
Instructions:
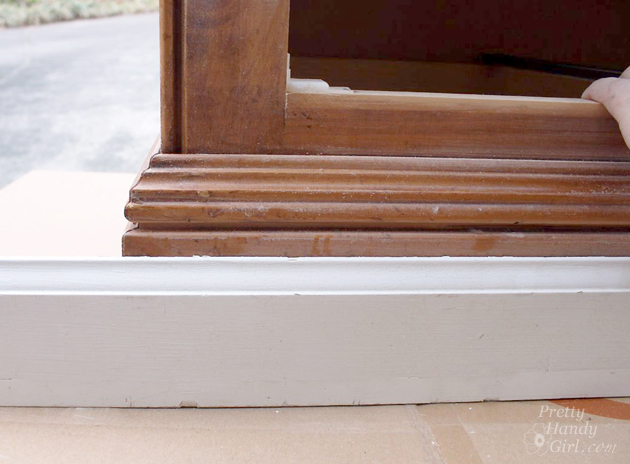
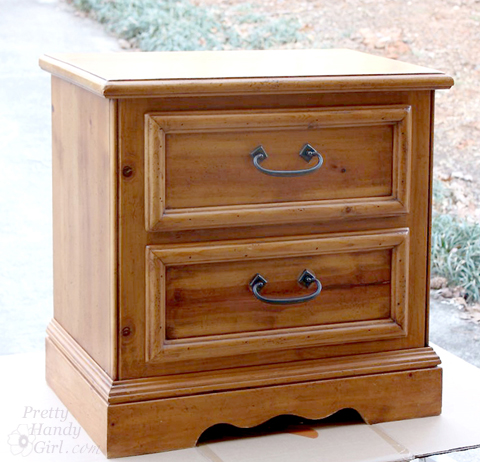
Start with a solid night stand. She may have some dated curves, but that’s nothing a little baseboard moulding can’t fix!
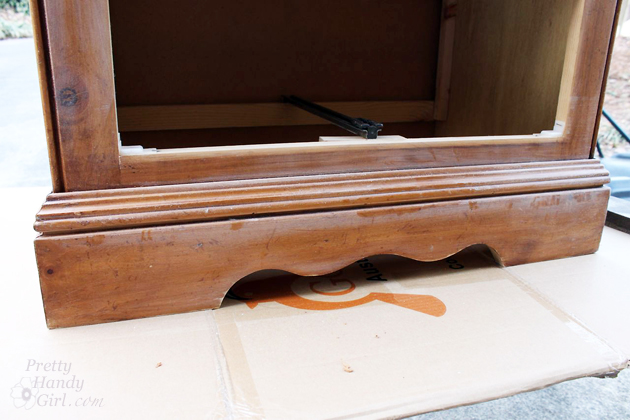
Remove the drawers. Clean out any dust bunnies and lost love letters out of the back.
Cut an interior facing 45 degree angle into one end of the baseboard moulding. Line up the bevel against one end of the front of the nightstand. Mark the opposite corner of the base where you need to cut. Read more