Pros and Cons of 4 Types of Picture Hangers

Pros and Cons of 4 Types of Picture Hangers

Hello! It’s Jessica, from Decor Adventures and I’m back this month with some very handy tips to help hang items up on the wall. Do you ever wonder which picture hanger to use? Did you know there are several ways you can hang things up? From curtains to art and mirrors to lightweight decorations — there are many options for hanging (and sometimes you don’t even have to put a hole in your walls.)

I live in a 115 year old house that has both plaster and drywall, and I’ve experimented with many types of ways to hang items on the walls. Today I’ve compiled The Pros and Cons of 4 Picture Hangers.

1. Picture Hooks and Nails:

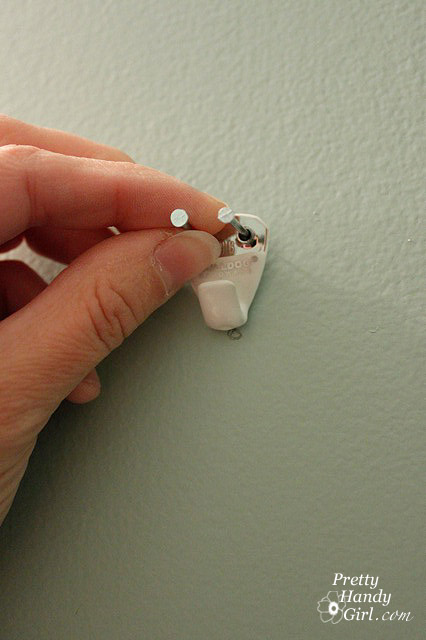
This is probably the most common way to hang up items. Simply mark where your item will go and hammer in your nail and hanger. Brittany shows you how to hang up items when putting together a gallery wall here.

insert-nails-into-hanger

Pros:

Hooks and nails come in many lengths so they can work well in most walls and are easy to use. They are also affordable and go into a wall quickly. All you need is a hammer.

Cons:

Hooks and nails don’t always work in every wall type and can rust. They can’t be used in plaster walls. When hanging heavier art, you need to find a stud to nail into. Read more

12 Tips to Maintain the Value of Your Car | Pretty Handy Girl

12 Tips to Maintain the Value of Your Car | Pretty Handy Girl

We’ve sold a few cars in our lives. Each time we were able to get top dollar for our used vehicles. Today I have 12 Tips to Maintain the Value of Your Car. (Plus an update on this van at the end of this article!)

You’ve all heard the saying that a new car depreciates the moment you drive it off the lot. Although, this is somewhat true, you can prevent your car’s value from depreciating too much and too quickly by following these tips:

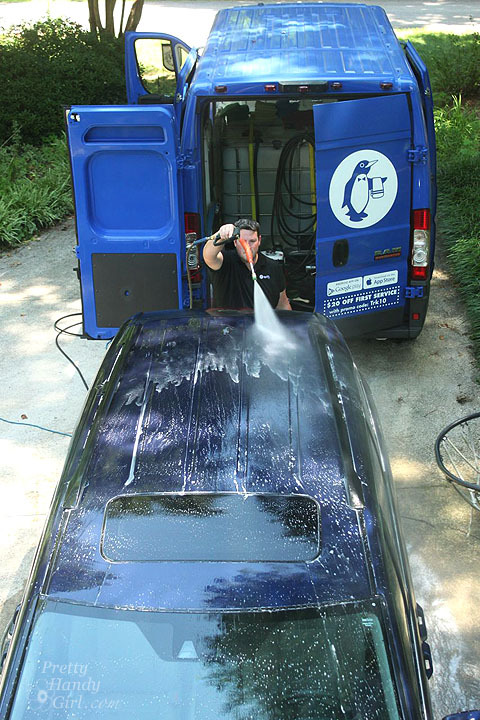
1. Keep it Clean – Leaving dirt and debris on your vehicle can cause small scratches. Worse yet, bird poop and splatters can actually damage the paint. A regular cleaning is going to keep your car in tip top shape. I understand finding the time to wash your car can be challenging. And, those inexpensive drive thru car washes don’t get your car completely clean, especially on the inside. No worries, that’s where a mobile car wash can help. They come to your home or place of business and clean your car while you work or chase the kids.
12 Tips to Maintain the Value of Your Car | Pretty Handy Girl

2. No Salt – If you live at the beach or in a harsh winter area, salt can break down your car’s paint and cause metal to rust much faster. It’s important to keep your car protected with frequent car washes and wax your vehicle’s exterior.

3. Change Your Oil Regularly – Help your car’s engine run smoothly for a long time by keeping up with your oil changes. Depending on the age of your vehicle, oil changes are recommended every 3,000 – 5,000 miles. Be sure to keep your receipts to show potential buyers that your car was well cared for.

4. Check Fluids – Make sure to check your car’s fluid levels at least once a month. You can check the fluids yourself or ask a mechanic to check for you. Top off engine oil, windshield wiper fluid, transmission fluid, power steering fluid, coolant, and brake fluid if they are low. As an easy reminder, ask your mechanic to check and top off fluids at every oil change.

5. Maintenance – There is a list of required services to be perform in your vehicle’s owners manual. Keep an eye on your mileage and get those routine services performed on time. Don’t have the manual? Call the dealer and ask them for the maintenance schedule. Always keep your receipts as a reminder of what you’ve done and to show potential buyers that you took great care of the vehicle.

12 Tips to Maintain the Value of Your Car | Pretty Handy Girl

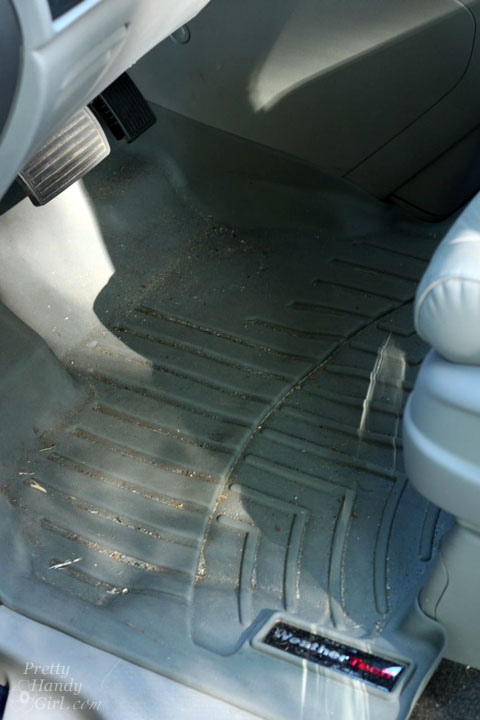
6. Floor Liners – One of the best things you can do for your car’s interior is to put in floor liners. We bought WeatherTech (affiliate link) floor mats the week after we bought the new minivan. They catch all kinds of spills, dirt and crumbs while protecting the carpets.
12 Tips to Maintain the Value of Your Car | Pretty Handy Girl

7. Keep Tires Properly Inflated – For safety and better gas mileage keep your tires inflated  properly. This will also help your tires last longer.

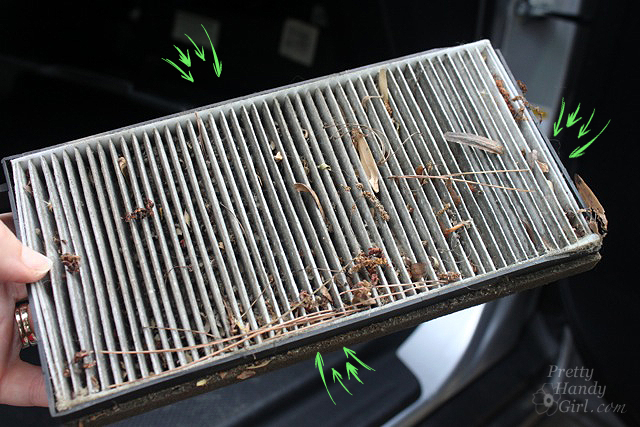
8. Change the Air Filters – Keep the car smelling great and help your HVAC system run more efficiently by changing your air filter with every 1-2 oil changes. This is an easy DIY job, learn how to change your air filters here.
very-dirty_cabin_air_filter

9. Fix Dents and Scratches – Keep an eye on your car’s body. If you get a dent or scratch that goes through to the metal, fix it ASAP before rust can form. It might be as simple as getting touch up paint from the dealer. Or you might need the help from a professional auto body shop.

10. Don’t Trash It – Keep a trash bag in your car to collect any garbage. Kids are especially prone to leaving half eaten food in the car. Train them to dispose of all waste. A simple trash bag that clips to the back of your seat (affiliate link) has worked well for us.
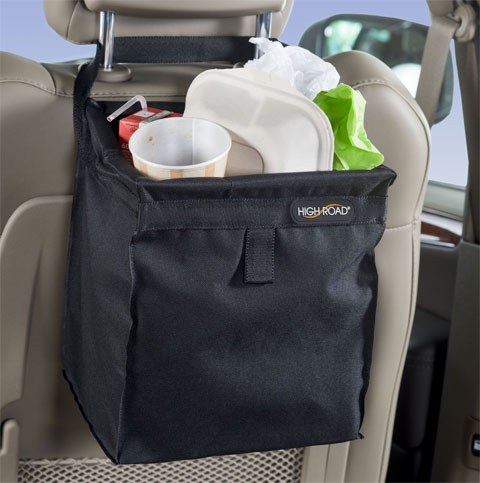
Auto Trash Bag

11. Park it Inside – This is a tough one if you don’t have a garage. Or like me, your garage serves a purpose other than storing your automobiles. If parking your vehicle inside isn’t an option, try not to park under trees (birds and falling limbs can do damage to your car.) And be sure to refer back to tip number 1.

12. Drive It – A car needs to be driven at least once a week to keep the engine and parts in good working order. This will also prevent tires from getting flat spots.

Follow as many of these tips to maintain the value of your car and receive top dollar when it comes time to sell your vehicle!

Update: After 10 years I sold my minivan on Facebook Marketplace and got over Kelly Blue Book value and had 15 people contacting me immediately to purchase the vehicle. The meticulous records, WeatherTech liners, and lack of any accidents made our van a prized vehicle when it went on the market. I urge you to maintain. your vehicle and reap the rewards the day you sell it. Happy driving.


PHGFancySign

10 DIY Frugal Cleaners | Pretty Handy Girl

On a quest to save money while cleaning your home? Do you want to use less chemicals when you clean? This is a compilation of 10 DIY Frugal Cleaners that I use in my home.  You can easily make them with common household ingredients. Soon your home will be clean and your wallet fat!

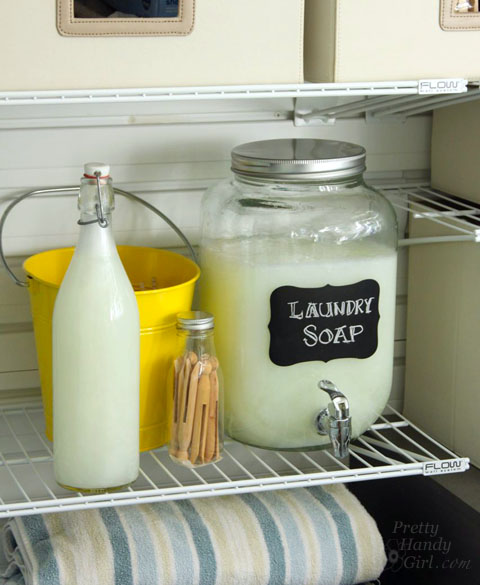
Super Frugal Laundry Detergent

DIY Laundry Detergent | Pretty Handy Girl

Frugal House Cleaners Detergent Ingredients:

  • 1/4 bar of Fels Naptha soap
  • 2 Tablespoons Borax powder
  • 1/4 cup (4 Tablespoons) Arm and Hammer Washing Soda (not baking soda)
  • 2 empty laundry detergent bottles or 1 – 2.5 gallon water jug

Frugal House Cleaners Detergent  Instructions:

  • Grate the 1/4 Fels Naptha Bar using a cheese grater.
  • Put the Fels Naptha shreds and 1 cup of water into a pot and melt over medium-low heat, stirring constantly. Continue stirring until all the soap has dissolved. Pour 2 1/2 quarts (10 cups) of water into a large container or bucket and add the cooked soap mixture.
  • Add 2 tbsp. of Borax and 1/4 c. of the washing soda and stir.
  • Add 2 1/2 quarts more water and stir.
  • Cover the mixture and let it set overnight.
  • The next morning, your soap will have thickened and gelled considerably. Stir it up. Add the mixture to your empty container(s) filling only half way full. Fill the rest of the container with water.
  • Shake the bottles to mix before use. Use 1/4 cup per load.


Inexpensive Fabric Softener Sheets

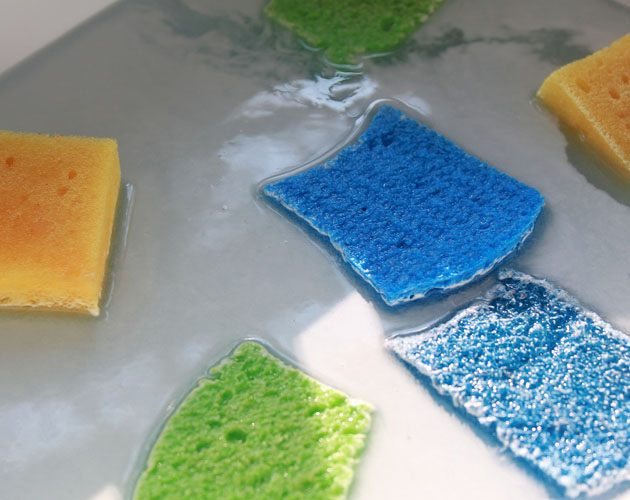
diy_fabric_softener_sheet_sponges

  • 1  bottle of Liquid Fabric Softener
  • 1 bucket
  • 4   sponges (cut in half to make 8)

Pour liquid fabric softener into bucket. Fill empty softener container with water and add it to the bucket. Repeat to give you a 2:1 mixture of water to fabric softener. Drop sponges into the mixture. Grab a sponge and wring out the excess liquid. Add it to the dryer with your wet clothes.

(Straight cheap fabric softener also makes a great wallpaper remover!)


Miracle Stain Remover

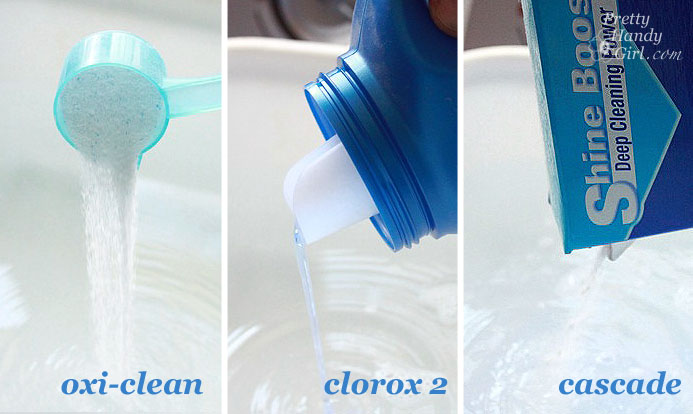
frugal house cleaners

  • 1 scoop of Oxi-Clean
  • 1 scoop of Liquid Clorox 2
  • 1 scoop of Cascade powder dishwashing detergent (or another powered brand.)

Fill your basin with warm water then add the oxi-clean, clorox 2 and dish detergent. Give it a swirl and mix until the powders dissolve and bubbles form. Place the stained garment into the mixture, being sure the stain is submerged. Let soak for about 2 hours.

For tougher stains, let it soak overnight. Remove the clothing to behold the miracle! Normally I will throw the garment into the wash, but you could simply rinse and dry it. This formula is also safe for colors as well!


Drain Cleaner

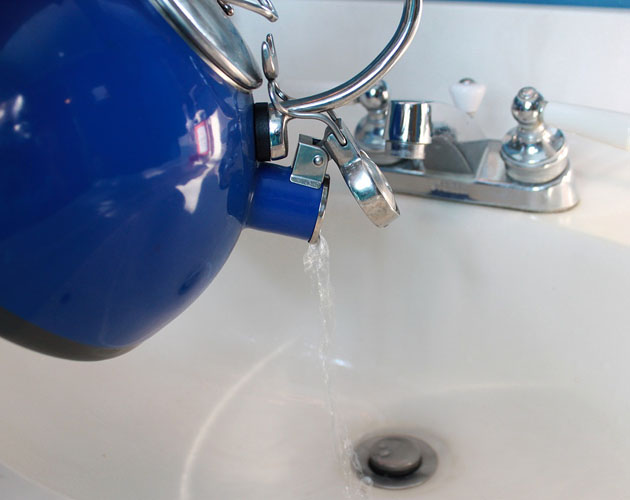
boiling_water_drain_cleaner

  • Hot Water
  • Salt
  • Vinegar
  • Baking Soda

For light drain cleaning, mix 1/2 cup salt in 1 gallon water, heat (but not to a boil) and pour down the drain.

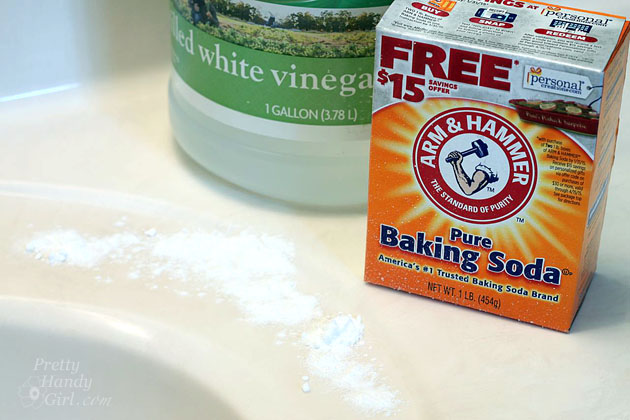
For stronger cleaning, pour about 1/2 cup baking soda down the drain, then 1/2 cup vinegar. The resulting chemical reaction can break fatty acids down into soap and glycerine, allowing the clog to wash down the drain. After 15 minutes, pour in very hot water to clear residue.

Caution: only use this method with metal plumbing. Plastic pipes can melt if excess boiling water is used. Also, do not use this method after trying a commercial drain opener as the vinegar can react with the drain opener to create dangerous fumes.


Sink Cleanser and Hard Water Stain Remover

Scrub Away Hard Water Stains | Pretty Handy Girl

  • Baking soda
  • Vinegar

Make a paste with baking soda and water. Dip an old tooth brush into the paste and scrub your sink with the paste. Pour straight vinegar into a separate container. Dip toothbrush into the vinegar and go back over the backing soda paste. The fizzing chemical reaction of the backing soda and vinegar will aid in removing hard water stains. Repeat if necessary. For tougher stains, grab this power tool!


Stainless Steel Sink Shine

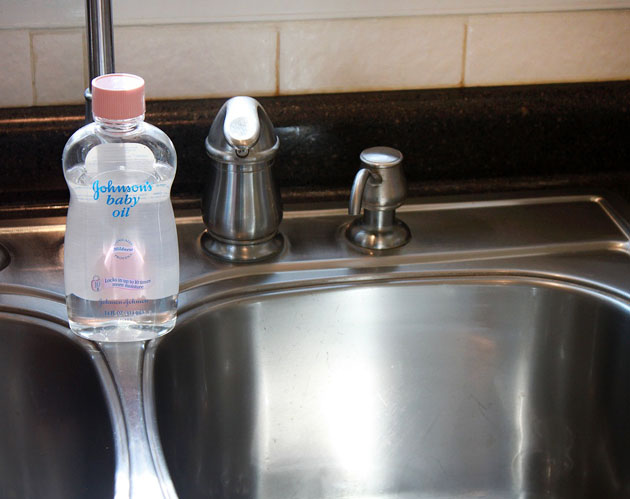
baby_oil_shine_stainless_steel

  • Baby oil
  • Paper towels

Squirt a small amount of baby oil in a clean stainless steel sink. Spread it around and wipe with a paper towel until shiny.


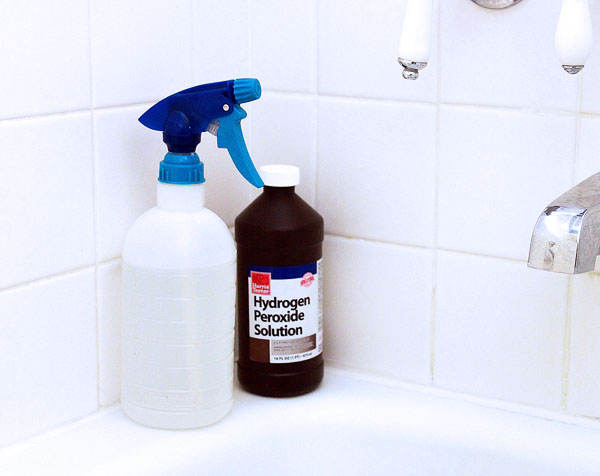
Mold remover

10 DIY Frugal Cleaners | Pretty Handy Girl

  • 1/2 cup hydrogen peroxide (3%)
  • 1 cup water

Mix in a spray bottle. Spray on mold and wait at 1 hour. Rinse clean.


Magic Soap Scum Dissolver

miracle_soap_scum_remover

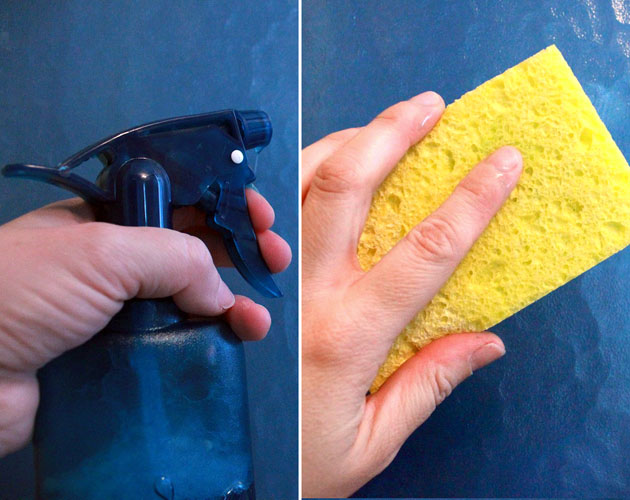
  • 1 cup vinegar
  • 1 cup blue dawn dish detergent

Microwave vinegar until hot! Mix with blue dawn dish detergent in a spray bottle. Spray it on your toughest soap scum. Then wipe it off with ease!


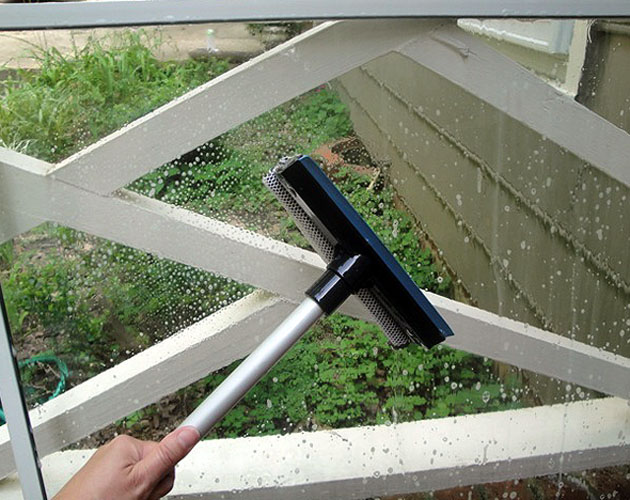
Window Washing (Exterior and Interior)

window_washing_mixture

  • 2 gallons of warm water
  • 1/2 cup vinegar
  • 2 tsp liquid dish detergent

Tools: Sponge/Squeegee, Sponge, Dry lint free rag

Mix ingredients in a bucket. Dip the sponge/squeegee into the mixture and scrub the windows. Use the squeegee to remove all liquid from the windows. Wipe clean with a dry rag.


Carpet Stain Remover

10 DIY Frugal Cleaners | Pretty Handy Girl

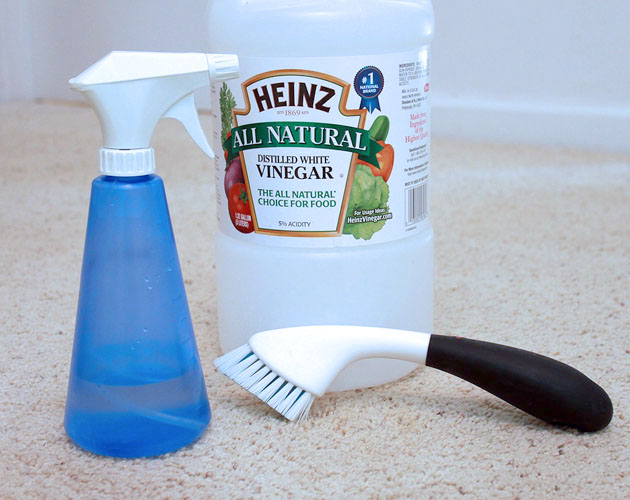
  • vinegar
  • water
  • corn starch
  • salt
  • borax

Mix equal parts white vinegar and water in a spray bottle. Spray directly on stain, let sit for several minutes, and clean with a brush or sponge using warm soapy water.

For fresh grease spots, sprinkle corn starch onto spot and wait 15 – 30 minutes before vacuuming.

For a heavy duty carpet cleaner, mix 1/4 cup each of salt, borax and vinegar. Rub paste into carpet and leave for a few hours. Vacuum up the mixture.

I hope you found some of these home cleaners helpful. Please share if you have any great recipes for cleaners in the comments below.

PHGFancySign

Pin for later!

DIY House Cleaners

Mold & Mildew Free Shower for 4 months | Pretty Handy Girl

Mold & Mildew Free Shower for 4 months | Pretty Handy Girl
Endurance BioBarrier Review

I’m going to warn you now, this is not a pretty post. But, this product review of Endurance Cleaner Prep and Endurance BioBarrier will most likely be one of your favorite posts if you deal with continual mold & mildew growth (especially in a small coffin-like shower from the 1970’s.)

(I’ve included affiliate links for your convenience. I earn a small percentage from a purchase using these links. There is no additional cost to you. You can read more about affiliate links here.)

You may remember how much I love our master bathroom shower:

Mold & Mildew Free Shower for 4 months | Pretty Handy Girl

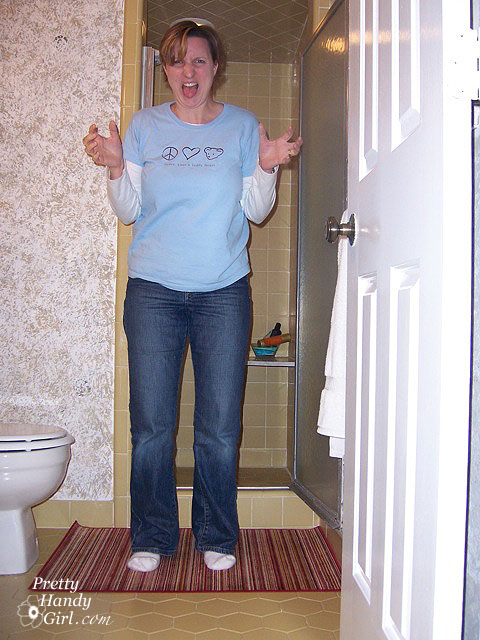
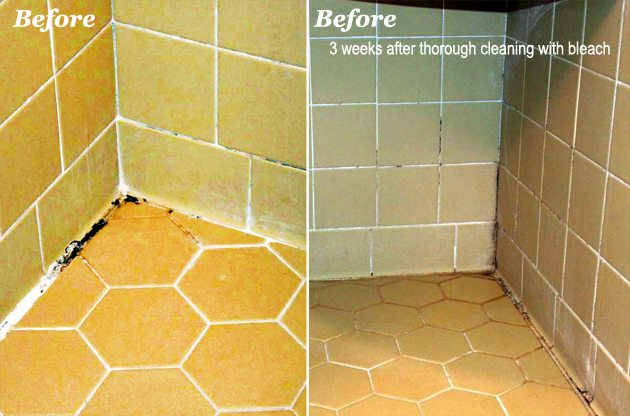
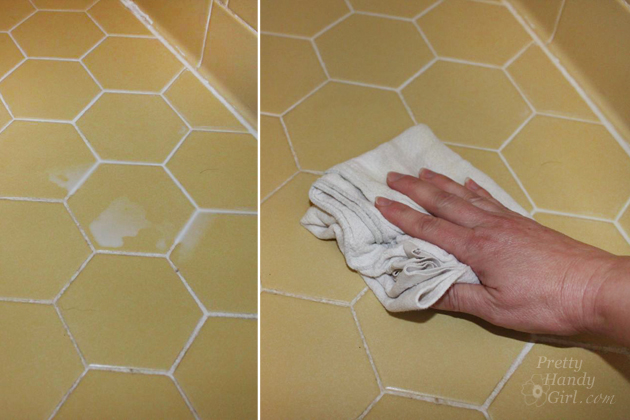
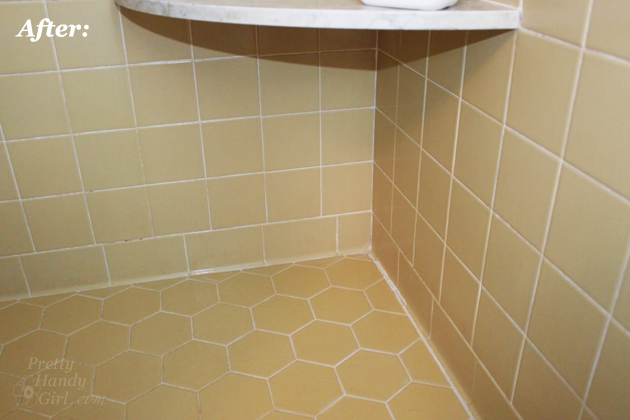
That ugly harvest gold tile shower is the ugliest spot in our home. And, its attractive color is not helped by the mold growth that returns like clockwork every three weeks. I have tried everything to control its regrowth. What I’ve tried is using bleach, and leaving the shower door open all day. I even replaced the caulk in this shower. But, every three weeks that mold peeks out from the cracks and crevices.

This bathroom is slated to be demolished at some point, but until then it needs constant cleaning. That is until a few months ago when I tried Endurance BioBarrier Mold Prevention Spray (non-toxic and low-odor.)

Endurance sent me a the Cleaner Prep and Biobarrier to try out. You may remember that I tried it after cleaning our dirty and moldy storm windows.

Easy Clean Your Storm Windows with Steam | Pretty Handy Girl

I didn’t want to blog about the products until I had tried them for more than a few months. I’m happy to report that for four months, I didn’t need to clean our shower! Normally after three weeks the mold and mildew would have been happily growing in the corners of my shower.

Mold & Mildew Free Shower for 4 months | Pretty Handy Girl

On February 5th, 2015 I set about cleaning the shower with high hopes but big doubts.

Mold & Mildew Free Shower for 4 months | Pretty Handy Girl

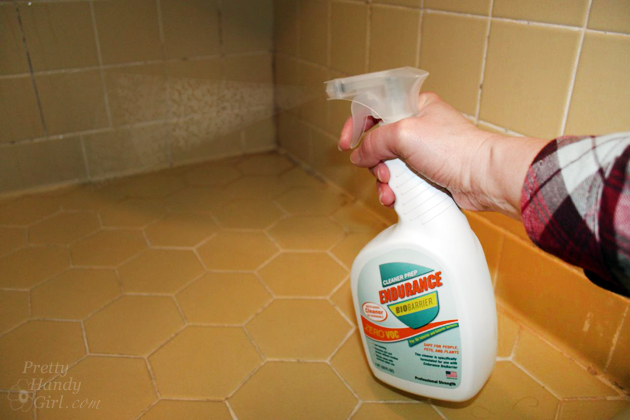
As directed, I sprayed the Endurance BioBarrier Cleaner Prep in the shower. I let it sit for 15 minutes (1-5 minutes for normal cleaning. 15 minutes for tougher jobs.)

Mold & Mildew Free Shower for 4 months | Pretty Handy Girl

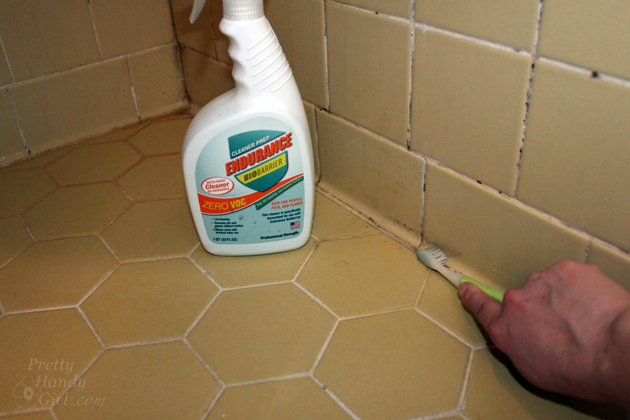
To clean off the mildew and mold, I used a scrub brush. Then rinsed all the surfaces with water.

Mold & Mildew Free Shower for 4 months | Pretty Handy Girl

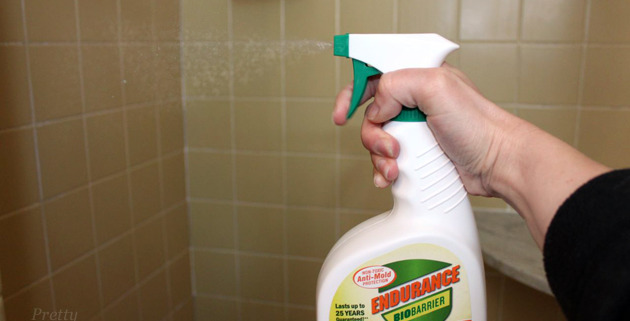
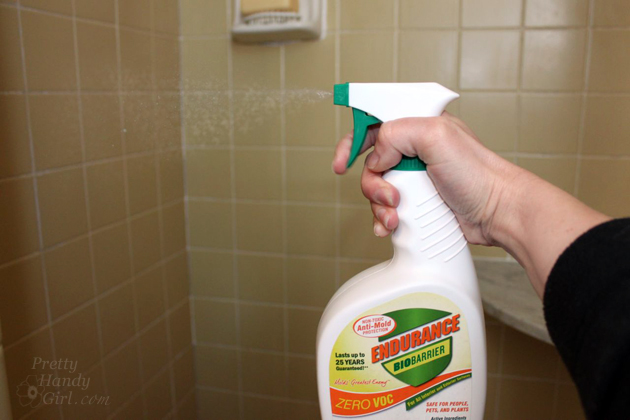
After the shower is completely cleaned with the Cleaner Prep, spray the Endurance BioBarrier Anti-Mold protection spray to create a thin film on all surfaces.

Mold & Mildew Free Shower for 4 months | Pretty Handy Girl

Wipe up any puddled spray after a few minutes.

Mold & Mildew Free Shower for 4 months | Pretty Handy Girl

The shower was clean and devoid of any mold or mildew. Nothing miraculous yet. I can achieve the same results with bleach cleaner.

Mold & Mildew Free Shower for 4 months | Pretty Handy Girl

But, here’s where the similarities end. After four months (not three weeks) was the first time I began to see some mildew and mold regrowth. Read more

Black + Decker Flex Lithium Vacuum | Pretty Handy Girl

Black + Decker Flex Lithium Vacuum | Pretty Handy Girl

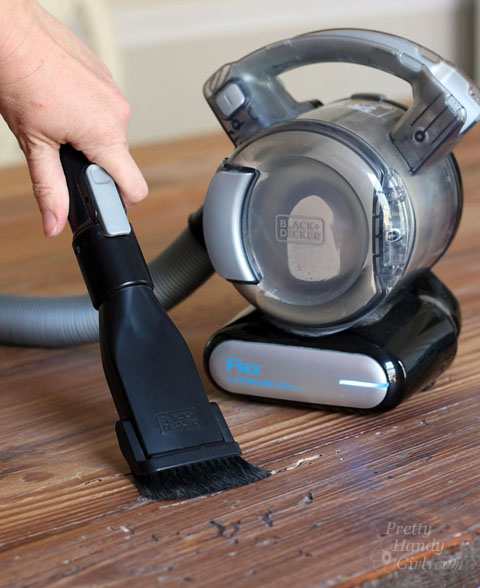
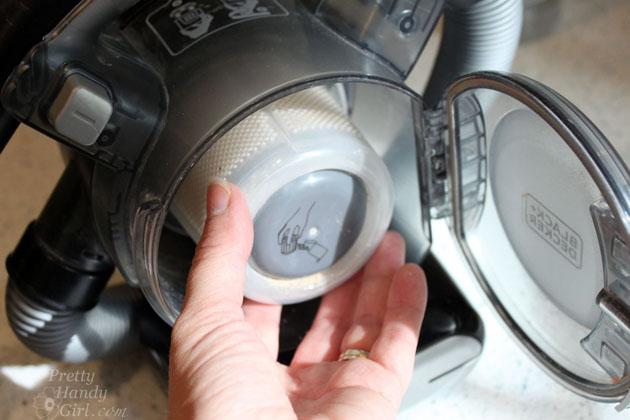
Black+Decker sent me their BLACK+DECKER MAX Lithium Flex Vacuum to test. I’ve been holding this review in my back archives for a while. I never like to publish a review until I’ve given a product a thorough testing and make sure it will hold up for the long haul. I’ve been using my Black+Decker MAX Lithium Flex 20V vacuum for a lot of my projects. You may have spotted it when I refinished the paint on my dryer. Or to clean up sawdust out of the grooves on my farmhouse table build. In fact, I grab for this little vacuum anytime I’ve made a little mess or spilled some powdered drink mix, etc.

Black + Decker Flex Lithium Vacuum | Pretty Handy Girl

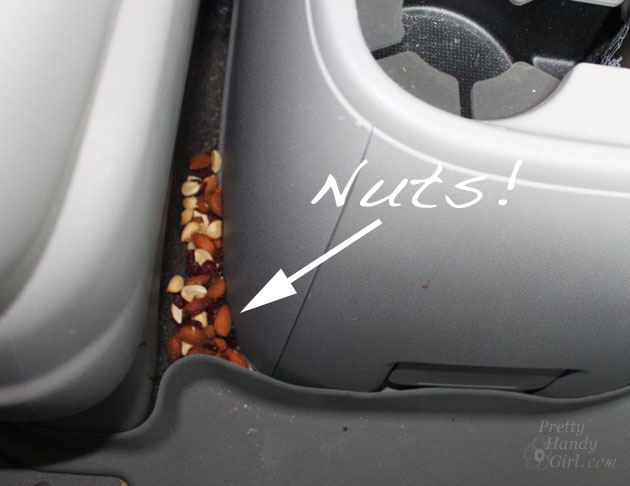
But, last week I accidentally spilled a package of almonds in the tiny crevice between the seats in my car. I can’t even get my hand in this space, so I ran in to grab the big vacuum cleaner but stopped when I was in front of the Black+Decker Max Lithium Flex. I hate hauling out the big canister vacuum because it’s so heavy, but could a little vac handle nuts?

nuts-in-car-crevice

I honestly doubted it would be able to get all those almonds up. After all, I’d had poor luck in the past with small dust sucking devices.  Read more