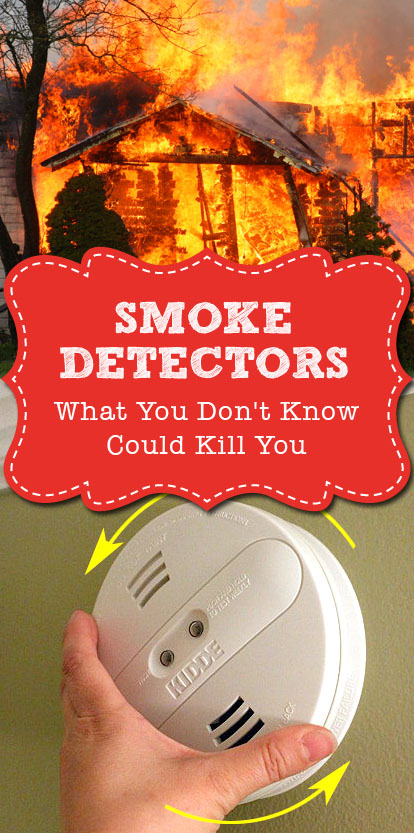
Okay, now that I have your attention, did you know that approximately every three hours, a home fire death occurs somewhere in our nation. And 66 % of those occur in homes without working smoke alarms or detectors?* The most common reason those detectors weren’t working? Worn out or removed battery.
 Photo from CreativeCommons.org – courtesy of WickedChimp
I’m sure you have heard that you need to replace your detector batteries every time you change your clocks (Spring and Fall or every 6 months.) Are you good about doing that ? If not, I hope you will now. At the very least decide on a date to change your smoke detector batteries annually.
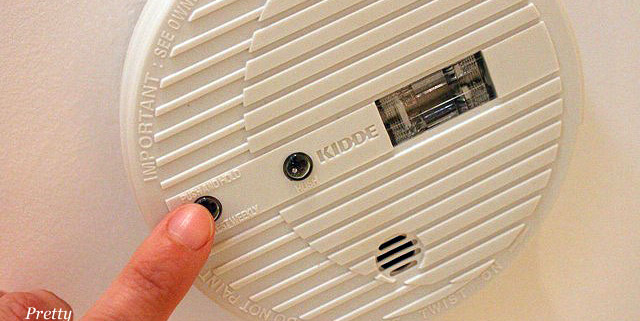
What about when you are vacationing? Do you test the smoke detectors in your rental house? Testing the detectors takes all of a few minutes to press the “Test” button on each detector and wait for the alarm to sound.

Don’t rely on the vacation homeowner to check the alarms. There is always a chance that renters could have removed a low battery from a detector. Several years ago there was a horrible fire a few blocks away from the beach house we usually rent. Seven young students died in the fire. It was never determined whether the smoke detectors were working or not, but one of the survivors didn’t remember hearing any go off. Don’t let yourself become a statistic.
What type of smoke detector should you buy? Read more