How to Install Cabinet Door Knobs and Drawer Pulls Perfectly the First Time | Pretty Handy Girl

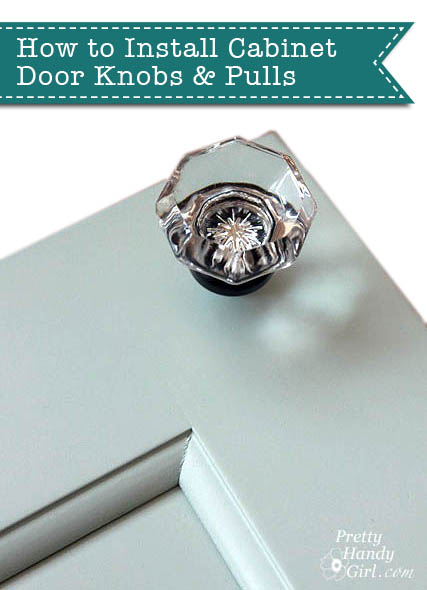
I know when you buy a new vanity or just have new cabinets installed it’s hard to get up the guts to drill through the pristine doors and drawers to install new knobs on then. I get it, really I do. You are worried you’ll drill in the wrong spot. Or you might mess up the finish if your drill bit slips. Well, you’re in luck! Today I have the goof proof tutorial for How to Install Knobs on New Cabinet Doors and Drawers!

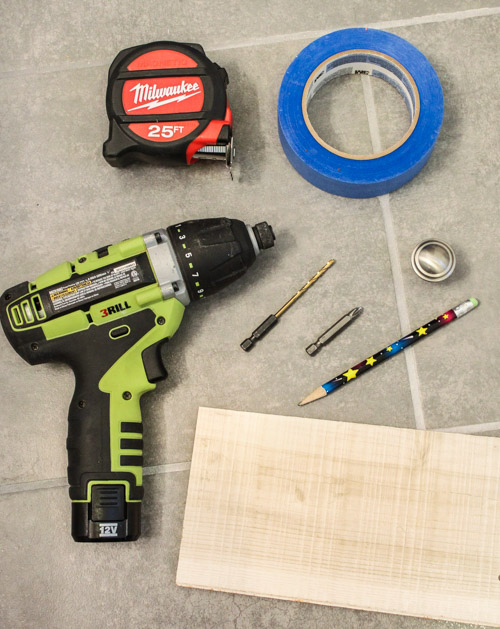
Materials:
(contains affiliate links)

How to Install Cabinet Knobs Perfect the First Time | Pretty Handy Girl

Instructions:

Take one last look at the pristine cabinet doors and drawers. Now, grab the tape measure and let’s get busy!

How to Install Cabinet Knobs Perfect the First Time | Pretty Handy Girl

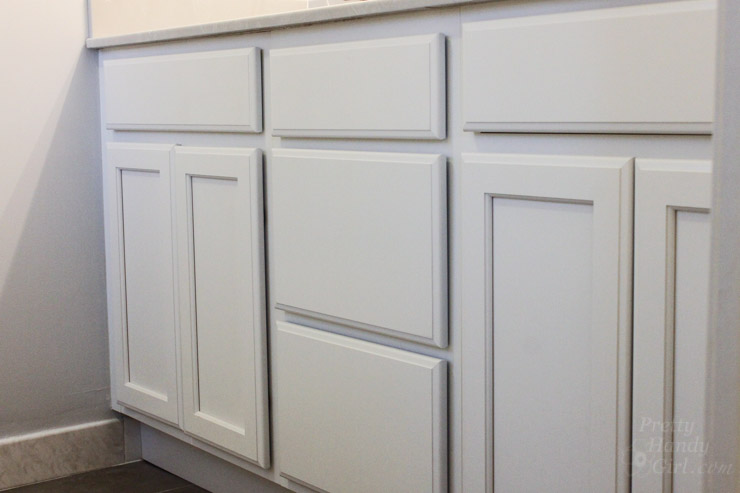
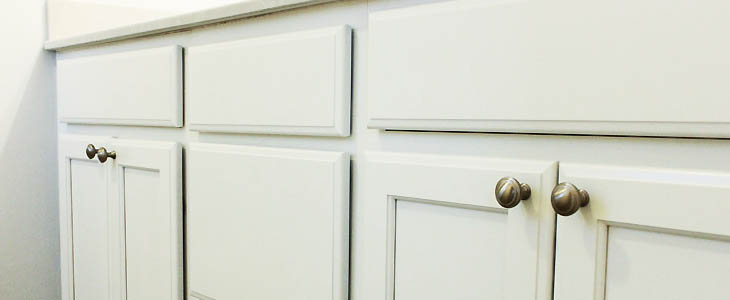
Mark the location for your new knob or pull. For knobs, you want to center the knob equidistant between the top and sides of the cabinet door. If you have a decorative frame, the knob can line up with the miter joint. For drawer pulls, center the knob left to right and top to bottom. Read more

STOP! You Don't Have to Gut Your Dated Bathroom | Pretty Handy Girl
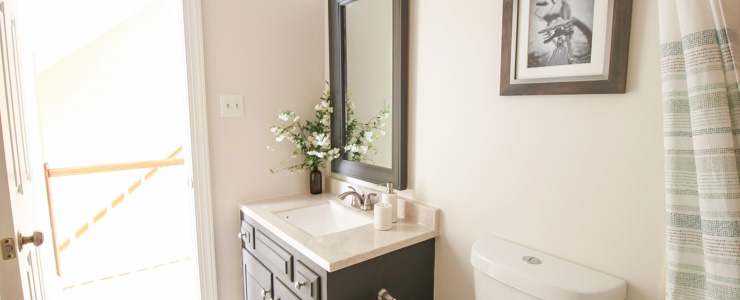
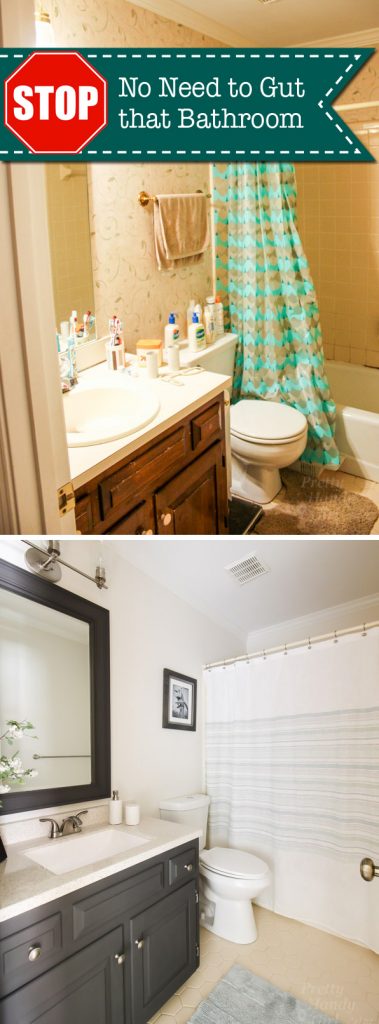
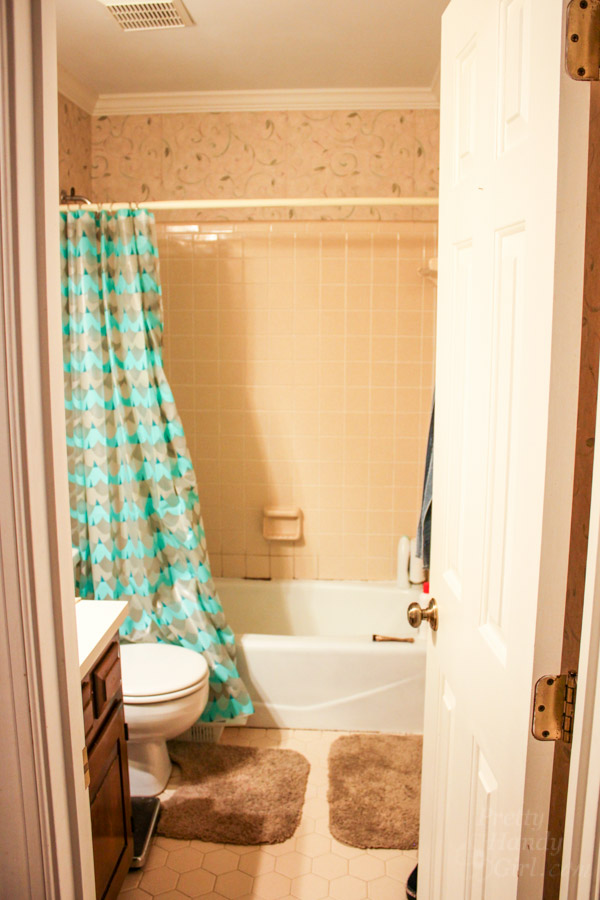
I’ve been working for the past few months on a friend’s home here in the beautiful capital city of North Carolina. Her home had a great floor plan, but needed some TLC and some updating. Luckily she and her husband had just finished renovating the master bedroom. They were about to gut the kids’ bathroom and give it a similar renovation when I stopped her. She was in disbelief when I told her I could renovate that bathroom for a fraction of the cost of a full renovation. And, buyers would hardly be able to tell the difference.

You Don't Have to Gut Your Dated Bathroom | Pretty Handy Girl

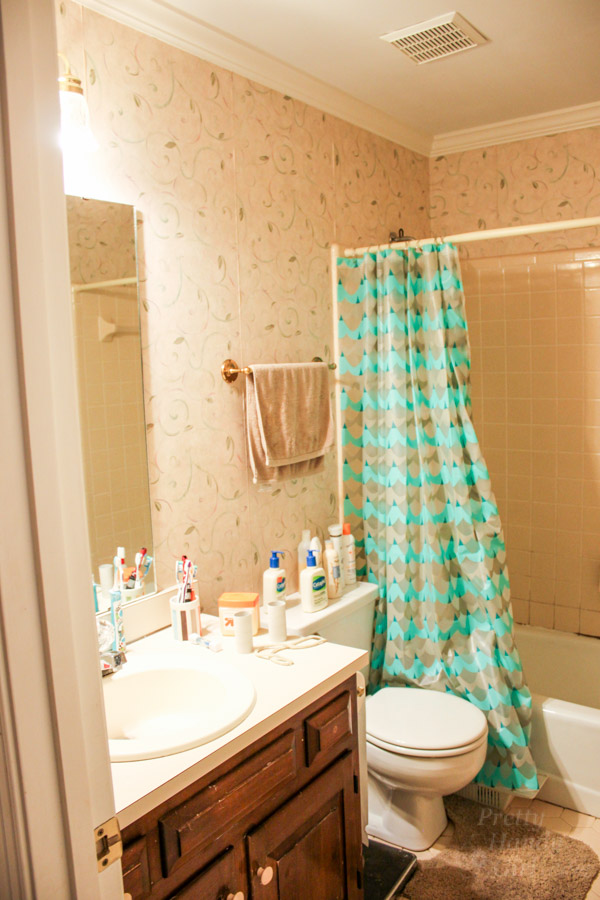
This is a small bathroom, but fully functional and the tile was actually in good shape.

You Don't Have to Gut Your Dated Bathroom | Pretty Handy Girl

Do you doubt my claims? Ready to see the after photos? Read more

The Best Glue for Every Fix | Pretty Handy Girl

The Best Glue for Every Fix | Pretty Handy Girl

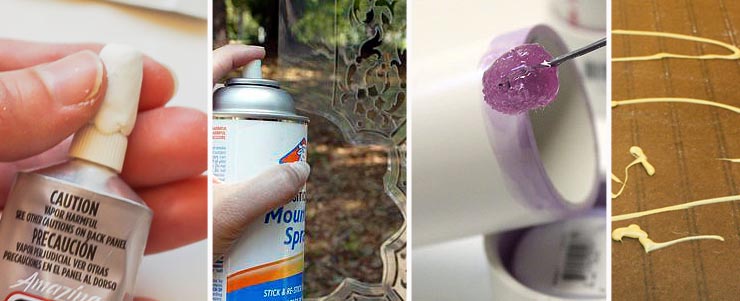
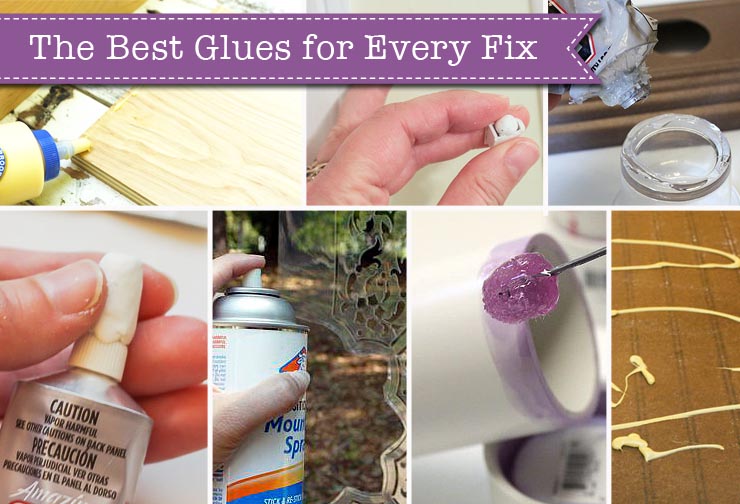
Over the years I’ve used a multitude of glues and learned the best glues for each application. Here is a list of The Best Glues for Every Fix. Most of the links in this article are affiliate links to help you find the exact glues I use.

To get a good secure glue fix, you have to use the appropriate glue for the job.

Hot Glue:

I know many people love hot glue because it’s a good resource for crafting. Hot glue is best used for fabric and textured crafts. But, that’s it.

Hot_Glue_end

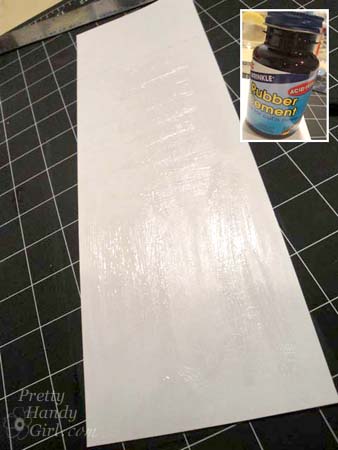
Rubber Cement:

For a permanent paper to paper connection, use two coats of rubber cement.

DIY Book with Storage Inside | Pretty Handy Girl

Spray Adhesive: Read more

Add Decorative Hardware to Dress Up Your Plain Gate | Pretty Handy Girl

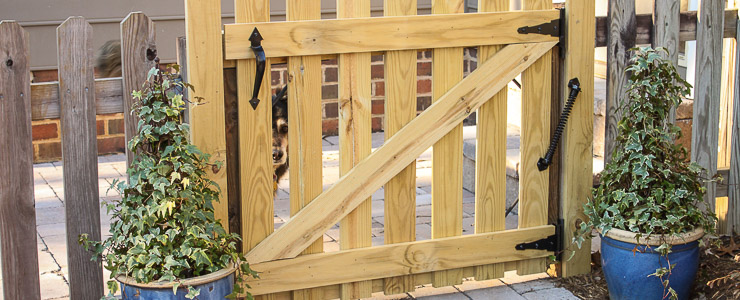
Earlier I showed you how to build a rock solid gate. The gate was solid, but not very attractive or functional. Today I’ll show you How to Add Decorative and Functional Hardware to Your Gate.
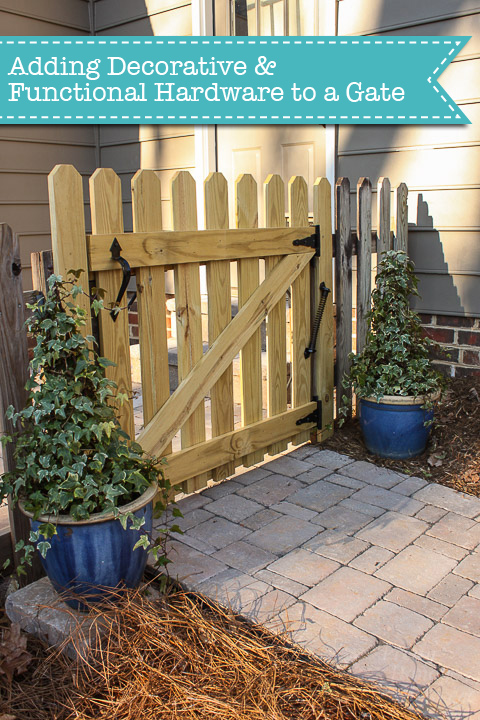
Adding Decorative and Functional Hardware to Your Gate | Pretty Handy Girl

This will take that ho-hum gate and turn it into a more attractive entrance to your yard. I’ll also show you a few pieces of hardware that will turn your gate into a self-closing and latching gate. This is a must have, especially if you have children and pets.

I’m honored to be representing National Hardware as a brand ambassador this year. I have been compensated for my time and for creating this sponsored post. I’ve been using their hardware for years on our exterior gates and fences. I can honestly say that they continue to hold up to the elements and work as well as when I first installed them.

Ready to get started? Here’s what you’ll need.

Materials:
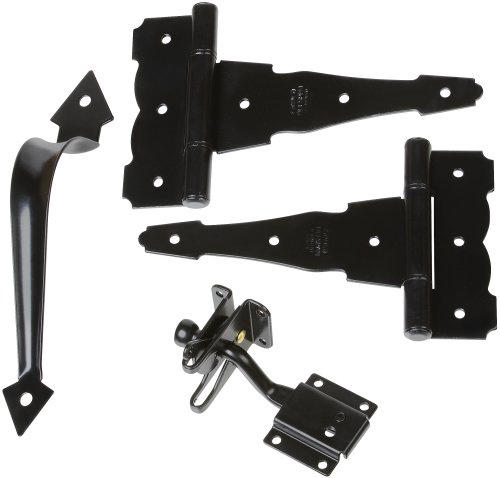
Decorative Gate Hardware Kit | Pretty Handy Girl

Adding Decorative and Functional Hardware to Your Gate | Pretty Handy Girl

(I’ve included affiliate links for your convenience. I earn a small percentage from a purchase using these links. There is no additional cost to you. You can read more about affiliate links here.)

Instructions:

Determine which way your gate opens (inward or outward.) Also determine where you want to locate the handle and separate latch.
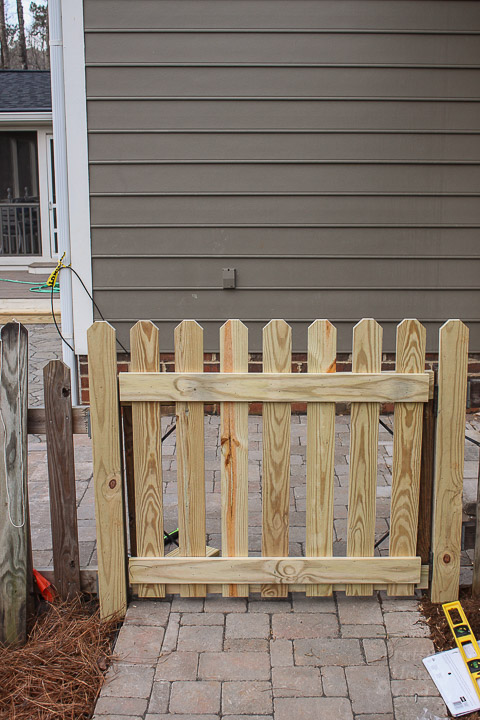
Adding Decorative and Functional Hardware to Your Gate | Pretty Handy Girl

I chose to attach the gate handle to the side of the gate that pulls toward me.
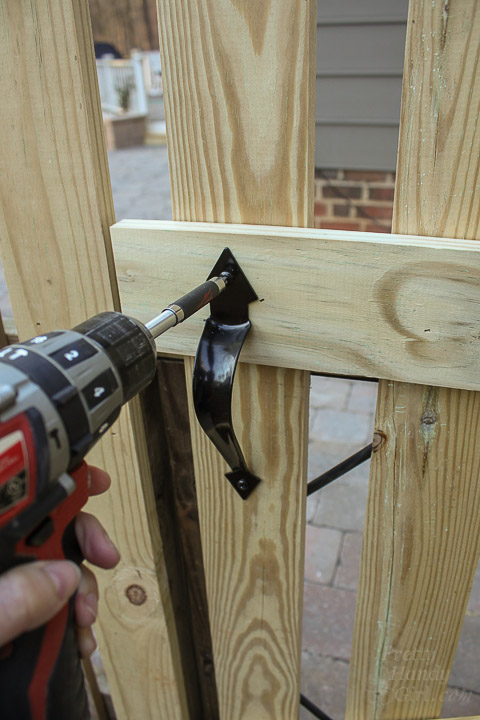
Adding Decorative and Functional Hardware to Your Gate | Pretty Handy Girl

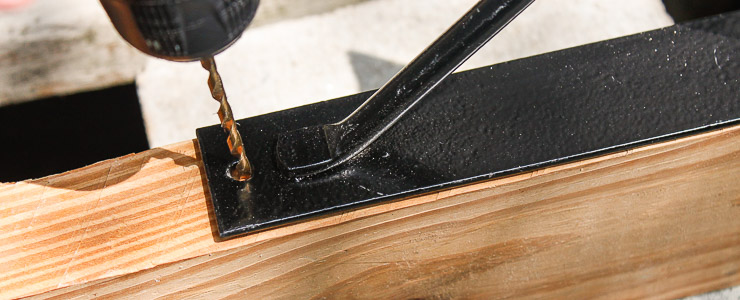
My gate has built in hinges in the gate frame, but I wanted to add extra charm to our gate by attaching decorative hinges to one of the exterior cross supports.
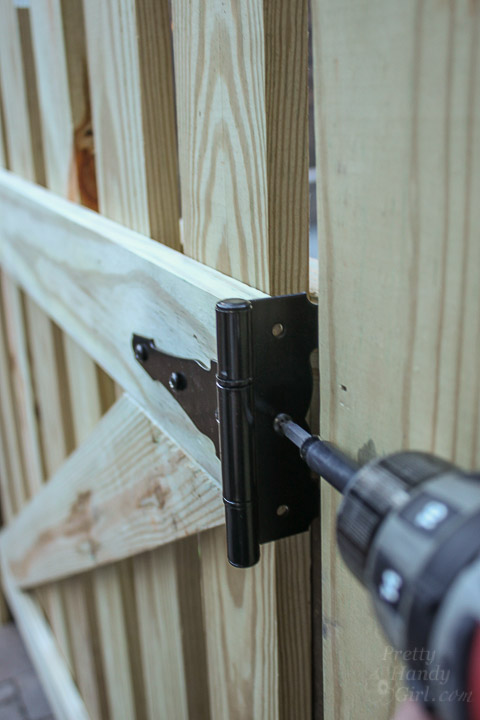
Adding Decorative and Functional Hardware to Your Gate | Pretty Handy Girl

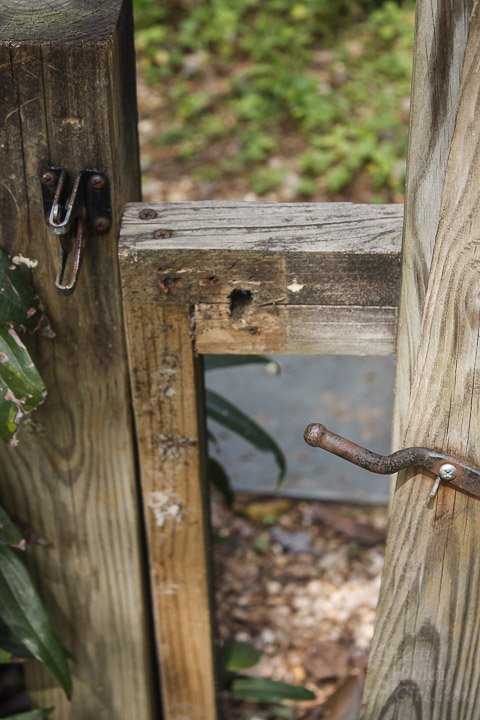
For our specific usage, I installed the latch on the inside of our gate so it won’t be visible to passersby. To bring the latch to the correct depth, you may need to install a scrap wood block onto the back of the gate support.
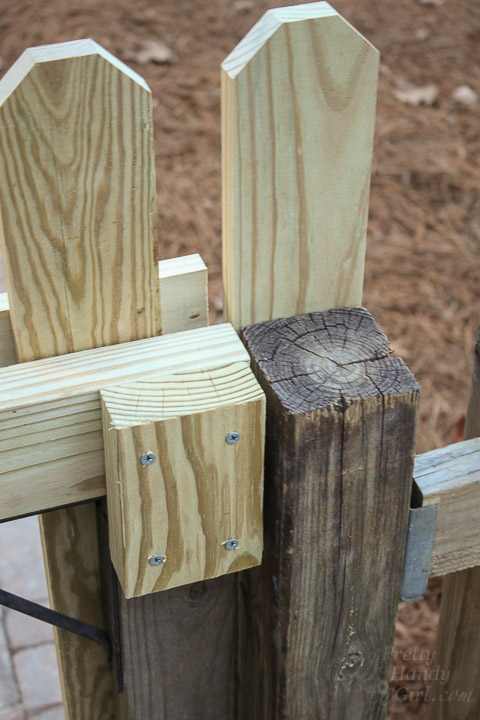
Adding Decorative and Functional Hardware to Your Gate | Pretty Handy Girl

Install the latch onto the outer post. (If you are installing onto the outward opening side, install your latch onto the gate.)
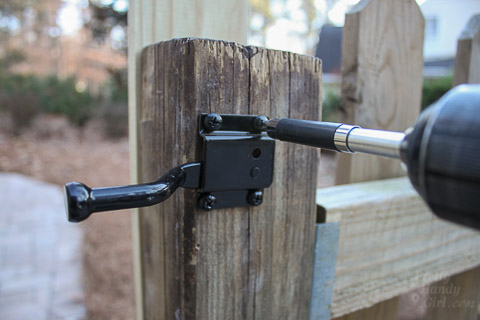
Adding Decorative and Functional Hardware to Your Gate | Pretty Handy Girl

Hold the catch against the latch to determine the proper installation location.
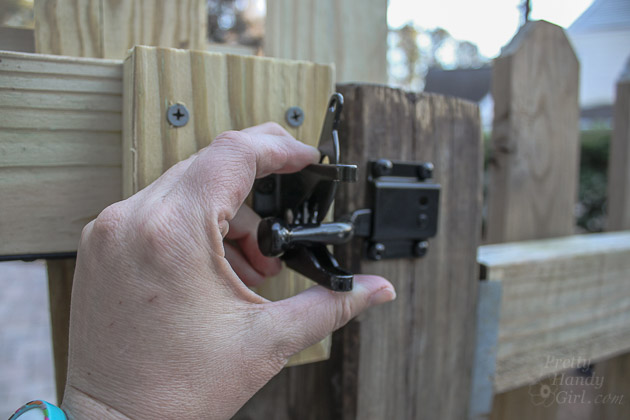
Adding Decorative and Functional Hardware to Your Gate | Pretty Handy Girl

Attach the catch using the provided screws.
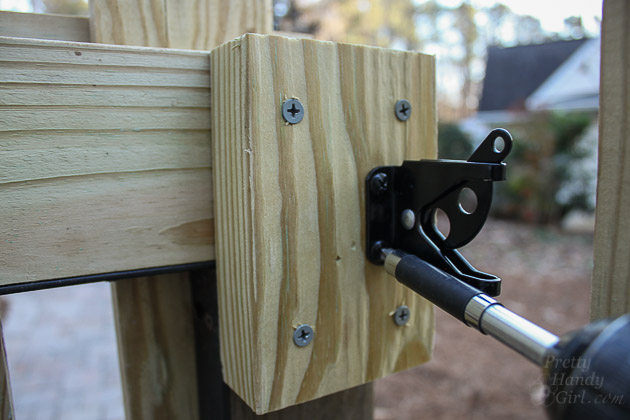
Adding Decorative and Functional Hardware to Your Gate | Pretty Handy Girl

Luckily, the National Hardware latch has a flexible design that compensates for gate sag (or poor catch installation.) When the gate is closed, it will automatically latch.
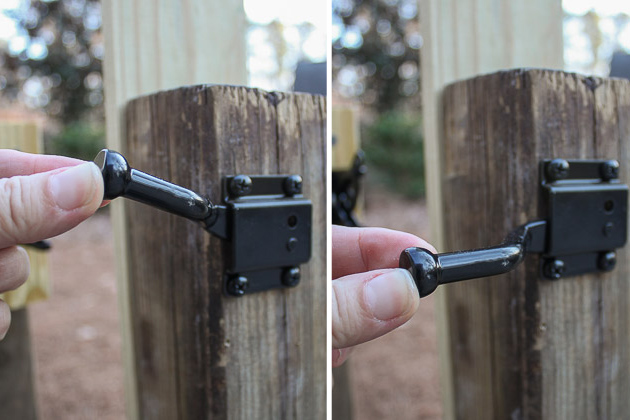
Adding Decorative and Functional Hardware to Your Gate | Pretty Handy Girl

Here’s how the gate closes with the latch on the inside:
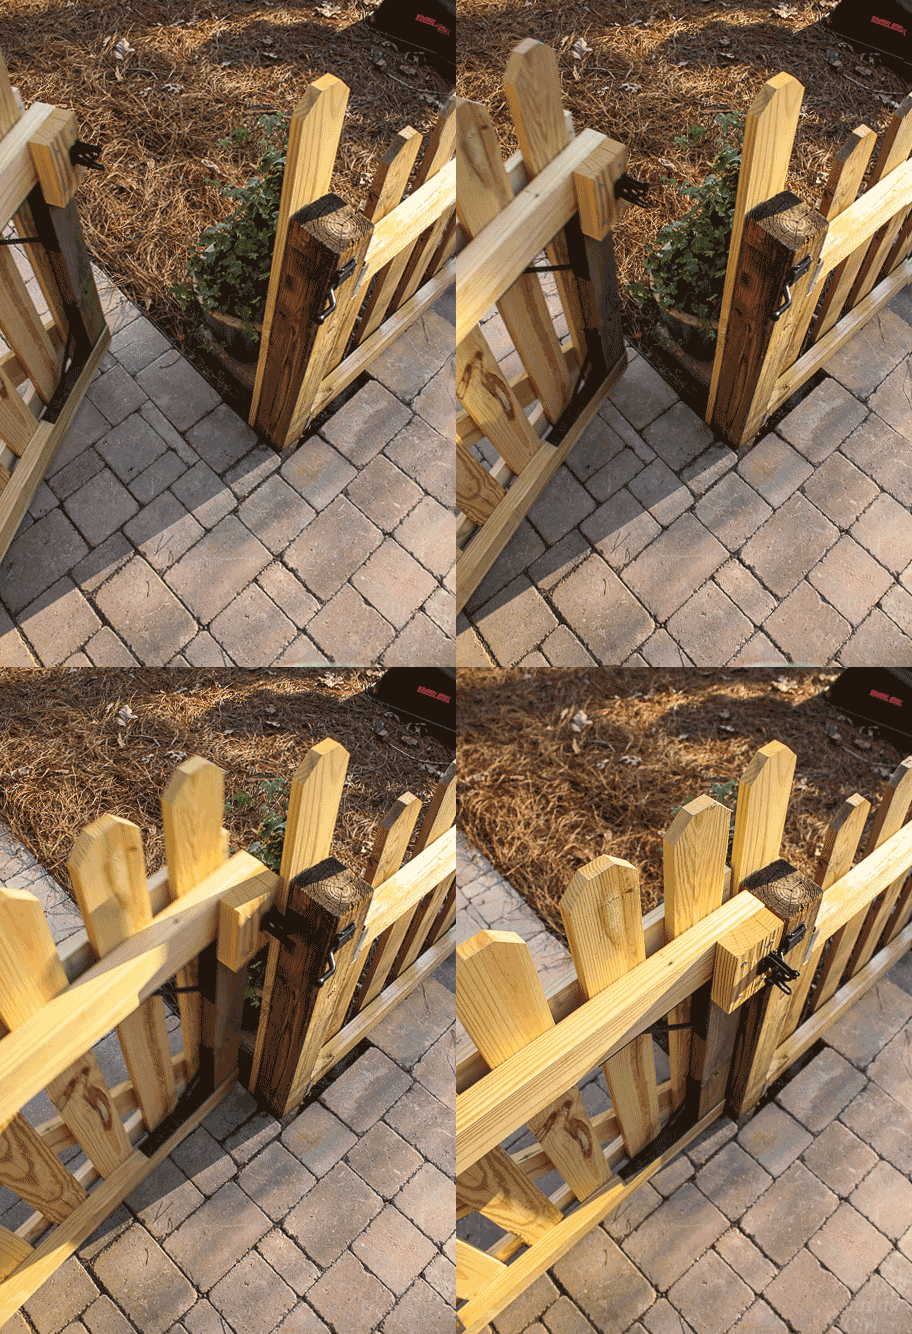
Self-closing gate spring | Pretty Handy Girl

Unfortunately, the gate won’t close itself. If someone is caught up in a high stakes game of tag the gate will inevitably be left open. That’s when Handy Dog will take advantage of his new found freedom. (Luckily he won’t run away, but he will take a field trip to the creek and come back wet and dirty.)
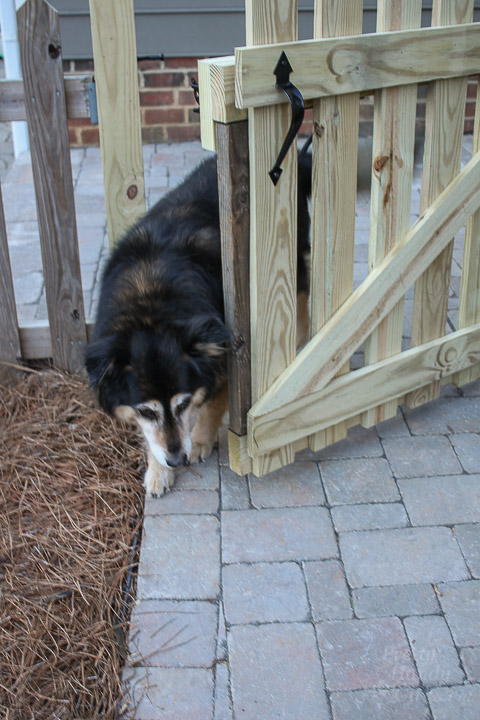
Adding Decorative and Functional Hardware to Your Gate | Pretty Handy Girl

National Hardware has a nifty product that will close the gate every time (no matter how fun that game of tag is!)

Installing a Self-Closing Gate Spring:

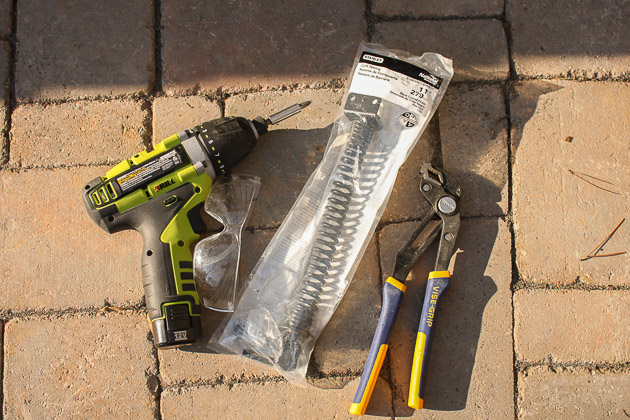
Remove the spring from the package and hold up against the hinge side of your gate. The top should be on the side support post, the bottom on your gate.
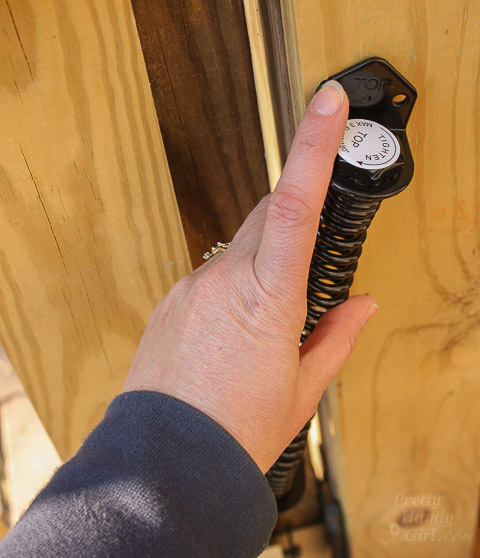
Adding Decorative and Functional Hardware to Your Gate | Pretty Handy Girl

Attach the top with the provided screws.
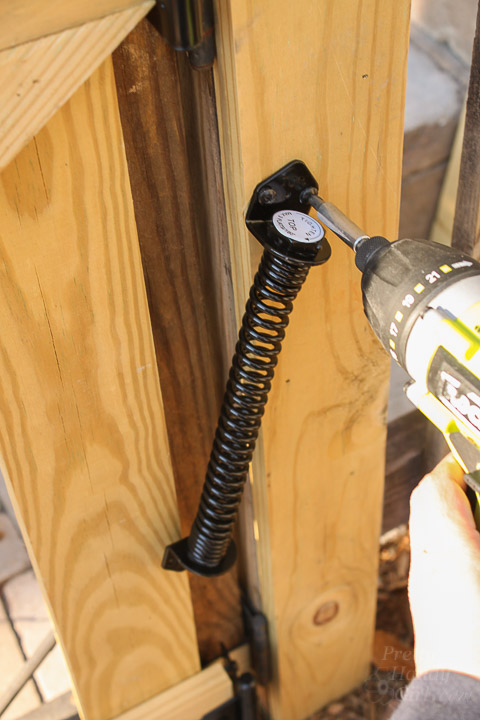
Adding Decorative and Functional Hardware to Your Gate | Pretty Handy Girl

Attach the bottom to the gate with the provided screws.
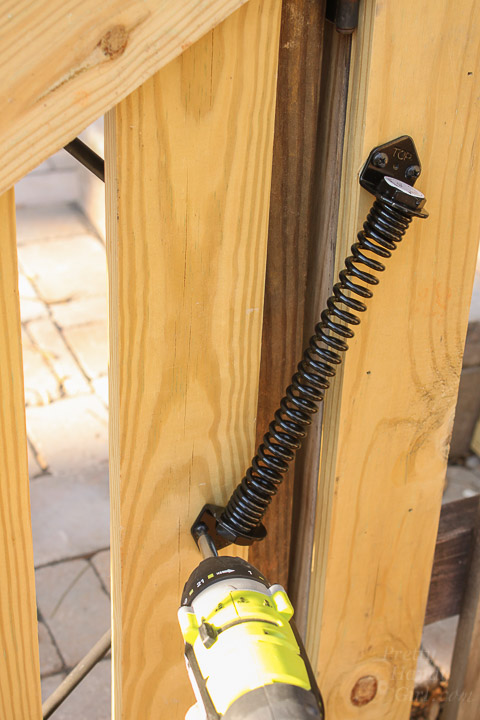
Adding Decorative and Functional Hardware to Your Gate | Pretty Handy Girl

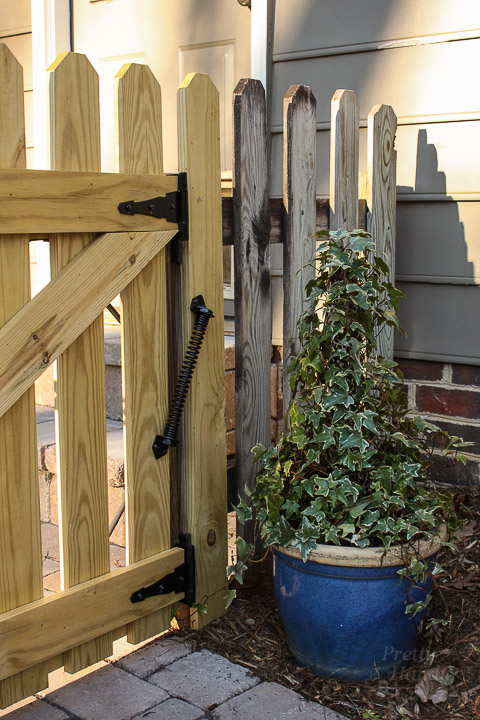
The spring should look like this.

Adding Decorative and Functional Hardware to Your Gate | Pretty Handy Girl

Use the pliers to turn the top of the spring 1-2 flat sides (depending on how heavy your gate is.)
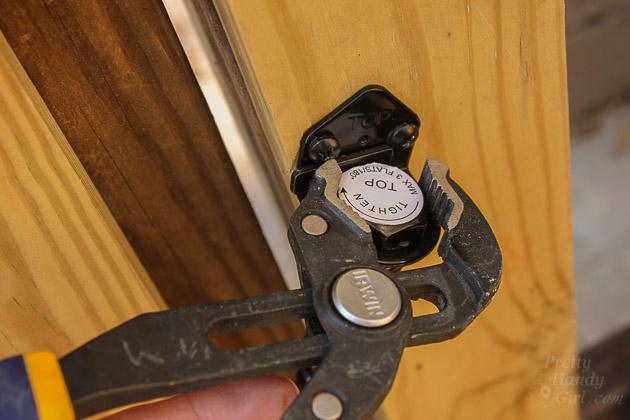
Adding Decorative and Functional Hardware to Your Gate | Pretty Handy Girl

Slip the provided metal bar behind the top nut to hold it in place.
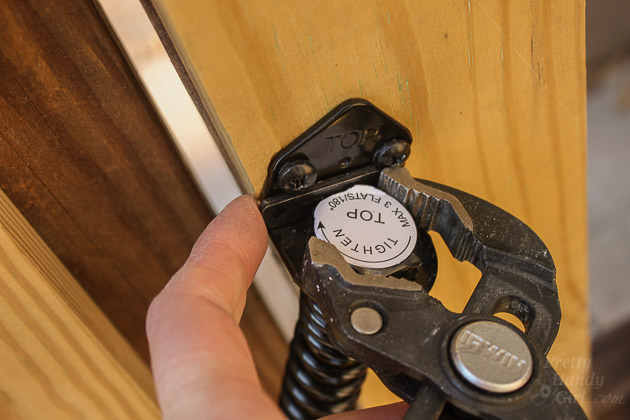
Adding Decorative and Functional Hardware to Your Gate | Pretty Handy Girl

Test your gate by opening it and let ‘er fly! If the gate doesn’t close completely, turn the top nut one more notch. If it slams too hard, loosen one notch.
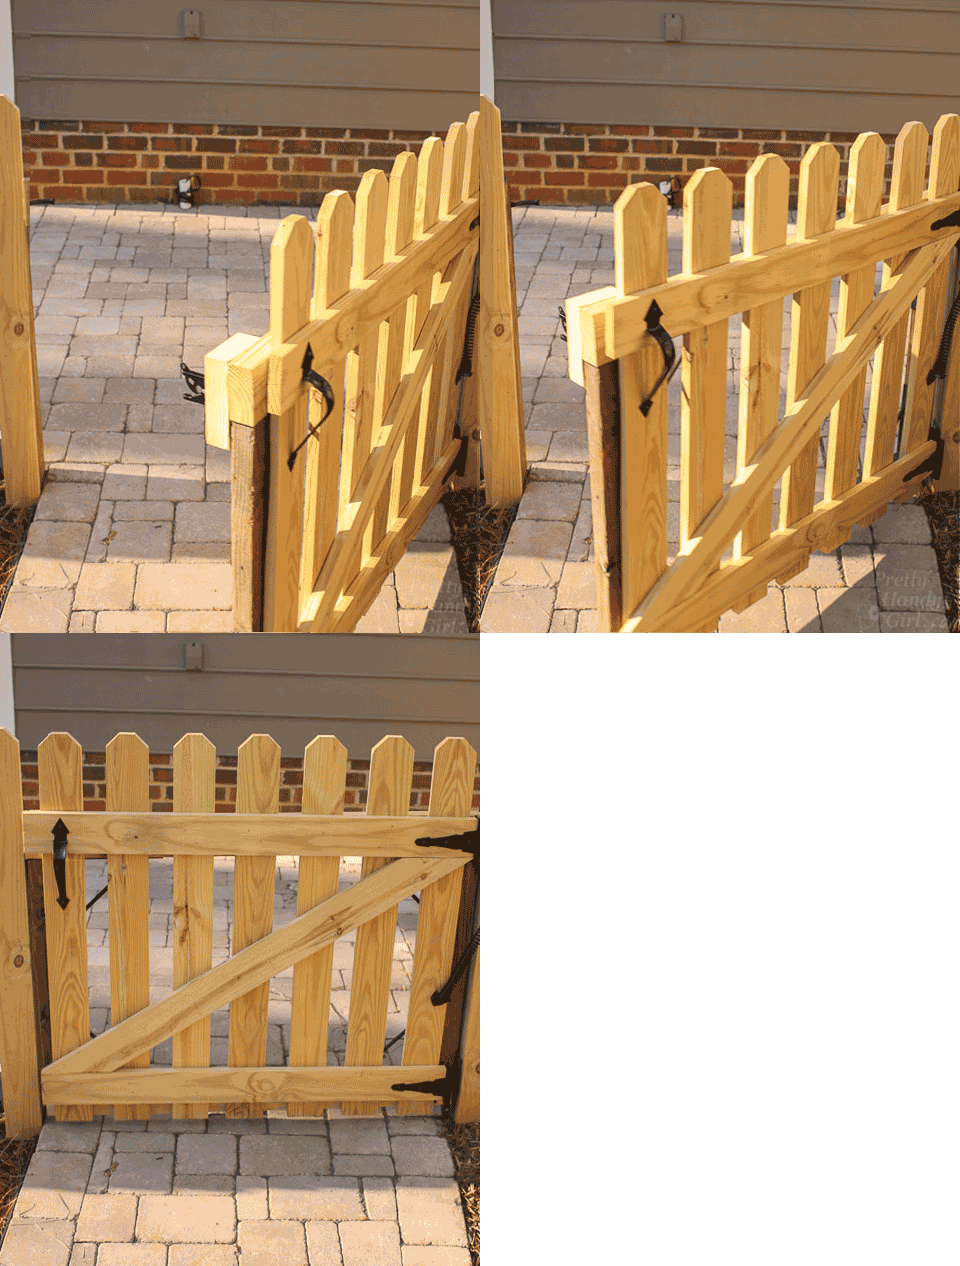
Self-closing gate spring | Pretty Handy Girl

And that’s How You Add Decorative and Functional Hardware to Your Gate!
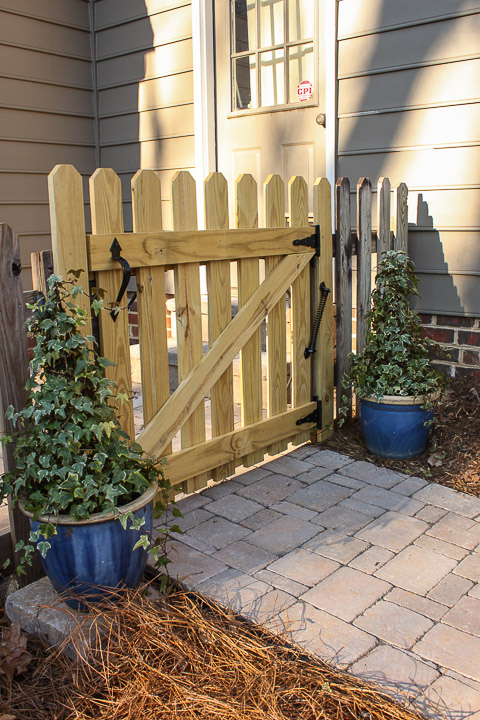
Adding Decorative and Functional Hardware to Your Gate | Pretty Handy Girl

I’m relieved I don’t have to nag my kids to close the gate anymore.
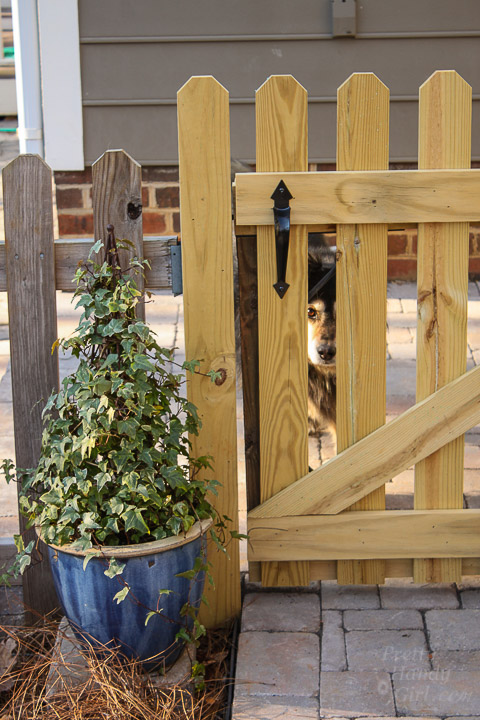
Adding Decorative and Functional Hardware to Your Gate | Pretty Handy Girl

Of course Handy Dog is less than thrilled.
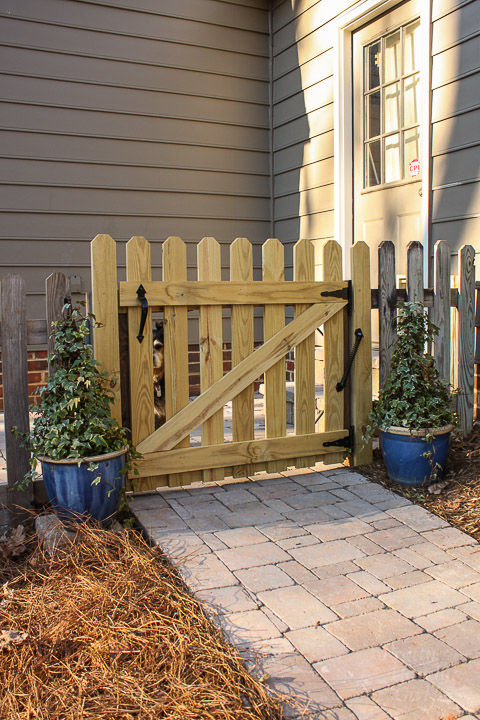
Adding Decorative and Functional Hardware to Your Gate | Pretty Handy Girl

It’s a tough life that Handy Dog has ;-D.

PHGFancySign

Disclosure: This is a sponsored post for National Hardware. I was provided complimentary hardware and was compensated for my time and efforts to promote National Hardware. I was not told what to write. All opinions are my own. I am particular about the brands I represent and will always let you know when you are reading a sponsored post.

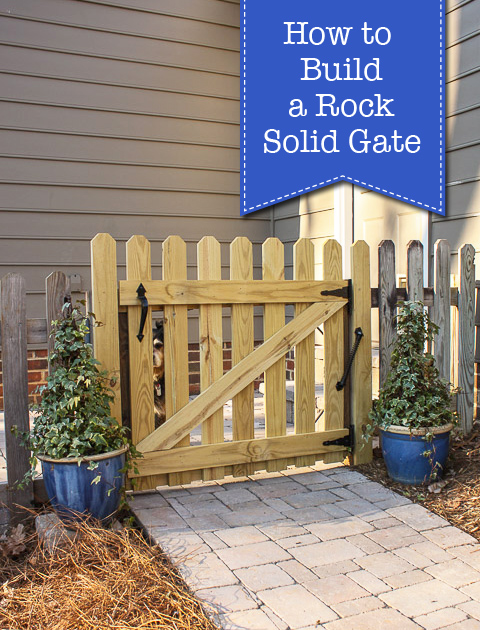
How to Build a Rock Solid Gate | Pretty Handy Girl

How to Build a Rock Solid Gate | Pretty Handy Girl

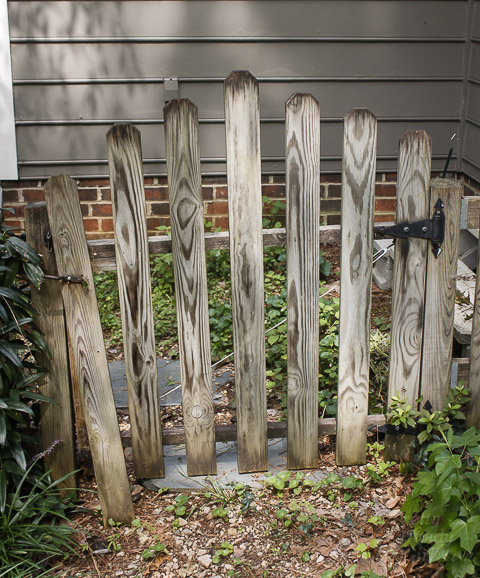
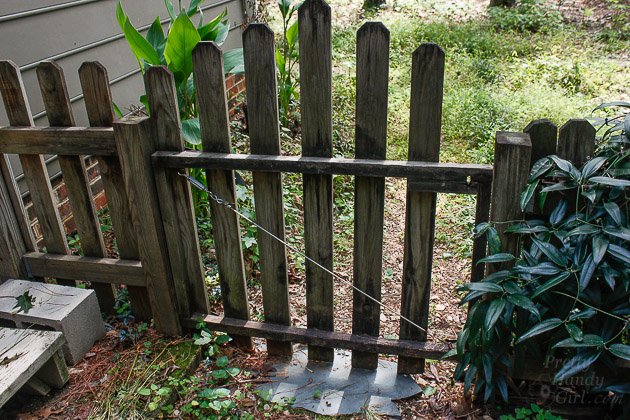
If you googled “Sad Excuse for a Gate”, this is the image that would pop up:

How to Build a Rock Solid Gate | Pretty Handy Girl

Rotted, sagging and falling apart are all words you could use to describe it.

How to Build a Rock Solid Gate | Pretty Handy Girl

One of the main reasons this gate is in poor shape is because it wasn’t built rock solid! Building a rock solid gate requires a 2″x4″ frame, not these measly 2″x2″ pieces. The wire can only help so much with sag. This gate just wasn’t built to last.

How to Build a Rock Solid Gate | Pretty Handy Girl

Want to learn How to Build a Rock Solid Gate?

Let’s get building!

Materials:
(contains affiliate links)

How to Build a Rock Solid Gate | Pretty Handy Girl

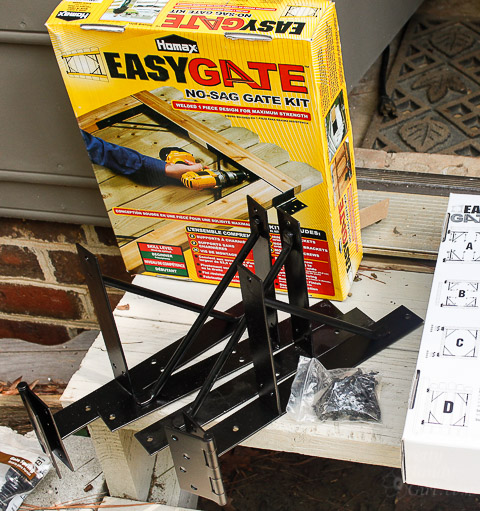
  • Homax Easy Gate Kit
  • 2″x4″ board(s)
  • Tape measure
  • Pencil
  • Hammer
  • Level
  • String
  • Shims
  • Drill
  • Saw

Instructions:

I’ve built several gates, but the Homax Easy Gate is the easiest way to build a Rock Solid Gate (NOT paid to say this!) The frame is custom sized to your gate by the length of the 2″x4″ boards. The hinges are integrated into the frame, making this one of the quickest and strongest gate kits I’ve ever built.

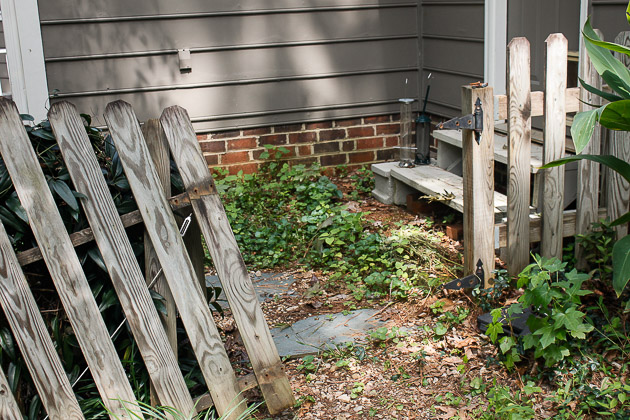
Start by removing your old gate. If the pickets are in good shape, save them for use on the new gate.

How to Build a Rock Solid Gate | Pretty Handy Girl

Measure the width of your opening.

How to Build a Rock Solid Gate | Pretty Handy Girl

Subtract 1.5″ from the width and cut two 2″x4″ boards to this dimension.

How to Build a Rock Solid Gate | Pretty Handy Girl

Measure the height of your adjacent fence posts.

How to Build a Rock Solid Gate | Pretty Handy Girl

Subtract a few inches from the height measurement to allow the gate kit hinge to secure to the post. (And to keep the bottom 2″x4″ a few inches above the ground to keep it from rotting.) Cut the two 2″x4″ boards to this measurement.

Insert your cut boards into the gate kit. You may need the hammer to force some stubborn studs into place. Read more