
Take out the papers and the trash…ummm take out the trash?
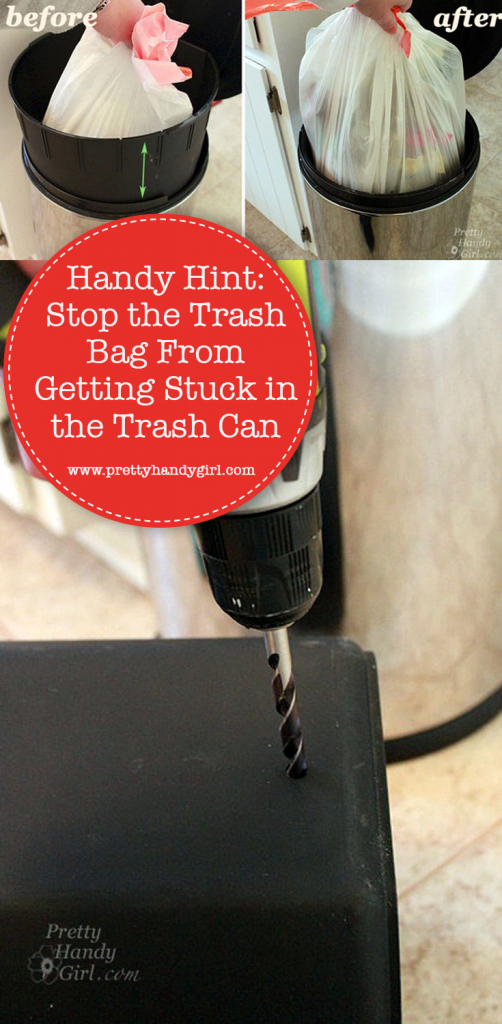
Grrr, don’t you hate when the trash bag gets stuck in the trash can? No worries, I have an easy fix that will make taking out the trash a much easier chore. It may sound a little crazy, but it involves drilling holes.
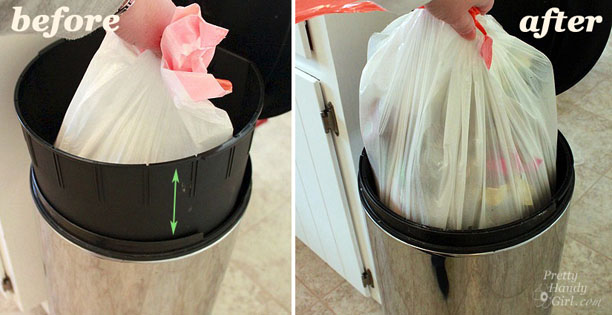
Day 16: Put Holes in Your Trash Can
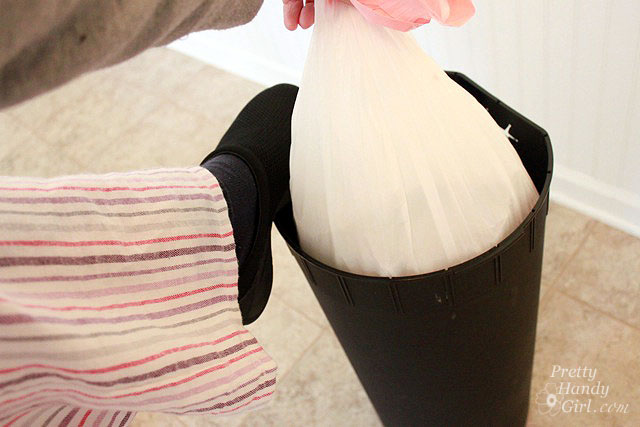
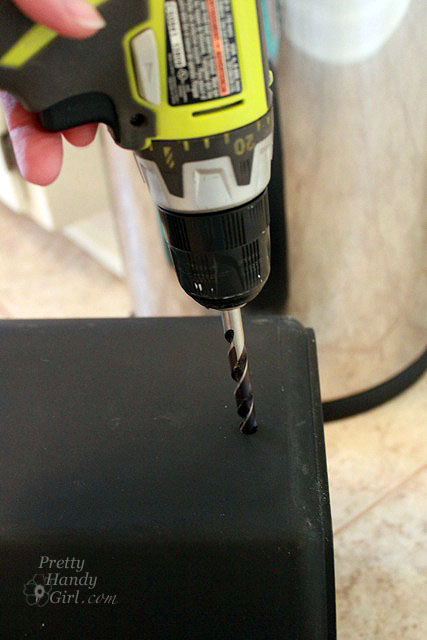
To release the suction created by a full trash bag in the trashcan you need to add some air holes. If you put the holes about an inch up from the base you won’t risk any drips on the floor if the bag leaks.
Simply drill three to four air holes into the bottom of your trash can.
Now you can take out the papers and the trash or you don’t get no spending cash. Yakkety Yak, don’t talk back.
This year we’ve added several chores for the kids to handle. Taking out the trash and recycling is one of their responsibilities. I’m curious, what chores do your kids have?
![]()
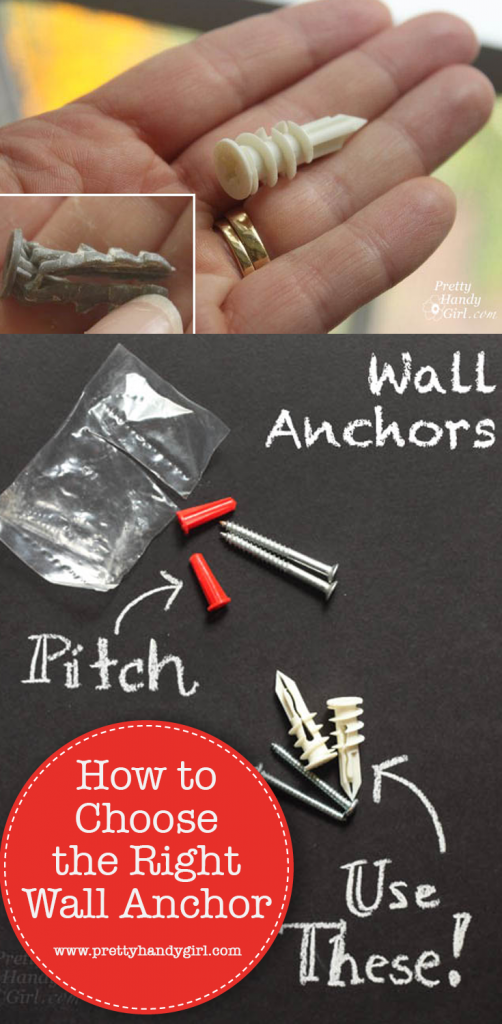
Pin for later!
I’m participating in Nester’s 31 Days Challenge. Check out all the other bloggers who are participating!

Don’t miss a single tip! Sign up to get all the tips in your email:

Other tips in the 31 Days of Handy Home Fixes series: