Hanging Ceiling Art | Spheres & Lanterns | Pretty Handy Girl

Hanging Ceiling Art | Spheres & Lanterns | Pretty Handy Girl

It’s Monday, and I have a cure for the Monday doldrums! Let’s hang some fun colorful spheres and lanterns to lift your spirits!

I came up with a great way to hang lanterns and spheres from the ceiling (regardless of where the studs were.) Plus, I reduced the holes from 7 down to 4 in the ceiling.

This is a simple project, here’s what you’ll need:

Materials:

materials

  • 1 – 8′ long slim piece of flat moulding painted with ceiling paint
  • Tape measure
  • Pin
  • Pencil
  • Drill with drill bits
  • 2″ wood screws
  • Cup hooks
  • Finishing line
  • Paper lanterns and a sphere (or other objects to hang)
  • Scissors
  • Touch up ceiling paint
  • Small paint brush

Instructions:

Start by determining where you want to hang your art. Begin by knocking on the ceiling (or use a stud finder) to determine where your first stud is. Gently insert the pin until it stops (indicating a stud there.) Read more

easy diy yardstick star

Hi there! It’s Melissa from The Happier Homemaker again and I’m excited to share a super easy little DIY decor project with you today!  A few weeks back I was at Lowe’s on a Saturday morning (isn’t that where we all are on the weekends?) While shopping around I saw a bucket of yardsticks in the paint section and had a stroke of inspiration to create this adorable little yardstick star for my mantel! This was one of my favorite types of projects (simple and inexpensive) and I hope you enjoy it as much as I did!

Materials

  • 3 wood yardsticks
  • Saw (I used a circular saw but almost any type will work)
  • Wood Glue
  • Stain

Instructions:

materials yardstick star

Use a saw to cut each of your yardsticks in half at the 18″ line. Set one segment aside so you have 5 total pieces to work with. Read more

Installling Brick Mural Wallpaper | Pretty Handy Girl

Tips for Installing Brick Wallpaper Mural | Pretty Handy Girl

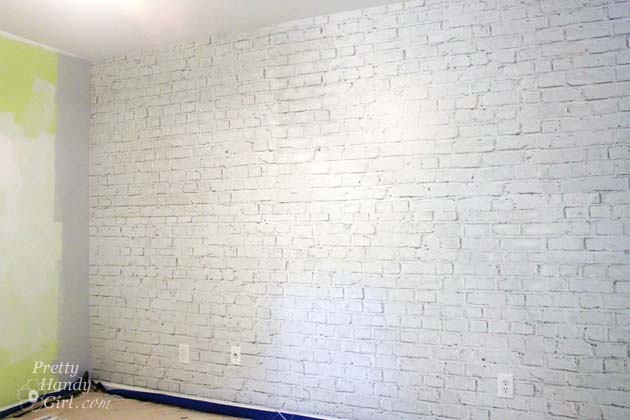
Today I can’t wait to show you how to easily add dimensional interest to a focal wall in your home. Installing a Brick Wall Mural is definitely a DIY project you can tackle if you have a friend or two to help you. When Wallpaper Direct contacted me to offer to let me try some of their products, I was still a bit wary (having stripped my fair share of wallpaper.) But, then I stumbled upon the white brick wallpaper and saw how cool it looked. I decided to give it a try and let them send me a wallpaper mural specifically for my son’s bedroom. But, let’s back up. Remember last week when I admitted to being a procrastinator? Well, this is what I started with:

Back Camera Back Camera

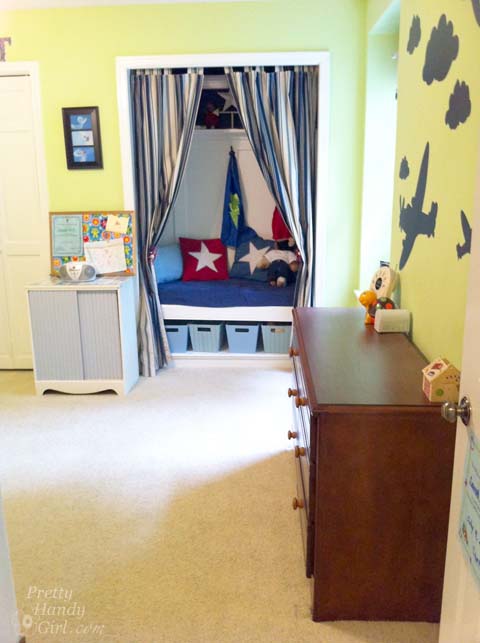
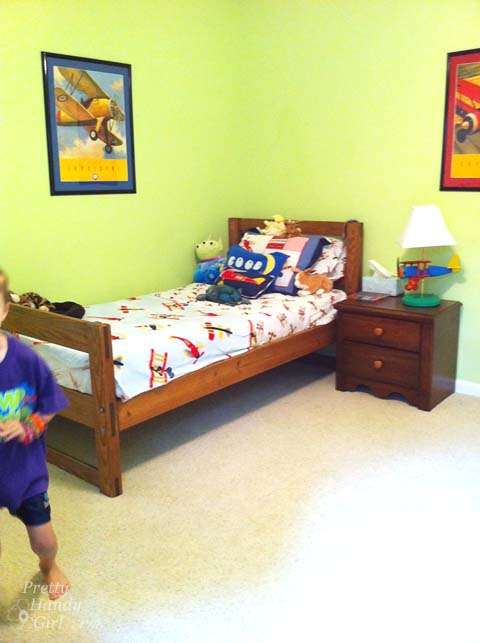
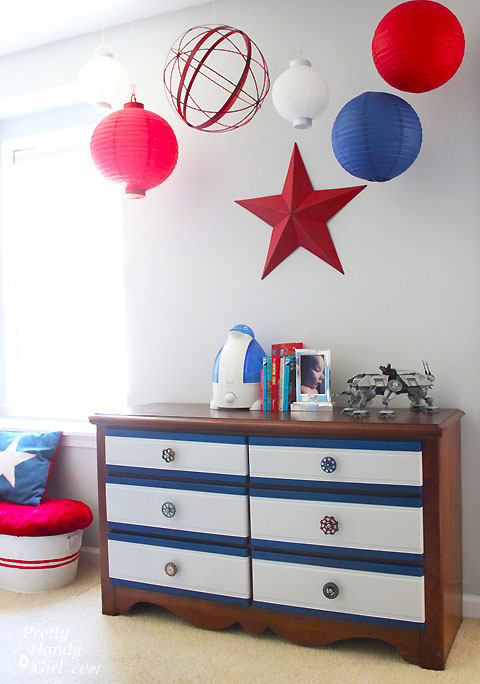
After staring at Nickelodeon green for 6 years, my son and I decided it would be calming to paint the walls a soothing gray. And, I thought it would be really cool to create a loft look by installing a giant wall mural of white brick. (Note: The large mural panels has since been discontinued, but you can purchase white brick wallpaper that looks very similar and may actually be easier to install by yourself.)

I ordered the mural and it arrived safely to our house in a few days. I quickly organized a few friends who had installed wallpaper to help me.

Installling Brick Mural Wallpaper | Pretty Handy Girl

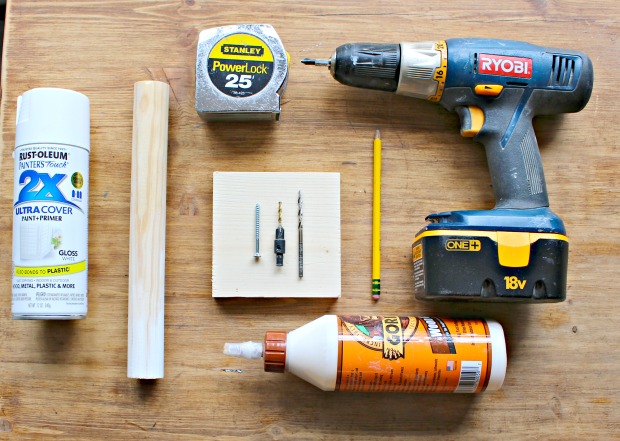
To install a wallpaper mural, you’ll need a few tools.

(I’ve included affiliate links for your convenience. I earn a small percentage from a purchase using these links. There is no additional cost to you. You can read more about affiliate links here.)

Materials:

Prep Work:

Before wallpapering your wall, clean it with a mild cleanser (diluted TSP is wonderful, but you can use regular multi-purpose spray cleaner.) Patch any holes or imperfections with spackle (joint compound). After the compound has dried, lightly sand the wall. Read more

lollipop stand

Happy Spring folks!  Jaime here from That’s My Letter back to share a fun DIY party decor idea: make your own lollipop stand.  I promise it’s fast and easy and adds tons of charm and sweetness to any party.

lollipop stand 2

This lollipop stand holds a ton of lollipops – 52 to be exact!  You could probably even use this stand for cake pops.  (The tutorial for the ‘celebrate’ script sign can be found here.)

lollipop stand 3


Materials:

lollipop stand supplies

  • 1 – 1 1/4″ wood dowel x 11″ long
  • 1 – 1×5  cut to 4 1/2″ (or any scrap wood 4 1/2″ square x 3/4″thick)
  • white gloss spray paint
  • sandpaper
  • 1 – 2″ wood screw
  • countersink bit
  • 5/32 drill bit
  • pencil
  • tape measure
  • drill
  • glue
  • scotch tape

Instructions:

Step 1: Mark the center point on the 4 1/2″ square wood base. Read more

Knock off Partridge Garden Table Tutorial

I often find myself searching online looking at furniture and decor on sites that I consider full of unique items.  I recently came across the Anthropologie Partridge Garden Table and fell in love.  The creative use of old mismatched legs was awesome.  Then I saw the price; a mere $ 148.00.  As cool as it is, spending that much for a plant stand is way more than I could ever justify.  I knew I could make it cheaper and am excited to show you how to make your own!

Materials

  • 3 different banister Spindles or table legs
  • 10″ clock face round
  • Wood Glue
  • Nail Gun
  • Wood Filler
  • Painters Tape
  • Three different colors of Paint
  • Sliding T-Bevel Square
  • Miter Saw
  • Spray Paint (Rust-Oleum Rustic Mist)
  • Spray Paint (High Gloss Sealer)

Round Legs

Instructions

1.  Lay  out the spindles and decide which sections will be used for the legs. Read more