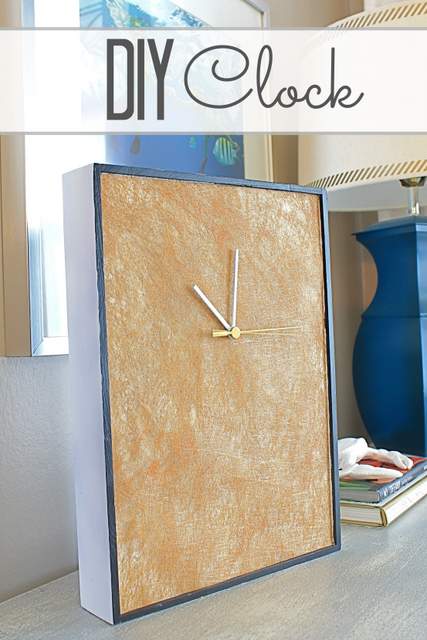
DIY Clock

DIY Clock

August means getting ready for the upcoming fall season, back to school, sports season and the holidays. Hi everyone, it’s Jessica at Decor Adventures and I have an easy project to keep you on time for all the activities you and your family have planned these next months, a DIY clock. Did you know you could make your own clock? It’s super easy to put together and you can paint or decorate it to perfectly match your home’s decor. Let’s get started.

Materials

  • Clock kit
  • Double sided tape
  • Wooden tray to make your clock
  • Paint (optional)
  • Decorative paper
  • Spray adhesive (optional)
  • Scissors
  • Pencil
  • Ruler
  • Drill and drill bits
  • Hanging hardware

Instructions:

1. To make this clock, I found a 99 cent tray at the thrift store. I knew it would be great for this project because it can hang on the wall and will conceal the clock kit inside the tray. You could also use a picture frame without glass or even some other creative object you’d like to use for your clock face. Make sure it’s something flat so your clock kit will fit into it.
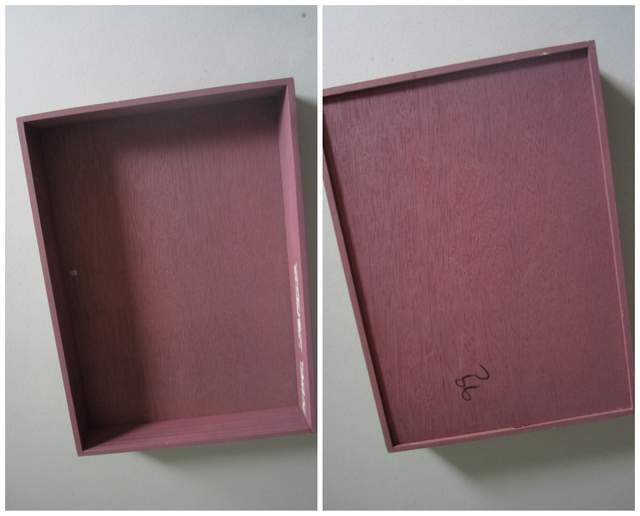
Thrifted Tray

2. The back of the tray will actually become the face of my clock. To prepare it, prime your tray.
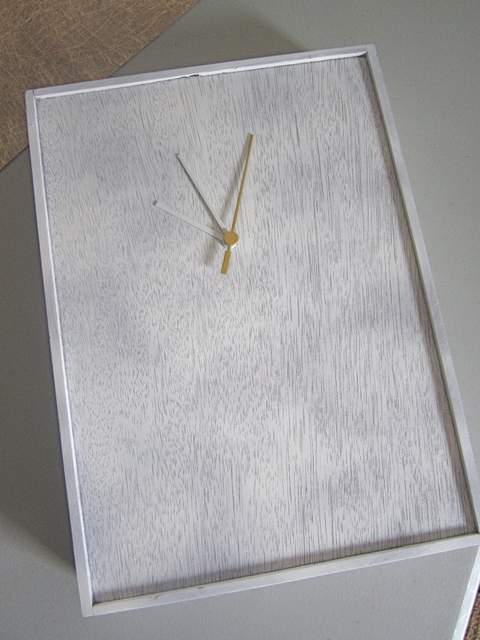
Make Your Own Clock

Decide where you would like to put the hands of your clock. It can be in the exact center of the tray or off center for a different look. Mark where the center of the clock will be placed. Read more

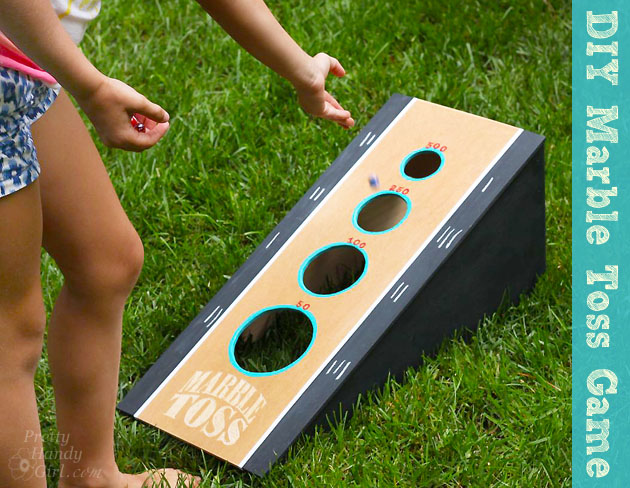
DIY Marble Toss Game | Pretty Handy Girl

DIY Marble Toss Game | Pretty Handy Girl

The summer is dragging on and the kids don’t have any summer camps for the next few weeks. That means: 1) I need to find a way to keep the kids entertained. 2) I need to keep them from pushing me over the brink of insanity. 3) I need to keep them from pushing each other off a cliff.

engraved-marble-toss

I came up with a fun marble toss game that will keep them busy. It was an easy game to make and I used some of the scrap wood laying around my workshop. Feel free to substitute materials and make modifications.

I enjoyed using the Dremel Fortiflex to carve the intricate letters and numbers. I have to admit I’m enjoying working as a brand ambassador for Dremel and testing their tools.

Let’s get your marble game face on!

(I’ve included affiliate links for your convenience. I earn a small percentage from a purchase using these links. There is no additional cost to you. You can read more about affiliate links here.)

Materials:

Optional: White pin stripes

Cut list:

  • 1 – 1/4″ x 10.5″ x 24.5″ plywood (face)
  • 1 – 1/2″ x 23″ x 9.25″ plywood (for side supports)
  • 2 – 1×3″ cut to 8.5″ (for base supports)
  • 1 – 2×4″ cut to 8.5″ (for upper support)

Tools Used:

Instructions:

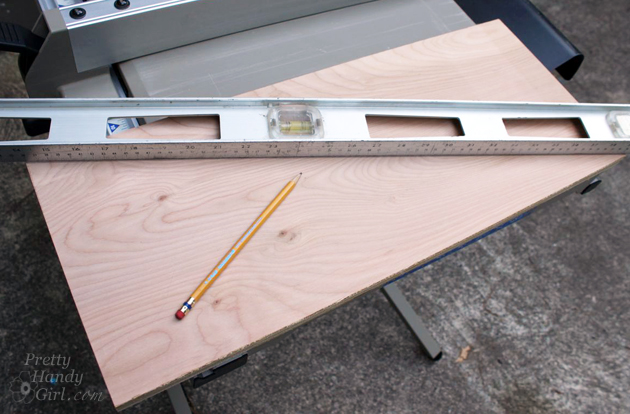
Begin by drawing a horizontal line across the 1/2″ plywood.

mark-triangle-half

The angle will be approximately 22Ëšdegrees.

22-degrees

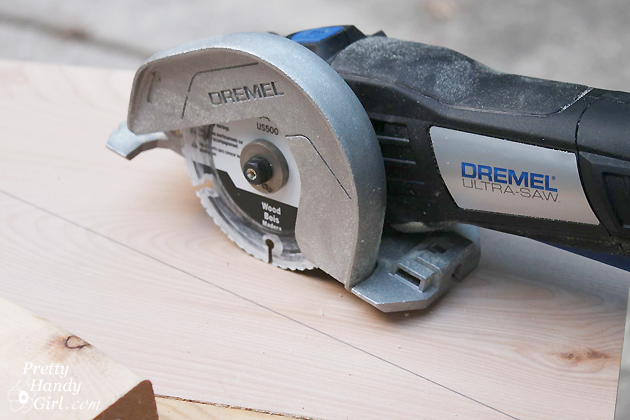
Use the Dremel Ultra-Saw (jig saw or circular saw) to cut your plywood board in half diagonally.

cut-on-line-ultra-saw

You should have two identical triangles for the side supports. Read more

free printable blog hop

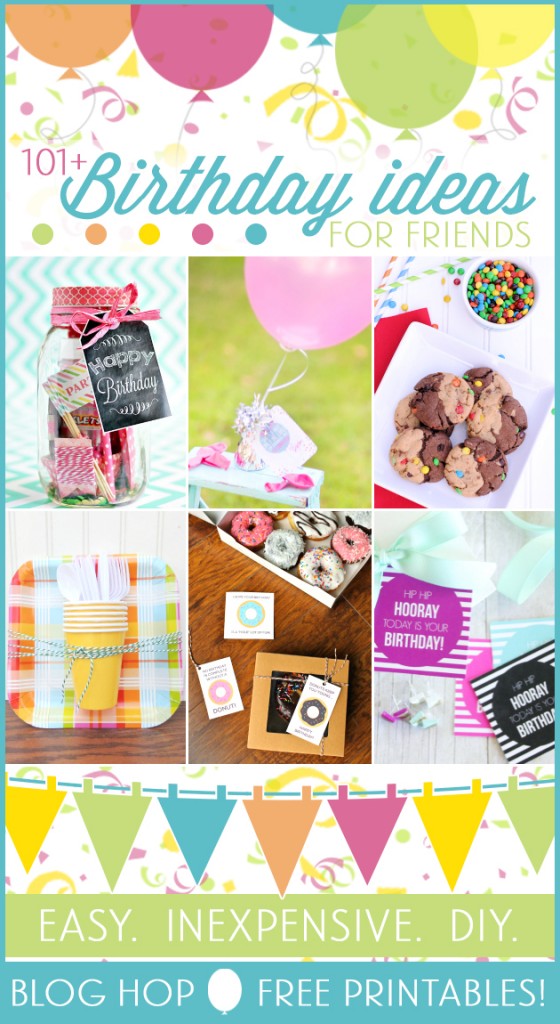
I’m excited to share 101+ Birthday Gift Ideas for your Friends. I am joining creative forces with Kristen Duke in her Birthday Celebration Week along with over 100 talented bloggers sharing lots of inexpensive ideas and free printables! The collection is live now, so be sure to jump out of bed and find a fabulous gift idea for that special person in your life.  A lot of these gifts are versatile for any occasion, and can be a gift to your friends, family, or even that gal that you’d like to get to know better. Even more fabulous—most gifts are under $5, and have coordinating printables to make it super simple!

101 Birthday Ideas for Friends

{Blog Hop Birthday designs by C {dot} love}
 

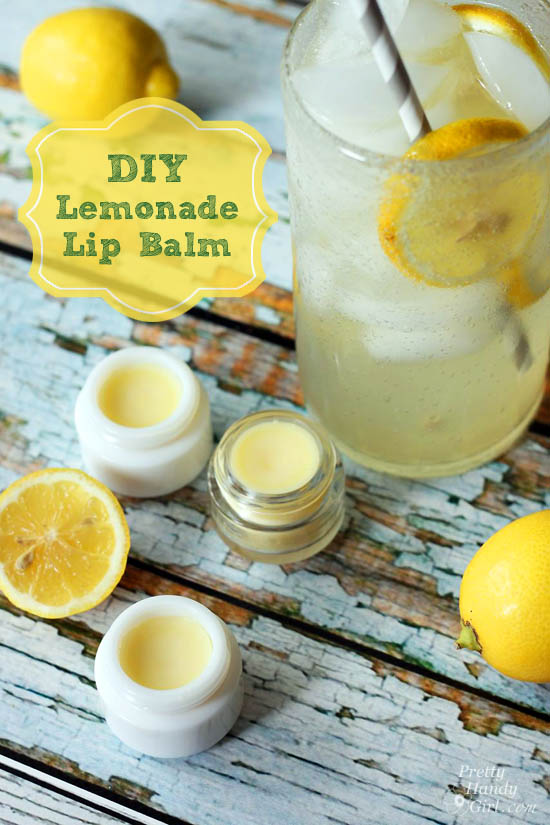
I’m sharing a recipe for DIY Lemonade Lip Balm because I know a little handmade gift of lemony goodness will brighten anyone’s day and let them know that you care enough to pamper them on their birthday (or any day.)

DIY Lemonade Lip Balm | Pretty Handy Girl

Are you ready for some inspiration? Join in on the BLOG HOP! Click on each of the links below each collage to see the instructions on how to make them and their free printable. I like to open a bunch of new tabs and Pin my favorites for later. Don’t forget to follow the Gift Ideas Pinterest Board as well, to save future great ideas. Read more

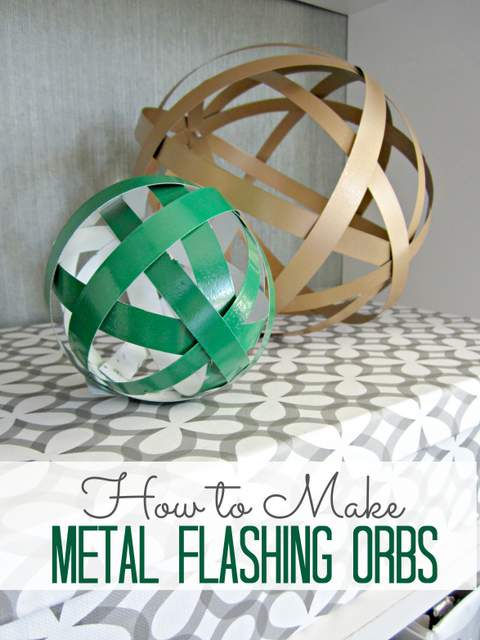
Metal-Flashing-Orbs

Metal-Flashing-Orbs

Happy July friends! It’s Jessica from Decor Adventures. I hope you are enjoying all things summer and have a close friend or relative with a pool, if you don’t have one yourself. It is super hot here and I’m glad my sister finally opened hers. Otherwise, to stay cool I hang out in our basement where my craft area is set up. I have an easy project for you this month, it’s how to make metal flashing orbs for your home.

I’ve seen these orbs used in all types of home decor items: from pendant lights to garden decorations. I always thought it would be easy to DIY your own. Here is how to make decorative orbs from metal flashing in five easy steps.

Materials:

Metal-Flashing-Orbs

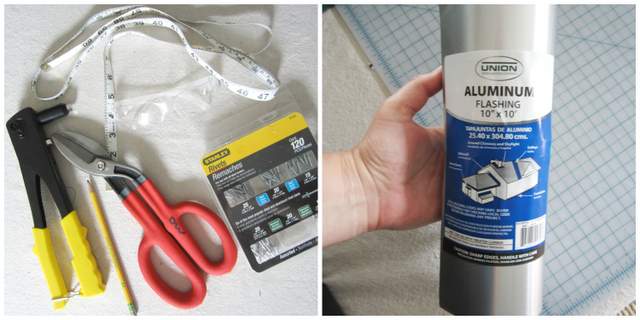
  • Metal flashing
  • Tin snips
  • Rivet gun
  • Rivets
  • Ruler
  • Gloves
  • Pencil
  • Safety eye glasses
  • Drill and drill bits
  • Clamp
  • Clothespins
  • Glue gun and glue sticks
  • Optional – Spray paint and respirator if you will be painting your metal


Instructions: Read more

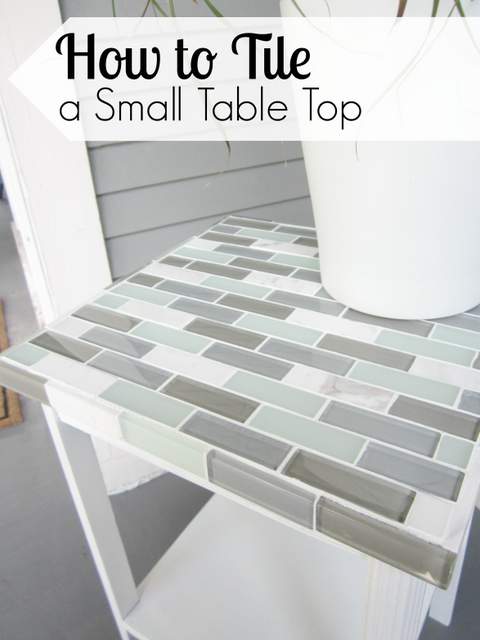
How to Tile a Small Table Top

How to Tile a Small Table Top

Hello and happy summer pretty handy readers. It’s Jessica from Decor Adventures. With the weather getting warmer, I’m completing lots of outdoor projects these days. One DIY adventure I’ve never actually tackled is tiling, but I’ve always wanted to. Today I’m going to show you how to tile a small table top. It’s easier than you think and is perfect for the outdoors too.

Tile a Small Table Top Materials:

How to Tile a Small Table Top

  • Small table
  • Tile adhesive (also called mortar or thinset)
  • Tile (enough to cover the top of the table)
  • Notched trowel
  • Rubber float
  • Grout
  • Grout sponge
  • Tile cutters
  • A bucket
  • Paint for the table (optional)
  • Water
  • Plastic gloves
  • Eye protection


Tile a Small Table Top Instructions

First, prepare your table. The small table I’m using was the one we used for my pet parrot when I was little! His name was Woodstock, and no he didn’t talk. I guess my mom taught me and my sister to talk instead :-). The table had sentimental value, so I knew I wanted to create something special with it.

Read more