Make Your Own Clock Sign | Pretty Handy Girl

Make Your Own Clock Sign | Pretty Handy Girl

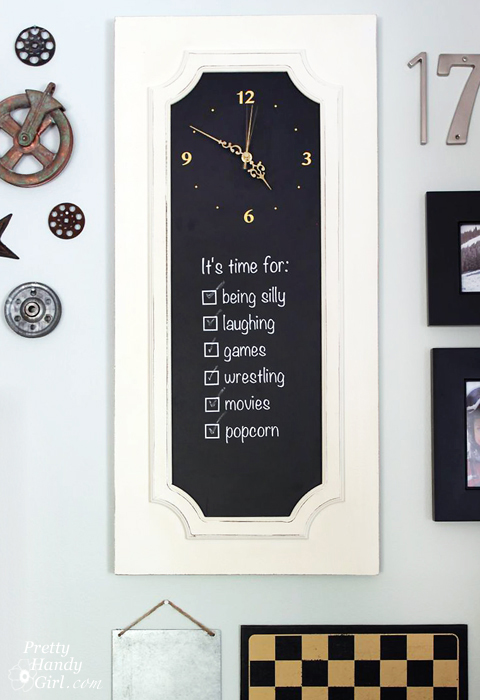
Making a clock is an easy project. All you need is a flat surface that you can drill a hole into and BOOM, you can make a clock. Let’s get started and I’ll show you How to Make Your Own Clock Sign.

Materials:

Make Your Own Clock Sign | Pretty Handy Girl

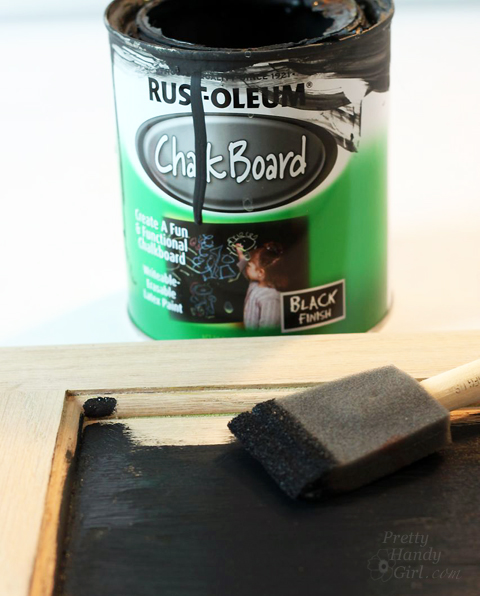
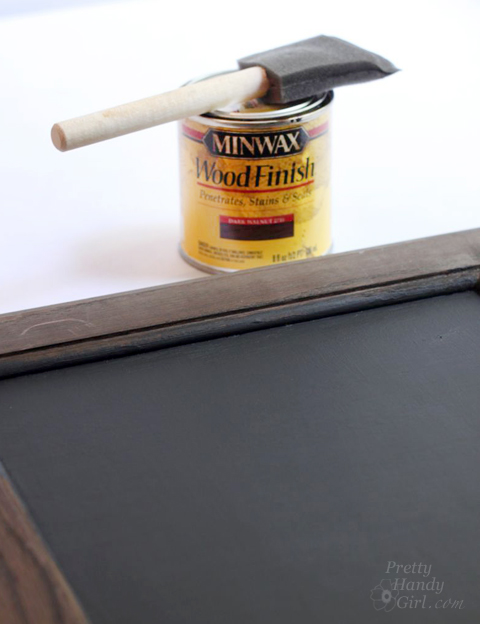
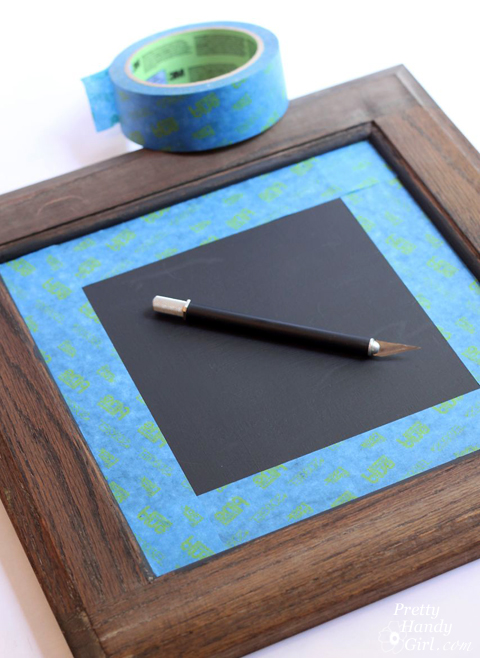
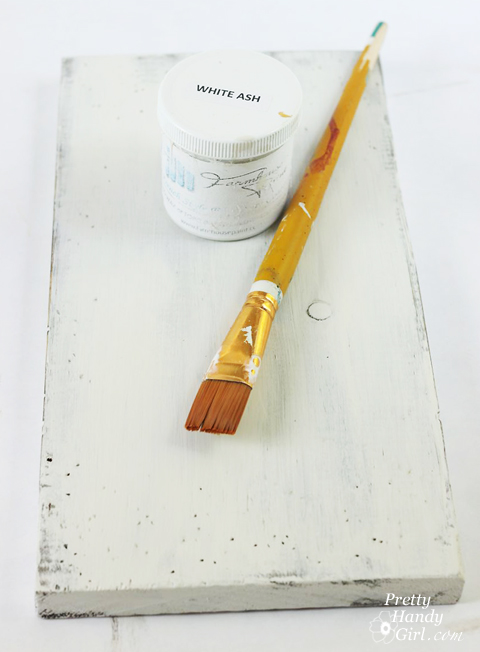
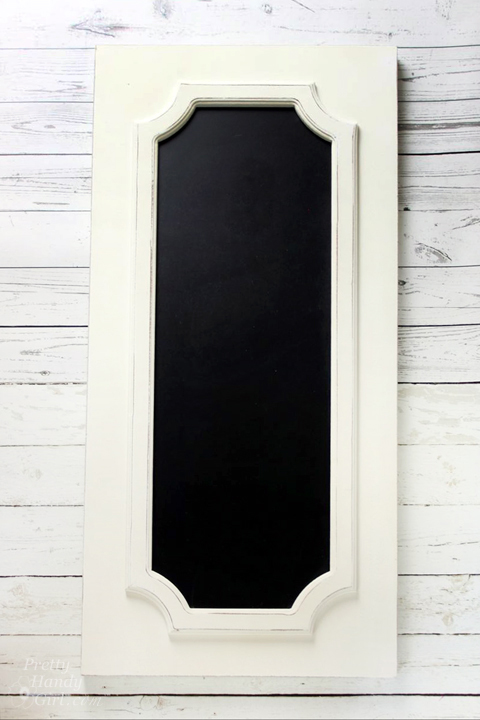
  • Chalkboard sign (I purchased this chalkboard sign at Tuesday Morning.)
  • Clock mechanism
  • Ruler
  • Drill
  • Drill bit
  • Chalk
  • Damp rag
  • Vinyl lettering and numbers
  • Plate or circle template

Instructions:

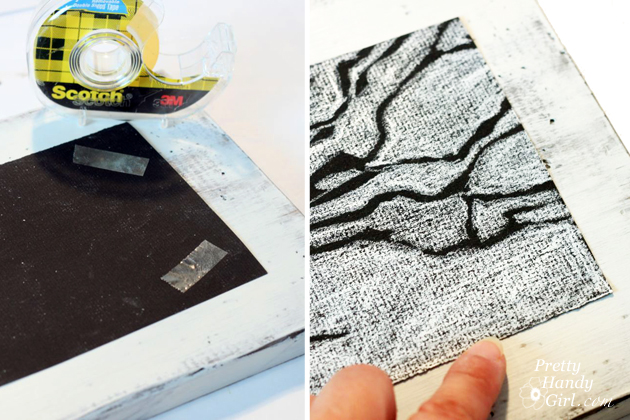
Use a ruler to mark the center of your chalkboard sign near the top. (Center from the sides and use the same measurement down from the top for a balanced look.)

Make Your Own Clock Sign | Pretty Handy Girl

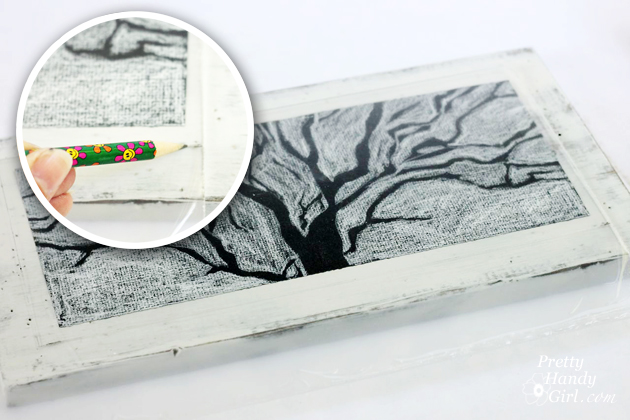
Use a plate or circle template to trace a circle for the clock face.

Make Your Own Clock Sign | Pretty Handy Girl

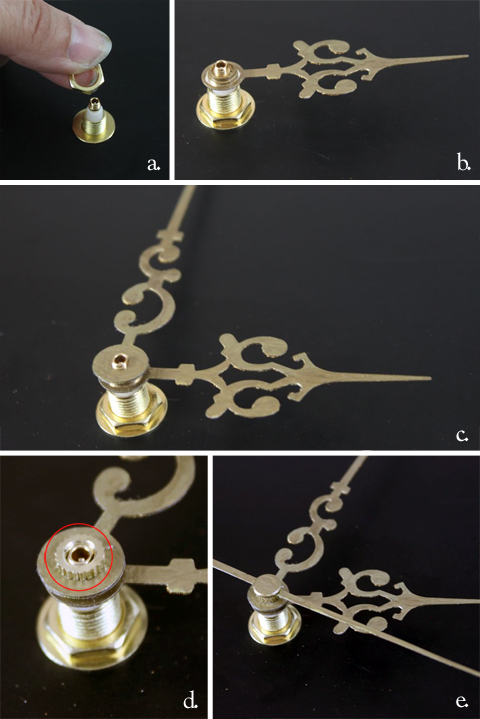
Disassemble the clock hands and parts. Lay them out in the order you removed them.

Make Your Own Clock Sign | Pretty Handy Girl

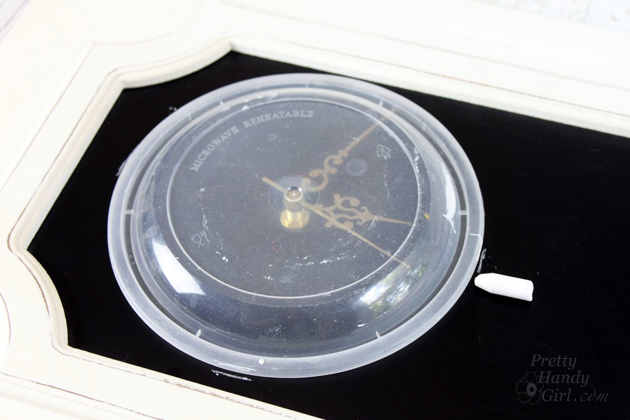
Insert the clock mechanism through the back of the hole. Read more

Metal Number Sign | Pretty Handy Girl

Metal Number Sign | Pretty Handy Girl

Want a quick and easy way to display a favorite number? Create a metal number art sign for your wall; for wedding tables; to commemorate your favorite athlete, etc.

Materials:

Metal Number Sign | Pretty Handy Girl

  • Metal sign (found at Michael’s)
  • Spray Paint
  • Numbers
  • Antiquing Wax
  • Wax brush
  • E-6000 glue
  • Ruler

(Note: You can make your own metal sign by cutting sheet metal and drilling holes into the top. Add some rope to hang it from. I just took the quick route and bought mine.)

Instructions:

Spray paint your numbers any color you like. While the numbers are drying, add some age to the metal sign by pouncing some antiquing wax to the edges.

Metal Number Sign | Pretty Handy Girl

Add glue to the back of the numbers.

Metal Number Sign | Pretty Handy Girl

Center them and line them up using a ruler to help keep them even.

Metal Number Sign | Pretty Handy Girl

Allow the glue to harden and hang your metal number sign anywhere you please.

Metal Number Sign | Pretty Handy Girl

Can anyone guess the significance of #41 on our wall? I’ll save you some time, it’s not my age.

PHGFancySign


Pin for later!

Upcycled Cabinet Door Quote Art | Pretty Handy Girl

Upcycled Cabinet Door Quote Art | Pretty Handy Girl

What do you do with an old cabinet door? Besides keep it with your wood scraps for ten years like I did (not recommended.) You can create pre-framed art! Today I have an easy Upcycled Cabinet Door Chalkboard Art project for you. If you have an old cabinet door, some paint, and a stencil, you can have yourself a unique and personalized art piece for your wall! Easy art!

Materials:

Upcycled Cabinet Door Quote Art | Pretty Handy Girl

  • Cabinet door
  • Chalkboard paint
  • Foam brush
  • Sandpaper
  • Antiquing wax
  • Wax brush
  • Clean rag
  • Craft paint or chalky paint
  • Stencil brush
  • Painter’s Tape
  • Pencil
  • Stencil or cut vinyl

Optional: Stain and foam brush

Instructions:

Paint the inside panel of your cabinet door with chalkboard paint. After the paint has dried, lightly sand any imperfections. Apply a second coat, brushing the paint in the opposite direction as the first coat.

Upcycled Cabinet Door Quote Art | Pretty Handy Girl

If you have an unstained cabinet door, you may want to stain it for an aged look.

Upcycled Cabinet Door Quote Art | Pretty Handy Girl

Apply painter’s tape to the inside face of the cabinet door.

Upcycled Cabinet Door Quote Art | Pretty Handy Girl

Paint the frame portion of the cabinet door. Allow to dry and apply a second coat of paint. Read more

house-shape-door-decor-1

house shape door decor collage

How about an unusual front door decor idea today?  Jaime from That’s My Letter here to share this house shape door decor project with free plans to make your own.

house shape door decor title

A little play on “home is where the heart is,” this door decor is definitely different and not your typical wreath.  I used 1×3 pine boards to make the house shape then added the cut out hearts to hang in the middle. (Yes the house shape does look like an arrow. If you want to make an arrow shape, those plans are below as well.)

house shape door decor 1

This would also make great indoor wall art. Imagine all the paint color possibilities!

house shape door decor hearts

Supplies:

  • 1 – 1″ x 3″ x 6′ pine board
  • 1/4″ plywood scraps
  • miter saw
  • measuring tape
  • pencil
  • wood glue
  • finish nailer
  • 1 1/4″ finish nails
  • 3/4″ finish nails
  • scroll saw or jigsaw
  • sandpaper
  • wire hanger
  • drill
  • 1/8″ drill bit
  • wood putty
  • white spray paint
  • red acrylic craft paint
  • paintbrush
  • clear exterior grade polyurethane spray

Below are the step-by-step instructions to make your own wood house shape door decor. Always follow all precautions and safety rules when using power tools.

house shape door decor dimensions


Cut List:

  • 1 – 1×3 @ 12 3/4″, one end 45 degree miter (roof)
  • 1 – 1×3 @ 12″, one end 45 degree miter (roof)
  • 2 – 1×3 @ 2 1/2″, one end 45 degree miter (roof overhang)
  • 2 – 1×3 @ 13″ (sides)
  • 1 – 1×3 @ 9 1/2″ (base)


Step 1: Assemble roof.  Attach long side to short side using glue and 1 1/4″ finish nails.
house shape door decor step 1

Step 2: Add roof overhang pieces to mitered ends of roof.  Use glue and 3/4″ finish nails here.  Below demonstrates how to cut these super short mitered pieces. Read more

Easy Plexiglass Art Frame | Pretty Handy Girl

Easy Plexiglass Art Frame | Pretty Handy Girl

Have you ever wanted to frame a piece of art but didn’t want to pay the high cost to buy a custom frame? Or worse, you’re like me and too lazy to DIY your own frame? That’s where I found myself last week when I was creating the perfect gallery wall. I was at the corner of cheap and lazy. But, I stood my ground at that corner and created an Easy Plexiglass Art Frame!

I wouldn’t recommend this technique for priceless art, but for posters and other art that you want to frame quickly or easily, this is your tutorial!

Materials:
(contains some affiliate links)

  • Art poster or drawing
  • Double-stick tape
  • Plexiglass
  • Pencil
  • Jigsaw or plexiglass cutter
  • Board larger than the art (at least 3″ on each side)
  • Small wood screws
  • Sandpaper
  • Drill with drill bit smaller than screw diameter
  • Screwdriver bit
  • Picture hanging hook(s)

Optional: Paint and Paintbrush

Instructions:

Cut your board to size. If you want, stain or paint your board ahead of time. Allow it to dry.

Easy Plexiglass Art Frame | Pretty Handy Girl

Put pieces of double stick tape on the corners of your art and position it in the center of your board.

Easy Plexiglass Art Frame | Pretty Handy Girl

Lay the plexiglass on top of the art and mark where to cut the glass (allow at least 1/4″ overlaps.)

Easy Plexiglass Art Frame | Pretty Handy Girl

Cut your plexiglass with a jigsaw, bandsaw, scoring plexiglass knife or ask a local home improvement store to cut your glass exact. Sand the edges of the plexiglass until it is smooth. Read more