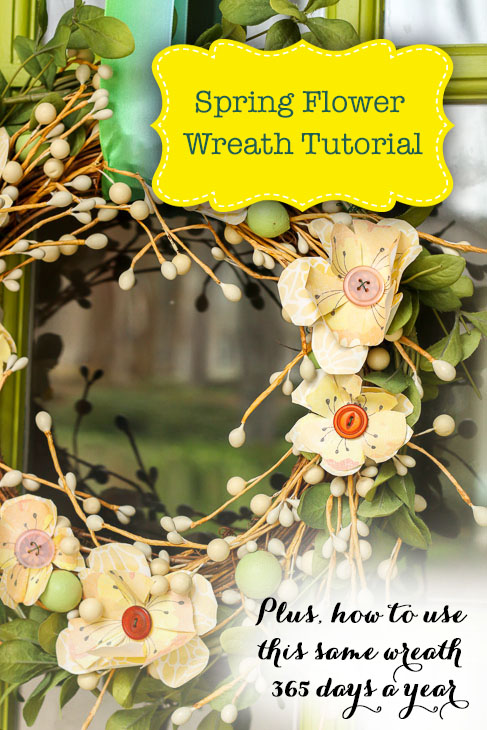
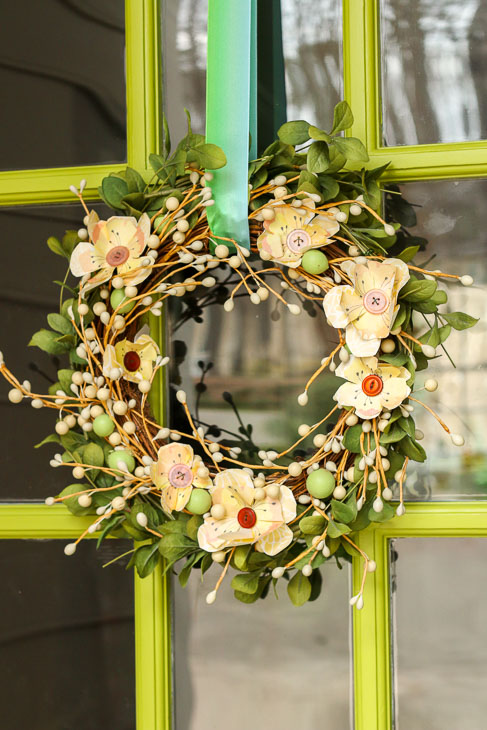
Inserting Spring into My Wreath
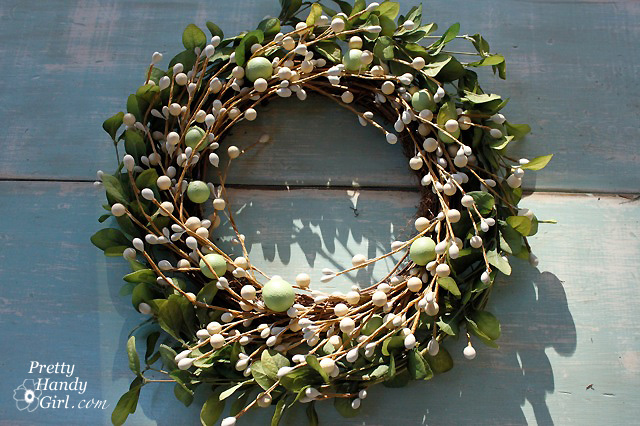
A few years ago I purchased a simple white berry wreath from Target (I don’t think it’s still available at Target, but this is a similar style wreath.) To save money, I challenged myself to use this one wreath through every season for one year. Did I do it? You bet your little penny pinching fingers, I did! So, today I want to show you how I transformed this simple wreath for Spring.

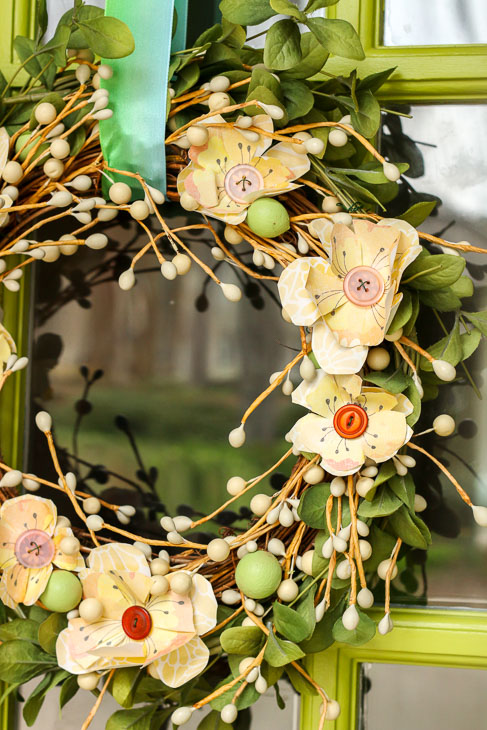
Inserting spring into the white berry wreath was as simple as pairing a green leaf wreath and some DIY scrapbook flowers.
The best part about it is, this simple wreath can handle new colors and elements throughout the year. Can we calculate how much you’ll save on door wreaths for one year? Subtracting the minimal cost of crafting supplies, you’ll save at least $100 on wreaths (attractive wreaths usually start around $39.99.) If you want to see how I transformed the wreath for the other seasons of the year, be sure to scroll all the way to the end of this tutorial!
Inserting Spring Paper Flowers into your Wreath:
Materials:
(I’ve included affiliate links for your convenience. I earn a small percentage from a purchase using these links. There is no additional cost to you. You can read more about affiliate links here.)
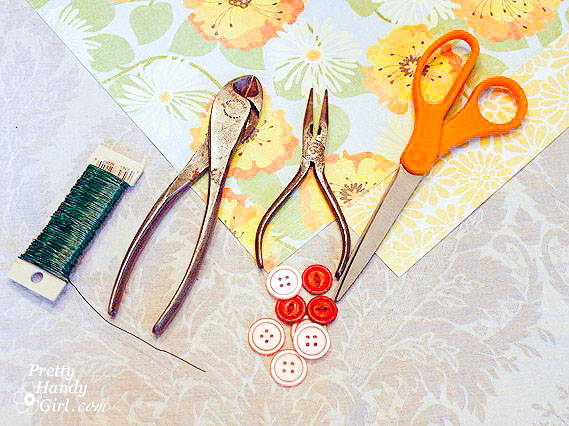
- White berry wreath
- Green leaf wreath
- Two coordinating scrapbook paper sheets
- Buttons for flower centers
- Scissors
- Wire cutters
- Floral Wire
Instructions:
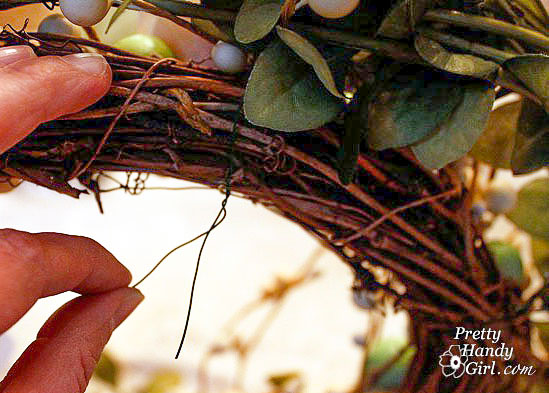
Start by pairing your white berry wreath with a green leaf wreath to give it more bulk (or just add green sprigs to your berry wreath.)
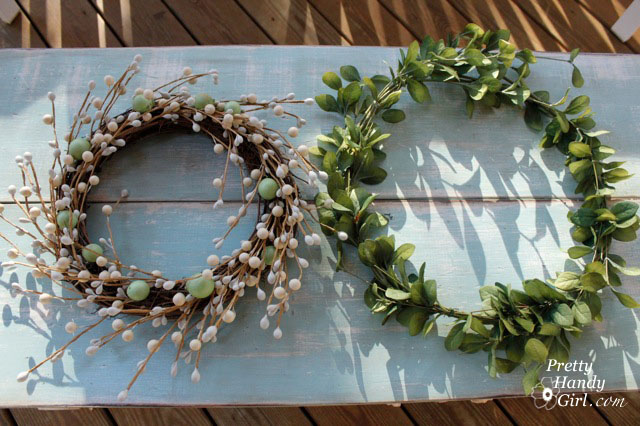
To combine the two, simply wrap some of the berry branches around the leaf wreath.
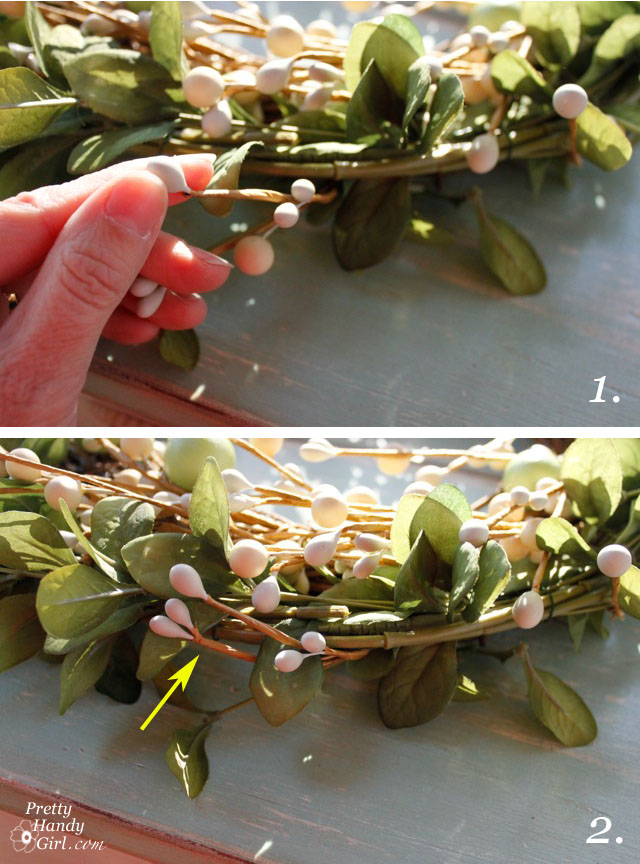
That’s it! This way you can separate them at a later date if you decide to use the wreaths independently.
Making Scrapbook Button Flowers:
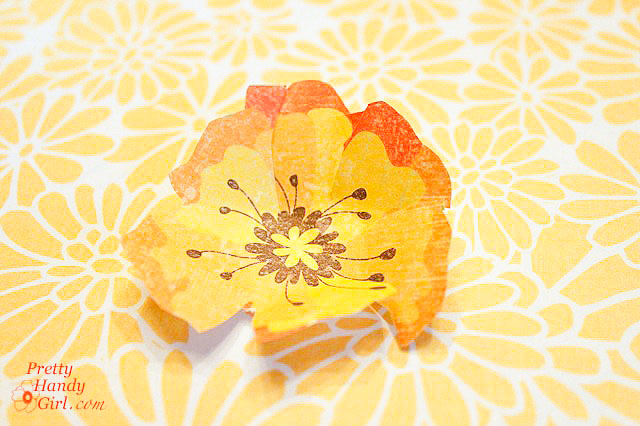
Begin by cutting flower shapes out of your scrapbook paper.
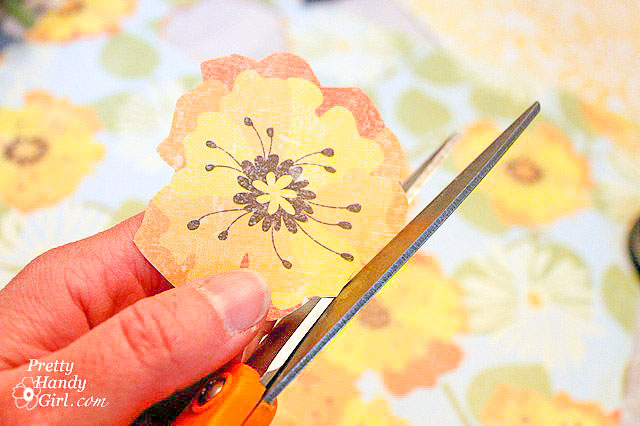
Lay your flower on top of a coordinating sheet of scrapbook paper and cut a second flower shape larger than the first.
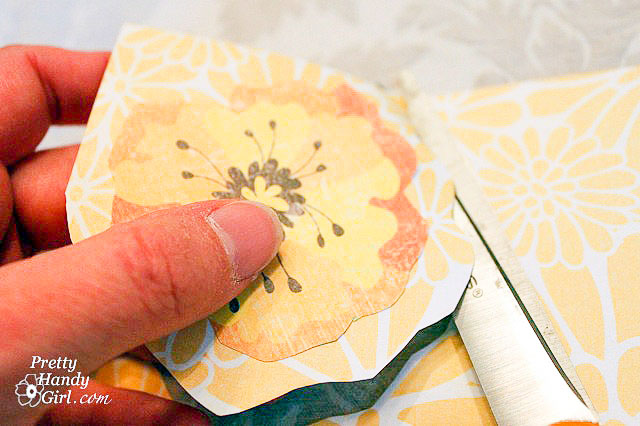
Lay both flowers on top of one another and cut slits in toward the center of your flowers. Be sure not to cut too close to the center.
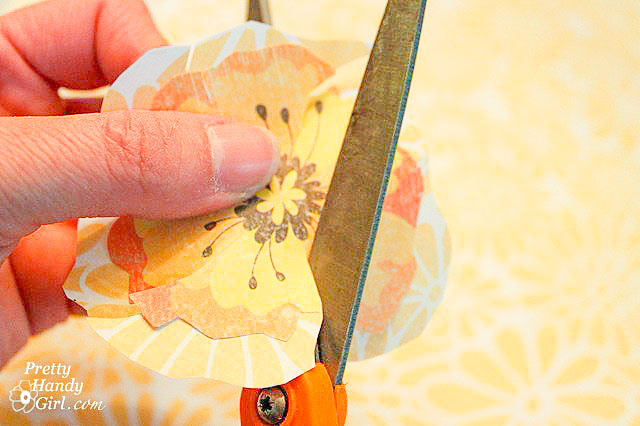
Fold the edges of your flowers up to give them dimension.
Cut a length of floral wire long enough to wrap around your wreath.
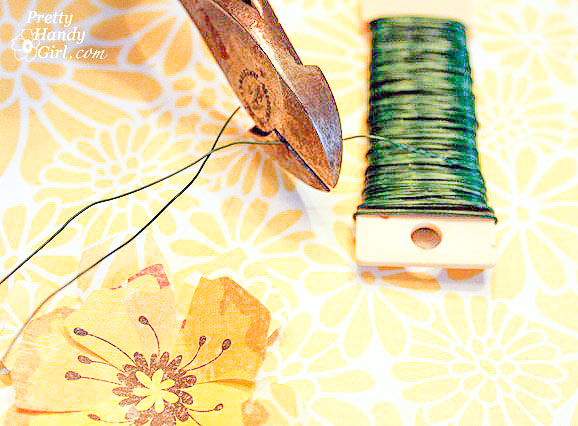
Thread the wire through your button. If you have a four hole button, you may want to thread it in an “X” shape as shown below:

Then poke the wires through the centers of the flowers (it is easiest if you have one on top of the other so you can poke through both flowers at once.)

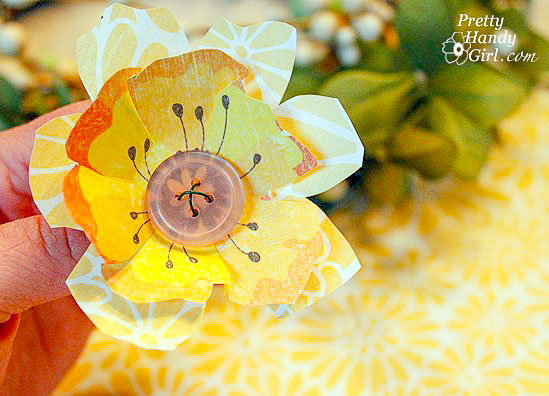
You should end up with a scrapbook paper and button flower that looks like this:
Make as many as you like and then arrange the flowers on your wreath.
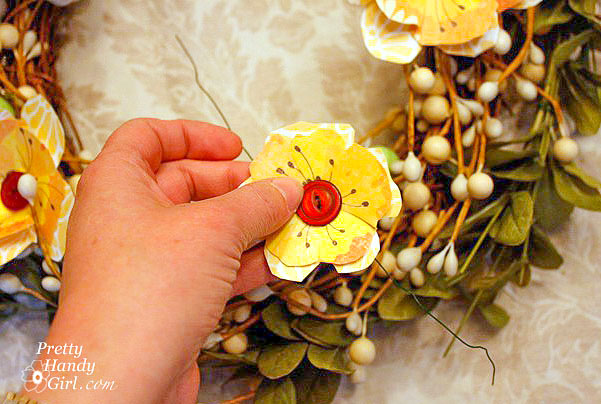
Wrap the wires around the back and twist to secure.
Repeat until you have covered your wreath in beautiful spring flowers.
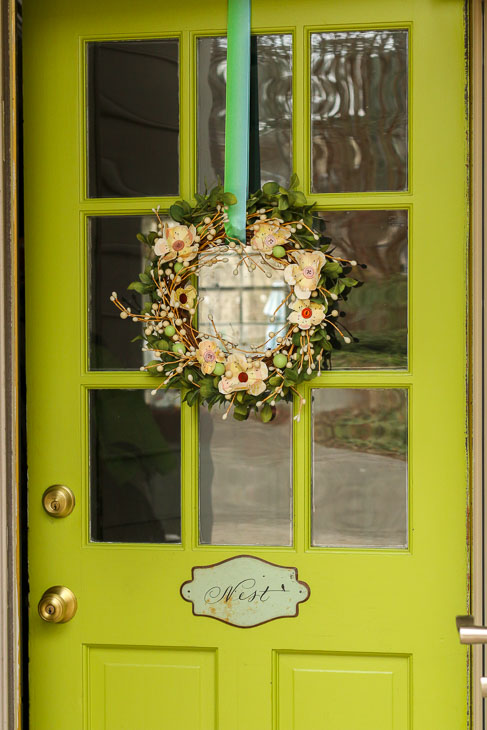
Add a coordinating ribbon to your wreath. You can tie a bow on your wreath. . .
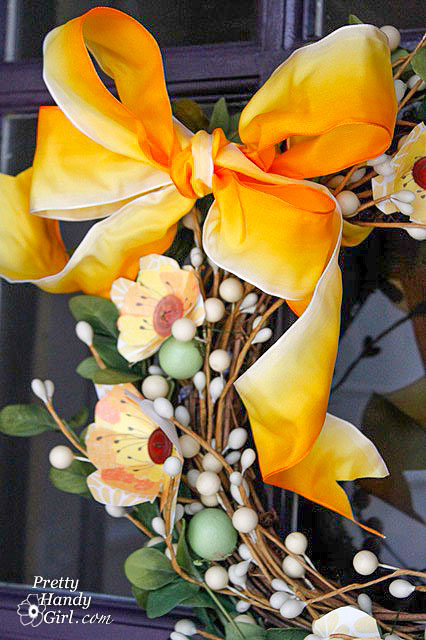
. . . or use a flat ribbon to hang your wreath. It’s your choice.
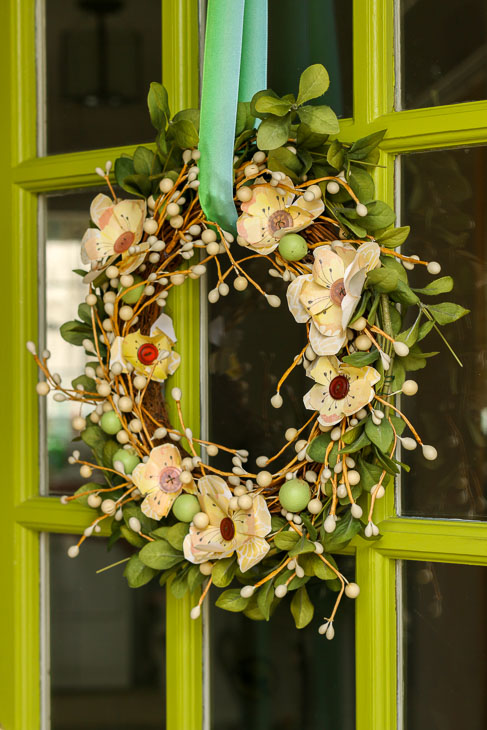
Enjoy your new spring wreath!


Although my paper flowers have faded a little, I’ve been able to use this wreath for several years (as evidenced by the change in color of my door.)
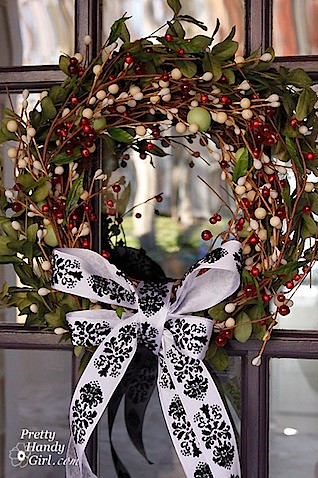
Here’s how I transformed the same wreath for Christmas through Valentine’s Day:
For Thanksgiving, I added some feathers to the wreath, (For a fuller wreath, you can add more feathers):

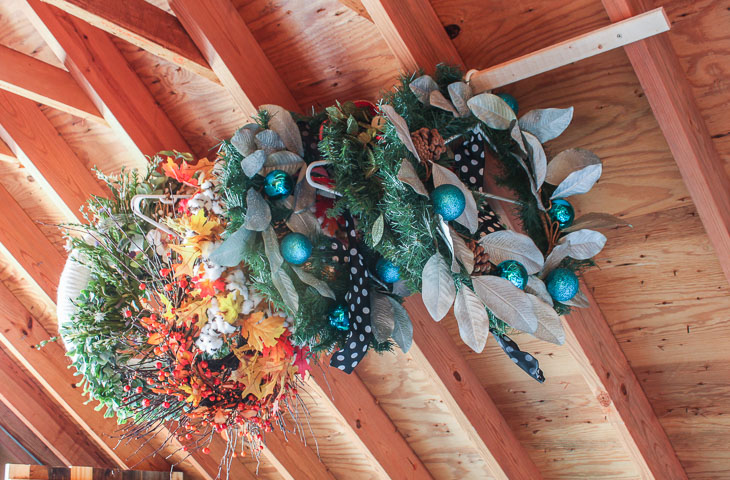
For fall, I paired free magnolia leaves with the white berry wreath:


Hope you enjoyed this tutorial. If you liked this post, you’ll love my round up of 24 creative fall wreaths (because frankly, some of these look pretty enough to hang year round.)

You might also appreciate these 9 Holiday Storage Hacks:


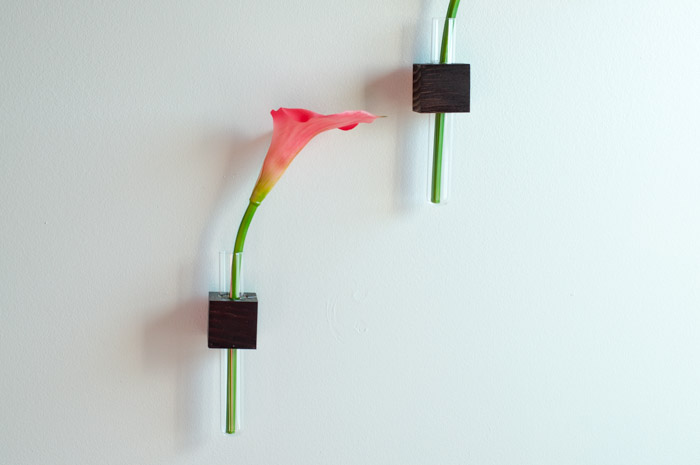
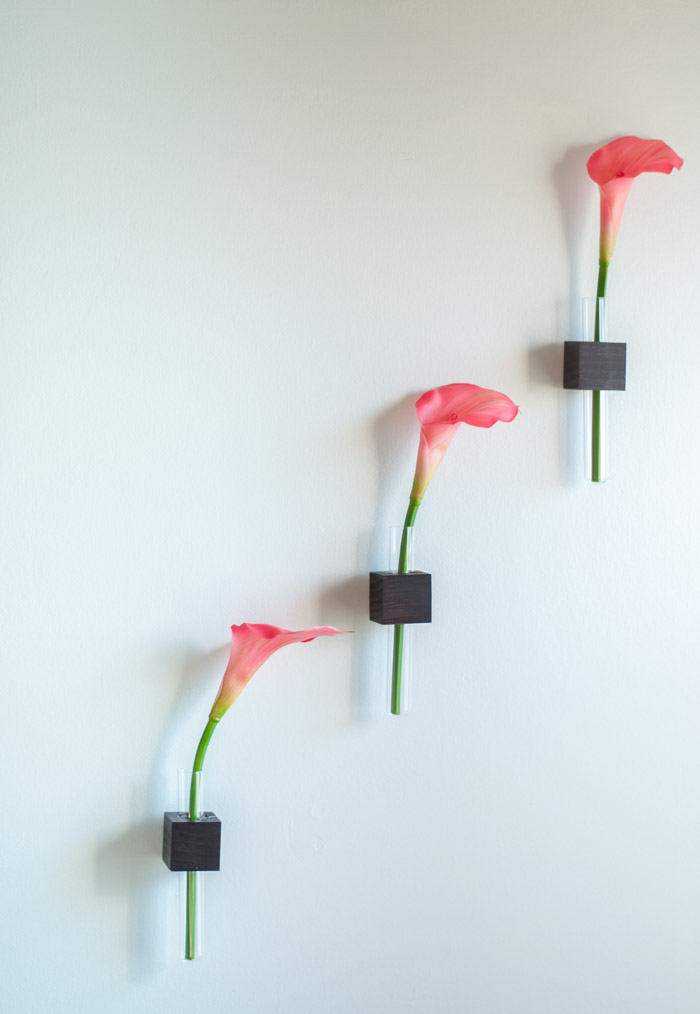
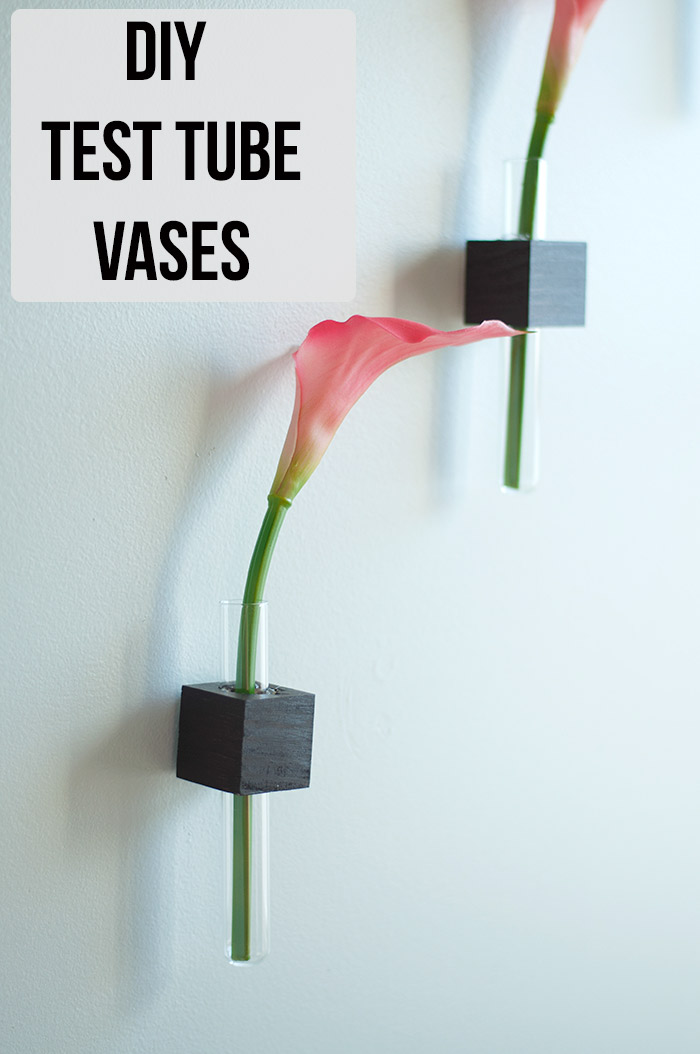 DIY Wall Mounted Test Tube Vases

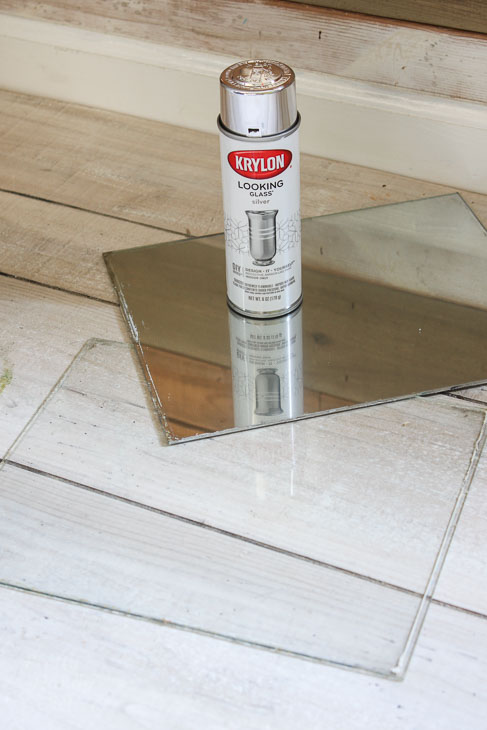
 Can You REALLY Make a Mirrored Window with Spray Paint?