Tool Belt Hack for Petite Builders (and kids)

Tool Belt Hack for Petite Builders (and kids)Tool Belt Hack for Petite Builders or Kids

If you are serious about DIYing, then a tool belt is a necessity.  Unfortunately, tool belts are not exactly one-size-fits-all. If you are on the puny side of the size spectrum, you will be hard-pressed to find a belt that hangs where it is suppose to; around your waist, not sagging on your hips.

There are options out there, but talk about pink tax!  Tool belts for women are rare and run $40 or more for almost the same belt, just a little smaller.  You can buy belts for kids, but often they aren’t made to withstand the abuse a true DIYer will put a tool belt through. Instead, I prefer the cheap $15 Home Depot canvas variety that can withstand drywall mud and being left out in the rain from time to time.

The solution to the tool belt conundrum for petite builders

Use two zip ties, a couple of spring clamps, and a drill to hack your tool belt in less than a half hour.

Step 1:

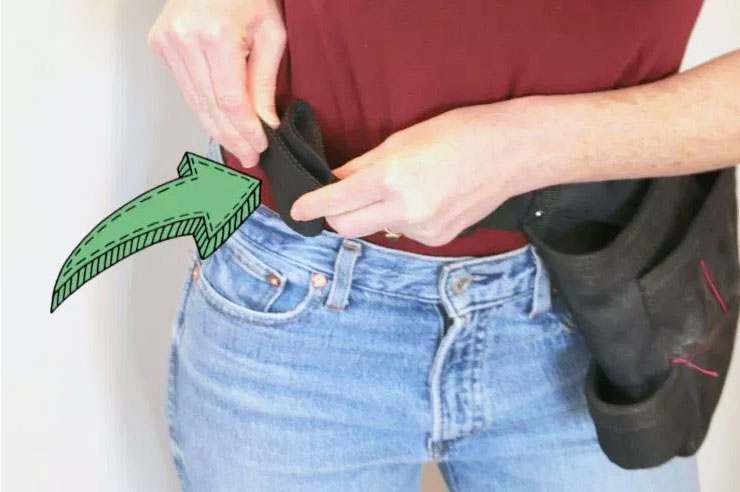
Put your tool belt on at the smallest setting and determine how much tighter you need it to be. With the belt on and fastened, double the canvas over and secure it with a spring clamp.

Remove the belt and attach it to a piece of scrap wood (using another spring clamp being careful not to lose your sizing). With a white crayon, draw two sets of dots on the portion that is folded over.  Make your dots approximately ¾ of an inch apart.

Step 2:

Clamp the scrap wood and belt to a secure surface like a work bench so the doubled over canvas belt can’t move.  Select a very sharp 7/32 or 1/4 drill bit and drill through the white dots.  It’s ok if it frays a little, but the holes must go all the way through into to the wood behind it.

Step 3:

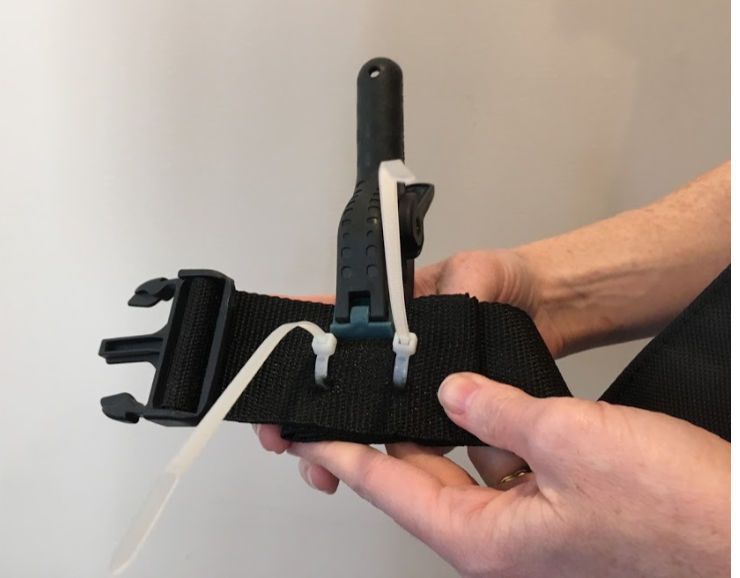
Remove the wood from behind the belt but keep one of the spring clamps attached to the doubled canvas to keep the holes aligned.  Thread a zip tie through two of the holes.  Make sure the square fastener of the zip tie is on the outside of the belt, not the part that touches your waist.

Add a zip tie to both sets of holes.  Tighten the zip ties enough to hold the belt fold, but not so much that it cinches the webbing.

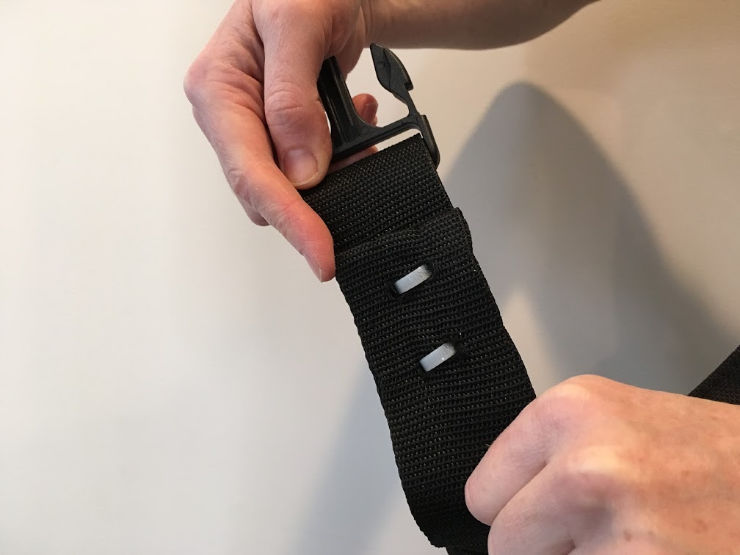
The back side of your tool belt should look like this:

Cut the extra zip tie ends and you’re done.  Go ahead and fill your belt with tools and get building!

~ Discover more Tutorials from Lara ~

Help a fellow petite builder by pinning this image:

Hi!  I’m Lara, the creator of The Unprofessional blog and YouTube channel. I am an aspiring handy-woman with little to no experience building, tiling, landscaping, demolishing, and what have you.  I’ve drilled holes in the wrong places, cut on the wrong lines and stripped more screws than I care to count.  And yet, I’m on my way to customizing my home, project by project.  I believe you can do pretty much anything with a few good tools, a stack of wood and a half-baked
idea.

I like to find challenges and solve them with my miter saw. When my 3-year-old son complained that he couldn’t reach the picnic table, I designed an easy-to-build folding booster seat perfect for camping trips and beer gardens. When the low ceilings in my cape cod wouldn’t accommodate a bulky barn door, I found an alternative approach to turn any interior door into a space-saving barn door. I love to share these solutions with others in hopes that the empowerment and love of power
tools spreads.

You can connect with me on Instagram, YouTube and Pinterest.

Cotton Fall Wreath and Décor for the Entryway

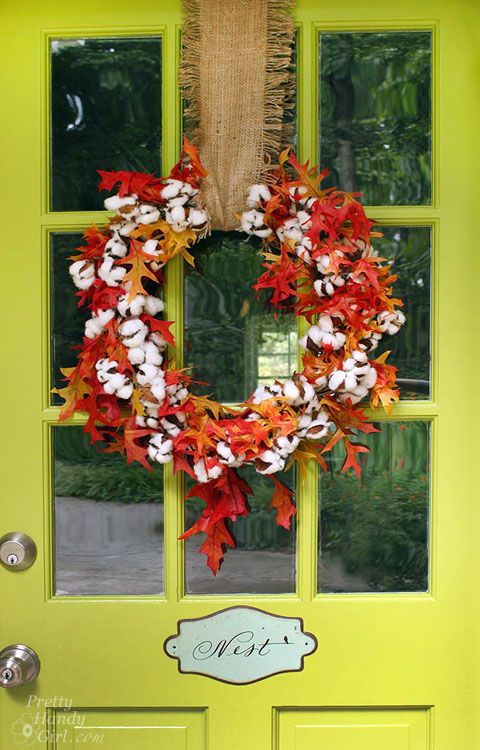
Cotton Fall Wreath

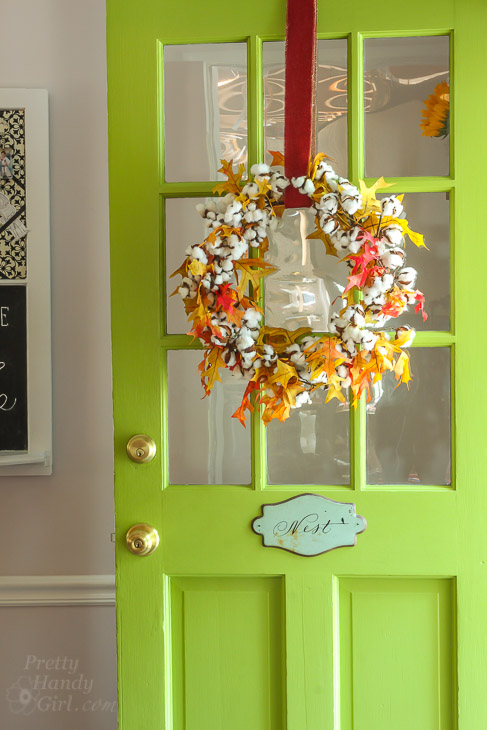
Every morning for the past few weeks I woke up and looked out the window. A few leaves have turned color, but as soon as I look at the weather report — the heat and humidity has yet to leave North Carolina. Will fall ever arrive? I want to wear flannel shirts and boots. I want cooler temperatures so I can stop sweating the minute I step outside. To usher fall into our area, I decided to make a super simple Cotton Fall Wreath. You won’t believe how easy this wreath was to make!

Materials:

(I’ve included affiliate links for your convenience. I earn a small percentage from a purchase using these links. There is no additional cost to you. You can read more about affiliate links here.)

Materials for Cotton Fall Wreath

Instructions:

This wreath was so simple to create, I didn’t take step-by-step photos. Gasp!

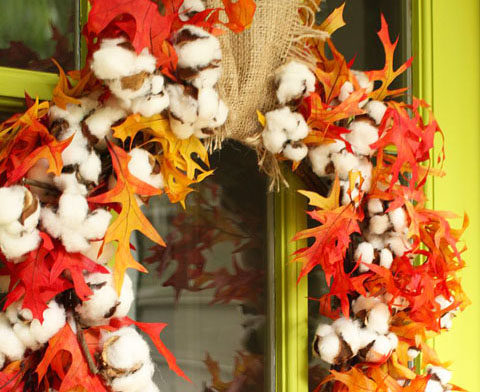
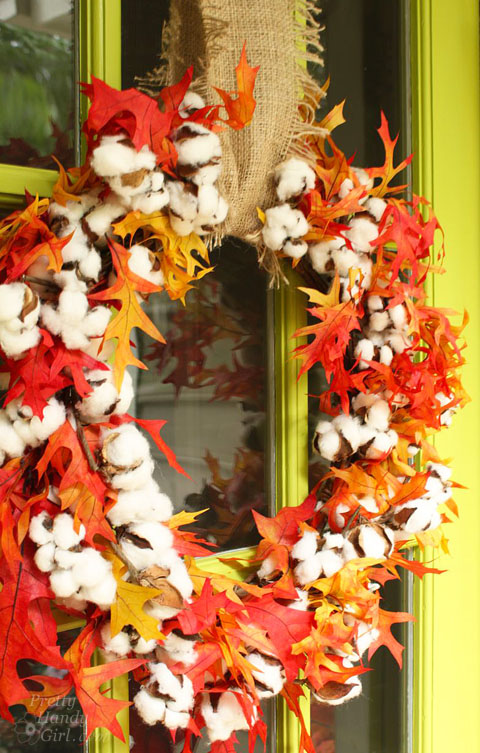
Really, it’s so simple, all you have to do is tuck preserved leaves into the cotton wreath. Yup, just tucked, no glue or anything!

Cotton Fall Wreath and Décor for the Entryway

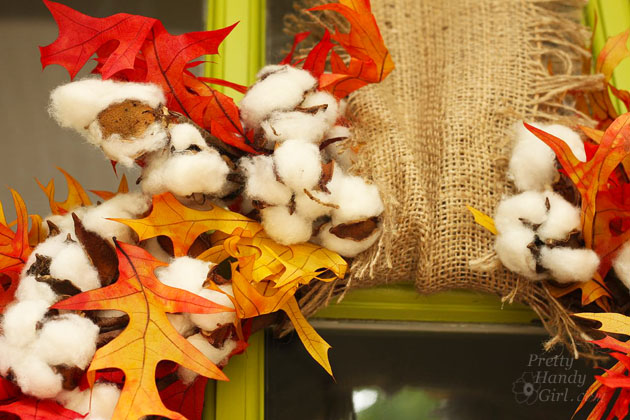
Then loop a strip of burlap (or ribbon of your choice) through the top and pin it to the top of your door using a flat thumbtack.

Cotton Fall Wreath and Décor for the Entryway

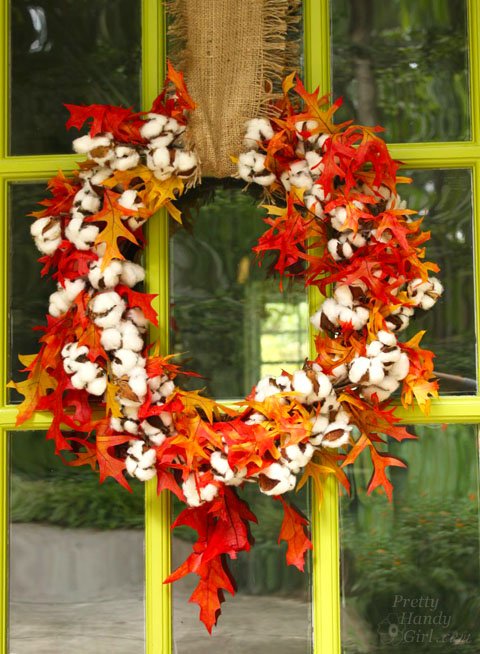
See, wasn’t that super simple?

Cotton Fall Wreath and Décor for the Entryway

A red ribbon would also look beautiful with this wreath.

Pretty Handy Girl's Colorful Fall Home Tour

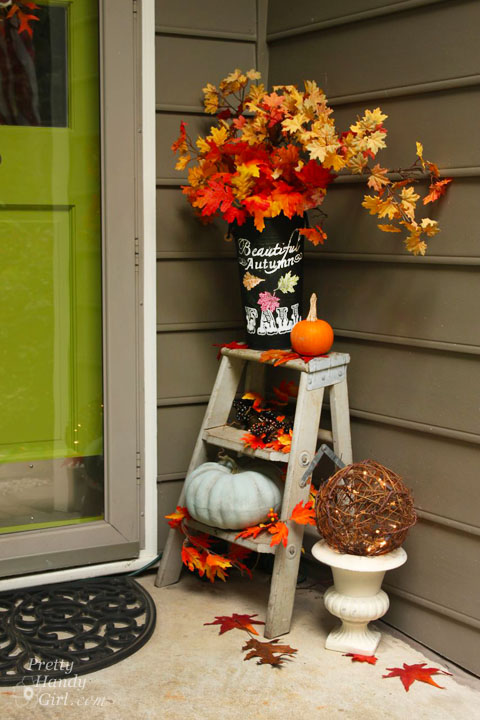
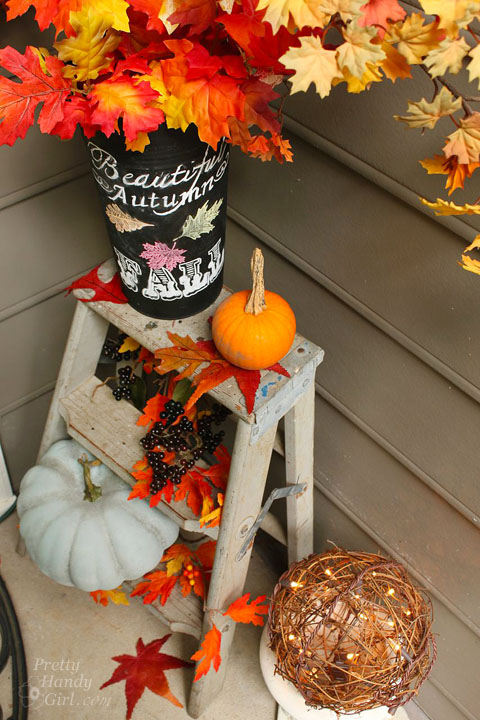
To give my entry a little extra decor, I added a few colorful items.

Fall Décor for the Entryway

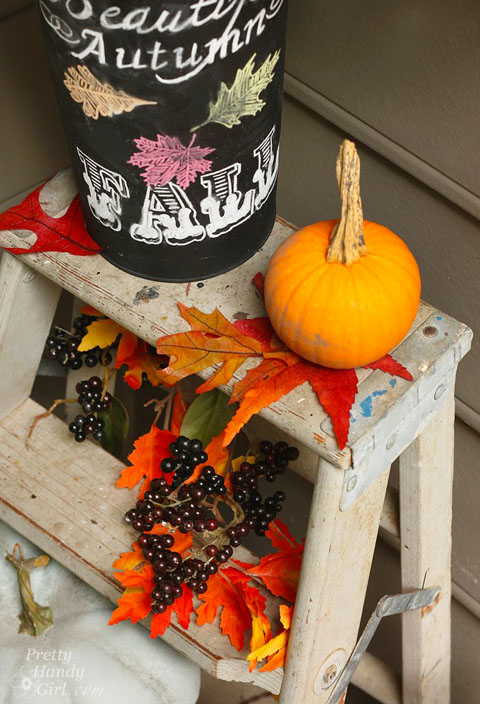
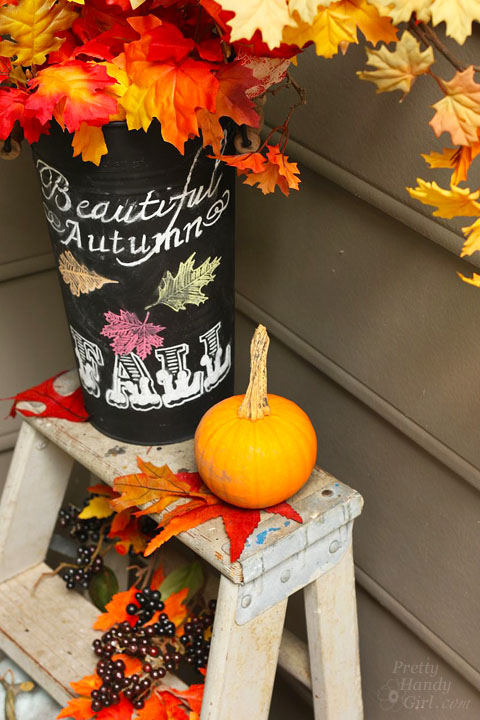
A little step ladder with a pumpkin and some silk flowers.

Fall Décor for Home Entrance | Pretty Handy Girl

The chalkboard painted pail from my fall mantle a few years ago.

Fall Décor for Home Entrance

A faked blue gourd sits on the bottom step, tempting people to touch it to see if it’s real.

Fall Décor for Home Entrance

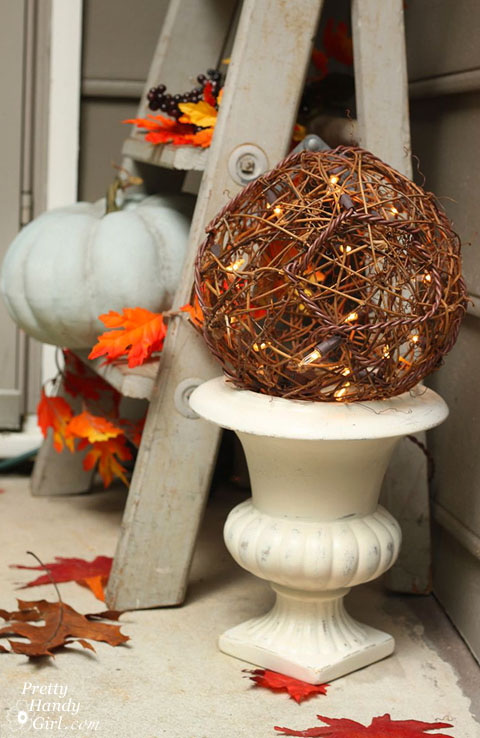
My favorite décor item is this light up grapevine sphere. It adds a beautiful warm glow after dark.

Fall Décor for Home Entrance | Pretty Handy Girl

Have you decorated for fall yet? Have cooler temperatures arrived where you are? If so, please mail me some of your fall weather!

PHGFancySign

Want more Fall Wreath inspiration? Enjoy these 24 more Fall wreath ideas:

24 Creative Fall Wreaths

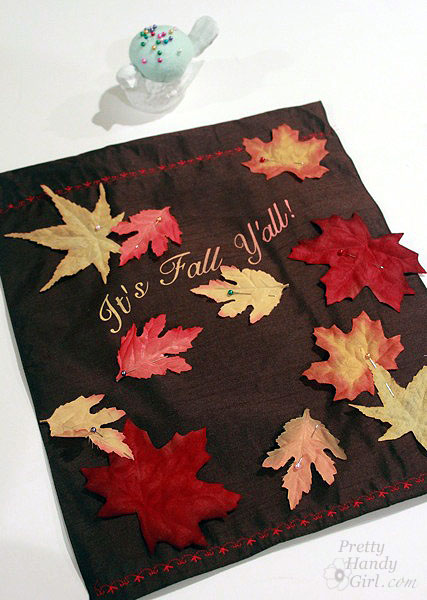
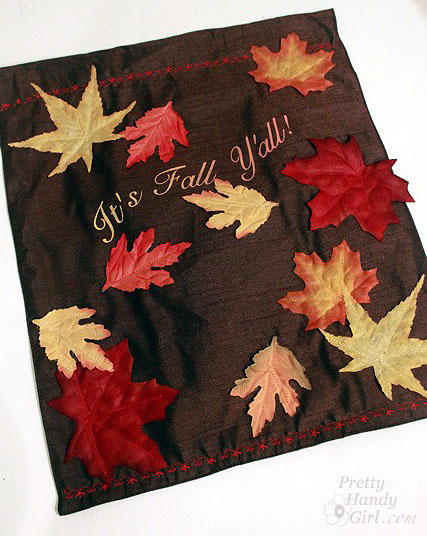
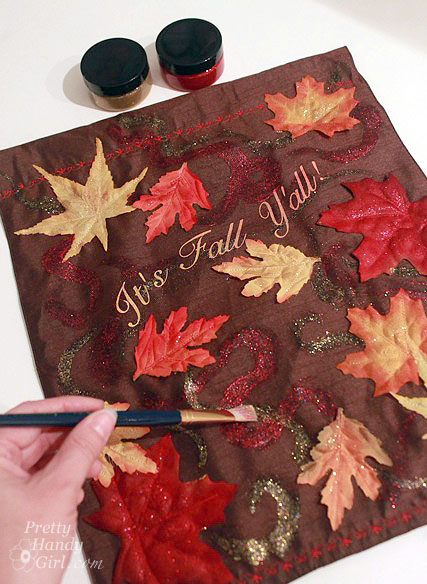
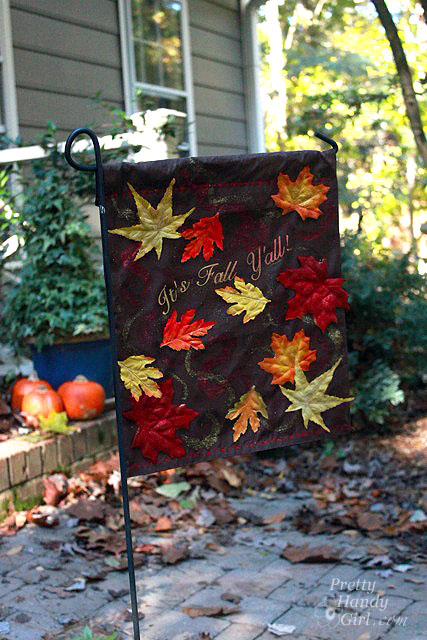
Make an inexpensive (but beautiful) Fall Leaves Garden Flag using a Dollar Store Placemat! Pull out your sewing machine (or skip the stitching and use your iron and some hem tape instead.) You can have a gorgeous fall garden flag in an hour or less. Plus, this is the perfect activity to do with the kids before school starts.

Sure, we’re in the thick of a heat wave here in Raleigh, NC. But luckily fall is around the corner and it’s time to start thinking about fall decorating! I like to create a beautiful garden flag for each season using a few simple supplies from the Dollar Store. Ready to make one? Great, let’s get to it.
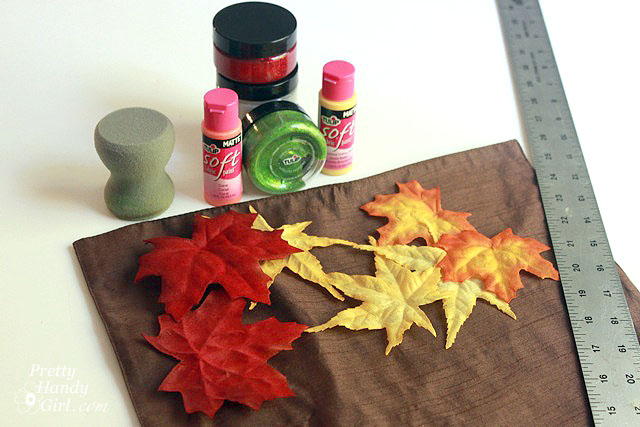
Materials:

*Optional: hand sew or use hem tape if you don’t have a sewing machine

Instructions:

1. Fold over the top of your placemat 2 inches. Stitch across the edge. (I used a decorative stitch, but a straight stitch is fine too.)
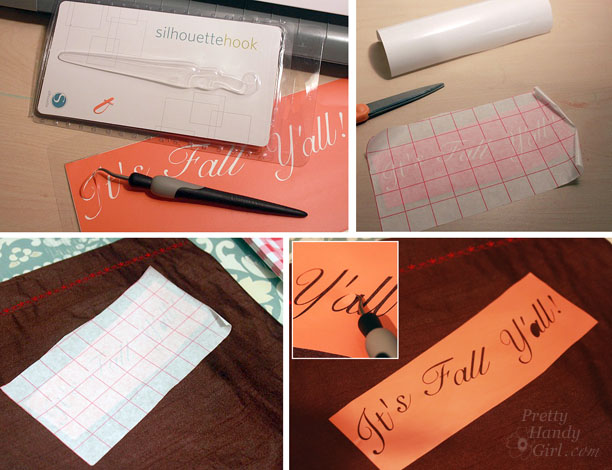
2. Create a stencil using a Silhouette, other craft cutter, or use pre-cut letter stencils. Adhere the stencil to the placemat. (Place centers of letters if needed.)

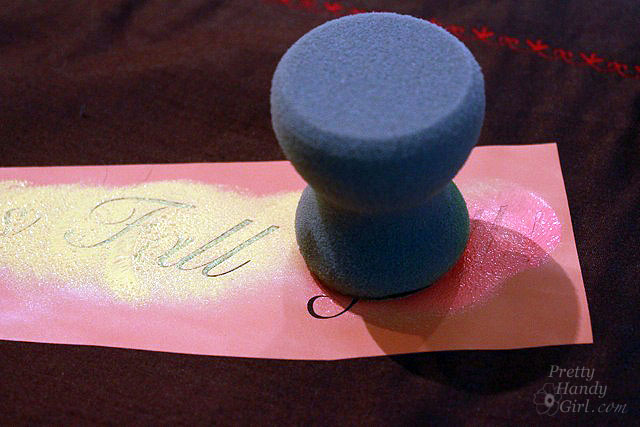
3. Squeeze out a small amount of fabric paint onto a paper plate.

4.  Pounce or use a stencil brush to dab paint over the stencil. For more colorful letters, use yellow on one side and orange on the other. Let the colors overlap in the middle.

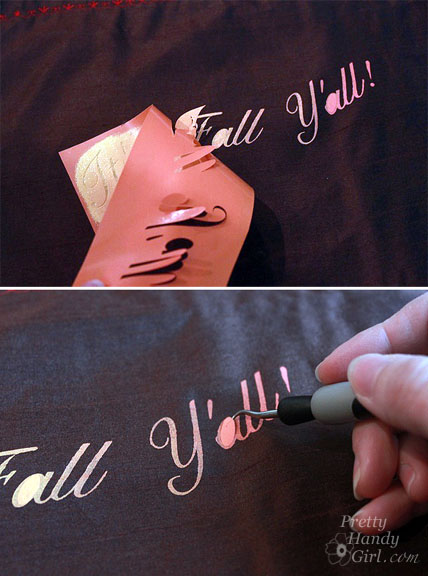
5. Remove stencil. Allow the fabric paint to dry.

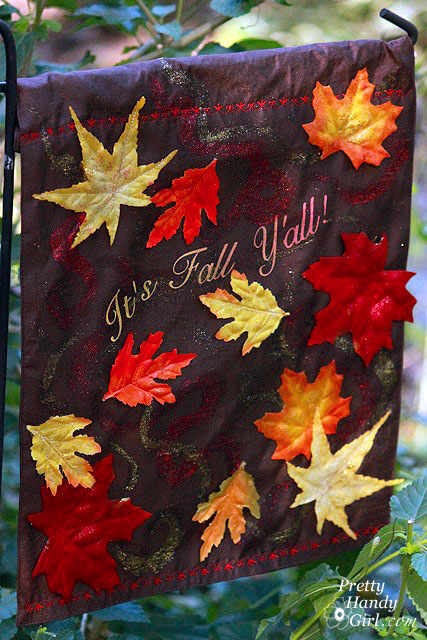
6. Arrange and pin silk leaves onto garden flag.

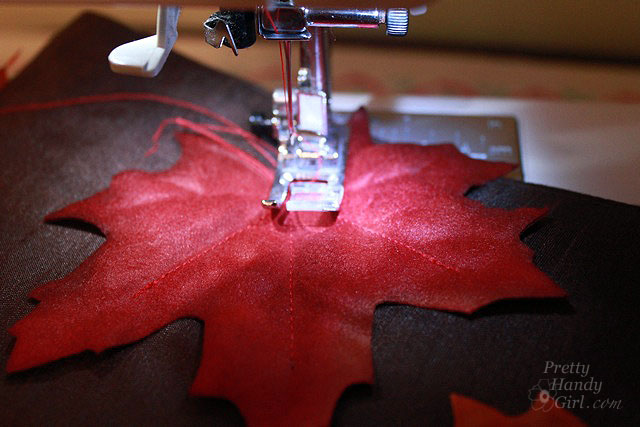
7. Stitch leaves onto the flag along the “veins”.

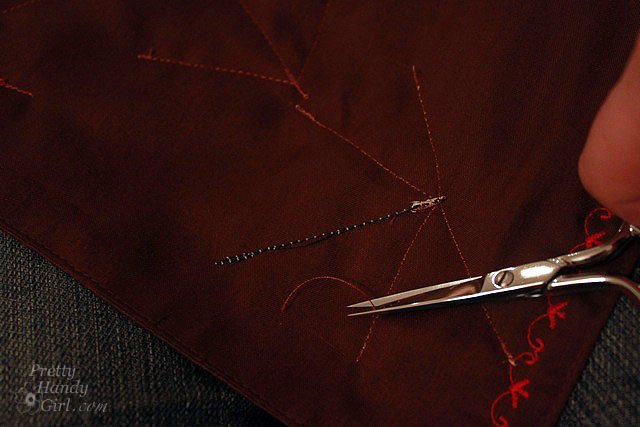
8. Trim the excess threads off the flag.

9. Lay flag out on a flat surface.

10. Paint on glittery curly trails to simulate the path of a falling leaf.

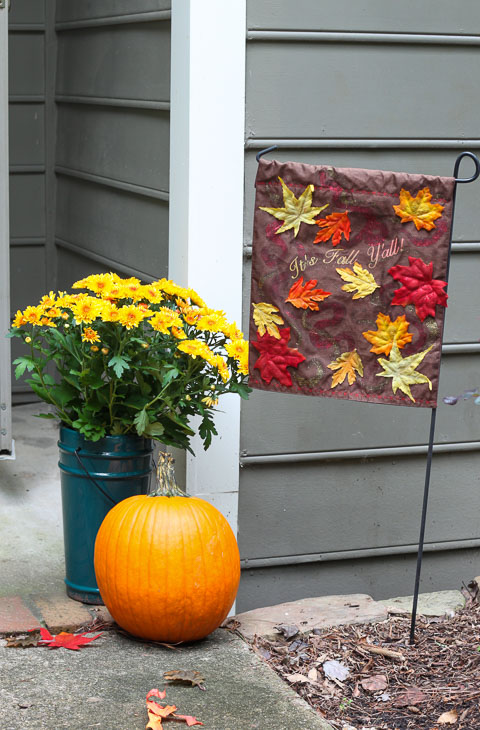
When the flag is dry, thread it onto a garden flag stand and place it by your entryway. At the end of the season, store the flag flat to keep it looking fresh for many years to come.

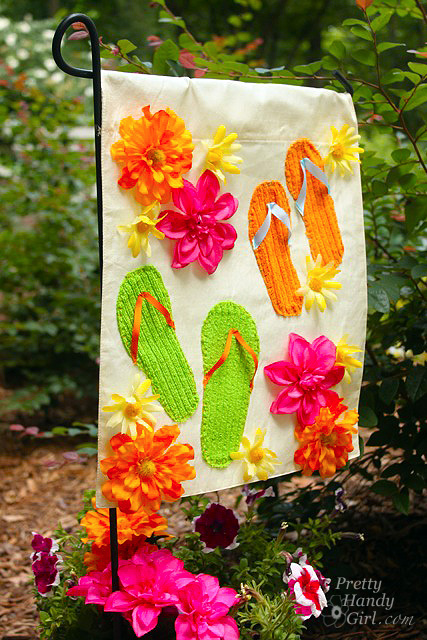
If you liked this tutorial you may like my other garden flag tutorials:

Summer


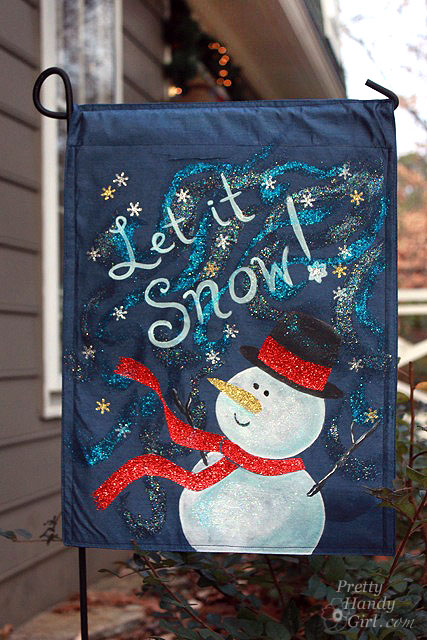
Winter


Valentine’s Day

I hope you enjoy this fall season and experience beautiful fall weather soon!

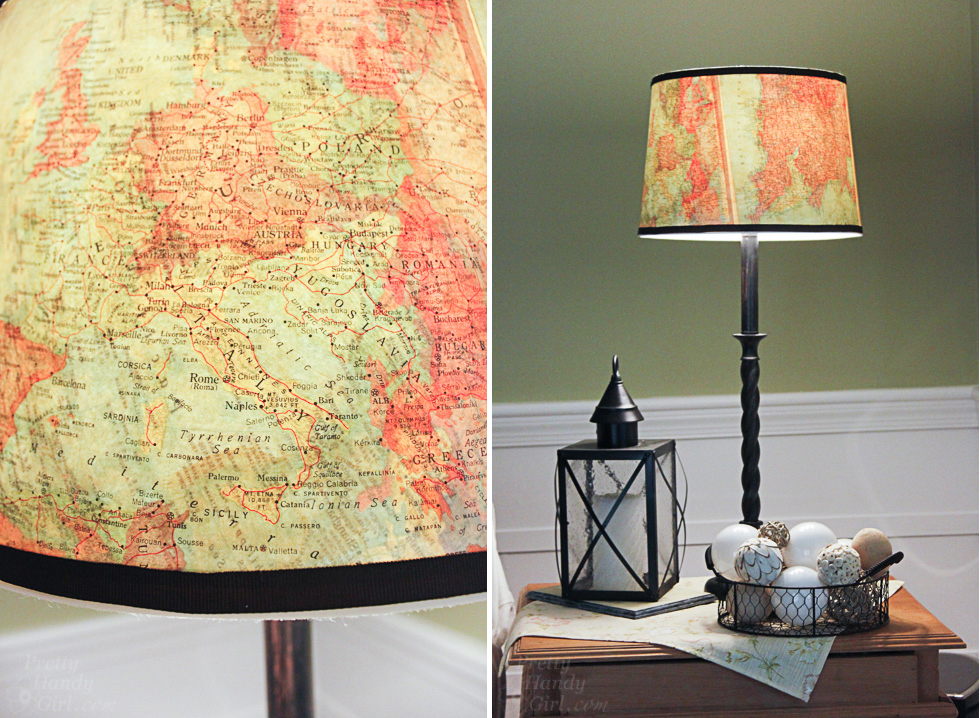
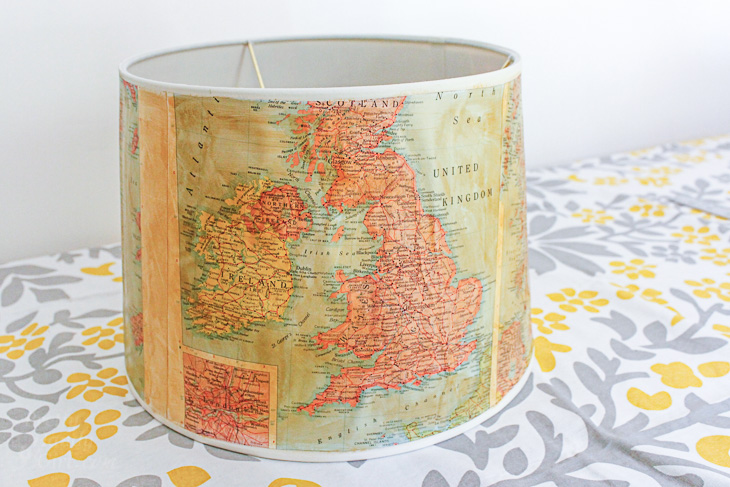
Vintage Map Lampshade | Pretty Handy Girl

Vintage Map Lampshade | Pretty Handy Girl
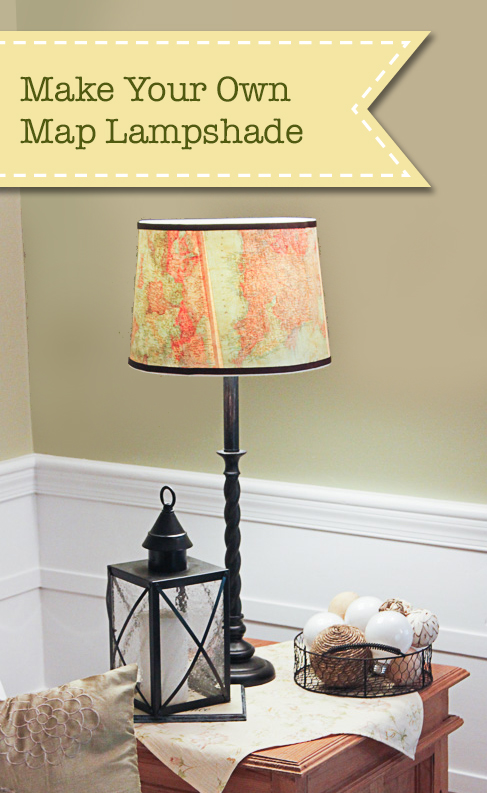
Do you want to update a plain vanilla lamp shade? Do you have a vacation you want to remember? You can do both with this vintage map lampshade!

The process to create a Vintage Map Lampshade is easy, especially if your lamp shade is close to a perfect cylinder. But, what do you do when you have a cone shaped shade? The instructions are a little more complicated, but I can show you how.

Pull up a seat and I’ll show you how to create a cool decorated lampshade. (Keep in mind you don’t have to use maps. You could use wallpaper, fabric, a poster, or anything you want!) Let’s do this.

Vintage Map Lampshade | Pretty Handy Girl

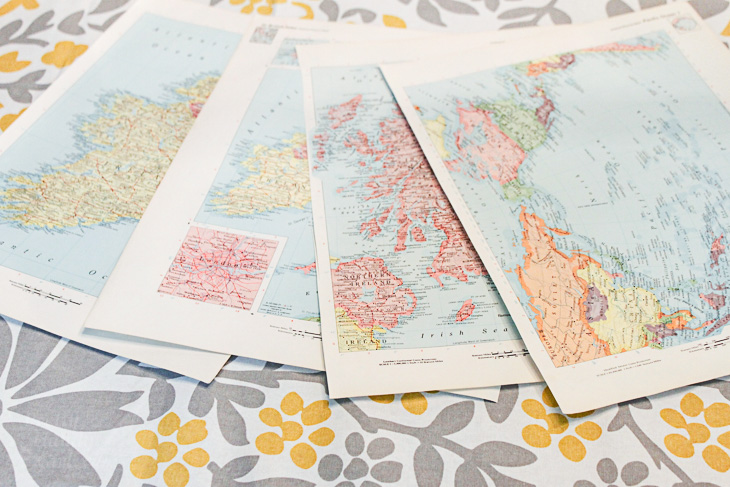
During a trip to my local thrift store, I discovered an old atlas and knew I could use it for oodles of projects. As I walked out of the store a flood of ideas came to me. One of them was to make a Vintage Map Lampshade.

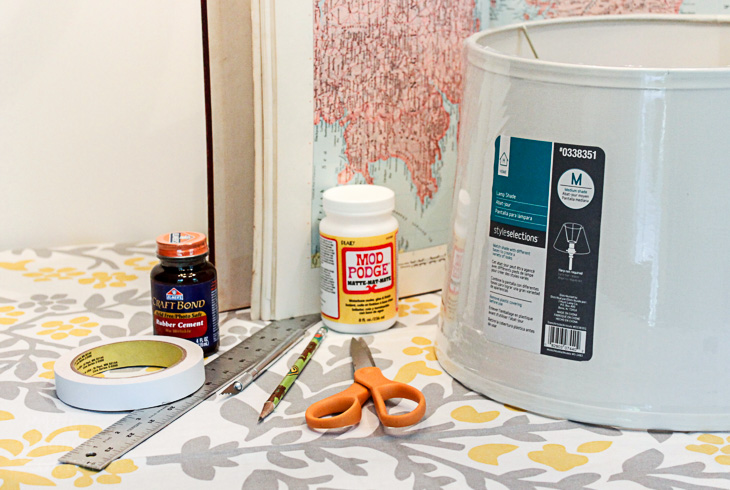
Materials:

(I’ve included affiliate links for your convenience. I earn a small percentage from a purchase using these links. There is no additional cost to you. You can read more about affiliate links here.)

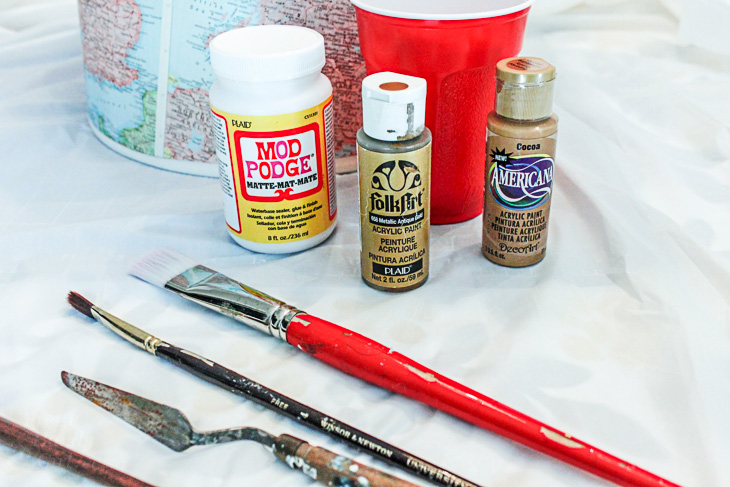
To add a vintage glaze you will also need:


Instructions:

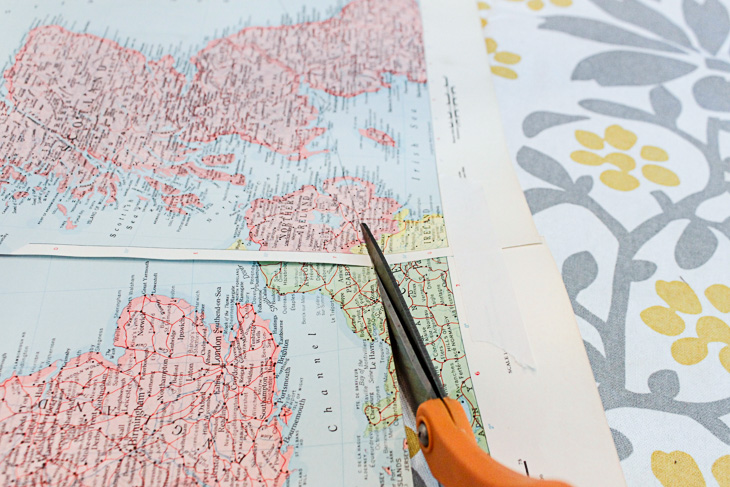
Start by selecting the maps or paper you want to use. Carefully cut them out along the spine using a fresh x-acto blade — don’t let your blade get dull. (I use a new one for each project. Your cuts are much cleaner when working with a fresh blade.)

Set your pages aside for now.

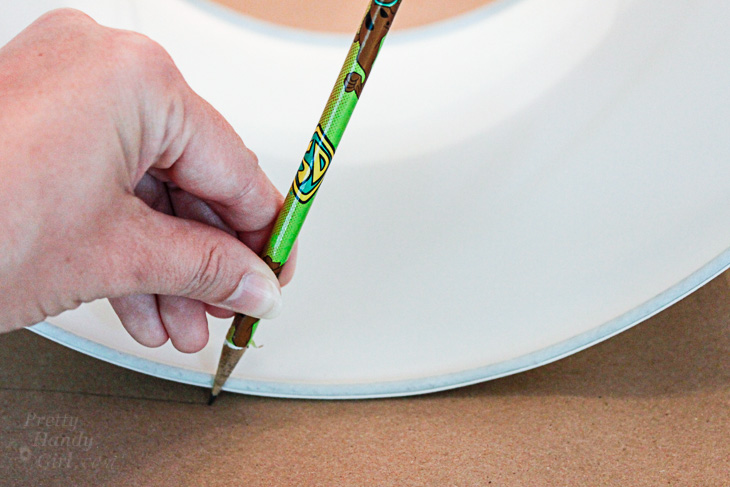
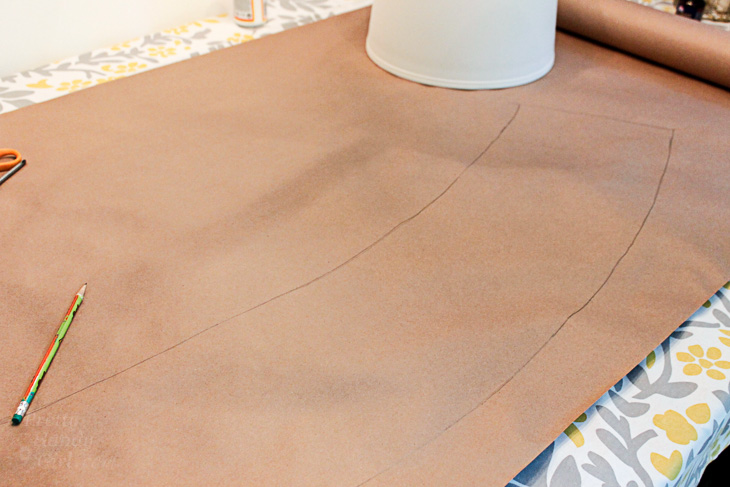
To make a template for your shade, roll out a large piece of craft paper. Lay your lampshade on the craft paper. Start at the vertical seam on the shade (to give you a visual of where to start and stop) and set your pencil along the bottom edge of the lampshade.

Gently roll the shade on the paper and mark along the bottom edge of the shade.

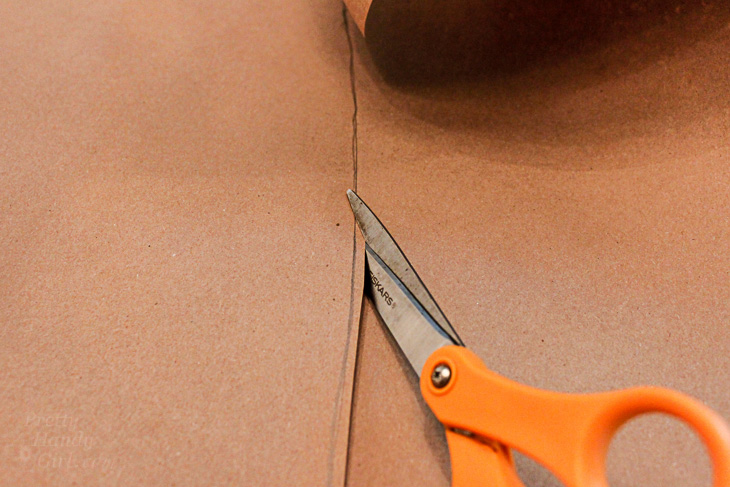
When you reach the end, reverse your shade and draw along the top edge. At the end, add an inch or two for overlap. Cut along the outlines to create your lampshade template.

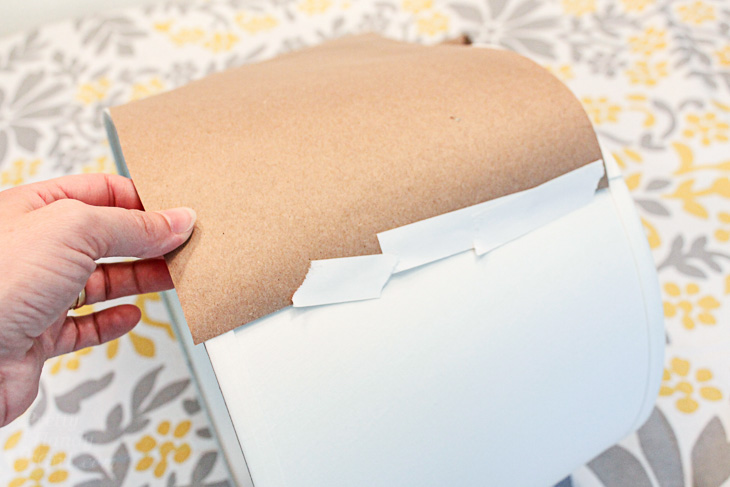
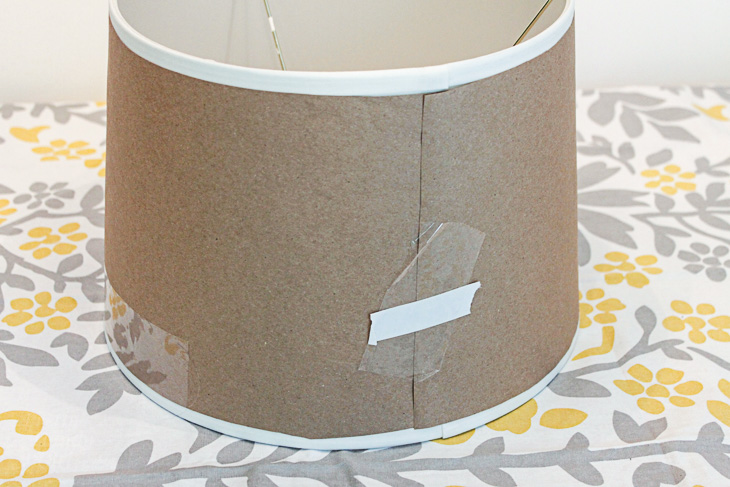
Tape the template onto your lamp shade using the low tack tape. Make sure it fits snugly.

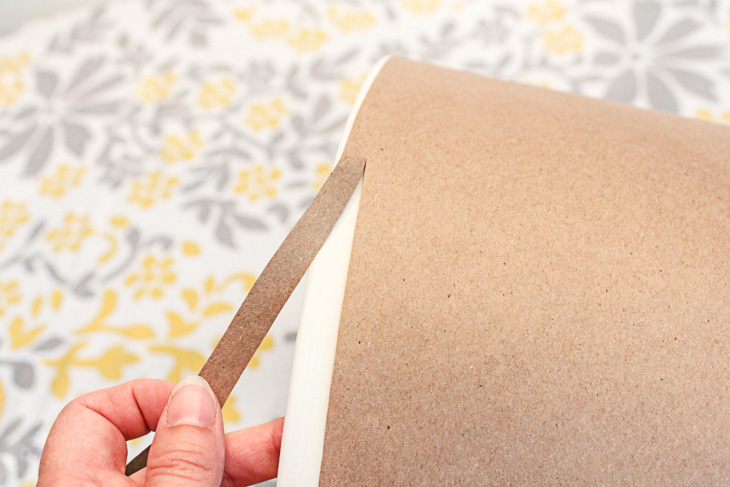
Trim any excess from the edge of your template. Should you choose, trim excess to allow room for the grosgrain ribbon.

Make sure your template fits perfectly before you proceed.

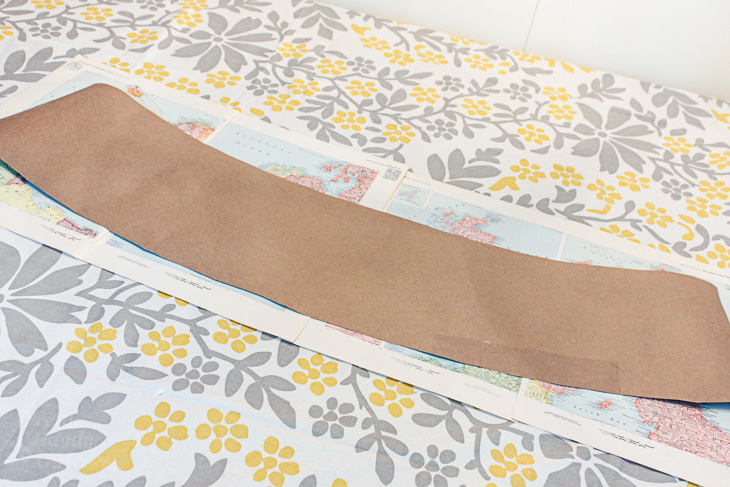
Lay out your craft paper template on top of the map pages. Make any adjustments to the page layout.

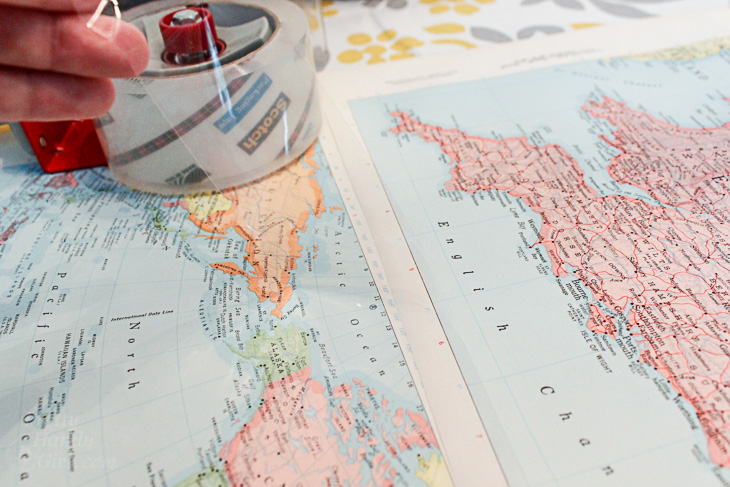
Tape your map pages together using clear packing tape on the inside only.

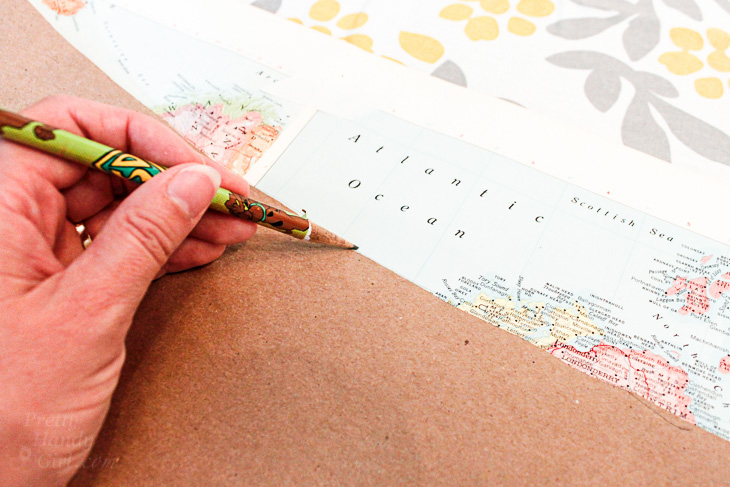
Trace the template on top of the map pages.

Cut out the shape along the pencil line.

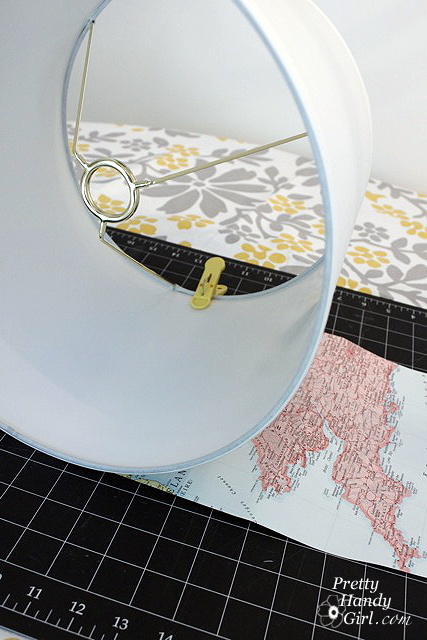
Wrap the lampshade with your cut out map pages.  Clip the edges with clothes pins.

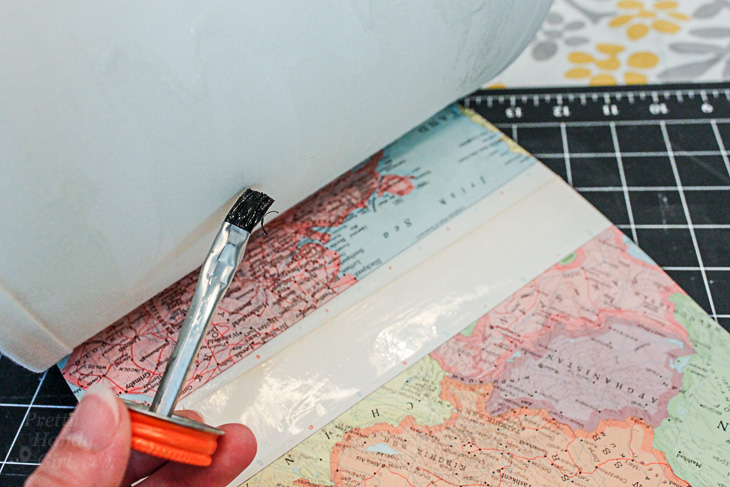
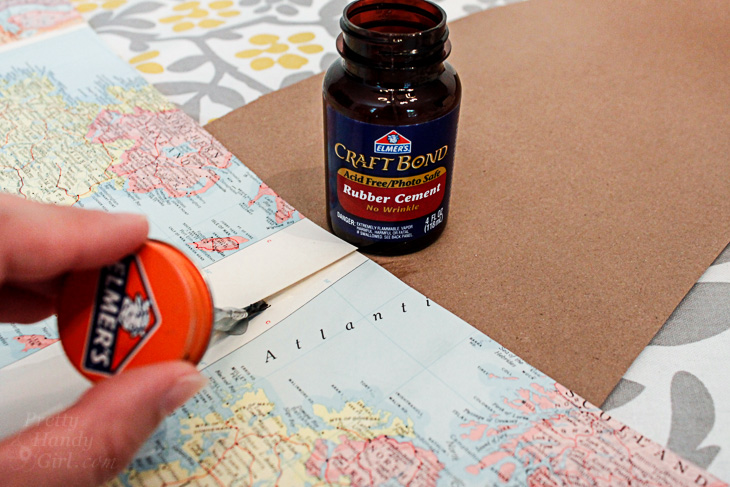
Working in small 8″ sections, brush rubber cement onto the map and the lamp shade. Wait a minute or two for the glues to dry. Then press them together. This is the best way to get maximum adhesion when using regular rubber cement. It creates a stronger bond than just one coat applied and joined while it is still wet. Alternatively you could use spray adhesive (especially if you are using fabric.)

Continue by gluing another section until you reach the end. To finish the seams on the outside, brush some rubber cement under the seams where your maps overlap. Press and hold them down until the glue dries.

Add a Vintage Aged Glaze:

Time to give your maps a vintage aged look! Pour 2 parts mod podge into an empty cup. Add about 1 part cocoa paint. Mix them together. Test some of the glaze on a scrap piece of paper. If you like the glaze color, start brushing it onto the lamp shade. Be careful not to use too much of the glaze or the paper will start to wrinkle. (If it does, no worries, some of the wrinkles will come out when it dries. Any remaining wrinkles make it look old.)

Let the glaze dry.

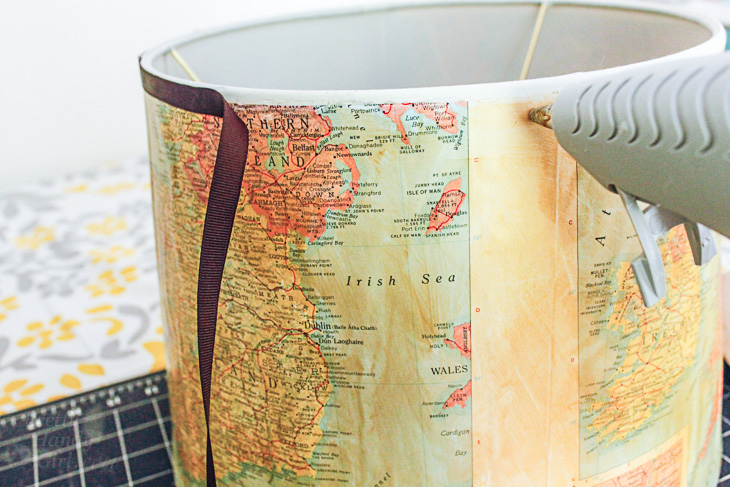
Cut two strips of grosgrain ribbon the circumference of your lamp shade plus an inch for overlap.

Hot glue the ribbon onto the top and bottom edges of your lamp shade. (Please, please, protect your fingers, read my hot glue gun safety post before working with hot glue!)

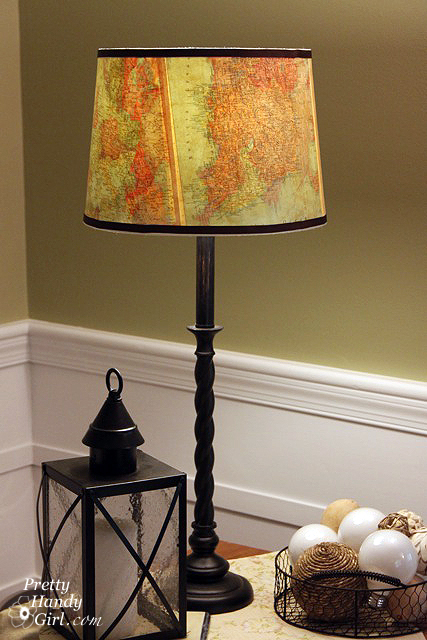
Put your lampshade on your favorite lamp.

Admire your unique lamp shade that brings back fond memories of a special trip.

If you make one of these, what map would be on your’s? Your home state? The place you were born? Where your family’s heritage resides? Or something completely different? I would love to hear your ideas.

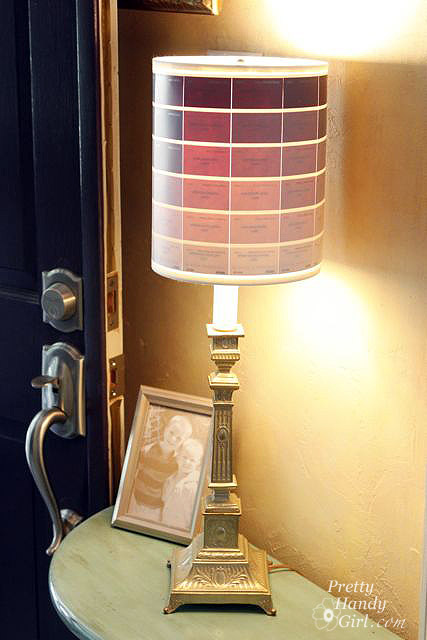
Did you like this tutorial? Want to learn how to revamp another lamp shade with paint chips!

The result are a beautiful ombré lamp that is fun and colorful.


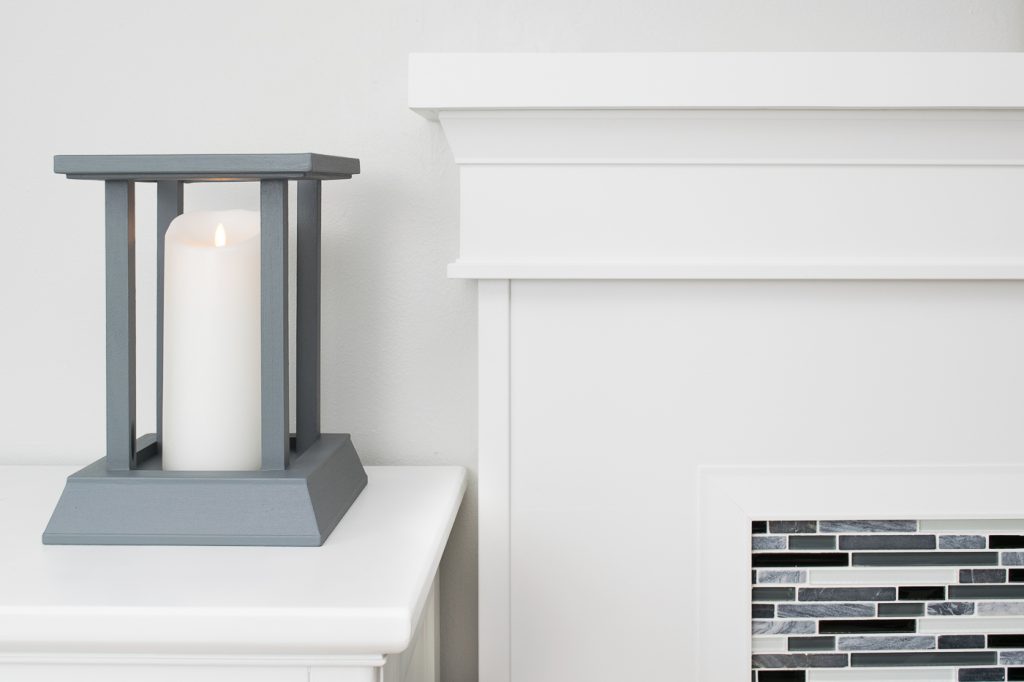
My candle lantern and fireplace mantel are made with the same trim!

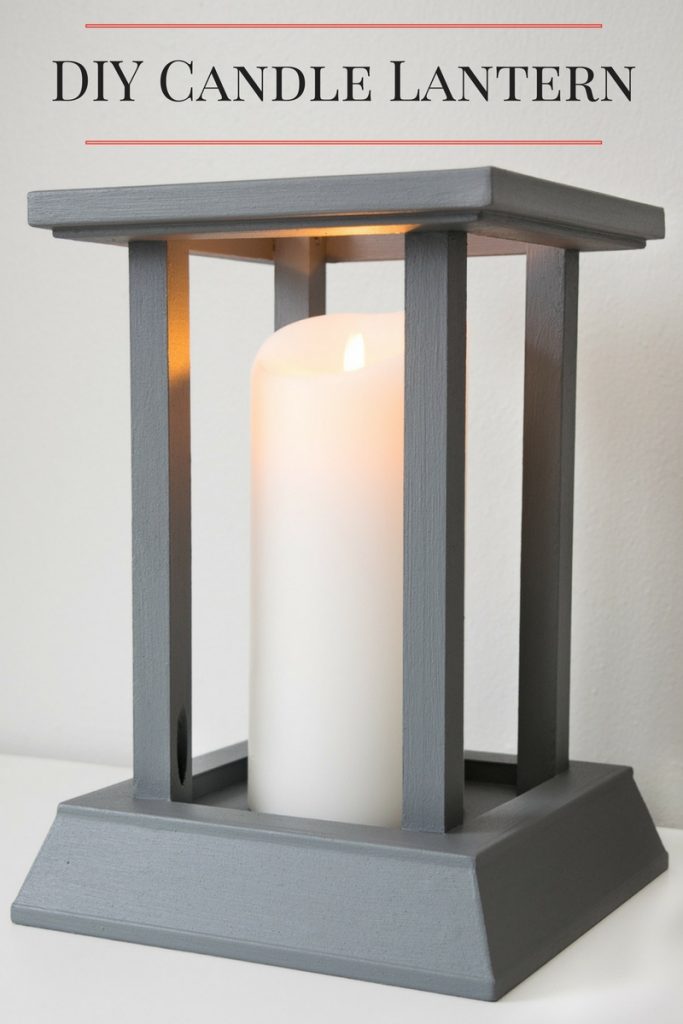
This DIY candle lantern was easy to make with leftover trim!

Hi there, Pretty Handy Girl readers! I’m Vineta from The Handyman’s Daughter, and I’m back with another awesome project to share with you. When I cleaned up my disaster of a workshop last month, I unearthed a few scraps of trim left over from my fireplace remodel. I couldn’t bear to get rid of these beautiful pieces. Instead, I decided to turn them into a candle lantern that will coordinate perfectly with our new fireplace!

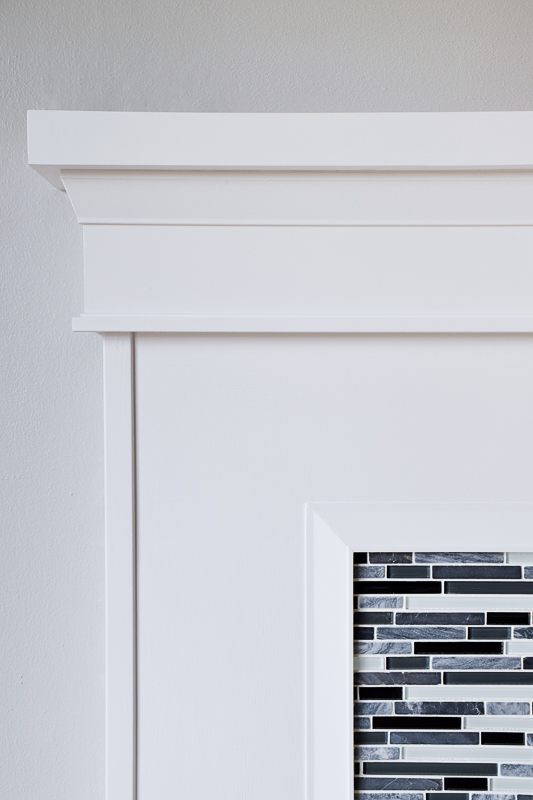
This particular type of trim is called an architrave, and it is typically installed on top of windows and doors for a bold architectural statement. But it worked perfectly under my narrow mantel! You can see all the details of the trim I used in my fireplace remodel here.

This architrave trim fit perfectly under our fireplace mantel, and the scraps will be turned into a DIY candle lantern.

Materials:

(I’ve included affiliate links for your convenience. I earn a small percentage from a purchase using these links. There is no additional cost to you. You can read more about affiliate links here.)

Instructions:

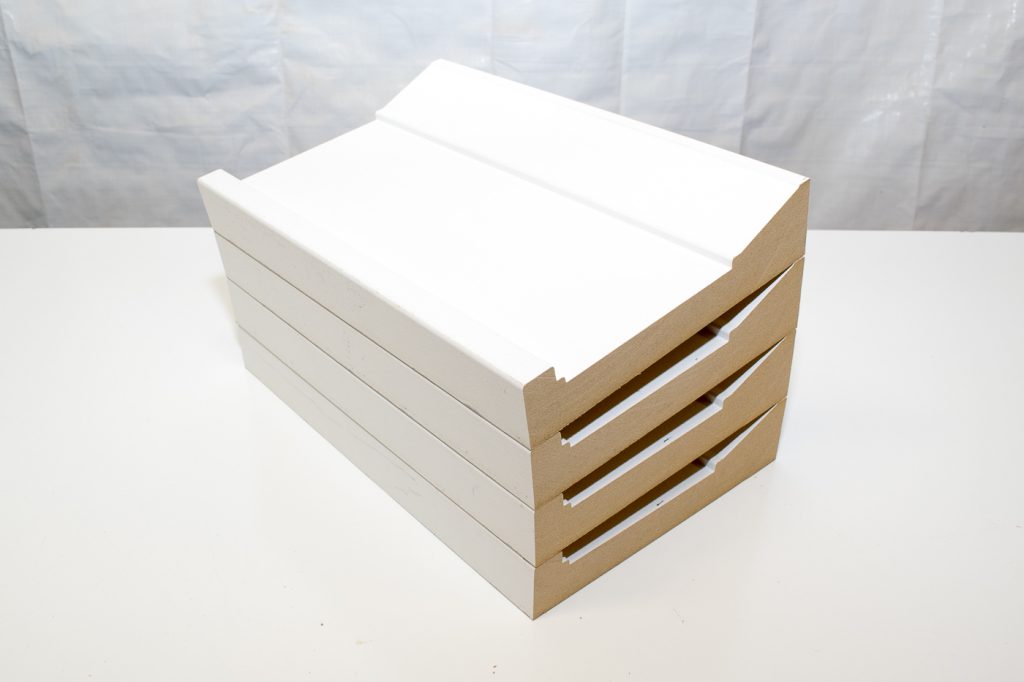
Start by cutting your trim down into manageable pieces. (Mine are about 10 inches long.)

Cut the trim for your candle lantern down to a manageable size.

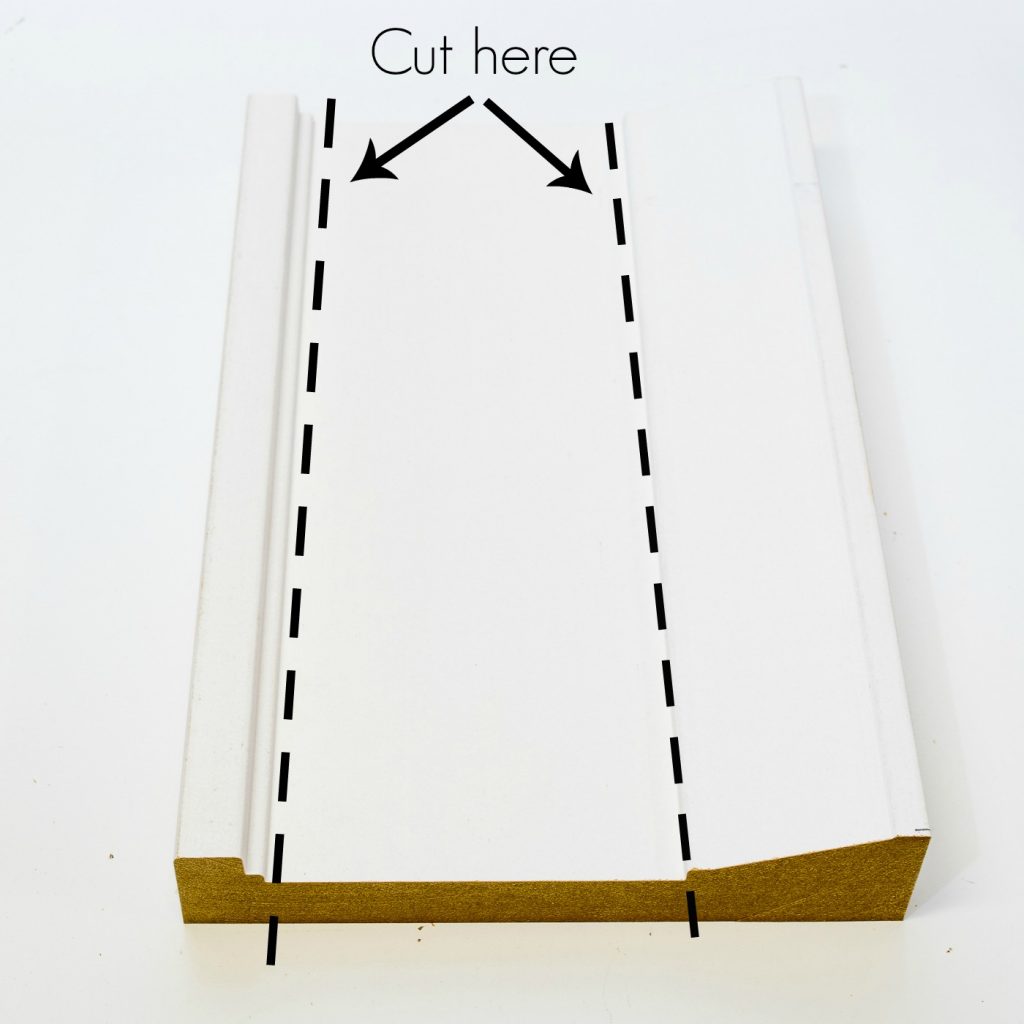
Then cut it into three separate parts as shown below.

Cut the trim for your candle lantern into separate parts.

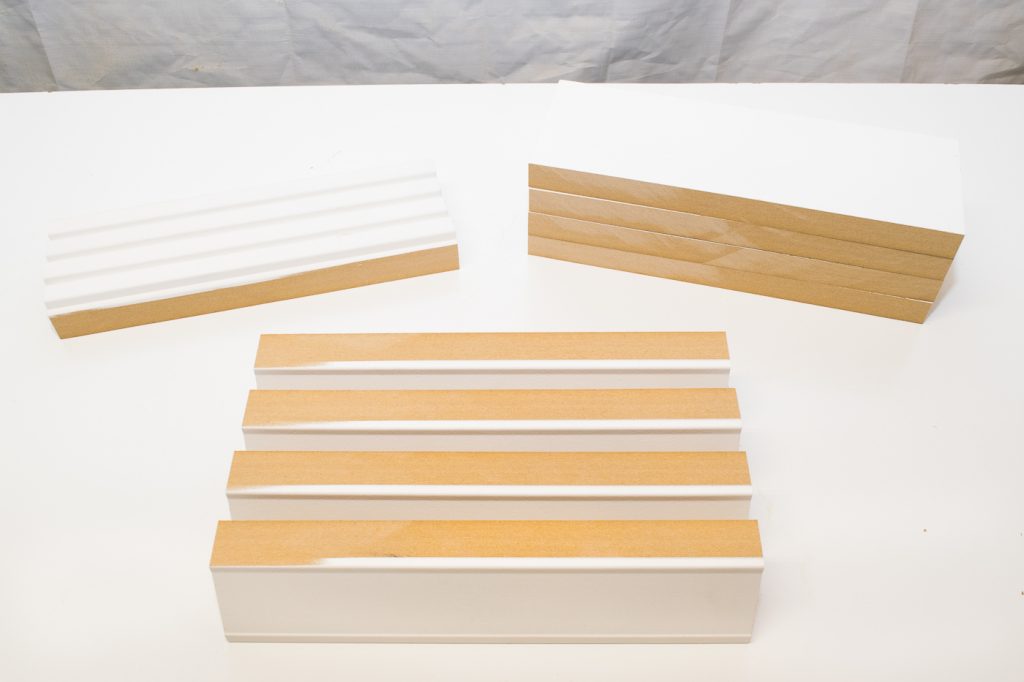
The angled piece will become the base, the square piece will be the top, and the flat middle will fill in the bottom. Alternatively, you could use baseboard or crown moulding for the base, smaller trim for the top, and scrap wood for the bottom. Play around with different combinations in the trim aisle of the home improvement store until you find one you like!

These are the pieces you will need to form the base and top of the candle lantern.

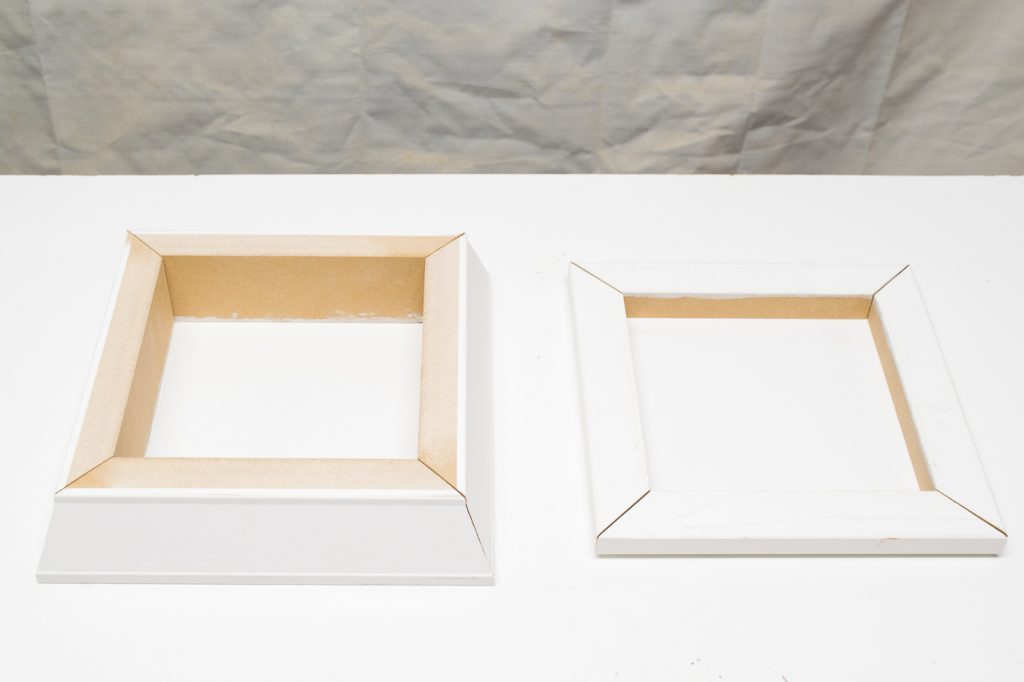
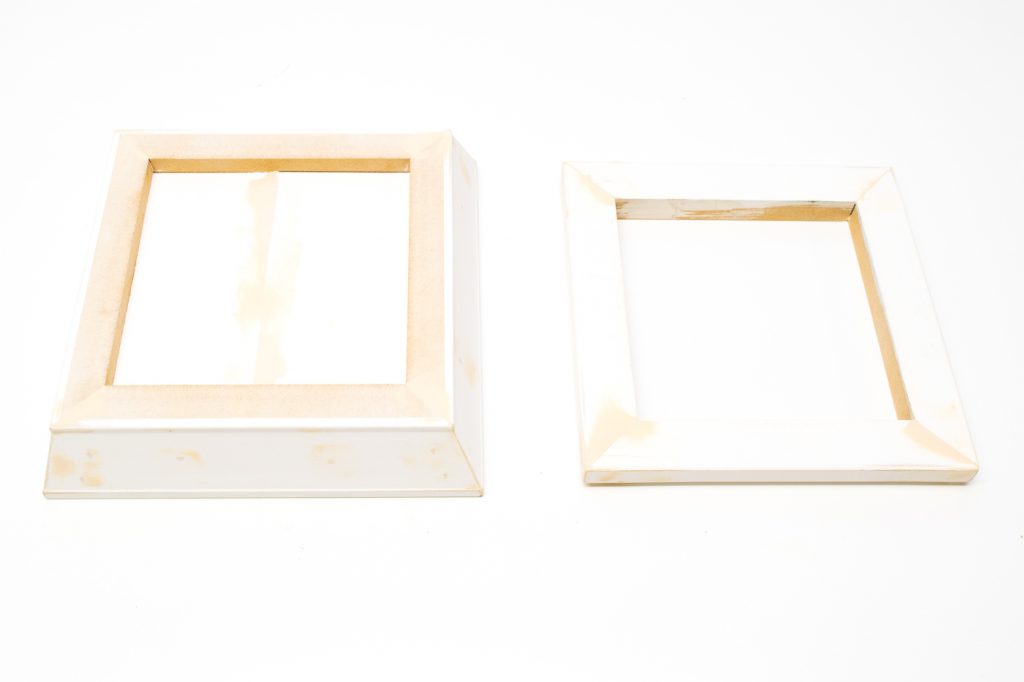
Miter the corners of the base and top pieces to create two frames. The interior dimensions of my lantern are 6″ square.

Miter the corners of your base and top pieces to create two squares.

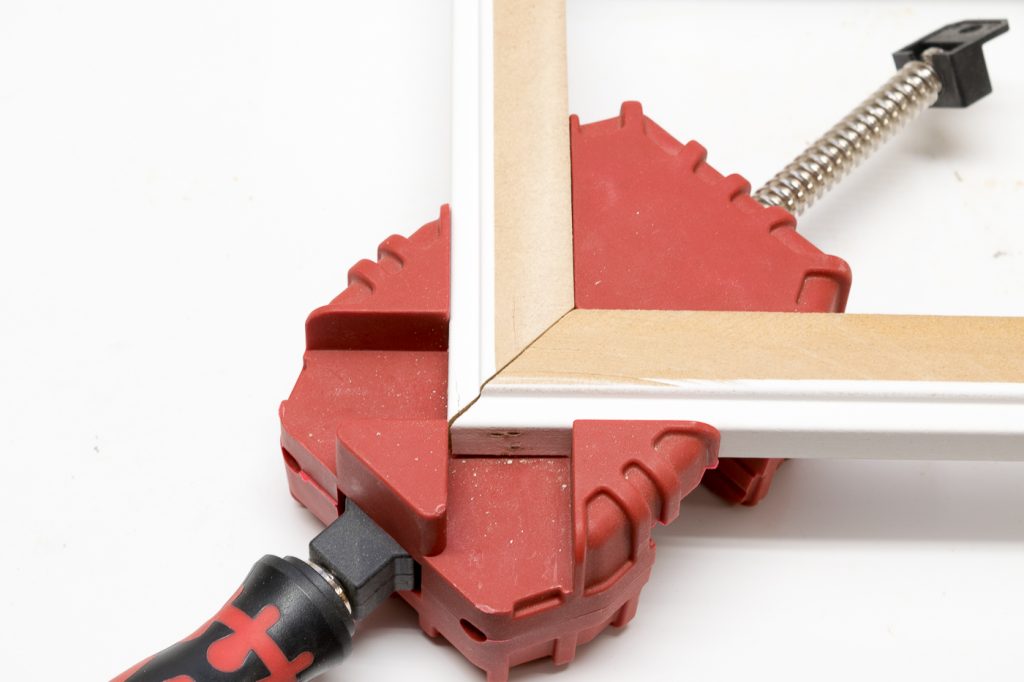
Apply wood glue to the corners, then nail each one together. The thick base was easy to handle, but the thinner top pieces were a little squirrely. I used a corner clamp to hold everything in place while I wielded the nail gun. Don’t worry if there’s a gap in the corners. We’ll patch everything up later.

A corner clamp made it easier to hold the miter in place when using the nail gun.

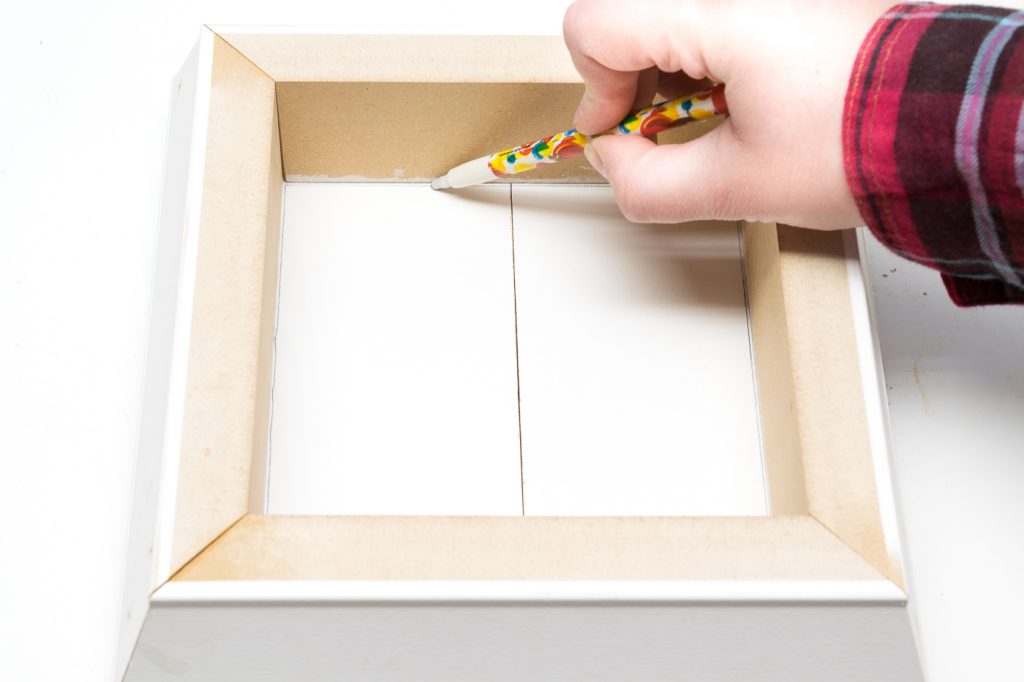
Using your base square as a guide, mark the bottom pieces and cut them to fit inside. I used the flat part of my trim for this, but plywood or scrap wood would work as well. Keep in mind how high you want your candle to sit inside the lantern when working on this step.

Mark the bottom of your candle lantern and cut to fit.

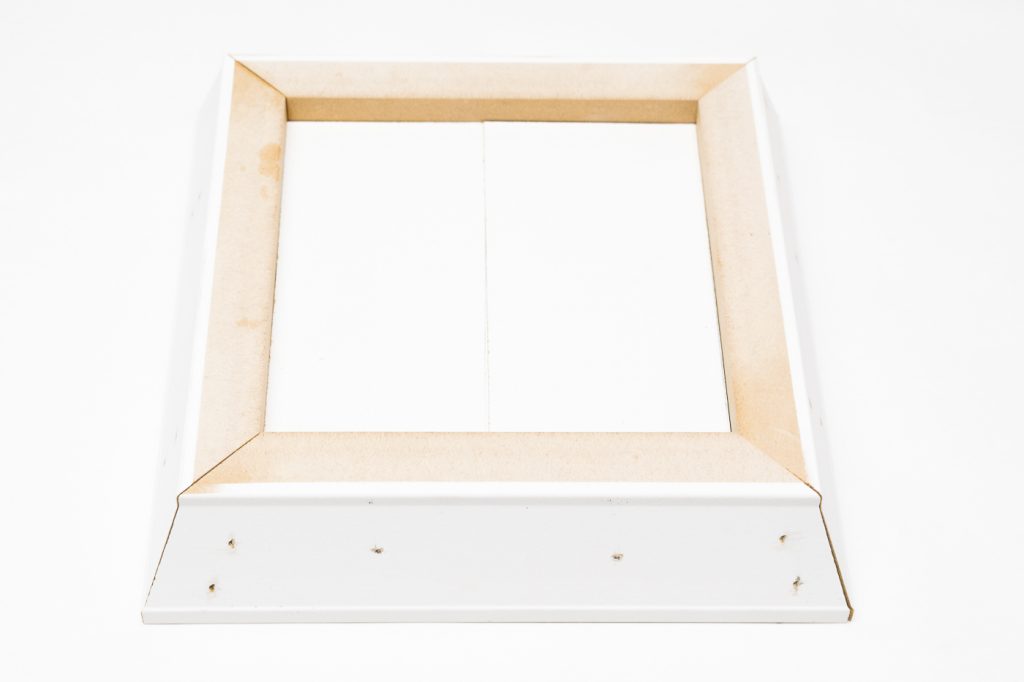
Nail through the sides to hold the base flat pieces in place.

Your candle lantern bottom should look like this.

Fill any holes or gaps with wood filler. Allow it to dry, then sand the surface smooth. When the candle lantern is painted, all those imperfections will disappear.

Adding wood filler to the gaps and holes in the candle lantern will let all the imperfections disappear when it is painted.

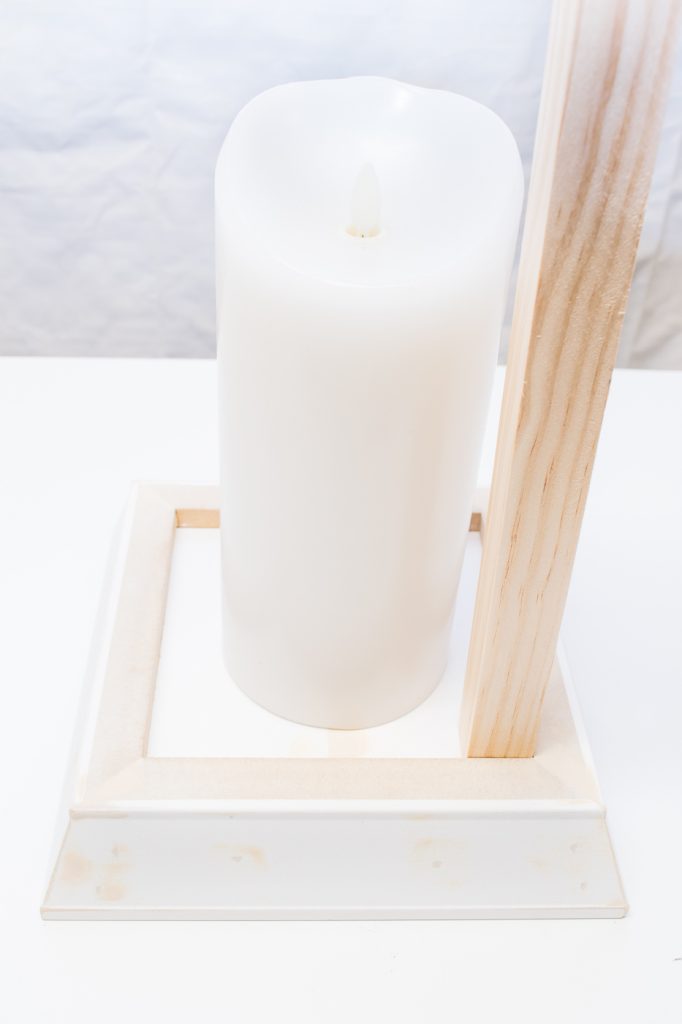
If you have a particular candle you want to use, now is the time to test it out. Place it in the middle of the base, then determine how tall you want the pillars to be. Mine are about 2 inches taller than the top of the candle. Cut 4 square dowels to that measurement.

Use your square dowel to eyeball how tall you want your candle lantern to be.

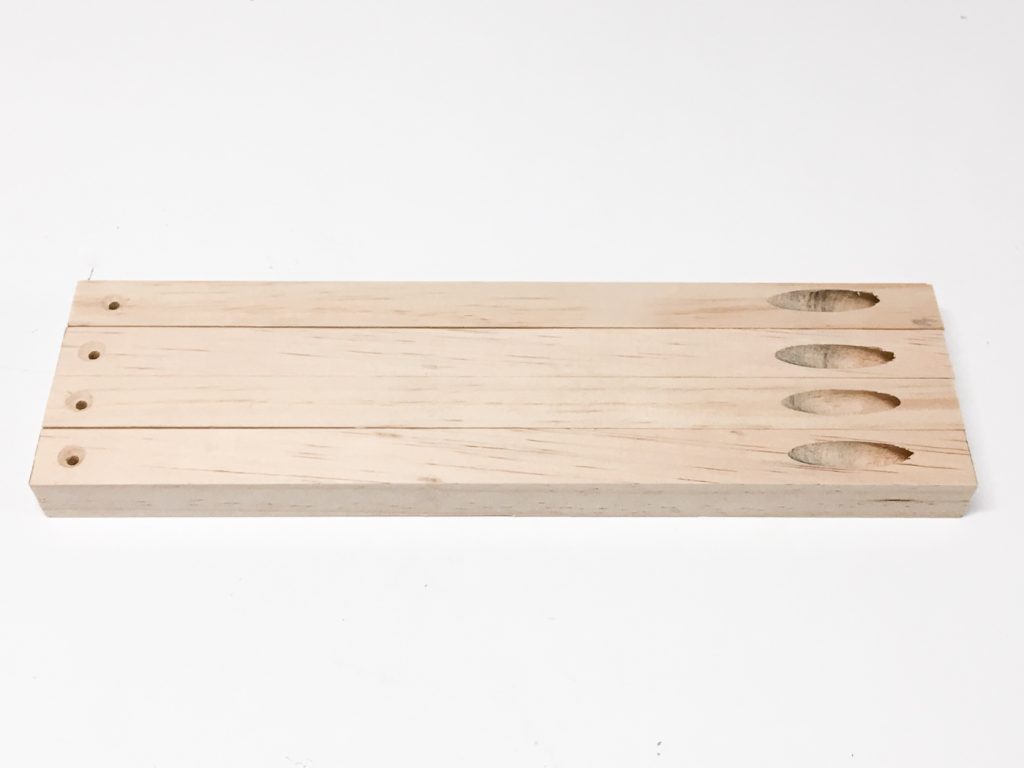
Predrill a hole in one end of each dowel with a countersink bit, and a pocket hole in the other end.

Predrill countersink holes and pocket holes in your dowels for the candle lantern supports.

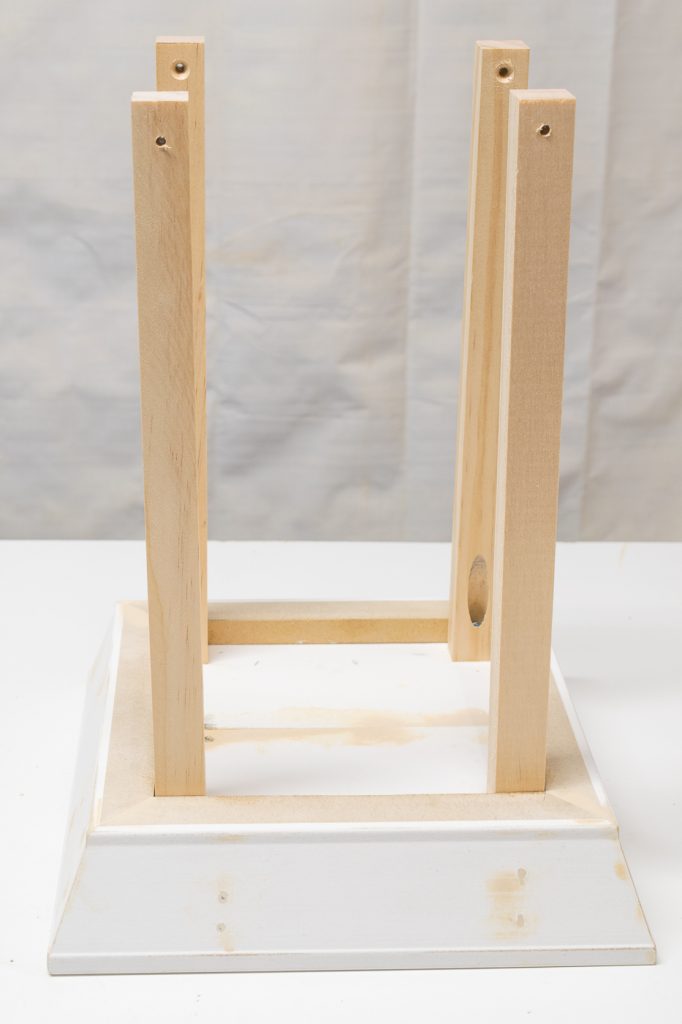
Attach the pillars to the base with 1 1/4″ pocket hole screws. I arranged mine with the pocket holes facing each other, but in retrospect I wish I had them all facing the back so the holes were hidden from view.

Attach the pillars to the base of the candle lantern with 1 1/4" pocket hole screws.

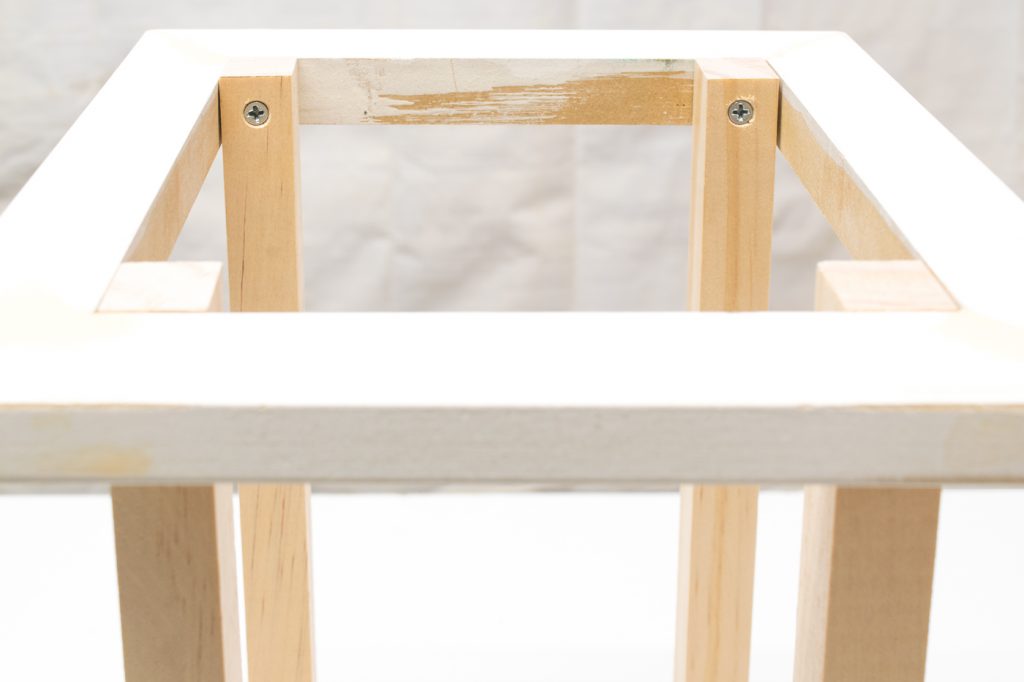
Attach the top frame to the top of the pillars with screws. Make sure the tops of the pillars are flush with the top edge of the frame.

Attach the top frame to the pillars of the candle lantern.

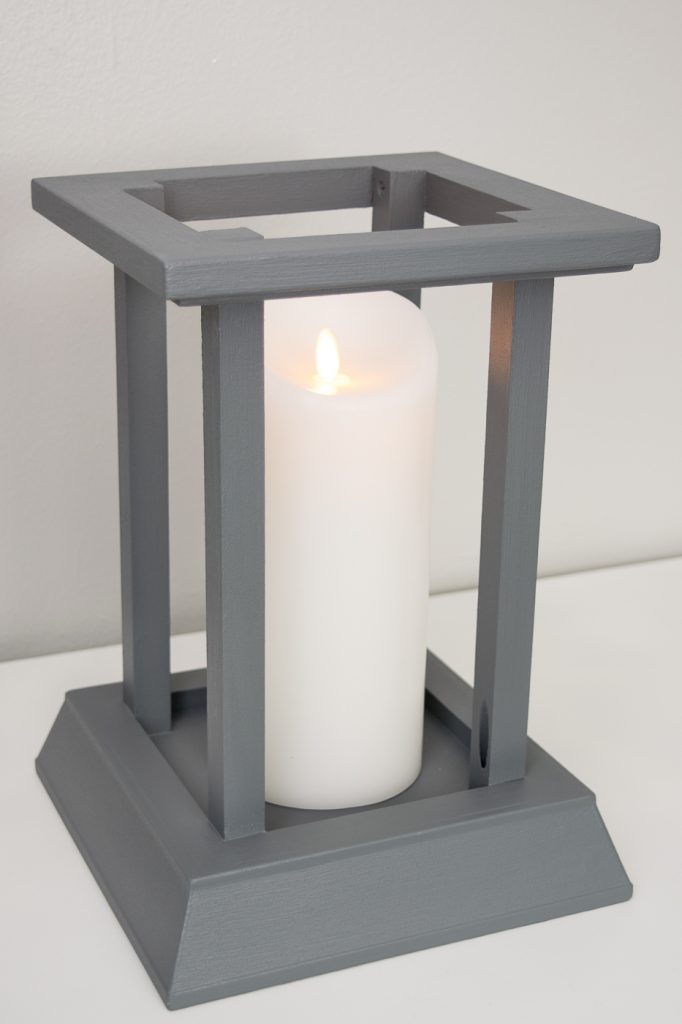
Now your candle sconce is ready for paint! Primer helps cover up the wood filler. I used some leftover chalk mix paint from my bread box makeover, and it goes perfectly with the dark gray tile of my fireplace. Even side by side, it’s hard to tell that I used the same trim for both!

My candle lantern and fireplace mantel are made with the same trim!

This candle lantern is easy to make using leftover trim from my fireplace makeover!

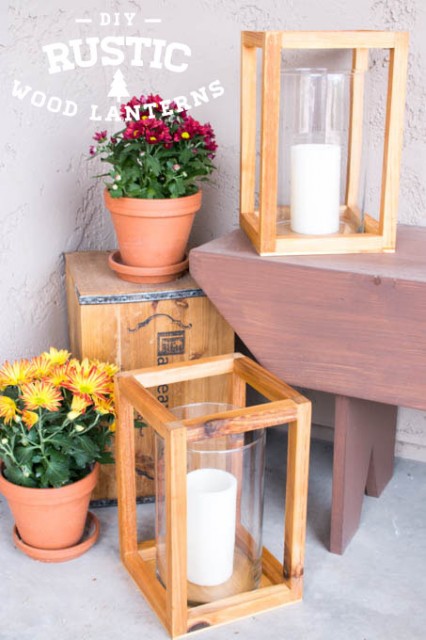
Is your style a little more rustic? Katie has you covered with this stained wood version lantern!

If your style is more rustic, these candle lanterns might be perfect for your decor!

I hope you’ve enjoyed this month’s tutorial! For more great DIY ideas, check out my blog at The Handyman’s Daughter. Until next time!

~ view more of Vineta’s projects ~