Happy Independence Day America!

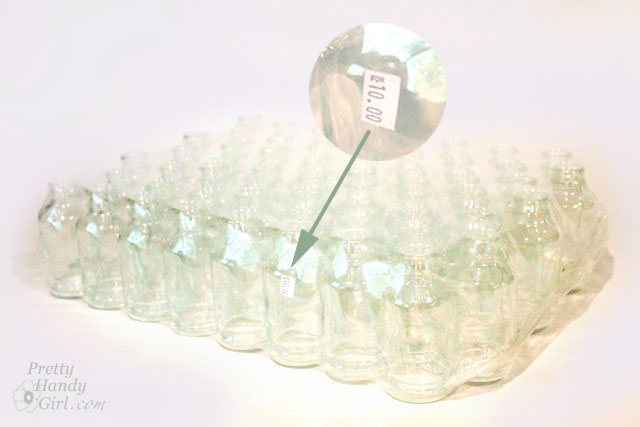
A few weeks ago I attended a birthday party for my niece at The Scrap Exchange in Durham. My kids had to drag me kicking and screaming out of there because I was in creative nirvana. There were all kinds of little gems of creativity. Bottlecaps, rolls of paper, extra tiles, scraps of fabric, stencils, etc. It was like being a kid in a candy store! One of the many things that caught my eye were these little glass vases. I brought a few of them to the register and the lady asked if I really only wanted three of them. Then she explained that they cost $1 each or $10 for the whole case!

So, I bought the whole case (it was a no brainer.)

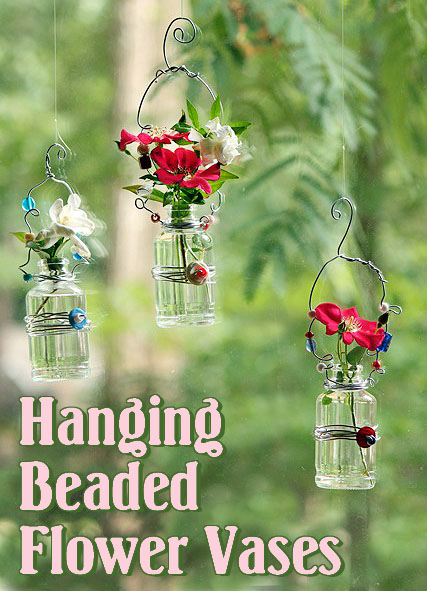
But, what the heck would I do with 48 teeny glass bottles? I ended up using some to make these beauties. Read more

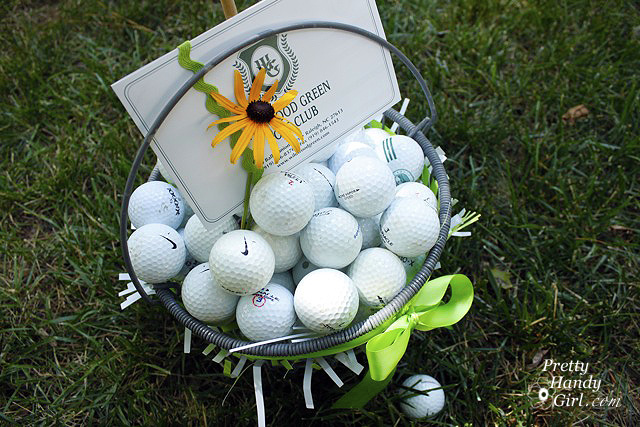
June is upon us, and that means that Father’s Day is just around the corner! Do you want to be the “birdie” of your hubby’s eye? Or maybe you want to give Dad a present that is above “par”! Well, I have a gift basket idea that is sure to be a “hole-in-one”! A golf gift basket! What could be better!

Instead of just presenting him with a gift certificate, why not have some fun and make him a golf themed basket as well. Read more

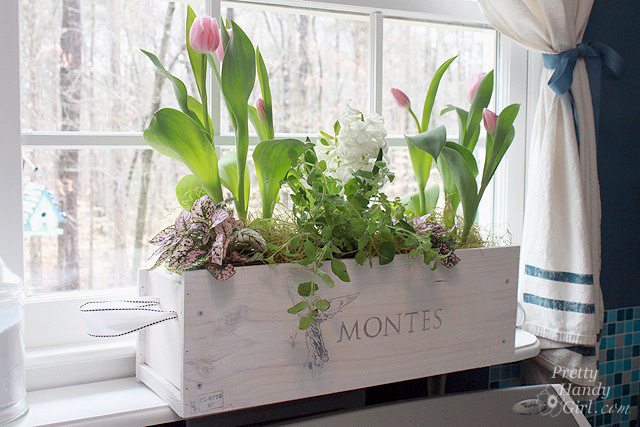
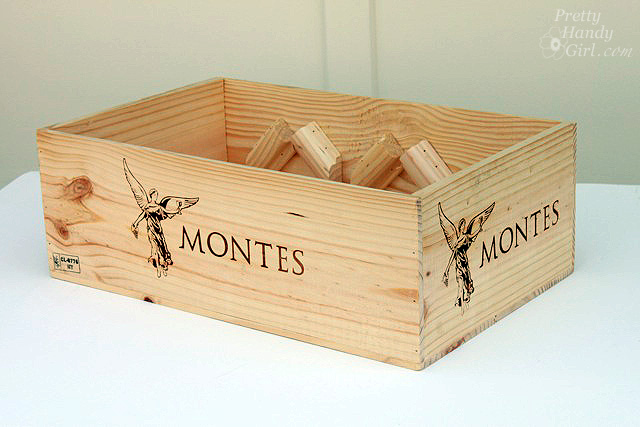
The other day I was wandering aimlessly shopping at Costco and spied an empty wooden wine crate. The angel stamped on the side was beckoning me to take her home. Actually, I read Funky Junk Interiors’s post about making tool boxes last year and have been looking for just the right wood to make one. The angel may not have calling me, but I wasn’t about to leave the store without her.

I thought about tucking it under my coat and making a break for the front door, as I was sure there were other crafty ladies eyeing up the lonely wine crate. But, I resisted the urge and asked the manager if I could have it, and he graciously let me take it home. I was exuberant because I’ve been missing my rustic wine crate that Cherie won. Read more

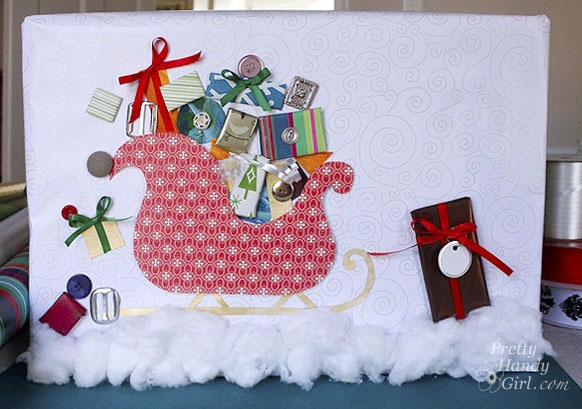
Sleigh Gift Wrap

This is it, the last day of the Creative Gift Wrapping tutorials. I hope you have had fun with some of these creative gift wrap ideas. In case you missed any, here are the previous days of gift wrapping:

Day #1 – Monogram & Name Plaque

Day #2 – Frosty & Rudolph gifts

Day #3 – Butterflies & 3-D Tree 

Day #4 – Chalkboard Tags

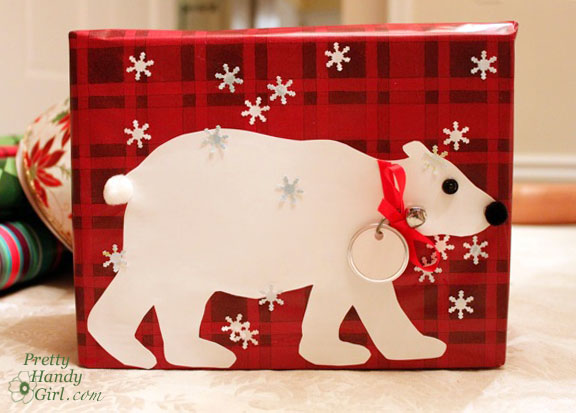
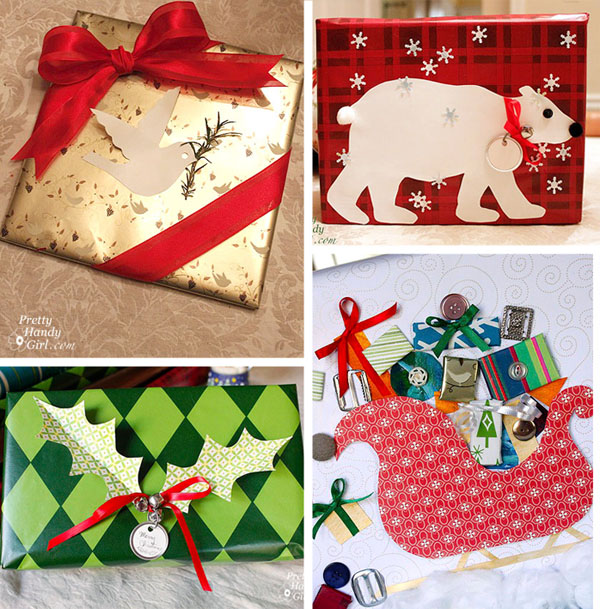
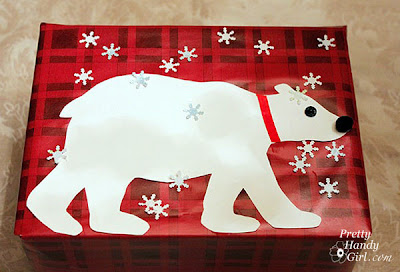
Today I have my favorite gift wrap! I have to admit that the polar bear is my favorite animal, so I might be biased. But, it is a really easy look to re-create.
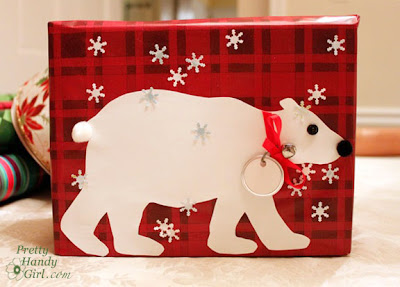
Materials:
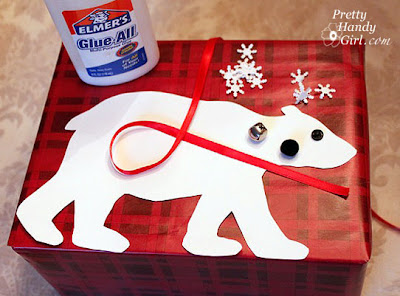
  • Wrapping paper
  • White card stock paper
  • Snowflake hole puncher
  • Key tag
  • Satin ribbon
  • Jingle bell
  • Black & white pom poms (nose & tail)
  • Small black button
  • Elmer’s glue
  • Hot glue gun

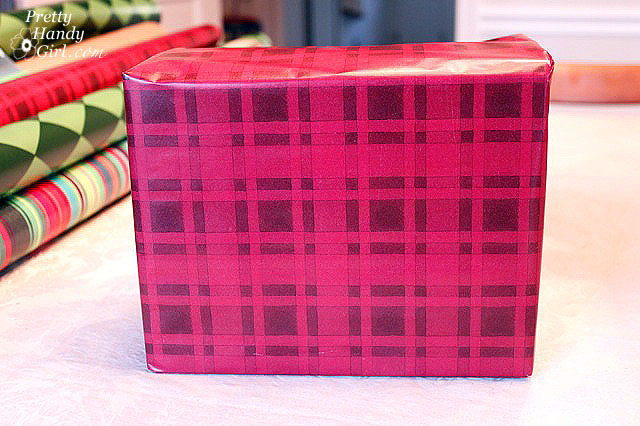
Wrap a present with gift wrap.
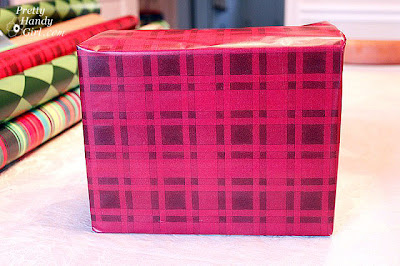
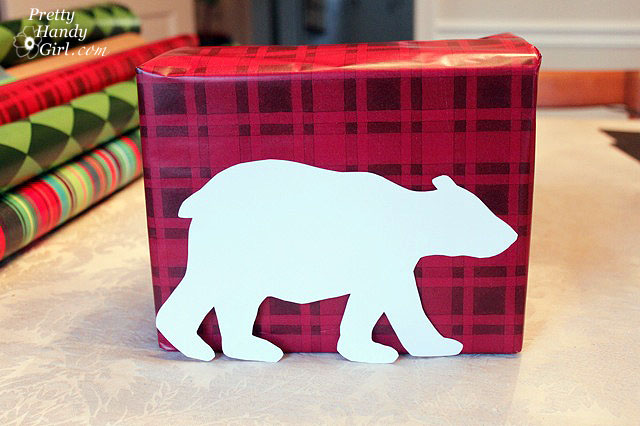
Using the template below (click on the photo for a larger version and then print it out), cut out the polar bear shape on white card stock. Better yet, if your printer can handle it, print it out on card stock and then flip the bear over to the white side.

Glue the bear onto the gift package.

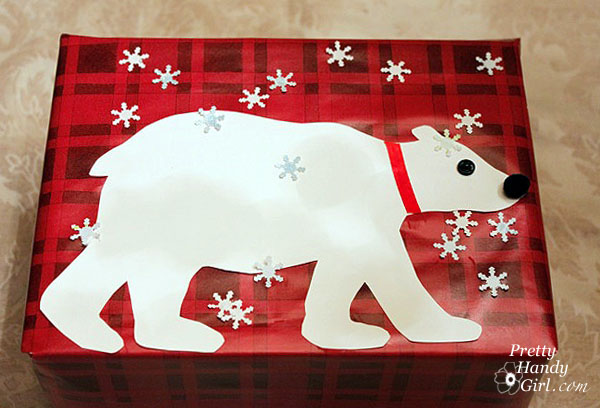
Punch out some snowflakes. (I used some white and some light blue that would show up better on top of the white bear.)
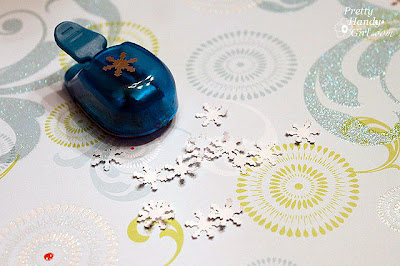
Cut one piece of red ribbon for the bears collar. Glue the collar and snowflakes onto the package using Elmer’s glue. Use hot glue to attach a button and pom pom for the eye and nose.
Thread a jingle bell onto some satin ribbon, then tie a bow onto a key tag.


Hot glue the bow/jingle bell onto the bear’s collar.


Factoid: Did you know that a polar bear’s skin is actually black? And the bear’s hair is actually transparent hollow tubes. This serves three purposes:

  1. The tubes are hollow so they store air in them. This acts as an insulator.
  2. Plus, it helps the polar bears buoyancy while swimming.
  3. Remember how I said their skins is black? Well, because the fur is actually transparent, it allows the sun to reach the bear’s skin and help warm them. Cool, huh?!

Materials:

  • Wrapping paper
  • White card stock paper
  • Satin ribbon
  • Sprig of rosemary or other evergreen twig
  • Hot glue gun

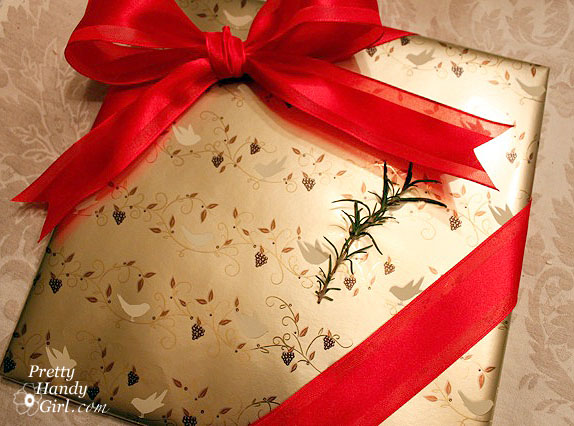
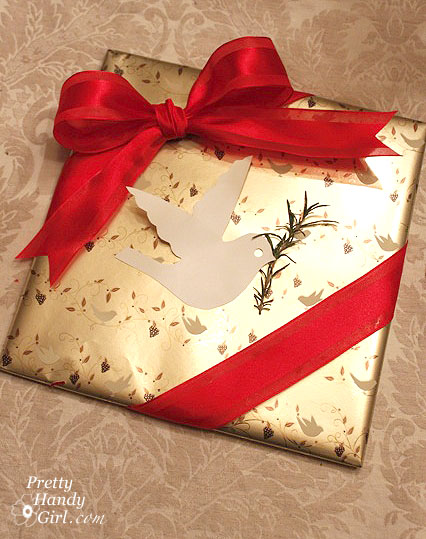
Wrap a present with gift wrap.

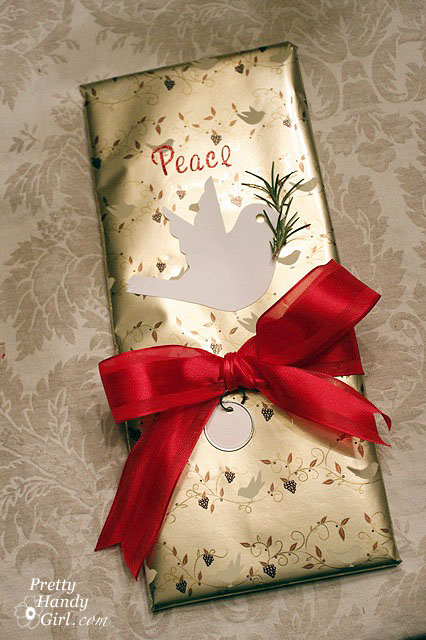
Add a ribbon on the diagonal corners.

Click on the dove silhouette below to see the full size image. Print it out on the cardstock paper and cut out the shape to use as a template, or use the reverse white side of the shape.

Use a hole punch to cut out the eye. Hot glue the dove to the package and hot glue the rosemary underneath the dove’s beak.

Have fun with this creative package. Add the words PEACE, or bend the wings up to make them three dimensional.

This dove will work on a variety of sized gifts. Try one on a vertical present.


“Peace on Earth, Goodwill Toward Men”

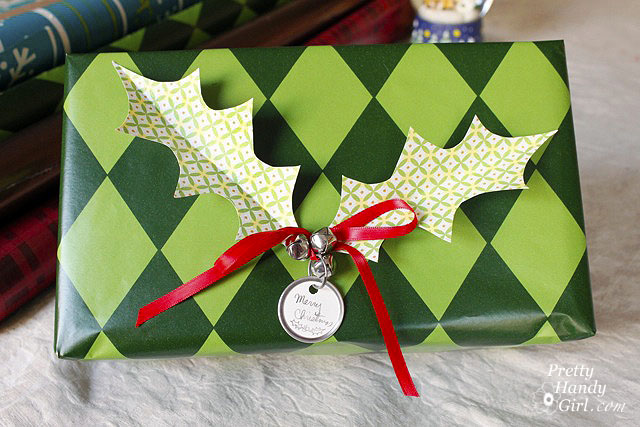
Bonus: Here are two more creative gift wrappings to try. The holly leaves are simply pieces of scrapbook paper folded and glued onto the package.
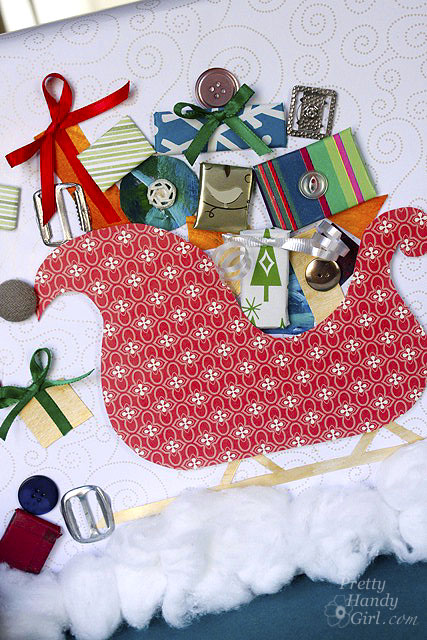
The sleigh was so much fun to create! I wrapped pieces of foam board and cut out a scrapbook paper sleigh.
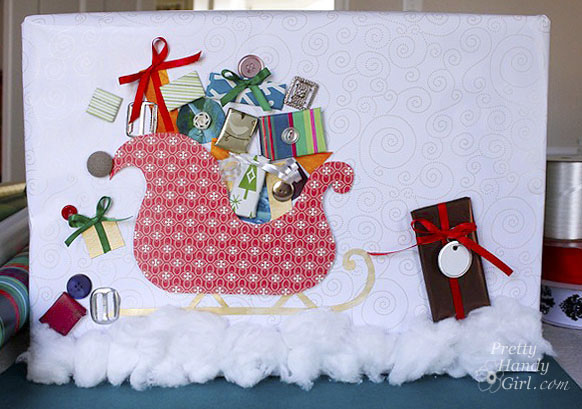
Glued cotton balls for snow and some buttons and buckles make this a gift the recipient will want to stare at instead of open.
I hope you have a wonderful Christmas day, a Happy Holiday and a terrific New Year!


Chalkboard Tags for Gift Wrap

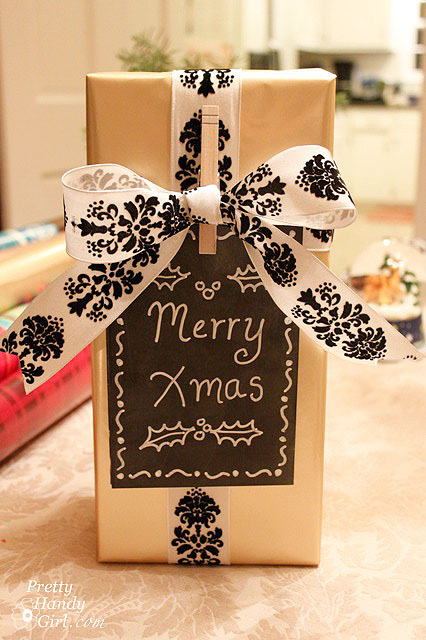
What is better than a creative gift wrapped package? A creative gift wrapping that can be re-used again and again and again! Chalkboard tags made from foam board are adorable and can be used after the gift has been opened.


Materials:

  • Chalkboard paint
  • Foam board
  • Chalk or chalkboard pen
  • Wrapping paper
  • Ribbon
  • Hole Punch
  • X-acto knife
  • Pencil
  • Ruler

Measure and cut out a 4″ x 6″ rectangle of foam board. The trick to clean cuts in foam board is to use a brand new x-acto blade! It is that simple.


To make perfect diagonal corners, measure 1″ from the corner (across and down) and make  marks. Then draw a diagonal line connecting the two points. Cut off the triangle.

Use the hole punch to put a hole in the middle of the top edge.

Spray paint or paint chalkboard paint onto the foam board. Let it dry.

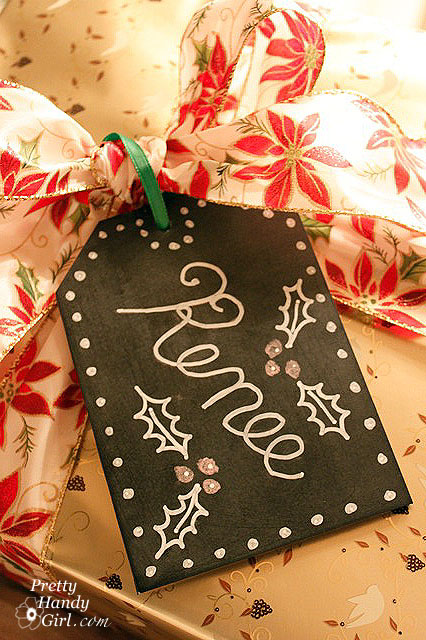
Season the chalkboard rectangle by rubbing chalk all over the board. Then wipe it off. This will eliminate the chalk message “burning” into the chalkboard and will allow the recipient to re-use the board.


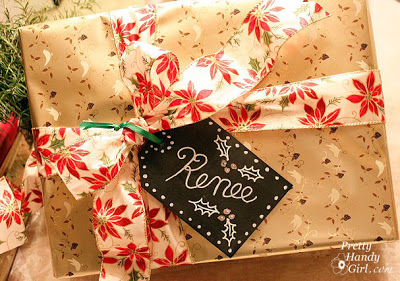
Write a message on the chalkboard tag.


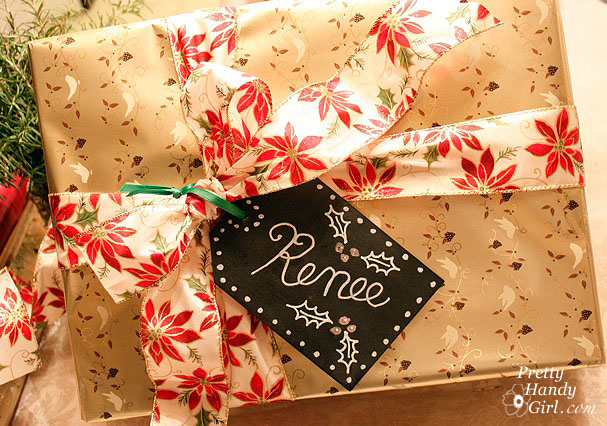
Wrap the present with wrapping paper and a big bow. Attach the tag to the bow.


Now your gift recipient has a cute little re-useable chalkboard tag.


 Merry Christmas, Renee!


Materials:

  • Chalkboard paint
  • Foam core
  • Chalk or chalkboard pen
  • Wrapping paper
  • Ribbon
  • Hole punch
  • X-acto knife
  • Pencil
  • Ruler
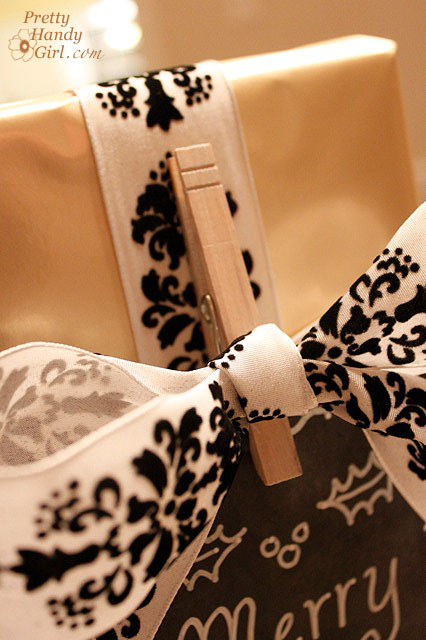
  • Clothespin
  • Silver or Gold acrylic paint
  • Paintbrush
  • Hot glue gun (or Elmer’s glue spots)

Follow the instructions above for making a foam core chalkboard. Eliminate the steps on cutting diagonal corners and adding a hole for this one.

Take apart a clothespin and paint both sides using the silver or gold acrylic paint.

Wrap the present with wrapping paper.

Wrap ribbon around the present, but don’t tie a bow. Just make a knot.


Make a separate bow out of the same ribbon and use hot glue (or Elmer’s glue spots) to attach it to the clothespin.


Clip the clothespin over the knotted bow on your package and slide your chalkboard into the clothespin.


“Merry Christmas, Baby!”

Only one more day until Christmas! Better get wrapping people! I’ll have a final wrapping paper tutorial for you tomorrow, I bet you can’t wait!