
Whether you are looking for a quick and easy gift idea or want to make this for yourself, this DIY State Capital Rustic Tray was fun to make and easy to create!
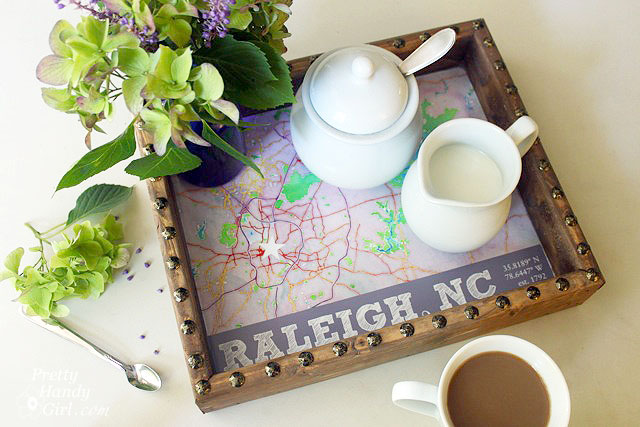
DIY State Capital Rustic Tray
Are you proud of your hometown? Want to create a personalized gift tray for someone you love. Today I have a special project you’re going to love!
Materials:
(I’ve included affiliate links for your convenience. I earn a small percentage from a purchase using these links. There is no additional cost to you. You can read more about affiliate links here.)
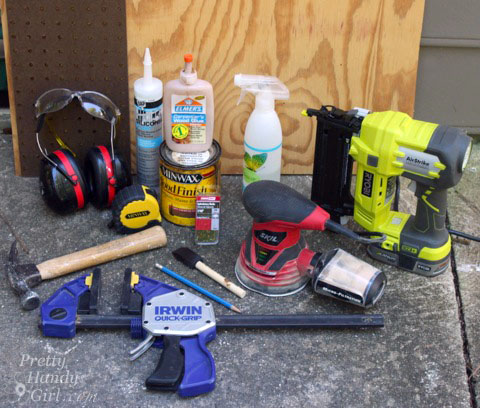
- Color Printer (or Get a Color print from Kinkos)
- Paper
- X-acto knife
- Metal ruler
- 9.5″ x 11″ plywood board for base
- Scrap 1″ x 3″ boards
- Miter saw
- Tape measure
- Pencil
- Clamps
- Hammer
- Ear protection
- Eye protection
- Wood glue
- Clear caulk
- Sheet of glass or plexiglass cut to size of base
- Nailhead trim nails
- Minwax Early American stain
- Foam brush
- Clean rag
- Wet wipes
- Sander
- Finish nailer
- 1 ¼” finish nails
- Windex (or glass cleaner)
- Paper towels
Optional: Scrap of pegboard
Instructions to Make DIY State Capital Rustic Tray:
Visit Maps.Stamen.com that turns maps into works of art! Simply enter your city, state or favorite location and watch as it instantly turns into a watercolor drawing! When you have the view you want, download the graphic to your computer.
If you wish, you can play with the hue and saturation of your image in your photo editing software.
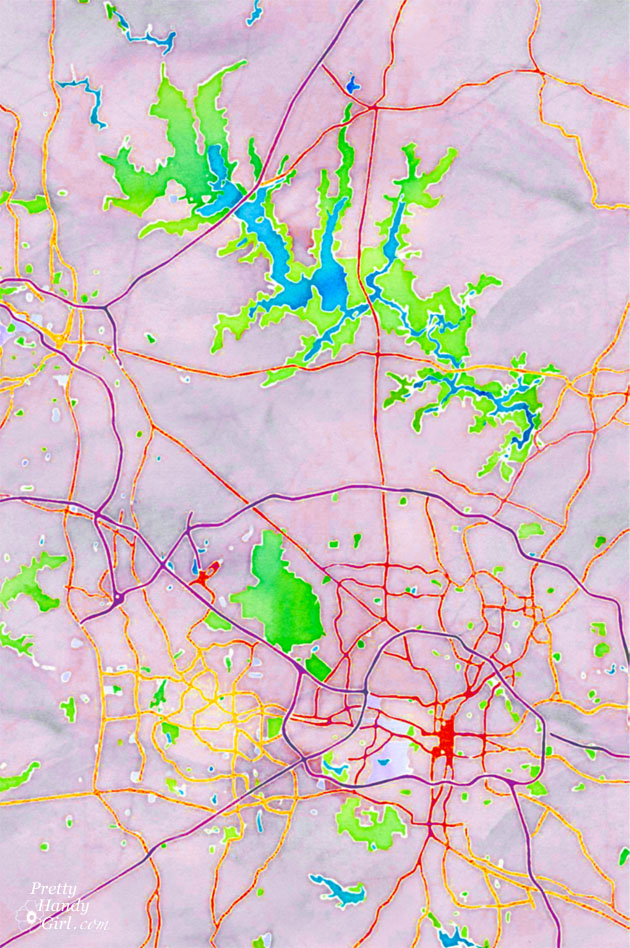
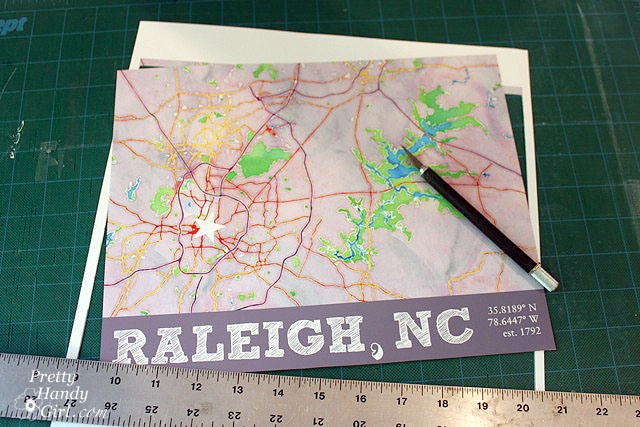
For fun and more graphic interest, I added “Raleigh, NC” (using Sketch Block font) and the global coordinates for my capital city. Plus, the date Raleigh was founded. (All available at Wikipedia.)

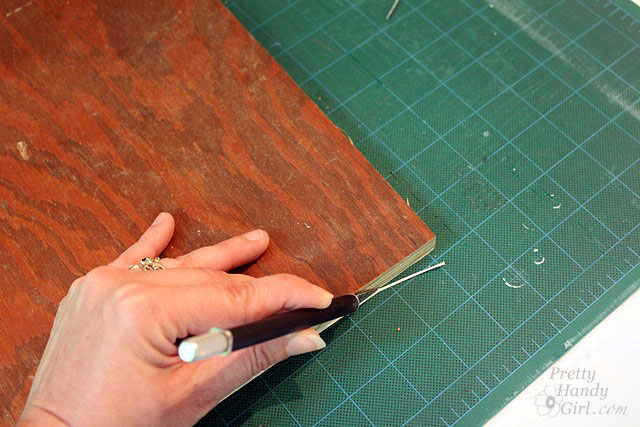
Print your map onto paper and use the x-acto knife and metal ruler to cut out the map.
Cut out a piece of plywood (or board) the same dimension as your map. (I used a circular saw and the Kreg Rip Cut, but you can use a table saw, jig saw, or have Lowe’s cut a board for you.) Sand the board to remove any splinters.
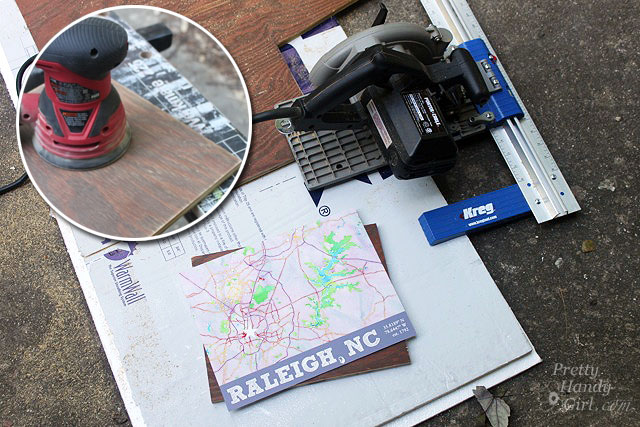
Check your map printout against the base and trim the map if needed.
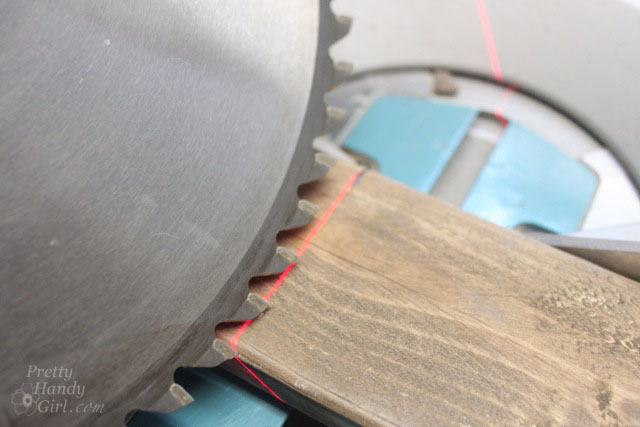
Cut one end of a 1×3″ board at a 45 degree angle using the miter saw. (Never used a miter saw before? Watch this video tutorial to learn how to use a miter saw.)
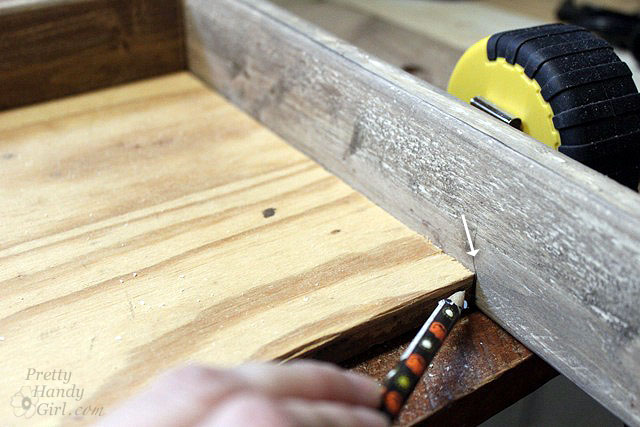
Line the board up against the plywood base. (Line up the inside of the 45 degree angle at one corner.) Make a mark where the other corner meets the 1×3.
Cut the 1×3 at an opposing 45 degree angle, lining up the saw with your inside angle mark. Continue marking and cutting your 1×3 boards to create the sides of your tray.

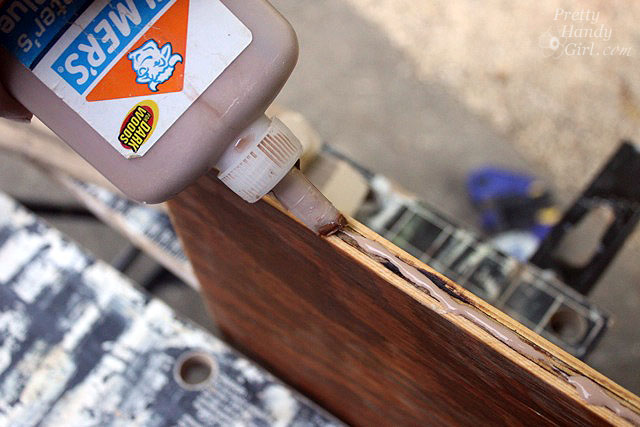
Dry fit the sides against the base. Make any adjustments to get a tight fit. Run a line of wood glue along the ends of the 1×3’s.
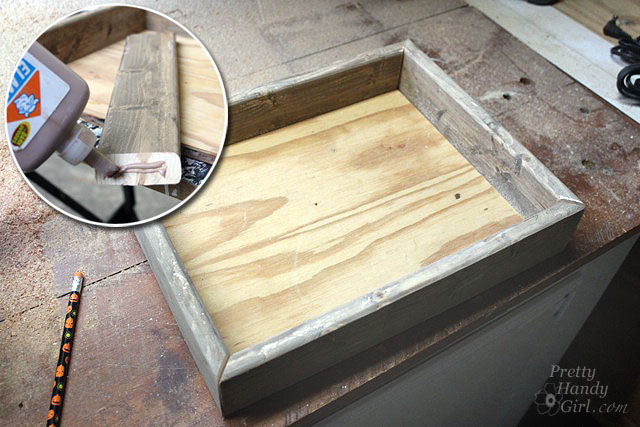
Run a bead of glue along the sides of the base piece.
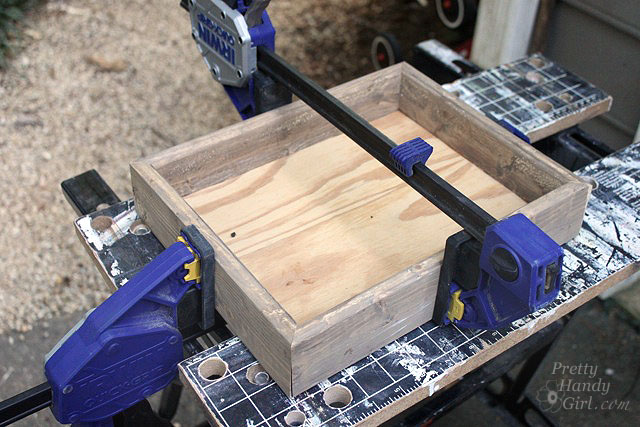
Clamp the tray together making sure the base is flush with the bottom and all the sides meet.
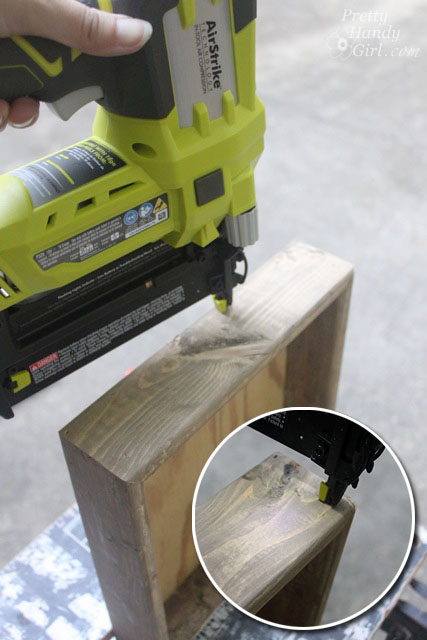
Use the finish nailer to shoot 1.25″ finish nails into the corners of the tray. Then secure the base to the sides by shooting more nails through the sides into the base.
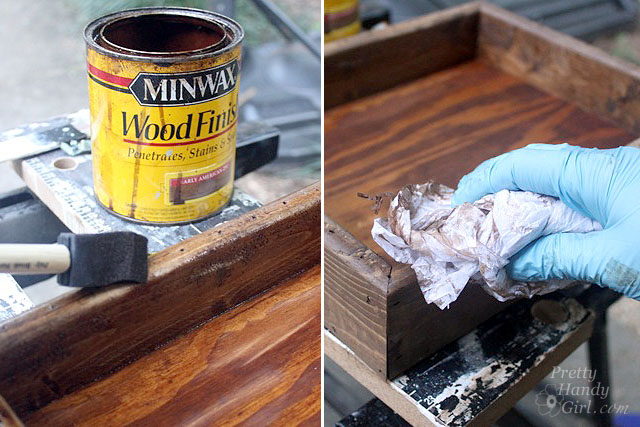
Stain the tray and base with a foam brush. Wipe off any excess with a dry rag or paper towels.
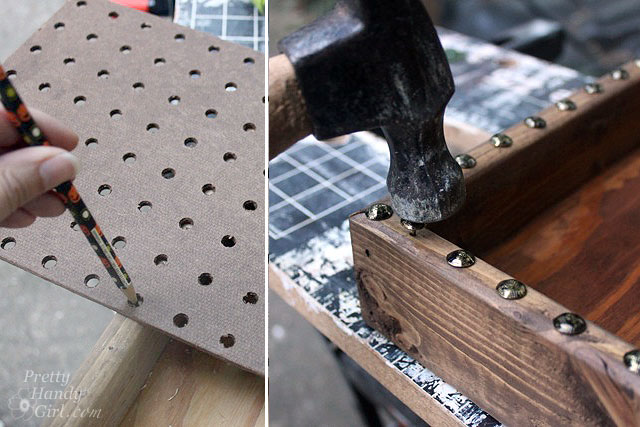
After the tray dries, use the pegboard scrap to mark even spots along the tray edge for the nailhead trim. Hammer nail heads into the edges of the tray. (If the wood is hard, you might have to pre-drill holes.)
Test fit your glass to make sure it fits in the bottom of the frame. Clean off the glass with window cleaner. Wipe off any lint.

Set your map print on the bottom of the tray. Lay the glass on top of the map.
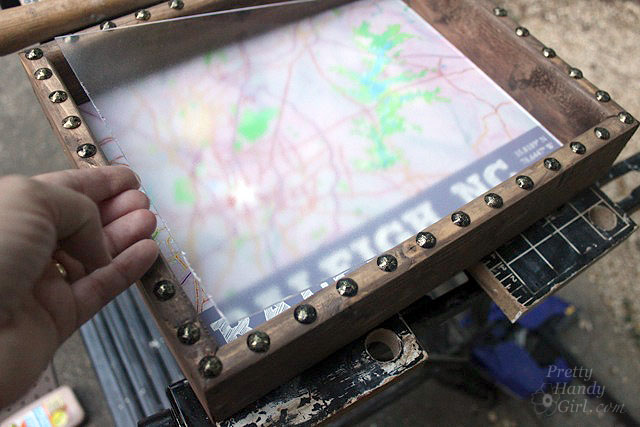
Run a line of clear caulk along the edge of the glass. Wipe the caulk with a wet wipe to smooth and remove excess caulk.

Let the caulk set and then feel free to fill your tray! I use my tray in the kitchen to neatly hold our coffee supplies.
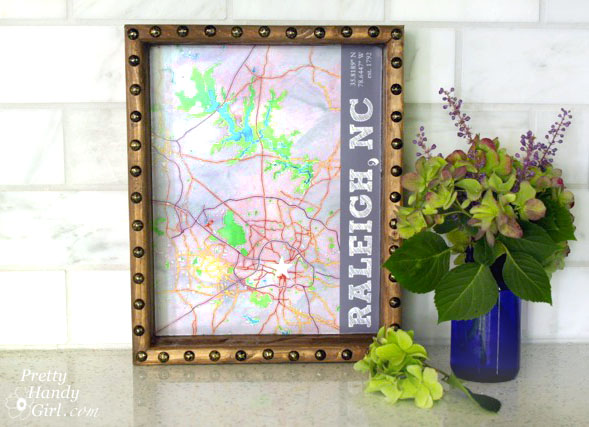
But, you could also add D-rings to the back of the tray and hang it as art!
I’m curious, where are you from? Or where do you call home? Don’t you think this would make a fabulous present for someone who is proud of their hometown?