diy gift idea hot cocoa mix in a jar

Hot Cocoa Mix in a Jar

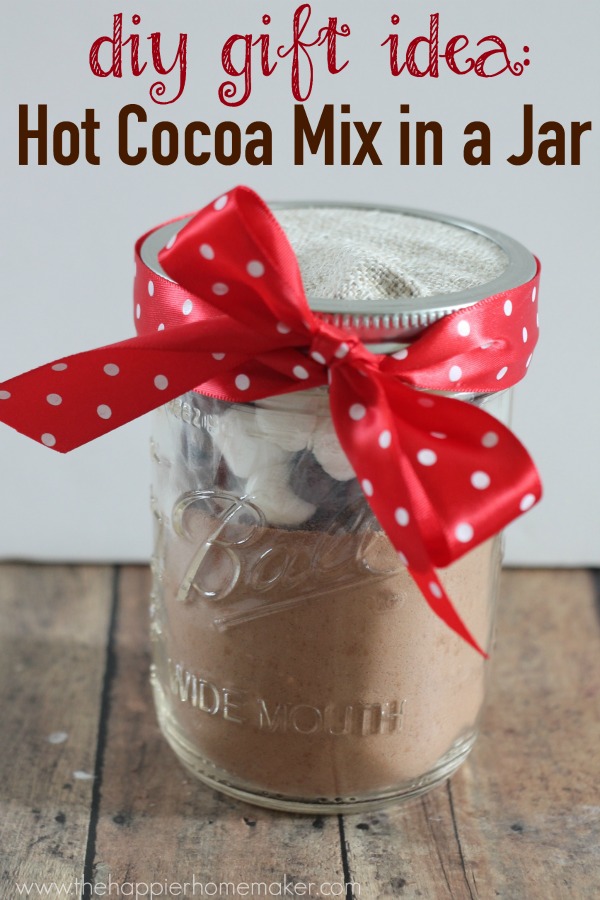
I love making homemade gifts during the holidays. Not only is it more personal than something store-bought, but it’s a budget saver as well.  One of my favorite quickie gifts to make is hot cocoa mix.  With mason jars being all the rage, this gift in a jar is the perfect neighbor or teacher gift for the holidays!

Hot Cocoa Mix in a Jar Supplies:

  • 4 tbsp cocoa powder
  • 4 tbsp sugar
  • 8 tbsp powdered milk
  • 1/2 cup mini marshmallows
  • 1/4 cup chocolate chips (optional)
  • 16 oz pint sized mason jar (I used a wide mouth jar)
  • sandwich bag
  • scrap fabric
  • ribbon

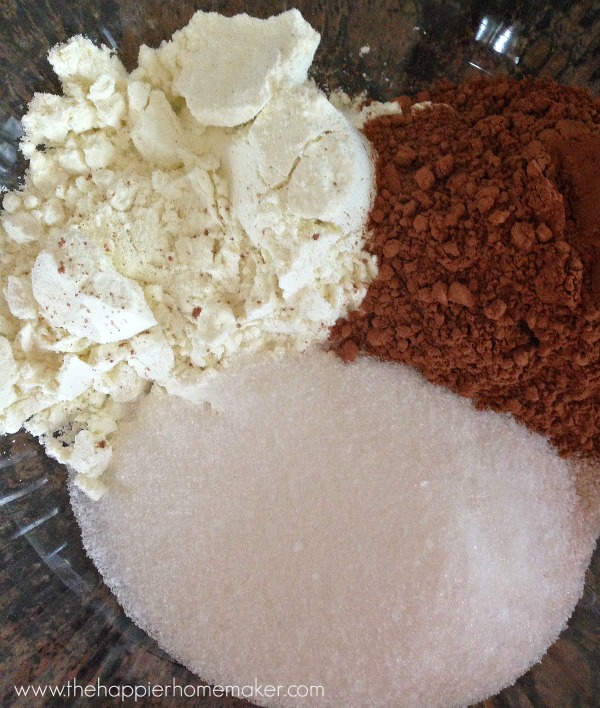
homemade cocoa mix ingredients

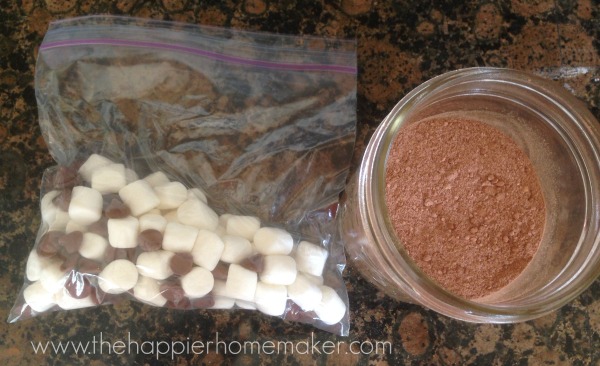
Combine powdered milk, sugar, and cocoa mix in a large bowl until well blended. Pour mix into a mason jar. If necessary, wipe down the inside of the jar to remove any mix residue on the top half of the jar.
cocoa gift in jar

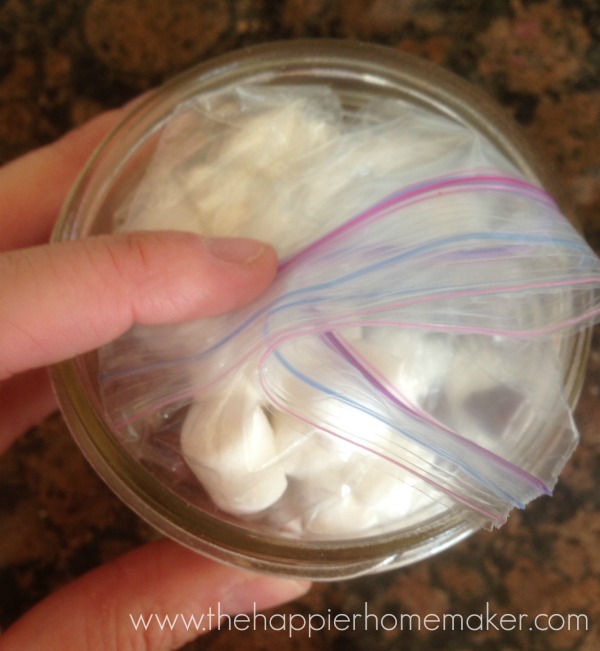
Add marshmallows and chocolate chips to the sandwich bag.  Squeeze all excess air out of the bag and twist to form a “ball” of marshmallows.
packaging cocoa jar gift

Carefully place the marshmallow bag on top of the cocoa mixture with the excess plastic at the top so the lid will conceal it.  Be sure to add your bag slowly so that you don’t cause the cocoa mix to spill.
mason jar topper diy

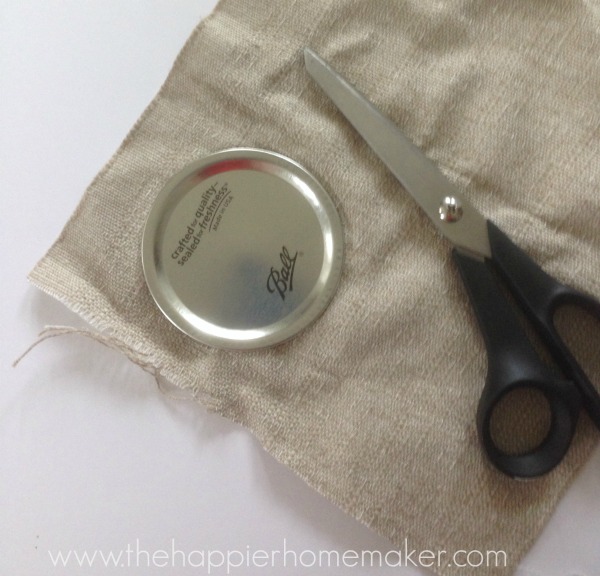
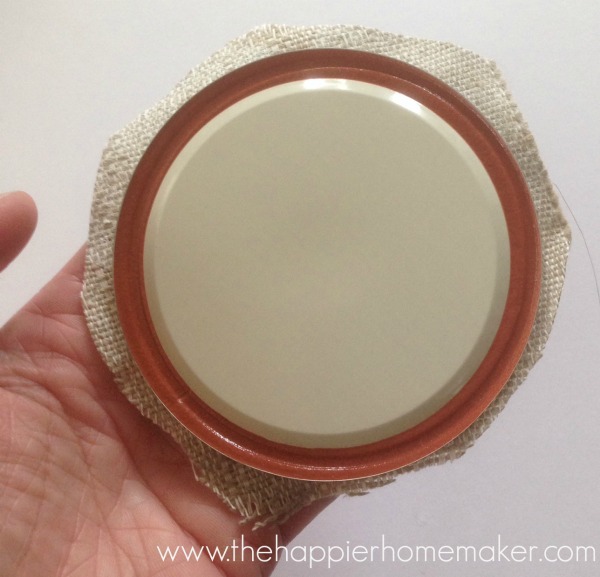
Cover the mason jar top with fabric. It’s a fast and easy way to make the packaging look a little more “fancy!” Simply cut a piece of scrap fabric slightly larger than your top.
making mason jar topper

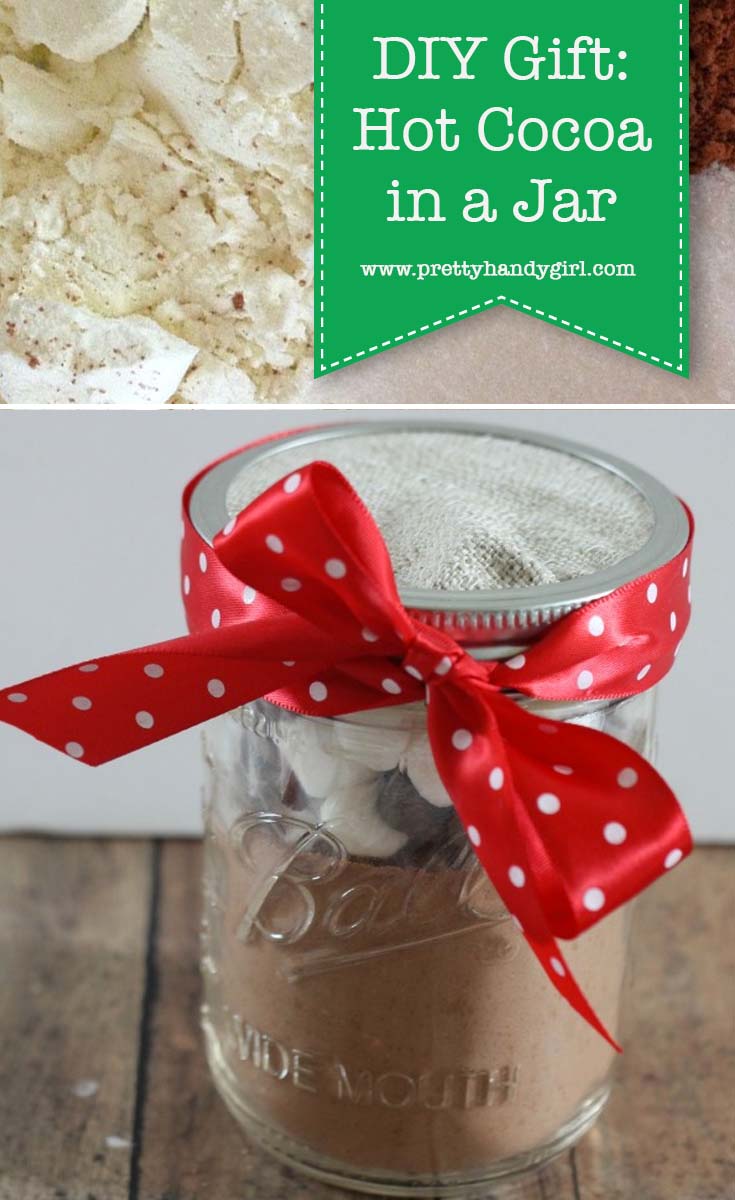
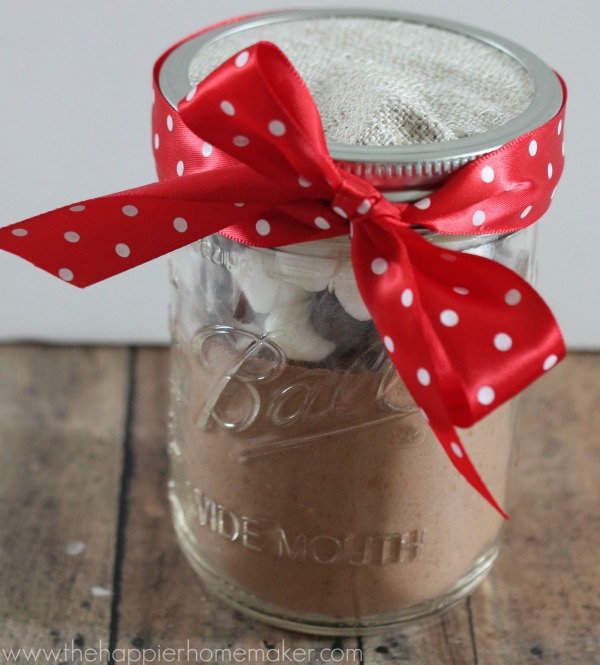
Place the fabric and top on the jar and use the canning ring to secure it in place.  Tie a ribbon around the top to finish it off! Gift with the instructions to add 3 tbsp to 8oz of hot water.
how to make hot cocoa in jar

Do you like to make homemade gifts as well? What are your favorite DIY gifts to make or receive?

MelissaSignature~ read more about Melissa ~


Pin for later!

Last minute DIY gift idea: hot cocoa in a jar! | Pretty Handy Girl

Pretty Handy Girl DIY Gifts & Apparel

Pretty Handy Girl DIY Gifts & Apparel

Happy Friday everyone! I’m so excited to be launching my own line of graphic t-shirts, clothing and gifts. I’ve dreamed of having a line of DIY themed shirts and clothing that would allow those of us Handy Girls and Handy Guys to show off our DIY muscle. One of the main obstacles was my lack of desire to purchase shirts in bulk and hope that I wouldn’t be stuck with leftover inventory. Plus, I used to run a baby carrier business and knew how time consuming it was to ship out multiple packages every day. I vowed to never run a shipping type busines again.

A few months ago, Zazzle contacted me about working with them to launch my own product line. They were the answer to my hesitations! It was so easy to create my own designs and set up the shop in an afternoon. (Granted, I spent several more days enjoying the creative process of designing new graphics and products for the store.) Zazzle takes care of all the details. You can upload your own graphics, photos, and designs. Or you can create your own custom graphic text designs with their “customize it” tools. Then they print and ship the orders! You don’t have to lift a finger. Plus, you earn a commission on each item purchased from your shop! AND, to sweeten the deal, you can sign up to become an associate and earn more.

If you think you don’t have the time to figure out how to set up products, you are in luck. I took a bunch of screenshots to show you EXACTLY how to list your products step-by-step.

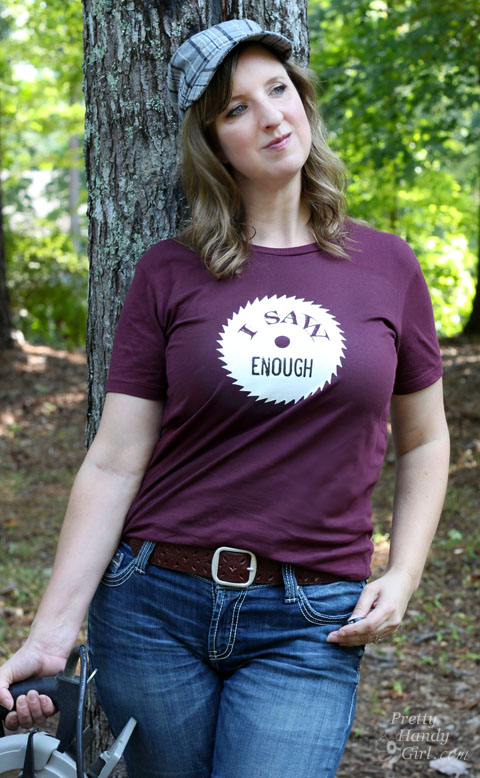
But before I get to the tutorial, I want to share some of my favorite products from my Zazzle store! I ordered two shirts and this one gets the most comments:

I Saw Enough funny DIY shirt | Pretty Handy Girl

“I Saw Enough” Shirt

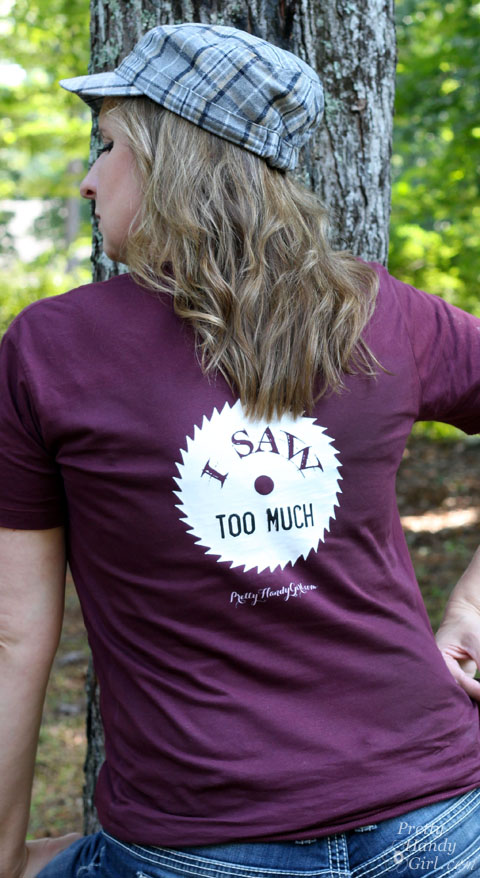
I Saw Too Much funny DIY shirt | Pretty Handy Girl

“I Saw Too Much” You have to giggle at the double meanings. This shirt is the perfect shirt for any gal or guy who likes to build and use the power tools.

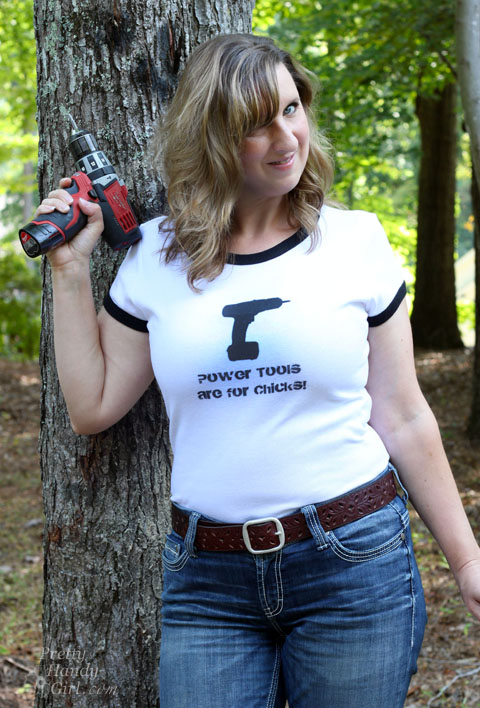
Power tools are for chicks shirt | Pretty Handy Girl

In my house my husband knows he’s not allowed to touch my power tools. This “Power Tools are for Chicks” is a funny reminder that power tools aren’t just for the boys!

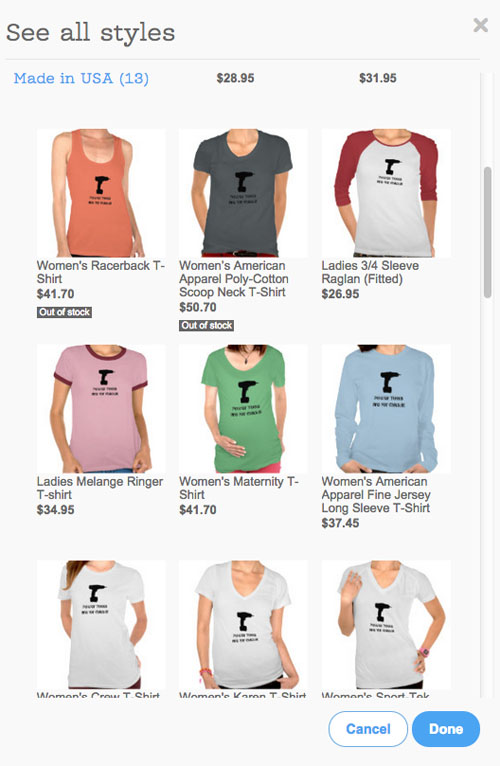
Here’s the coolest part (in my opinion) about the Zazzle shop. If you see a design you like, but would prefer a different color or a completely different shirt style, you can customize it on your choice of clothing or products!

Pretty Handy Girl Shirt Options on Zazzle | Pretty Handy Girl

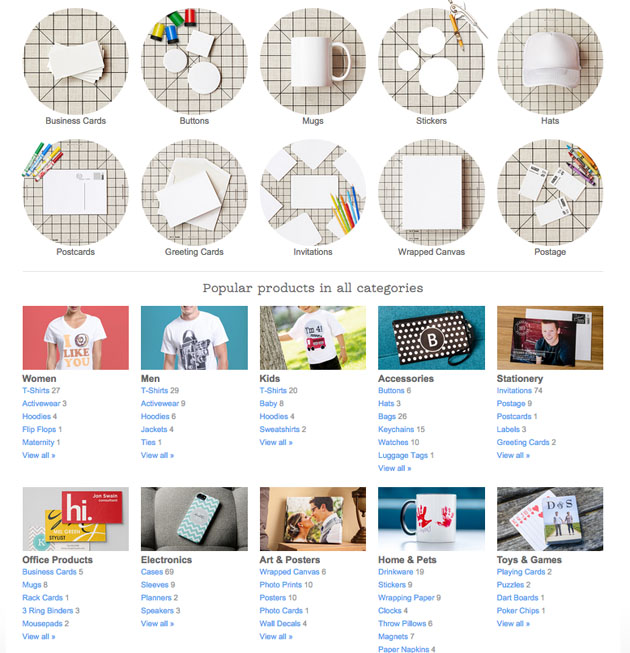
Zazzle has more products than I can name! But, to give you a little taste: pillows, phone cases, office products, art prints, cards, accessories, t-shirts and much much more! You’ll have to peek for yourself!

Zazzle Customized Products You Design!

The last item I purchased for myself was a custom coffee mug. I thought an empowering message was a great way to start each day. This famous quote is printed on a blackboard texture background and imprinted on a stylish mug that has a variety of interior colors you can choose from. Read more

Rock n' Roll Birthday Party | Pretty Handy Girl

Rock n' Roll Birthday Party | Pretty Handy Girl

My goodness, I have an eight year old! Time has flown by and my little baby is one handsome rocker wanna be. He loves anything rock n’ roll and can be found in his room with headphones on listening to Red Hot Chili Peppers, The White Stripes and Weezer.

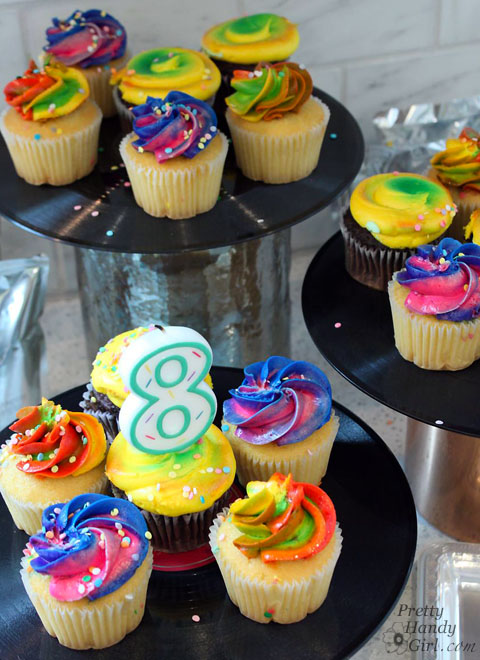
For his birthday, he wanted to have a Rock n’ Roll birthday party. This was a simple party to pull off and only required a few purchases upfront. I even took a short cut and ordered cupcakes from our local grocery store bakery.

Rock n' Roll Birthday Party | Pretty Handy Girl

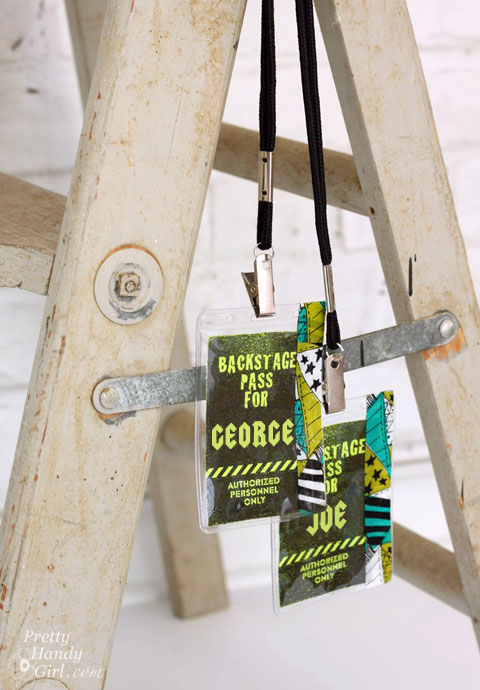
Upon arrival, each child received a personalized backstage pass.

The passes were made using black vertical badge holder with lanyards and washi tape.

Rock n' Roll Birthday Party | Pretty Handy Girl

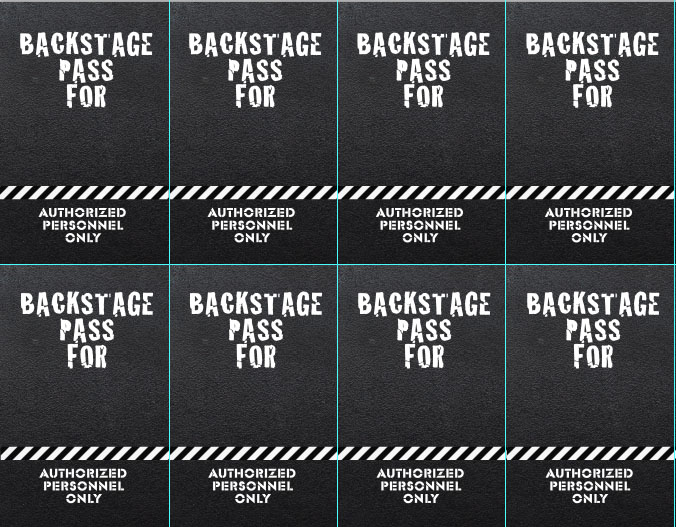
I printed the passes on neon card stock. Feel free to download my PDF to make Backstage Passes for your party.

Backstage passes for Rock n' Roll Birthday Party | Pretty Handy Girl

If you wanted to get extra glitzy with the lanyards, you could purchase these Rhinestone Bedazzled Lanyards: Read more

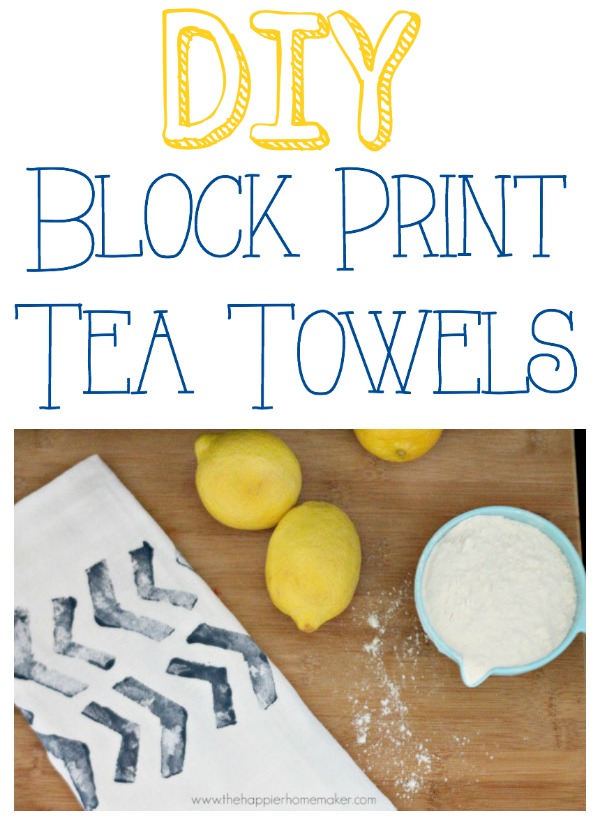
how to stamp with potatoes

Hey there! It’s Melissa from The Happier Homemaker back again with a fun and easy DIY tutorial you can even get the kiddos involved with! I’ve been noticing block printing coming up a lot in my home decor magazines and catalogs lately. Last week when I was prepping a little rainy day potato stamping activity for my 3 boys, I decided it may be time to try a little block printing DIY of my own.

Supplies:

  • Flour Sack Tea Towels
  • Large Raw Baking Potato
  • Knife
  • Craft Paint
  • Fabric Medium
  • Iron and Ironing Board

Instructions:

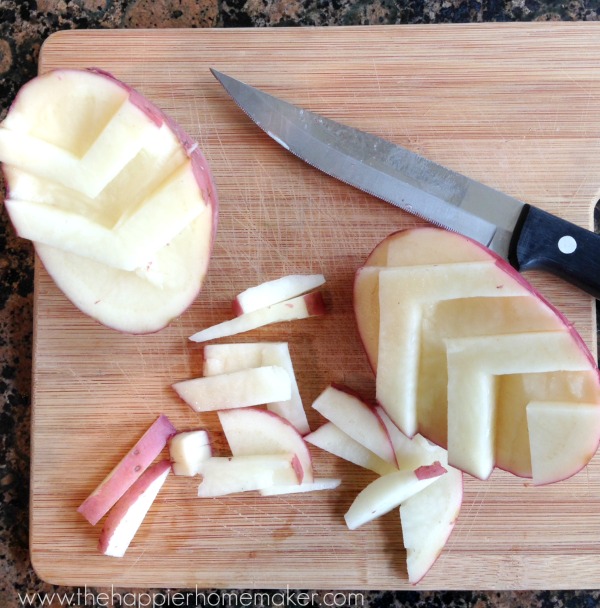
Cut your potato in half and use your knife to {carefully} cut your design.  Simple shapes work best for this type of stamping.

diy potato stamped towel

On a paper plate, or paint palette, mix your craft paint with fabric medium in a 2:1 ratio (or according to fabric medium instructions.) Read more

Buddy Handy Dog | English Shepherd Portrait

Buddy Handy Dog | English Shepherd Portrait

Hey y’all. Did you miss me on Friday? I missed you! It’s been quite a week, so I hope you don’t mind if I step away from the DIY tutorials today to share a little news from my personal life.

Buddy Handy Dog | English Shepherd Portrait

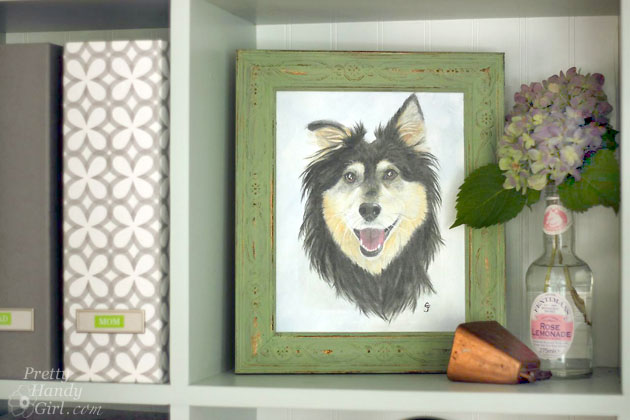
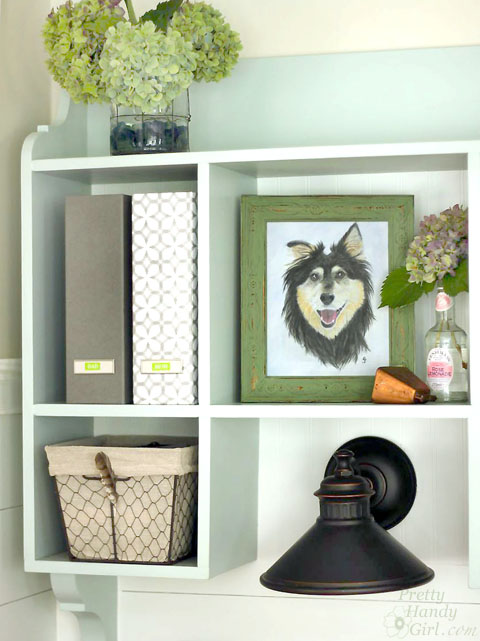
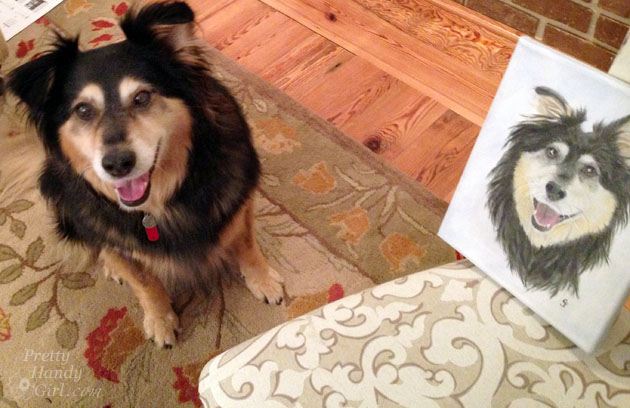
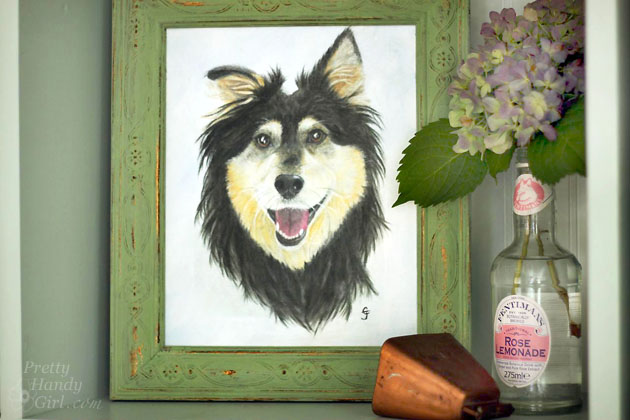
About two months ago, I received a sweet gift from a good friend. Colleen from Just Paint It created this beautiful custom portrait of Buddy aka Handy Dog for me. At the time, I was ecstatic, but little did I know that in less than a month this would be the only image I had of a smiling Buddy. Keep reading, this story does have a happy ending…I promise.

Buddy Handy Dog | English Shepherd Portrait

Buddy had been dealing with GI issues since the spring and our vet wasn’t sure what was causing them. He had been on a few meds (for an intestinal worm and for swallowing creek water) that we suspected threw his stomach into a tail spin (no pun intended.) As time progressed, he went from bad to worse. I knew he didn’t feel well and I could tell he was in pain. In an effort to keep from giving you TMI “to much information…thank you very much.” He ended up pushing his insides out. My sweet happy boy had slowly deteriorated and he was less and less of the happy dog we used to know. He also began losing weight.

Read more