
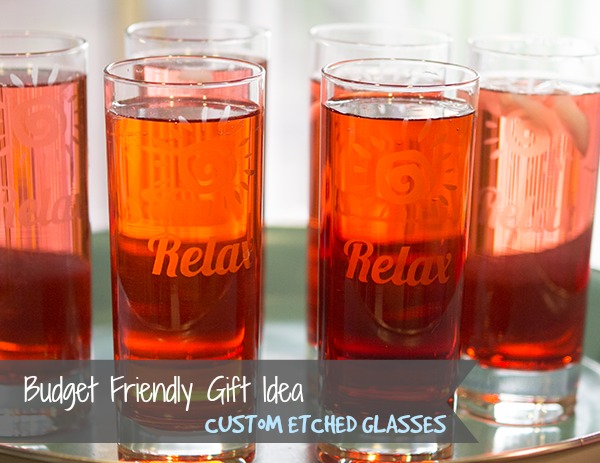
Budget Friendly Gift Idea Pinnnable

With summer right around the corner, summertime barbecues and pool parties aren’t far behind! When a friend takes time to plan an event, Jacque and I always try to come up with a unique idea for a party gift to bring them as a thank you!  Since summertime tends to bring with it, a slew of parties, we decided to come up with a creative, inexpensive host or hostess gift.  As luck would have it, on a random trip through Home Goods, we found a nice set of glassware for $6. With a little help from our vinyl cutter we could create custom stencils and make these glasses the budget friendly gift idea we had been looking for!
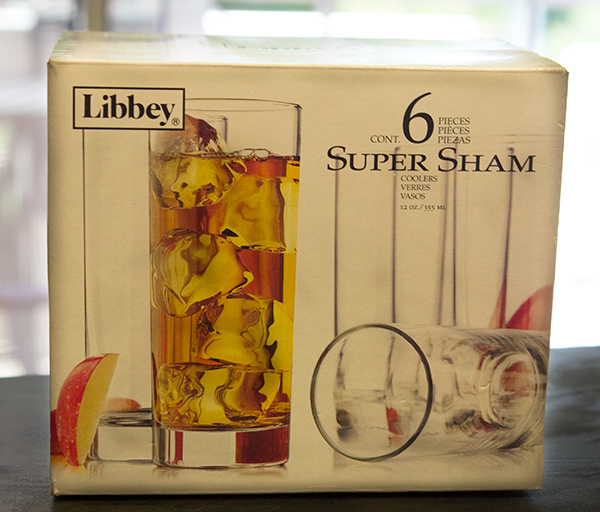
Libbey-Glass

Tools:

  • Vinyl Cutter
  • Small Utility Knife
  • Small Paint Brush

Materials:

  • Glasses
  • Vinyl
  • Transfer Tape
  • Etching Creme


Instructions:

To begin, you’ll need to choose some artwork.  If you’re using a Silhouette or Cricut vinyl cutter, consider browsing their graphics libraries for ideas.  Or if you like what we came up with we’ve included our custom downloadable Relax stencil file (you’ll need a DropBox account to download the file, but the good news is that DropBox is free ;-).)

Sunshine Relax Artwork

Use your vinyl cutter to create your stencil.  (Since there are a number of different cutters available, I won’t get into the instructions for each machine.)

Once your artwork has been cut into the vinyl, remove all of the excess material and cut the artwork into individual stencils. Read more

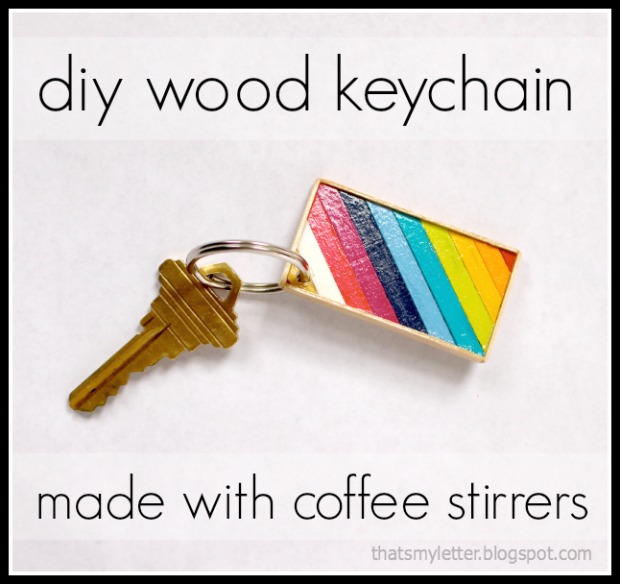
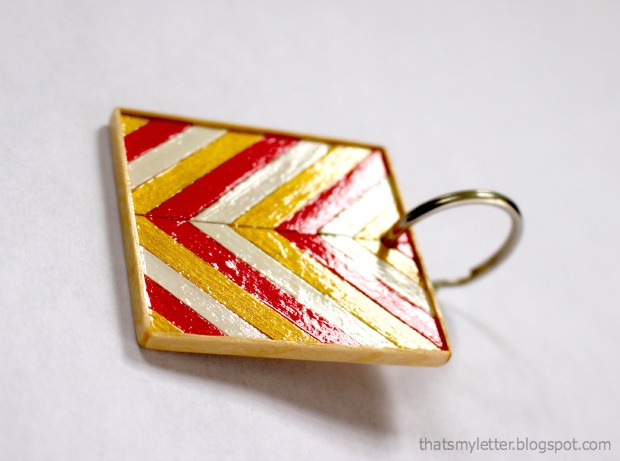
coffee stirrer keychain

Hello Pretty Handy Girl readers, Jaime from That’s My Letter back again to share a fun craft project.  Today we’re making DIY wood keychains using coffee stirrer sticks.

If you love coffee just as much as I do, what could be better than a nifty craft made from coffee stirrers!

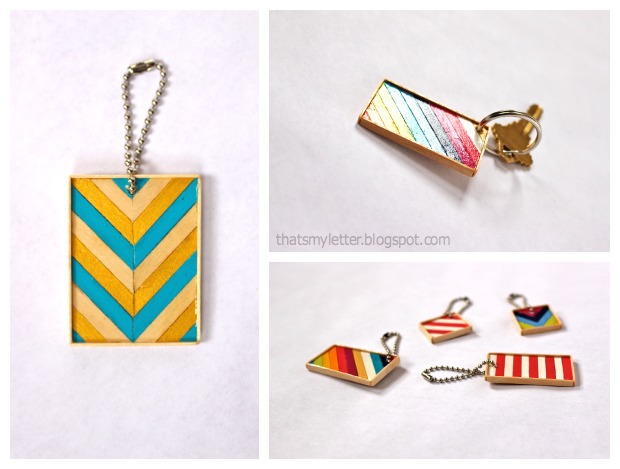
coffee stirrer keychains 1

The pattern possibilites are endless, stripes, diagonal, rainbow, chevron and on and on.  And what a great gift or favor idea for a party – you could paint them to match the party color scheme.

coffee stirrer keychain sticks

I may or may not have borrowed a few wood coffee stirrer sticks from my local coffee shop with a green and white logo.  Of course, I let my daughter do the dirty work but you only need about 5 sticks for one keychain.  Or more appropriately you can purchase coffee stirrer sticks or thin wood craft sticks from most craft and hobby shops.

coffee stirrer keychains 3

The painted coffee stirrer sticks are sealed with clear gloss varnish which gives a super hard finish that will hold up to everyday wear and tear while protecting the wood and paint.

Try one and I guarantee you’ll be hooked — then you’ll be making different styles and versions for everyone you know in a school or team color scheme ;-).

coffee stirrer keychain 4Materials:

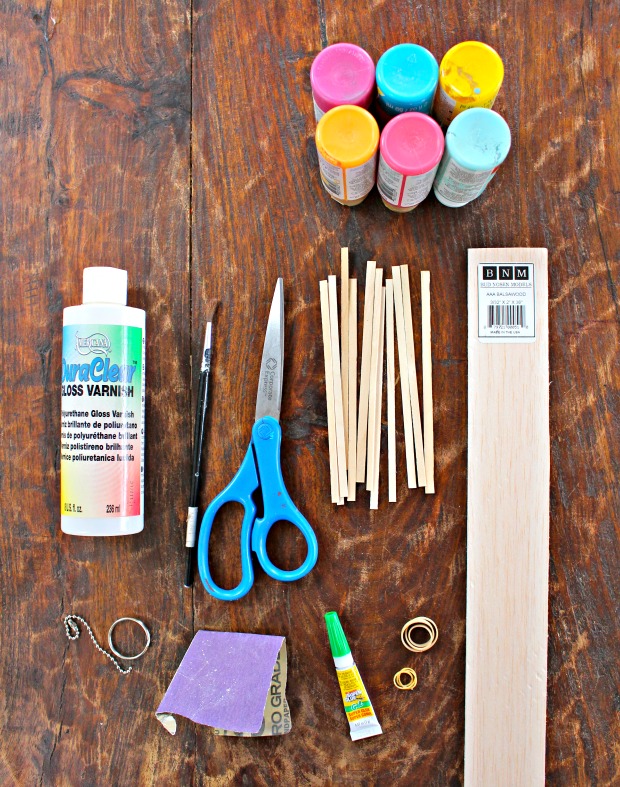
coffee stirrer keychain supplies

  • 5 wood coffee stirrer sticks
  • acrylic craft paint
  • small paint brush
  • basswood (purchase one stick at 36″ l x 3/32″ thick x 2″w)
  • super glue (gel version is best)
  • scissors
  • rubber bands
  • clear gloss varnish (Americana DuraClear or similar)
  • sandpaper
  • clear gloss polyurethane spray (optional)
  • drill & small drill bit
  • keychain hardware


Instructions:

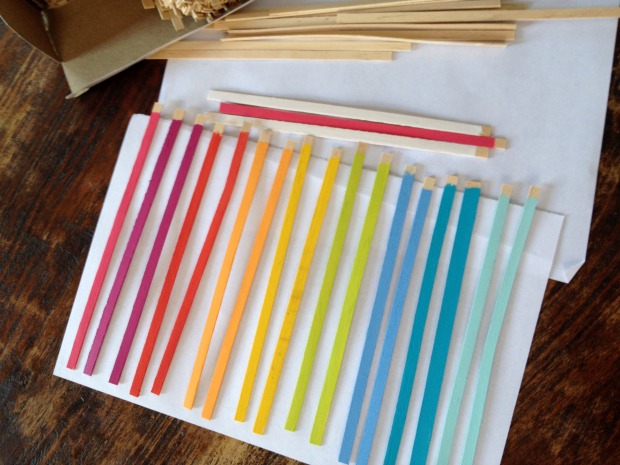
coffee stirrer keychain step 1

Step 1: Paint wood coffee stirrer sticks desired colors using acrylic craft paint.  Paint the edges too but not the back. Read more

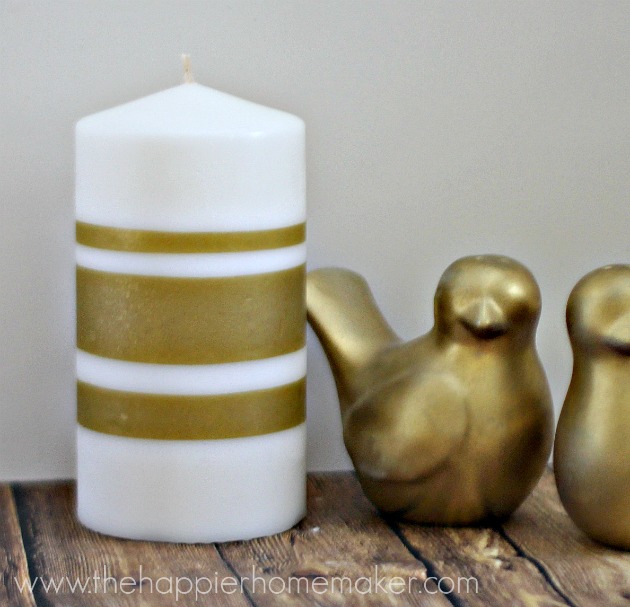
how to decorate a candle with tissue paper

One of my favorite and most versatile DIY gifts to make are decorated candles: they are inexpensive and easy to personalize! Today I’m going to share a basic tutorial for how you can use tissue paper to decorate a candle for your home or as a DIY gift.

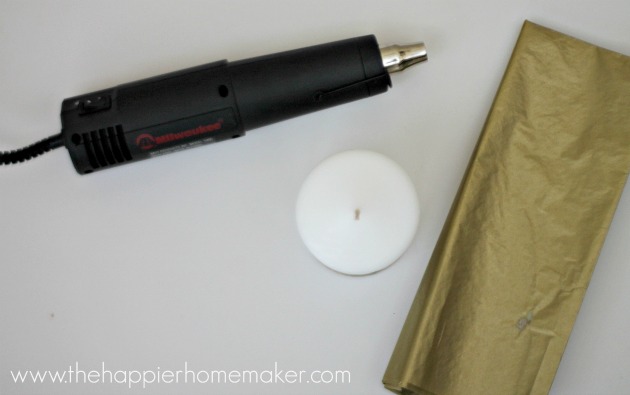
supplies custom candle decorating

Supplies:

  • Tissue Paper
  • Plain Candle
  • Scotch tape
  • Heat Gun
  • Wax Paper

Instructions:

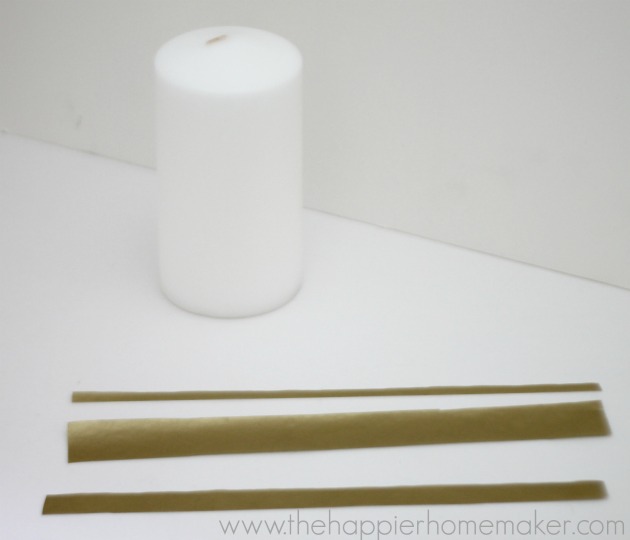
decorating candle tissue paper

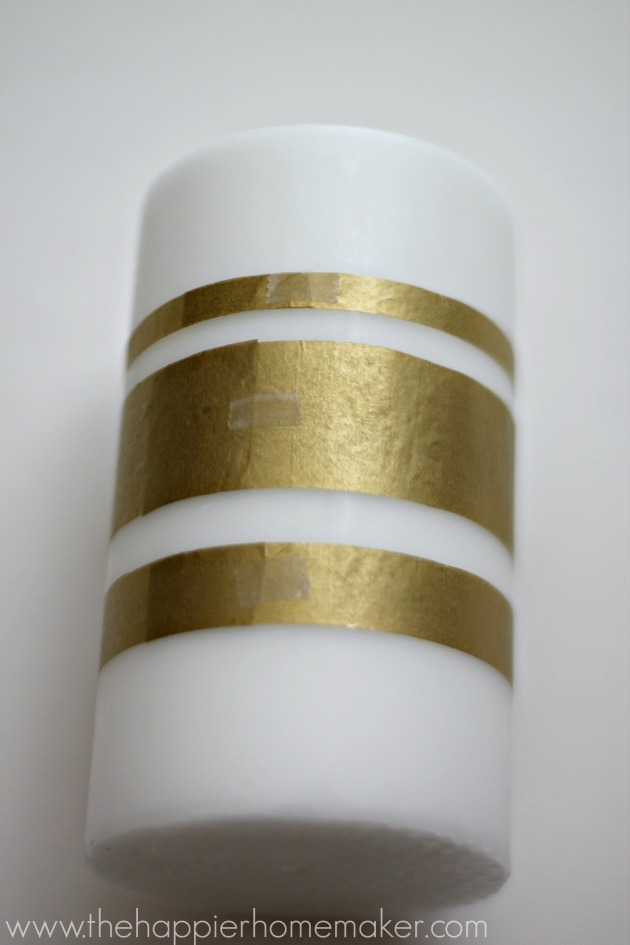
Cut three strips of gold tissue paper long enough to wrap around your candle with a slight overlap.  Vary the thickness of the three strips for added interest. For a 3″ pillar candle the strips were approximately 10″ long and widths were one quarter inch, three quarter inch, and 1 and 1/4 inches wide.

attaching tissue paper to candle

Wrap the strips of tissue paper tightly around your candle and secure with a small piece of tape.  It is very important that the tissue paper be in contact with the candle with no wrinkles or space between the wax and tissue paper.

how to decorate candle

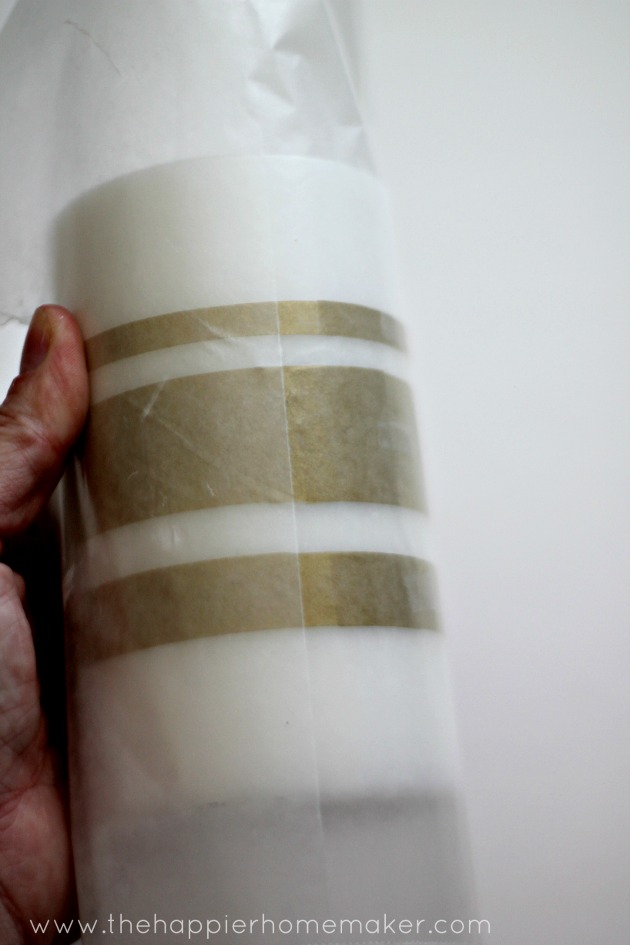
Cut a piece of wax paper wide enough to wrap over the entire candle-approximately 8″ wide for a 3″ pillar candle.  Wrap the paper tightly and secure with tape or hold with your hands.

using heat gun on candle

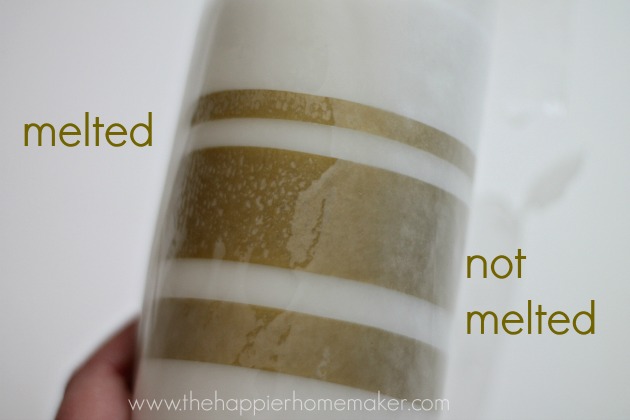
Use the heat gun to slowly begin melting the wax on the wax paper into the tissue paper.  You will see the change as the wax paper melts and begins to soak into the tissue paper.  Don’t stay in one spot for too long, once you see the wax melt move on slowly and steadily.  Don’t forget to watch your fingers, heat guns are capable of causing burns if not handled properly!

**I know many will ask if a hair dryer will work for this project and in my experience it does not get hot enough.**

After you have melted the wax into all of the tissue paper, gently peel the wax paper off of candle and discard.

how to decorate candles with tissue paper

This easy DIY can be changed to create any number of decorated candles.  Try stamping designs on tissue paper the same color as your candle for another easy way to decorate.  I even had my boys draw pictures on tissue paper to attach to a candle for their Dad when he was deployed-the possibilities are endless!

MelissaSignature~Learn more about Melissa~

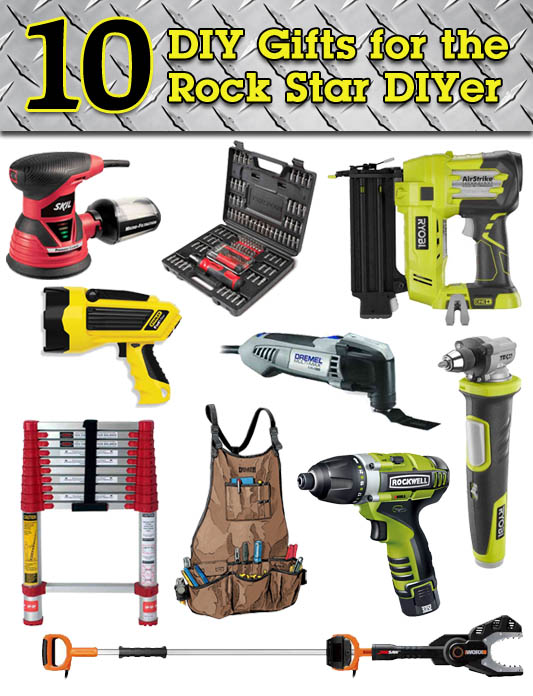
10 DIY Gift Ideas for the Rock Star DIYer

10 DIY Gift Ideas for the Rock Star DIYer

Christmas is next week? Christmas is next week! Who else is still running around buying those last minute gifts? {Me raising my hand.}

If you have someone on your list who is an avid DIYer, I have a new list of the Top 10 Gift Ideas for the Rock Star DIYer in your life! These tools will transform the newbie DIY junkie giving them better street cred and true rock star status! (Results may vary.) In all seriousness, these are the tools and products that I found helpful this year.

In order from  least to most expensive Top 10 DIY Gift Ideas: Read more

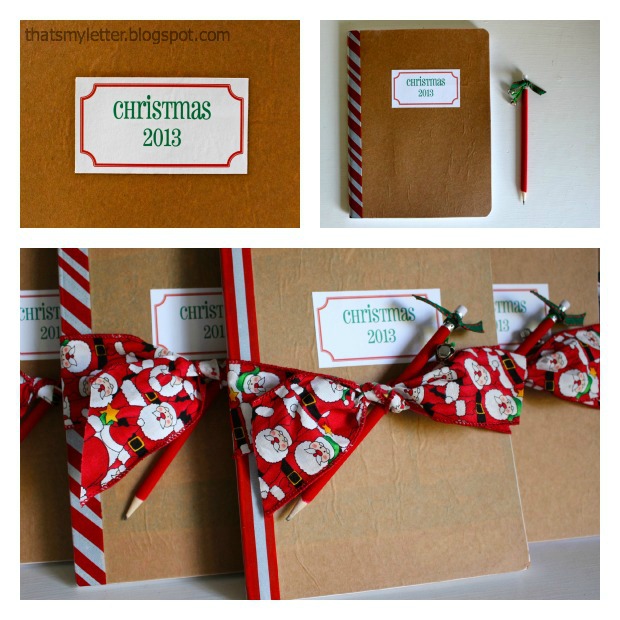
Christmas journal

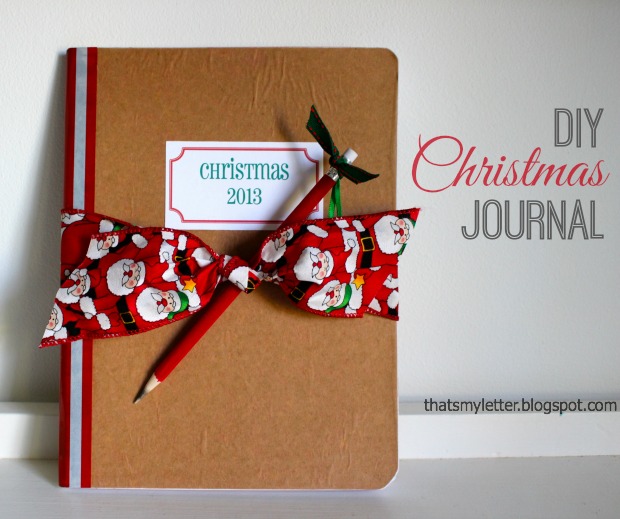
Need an easy DIY gift idea that any kid will love?  Jaime from That’s My Letter here to share DIY Christmas journals made from inexpensive kids composition books.

There’s still time to make this Christmas journal gift for all those kids on your list who love to write and draw, it makes a great small gift or a nice add on to a larger gift.

Christmas journal 1

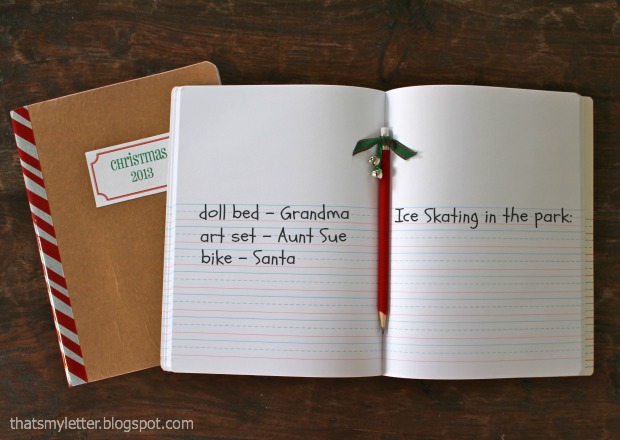
Take a peek inside and you’ll see the kids composition books are printed with lines just their size and bonus!  a place to draw pictures above the writing:

Christmas journal 3

Kids can use the journal to keep track of gifts received for thank you cards, adventures and travels during the school break, all the exciting events surrounding the holiday and on and on.

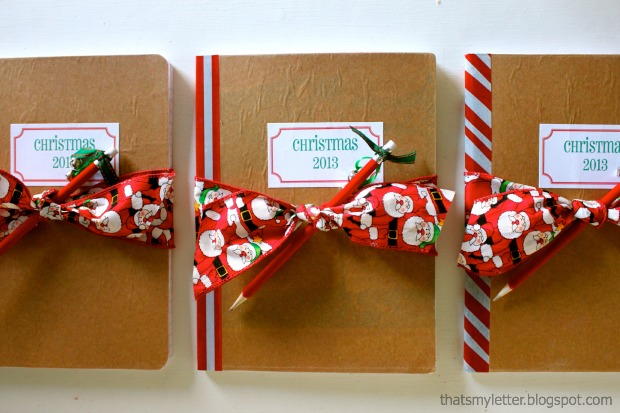
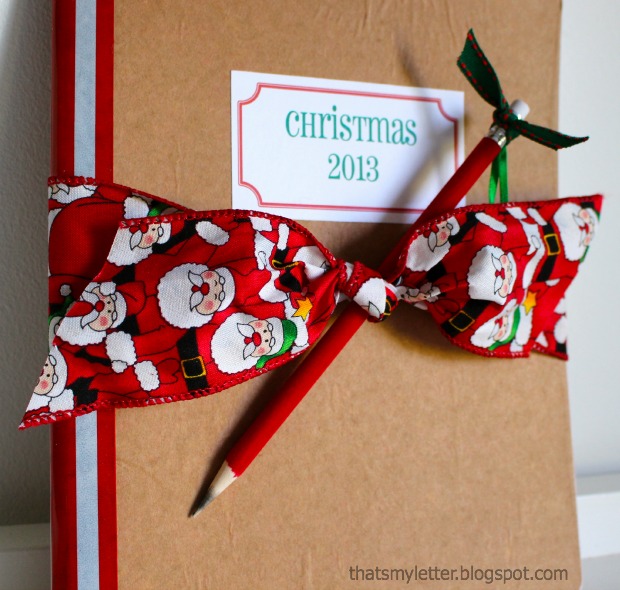
Wrap your  journal with a fun holiday pencil and printed ribbon:

Christmas journal 4

Supplies required:

Christmas journal 5

Instructions:

Step 1: Give the exterior cover (front and back) a quick sanding to rough up the ‘shiny’ surface – this will help the kraft paper adhere better. Read more