Tag Archive for: diy

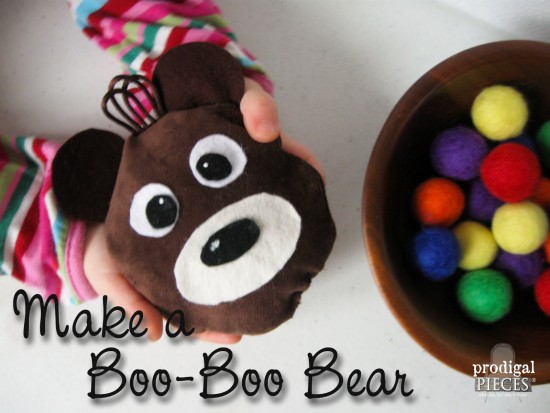
It's inevitable your little ones will get bump or bruise. Make them a Boo-Boo Bear to sweeten those tough times by Prodigal Pieces www.prodigalpieces.com #prodigalpieces

It's inevitable your little ones will get bump or bruise. Make them a Boo-Boo Bear to sweeten those tough times by Prodigal Pieces www.prodigalpieces.com #prodigalpieces

Hello PHG readers! I’m coming over from my blog, Prodigal Pieces, to share with you a sweet DIY that is easy to whip up and will make everyone smile (not to mention it makes a perfect last-minute gift!).

Do you remember the days as a child when you would stumble and hurt your knee or have some bump that required a little TLC? As a mom to 6 wonderful kids, I know how precious those times can be, and that’s where Boo-Boo Bear (a rice ice and heat pack) can sweeten those troubled times.

Boo-Boo Bear is sweet little friend who serves as a comforting ice pack that is the perfect temperature for those bumps and bruises that come along, AND he can also be lightly warmed in the microwave to soothe aches and pains. Want to make one for a special little person in your life? Read more

How to Winterize Your Rain Barrel

How to Winterize Your Rain Barrel

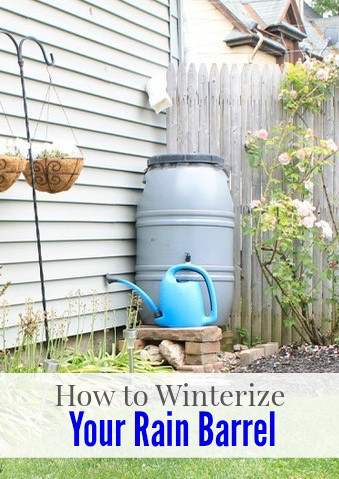
Hello friends. It’s Jessica, from Decor Adventures with some easy tips to get your home ready for the cooler months ahead. I’ll show you how to winterize your rain barrel, which goes perfectly with Brittany’s recent guides on ways you can keep your home warm this winter and how to protect pipes from freezing.

Rain barrels have been growing in popularity and are now a common way to save money on water use for your landscaping. They are also great for corralling water way from certain areas of your property. If you have been looking for a rain barrel, check the local environmental non-profit organizations in your area. They often sell them at a discount.

Now that winter is approaching, those barrels must get properly put away so they can last for many years to come.  We’ve been using our barrel for five years to collect water from the 1-car garage and help water the garden all summer long.

How to Winterize Your Rain Barrel

Here are a few tips on how to winterize your rain barrel:

Connection of a rain barrel to the gutters of a building can be via a few methods:

  • Gutter diverter – an attachment you can connect to a downspout to easily close off the water supply to the barrel and return it to a straight downspout once you aren’t using the barrel over the winter or when it gets full.
  • Flexible gutter – connects the downspout from the gutters on the garage to the rain barrel. These are also called flex-a-spout or vinyl elbow at the home improvement store and are very handy for diverting water in a non-straight path.

Read more

DIY Macrame Plant Hanger

DIY Macrame Plant Hanger

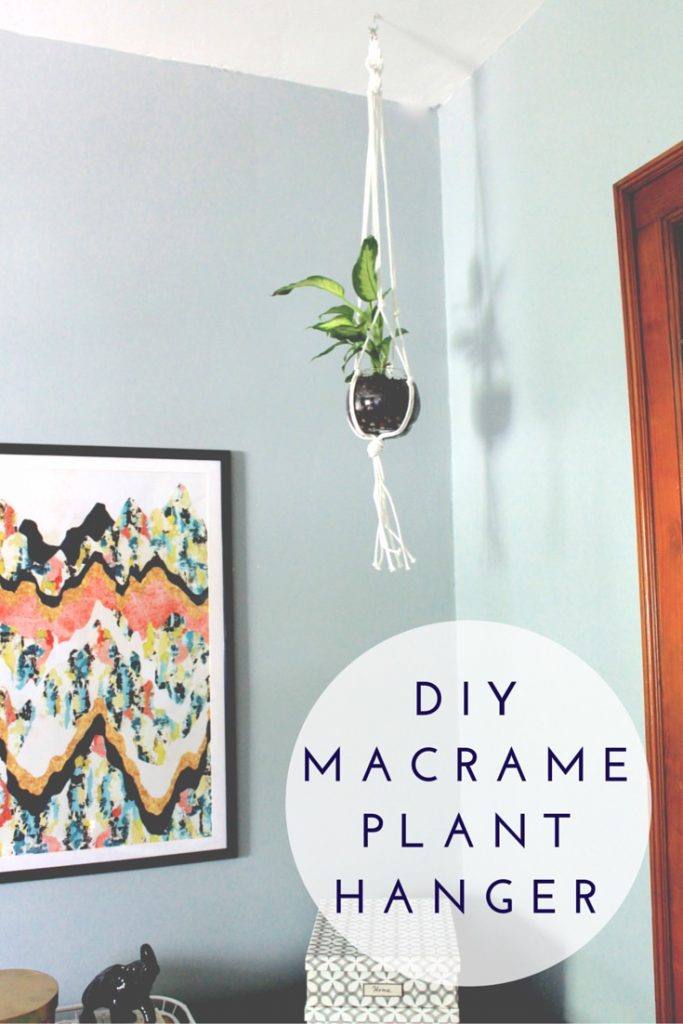
If you follow home decor trends (or just love to add something different or vintage to your home), then a textile and macrame project is a perfect project to try.  If you think they are a nod to the 70’s, you are right but this macrame project is fresh and fun. And it will make a great addition to your home.

Today I have a quick and easy DIY macrame plant hanger to show you that can be customized by color and size. It’s also a new way to display plants instead of just putting them on a shelf or plant stand. Here’s how to make a DIY Macrame Plant Hanger.

Materials:

DIY Macrame Plant Hanger

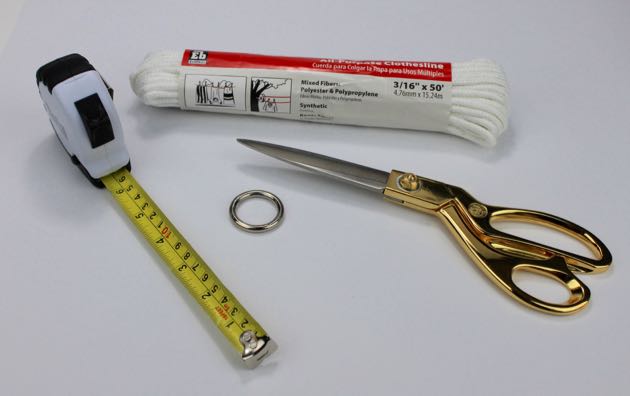
  • 50 feet of cotton or polyester clothesline
  • Scissors
  • Tape measure
  • Plant in a small pot or bowl
  • Small metal ring
  • Cup hook and anchor (Optional for hanging from the ceiling)

Instructions:

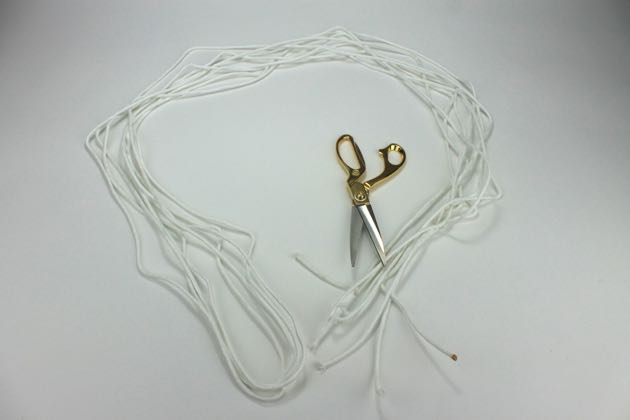
Open the clothesline and fold it in half three times so you have eight strands of clothesline of equal lengths. One end will have all of the ends still connected, and the other will have two looped ends and the two open ends of the clothesline.

DIY Macrame Plant Hanger

Read more

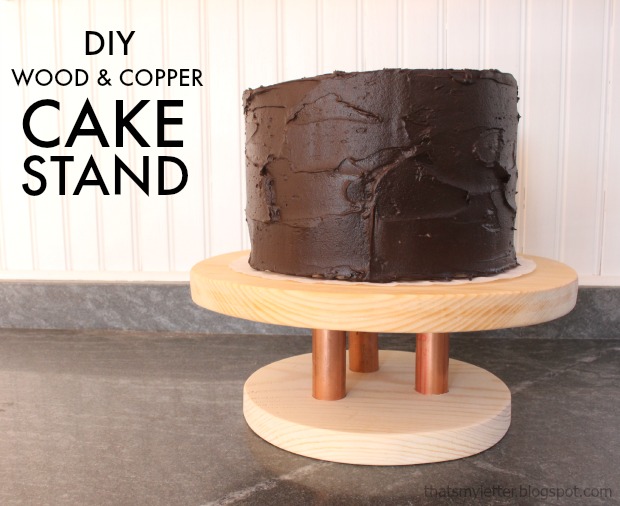
wood cake stand

Hello Pretty Handy Readers – Jaime here today from That’s My Letter to share a diy project that combines two of my favorite materials: wood and copper. I’m sharing how to make this wood and copper cake stand.

This is a fairly simple project that could be tailored to fit your style with paint or stain.  I choose to leave the wood natural, only sealing it with clear polyurethane, because I love the contrast of the wood against the chocolate frosting (and most cakes around our house are made with chocolate frosting!).
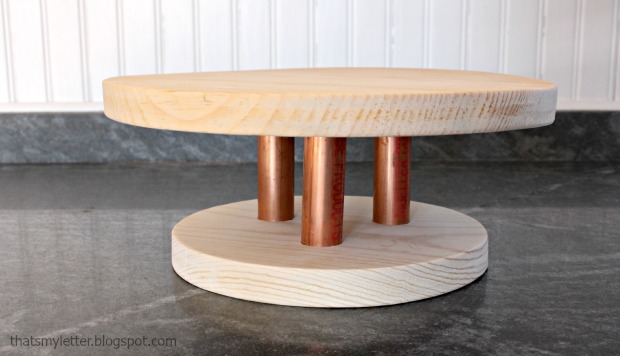
wood cake stand 2

The warm shiny copper is the star of the show here and can easily be found at any hardware store.
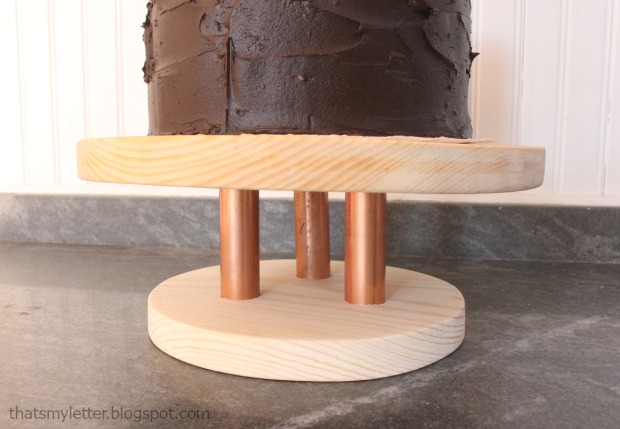
wood cake stand 1


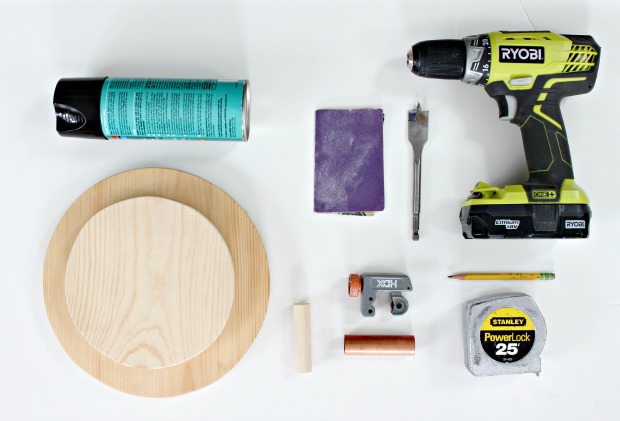
Supplies:

wood cake stand supplies

  • 1×12 pine board scrap @ 10″l
  • 1×8 pine board scrap @ 7 1 /4″l
  • 3/4″ copper piping @ 12″
  • 3/4″ wood dowel @ 12″
  • pipe cutter
  • jigsaw
  • finish nailer & 1 1/4″nails
  • drill & 7/8″ spade bit
  • measuring tape
  • pencil
  • sandpaper
  • clear satin spray polyurethane

Instructions:

Step 1: Use a plate or other 10″ circular object to trace a circle shape onto 1×12 scrap.
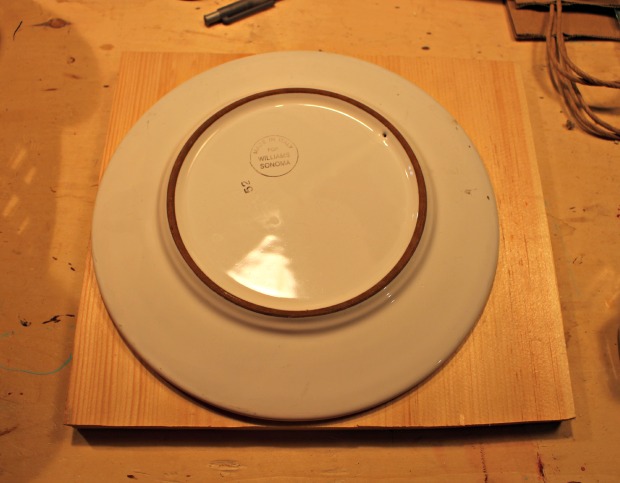
wood cake stand step 1

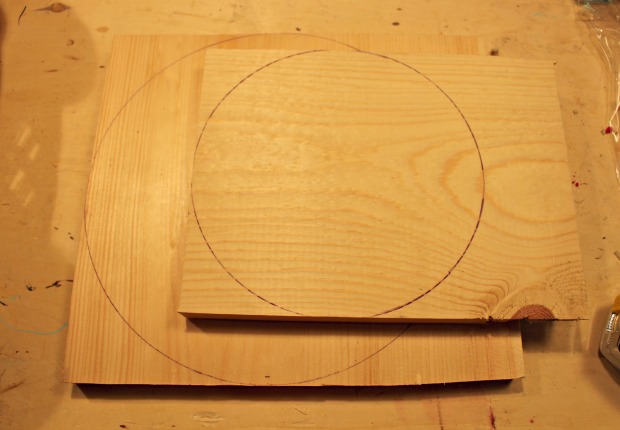
Step 2: Trace both a large circle shape onto the 1×12 and a smaller circle shape onto the 1×8.  Then cut out circles using a jigsaw and sand edges well.  Spray with clear satin polyurethane before assembly.
wood cake stand step 2

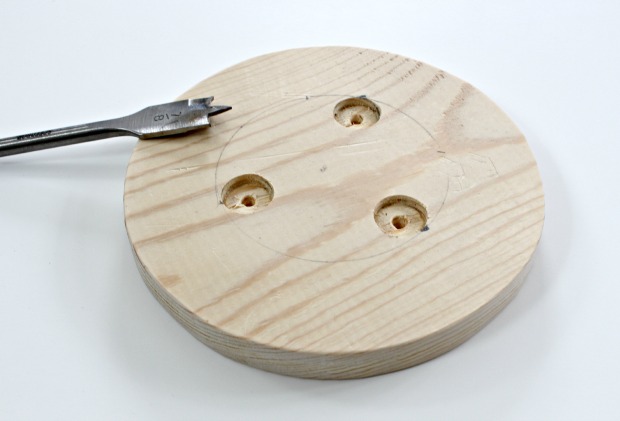
Step 3: On the smaller circle draw another even smaller circle (about 4″ in diameter).  Make 3 equidistant holes with 7/8″ spade bit drilling only partially down into wood.
wood cake stand step 3

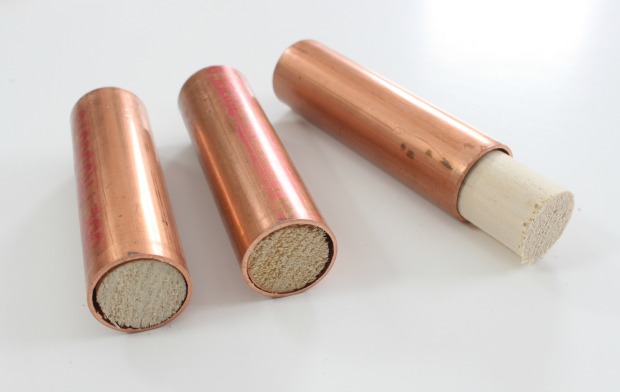
Step 4: Cut copper using pipe cutter into 4″ lengths.  Cut wood dowel to 4″ lengths and shove inside copper pipe.
wood cake stand step 4

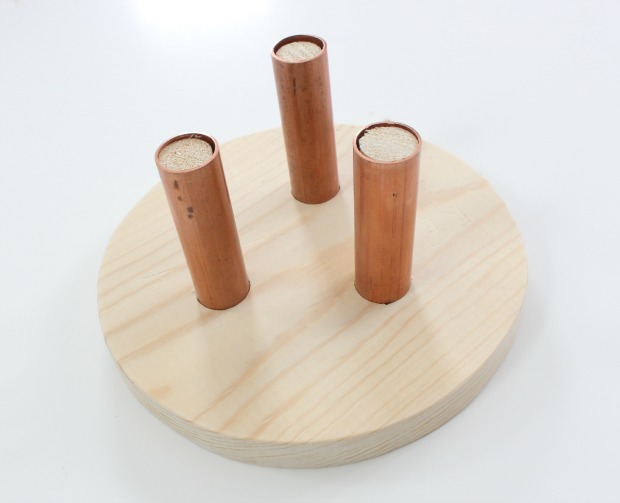
Step 5: Place copper & wood sections into pre-drilled holes in smaller wood circle.  You can use some glue here. I chose to secure with a finish nail from the bottom as well.  Now center the larger wood circle on top and trace the copper pipes with a pencil.  Pre-drill holes into the underside of the top larger wood circle and attach the top (use glue if desired).
wood cake stand step 5

My copper pipes are very snug in the holes but I did use a little glue to be sure the wood doesn’t come off.
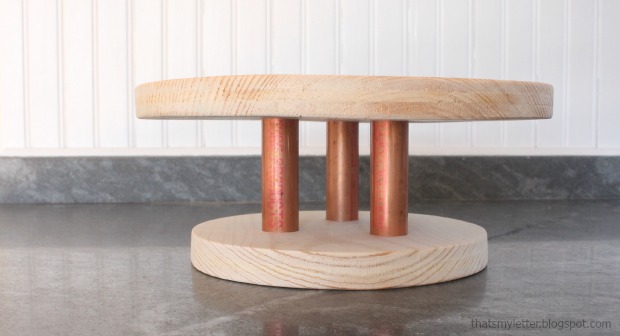
wood cake stand step 6

Maybe your next party needs a simple cake stand?  Good luck with all your diy projects.

Jaime signature


~learn more about Jaime~


Pin for later!
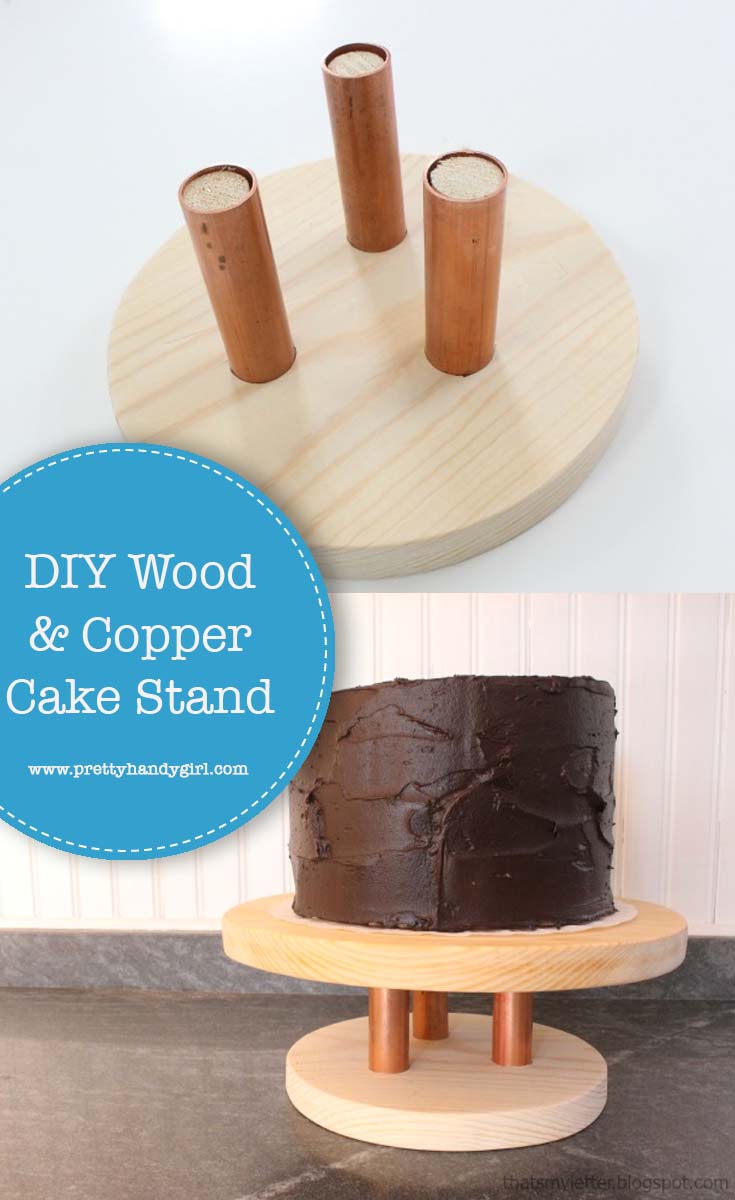
This wood and copper cake stand from Pretty Handy Girl is a fairly simple project that can be tailored to fit your style with paint or stain! | DIY cake stand | DIY wood projects #prettyhandygirl #DIYcakestand #DIYwoodproject

personalized wall shelf

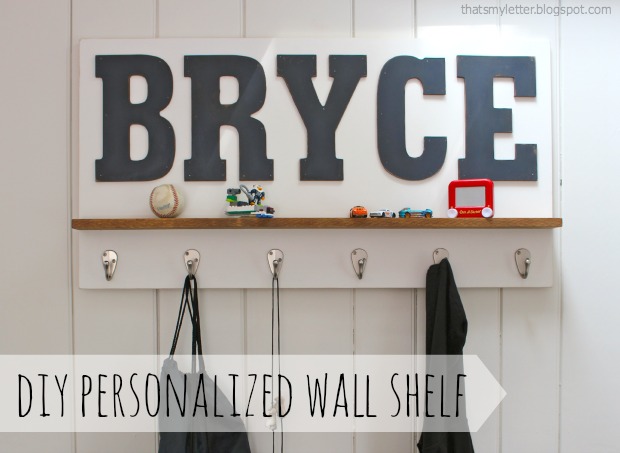
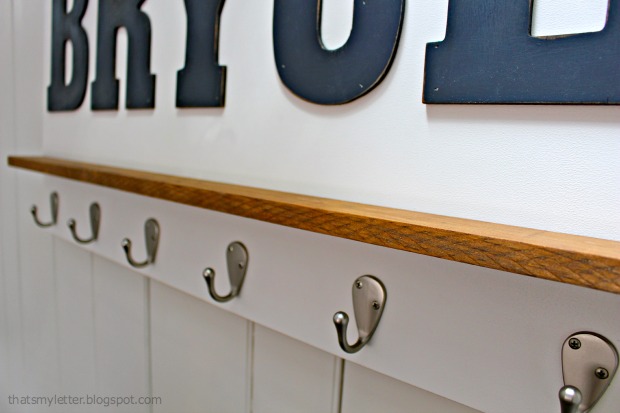
Happy Wednesday Pretty Handy Readers!  Today’s project is a DIY personalized wall shelf and I’ll show you how to make it.  I’m Jaime from That’s My Letter, a fellow DIY blogger who builds, paints and sews.  I made this wall shelf as a gift for Bryce’s birthday, it makes a great statement AND it’s useful too!

personalized wall shelf 1

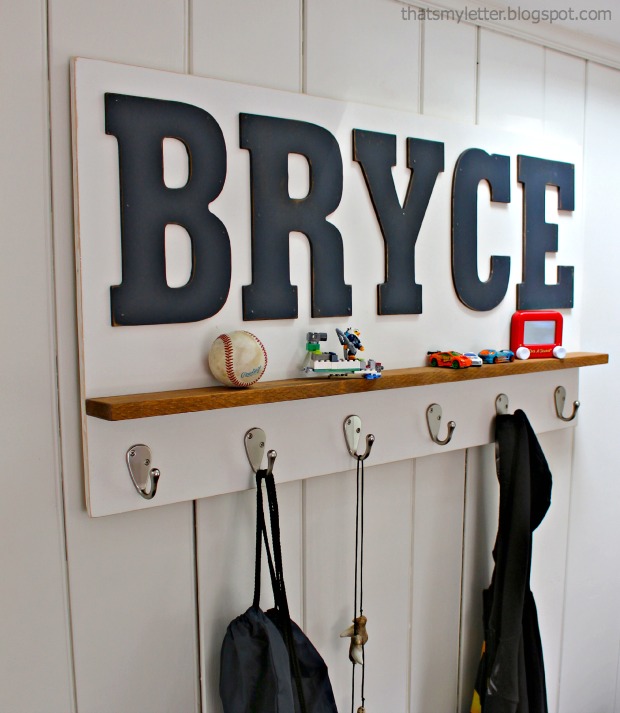
Just a bit of painting and assembly to make this awesome, personalized wall shelf.  And of course you can adjust the paint colors to fit your scheme.  Bryce happens to have navy painted walls in his bedroom so I know this wall shelf will really pop once hung in his space.

personalized wall shelf 2

The stained wood shelf adds just a touch of warmth and coordinates well with the hardwood floors.  For a deeper shelf, use a wider board. I used a 1×3 but you could use a 1×4 or larger.

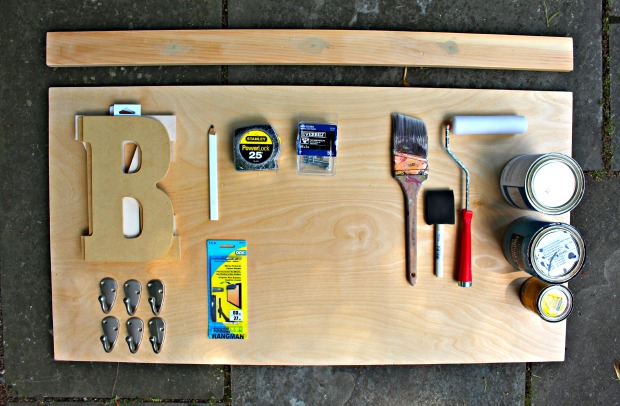
Materials:
(Amazon affiliate links included)

personalized wall shelf supplies

  • 1/2″ or 3/4″ plywood cut to desired size (approx. 2′ x 4′)
  • scrap piece of 1/2″ plywood approx. 4″ x 36″
  • 1×3 pine board cut to width of plywood
  • 9″ MDF Pre-cut letters
  • Single robe hooks
  • French cleat kit
  • paint, roller & brush
  • stain & foam brush
  • sandpaper
  • tape measure
  • pencil
  • wood glue
  • 2″ wood screws
  • 3/4″ wood screws
  • drill & bits
  • nailer & finish nails

Instructions:

Before beginning, layout your letters onto plywood and cut the plywood to size based on the length of the name.

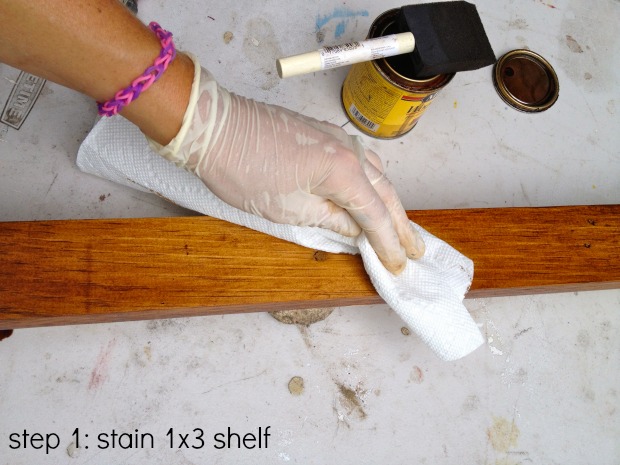
Step 1: Apply stain to the 1×3 shelf piece on all sides using a foam brush. Wipe off the excess.  Set the shelf aside and let it dry.

personalized wall shelf step 1

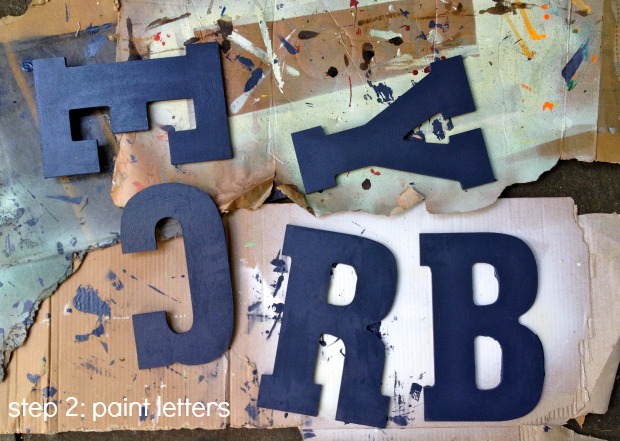
Step 2: Paint your letters.  Paint your plywood back (not shown).

personalized wall shelf step 2

Step 3: Distress the edges of the letters using sandpaper. Read more