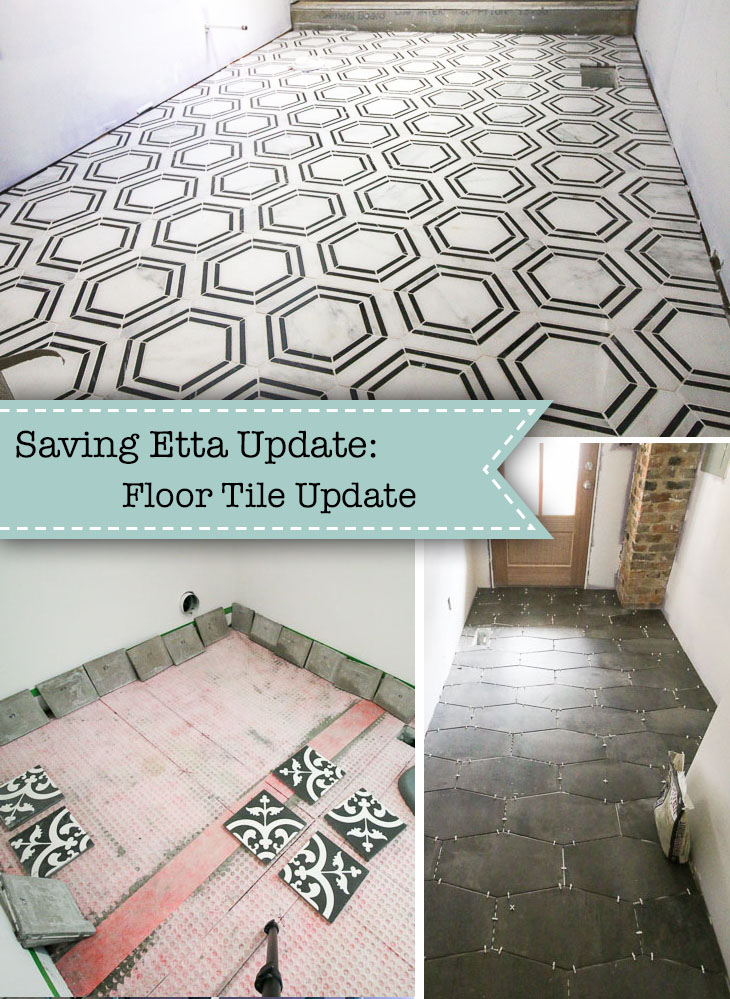
Saving Etta: Tile Flooring Update
Welcome back to another Saving Etta update! If you’re just joining, this is another progress report on my efforts to save a house built in 1900. The finish line is looming close, so be on the lookout for more updates to come. To get the back story and learn more about the Saving Etta project, you may want to start from the beginning.
(I’ve included affiliate links for your convenience. I earn a small percentage from a purchase using these links. There is no additional cost to you. You can read more about affiliate links here.)
I’ve been dying to share the tiling update, because this is one of my favorite finishing materials to select. But, before tile installation, we completed a few tasks after the drywall installation update. All the walls were primed and sanded.
Then I had a lull in subcontractors on site, so I started painting some of the walls myself (and with the help of some friends) while we had none of the final flooring in. While this may have seemed like a good idea at the time, in the future I’ll wait until after the floors and trim are installed to paint. The first reason was I lost my painting subcontractors after they completed the priming and sanding. They moved on to another job and I never could get them back. Then there was a lot of touch up work needed after the flooring and trim carpenters finished. This meant I had to ask my interior painters to do a lot more touch up work than normal. All this to say that I have a new motto: “Vive y aprende.” Or Live and Learn. (Working with a fair amount of hispanic subcontractors has been great for boning up on my Spanish vocabulary!)
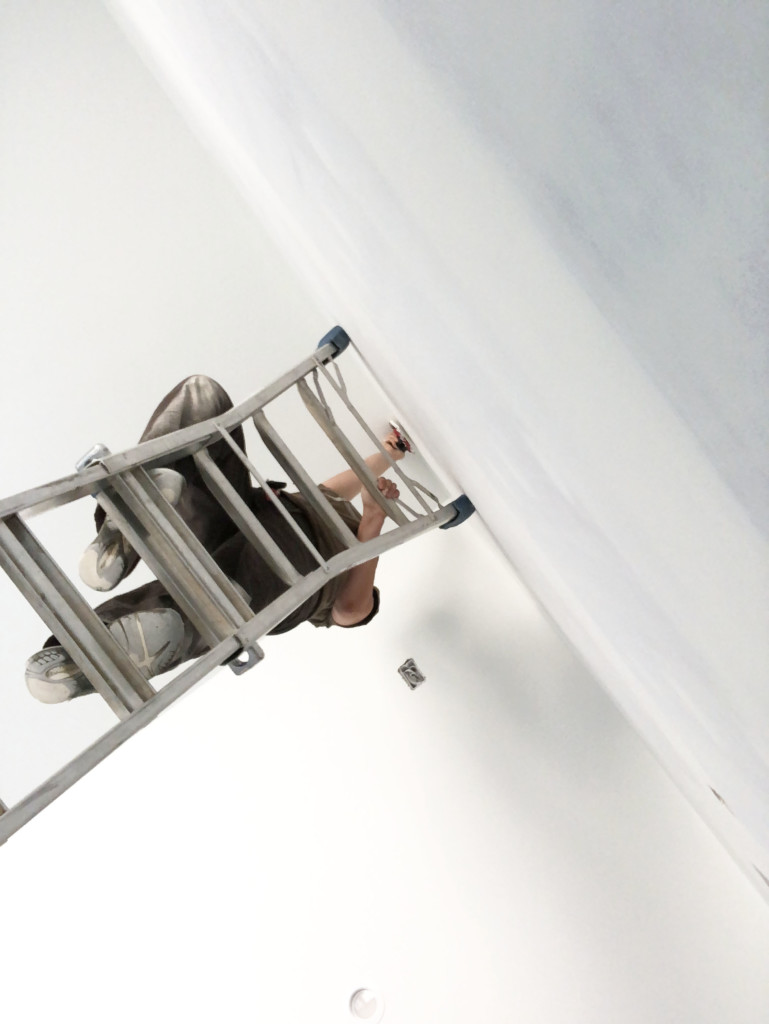
While I painted, I mulled over the benefits of hiring a tile installer versus laying the tiles myself. Originally I wanted to host workshops to teach local readers how to tile. Unfortunately, as the weather began to cool off, it became clear that I was running out of time to finish this house. I chose to outsource tile installation in the bathrooms and mudroom. But decided to install the laundry room tile and kitchen backsplash myself. I’m so glad I chose to hire a tile setter for the bathrooms. Not only did it save time, but he discovered potential issues that I wouldn’t have caught.
As soon as I could schedule the tile installation, I put it on my calendar and then scheduled the wood floor delivery during the week of tile install so the wood floors could acclimate in the house. Installing tile before wood floors made sense because wood is a lot easier to cut and manipulate than tile. But, it’s still important to account for the finished height of the wood flooring to eliminate a variety of floor heights (some variation is inevitable, but you can try to minimize the differences if you plan ahead.) With this in mind, we had to choose a variety of underlayment (backer board and uncoupling mat) thicknesses depending on each floor tile thickness. Most of the rooms we used 1/2″ PermaBase for the underlayment. But, the laundry room tile was extra thick and the only solution was to use an uncoupling mat which is thinner than any cement backer board I could find. (Here’s the full tutorial on how to install cement tiles!)
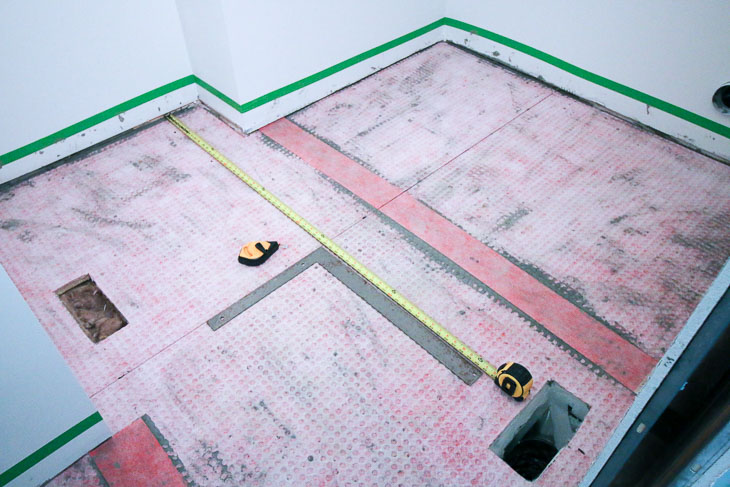
Now that you’re up to speed, ready to see the tiles I chose for the floors? Great, because I can’t wait to show you! Before we continue, I need to tell you that I worked with two generous tile material sponsors. These companies believed in my mission to save a historic house and graciously agreed to send me materials for the Saving Etta project.
While at Haven two years ago, I was introduced to Jeffrey Court’s Home Depot product line of tiles. They have a great variety of tiles for all different styles. Because I wanted to stay true to the historic nature of this 1900 house, I chose small vintage hex tiles for two of the bathrooms.
Downstair’s Bathroom Before:
The tubs for the upstairs and downstairs bathrooms were recommended by a designer at Wilkinson Plumbing Supply. They are a Bootz brand tub that is fiberglass but has a coating to make it feel like cast iron. I like how they sound like cast iron when you knock on them. They are also supposed to hold heat better than a standard fiberglass tub. The Bootz tubs are as lightweight as fiberglass and also lighter on your budget!
The shampoo niches I used are from here. The window over the tub is another Plygem Mira window with obscure glass. In hindsight, I wish I had ordered two more obscure glass windows for the other bathrooms. Instead, I installed some privacy film to cover those windows. (I’ll be sharing about this process in a later blog post.)
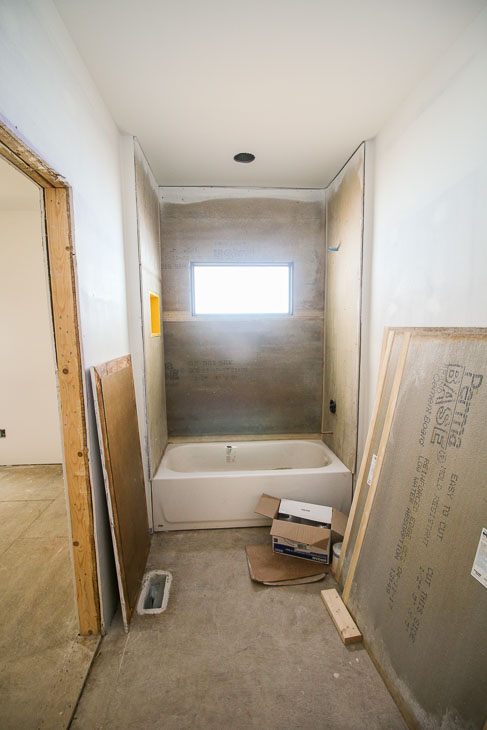
And now, I’m excited to show you the floor tiles we installed in that downstairs shared bathroom!
Downstairs Bathroom Floor Tile:
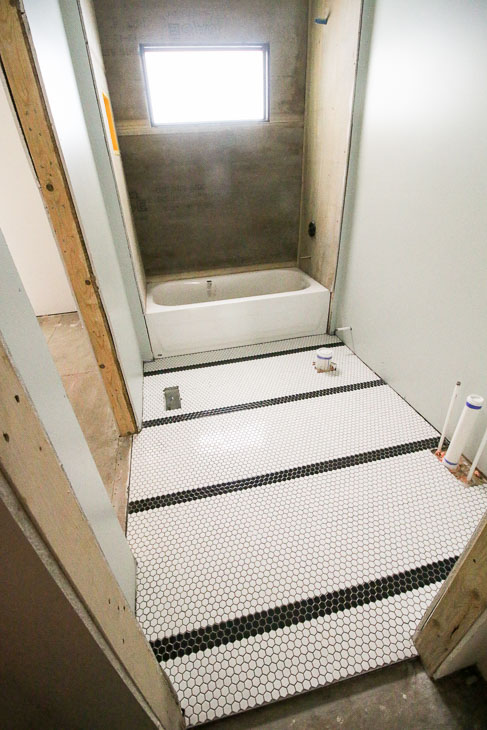
Don’t you love those stripes? I worked with my tile installer to create a striped pattern using Jeffrey Court Gardenia and Black Out Porcelain Mosaic Hex Tiles.
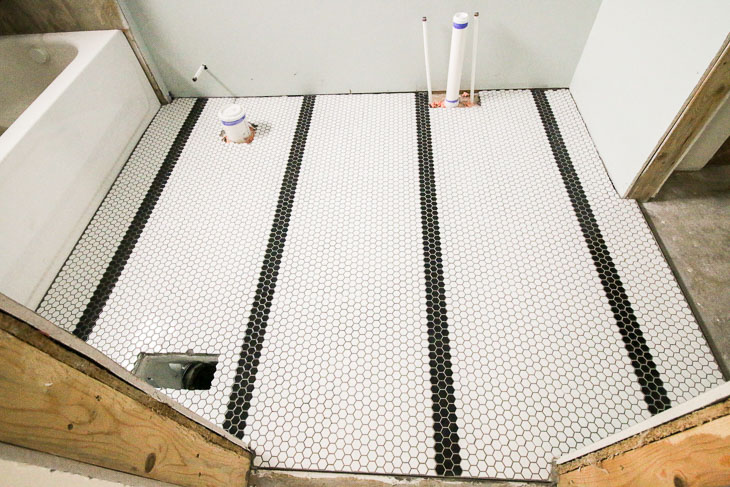
Since this is a shared bathroom, I wanted it to have a basic unisex feel. Ultimately, I love how the stripes look like a rug on the bathroom floor. Apparently so does everyone else because we get lots of compliments on this floor.
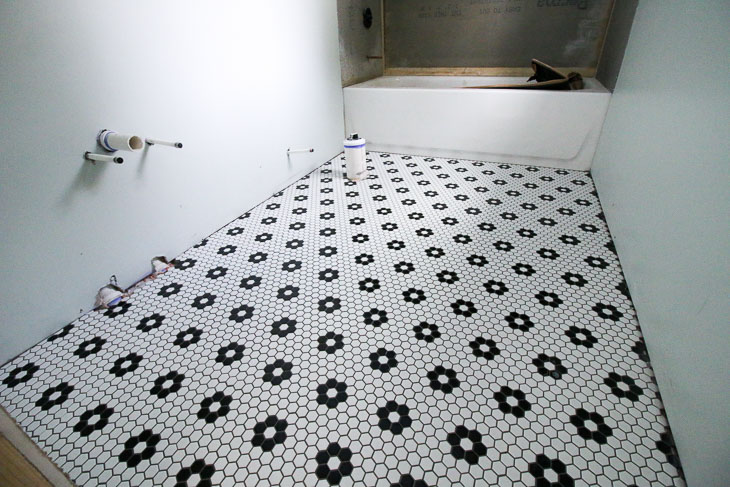
Upstairs Bathroom Before:
The upstairs bathroom also has a tub, but this bathroom has two exterior walls. This meant we couldn’t install a shampoo niche because we had to leave room for insulation in the walls instead.
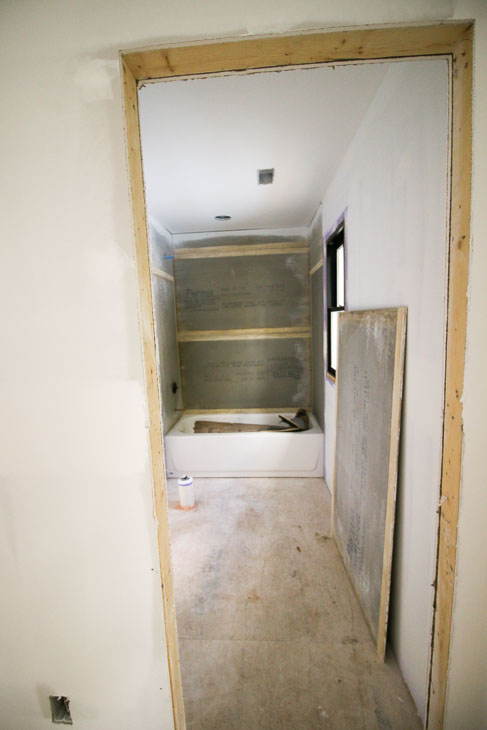
Remember how the downstairs bathroom has a unisex style? Well, this bathroom was my chance to insert some femininity into the design!
Upstairs Bathroom Floor Tile:
I still used the vintage hex tiles, but added a flowery look using Jeffrey Court Floral Terrace Mosaic Tiles.
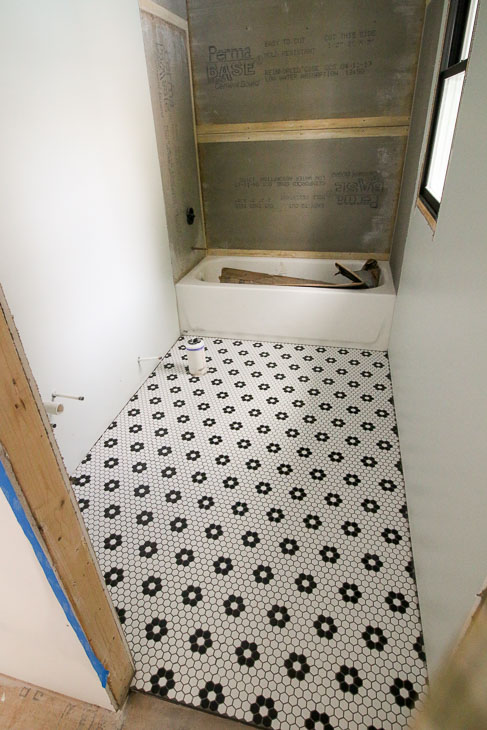
My tile installer was so thankful the flower pattern comes pre-assembled. He told me, he’s had to pick out and place the flowers in hex tiles on other jobs and that it’s a tedious task. Kudos to Jeffrey Court for making his job easier (and going easier on my budget.)
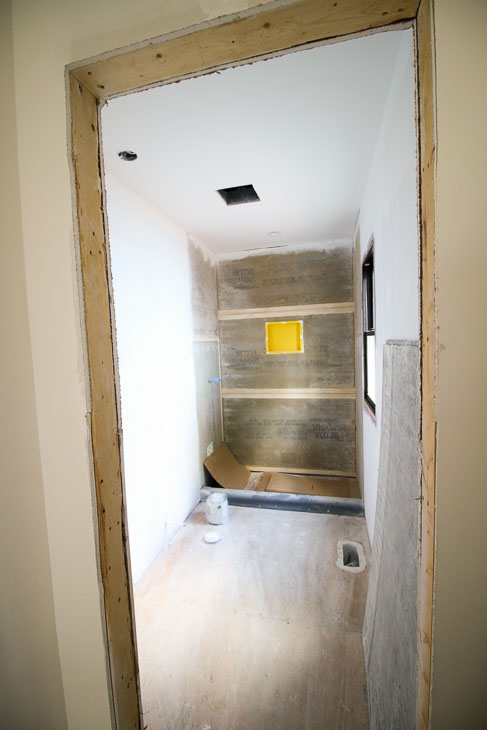
Master Bathroom Before:
The master bathroom is the only room with a stand up shower. This meant I needed to coordinate the floor tile with the shower floor tile and wall tiles. (I’m going to keep you in the dark on those other tile choice for now, but stay tuned!)
Ready to see this amazing floor? I’m so in love with this tile that I plan on using it in my own master bathroom.
Master Bathroom Floor Tile:
Check out this stunning tile from The Builder Depot. The official name of it is: Carrara Venato Polished Hexagon Nero Strip Marble Mosaic Tile, but I prefer “the most stunning hexagon tile I’ve ever laid eyes on!”

I fell in love with this tile when I saw it in one of our local tile showrooms, but the price was way out of my budget. When I saw my friends at the Builder Depot had it in their selection, I jumped on it immediately.
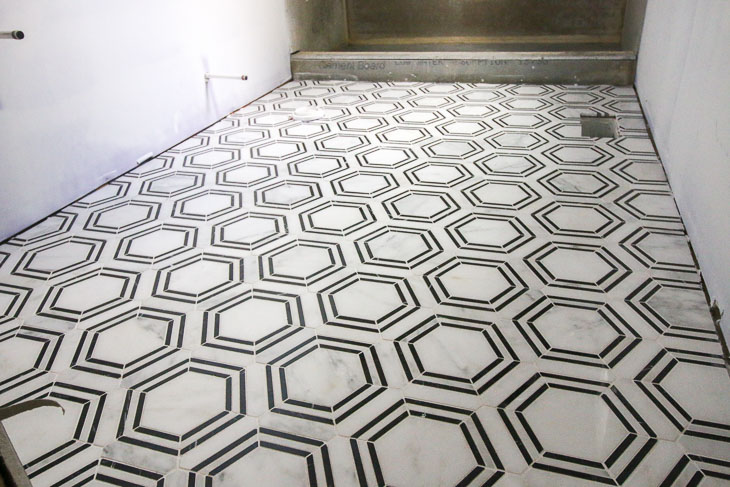
Aren’t you in love with that hexagon tile?
Laundry Room Before:
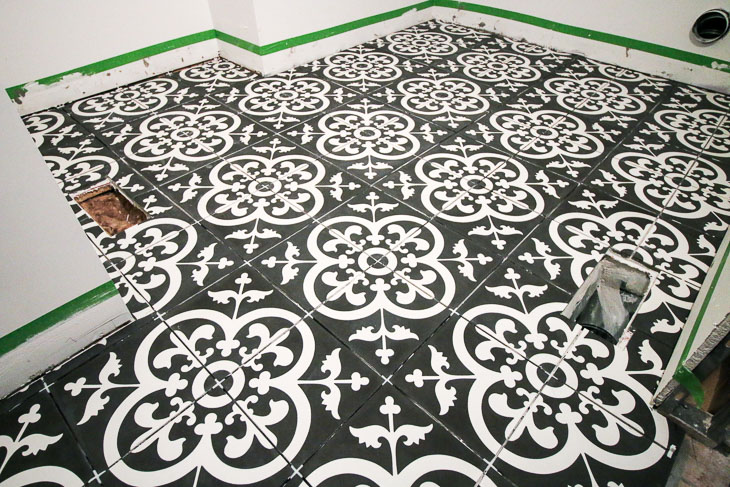
Long before I bought the Saving Etta house, I’ve longed to use black and white cement tiles somewhere.
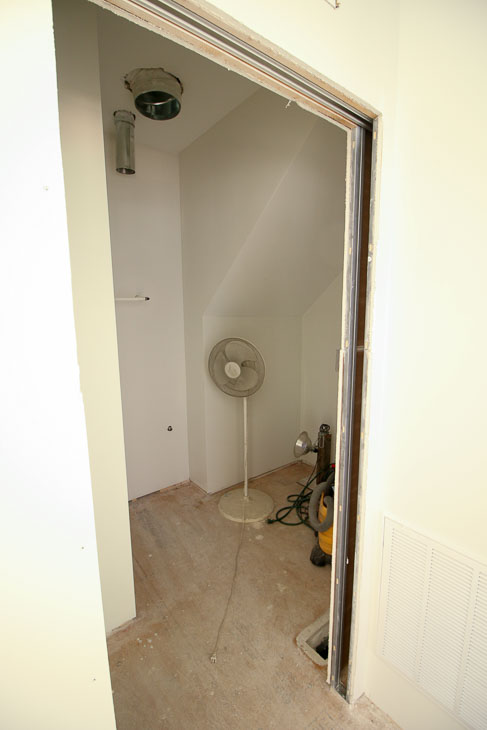
Luckily, this laundry room presented the perfect spot to showcase Avington Tiles from The Builder Depot. Before you rush over to order all the cement tiles they carry, I need to warn you there is a bit more labor involved to install them. In particular, you have to seal them thoroughly before you can grout. This could mean 5-6 coats of sealant before it is no longer porous. (Here’s all the information you need to know about cement tiles and how to properly install them.)
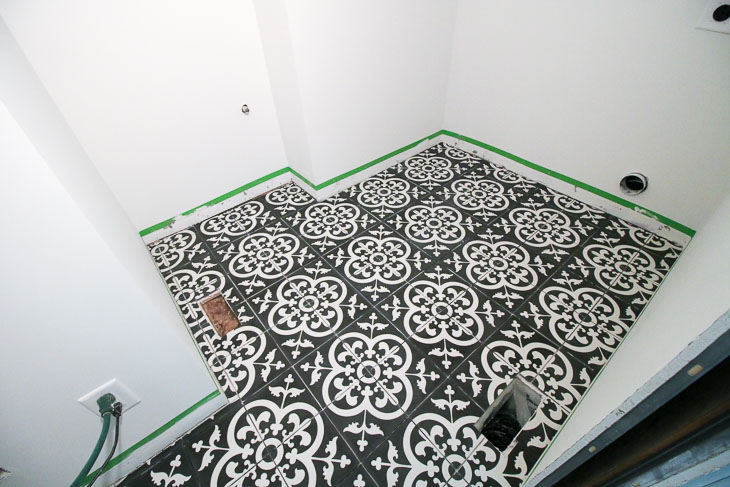
I was glad I chose to personally lay this tile, because it took a little more time during installation. This freed up my tile installers to finish the bathroom floors, mudroom, and to start on the tub and shower surround tiling.
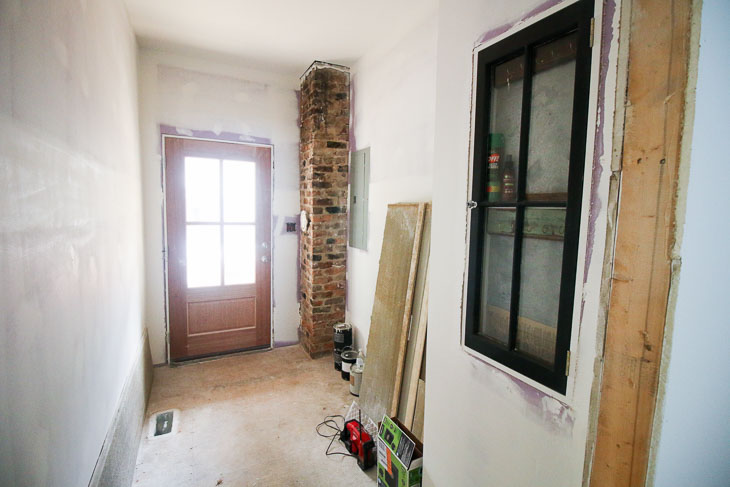
Mudroom Before:
This is the room that gave me the biggest challenge design-wise. That chimney you see in the background is the original 1900 chimney. I fought with almost all my subcontractors to keep it in the room. For this reason, I didn’t want a tile floor that would compete with the original beauty of the old brick. Other requirements for this tile were for it to be durable, easy to clean, and not show dirt.
Ultimately my own mudroom played a big role in tile choice. We have dark gray tile in our mudroom and I love that it hides dirt fairly well.
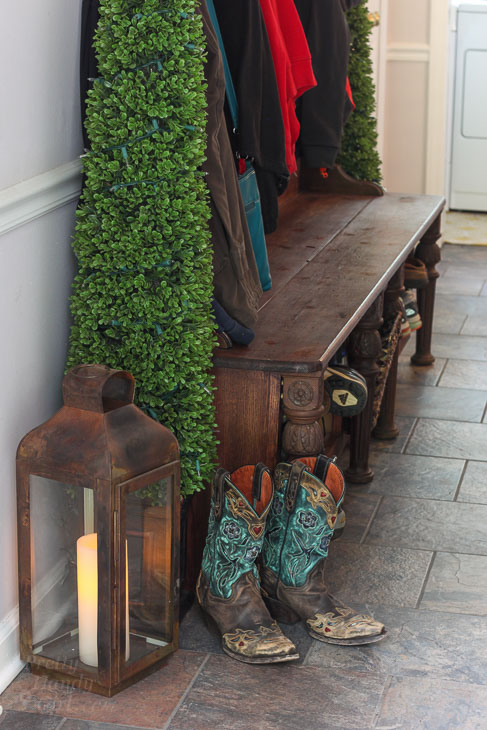
Mudroom Floor Tile:
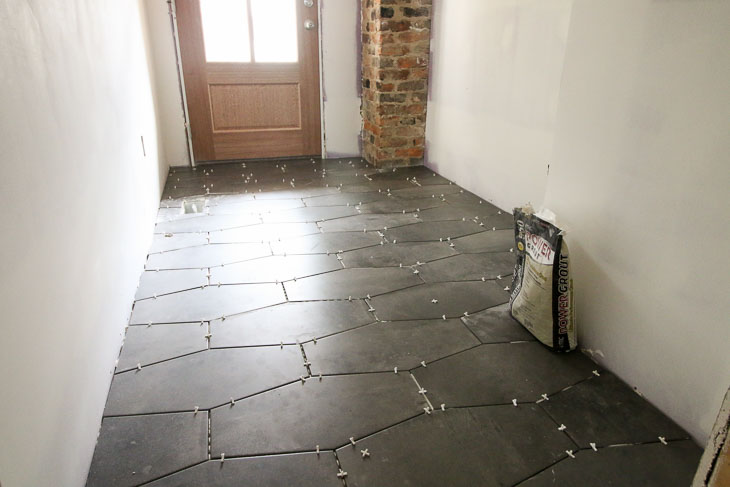
When I saw the Jeffrey Court Castle Rock tiles, I knew I had found a modern looking tile that would hide dirt and would also not compete with the chimney.
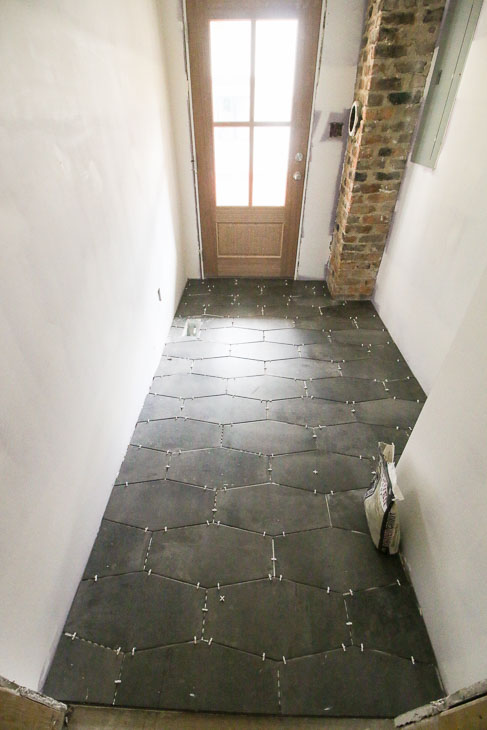
One of the things I love about this tile is that it has approximately twenty different printed patterns. Why does this matter? It matters because the tiles look more realistic when two patterns aren’t side by side (telling the world that they are printed instead of naturally occurring.) Despite the multitude of pattern, I separated all the tiles into piles with their twins. Then I made sure the installers chose from different piles as they installed them on the floor.
Was it worth the wait? What do you think about all my floor tile choices? Any favorites?
![]()
Disclosure: I was provided with building materials from Jeffrey Court and The Builder Depot for the Saving Etta project. This allowed me to put in tiles more fitting with Etta’s history. I’m grateful for their support of this project. Despite their sponsorship, I was not told what to write. All opinions and ideas are my own. As always I’m very particular about the brands I chose to work with and you will always be notified if you are reading a sponsored or compensated post.





 Disclosure: As a #LowesCreator, I was provided with a Lowe’s gift card to purchase supplies for this post. I was not told what to write. All ideas and words are my own.