Emergency Kit Contents

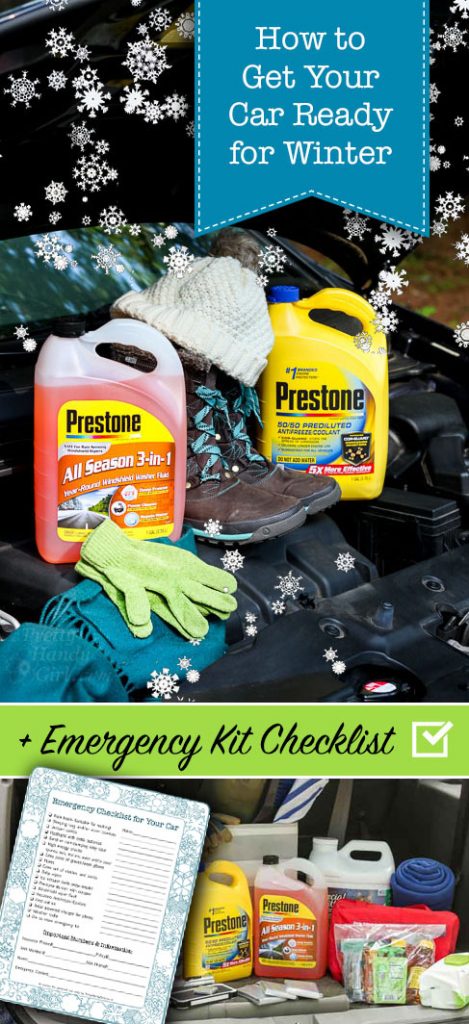
Is Your Car Winter Ready?How to Get Your Car Ready for Winter

If you live in the Northern Hemisphere, you’re probably enjoying the crisp fall weather before winter brings cold, snow and ice. Will you be ready when it arrives? More importantly, will your car be ready for winter? With a few simple checks and supplies your car will perform at its best and keep you (and your passengers) safe.

A long, long time ago, I bought a little two seater Honda CRX as my first car. It was cute, sporty and had great gas mileage. But, it was definitely lightweight. My Dad, the brilliant guy he is, told me to buy two bags of sand to store in the hatchback. This would provide a little more weight to keep the car from fishtailing in snow and ice. (Plus, I could use the sand for traction if I got stuck.) He also recommended I keep a sleeping bag in the car for warmth in case of emergency.

About Pretty Handy Girl

I dutifully put those bags of sand and a sleeping bag in the trunk in case I got stranded. Back then, that was the extent of my emergency kit and preparation for winter. Today, I have a lot more than my own life riding on my car’s wheels. Therefore, I’ve upped the requirements for preparing my car for winter. Prestone and I are partnering on this article to keep you safe this winter. I know you’ve heard of Prestone because they’ve been protecting drivers and their vehicles with cutting-edge products since 1927. You can recognize their products by the iconic yellow and black logo.
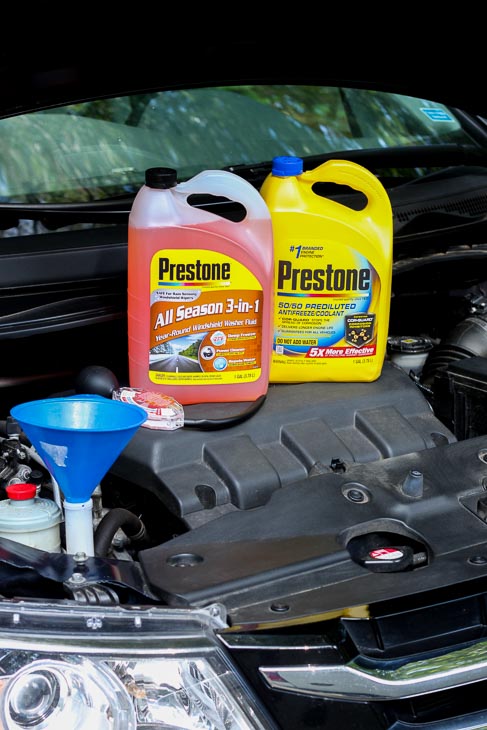
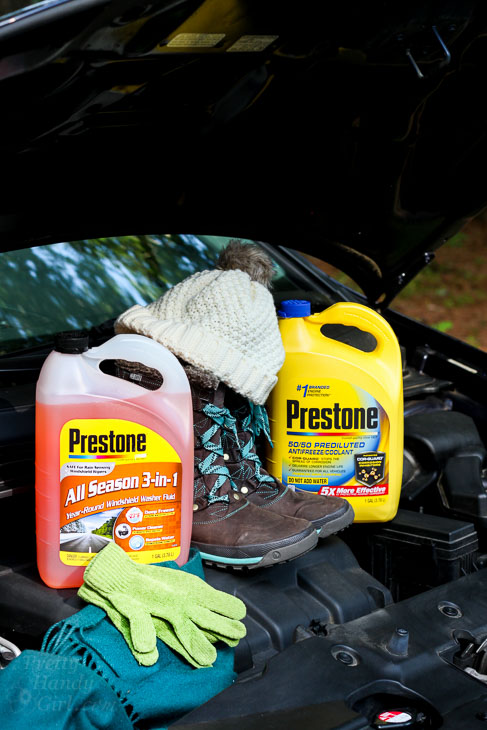
Prestone products to keep car running smooth in winter.

Let’s get your car ready for winter, shall we? And don’t forget to scroll down to get your downloadable Emergency Kit Checklist before you leave!

Maintenance Tips to Get Your Car Winter Ready:

  • Check the Tires:
    • Check the tire pressure and add or release air as needed. (Look for a sticker inside your car door to get the recommended tire pressure.)
    • Inspect the tires for any screws, nails or bulges.
    • Check the tread using the Lincoln Tire Tread Test (Rest a penny upside down inside the tread. If you can see the top of Abe’s head you need to replace your tires.)
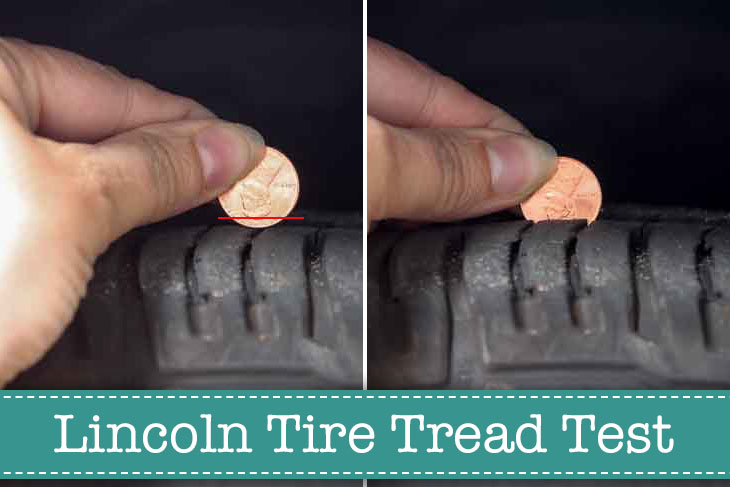
      Lincoln Tire Tread Test
  • Check the Battery:
    • Turn your car lights on. Start the engine and if the lights get brighter you might need a new battery.
    • Or have a service technician check your battery strength.
  • Engine Oil:
    • Check your owner’s manual to find out if your car requires a different grade oil in cold weather. Some manufacturers will recommend a winter oil that is thinner (i.e. 5W30 instead of 10W30.)
    • Stay on top of regular oil changes.
  • Fill up Your Gas Tank:
    • Keep your gas tank at least 1/4- 1/3 full to prevent condensation from forming inside the tank.
    • This will also give you more fuel should you get stranded and add weight to your vehicle.
  • Wiper Fluid:
  • Check Your Antifreeze/Coolant Mix and Levels
    • Antifreeze/Coolant keeps your car from overheating or from freezing
    • Antifreeze/Coolant usually needs replacing after five years

How to Check and Add Antifreeze/Coolant:

Make sure your car’s engine and radiator cap have cooled (especially if the car was driven recently.)
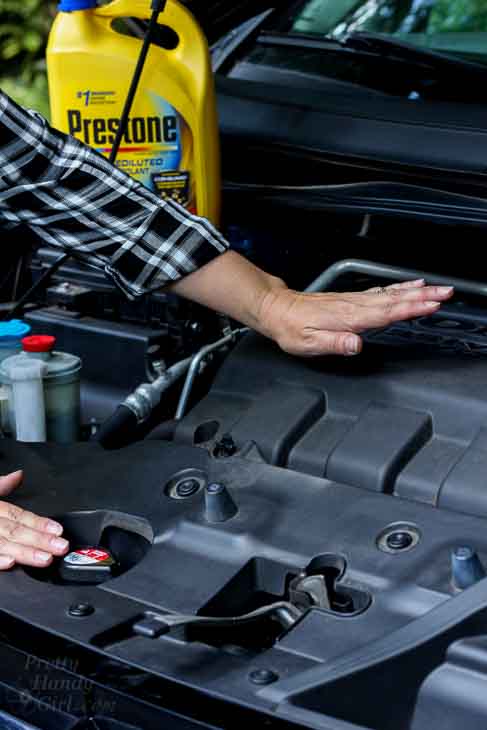
Check if Engine and Radiator are hot

Remove the radiator cap with a clean rag (the rag protects your hands and can be used to wipe up any drips.)
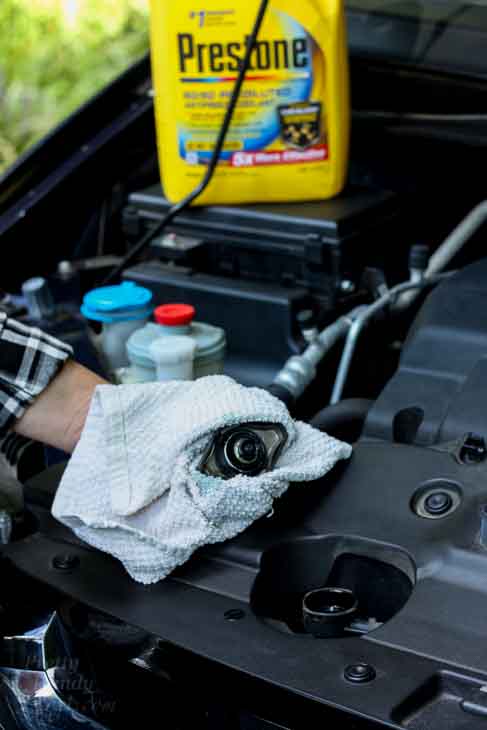
Remove radiator cap

Insert the Antifreeze Tester into the radiator. Squeeze the bulb on top and fill the reservoir.
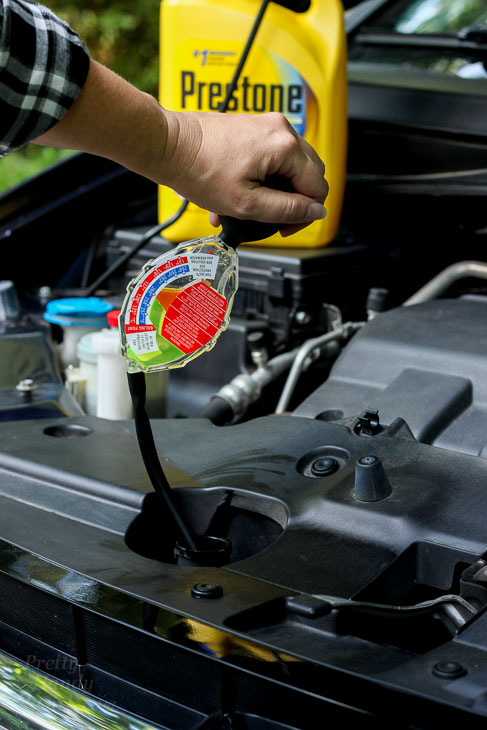
AntiFreeze tester

Hold the tester up to eye level. Line up the top arrow up with the vertical plumb line. Then locate the second arrow and read the temperature rating.
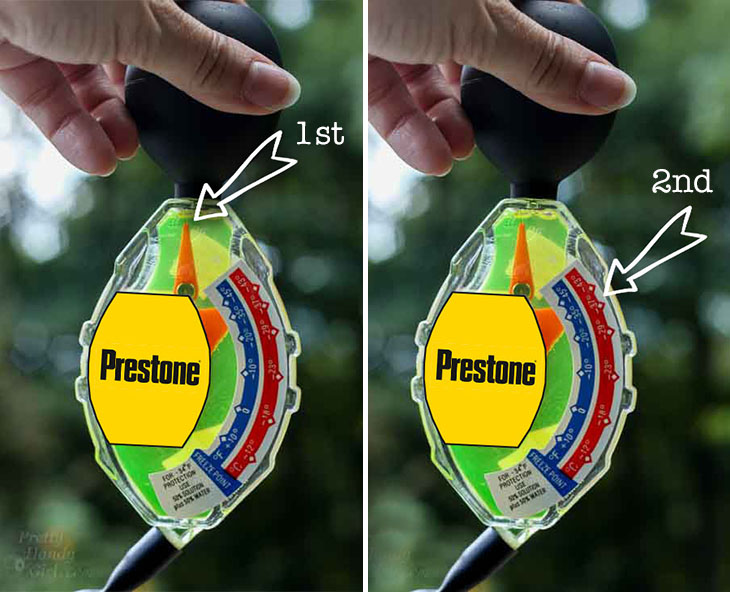
Checking Anti-freeze Mix Rating

The antifreeze/coolant should be rated for -34˚F or colder.

Check the appearance of the antifreeze/coolant. The color should NOT be red or brown. Furthermore, the presence of any dirt or debris means you need to flush your radiator and replace the antifreeze/coolant.

If the temperature rating and color looks good, replace the antifreeze into the radiator.
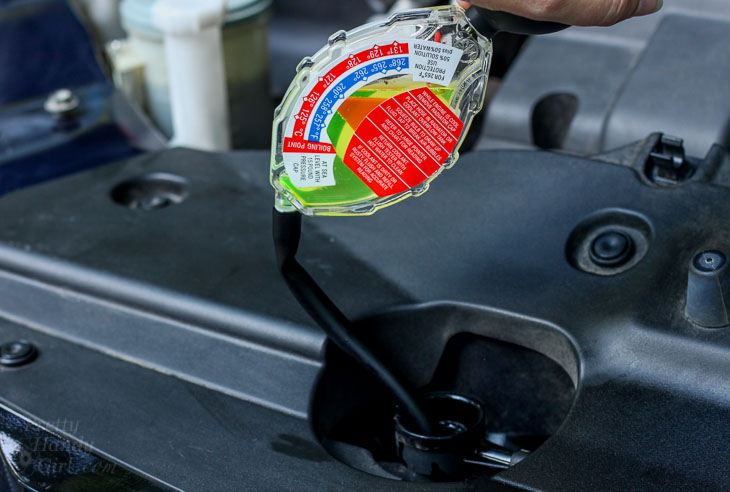
Antifreeze tester siphoning

Wipe up any drips with a rag.

Check the antifreeze level, does it rest within the maximum and minimum lines (this will vary depending on the temperature of your car’s engine.)
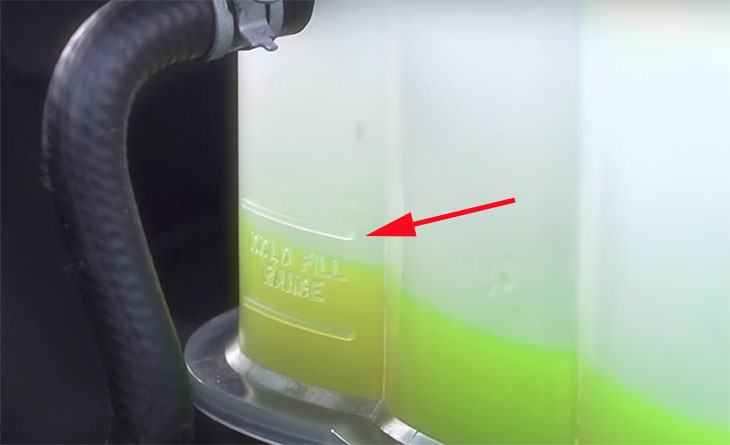
Antifreeze/Coolant Level Marks on tank

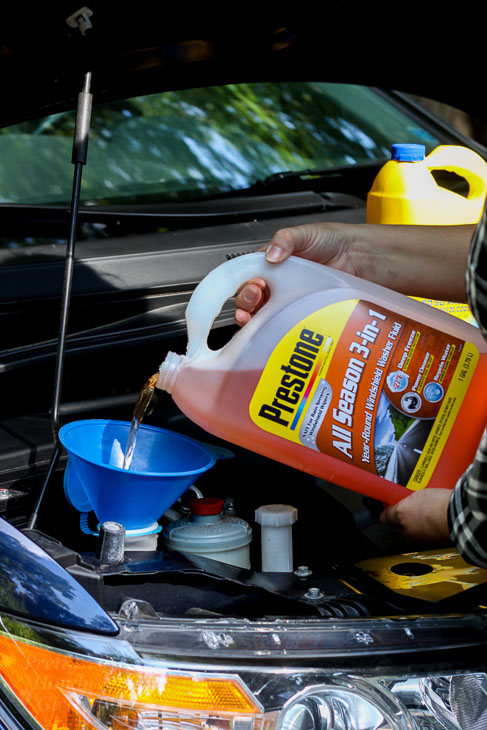
If the level is low, add Prestone 50/50 Prediluted Antifreeze/Coolant using a clean funnel.
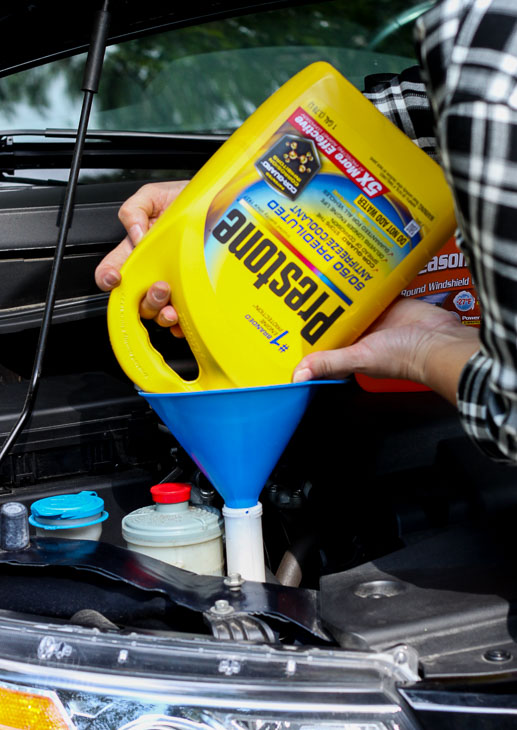
Add AntiFreeze Coolant

Emergency Kit for your Car:

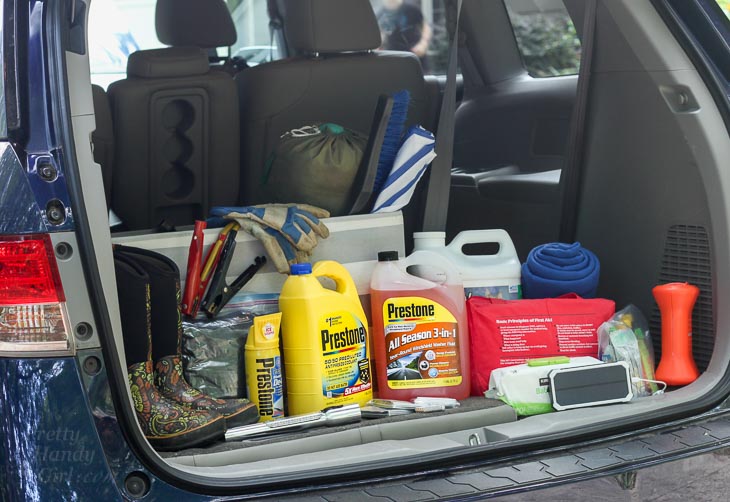
Create an emergency kit for your car and you’ll be prepared for almost any emergency. You can store the items in a tub or box for convenience. This will also allow you to remove the kit in the summer when you won’t need most of the items (be sure to keep non-weather pertinent items in your car.)

Emergency Kit Contents
(I’ve included affiliate links for your convenience. I earn a small percentage from a purchase using these links. There is no additional cost to you. You can read more about affiliate links here.)

  • Rain Boots(suitable for walking long distance in)
  • Sleeping Bag
  • Warm Blankets
  • Jumper Cables (or Auto Jump Starter)
  • Flashlight with Extra Batteries
  • Sand or Non-Clumping Kitty Litter
  • High Energy Snacks (granola bars, trail mix, apple sauce and water or juice)
  • Work gloves
  • Flares
  • Extra set of clothes and socks
  • Baby Wipes
  • Ice Scraper with Snow Brush
  • De-Icer with Scraper
  • Windshield Wiper Fluid
  • Antifreeze
  • First Aid Kit
  • Solar Powered Phone Charger
  • Weather Radio
  • Bin to store the emergency supplies in
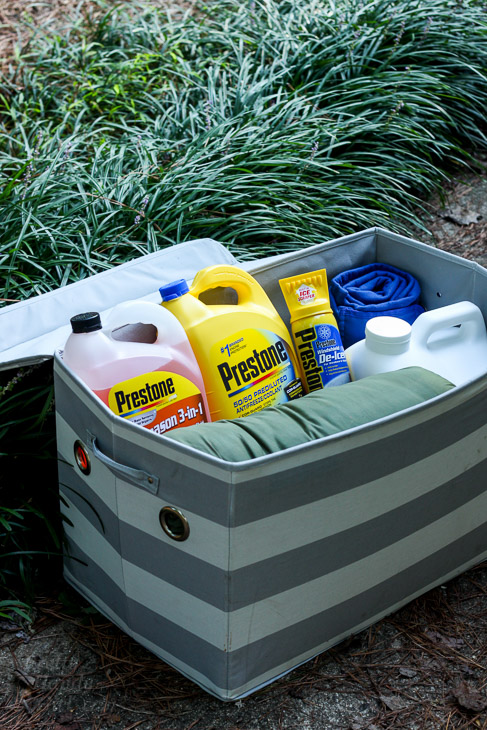
Emergency Kit in Striped Bin

Emergency Kit Checklist:

For your convenience, here’s a printable version of the Emergency Kit checklist for you to download and print. Use it to purchase items for your kit and then keep in your car in case of emergency.
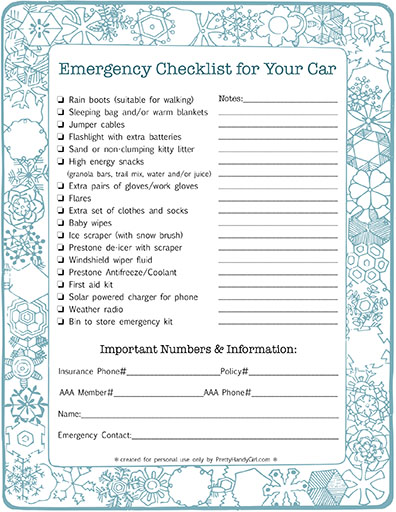
Emergency Kit Checklist for your Car

Congratulations! Your car is ready for winter. Now go outside and have fun. And don’t forget to thank Prestone for caring about your safety this winter! You can tweet them, leave a comment on their Facebook page, or tag them in a photo on Instagram.

Definitely pin this post or share it with your friends. Let’s all stay safe this winter.
signature

Disclosure: This is a sponsored post for Prestone. I was compensated for my time and efforts. I was not told what to write, all opinions are my own. As always, I’m very particular about the brands I represent. I will always let you know when you are reading a sponsored post.

Now that your car is ready for winter, let’s tackle a disaster preparedness kit for your home!

Pack These in Your Disaster Preparedness Kit Immediately | Pretty Handy Girl


Wood Slice Fireplace Draft Stopper

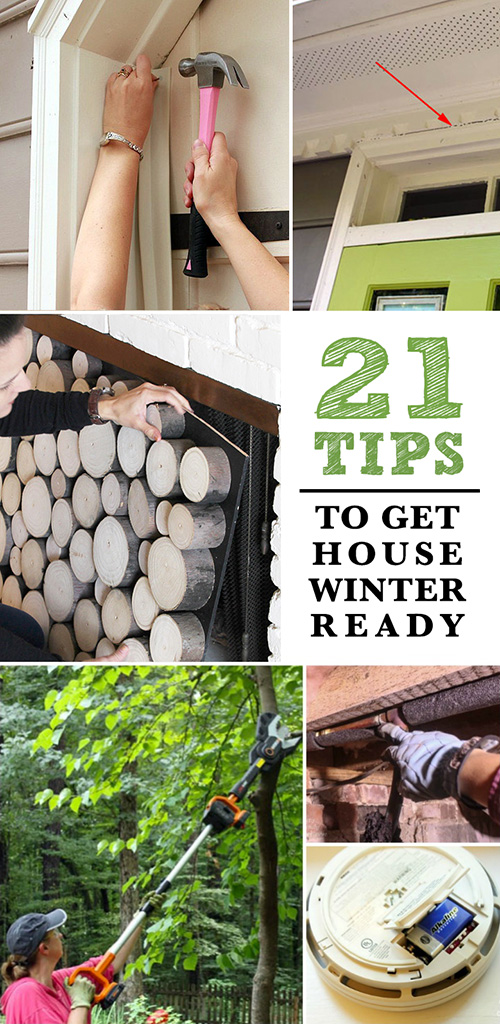
21 Tips to Get Your House Winter Ready21 Tips to Make Your Home Winter Ready
Are you ready for winter? I know, I know, fall just arrived. But, there’s no time like fall to get your home ready for the cold of winter. The seasons seem to pass us by in a flash. The warm nights making s’mores and catching fireflies are over and the chill starts to set it. It’s pumpkin spice everything and warm fuzzy socks. Before you can cozy up to the fire here are 21 useful tips to make your home ready for winter.
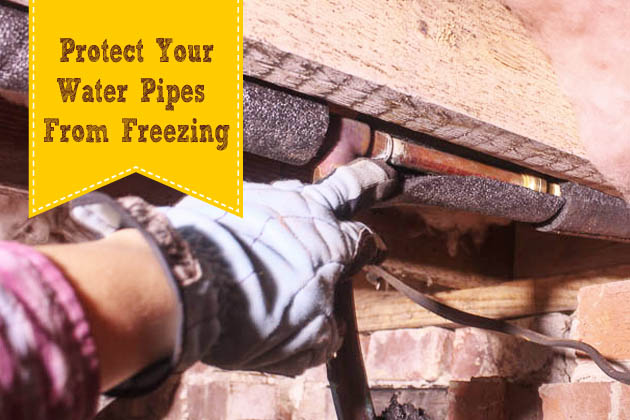
1. Having pipes freeze and burst is the absolute worst, make sure to Protect  Pipes from Freezing.

2. Hire a chimney sweep to inspect and clean your chimney.
 

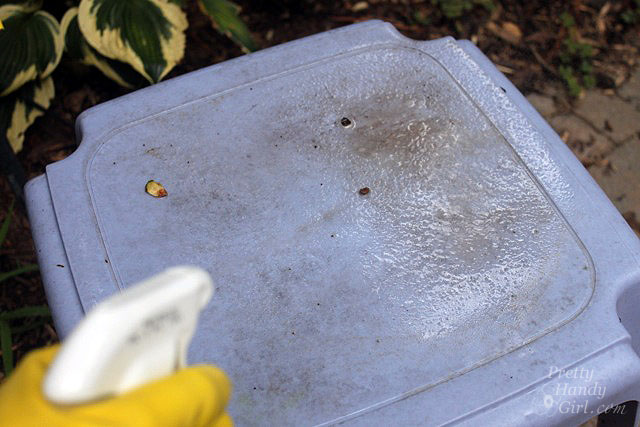
3. Make sure that your outdoor furniture will survive the cold winter months. Here’s how to Clean and Cover your furniture for storage.


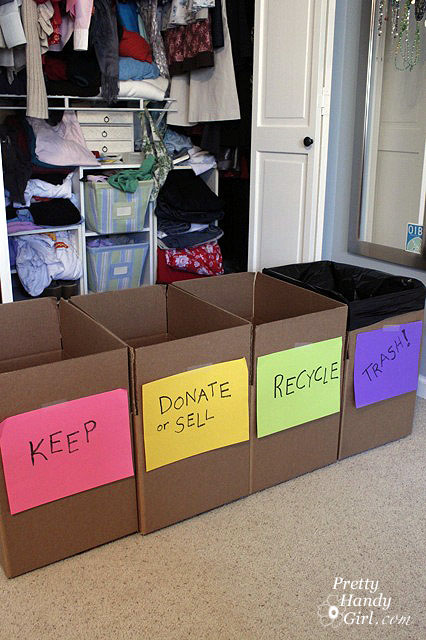
4. If you haven’t worn it all summer then you most likely won’t wear it next summer. Clean out the closets and reduce the clutter.


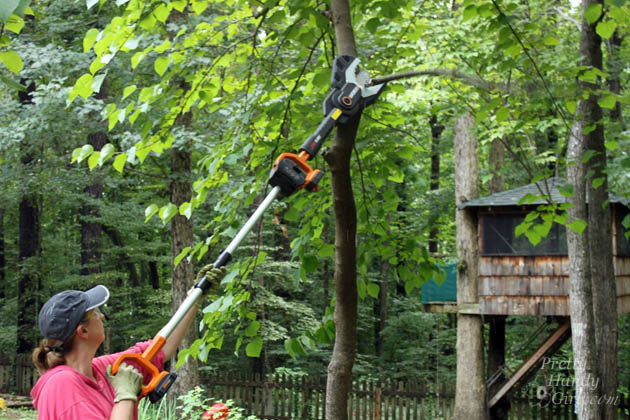
cut branches and trees before winter

5. Clean up your yard before winter and trim trees and branches on your property.


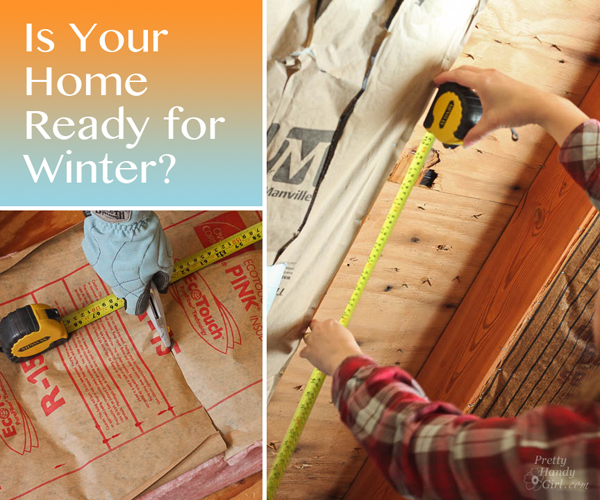
make your home winter ready, replace insulation

6. You don’t want your heat to escape your home. Make sure your insulation isn’t missing or coming down. Replace insulation where needed.


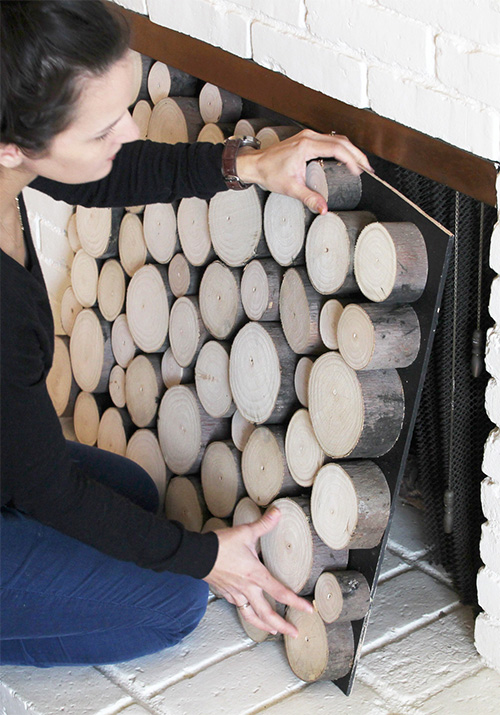
Wood Slice Fireplace Draft Stopper

7. If you are feeling a chill in your home your fireplace may be drafty and need to be weather sealed. Put an end to fireplace drafts to prepare for cool winter nights.


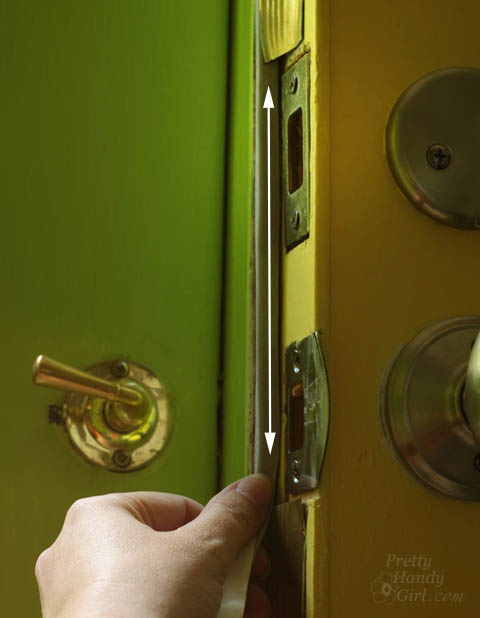
add weatherstripping to doors and windows, prevent heat from escaping to prepare your home for winter

8. Don’t let the heat escape from your home. Add weatherstripping to doors and windows.


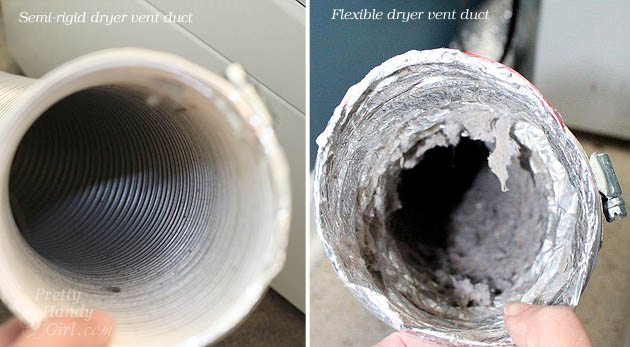
Semi-rigid vs. flexible dryer duct | Pretty Handy Girl

9. Protect your home from fire and make sure to clean the dryer vent duct before winter.


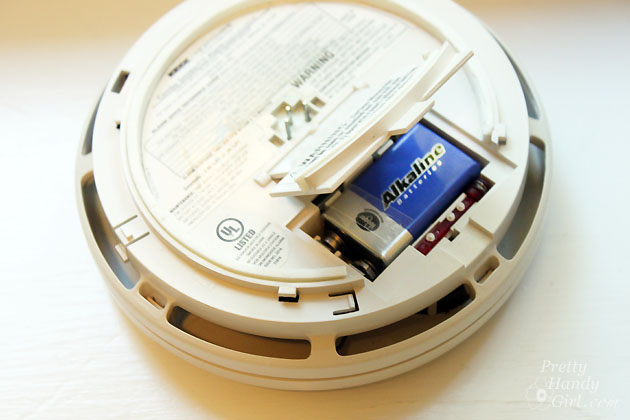
10. Prepare for the coming winter by checking your smoke detector and following these smoke detector maintenance tips.


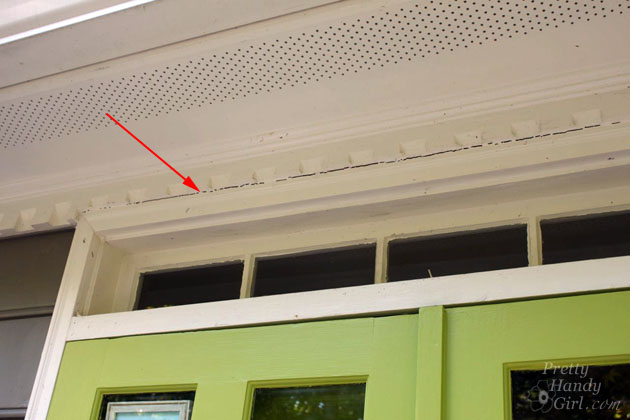
caulk cracks and gaps around doors and trim, prevent water from getting in home, prepare for winter

11. Keep water and cold air from getting in. Check your home and caulk cracks and gaps in siding and trim.


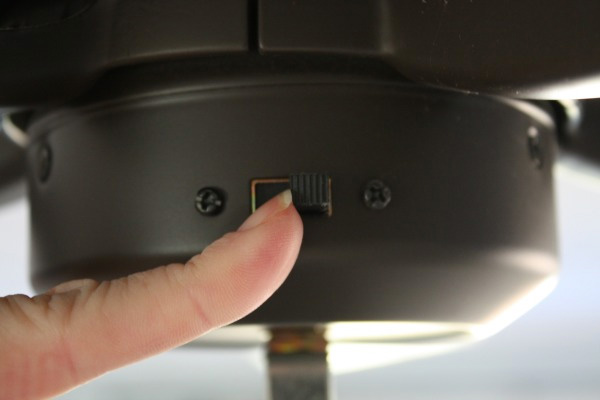
Turn the ceiling fan direction for winter to improve heat efficiency.

12. Make sure your fans are turned the right way to heat your home more efficiently.


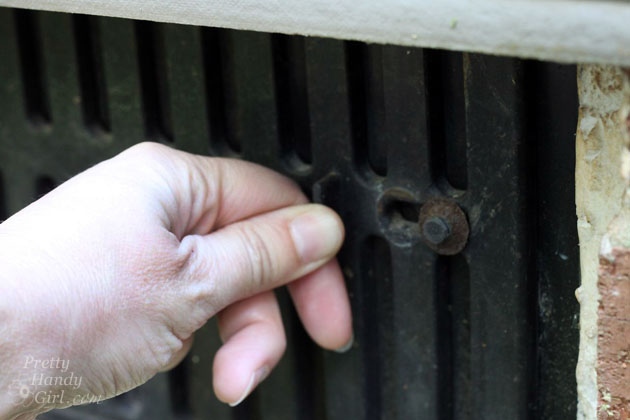
Do You Open or Close Crawlspace Vents | Pretty Handy Girl

13. Know when your crawlspace vents should be open or closed.


14. Check your roof condition and make repairs or replace before winter.

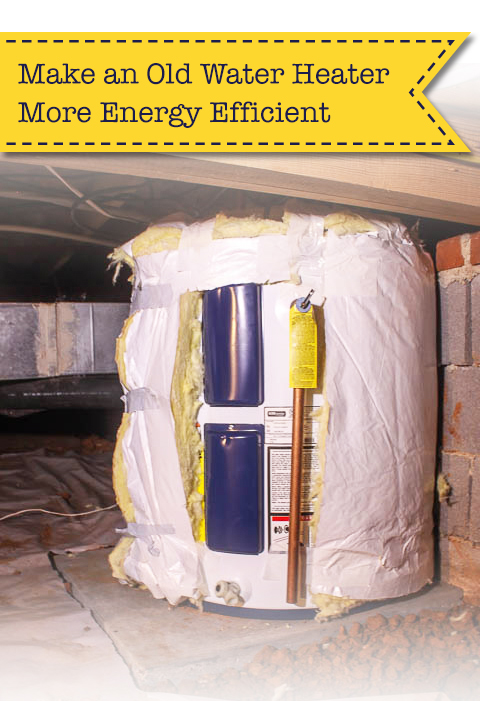
How to Make an Old Water Heater More Energy Efficient | Pretty Handy Girl

15. Make your water heater more efficient this winter.


16. Clean your gutters and downspouts to avoid damaging ice build up.


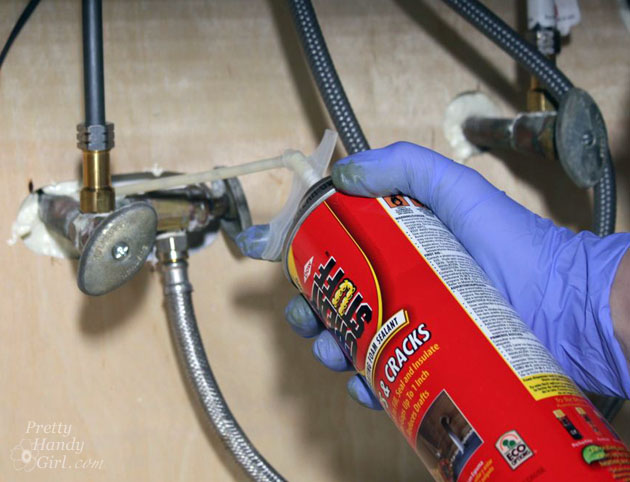
Seal Gaps Around Pipes with GREAT STUFF | Pretty Handy Girl

17. Check around your crawlspace and under sinks to seal all gaps and cracks around pipes, vents and voids.


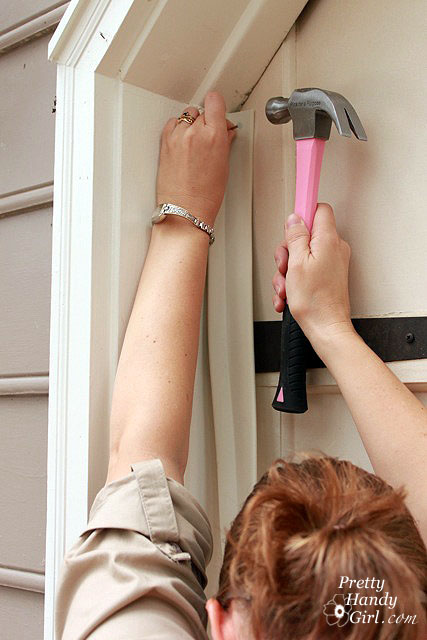
18. Don’t let your garage steal any more heating and cooling costs. Install weatherstripping on garage doors to raise the temperature.


Protect Spigot from Frozen Burst Pipes | Pretty Handy Girl

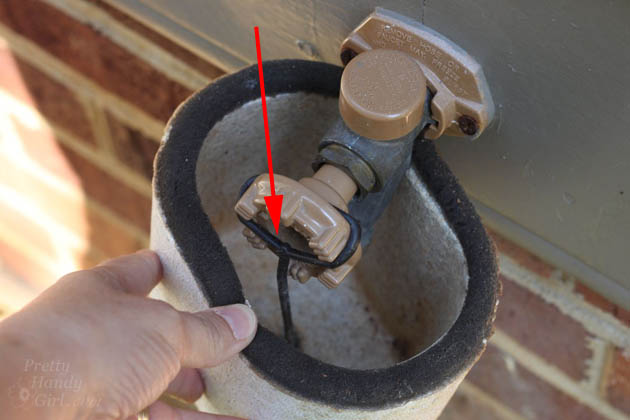
19. Protect your spigots from bursting. Cover spigots with these insulated covers.


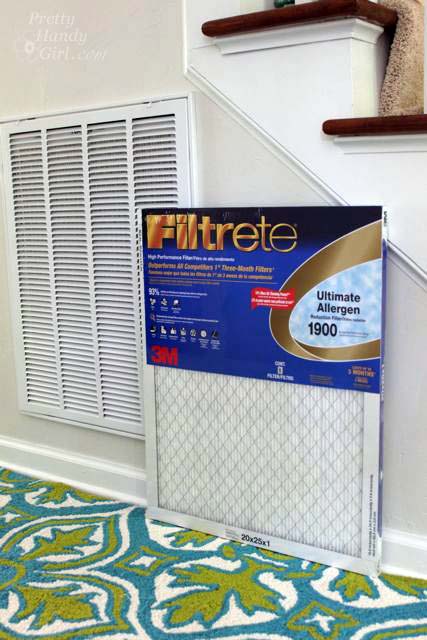
20. Change your air filters to keep your heating system in top form.


Is Your HVAC Choking? | Pretty Handy Girl

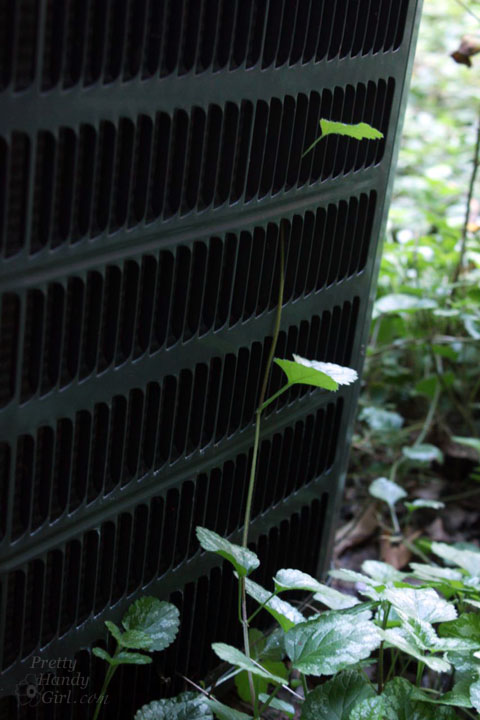
21. Clear any vegetation around your HVAC system to keep it from choking.

Are you prepared for the cold of winter? Take some time to follow all 21 of these useful tips to make your home ready for winter?

signature

How to Safely Use and Store a Generator | Pretty Handy Girl

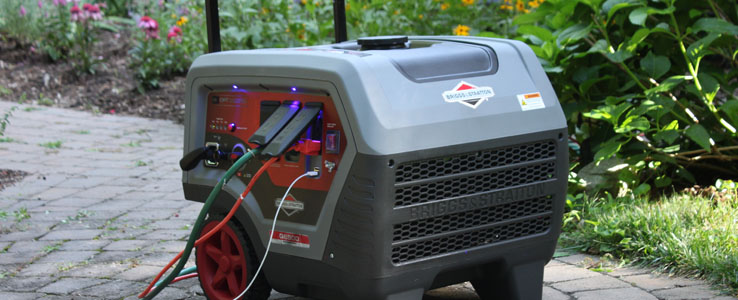
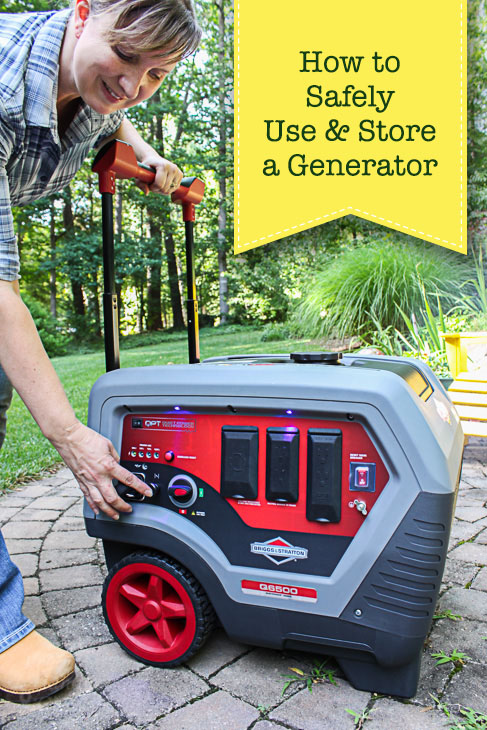
When storms threaten your power, do you have a generator to keep you comfortable and save your food from spoiling? I’ve contemplated buying a generator before each major storm threat, but they are usually sold out by the time I make it to the store. When Briggs & Stratton asked if I wanted to test out their new Briggs & Stratton Q6500 QuietPower™ Series Inverter Generator, I said “YES!” But, between us, I was a little nervous about using one. I didn’t have the faintest idea How to Safely Use and Store a Generator. Luckily, my friend Scott offered to give me a few tips. Plus, the Briggs & Stratton Q6500 came with a fantastic manual that made me feel more at ease using it for the first time.

How to Safely Use and Store a Generator | Pretty Handy Girl

Why You Might Need a Generator:

Our town has been hit by a few hurricanes, ice storms and a tornado over the past few years. Several of these events left us without power for multiple days. It was that first ice storm that introduced me to what a generator can provide.

How to Safely Use and Store a Generator | Pretty Handy Girl

As my husband and I suffered in silence, several neighbors had their generators humming outside. The homeowners that had a generator were able to keep their food cold in the refrigerator while the rest of us had to throw away all the food that had spoiled. (If your ice has melted in the freezer it is no longer safe to consume that food.) Our neighbors with a generator were able to keep their families warm with electric heaters. We tried to burn a fire in our wood burning fireplace, but most of the heat went up the chimney. Plus, we couldn’t stay up all night adding wood to the fire. In the morning, we woke up to a house that was 45F. Even our dog (who was not a snuggler) decided to curl up with us on our makeshift bed in the living room. The homes with generators had electricity to run lamps and radios. We had to use candles, flashlights, and a battery-powered radio until they ran low. The hardest part of living without the assistance of a generator was having our communication cut off. We couldn’t call our families and the power company because our cell phone batteries died by the end of the first day. Sadly our land line phones were cordless and lost their charge too.

Some other things you can power with a generator*:

  • Individual water well pump
  • Sump pump
  • Medical device that needs power (portable generators are not intended for life support, a standby generator is required)
  • Power for contractors for temporary outages for small projects

*If connecting a portable generator into your home electrical system, have a licensed electrician install an Emergency Manual Power Transfer System.

Finally, in addition to providing backup power for essential home appliances, the Briggs & Stratton Q6500 QuietPower generator Quiet Power Series can also run power to your campsite or picnic. The noise is 60% quieter† than standard generators (†As tested per ISO2744 sound power standard when compared to standard generator 30607.)

How to Check and Fill Your Generator with Oil:

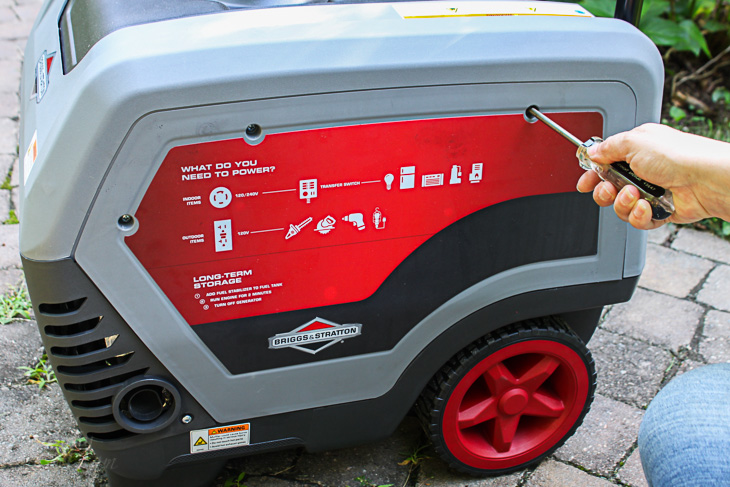
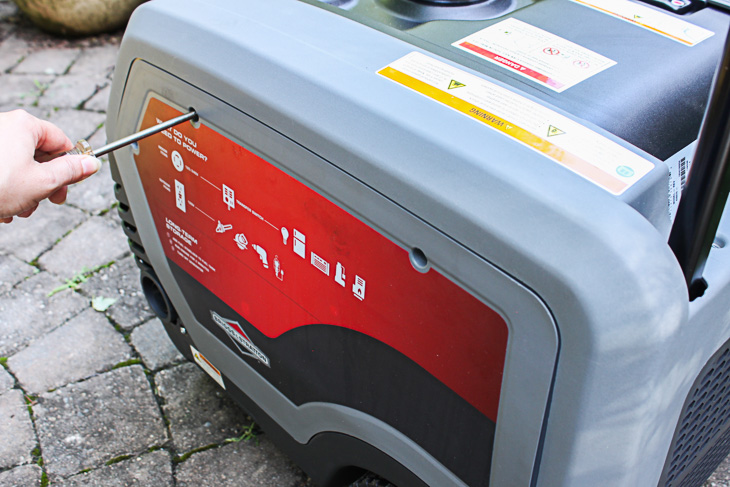
Locate the oil dipstick on your generator. The Briggs & Stratton Q6500’s oil dipstick is located behind the side panel. Remove the screws holding the side panel in place (place screws in a bowl to prevent from losing them.)

How to Safely Use and Store a Generator | Pretty Handy Girl

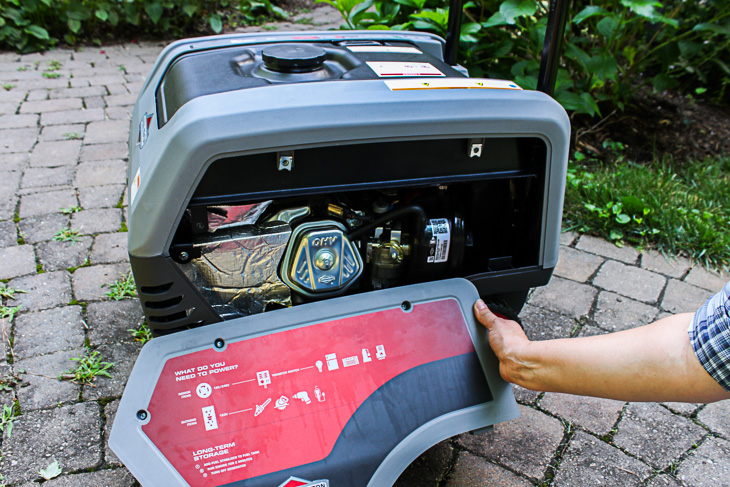
Remove the panel and set aside.

How to Safely Use and Store a Generator | Pretty Handy Girl

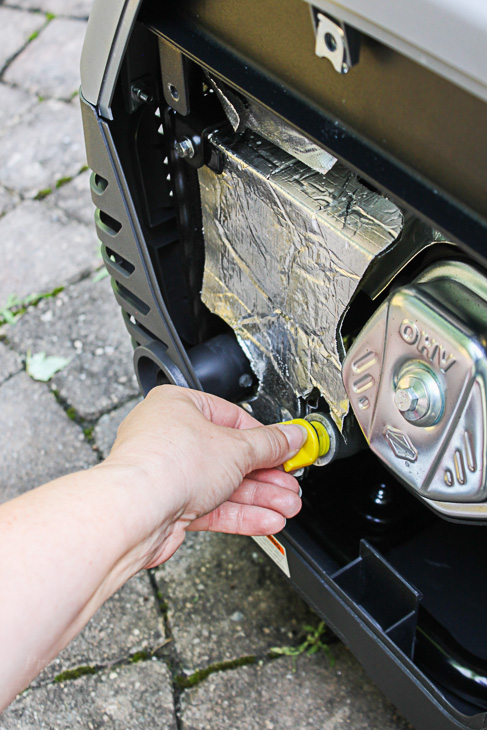
Locate the side of the engine and remove the yellow-capped dipstick.

How to Safely Use and Store a Generator | Pretty Handy Girl

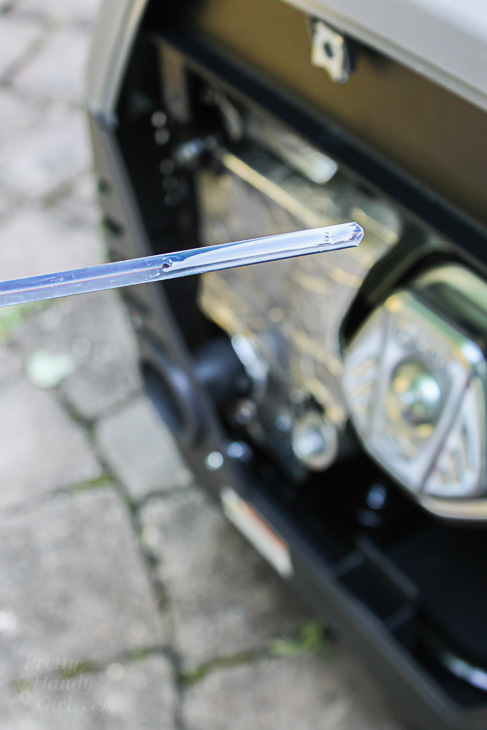
Wipe off the dipstick with a clean dry rag or paper towel. Reinsert it into the oil tank. Remove the dipstick and check the oil level. The tank is full when the oil level is between the two indicators or even with the top indicator (small hole in the dipstick on the Briggs & Stratton Q6500.)

How to Safely Use and Store a Generator | Pretty Handy Girl

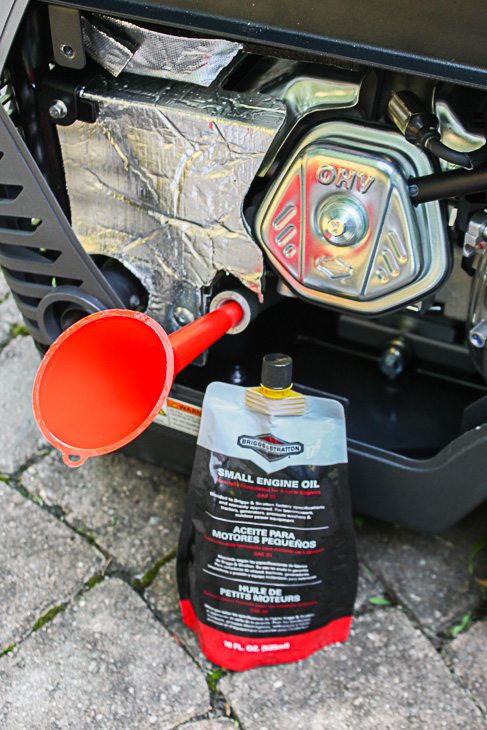
To add oil, insert the funnel into oil fill opening.

How to Safely Use and Store a Generator | Pretty Handy Girl

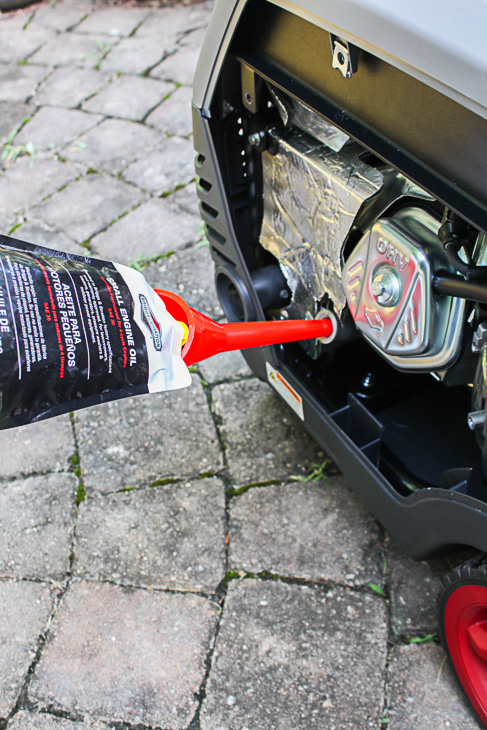
Carefully empty engine oil into the funnel (most generators use small engine oil, but check your manual to be certain.)

How to Safely Use and Store a Generator | Pretty Handy Girl

Continue to check the oil level by inserting the wiped clean dipstick into the engine. When the engine is full, replace the dipstick and replace the panel you removed from the side of the generator.

How to Safely Use and Store a Generator | Pretty Handy Girl

What Type of Gas Does a Generator Use?

Most generators require low or ethanol free gasoline. Check your generator’s manual for specifics. The Briggs & Stratton manual stated that gas with an ethanol content of 10% or lower was acceptable. Our friend recommended I use ethanol-free gasoline to avoid damaging the generator after storage. (Ethanol gas separates during storage and can put the engine at risk when starting up.)

He also recommended I purchase a fuel stabilizer like this Briggs & Stratton Advanced Formula Fuel Treatment & Stabilizer (affiliate link) and add it with the fuel (following the amounts suggested on the stabilizer bottle.)

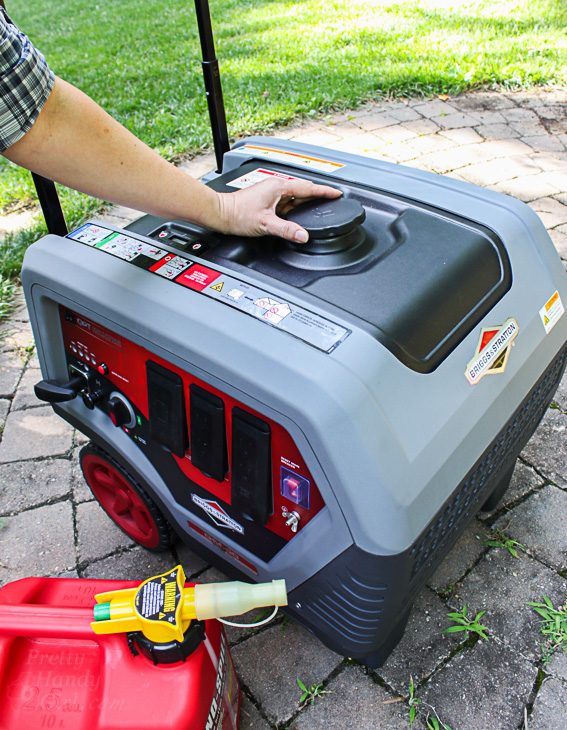
To fill the generator with fuel, unscrew the gas cap from the top of the generator.

How to Safely Use and Store a Generator | Pretty Handy Girl

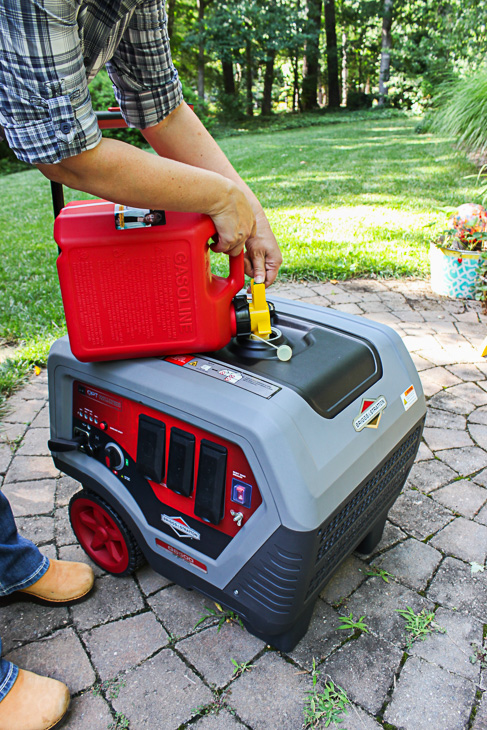
Pour gasoline into the tank.

How to Safely Use and Store a Generator | Pretty Handy Girl

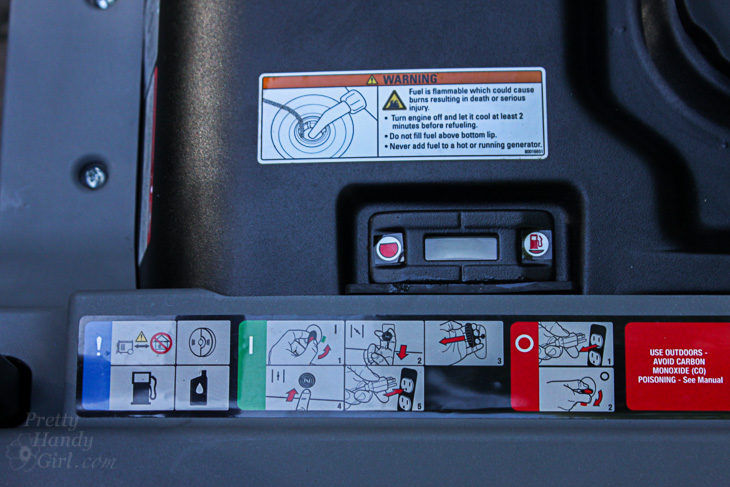
You can view the fuel gauge for approximation, but best practice is to fill the tank to the bottom lip.

How to Safely Use and Store a Generator | Pretty Handy Girl

Be sure not to overfill your generator. The fuel needs some room for expansion. Wipe up any spilled gas from around the tank opening. Firmly twist the gas cap back onto the generator.

How to Safely Use and Store a Generator | Pretty Handy Girl

How to Safely Use a Generator:

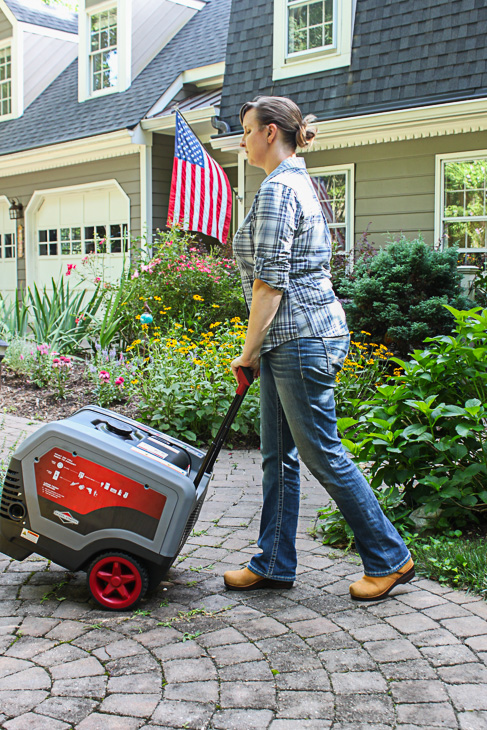
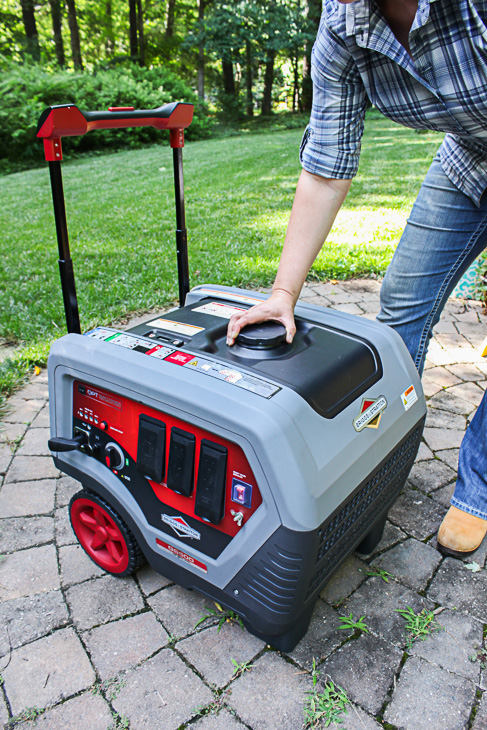
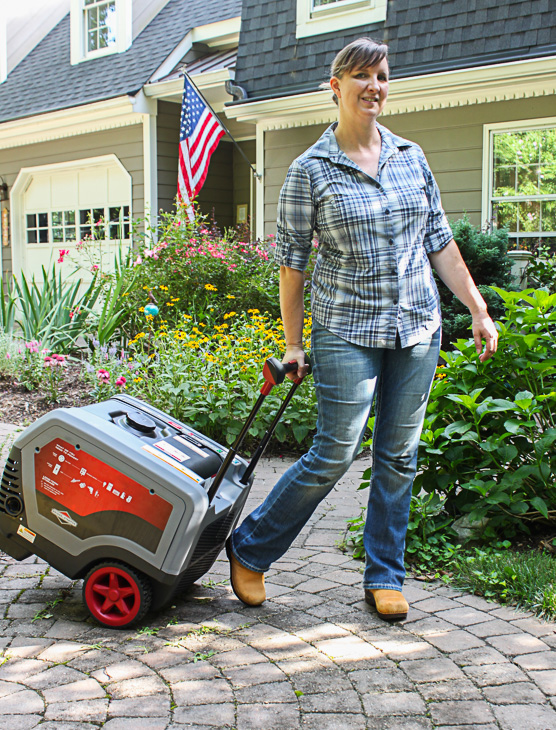
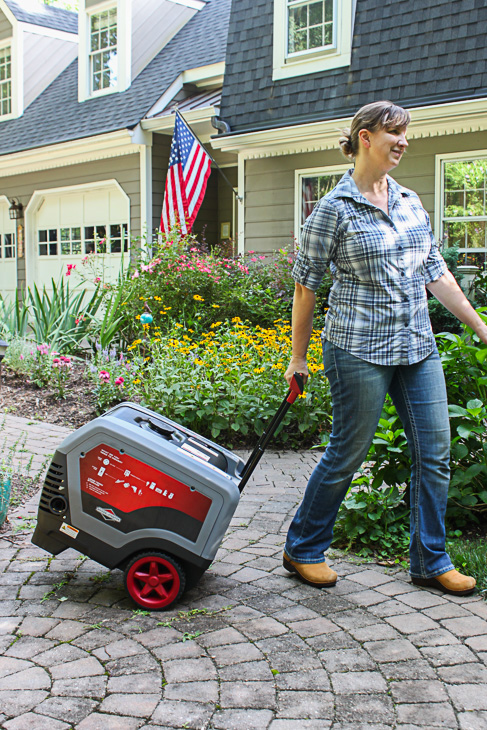
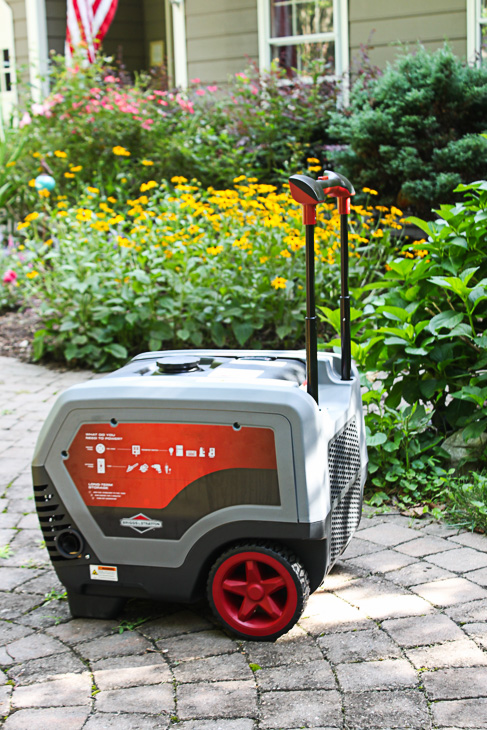
Make sure to locate your generator on a flat level surface far away from your house (especially away from doors, windows and vents.) The Briggs & Stratton Q6500 has a telescoping handle that makes it easy to roll around. The generator weighs 128 pounds, so lifting it is much easier when you have a helper (look for grips on the bottom of the unit for convenient hand hold locations.)

How to Safely Use and Store a Generator | Pretty Handy Girl

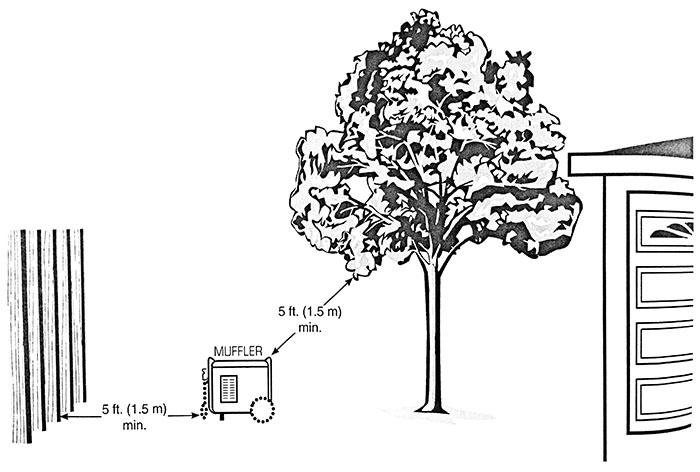
The generator must be located outside the home. Never use a generator inside your home, garage or basement. Turn the generator so the muffler is pointed away from dwellings. Make sure you have Carbon Monoxide Detectors  (affiliate link) installed inside your home. Keep combustibles at least 5 feet from the generator. Overhanging trees and structures also need to be at least 5 feet away from the generator. (This diagram from the Briggs & Stratton manual is a good visual to show you proper placement.)


How to Safely Use and Store a Generator | Pretty Handy Girl

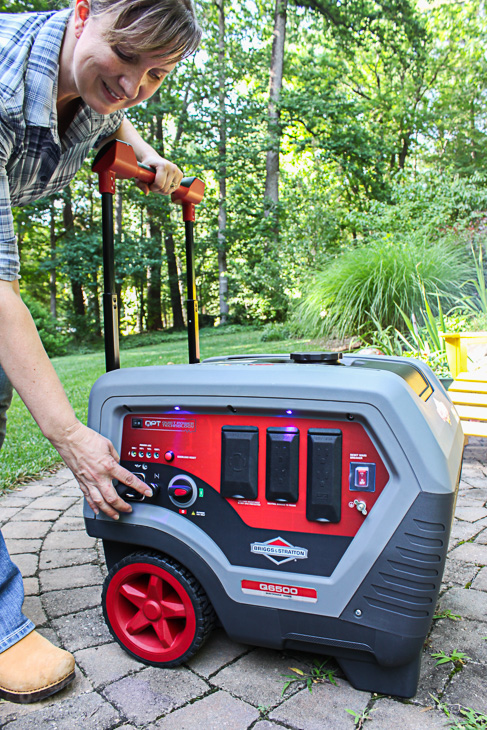
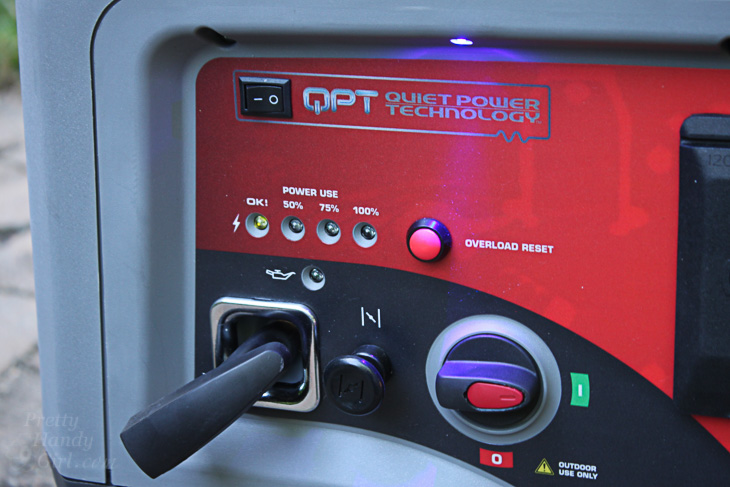
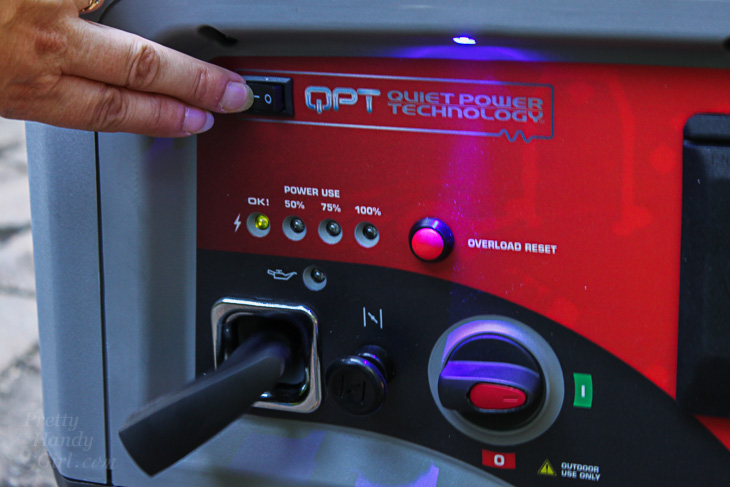
To start the Briggs & Stratton Q6500 generator, make sure the QuietPower Technology switch is turned off.

How to Safely Use and Store a Generator | Pretty Handy Girl

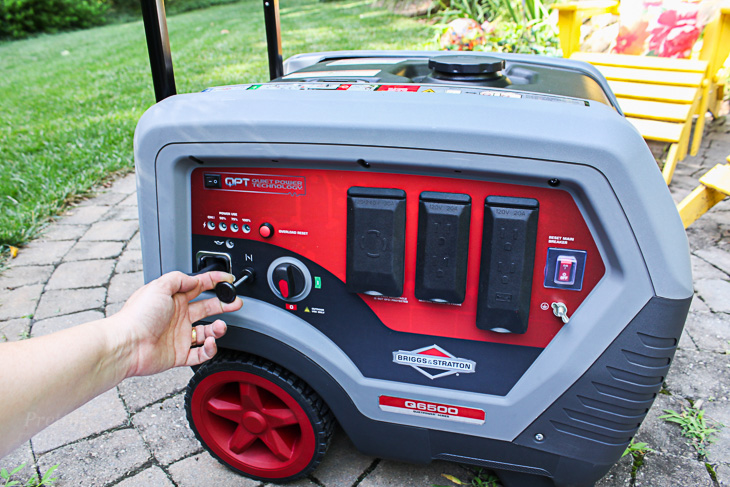
Pull the choke out on the generator.

How to Safely Use and Store a Generator | Pretty Handy Girl

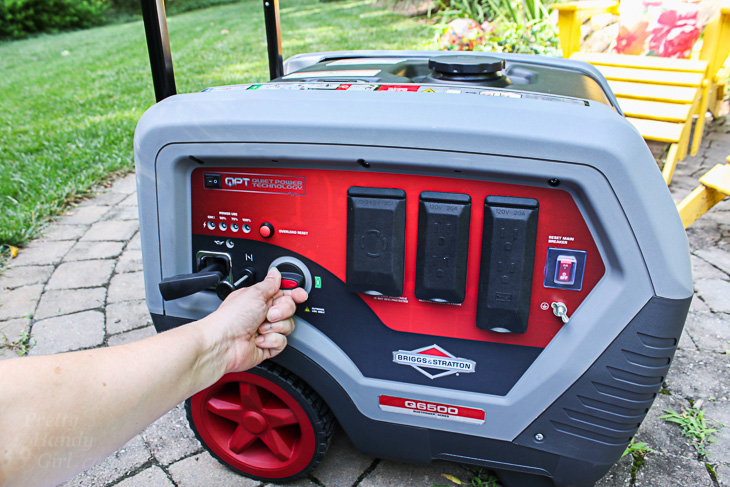
Turn the engine switch to the on position.

How to Safely Use and Store a Generator | Pretty Handy Girl

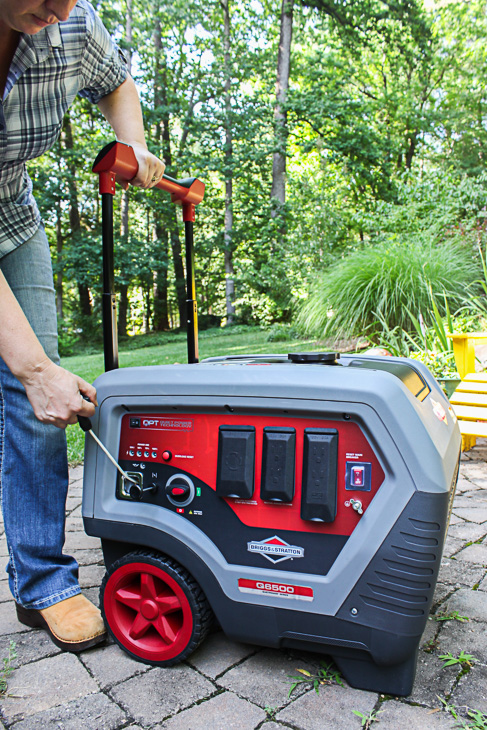
Firmly pull on the starter handle. You may need to pull a few times for the fuel pump to initially fill the carburetor. Luckily, the Briggs & Stratton Q6500 started right up for me on the first pull! (This was a huge relief because normally I have to fight with the lawn mower.)

How to Safely Use and Store a Generator | Pretty Handy Girl

Once the generator has started, press the choke back in.

How to Safely Use and Store a Generator | Pretty Handy Girl

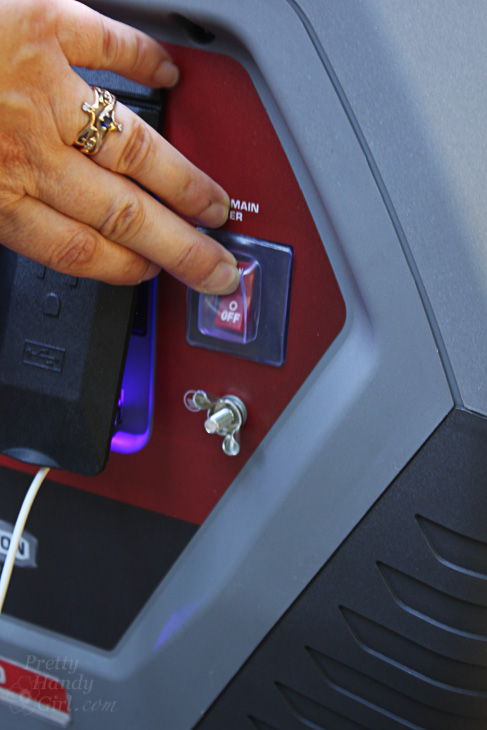
To begin using the outlets on the generator, you must turn on the main breaker.

How to Safely Use and Store a Generator | Pretty Handy Girl

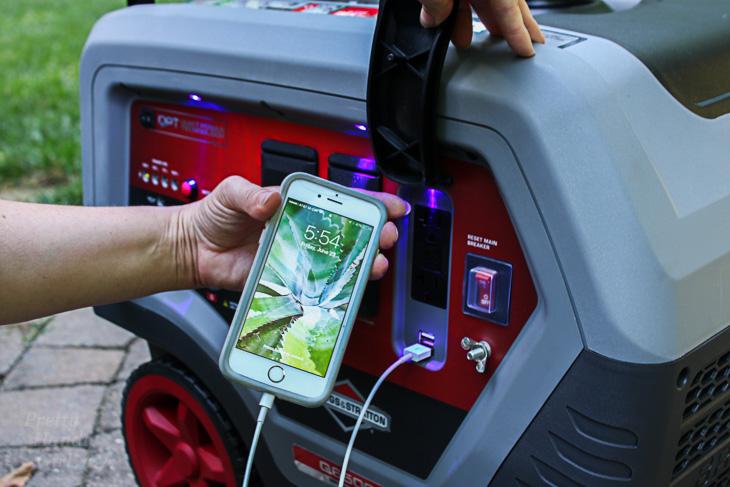
The Briggs & Stratton Q6500 QuietPower™ Series Inverter Generator has four standard 120 volt AC, 20 amp outlets, plus two USB ports for charging USB devices (per the manual, Apple devices are recommended to use the bottom USB port.)

How to Safely Use and Store a Generator | Pretty Handy Girl

In addition, the Briggs & Stratton Q6500 generator has one 120/240 AC, 30 Amp, locking receptacle. If powering indoor items such as an air conditioner, heater, lights or sump pump, the recommended way to do so is by installing a transfer switch (must be installed by a licensed electrician.)

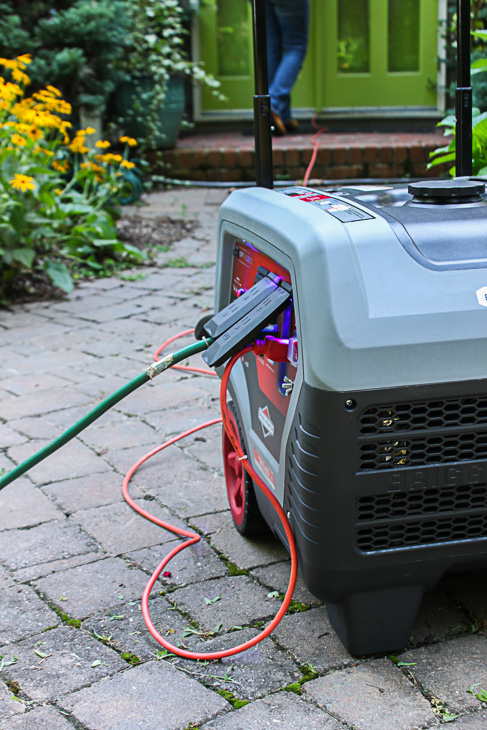
Connect extension cords to your generator and run them into your home to supply power to several appliances.

How to Safely Use and Store a Generator | Pretty Handy Girl

Be sure to shut doors and windows behind you and seal any cracks to prevent any exhaust fumes from entering the home.

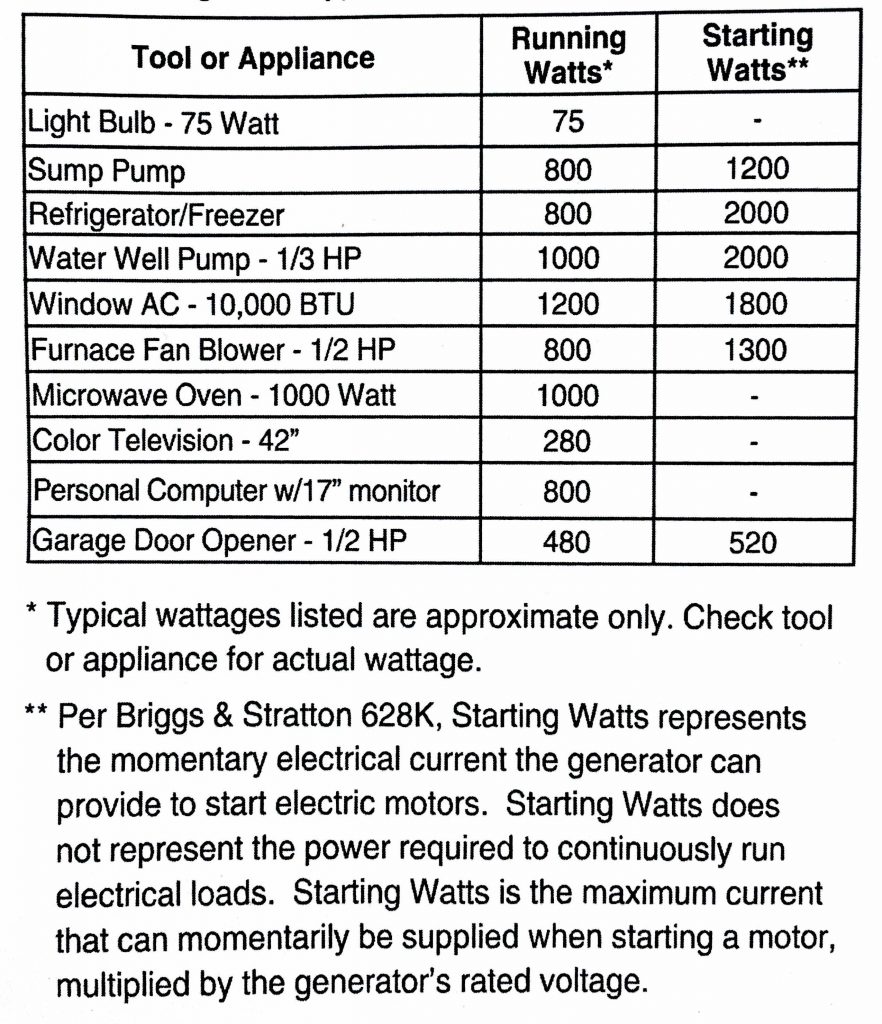
Use the following chart to gauge the capacity your generator can handle. This will allow you to calculate how many and which appliances you can safely run with your generator. The Briggs & Stratton Q6500 can provide 6,500 watts of starting power and 5,000 watts of running power.

Typical Appliance Usage Chart | Pretty Handy Girl

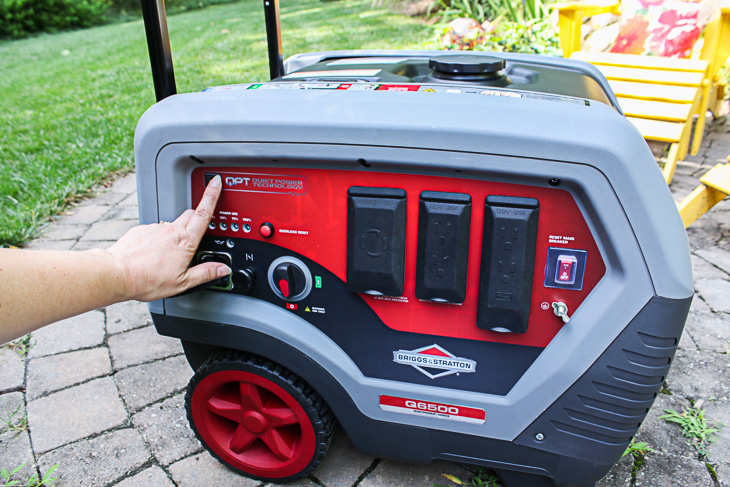
For added convenience, the Briggs & Stratton Q6500 will show the percentage of power usage on the panel as you connect appliances.  Keep an eye on these indicators and remove an appliance if you reach 100% capacity.

How to Safely Use and Store a Generator | Pretty Handy Girl

To reduce the noise on this Briggs & Stratton generator, you can switch the Quiet Power Technology on after your devices are powered.

How to Safely Use and Store a Generator | Pretty Handy Girl

How to Safely Store a Generator:

First remove all extension cords and powered devices. Let the generator run for one minute. Shut down the generator by turning the switch to the off position. Turn off the QuietPower Technology switch so you won’t forget to next time you start up the generator.

How to Safely Use and Store a Generator | Pretty Handy Girl

When you are finished using your generator, check the oil level and add more as needed. Before storing the generator, it is a good idea to run the gas to empty in the generator. Alternatively, using a fuel stabilizer will allow you to store the generator with gasoline in it.

Check the hoses, fuel tank, spark plug, and spark arrest (screen over muffler) on your generator and replace any parts that show signs of wear and tear. Otherwise, change the air filter and spark plug yearly. Wipe off any debris or dirt from the generator.

Refer to your generator’s manual to determine the maintenance schedule. The Briggs & Stratton Q6500 generator needs its first oil change after the first 5 hours of use. Consecutive changes are yearly or after 100 hours of use (whichever comes first.) Other generators may need oil changes more frequently. Family Handyman has a great article on maintaining and storing your generator.

How to Safely Use and Store a Generator | Pretty Handy Girl

Be sure to store excess gasoline in an approved gas container (affiliate link.) The gasoline will keep best if the container is filled and a fuel stabilizer is added. Your generator and excess fuel should be stored in a well ventilated area away from your home. A shed or detached garage are the safest options. If neither of those are available, you can build a small generator “dog house” to cover the engine when not in use.

How to Safely Use and Store a Generator | Pretty Handy Girl

I hope this guide for How to Safely Use and Store a Generator helps you take the plunge to buy a generator or maintain the one you already own. Stay safe!

Giveaway Time

Briggs & Stratton wants to give one lucky winner a $500 Home Depot Gift Card! You could use it toward the purchase of a Briggs & Stratton Q6500 QuietPower™ Series Inverter Generator on HomeDepot.com or toward any home improvement project you’re wanting to take on. Here’s how to enter:

a Rafflecopter giveaway

Terms & Conditions: Winners will be selected at random using Rafflecopter. Briggs & Stratton and Pretty Handy Girl do not personally select winners. Entries must be received by Monday, July 24th, 2017 at 11:59pm EST. Contest open to adults aged 18 and older living within the Continental US. Winner will be notified by Wednesday, July 26th, 2017 via email. Winner must reply to email within 2 days of receiving the notice or an alternate winner will be selected. Please be sure you have [email protected] as an acceptable email address.

Prize will be fulfilled by Briggs & Stratton. Pretty Handy Girl cannot be held responsible for prizes that are not fulfilled by third party companies.

signature

Disclosure: This is a sponsored post for Briggs & Stratton. I was not told what to write or what to say. All opinions are my own. I am very particular about the brands that I partner with. If I don’t love them, I don’t promote them. I will also always disclose when you are reading a sponsored post.

Installing Cabinet Handles the Easy Way | Pretty Handy Girl

Installing Cabinet Handles the Easy Way | Pretty Handy Girl

After installing my fair share of cabinet knobs and handles over the years, I’ve made my own templates out of cardboard or scrap wood. But, after trying this new gadget, I can honestly say this is how you too can Install Cabinet Handles the Easy Way.

Installing Cabinet Handles the Easy Way | Pretty Handy Girl

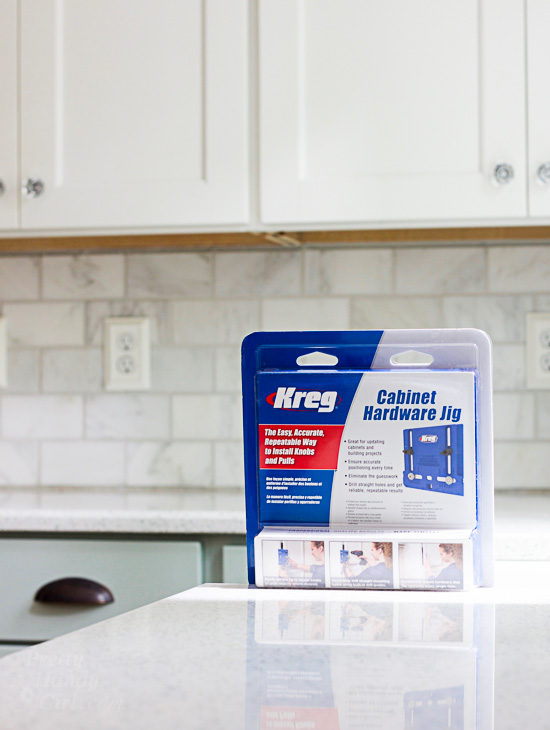
I was given the Kreg Cabinet Hardware Jig (affiliate link) to test last year, but I never opened it until now. I’m so glad I finally tried this puppy out. Just so you know, Kreg may have given me the jig, but I was not paid to write about it. I’m sharing this with you because I really liked this tool.

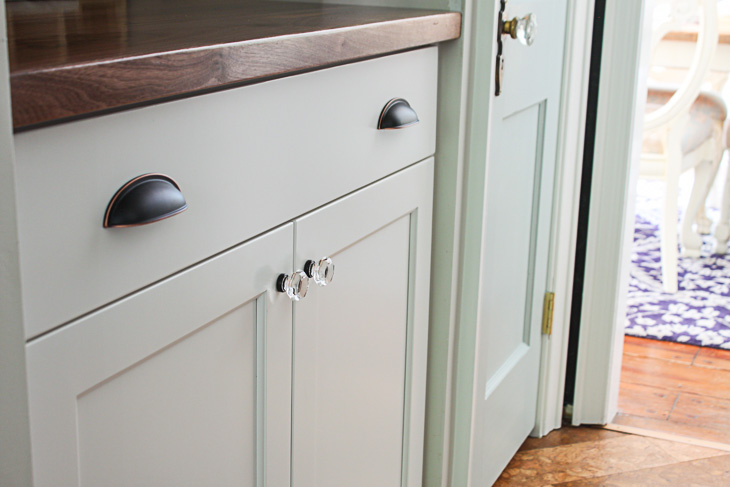
When you use this jig, not only will you install cabinet knobs and pulls easily, but each handle will be perfectly lined up with the others guaranteed!

2 Ways to Fix a Knob Screw that's Too Long | Pretty Handy Girl

If you have knobless cabinets in your home, now is the time to update them immediately. Grab a few things and meet me back here in a minute.

Materials:

(I’ve included affiliate links for your convenience. I earn a small percentage from a purchase using these links. There is no additional cost to you. You can read more about affiliate links here.)

Assembling the Kreg Cabinet Hardware Jig:

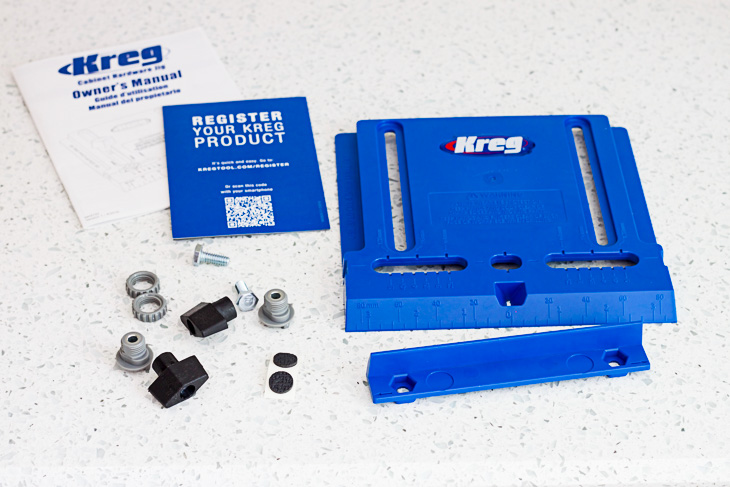
Remove the pieces from the packaging.

Installing Cabinet Handles the Easy Way | Pretty Handy Girl

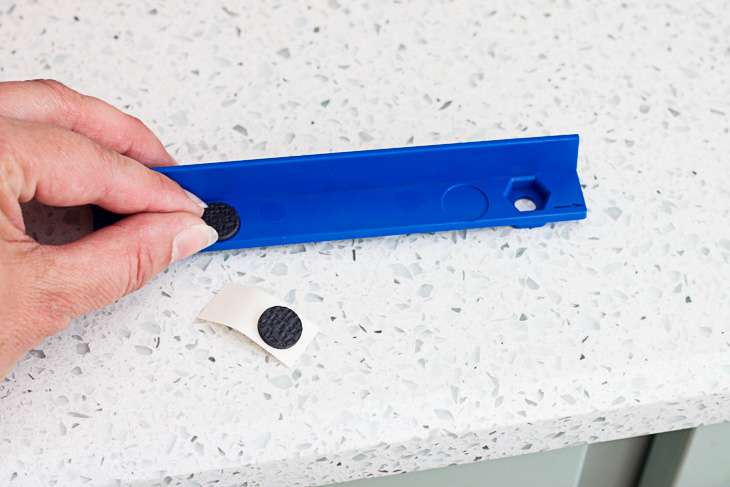
Add the non-slip pads to the edge guide. (Locate the indented circles and place pads here.)

Installing Cabinet Handles the Easy Way | Pretty Handy Girl

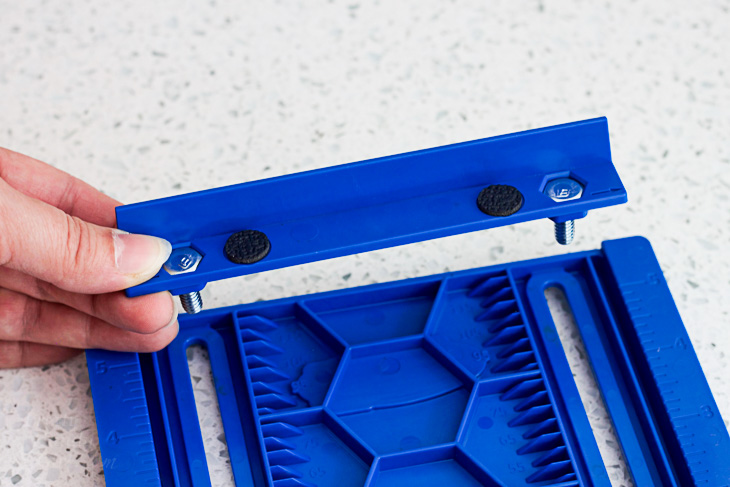
Feed the hex head bolts into the edge guide and insert into slots on the jig.

Installing Cabinet Handles the Easy Way | Pretty Handy Girl

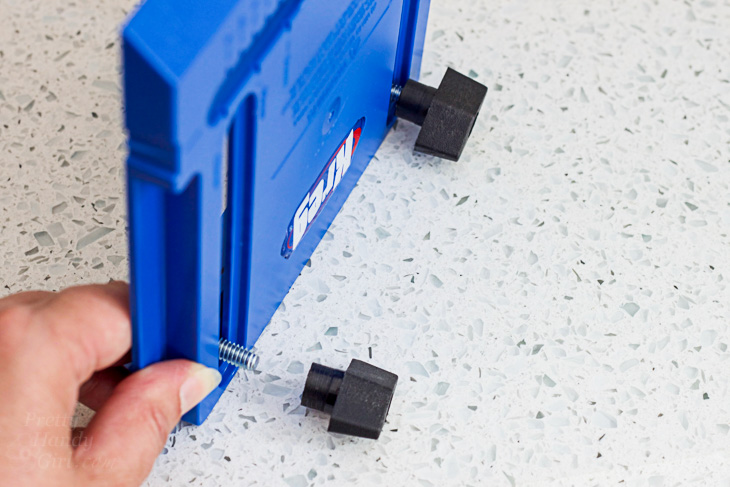
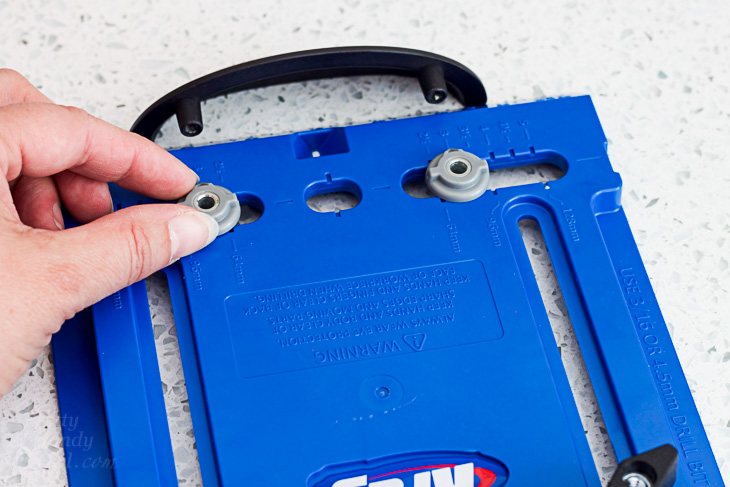
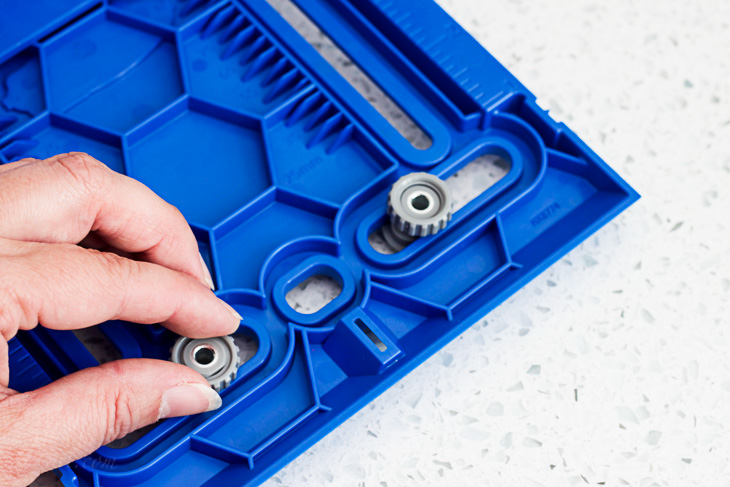
Thread the knobs onto the front side of the Kreg Cabinet Hardware Jig.

Installing Cabinet Handles the Easy Way | Pretty Handy Girl

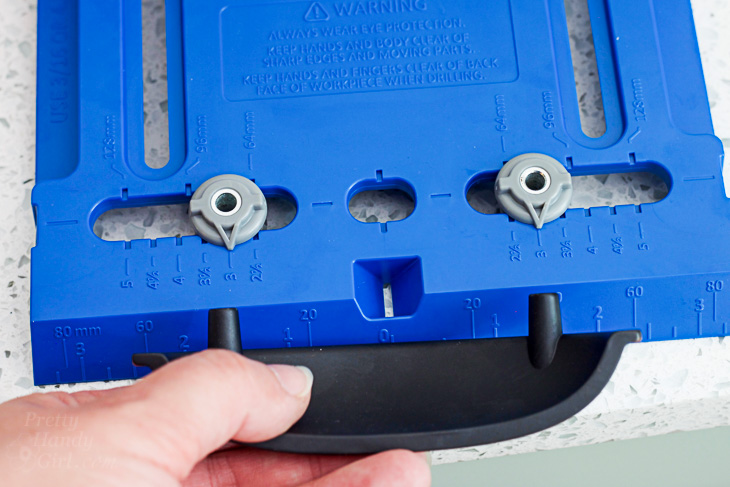
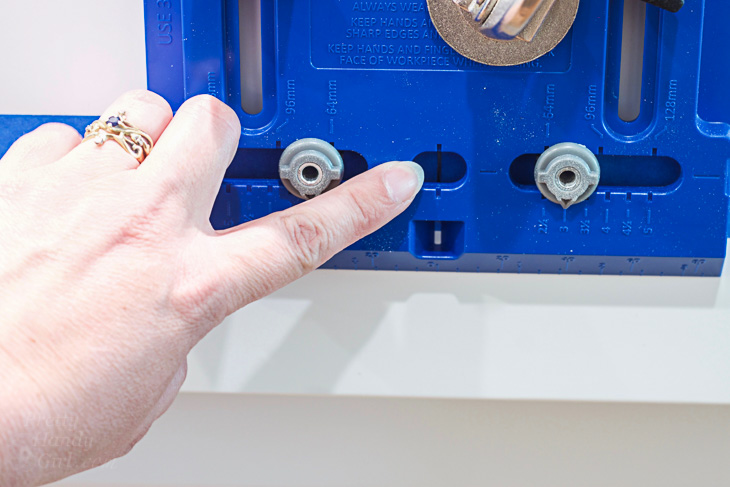
Insert the drill guides into the slots on either side of the center hole window as shown below. Line up the drill guides with your handle posts. If you only have one post knobs to install, insert it in the center hole.

Installing Cabinet Handles the Easy Way | Pretty Handy Girl

Flip the jig over and secure the drill guides with the provided nuts.

Installing Cabinet Handles the Easy Way | Pretty Handy Girl

Now you’re ready to Install Cabinet Hardware the Easy Way.

Instructions:

Line up the drill guides with your handle posts making sure the numbers match on both sides. (Or insert the drill guide in the center hole for single post knobs.)

Installing Cabinet Handles the Easy Way | Pretty Handy Girl

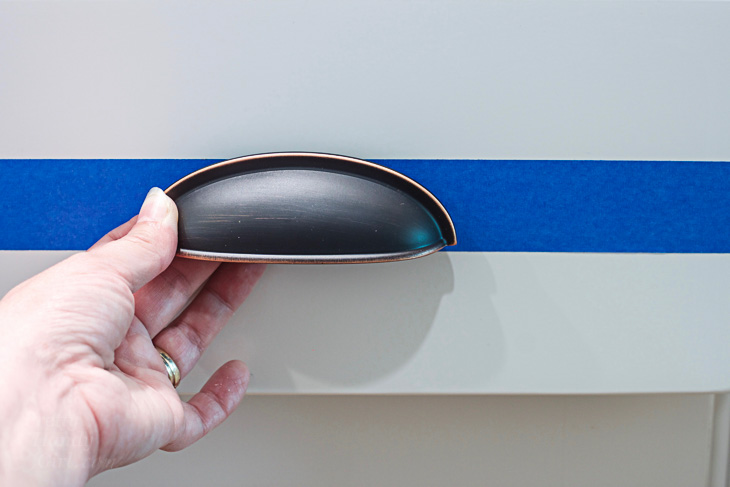
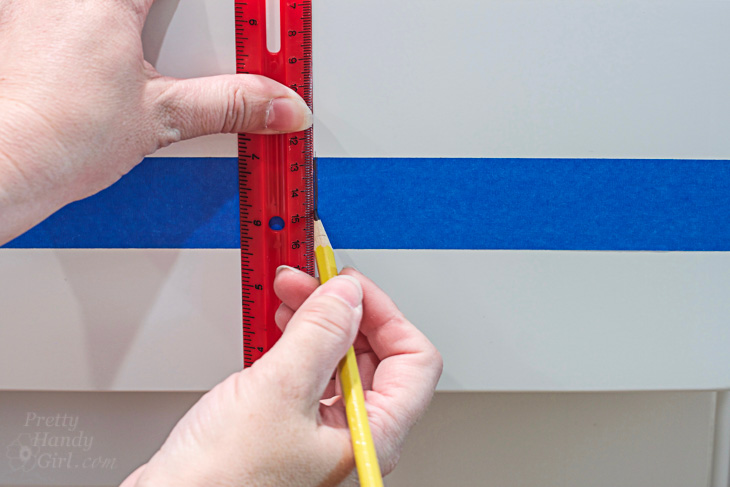
Hold your handle up to the location you wish to install it. Secure a strip of painter’s tape to the cabinet door in the same location.

Installing Cabinet Handles the Easy Way | Pretty Handy Girl

Mark the center of the handle on painter’s tape on your cabinet drawer (or door.)

Installing Cabinet Handles the Easy Way | Pretty Handy Girl

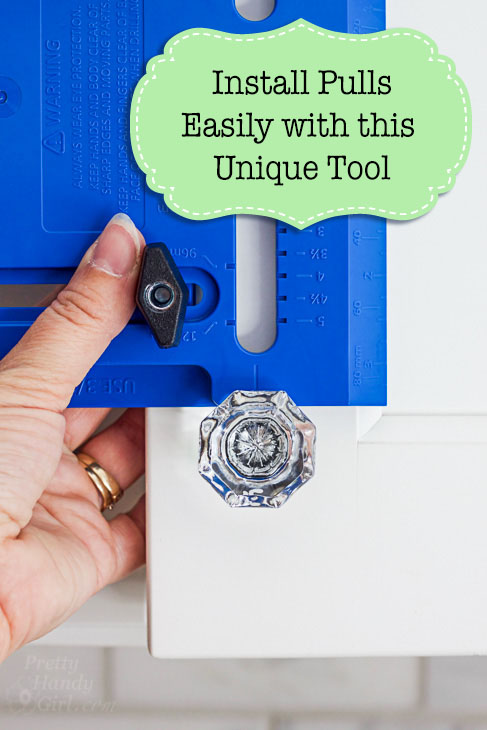
Line up your jig over the center line.

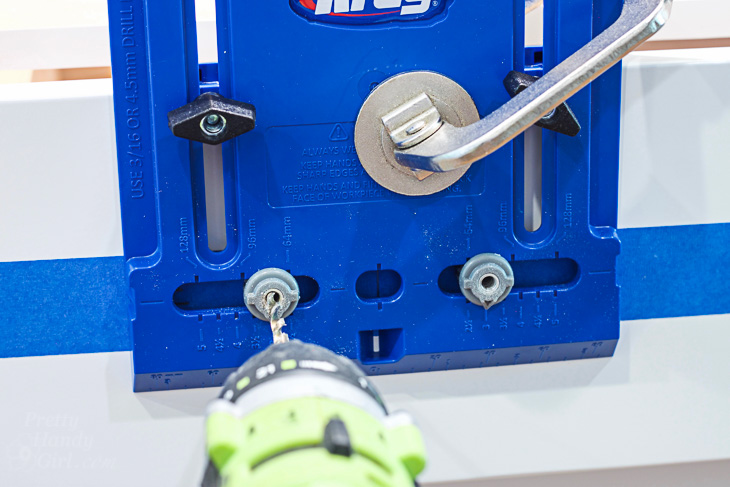
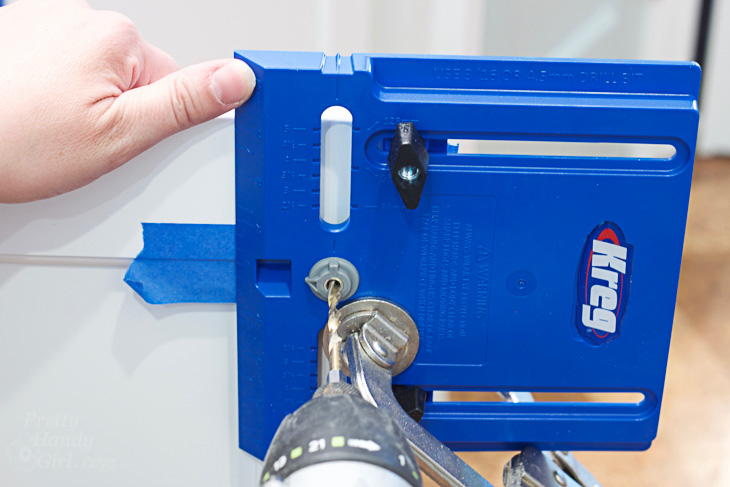
Set the edge guide to the desired depth from the top of the drawer. Clamp the jig in place. Feed a 3/16″ drill bit into your drill and drill through the two drill guides.

If your pulls are thicker than 3/16″, measure the depth of the pull posts and transfer that measurement onto a larger bit. Mark that depth with a painter’s tape “flag”.

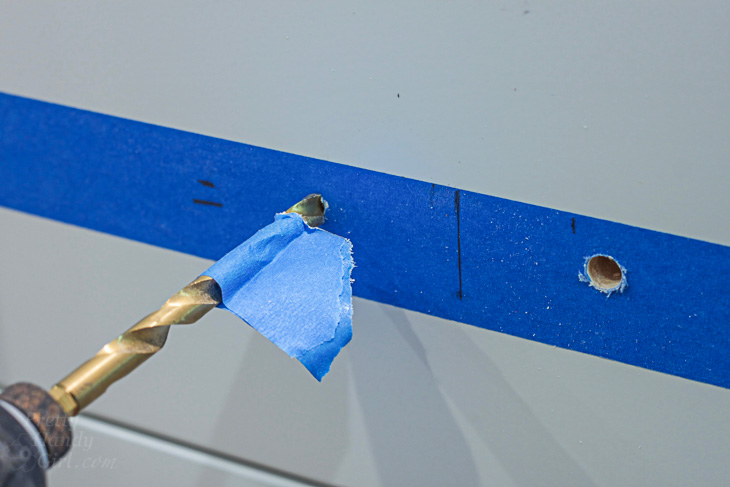
Drill to the painter’s tape flag for an exact depth.

This jig works the same for cabinet doors with a single knob. The difference being you will line up the edge guide on the side of the cabinet door and only one hole is drilled.

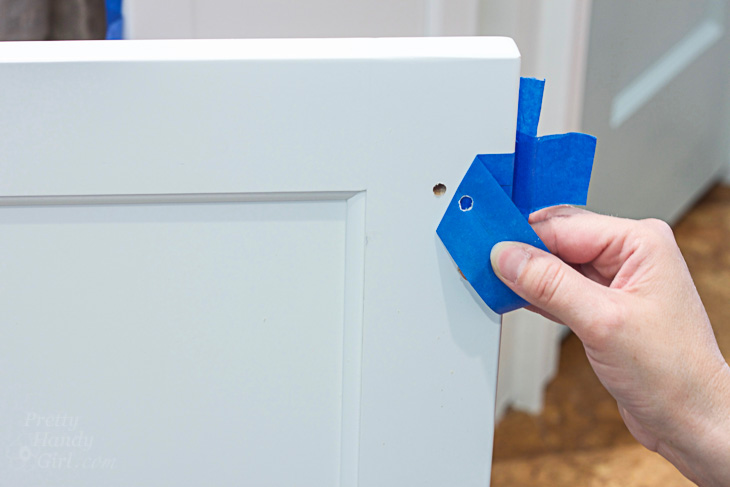
After your hole is drilled, remove the painter’s tape from your cabinet. You should have a nice clean hole with no splinters.

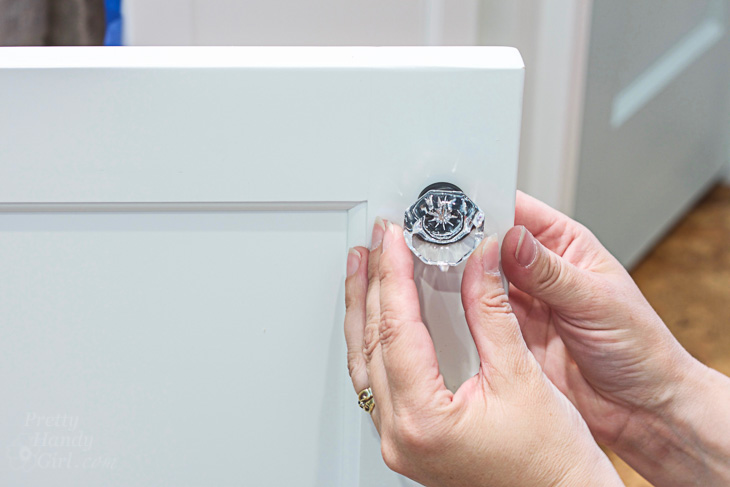
Secure your knob or pull to the door and admire your handy work.

If you run into a situation where the screw is too long, I have two ways to deal with that long screw.

Disclosure: This is a product review. I was given a complimentary Kreg Hardware Jig to try. I was not paid to mention Kreg or told what to say. I will always let you know if you are reading a sponsored post or product review.

2 Ways to Fix a Knob Screw that's Too Long | Pretty Handy Girl

2 Ways to Fix a Knob Screw that's Too Long | Pretty Handy Girl

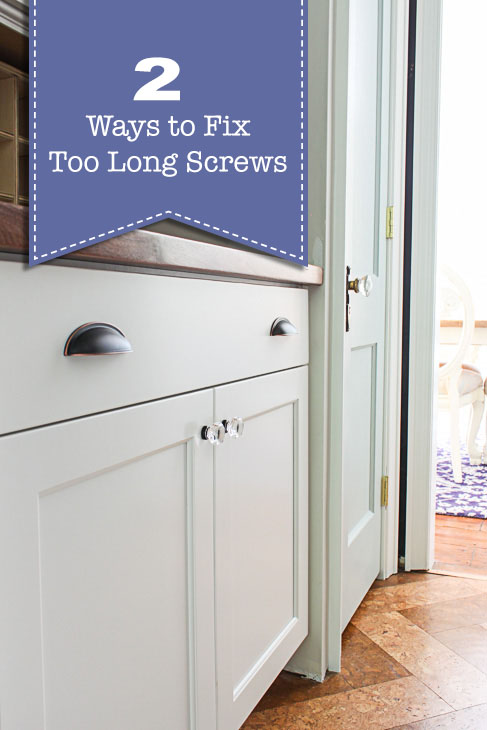
Have you ever put new knobs on a cabinet only to find out that the screw is too long. It’s a pain for sure. That little project that you thought would take a few minutes is now going to require a trip to the hardware store — or will it. Not today! I have a tutorial to show you Two Ways to Fix a Knob or Pull Screw that’s Too Long.

2 Ways to Fix a Knob Screw that's Too Long | Pretty Handy Girl

1st Way to Shorten a Screw that’s Too Long:

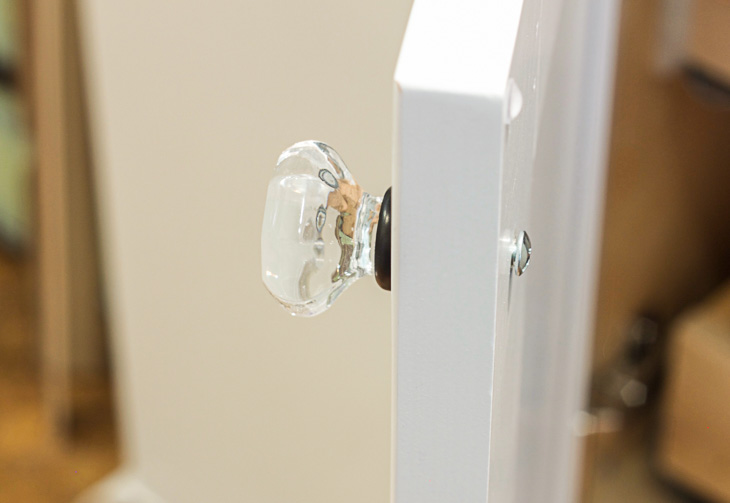
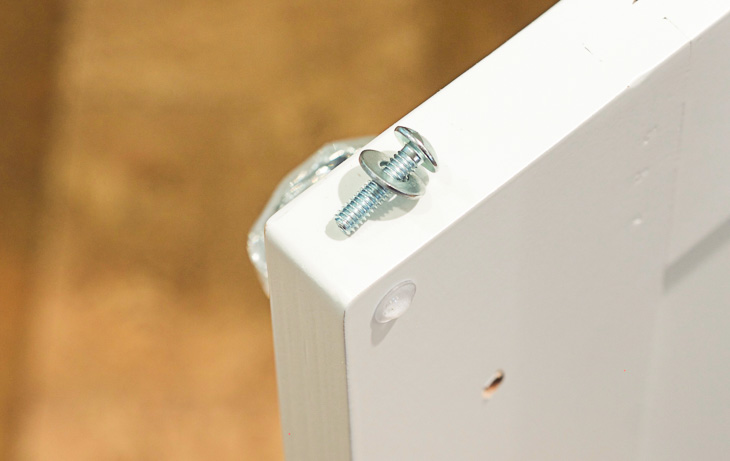
First things first, let’s discuss the quickest way to deal with a screw that is almost the right length. Simply add a washer or two to the inside of the screw.

2 Ways to Fix a Knob Screw that's Too Long | Pretty Handy Girl

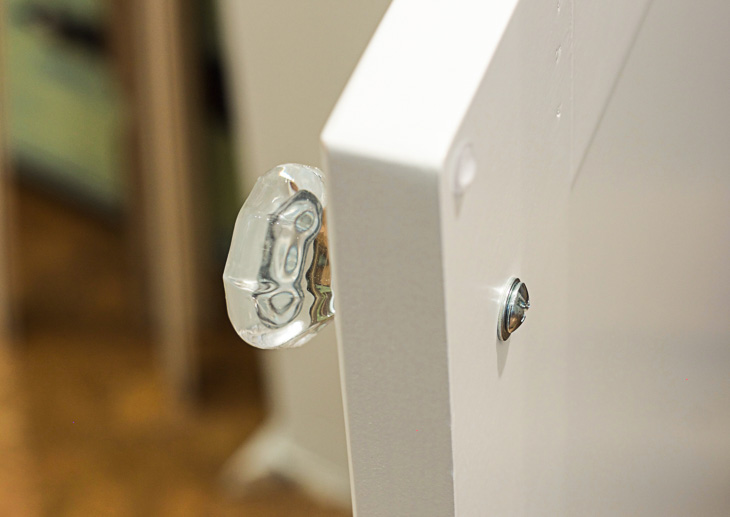
Then reattach the knob. Bam, perfectly tight knob.

2nd Way to Shorten a Screw that’s Too Long:

(I’ve included affiliate links for your convenience. I earn a small percentage from a purchase using these links. There is no additional cost to you. You can read more about affiliate links here.)

2 Ways to Fix a Knob Screw that's Too Long | Pretty Handy Girl

But what do you do if you would need more than two washers to make the screw fit? This tip will blow your mind.

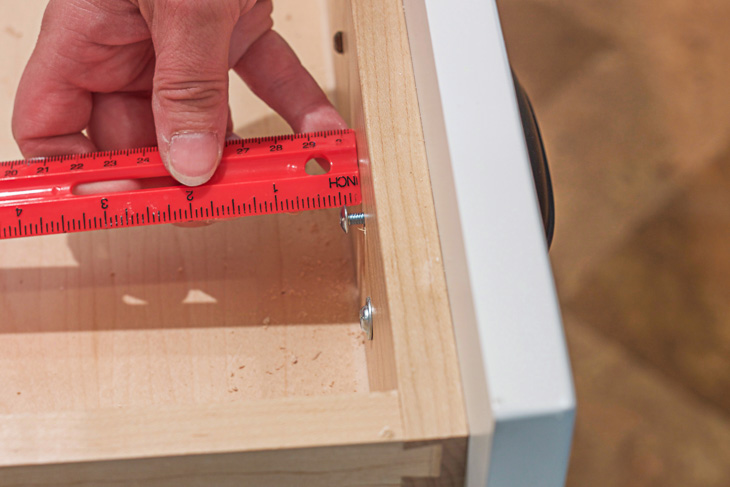
First measure the excess screw length.

2 Ways to Fix a Knob Screw that's Too Long | Pretty Handy Girl

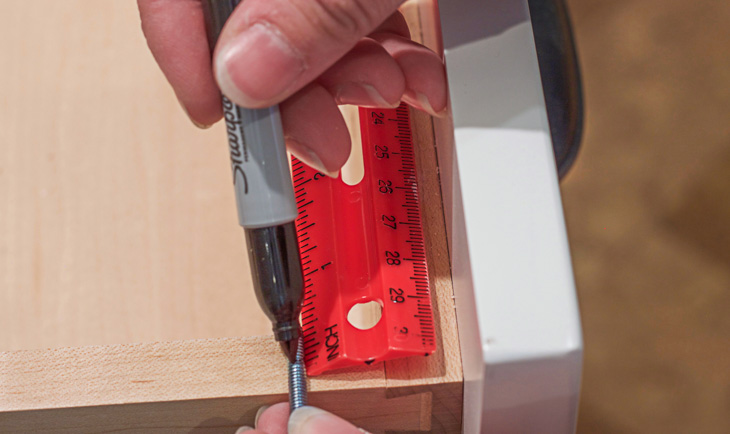
Mark that distance + 1/16″ more on the screw.

2 Ways to Fix a Knob Screw that's Too Long | Pretty Handy Girl

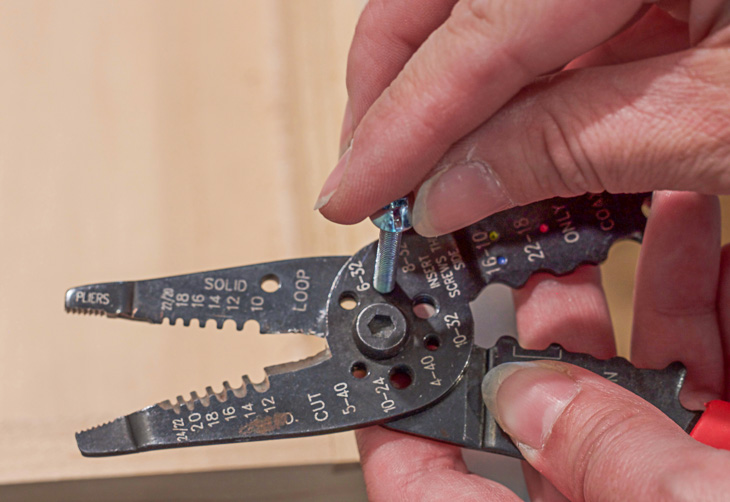
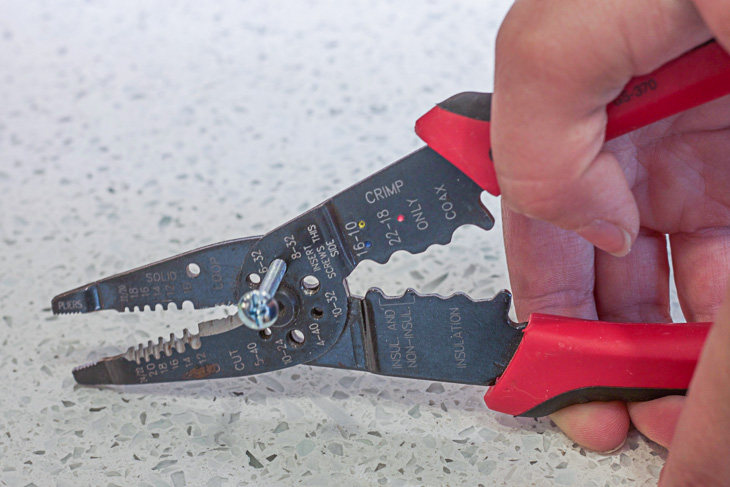
Use a pair of wire strippers (affiliate link to the strippers I own and love) and thread the screw into a hole on the pliers (the one that fits best.) The mark should be inside the pliers before you continue.

2 Ways to Fix a Knob Screw that's Too Long | Pretty Handy Girl

Squeeze firmly on the pliers.

2 Ways to Fix a Knob Screw that's Too Long | Pretty Handy Girl

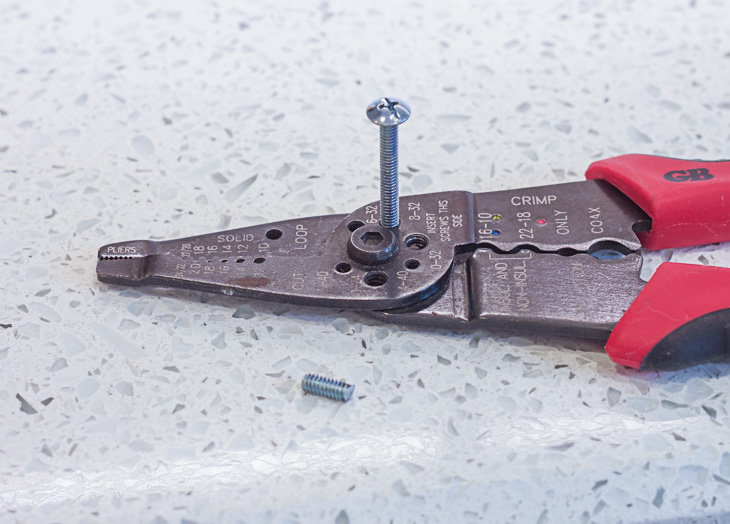
And boom, your screw is cut but still able to be screwed into the knob!

2 Ways to Fix a Knob Screw that's Too Long | Pretty Handy Girl

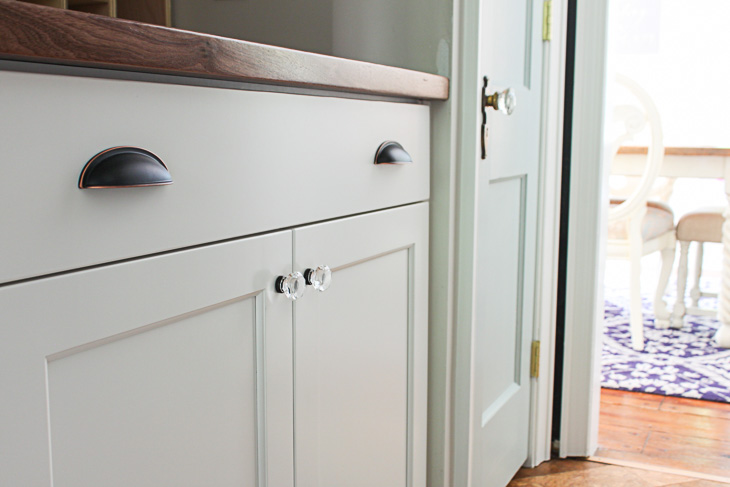
You’re knobs and pulls can be perfectly installed on cabinets now. Was that mind-blowing? Did you know that trick already?

2 Ways to Fix a Knob Screw that's Too Long | Pretty Handy Girl

I’ll be back soon to show you a new gadget I used for installing the knobs!

Two Ways to Fix a Screw thats Too Long