Let’s take a few minutes to learn What You Need in Your Disaster Preparedness Emergency Kit. It might save your life!
 What You Need in Your Disaster Preparedness Emergency Kit
Intense weather patterns are becoming much more common. Sadly it’s becoming a new normal. Are you ready in case of a disaster? What are the dangerous weather formations in your area? Are you at risk from a tornado, a flood, earthquake, mudslide, avalanche, hurricane, or other natural disasters? Regardless of where you live, it’s a good idea to be prepared for the worst and hope for the best. You want to be prepared for anything Mother Nature dishes out plus a man-made disaster.
Our town has been hit by a few hurricanes, ice storms and a tornado over the past few years. Several of these events left us without power for several days. When we first moved to North Carolina, we had no idea that we needed a Disaster Preparedness Kit. Then 9/11 happened and I found myself taking a class at the Red Cross on how to prepare for a disaster. Now that we’ve lived through it, our family has an emergency kit made up in case disaster strikes. We keep it under the stairs in a closet (which is the ideal place for us to go in case of hurricane or tornados.
Emergencies can strike at any time. Chances are you may be away from home when they do strike, so having an emergency kit in your car is important.
(I’ve included affiliate links for your convenience. I earn a small percentage from a purchase using these links. There is no additional cost to you. You can read more about affiliate links here.)
Car Emergency Kit:
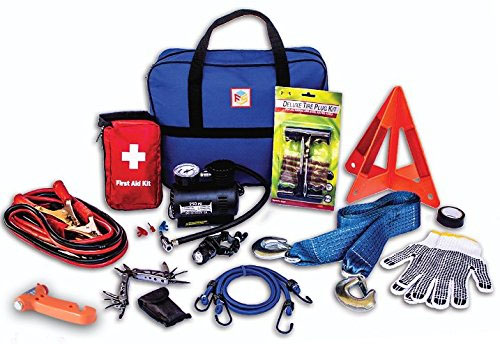
You can order a pre-made auto emergency kit, but be forewarned that there are many additional items you should include.
- Jumper cables or portable Jumpstart battery* with USB ports. *Make sure to keep it charged.
- Solar phone charger (to charge your phone if you don’t have a jumpstart battery mentioned above)
- SmartFlares – LED Flares that are magnetic and can attach to your car’s side.
- Fix-a-flat (use only as last resort and tell the garage tech if you used Fix-a-Flat so they can be forewarned)
- Extra motor oil
- Anti-freeze coolant
- First-aid kit
- Blanket, foil blanket or sleeping bag
- Flashlight and extra batteries
- Tool kit for your car (be sure it has socket wrenches)
- Emergency escape tool with seat belt cutter/glass hammer
- A can of tire inflator and sealant such as Fix-a-Flat
- Tire pressure gauge – in an emergency, you can use this to lower tire pressure to get more traction on snow and ice (but be sure to fill it up again as soon as you are out of the snow and ice.)
- Baby Wipes
- Ice scraper (if you live in an area with snow)
- Kitty Litter (for getting unstuck on snow and ice)
- Pen and paper
- Granola or energy bars
- Emergency water – these pouches preserve water for up to 3 years in harsh environments
- Sturdy shoes – should you need to hike out or walk for help.
Disaster Preparedness Kit Necessities:
If you want to save yourself the time of putting together a home kit, you could purchase a pre-made emergency kit, like this one:
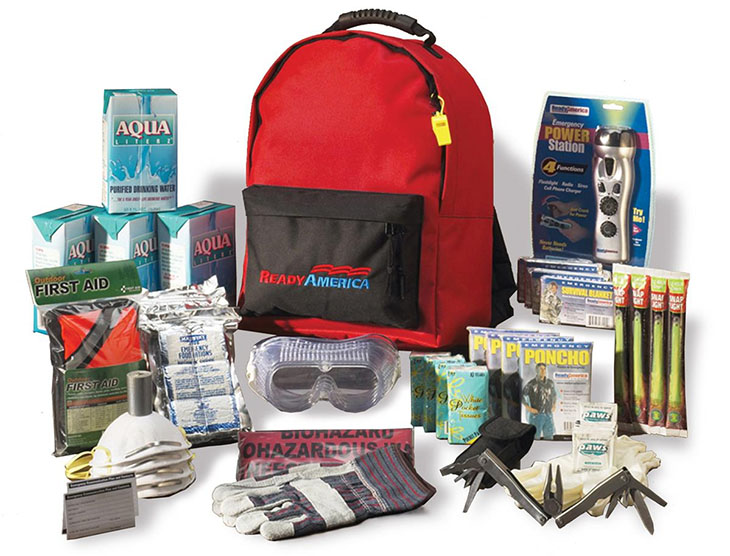
This will provide you with the bare necessities, but I encourage you to read further because there are a lot of items that are not included in a pre-packaged kit.
- Emergency Water (recommended 1 Gallon per person per day, keep 3 days worth)
- Freeze-dried Non-Perishable Meals – Did you know you can get Gluten Free emergency meals! (3 day supply recommended)
- Snacks (granola bars, apple sauce or fruit leather)
- Battery Powered Hand Crank Weather Radio
- Extra Batteries
- Solar powered cell phone charger
- Cash or Traveler’s Checks
- Emergency blanket
- Dust Mask (1 per person)
- Duck Tape
- Thick Plastic Sheeting (to cover vents in case of airborne disaster or to repair a window in case of breakage.)
- Scissors
- Trash Bags
- Baby Wipes
- First Aid Kit for Home
- Red Cross First Aid/CPR/AED Manual
- Matches in Waterproof Container
- Flashlights
- Glow Sticks
- Lantern
- Whistle
- Rain Gear
- Extra pair of glasses if you wear prescription lenses
Good Additional Items:
- Nitrile Gloves
- Tarp – good for emergency roof repair or shelter
- Sand bags (if in flood zone)
- Extra Prescription Medications and Medical supplies (i.e. hearing aids with extra batteries, glasses, contact lenses, syringes, etc)
- Sleeping Bag(s)
- Change of Clothes
- Sturdy Pair of Shoes
- Fire Extinguisher
- Local Road Maps
- Tea light candles
- Soap
- Feminine Hygiene products
- Mess Kit (Add utensils if not included. Make sure the items are metal for cooking over fire if needed.)
- Paper & Pencil
- Activities: Books, Games, Deck of Cards
- Copies of: ID, Insurance Policies, Bank Account Records
- Empty Gas Can
- Axe
- Chlorine Bleach with eye dropper (Use 1 part bleach : 9 parts H20 as a disinfectant. Use 16 drops bleach : 1 gallon of H20 for emergency drinking water.)
- Aqua purification tablets or LifeStraw
- Extra set of house and car keys
- Towels
- Work Gloves
For Babies:
- Baby Wipes
- Diapers (for infants)
- Formula (for infants)
- Bottles
For Your Pets:
- Water
- Food (3 day supply)
- Bowls or dishes for pet food and water
- Extra leash
Cover All Your Bases:
- 5 Gallon bucket with Seat – for emergency bathroom use if sheltering in place
- Utility shut off key – this is such a valuable tool to have with all the utilities shut off on one tool
- Small propane stove
- Propane for stove
- Pan for cooking in
- Briggs & Stratton Q6500 QuietPower™ Series Inverter Generator
- Extra oil for generator (3 day supply)
- Extra gas for generator (3 day supply)
Now that you know what to store in your Emergency Preparedness Kit, I recommend taking some time to compile the items. If purchasing all of them at once is too expensive, purchase a few items over the course of a year.
Annual checks:
Be sure to check your kit once a year and restock any items you used or that have expired.
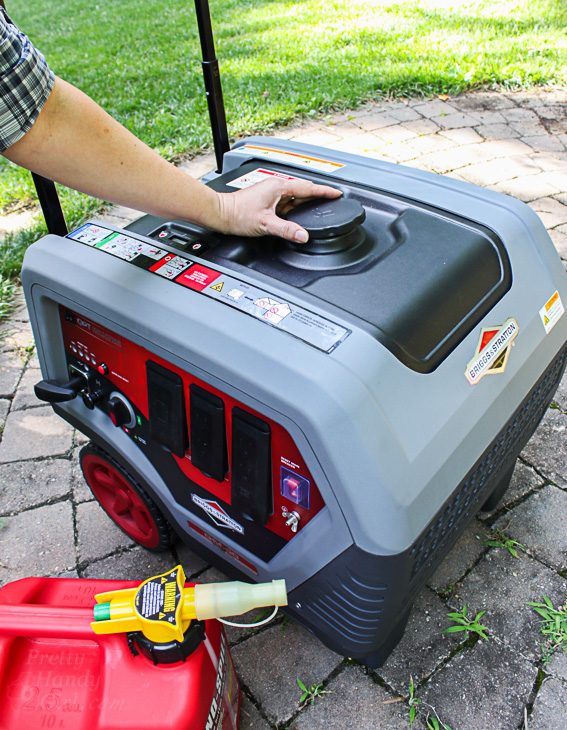
If you purchase a generator, learn how to use it safely and store it properly. It’s also a good idea to start it up once or twice a year to make sure it is in good condition.
Make sure your kit is stored where it will stay clean, dry and ready for an emergency.
Where to store your emergency kit?
You should determine a good place to store your kit. Ideally this is the spot you will be sheltering in place. For us, tornados and hurricanes are the major threat. We don’t have a basement, so an interior room away from windows is the ideal shelter. Under our stairway is a closet where we go in case of extreme weather. Our Disaster Kit is stored in a waterproof storage bin like this one. But honestly you can buy one for less after the holidays when retailers are competing your your dollars as you try to store all the Christmas loot and decorations. Just make sure to buy one with a lid. A flat top bin will allow you to store additional blankets and supplies on top.
Prepare Your Family:
Talk to your family members about the emergency kits and where they are located. Urge kids not to play or eat the contents.
Take time at least once a year to discuss plans in case of fire, storms, or if you are separated. Have a designated meeting place if you have to leave the house in case of fire or other disaster. Our kids know we have a meeting tree away from the house. We practice going there during our own little fire drill. We also talk to them about where to go if there is a “bad storm” outside. Know where the safe shelter spots in your home are. A basement, cellar or crawlspace are ideal. If you don’t have those, in interior room with no windows like a bathroom or under the stairs is a good alternative. A bathtub on the ground floor with a mattress on top is another option.
Finally, if you have to evacuate your neighborhood or town, do you have a designated meeting place to meet your spouse or other family members? We know to go to our friend’s house that lives in another county.
I hope you never have to use your Disaster Preparedness Kit, but if you do I’ll be glad you were prepared. Have a safe year!

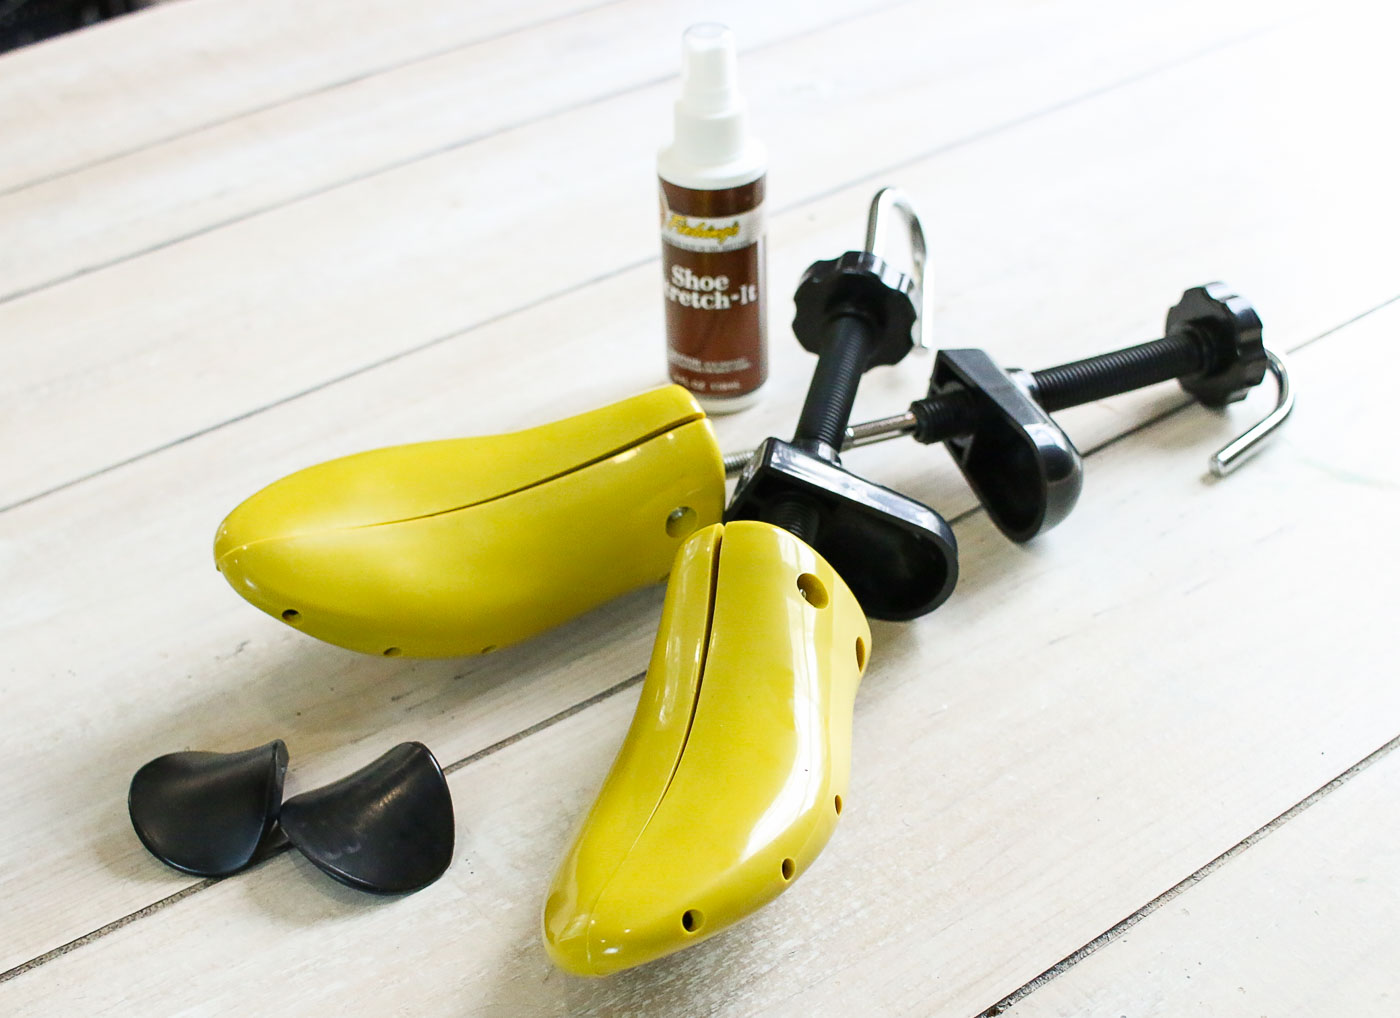
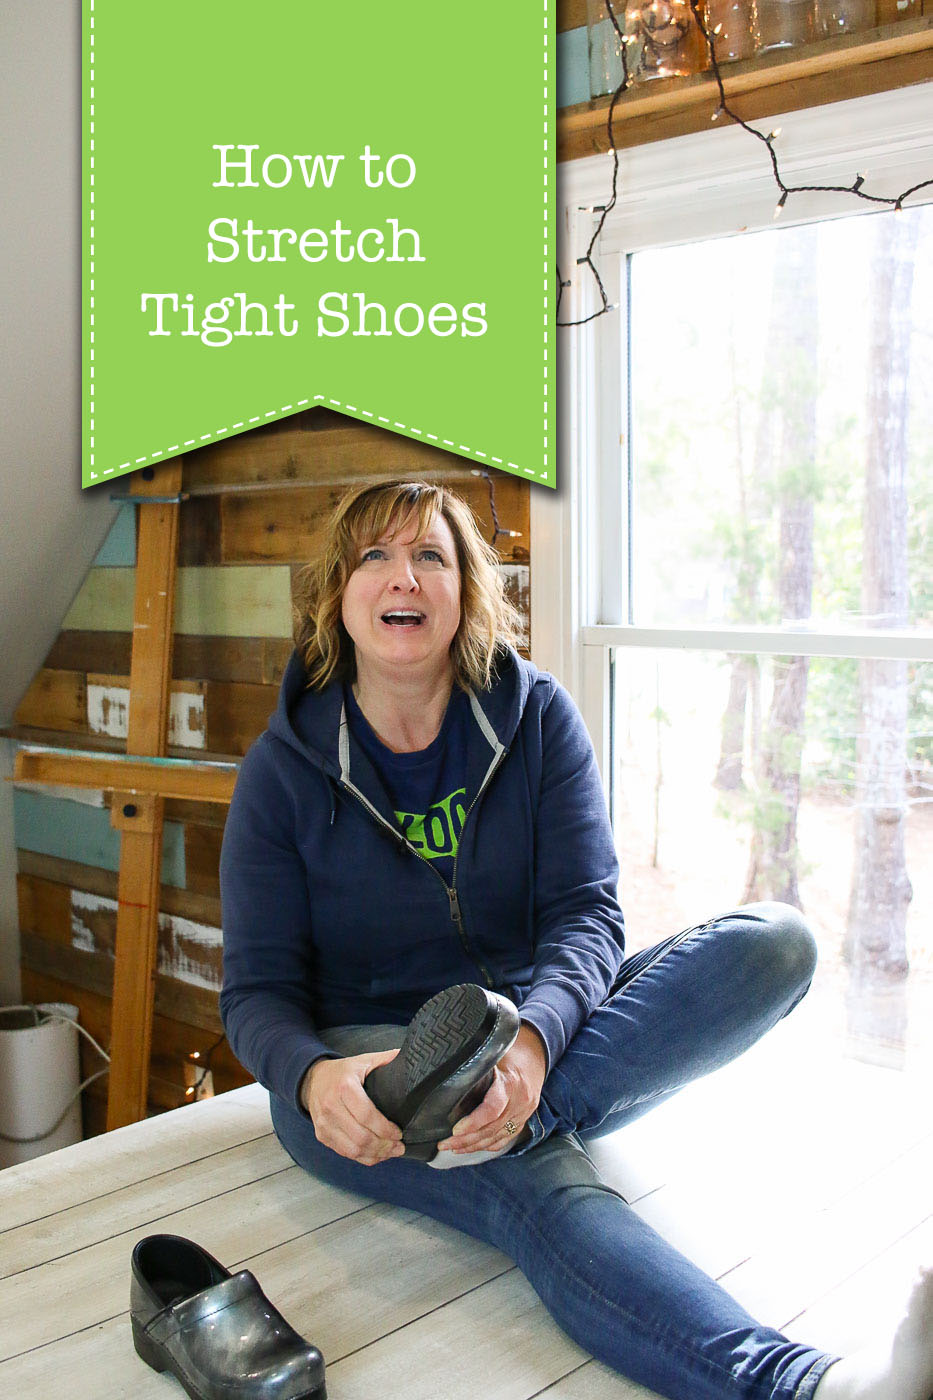 How to Stretch Tight Shoes


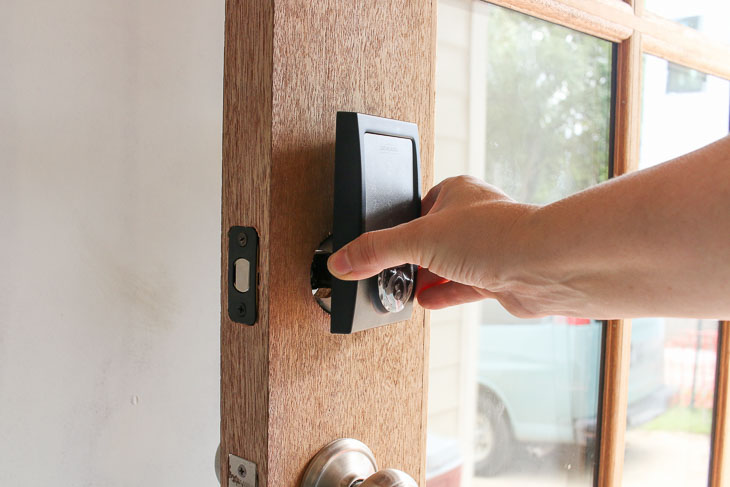
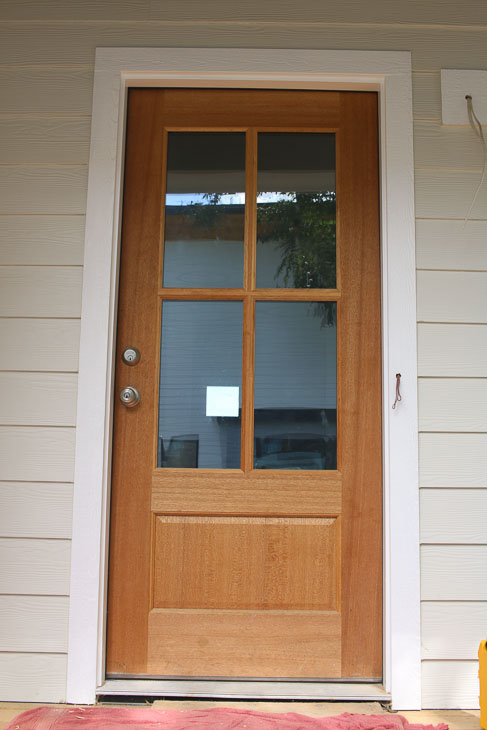
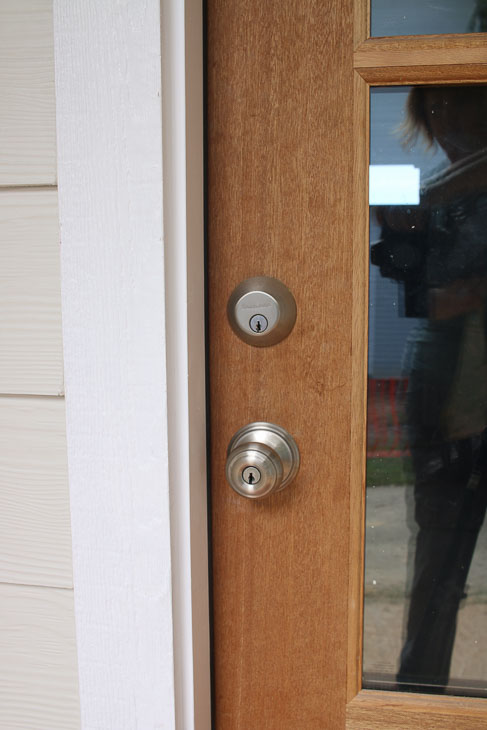
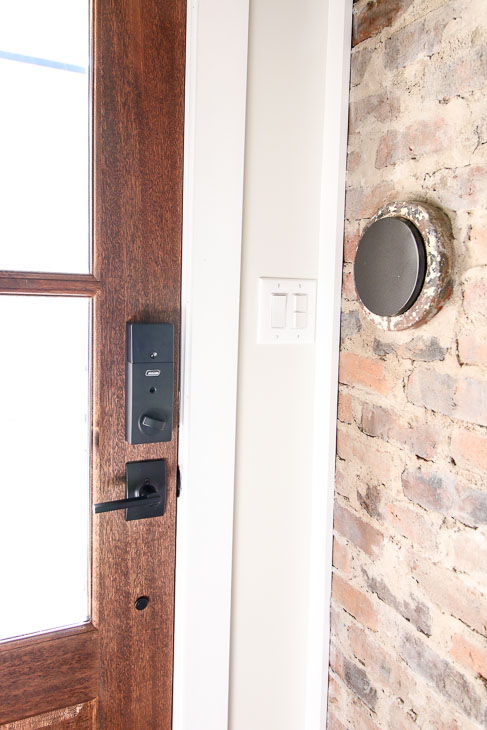
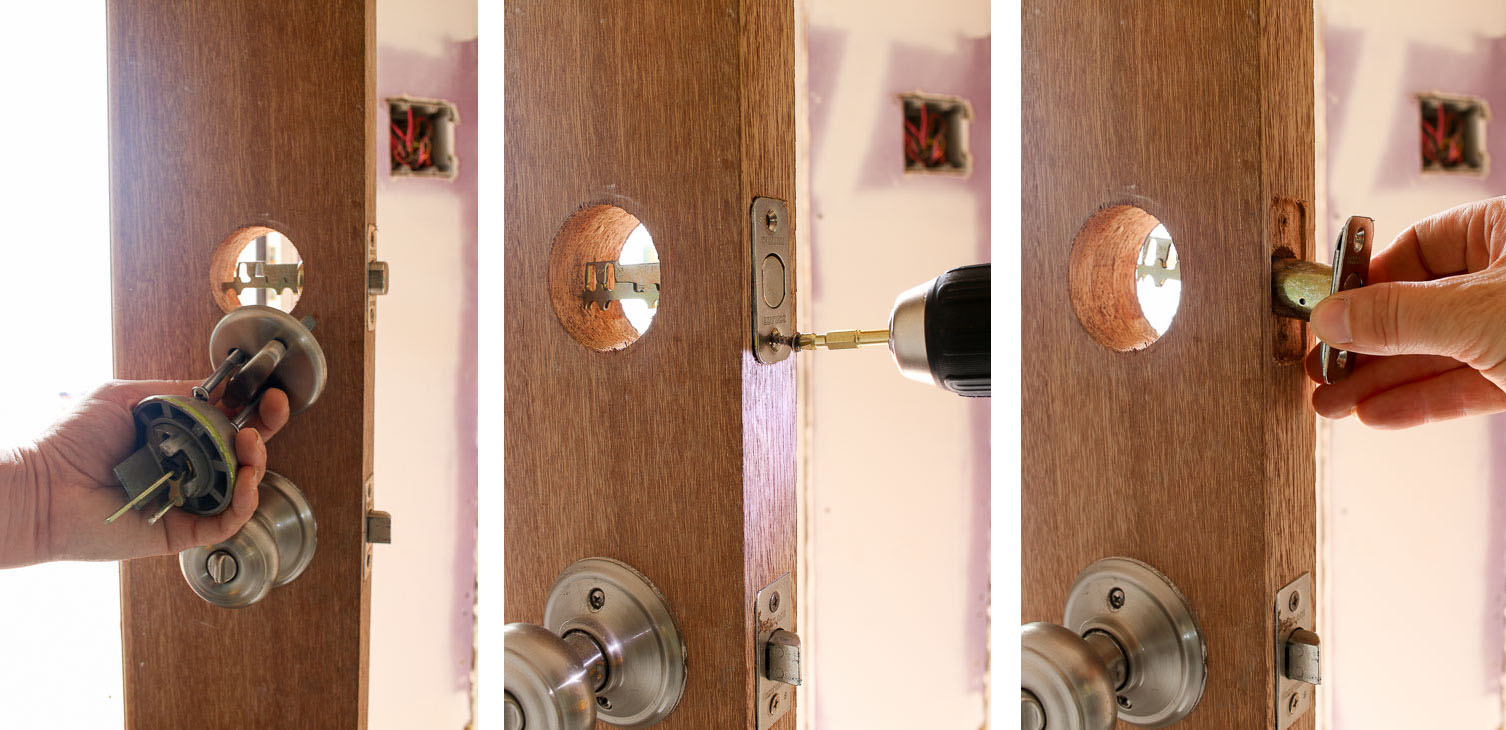
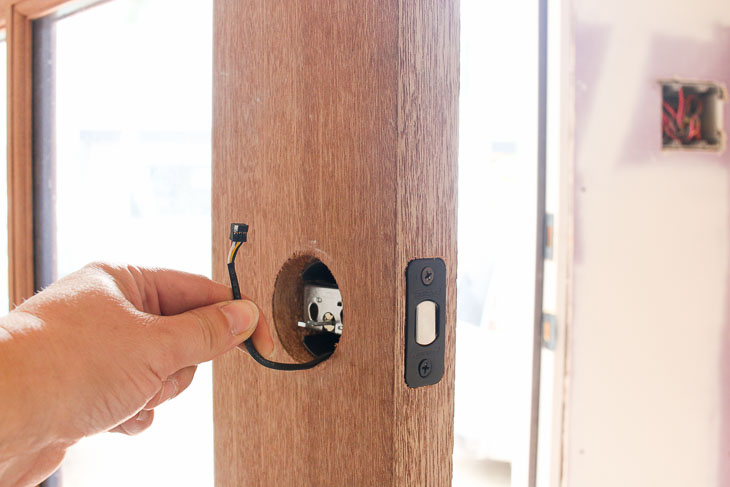
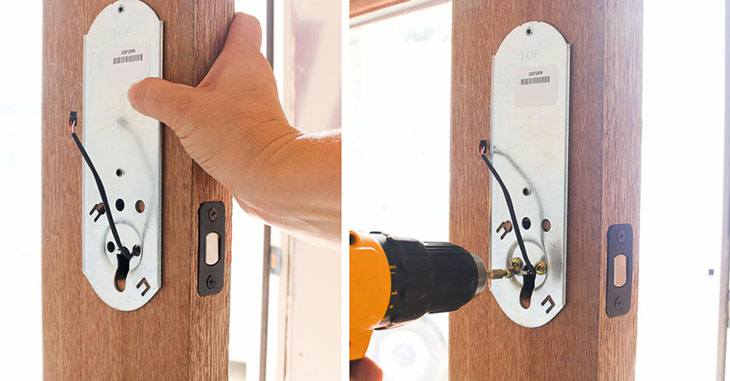
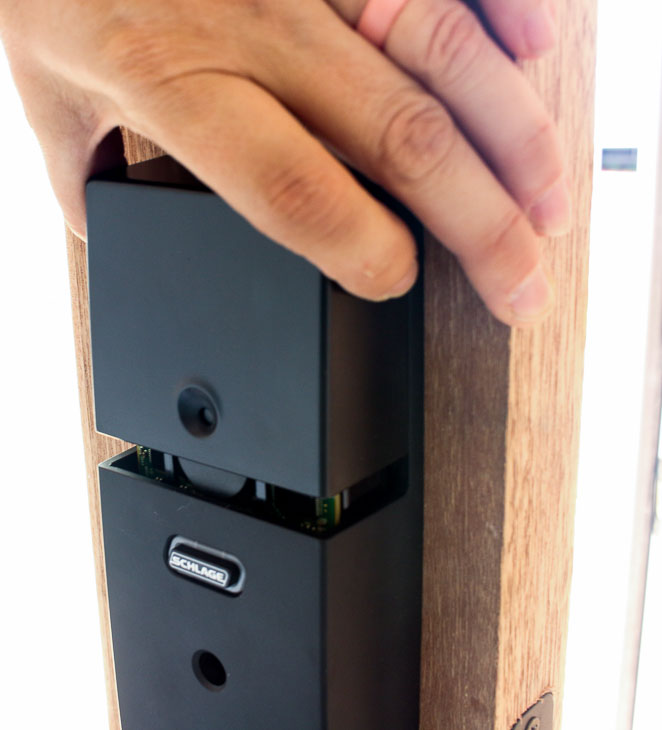
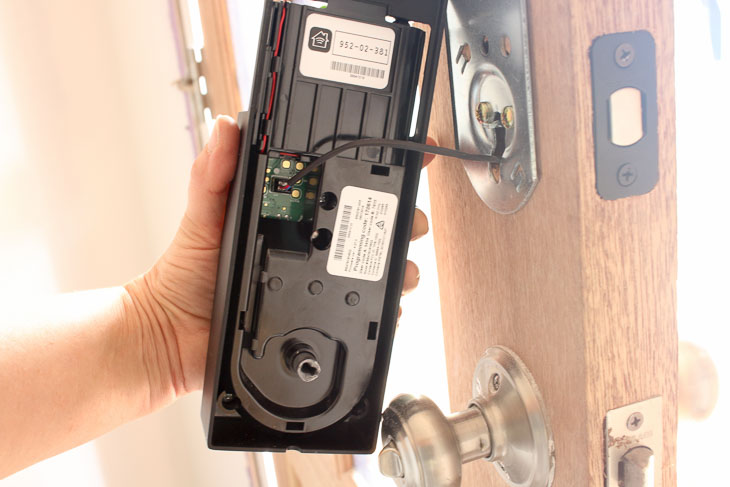
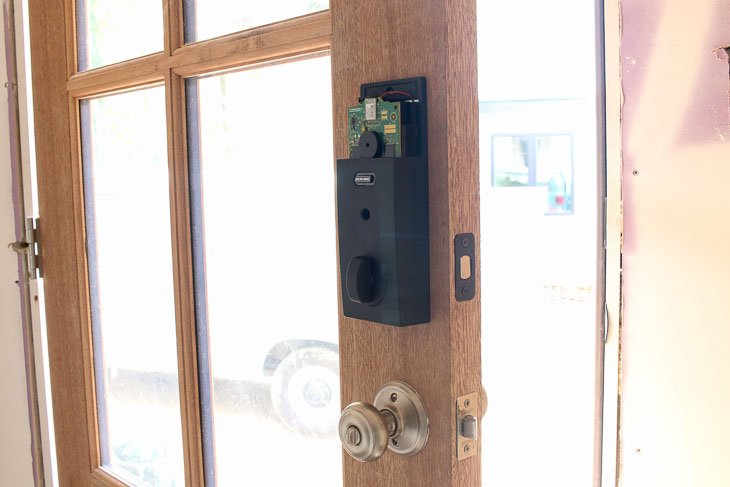
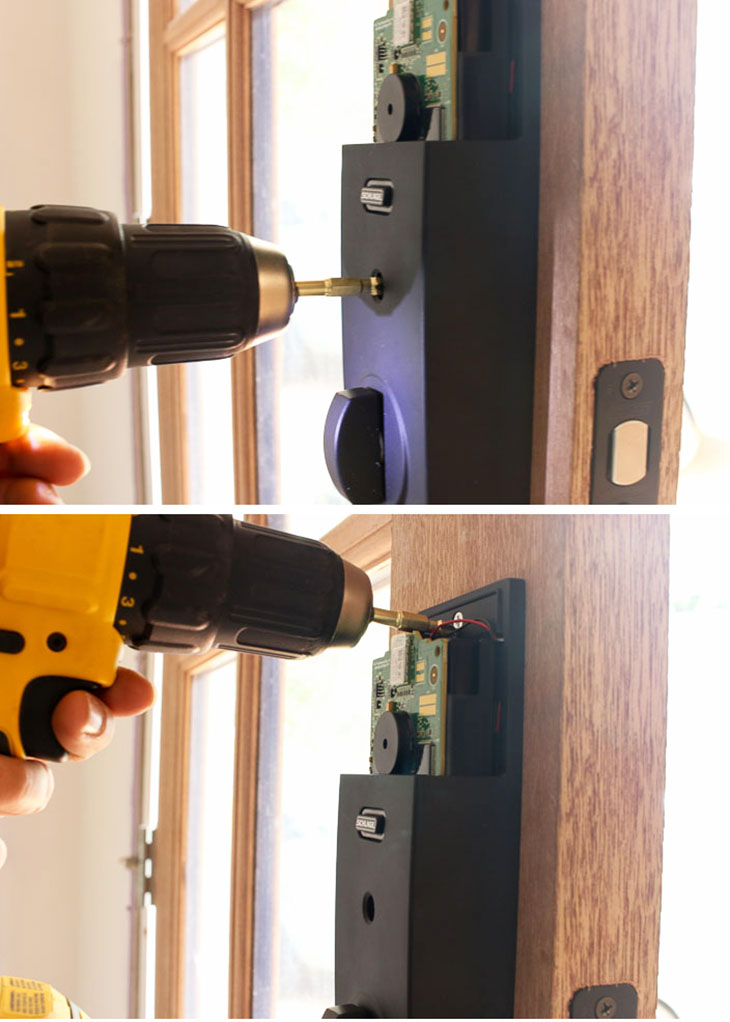
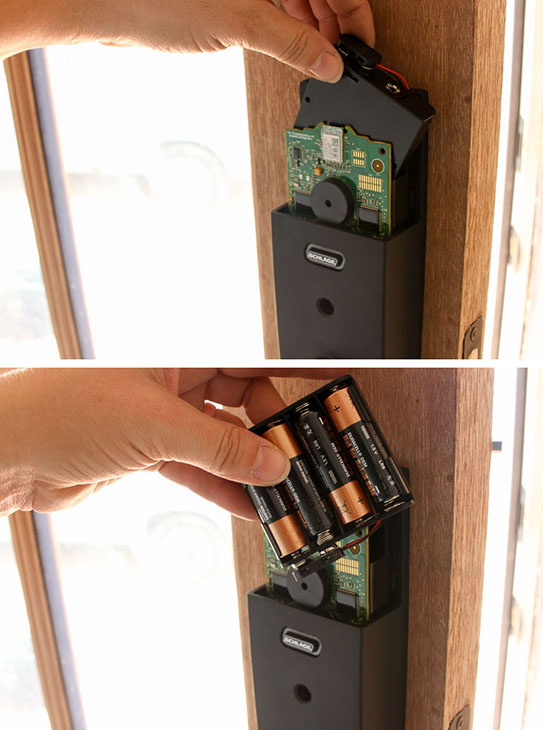
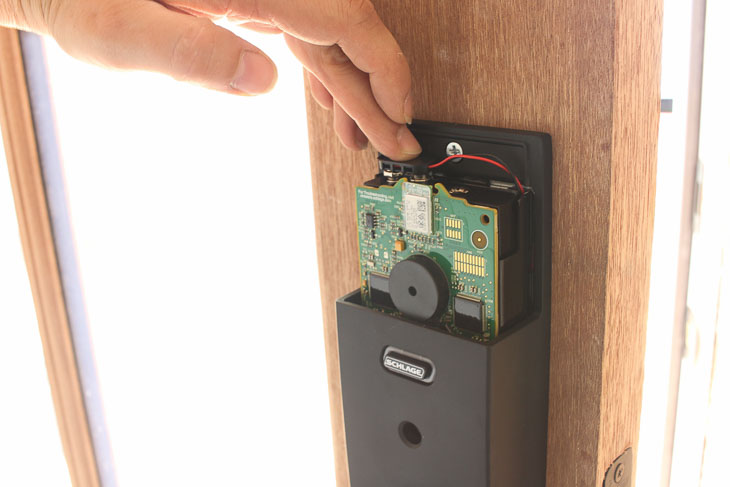
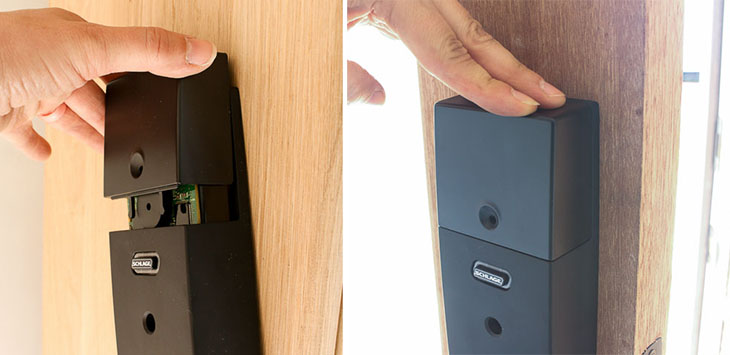
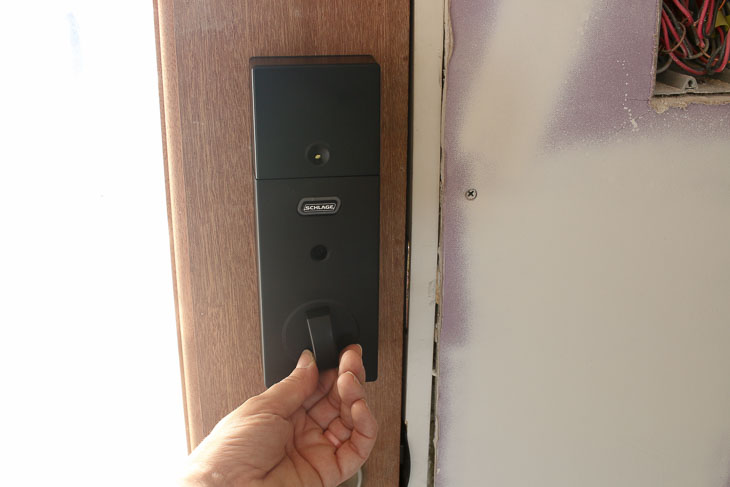
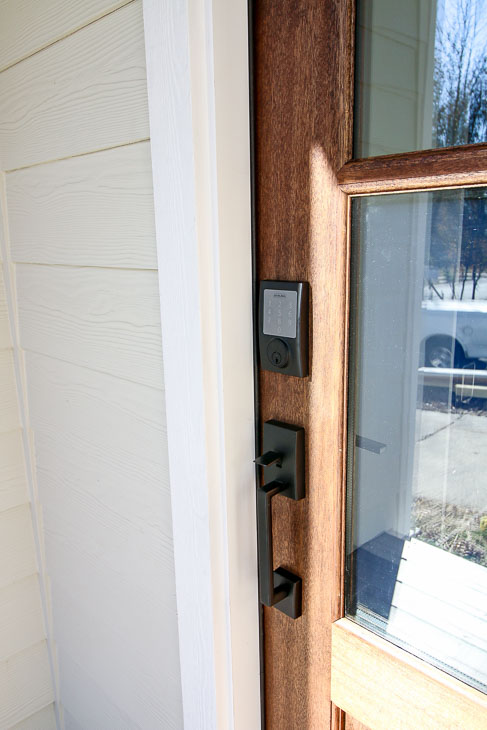
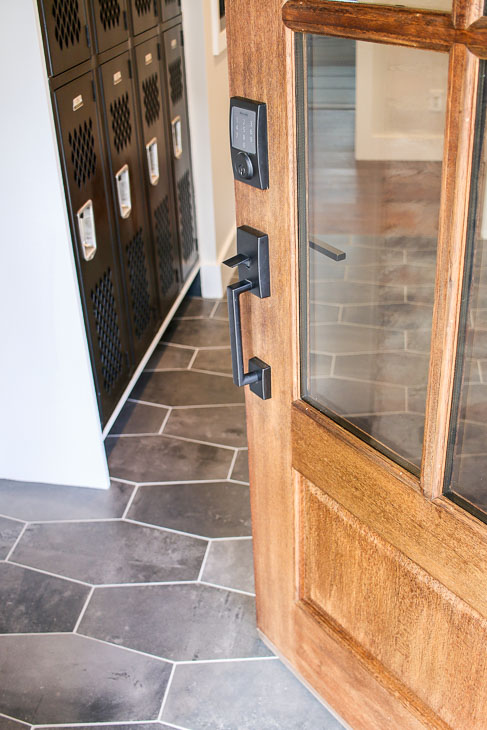
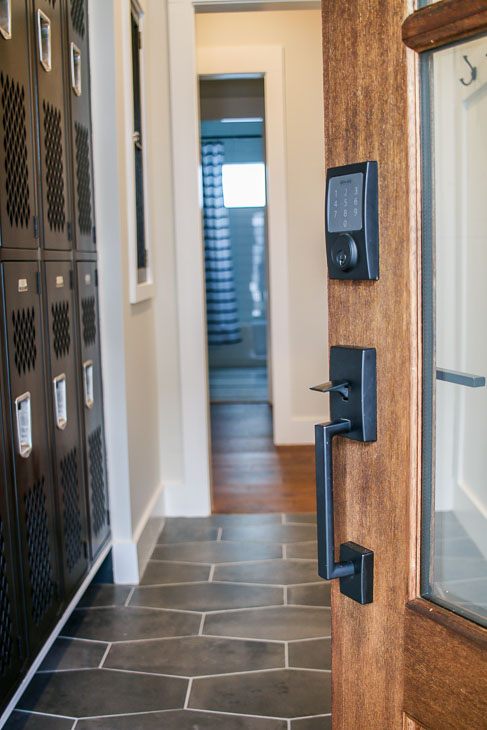
 How and Why You Should Install a Smart Lock on Your Door