Have you heard the horror stories about filing for a permit and the subsequent inspections? Did you hear the tale about the inspector that made the electrician pull everything out and start over? Have you been warned not to file a permit because you might “open a can of worms”? What exactly is a rough-in? And why do people say “pull a permit” instead of file for a permit? Don’t let misinformation put you and your family at risk. I have the answers to these questions and why you would want to file for a permit before starting your next home improvement project.
Last week I drove downtown to file for a building and electrical permit with Wake County, NC, but found out we are in the Raleigh City Jurisdiction for building permits (but that’s another story for another day.) Before I went to the permit office, I asked Barry Mooneyham, Chief Code Official of Wake County if I could have a little of his time to ask him some questions. It was a very informative 3o minutes, which completely changed my perspective on permits. I left his office with a new found appreciation and understanding of permits and inspectors.
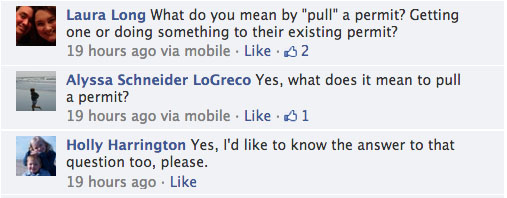
Before I get to Mr. Mooneyham’s answers, I want to answer a recent question that some of my readers posted on Facebook:
Laura, Alyssa & Holly, thanks for asking. I was unsure of the origin on the term “pulling a permit” myself, so I did a little research.
Why do people call it “pulling a permit” instead of filing for a permit?
The joke answer: Ever try getting a building permit? It is like trying to pull a tooth!
The possible real answer: It’s called “pulling” a permit because the people in the office have to “pull” the paper work out of a filing cabinet.
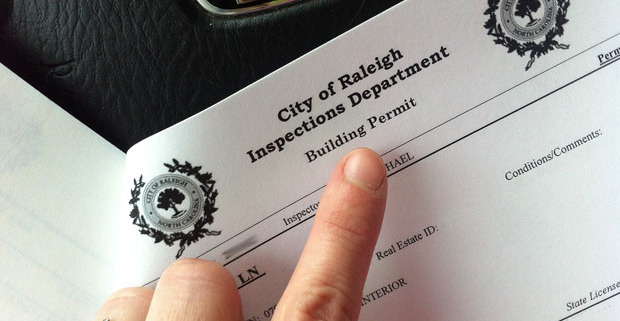
Having “pulled a permit” last week I can tell you that it really wasn’t hard. I did print out the paperwork online before heading downtown. This was invaluable because I was able to answer all the questions ahead of time. Some of the information that was required for the permit is: Read more
https://prettyhandygirl.com/wp-content/uploads/2013/02/building_permit2.jpg463620Brittany Baileyhttps://prettyhandygirl.com/wp-content/uploads/2021/07/PHG-logo-tagline-2020-1030x211-R.jpgBrittany Bailey2013-02-15 08:05:142021-07-22 03:38:15When and Why You Should Get a Permit
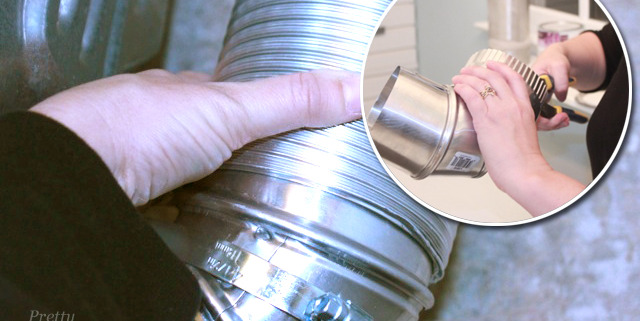
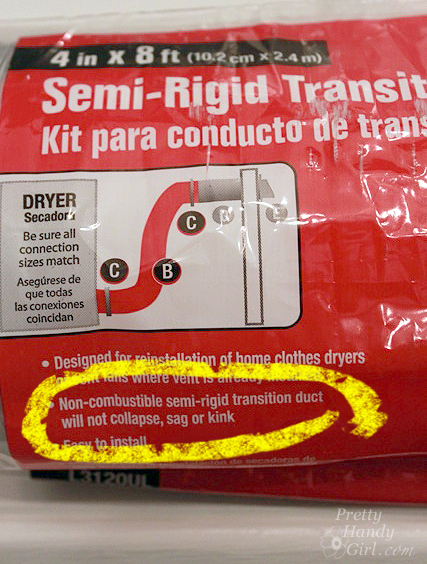
It’s time to take on a little fix in your laundry room. This single upgrade can prevent your home from a house fire. Let me show you how installing semi-rigid dryer duct can prevent a fire hazard!
Installing Semi-Rigid Dryer Hose to Prevent Fire Hazard
Last year when I showed you how to clean out your dryer hose to prevent dryer fires, I didn’t realize that I still had a fire hazard living in our laundry room. Since then, I stumbled across a video that scared the bejeezus out of me. Matt from Great Lakes Home Performance created this video showing what happens to foil dryer hoses.
I knew that white plastic dryer hoses were bad and had previously replaced ours with the flexible foil hose. But, I felt duped when Matt showed what happens to those “foil” hoses. First, what I didn’t realize is that those shiny metal hoses aren’t foil! They are made of flammable plastic. Go ahead, run to your dryer right now and see what type of duct work you have — I’ll wait. If it is white or shiny foil, I’ll show you how to replace it with semi-rigid duct to keep you and your home safe from a dryer fire. This is an easy tutorial, you can definitely do this (if your exterior dryer vent is on the 2nd floor, you can keep the same vent and just replace the hose.)
Materials:
(I’ve included affiliate links for your convenience. I earn a small percentage from a purchase using these links. There is no additional cost to you. You can read more about affiliate links here.)
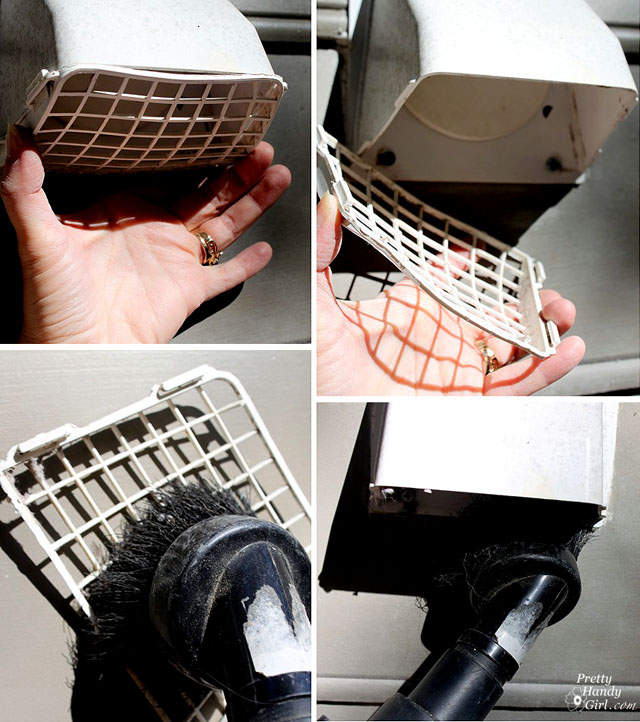
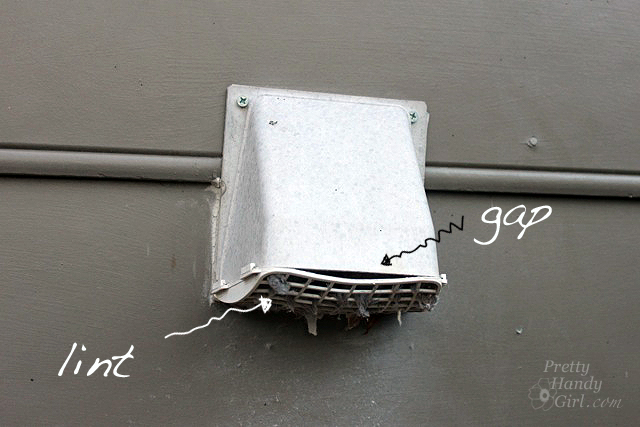
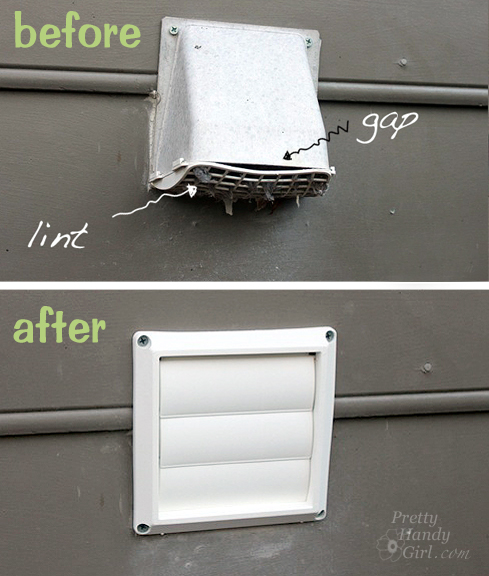
Were you nodding your head, yes? Well, if you like to keep your home rodent and bug-free, I highly recommend replacing the exterior vent at this time.
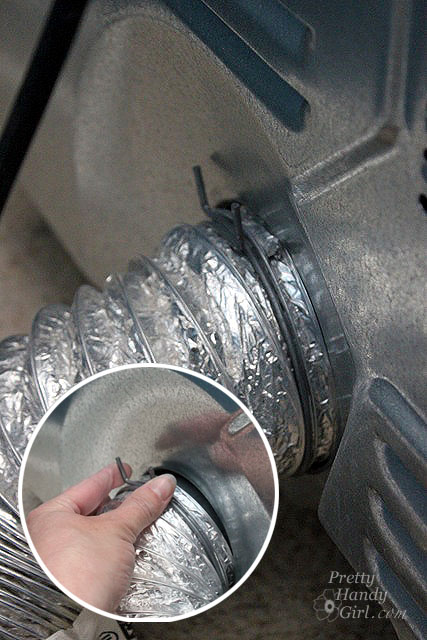
Detach the dryer duct (hose) from the wall inside your home first. Use the screwdriver to loosen the hose clamp.
Or if you have the tension style clamp, pinch the clamp wings together to release the hose.
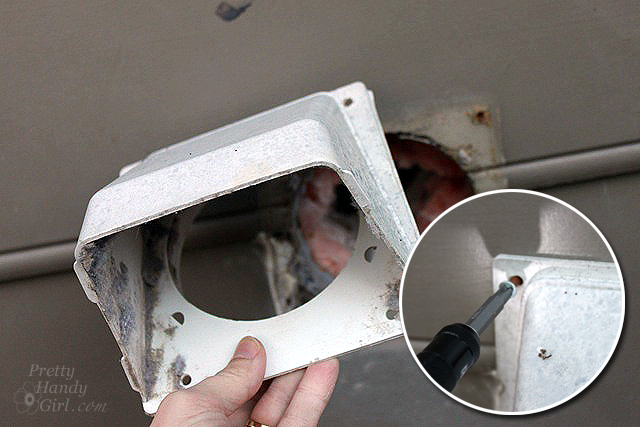
Head back outside. Unscrew the mounting screws from around the dryer vent and lift the dryer vent off.
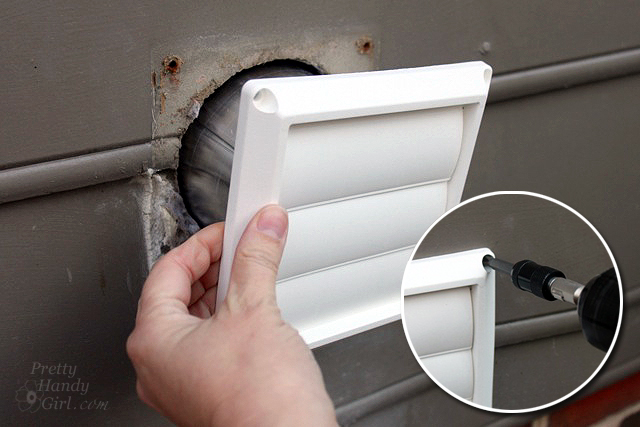
Slide the new vent into the hole and attach it to the house with the screws provided.
For additional draft and bug protection, caulk around the edge of the vent cover where it meets the house.
When the dryer is on and air is forced through the duct, the louvers will open.
When the dryer is off the louvers will close and prevent unwanted house guests (spider, mice, etc.) from taking up residence into your dryer.
Ahhhh, much better, right?!
Periodically check the vent to make sure the louvers close and there is no lint build-up.
How to Replace the Dryer Duct Hose:
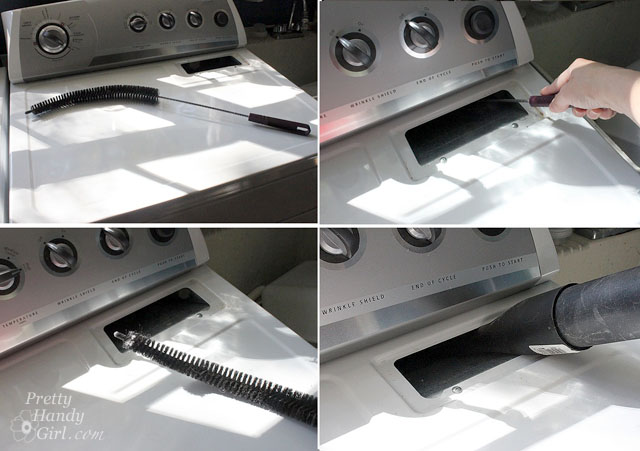
Pull your dryer out from the wall. Now is a good time to vacuum behind it to clean up any lint that has accumulated back there.
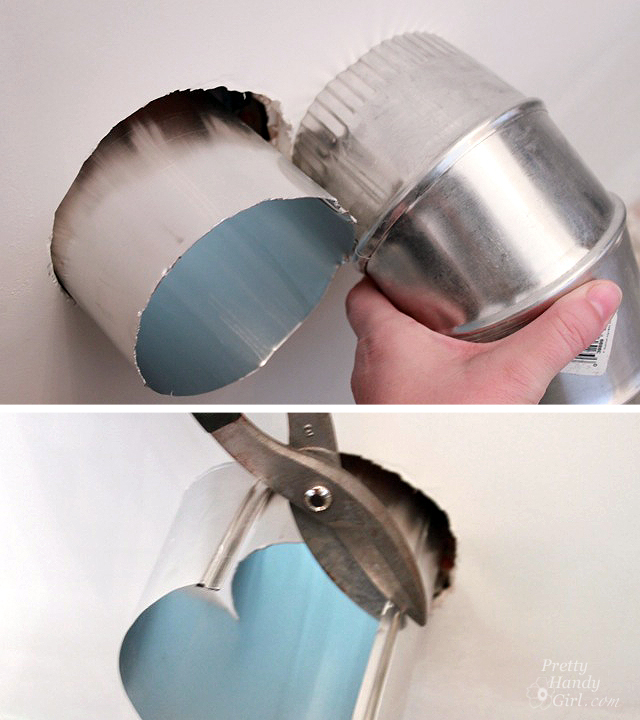
Hold the adjustable elbow next to the vent duct where it enters your laundry room. If it is too long, trim it with the tin snips to the depth of the elbow.
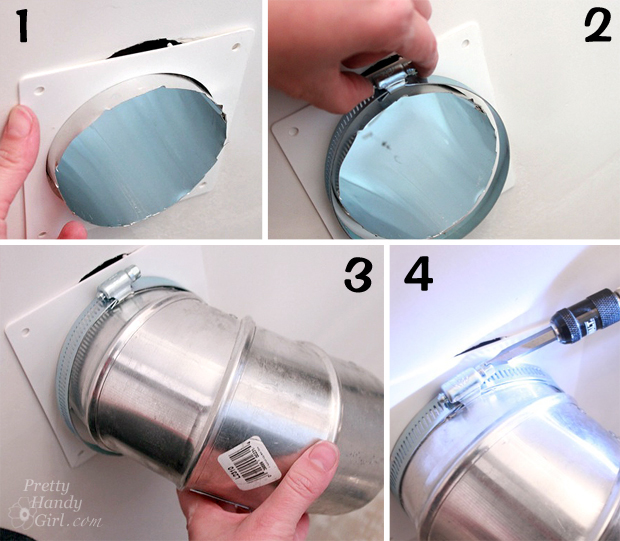
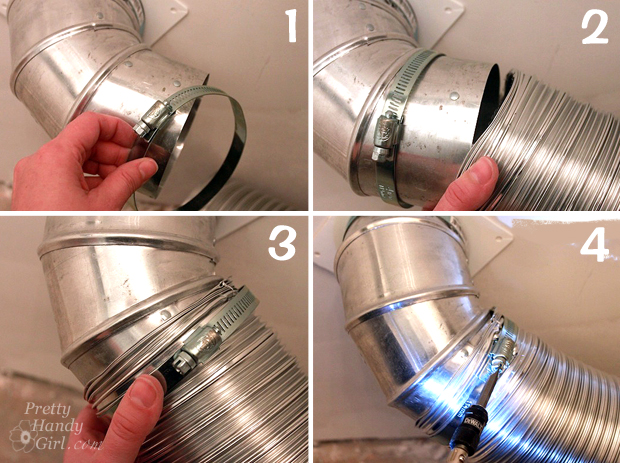
1) Feed the collar over the vent duct to cover the hole in the wall (and seal out any drafts.) Attach the collar with screws. 2) Feed one hose clamp over the vent duct.
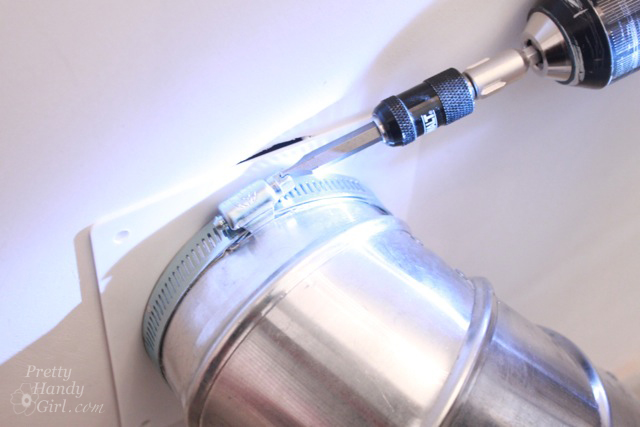
3) Slide one elbow over the vent duct. 4) Tighten the hose clamp with the screwdriver until the elbow is secured to the duct. Tug lightly to make sure it won’t inadvertently slip off.
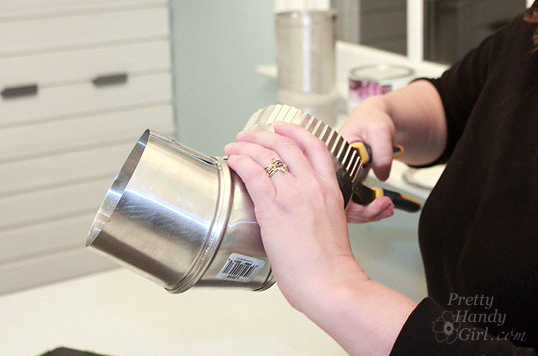
If you are having trouble slipping the elbow into the duct, you can use pliers to cut the tabs on the crimped end to allow you to collapse the collar a little more.
Remove the semi-rigid duct from the packaging. Extend the hose only long enough to reach your dryer. If your distance is short (and the duct too long), you might need to trim excess duct with the tin snips.
How to Connect the New Dryer Duct:
1) Slide the hose clamp over the end of the elbow. 2) Slip the semi-rigid duct over the elbow.
3) Slide the hose clamp over the semi-rigid duct and elbow. 4) Tighten the hose clamp until the duct is secured to the elbow. Gently tug the semi-rigid duct to make sure your connection is tight.
Shimmy behind your dryer (this reminds me of the time I was pregnant and had hired a handyman to re-route our dryer hose to a closer location. Handsome Guy and the Handyman were both struggling with the short duct and couldn’t attach it. I really wanted to push them both aside and do it myself. Unfortunately, at that point in my pregnancy, my belly’s depth was equal to my width and there was no shimmying behind any dryer for me.)
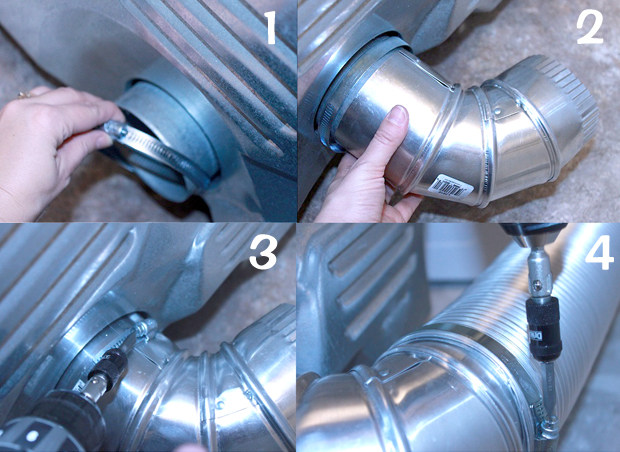
1.) Slide the hose clamp over the dryer exhaust. 2) Attach the elbow to the dryer.
3) Tighten the hose clamp onto the dryer. 4) You’ve got this right? Tighten the hose clamp onto the semi-rigid duct and elbow.
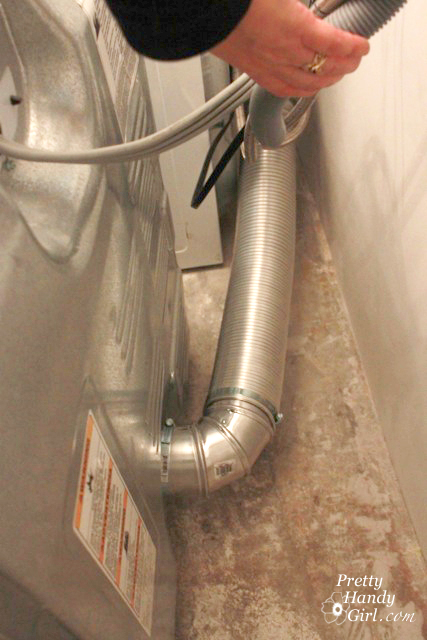
BAM! You’re done! When you push your dryer back, make sure you aren’t crushing the ductwork. Are you happy you learned how to install a semi-rigid dryer duct to prevent a fire hazard? Don’t forget to clean out your dryer and the ductwork at least twice a year.
Take care and stay safe! I care about you all a lot.
Do I need to pull a permit for this? What happens if I don’t pull a permit? What can I expect? What surprise could come up? What happens if you fail the inspection?
These are just a few of the broad questions I have for Mr. Barry Mooneyham, Director of Wake County Planning, Development and Inspections. I’m not sure Mr. Mooneyham knows what to expect, but he was genuinely glad to let me come talk to him this coming Wednesday morning. I have a list of questions for him about building permits and about why people are so hesitant to file for a permit.
Please add your own questions to my list by asking them below in the comments. I’d love to help you get your questions answered. Be on the lookout for the follow up post after my interview. 😉
https://prettyhandygirl.com/wp-content/uploads/2013/01/Building_permit.jpg567847Brittany Baileyhttps://prettyhandygirl.com/wp-content/uploads/2021/07/PHG-logo-tagline-2020-1030x211-R.jpgBrittany Bailey2013-01-29 07:00:302021-07-22 03:39:02Interview at the Permit Office: Your Questions Will Be Answered!
After you read the title, I guess the cat’s out of the bag. It’s true, I installed radiant floor heating in our mudroom/laundry room and I couldn’t be more thrilled. One of the positives of having a plumbing leak and subsequent gutted room, is being able to make changes that you otherwise wouldn’t have considered. Tile floors with radiant heating underneath was one such change we never entertained until our flooring was ripped out.
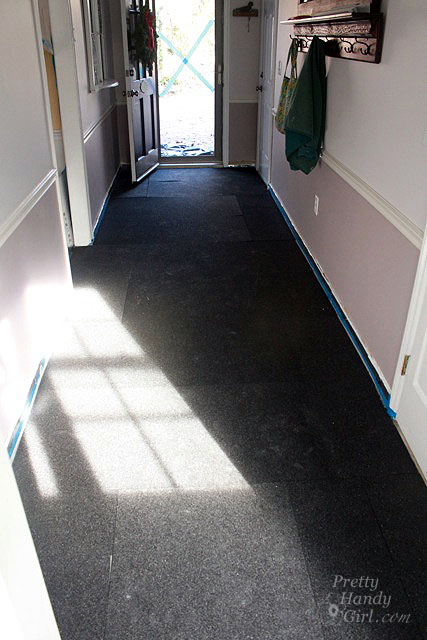
Here’s the low down on those two rooms. Our long hallway mudroom that ends in the laundry room was an addition to our home back in the 80’s. It was built on a concrete pad and the owners must have decided not to tie those two rooms into the heating and air conditioning. Consequently, in the winter, these rooms are brrrrrrr…chilly willy! (It’s true, my blood has thinned over the years from living in the south. I think I’d turn into a useless popsicle if I had to spend more than an hour in Alaska like Ana White.) The linoleum flooring that was there didn’t do much to dampen the chill. And, I knew since we were installing tiles in these areas that it would only contribute to that polar ice effect (wimpy wimpy wimpy, I know).
I decided that I wanted to try to add radiant heat in the floors. After a few nights of research, I settled on a company that makes custom configured TempZone radiant heating mats for your home.
We are well on our way to putting Humpty Dumpty back together when it comes to our mudroom and laundry room. The kitchen, it’s still a blank canvas.
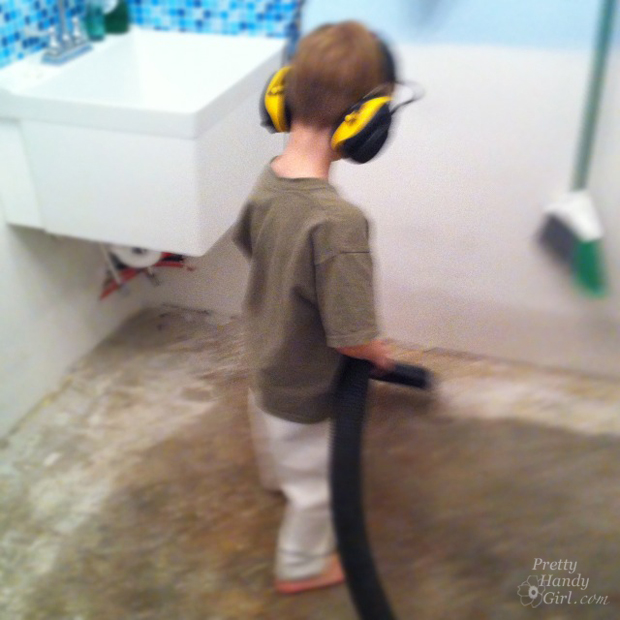
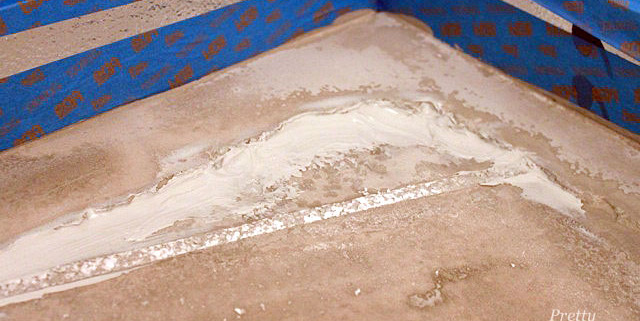
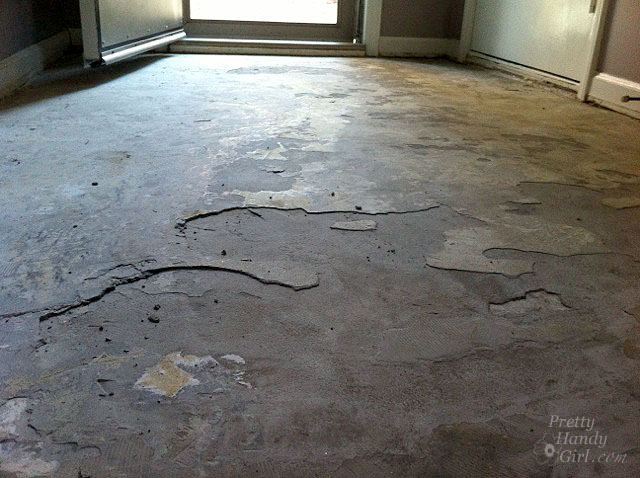
After the water leak, the linoleum flooring had to be removed. What was left was a plethora of problem areas. Cracks, crumbled concrete and an uneven surface resembling the moon.
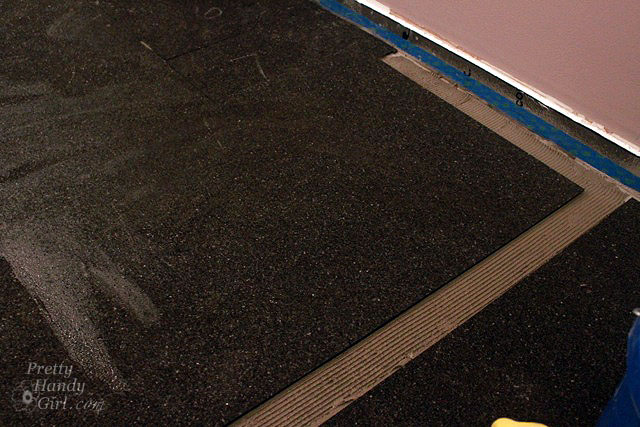
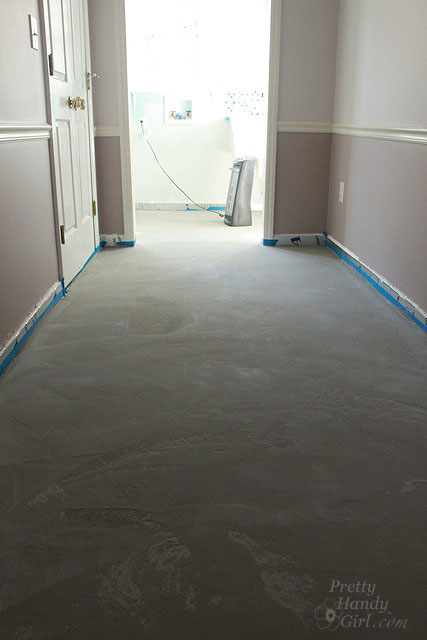
Before putting down any new flooring, we had to have a smooth and level surface. Adding a self leveler was the best answer to the problem. We purchased most of the supplies from Lowe’s and borrowed a large drill. And here’s how we did it: Read more
https://prettyhandygirl.com/wp-content/uploads/2013/01/patched_crack.jpg427640Brittany Baileyhttps://prettyhandygirl.com/wp-content/uploads/2021/07/PHG-logo-tagline-2020-1030x211-R.jpgBrittany Bailey2013-01-07 09:31:132021-07-22 03:41:30How to Patch and Level a Concrete Subfloor