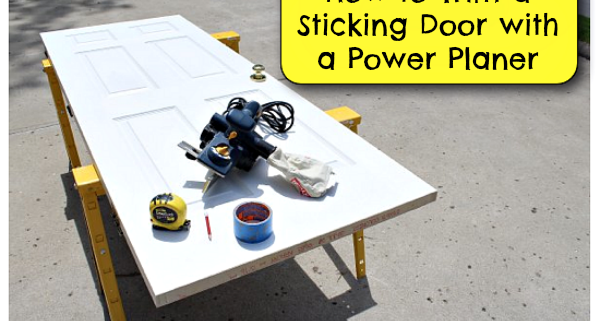
 Doors that rub the floor or jamb are flat out annoying. This problem is typically fixed by tightening or shimming hinges. But sometimes the door just needs to be shaved down a tiny bit and this can be accomplished by using a power planer. The Ryobi planer used in this tutorial is cheaper than pair of Nikes. You can find a factory reconditioned one on Amazon for $35 (buying factory reconditioned tools is a great way to save a ton of money :-)).
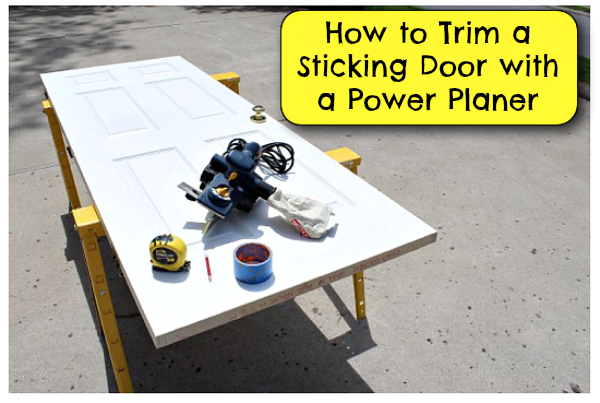
Today you’ll learn how to trim the bottom or top of your door. It’s simple, straight forward, and will save you at least $50-$75 (the cost a carpenter or handyman would probably charge).