Easy! How to Install a New Showerhead | Pretty Handy Girl

Easy! How to Install a New Showerhead | Pretty Handy Girl

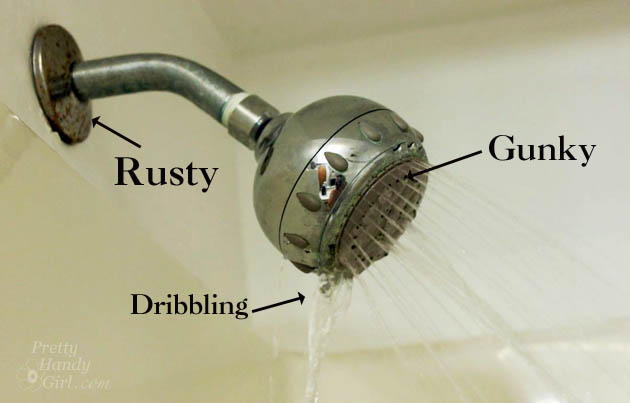
Raise your hand if you have a sad excuse for a shower head! Is it drippy, rusty or clogged? If you answered yes to any of those questions, I’m about to show you why there is no excuse for you being able to install a new shower head yourself! It’s super easy.
Easy! How to Install a New Showerhead | Pretty Handy Girl

Materials:

(I’ve included affiliate links for your convenience. I earn a small percentage from a purchase using these links. There is no additional cost to you. You can read more about affiliate links here.)

Easy! How to Install a New Showerhead | Pretty Handy Girl

Easy! How to Install a New Showerhead | Pretty Handy Girl

  • Optional: Shower arm & flange, rag to protect new shower arm

Instructions:

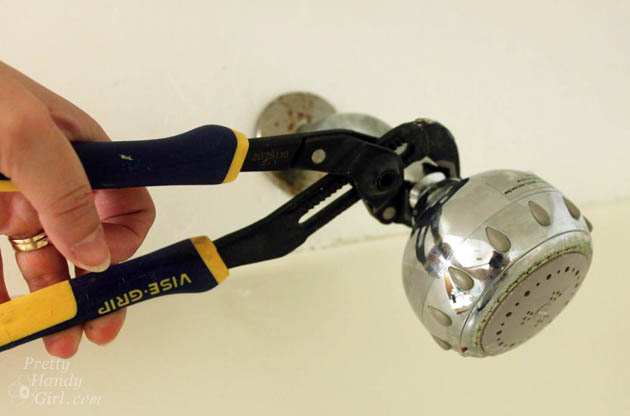
1. Remove the old shower head by unscrewing it from the pipe arm. Use pliers to help get it started.
Easy! How to Install a New Showerhead | Pretty Handy Girl

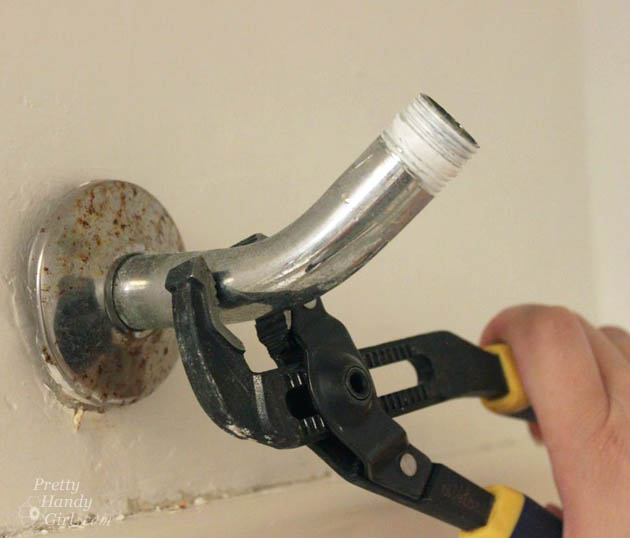
2. Unscrew the old shower arm if it is rusty or won’t match the new shower head. Remove that rusty flange (now is the time to do it! Don’t put it off any longer.)
unscreEasy! How to Install a New Showerhead | Pretty Handy Girlw-old-shower-arm

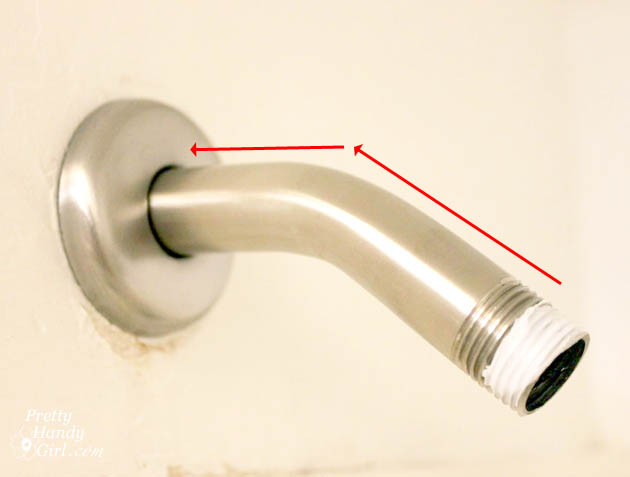
3. Replace the old shower arm with new one by screwing it into the plumbing pipe in the wall. Then slide the new flange over the arm.
Easy! How to Install a New Showerhead | Pretty Handy Girl

Wrap the end of the shower arm with plumber’s tape (wrap it clockwise to keep it from bunching up when you attach the new shower head.)

Easy! How to Install a New Showerhead | Pretty Handy Girl

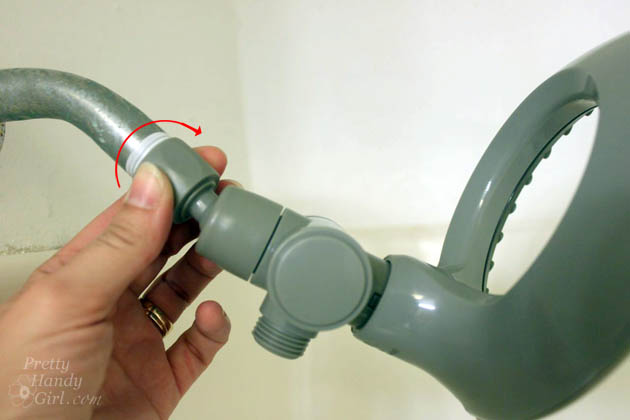
4. Screw the new shower head onto the end of the shower arm. Hand tighten the head. Then put the rag over the spot base of the shower head and use the pliers to tighten it 1/4 turn.
Easy! How to Install a New Showerhead | Pretty Handy Girl

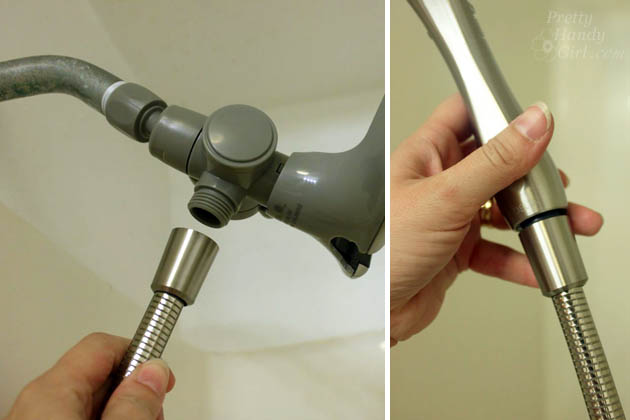
5. If your shower head has an extension hose, attach that at this time by screwing it onto the shower head and attaching the other end to the body sprayer.
Easy! How to Install a New Showerhead | Pretty Handy Girl

Turn on the water and test the spray! Beautiful! No drips or clogs? If you have some leaks anywhere, give an extra 1/4 to 1/2 turn to tighten it the shower head or hose.

I installed the Delta In2ition shower head in the Topsail Beach Condo we renovated. I’ve been intrigued by this shower head and after trying it out, I love it!!!

Easy! How to Install a New Showerhead | Pretty Handy Girl

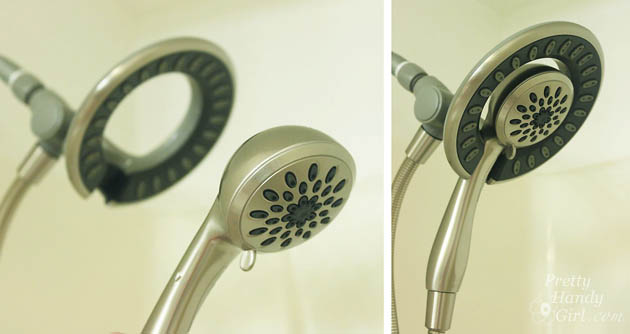
Because who wouldn’t love a shower head that sprays from the top even when you want a body spray too?

The interior head is fully removable and nests back into the outer ring when done body spraying.
Easy! How to Install a New Showerhead | Pretty Handy Girl        

The only initial drawback I found was getting used to setting the body sprayer back into the ring. Once I realized you have to push it in and down firmly, there was no problem.

Wasn’t that easy? Go on and replace your shower head today if you’ve been putting it off!

PHGFancySign

Disclosure: No disclosure necessary. I wasn’t paid or provided with the Delta In2ition shower head. My stepmom paid for it to be installed in the beach condo. I chose this shower head because I wanted to try it out.  


Pin for later!
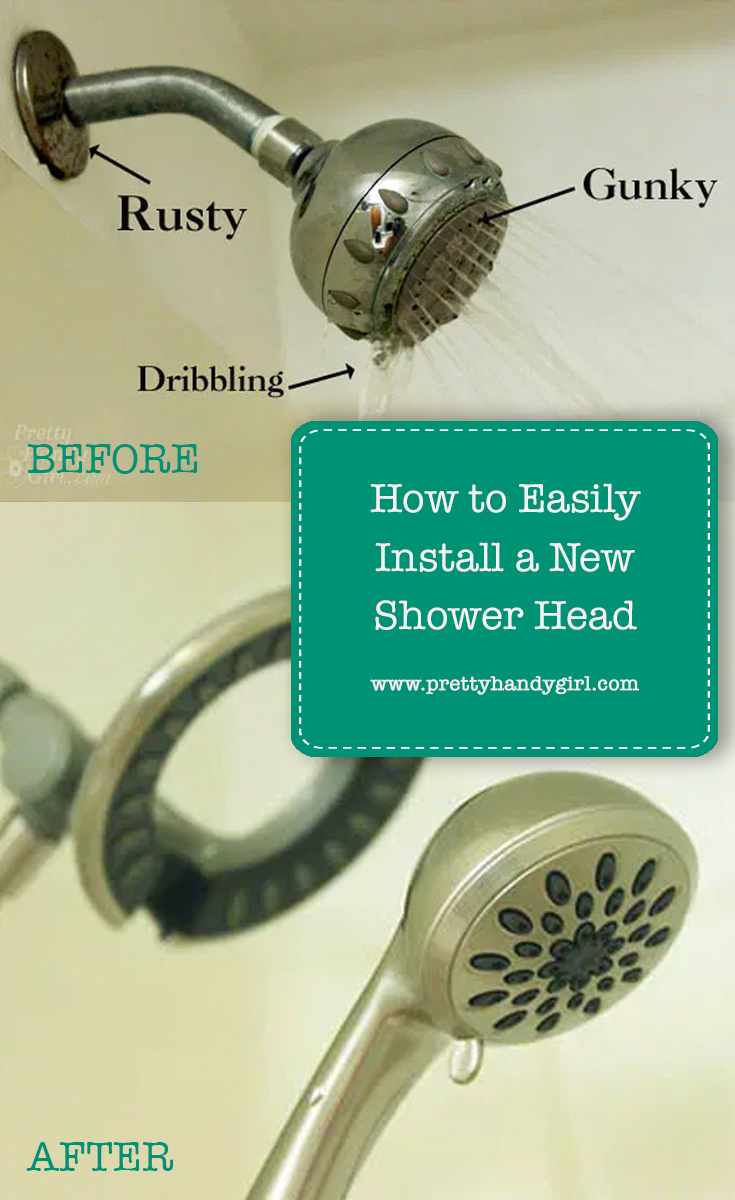
How to Easily Install a New Shower Head

DIY Headlight Restoration | Pretty Handy Girl

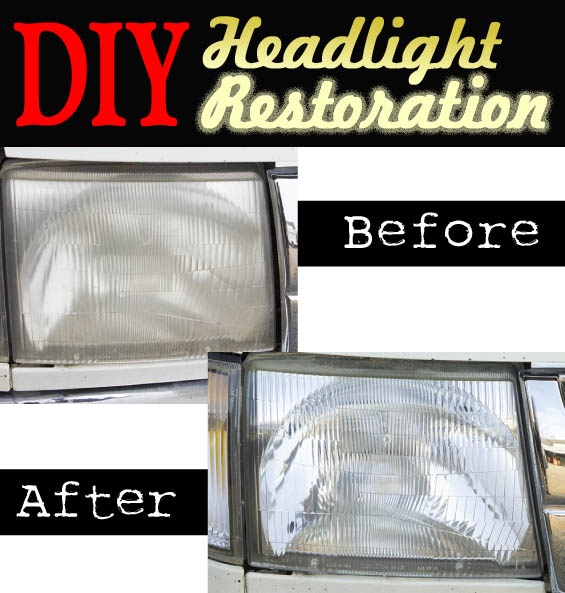
I have found that most of my driving is done when it’s dark outside.  I get up pretty early to go into the firehouse and on my drive in I tend to notice things around me, things like how bright my headlights are compared to other vehicles on the road. What surprises me is how many vehicles have cruddy looking headlights.  Nowadays most headlights are made from plastic.  It’s cheaper and more durable than it’s glass predecessor, but the disadvantage is that it’s prone to oxidation.  In simpler terms,  over time, ultraviolet light from the sun, breaks down the plastic, causing a hazy or yellow film to appear.  It lessens the effectiveness of your headlights and during the day, makes your car look bad.  Luckily, 3M Car Care makes a DIY Headlight Restoration Kit to get your headlights looking as good as new!

Materials:
(contains affiliate links)

The Kit contains:

  • 1- Disc Pad Holder
  • 1- 3M™ Automotive Masking Tape
  • 1- 3M™ Soft Interface Pad
  • 6- 3M™ Sanding Discs (depending on your headlight condition, you may need more than 6)
  • 4- 3M™ Finishing Discs
  • 1- 3M™ Trizact™ Disc
  • 1- 3M™ Headlight Lens Polish
  • 1-Buffing Pad
  • Headlight Protectant (not shown in this tutorial)

What Else You’ll Need:

  • Drill
  • Spray Bottle and Water
  • Several clean rags
  • Safety Glasses

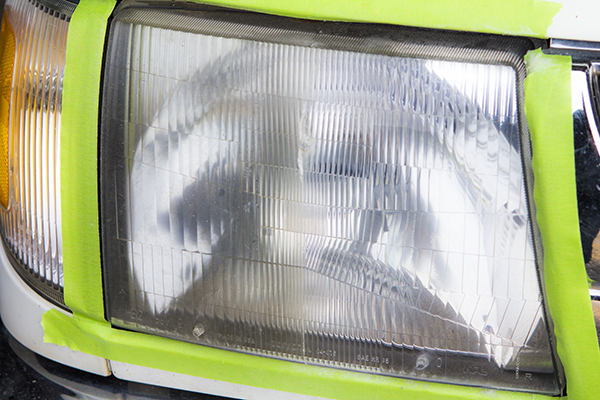
Here’s the condition of the headlight that I’ll be using in my restoration.

Read more

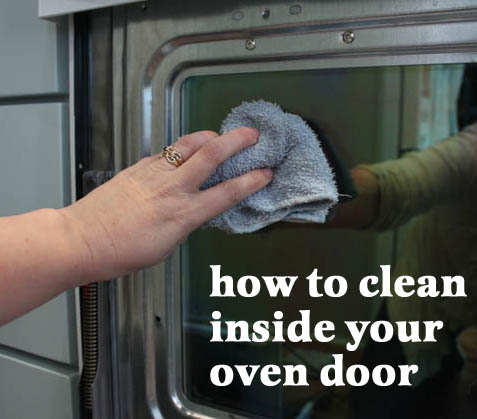
How to Clean Inside Your Oven Door | Pretty Handy Girl

How to Clean Inside Your Oven Door | Pretty Handy Girl

Okay, it’s a New Year and many of us are cleaning up after the holidays and the baking frenzy. Do you have some random drips that somehow made their way inside your oven door?

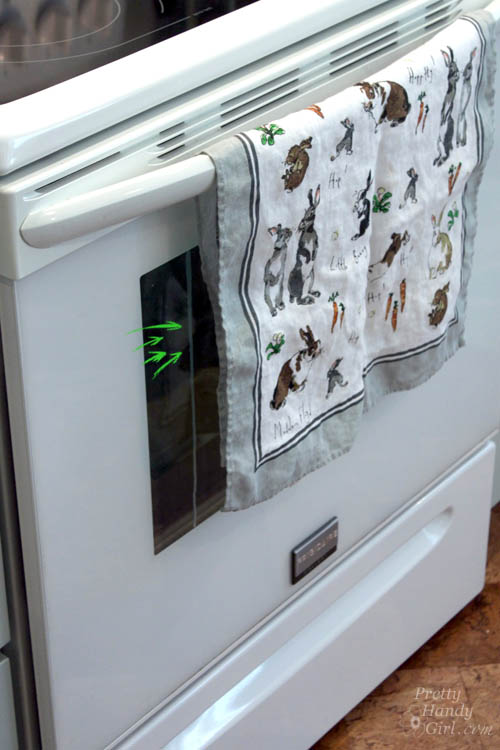
How to Clean Inside Your Oven Door | Pretty Handy Girl

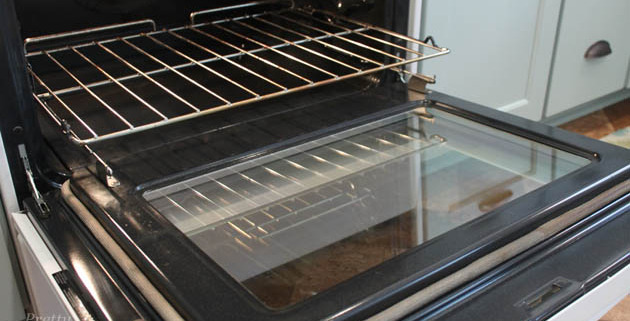
That impossible to reach location sandwiched between the glass. How does that happen?! Well, I’m going to show you how to access inside your oven door and clean that sneaky drip.

Tools:

  • Screwdriver
  • Towel
  • Rags
  • Window cleaner
  • Razor blade

Optional: Scour Off or non-toxic oven cleaner


Instructions:

First remove the bottom drawer of your oven. Read more

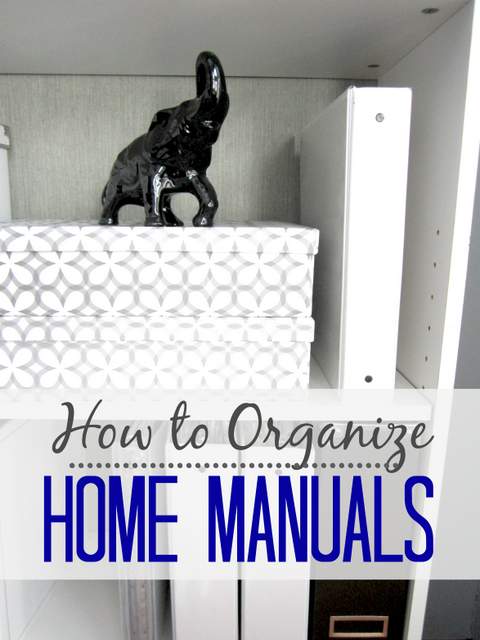
How to Organize Home Manuals

How to Organize Home Manuals

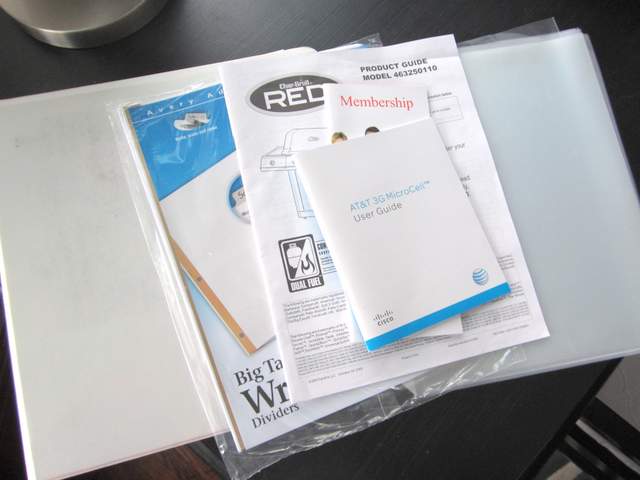
Happy 2014! I hope you are still enjoying a wonderful holiday season and are excited to see what we have in store for you here at Pretty Handy Girl. It is going to be an amazing year! Since you might be recovering from the fun last night at a festive celebration, I’m going to make today’s project very easy for you. Easy but productive.

A new year always makes us want to be more organized and this project will start you off on the right foot in that department.  Today you are going to organize all those manuals you have floating around the house. You know the ones you can never find when you need to? But have been meaning to organize? Check that item off the To-Do list, here is how to!

There are a few options for getting home paperwork in order, but I’m a binder kind of girl. I tend to organize all of my must-find items in binders, that way I can move them around from room to room if I need to, and I can re-organize the items inside, plus binders can hide a great mess but look so pretty doing so.

Supplies

  • All those pesky, unusually-sized, random manuals, warranties, instructions and information for things around your home
  • A binder {or two if you have a lot of manuals}
  • Dividers with a label option – Can be cut up file folders, purchased dividers or card stock paper
  • Clear plastic sheet protectors
  • Hole punch {optional}

Organize Your Home Manuals

Instructions: Read more

Reinforcing You Door is Easy

Reinforce an Entry Door

Burglar proofing your home is easy. Especially f you have a gazillion dollars to hire security guards, attack dogs and a web of lasers. Ahh, to dream a dream. But, for those of us who actually have a budget there’s a quick solution. And it’ll help you sleep a lot easier at night.

Having a home invasion is nerve wracking to say the least (yes, I’ve experienced this), I understand the fear many homeowners face:

A  passionate desire to keep our family safe from all the badness in the world.

Think about this, in many instances the only things stopping a robber from kicking open your front door are 1/2 inch screws, some thin metal (in the form of hinges and  strike plates), and at best a wimpy 1 inch piece of wood called your door jamb. Um, I think my 74 year old dad could kick open most people’s doors.

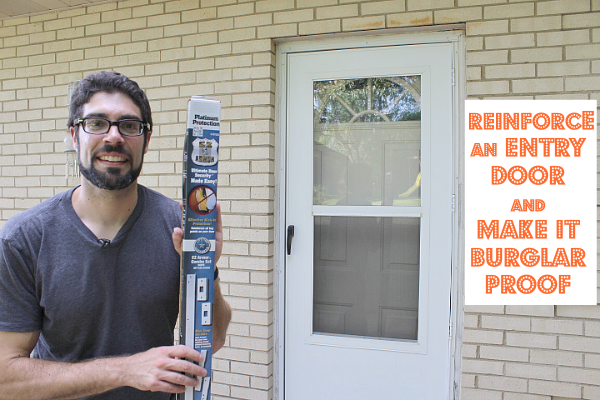
Today I’ll walk you through the installation of EZ Armor (affiliate link). And How to Reinforce an Entry Door and Make it Burglar Proof!

EZ Armor is a door reinforcement kit you can buy for $69. You need limited tools and 15 minutes.

Here’s a supply list to help you get started:

(I’ve included affiliate links for your convenience. I earn a small percentage from a purchase using these links. There is no additional cost to you. You can read more about affiliate links here.)

I promise you’ll boost your home’s safety by leaps and bounds by using EZ Armor. It only take a few minutes to understand why.

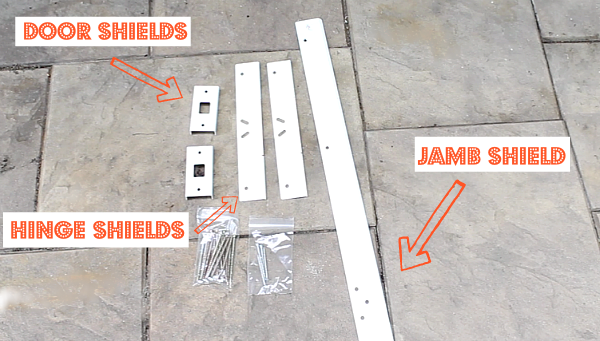
The EZ Armor kit I bought came with the following accessories:

  • Jamb shield (1)
  • Hinge shields (2)
  • Door shields (2)
  • 2 1/2 inch screws (4)
  • 3 1/2 inch screws (17)

Reinforce an Entry Door and Make it Burglar Proof

Okay, if you’re an excitable DIYer like me you might dive right into the installation. You can watch the video or read the photo tutorial below:

Read more