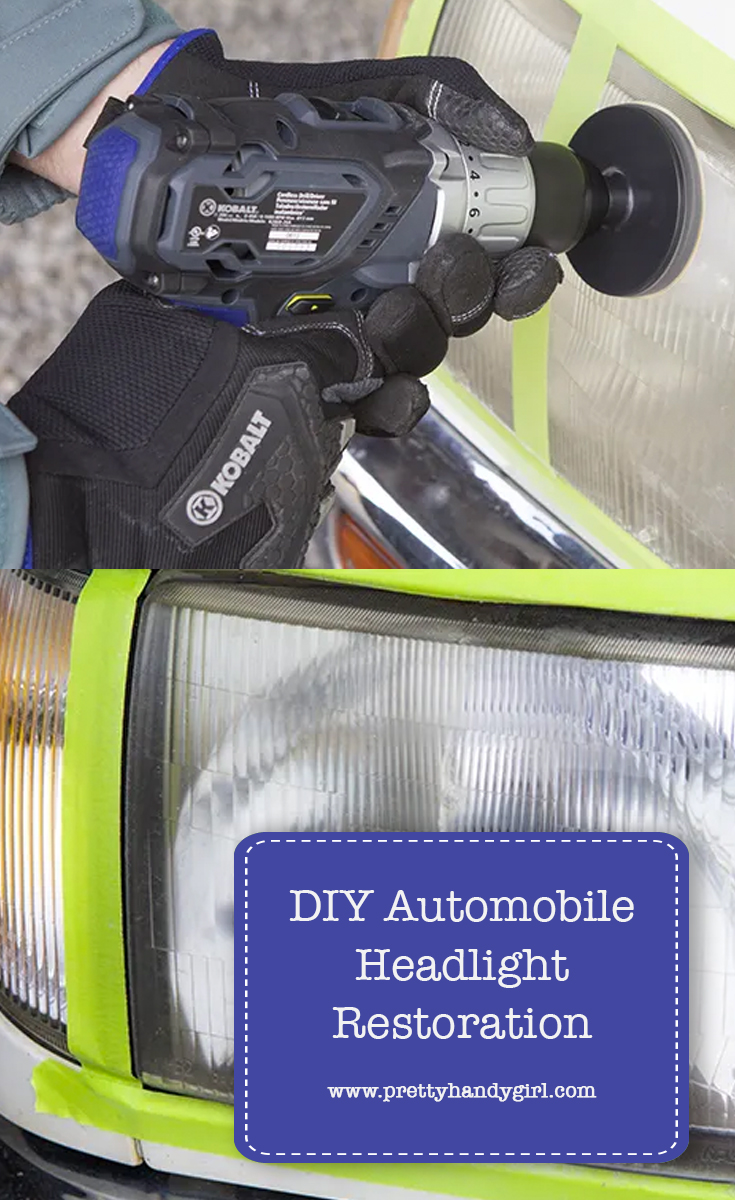
DIY Automobile Headlight Restoration
I have found that most of my driving is done when it’s dark outside. I get up pretty early to go into the firehouse and on my drive in I tend to notice things around me, things like how bright my headlights are compared to other vehicles on the road. What surprises me is how many vehicles have cruddy looking headlights. Nowadays most headlights are made from plastic. It’s cheaper and more durable than it’s glass predecessor, but the disadvantage is that it’s prone to oxidation. In simpler terms, over time, ultraviolet light from the sun, breaks down the plastic, causing a hazy or yellow film to appear. It lessens the effectiveness of your headlights and during the day, makes your car look bad. Luckily, 3M Car Care makes a DIY Headlight Restoration Kit to get your headlights looking as good as new!
Materials:
(contains affiliate links)
The Kit contains:
- 1- Disc Pad Holder
- 1- 3M™ Automotive Masking Tape
- 1- 3M™ Soft Interface Pad
- 6- 3M™ Sanding Discs (depending on your headlight condition, you may need more than 6)
- 4- 3M™ Finishing Discs
- 1- 3M™ Trizact™ Disc
- 1- 3M™ Headlight Lens Polish
- 1-Buffing Pad
- Headlight Protectant (not shown in this tutorial)
What Else You’ll Need:
- Drill
- Spray Bottle and Water
- Several clean rags
- Safety Glasses
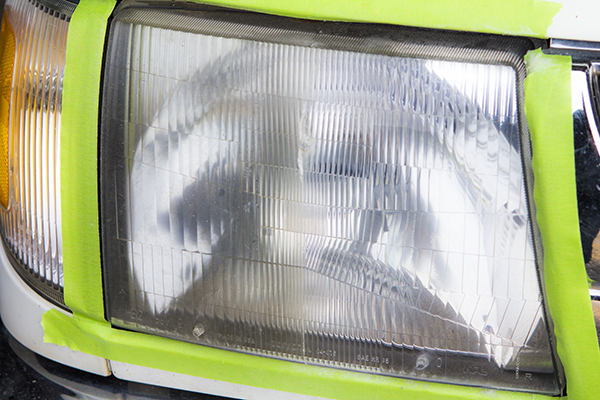
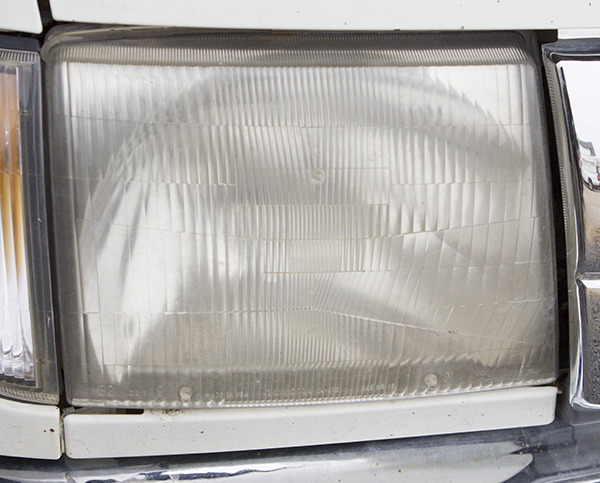
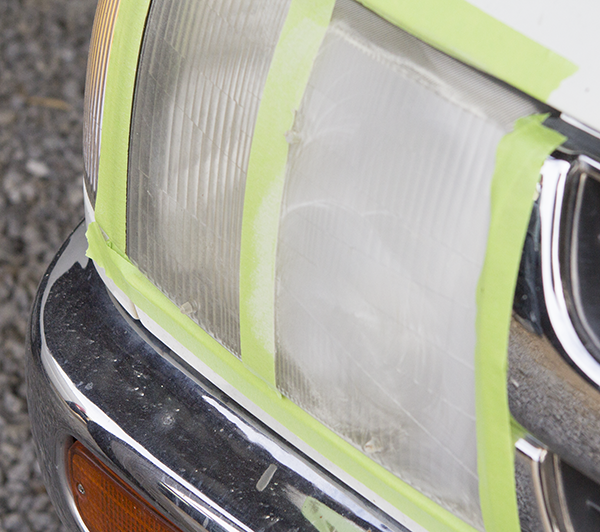
Here’s the condition of the headlight that I’ll be using in my restoration.
Instructions:
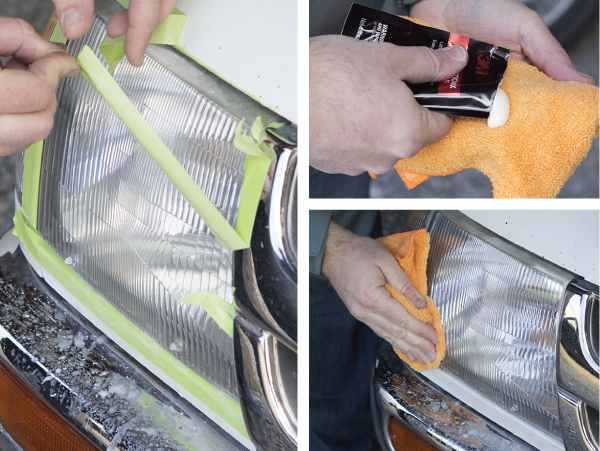
Start by masking off the area surrounding the headlights. (For demonstration purposes, I’ve added a strip of tape in the center of the headlight. You won’t need that on yours)
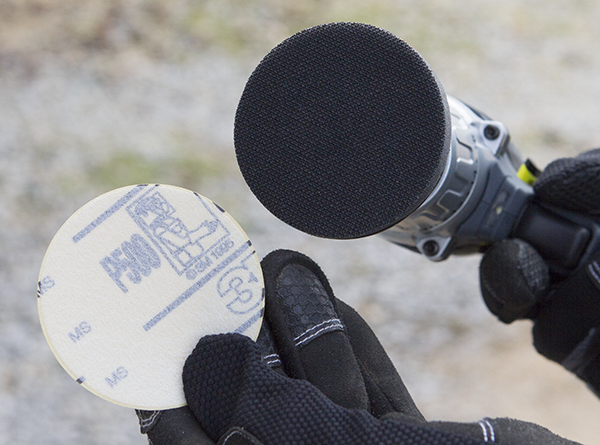
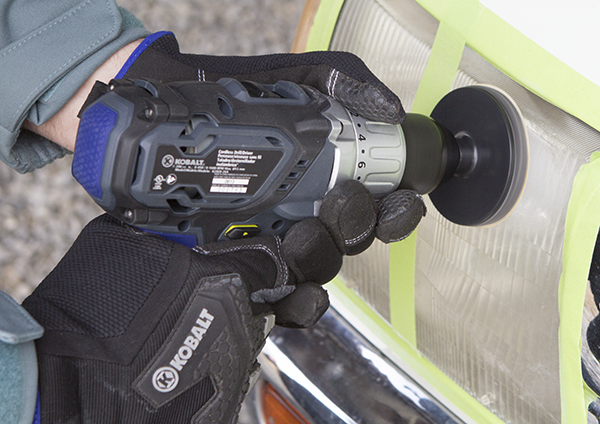
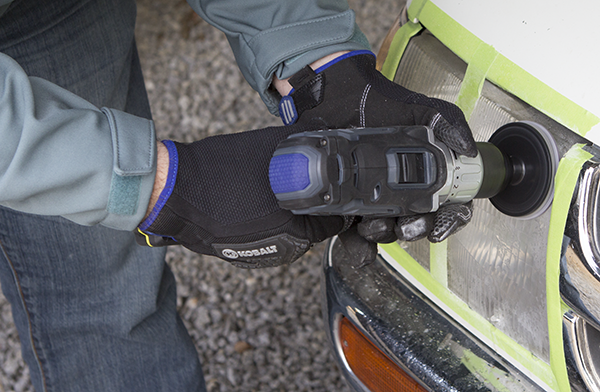
With the work area prepped, secure the disc pad holder onto your drill. Place one of the sanding discs onto the disc holder pad. The discs are held in place with velcro.
Begin sanding in the center of the headlight, allowing yourself time to get a feel for how the drill will react. You’ll only need to apply light pressure to backside of the drill.
The goal is to remove the imperfections on the surface of the headlight, so continue to sand until you feel satisfied that you’ve removed the oxidation. Once the sanding is complete, the headlight should have a coarse, frosty appearance. (Do not continue if you see some clear spots on your headlights.)
Next, switch out the sanding discs for the finishing discs.

Switching to the finer grit sanding disc reduces the coarse sanding scratches from the previous step.

Remove the used finishing disc and replace it with the Trizact™ disc.

Using the spray bottle of water, you’ll need to wet the Trizact™ disc, along with the surface of the headlight during the next sanding process.
You should begin to see the scratches from the previous two steps become much finer and the headlight should start looking clearer.
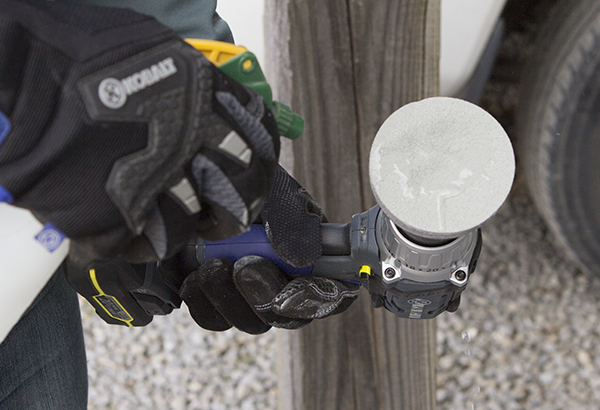
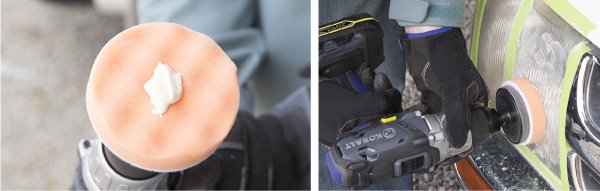
Replace the Trizact™ disc with the orange foam compounding pad.

Apply a dime sized amount of the lens polish to the pad. To reduce the chances of making a mess, smear the polish onto the headlight before engaging the drill. Repeat as necessary until any cloudiness is gone and the headlight is clear.
Here’s a side by side comparison once the center strip of tape has been removed. (I repeated the same steps as above to match up both sides of the headlight.)
Remove the automotive masking tape and using a buffing cloth, apply a dime sized amount of the protectant to the headlight surface. The protectant acts as a barrier between the lens surface and the ultraviolet light from the sun.
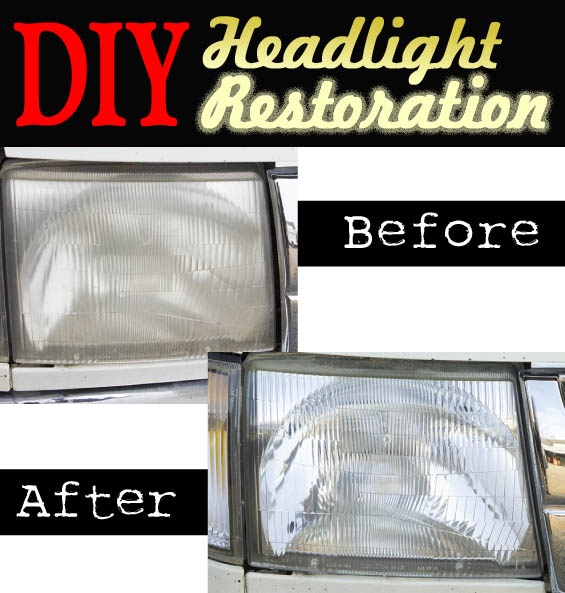
Here’s a quick glance at the headlight before and after the restoration! It’s a pretty substantial difference!
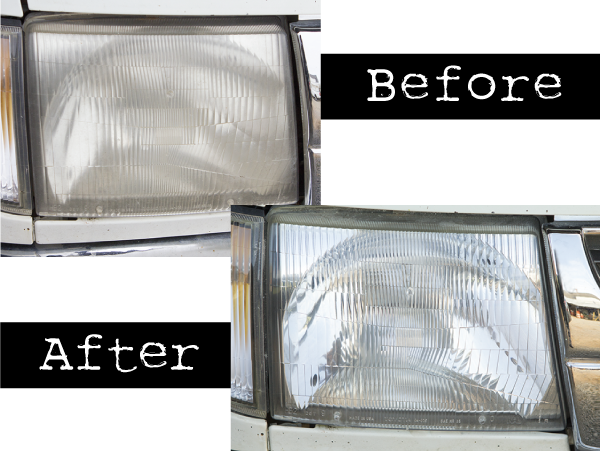
The entire headlight restoration took under 30 minutes and I’m confident that these headlights will light my way much more effectively than before, plus they’ll look good for miles to come.
Of course, there are other ways of restoring headlights, but from my experiences, the 3M Headlight Restoration Kit has given me the best results; was the easiest to do; and lasted for the longest period of time. This is not a sponsored post, nor did 3M supply me with this kit. I’m just a firm believer that when I find a product worth using, it’s a product worth sharing!
Happy and Safe Driving!
8/31/14 – Added Notes by Pretty Handy Girl:
I spent about an hour restoring our 2003 Honda CRV’s headlights this morning. Depending on the condition of your car’s headlights you may need extra 500 grit sanding discs. For our 11 year old car, I needed 8 of the sanding discs. Definitely do not skip ahead until the headlights are uniformly frosted.
I also had good results by buffing the headlight in one direction with the drill. Then, I put on a new sanding disc and reversed the direction. Finally, during the final lens polishing, I used the drill for a few passes. Then I took the pad off the drill and rubbed it on the headlight in a circular motion using a fair amount of pressure. This seemed to help buff the final haze off the headlights.
I checked with Matt and he said the car he did this restoration on still looks great. He definitely recommends using the protectant on the headlights. To purchase the kit with the protective coating included purchase: 3M Headlight Renewal Kit with Protectant

Pin for later!

What should I do if I experience clear spotting during this process? I have done both headlights with this kit but there are still visible scratches (though the entire lens as a whole is a LOT better than it was) as well as clear spots here and there.
How can I remove these?
Hey Noah! Thanks for the question! To my knowledge, as you continue the sanding process, each finer grit sandpaper should help reduce the number of visible scratches. If your still seeing an extraordinary number of scratches and spotting after one application, the only solutions that I can think of would be a second application or more sanding with the finer grit sandpaper.
This is an awesome tutorial, Matt! I live in Florida, so I’m no stranger to the sun causing headlights to turn a nasty yellow color. I’m in desperate need of replacing my headlights altogether, so I’m currently looking at buying an HID kit from HIDExtra (for extra brightness, and I have a friend who’s handy with cars). I’m going to keep these tips in mind though for keeping my new headlights looking sharp!