How to Trim Closet Doors with Dremel UltraSaw | Pretty Handy Girl

How to Trim Closet Doors with Dremel UltraSaw | Pretty Handy Girl

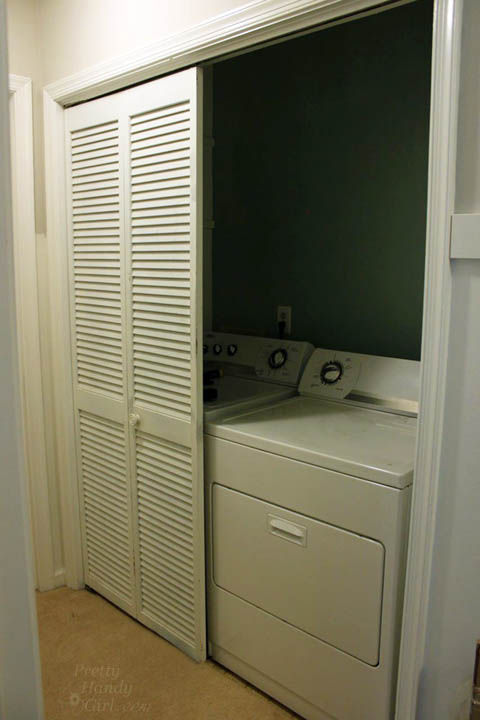
I have a friend named Holly. She and I live in the same neighborhood and we help each other out with DIY projects. Last week she asked me to help her come up with a solution to hide her dirty laundry.
How to Trim Closet Doors with Dremel UltraSaw | Pretty Handy Girl

Holly and I were trying to figure out how to replace her sad laundry room door(s). The right side door had broken off and was unusable. We floated several ideas, originally thinking about creating inexpensive sliding barn doors. But, we scaled back that idea after realizing that inexpensive pipe hardware (spanning over 8 feet) was still too expensive for the budget. We began discussing buying cheap bi-fold doors and dressing them up. However, even new bi-folds aren’t super cheap. I mentioned she “might” have luck going to the Habitat ReStore to find the exact size doors. We both knew that was a slim chance. Then an idea hit me like a bi-fold door falling off its hinges! Among the multitude of things I have stored in my attic, were two sets of closet doors! One that used to be on my son’s reading nook closet. And the second set used to be on the pantry.

Would it be fitting that the only before pictures I have of the pantry doors are these gems?

How to Trim Closet Doors with Dremel UltraSaw | Pretty Handy Girl
The Streaker

How to Trim Closet Doors with Dremel UltraSaw | Pretty Handy Girl
The Goofball

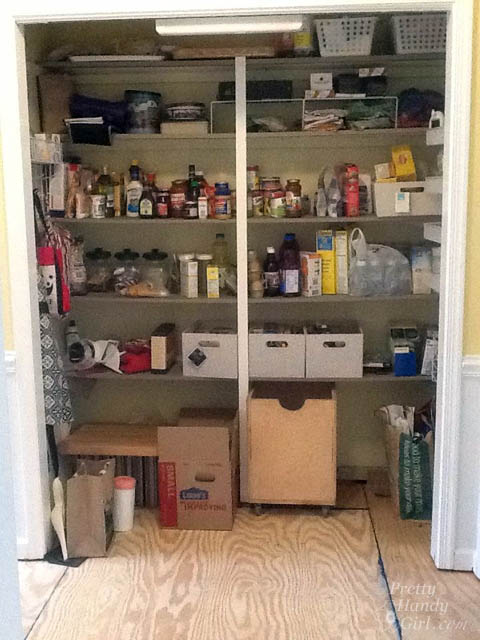
You get the picture. They are ordinary bi-fold doors. After the doors were removed from our pantry I liked how open it was. Although sometimes I wonder if I am just too lazy to open and shut the doors every time I want food.
How to Trim Closet Doors with Dremel UltraSaw | Pretty Handy Girl

Regardless, I liked the open concept, but not necessarily our food being constantly ON DISPLAY. I have plans to add built-in cabinets and shelving to the pantry, similar to what my friends The DIY Village created, but for now we just have it open.

I ran home to dig through the attic and find the two sets of doors that might work for Holly. I held my breath (partly because the attic was stifling hot) as I measured the doors. My son’s closet doors were…too narrow. Whomp wah. The pantry doors were… a perfect width!!! But, they were 2″ too tall. No worries, I knew I could trim them down.

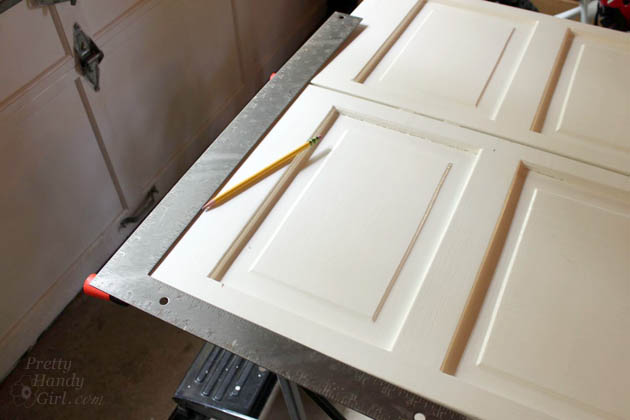
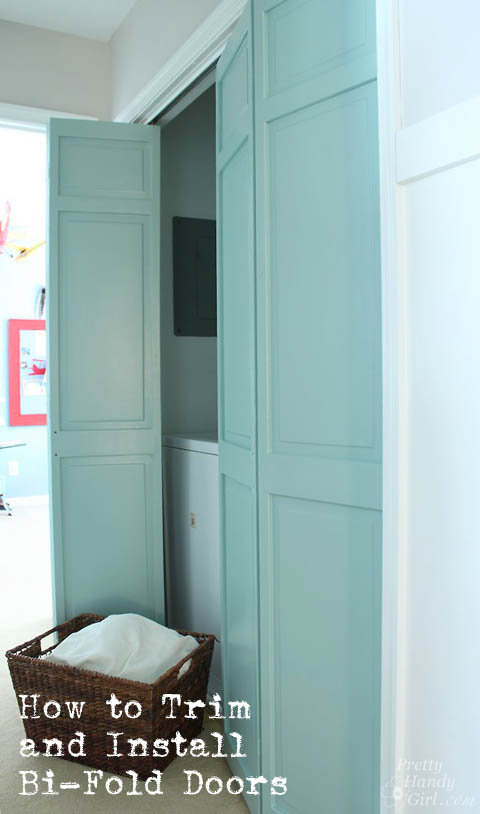
Here’s how to remove (and install) closet doors and cut them down to size using a Dremel Ultra-Saw:

Read more

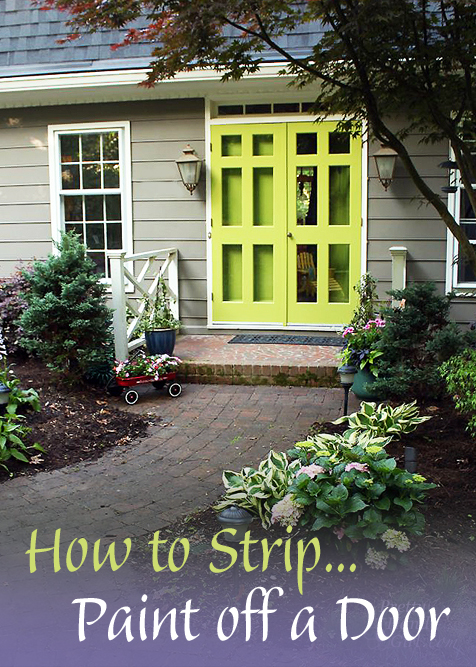
How to Strip Paint Off a Door | Pretty Handy Girl

How to Strip Paint off a Door | Pretty Handy Girl

Have you ever had to strip… paint off a door? (You must leave a dramatic pause after strip for the full effect! LOL. If you haven’t had to strip…paint off a door, consider yourself lucky. If you need to strip… paint, I have some tips and a tutorial for you!

How to Strip Paint off a Door

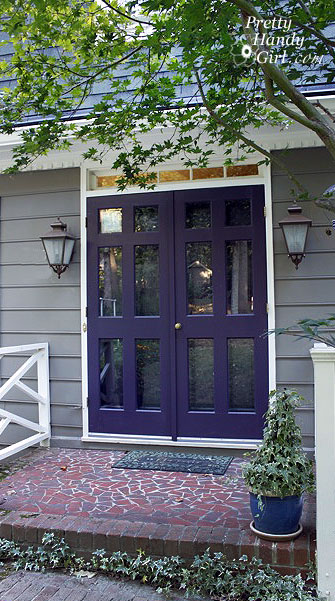
Here’s the back story: My home’s doors have been purple for over 7 years. I was over the dark and wanted some vibrancy. It was supposed to be a simple project. Just paint the front doors a beautiful green (Benjamin Moore Perennial Green.) I had tested the color on my custom house mailbox. That was TWO YEARS ago! (Life’s been a little busy, okay. Forgive me, I’ve been wrapped up in a major kitchen renovation.) All I had to do was get the paint mixed and get painting. Instead, I was caught in the middle of the DIY project from HELL!

How to Strip Paint Off a Door | Pretty Handy Girl

I had five doors to paint (front two doors, one side door and two wooden storm doors.) But, this DIY project was doomed from the start. My friend Holly was sweet enough to offer to help me paint. The week we were supposed to start on the doors her son came down with scarlet fever. A few days later as I was getting ready to paint them myself, MY SON got scarlet fever.

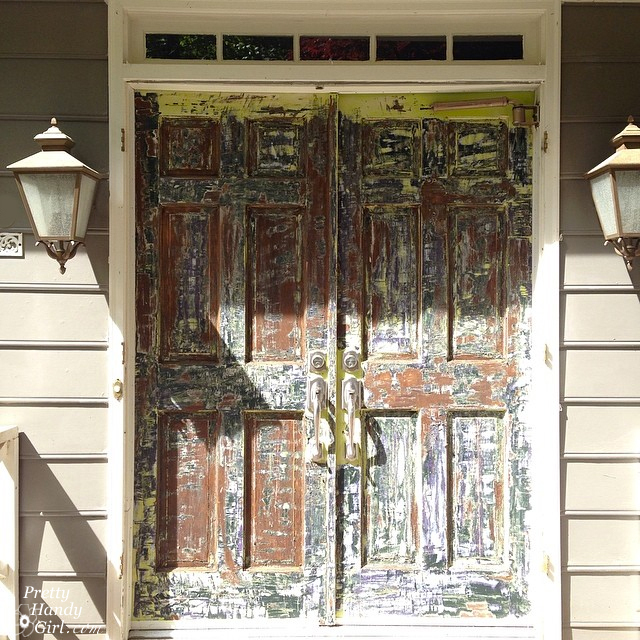
I finally got around to sanding and priming the front door. I was elated as I finally began to brush the paint onto the doors. Ahhhh. Beautiful green. I finished the first coat on the front doors. Then proceeded to the side door. When I went back to give the front doors a second coat…a problem exposed itself. Nooooooo!

Read more

Wall-mounted IKEA LILLÅNGEN Mirrored Cabinet turned Stuffed Animal Storage | Pretty Handy Girl

Wall-mounted IKEA LILLÅNGEN Mirrored Cabinet turned Stuffed Animal Storage | Pretty Handy Girl

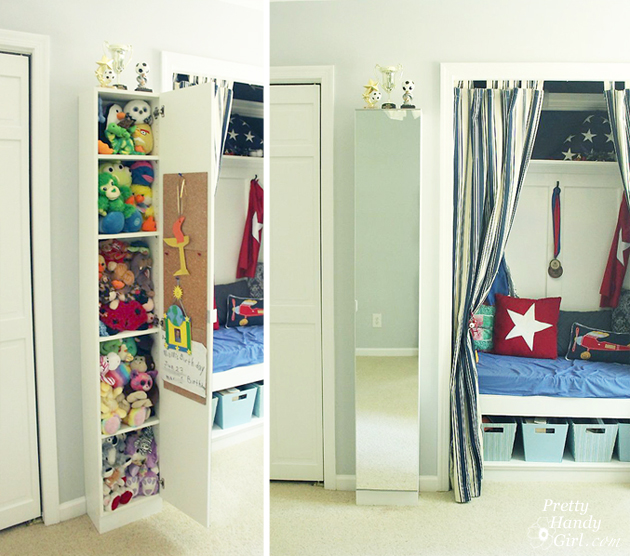
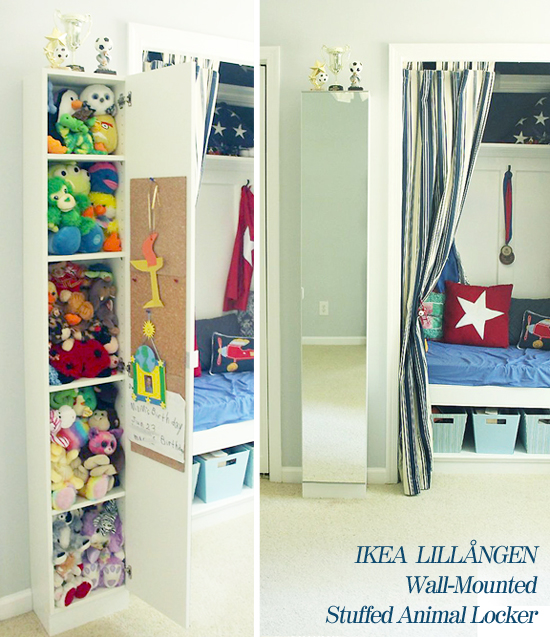
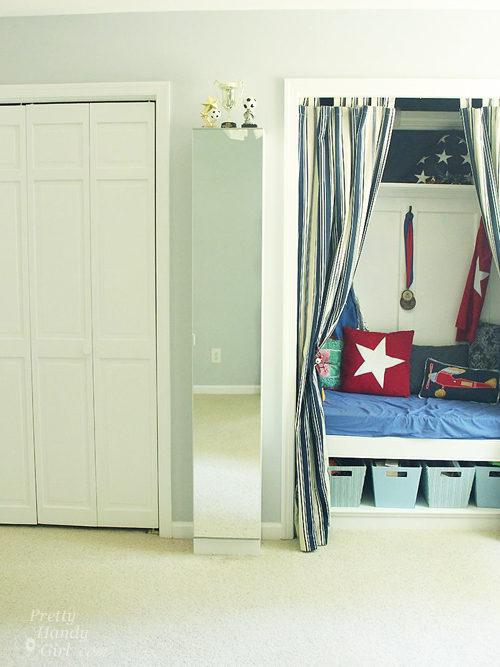
Have you ever shopped the “As Is” section at IKEA? There are some deals to be found there! Like this IKEA LILLÅNGEN Mirrored Cabinet. The cabinet had a small bent piece at the bottom and was therefore marked down to $60 from $100! Score! I easily bent the metal back in place with pliers once I got home. Then I decided to use it as a wall-mounted mirror locker for my son’s stuffed animals. Hang out for a few minutes and I’ll show you how to safely mount this cabinet AND move an outlet into the cabinet.

Wall-mounted IKEA LILLÅNGEN Mirrored Cabinet turned Stuffed Animal Storage | Pretty Handy Girl

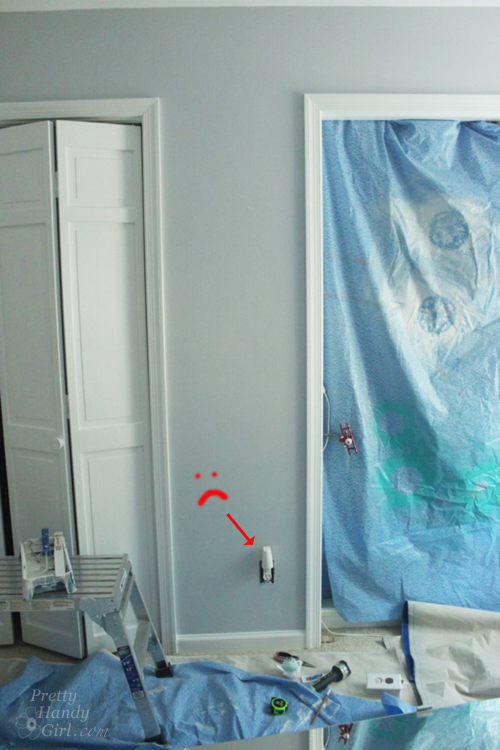
Handy Boy #2 had a narrow spot between his closet and reading nook that I knew would be perfect for this cabinet. The idea was to give him some storage for his ever multiplying stuffed animals. (They are seriously like rabbits! It never ends. I might need to look into a forced sterilization program.) Knowing my son and his antics (have I told you how he can climb his way around the room without setting foot on the floor. It’s amazing, albeit scary to watch. I’ll have to video him sometime.) I knew that I needed to secure this locker to the wall. But, there was an outlet in my way. And this is the outlet that gives power to the copper wall sconce in his reading nook. Therefore, I had to have access to the outlet. Plus, when he gets older he could charge his electronics in the locker.

Wall-mounted IKEA LILLÅNGEN Mirrored Cabinet turned Stuffed Animal Storage | Pretty Handy Girl

(I should note that I neglected to buy the optional base for this cabinet. Instead, I built a quick one using 2×4’s and 1×4’s.) 

Materials:

  • Drill
  • Quilting pin
  • Measuring tape
  • Pencil
  • Outlet extender
  • Multi-purpose tool
  • Toothpaste
  • Screwdriver

Instructions:

First I located the stud in the center of the wall. Locating studs is easy by using a quilting pin. Read more

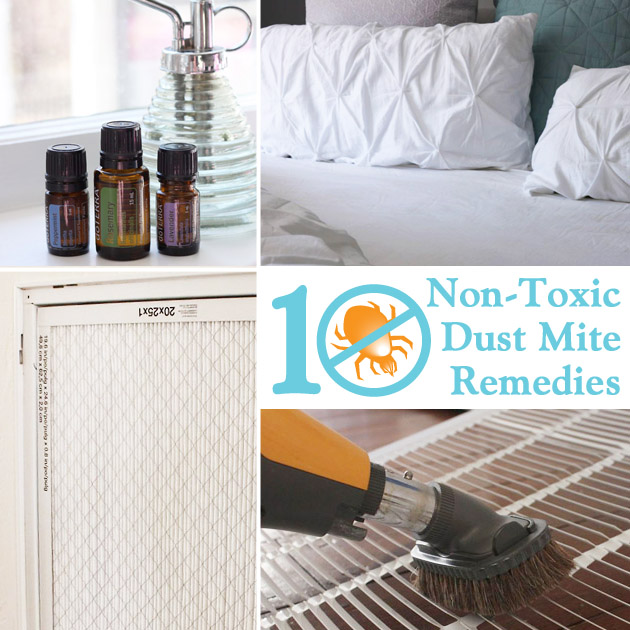
10 Non-Toxic Dust Mite Remedies | Pretty Handy Girl

10 Places You Probably Forget to Dust

I’m putting my Filtrete Ambassador cap on today. And, I have a list of the 10 Places You Probably Forget to Dust (but really should!) Are you guilty of skipping any of them? Read on to find out.

As an allergy sufferer, I know how important it is to dust before vacuuming your home. Recently we spent a week in a condo near the ski slopes in Colorado. I was in AGONY allergy-wise. As I looked closer at my surroundings I realized that although the condo looked clean, there were many places that housekeeping had neglected. ;-(

For you or the allergy sufferers in your family, here are some helpful tips to improve the way you dust and potentially make your home healthier for you and your family.

The Basics of Dusting for Allergy Sufferers:

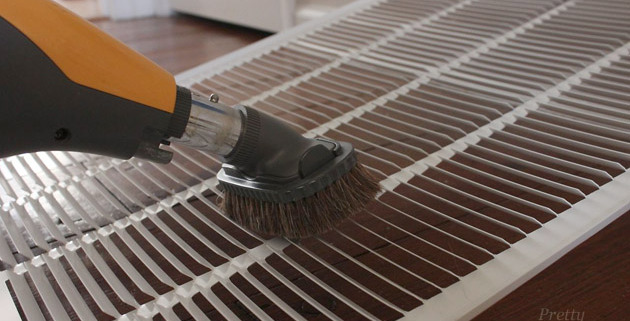
Dusting if you have allergies is slightly different than for those that don’t have allergies. The goal is to trap the dust, pollen, animal dander (or other allergens), not spread it around or make it airborne. Use damp rags (wet with water is fine) or vacuum cleaner attachments. You might also be able to use a microfiber duster like a Swiffer, but personally I find a wet rag works better (and costs less.) Be sure to fold your rag frequently and use a clean side. Never use a feather duster, it will just launch the dust into the air. The good news is that if you do dust this way, you likely won’t need to dust as often because you will be eliminating it and not spreading dust around.

Always start from the top of your room and work your way down. After the room is dusted, vacuum the floor and rugs. Pay special attention to the edges of the room by using the crevice tool or just taking off the floor head and use the hose.

10 Places You Probably Forget to Dust: Read more

10 Non-toxic Dust Mite Remedies | Pretty Handy Girl

10 Non-toxic Dust Mite Remedies | Pretty Handy Girl

As a Filtrete Brand Ambassador, I’m back to give you more ammunition for fighting allergies! As a lifelong dust mite allergy sufferer, I’ve spent more than my share of times being congested and even suffered asthma attacks from a robust dust mite population. Over the years I’ve learned several non-toxic ways to remedy a burgeoning dust mite population. Controlling dust might seem like the obvious solution to dust mites, but actually there are several specific things you need to do to control the actual mites.

First, let me tell you a little bit more about my nemesis. Dust mites are almost microscopic (you can see them with a 10x magifying glass) and tend to live among the dust in your home. Upholstered furniture, pillows and mattresses are the most desirable environments for their populations. They feed off of skin cells shed from our body. Dust mites like warm (room temperature) and humid environments.

You can never completely eliminate a dust mite population, but you can reduce the population to ease the suffering of those that are allergic to dust mites. You also don’t need to resort to chemicals or drastic measures. You can actually wage war against dust mites with some very simple tricks and tools.

Ten Non-Toxic Dust Mite Remedies Read more