Pallet upcycling is all the rage today. But, if you’ve ever tried to actually remove wood planks from a pallet, you know that it is not an easy task. The nails that are used are typically spiral nails and are designed to really grip that wood. And if that’s not enough, they usually shoot 4-5 nails per joint. Sheesh, you’d think they were building a foundation for a 10 ton elephant. Okay, actually it is the foundation that has to hold tons of product as it is lifted by a fork lift. Which explains why harvesting pallet wood can be a labor intensive task.

I figured you’d appreciate it if I shared with you the quickest and easiest way I’ve found to salvage this beautifully rustic pallet wood. Read more

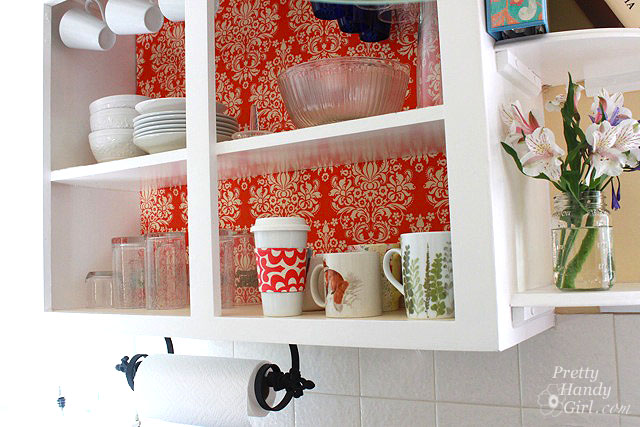
I’m back to show you the updates I made to my kitchen. Remember the plans I shared with you? These fabric backed cabinets made the kitchen new.
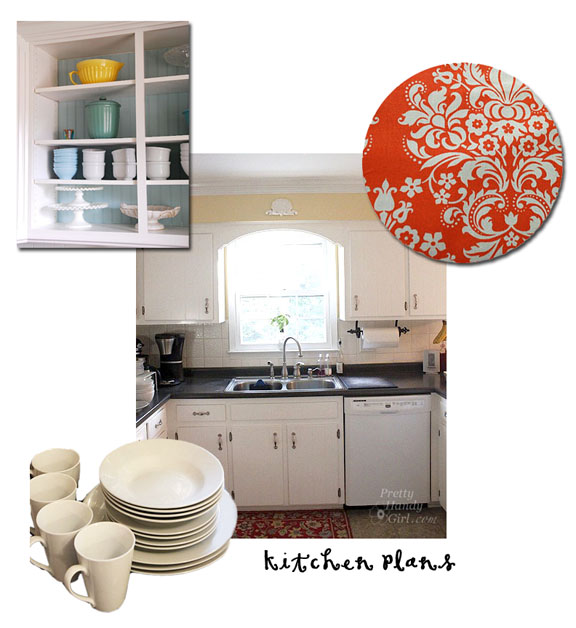
Well, they have been implemented and I LOVE the results! Best of all, the materials I bought cost me under $25 and that included the white dish set. But, the cherry on top is that I can easily reverse the changes if we move (or get sick of the look.)

And now, I present to you:
Fabric Backed Open Cabinets for the Kitchen

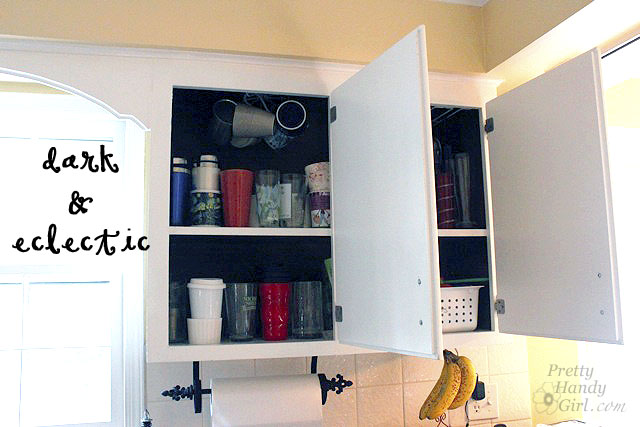
When we first met these sad cabinets, they were dark, dreary and had an eclectic collection of mugs:
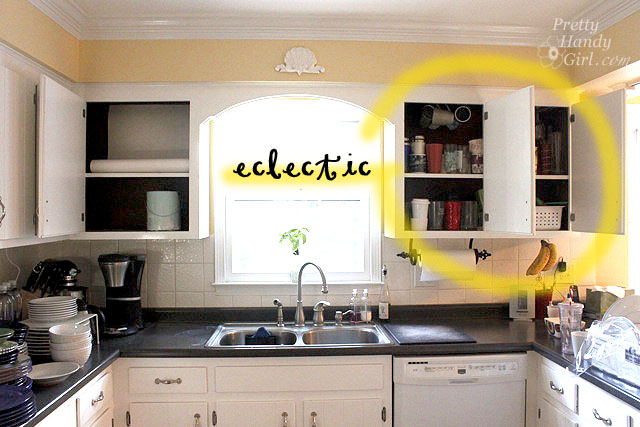
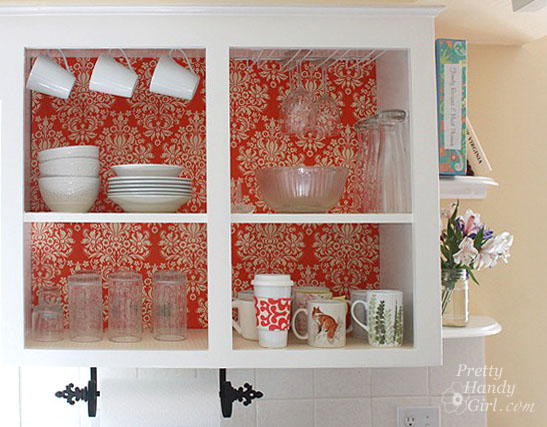
Within only a few hours (minus drying times), I had a stylish new look that is bright and cheery!
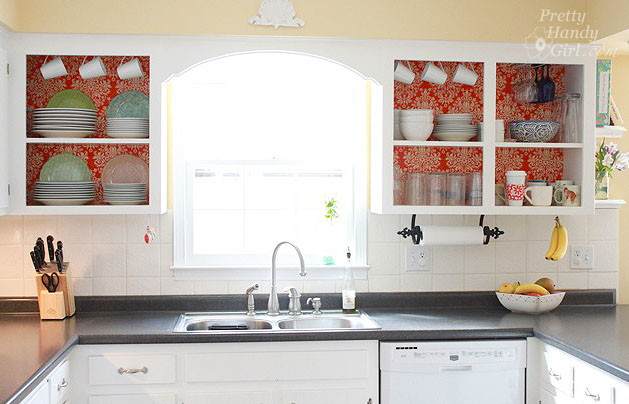
Follow along for the tutorial and the 50 cent tour (please deposit your pocket change on the way out.) Just kidding. I’ll let you in for free.

Materials:

(I’ve included affiliate links for your convenience. I earn a small percentage from a purchase using these links. There is no additional cost to you. You can read more about affiliate links here.)

Optional: 

Difficulty: Easy

Step 1: Empty your cabinets.

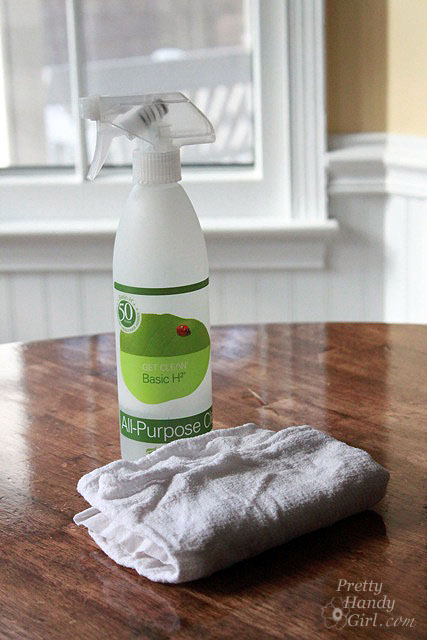
Clean the insides with an all purpose kitchen cleaner.
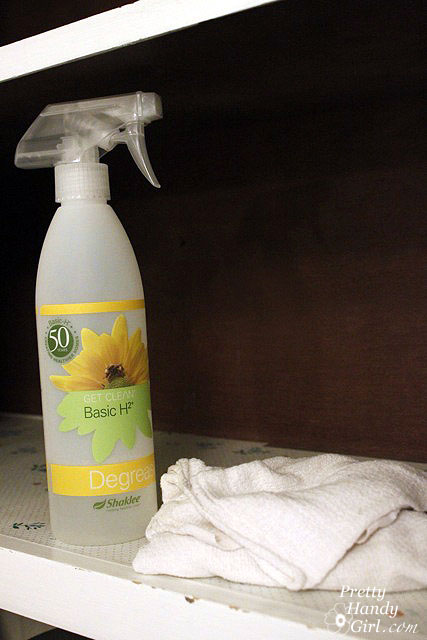
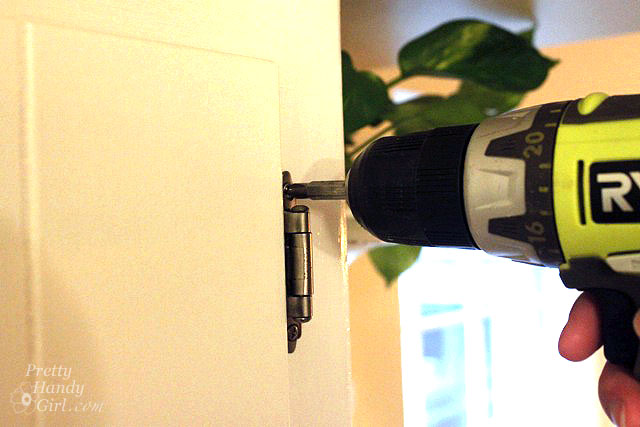
Step 2. Starting from the bottom, remove the screws from the cabinet door hinges. The last screw should be the very top hinge (to keep the weight of the door from wrenching the screw out of the wood.)
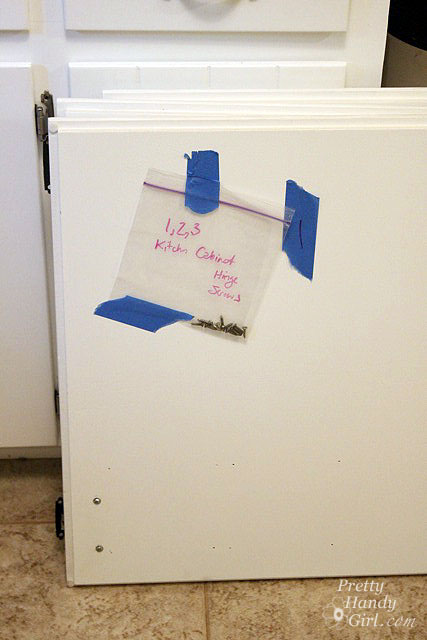
Put screws into a ziplock bag and label your cabinet doors in order so that you can return them to the appropriate cabinet opening at a later date.
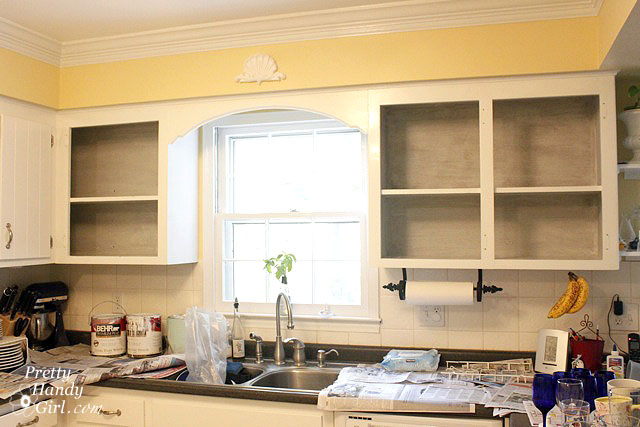
Now you should have a clean slate like this:

Step 3. If your cabinets are dark inside, you may or may not decide to paint the insides. (Be sure to check with your landlord if you are renting.) I chose to paint mine because the interiors were so dark. If you want to skip this step, fast forward to the next step.

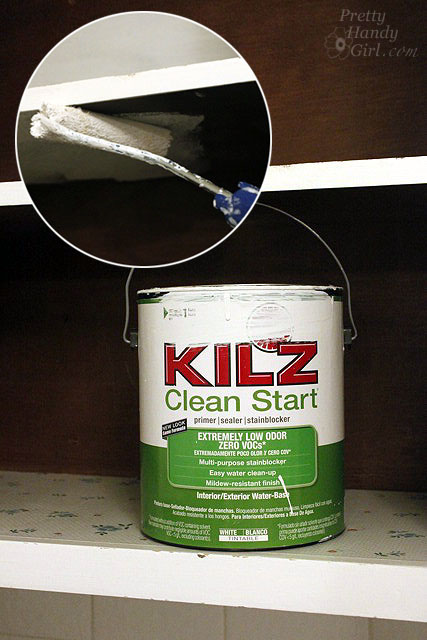
Prime the insides by rolling on primer over the flat surfaces. Use a brush to get into the corners and crevices.
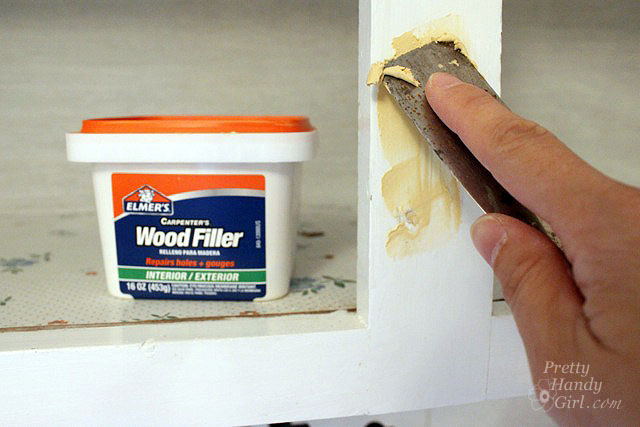
Once the primer has dried, get out the wood putty and putty knife.
Step 4. Using the putty knife, spread a small amount of putty over the holes where the hinges were. Push the putty into the holes, then scrape the excess off. Allow the putty to dry completely.
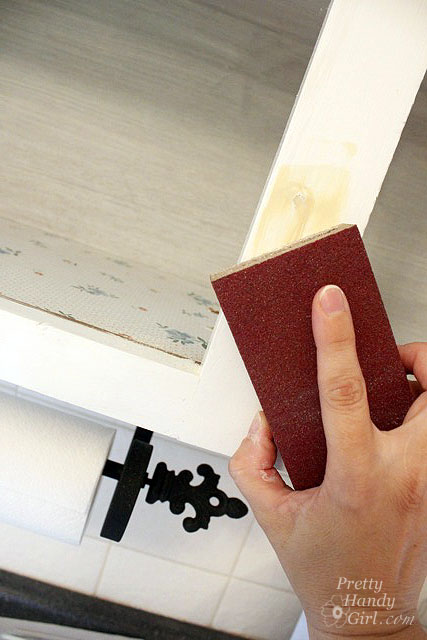
Step 5. Sand the puttied holes until smooth.
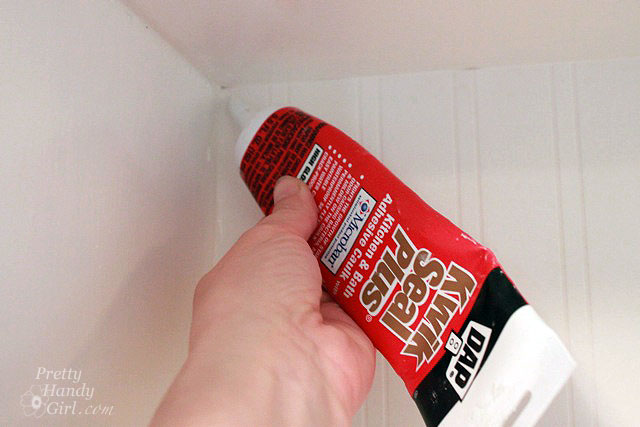
Step 6. Touch up the putty holes with paint or stain. Add caulk to any cracks or seams at the back of your cabinet. Allow the caulk to dry thoroughly.
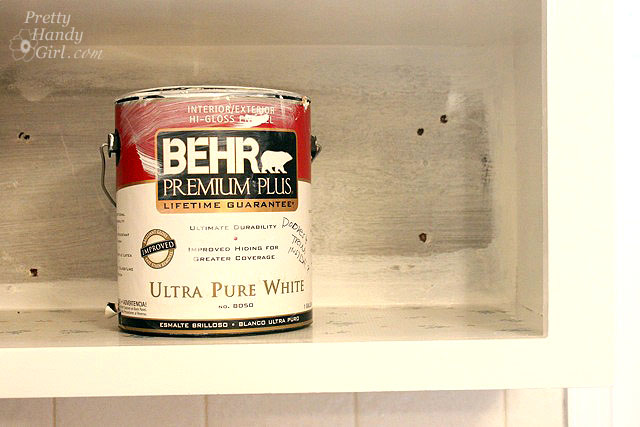
If you are painting the inside of the cabinets, roll on paint with the small roller and use the brush to smooth out the paint and get into the grooves.
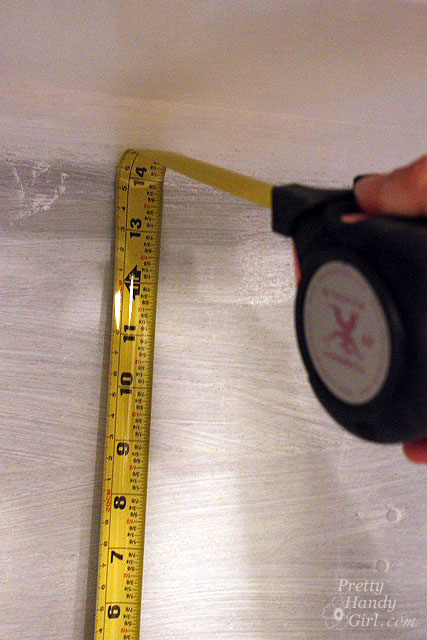
Step 7. Measure the dimensions of the back of your cabinets. Make sure your measurements are precise (measure twice, cut once is a good adage.)
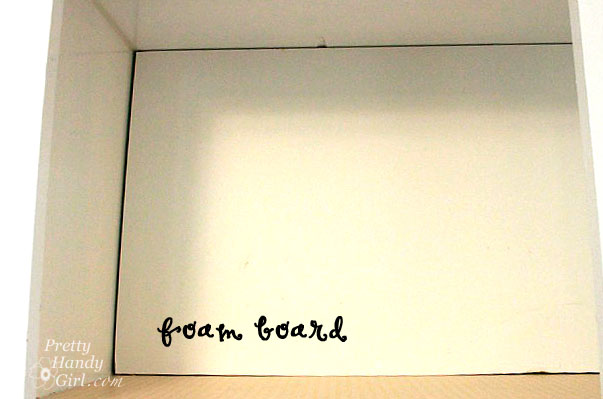
Cut a piece of foam board using the measurements you just took.

Test fit the foam board into the back of the cabinet. If your cabinet’s face frame is smaller than the cabinet back, you will probably have to bend the foam board to get it in.
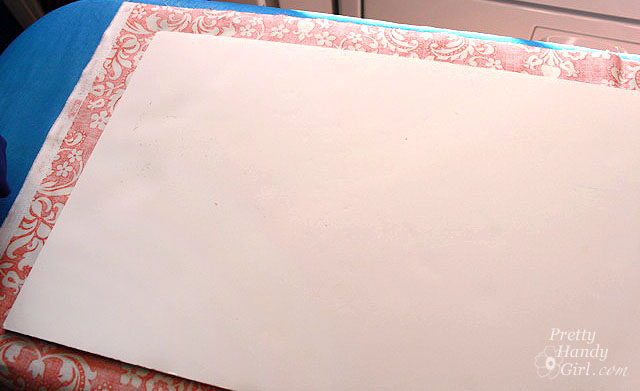
Step 8. Iron your fabric. Make sure to iron all the wrinkles out.

Cut the fabric 3 inches wider than the foam board. Lay the foam board on top of the fabric (wrong side facing up.)
Step 9. Tape the edges of the fabric onto the back of the foam board. Be sure to pull the fabric taut.
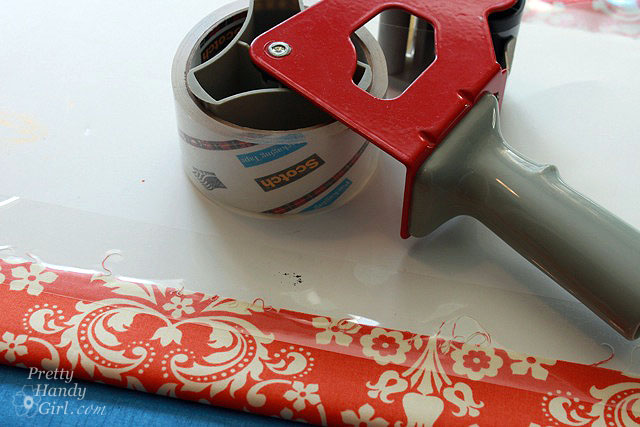
Fold the edges of the fabric as you would on a gift. Tape the ends to the back of the foam board.

Step 10. Insert the foam board into the cabinet.
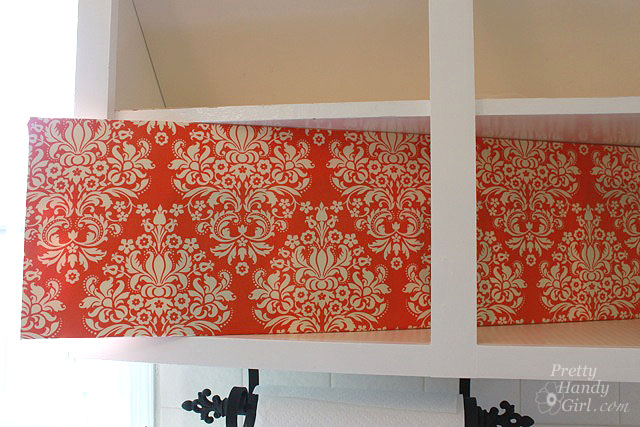
Push the foam board firmly against the back of the cabinet. The tension of the fabric and the board against the edges of the cabinet should hold it in place, no need to tape or glue anything!
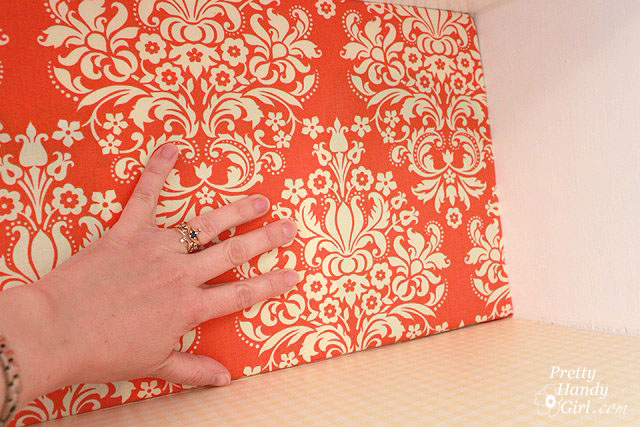
It is a good idea to try to line up your pattern if you have multiple shelves. (Do as I say, not as I do.)
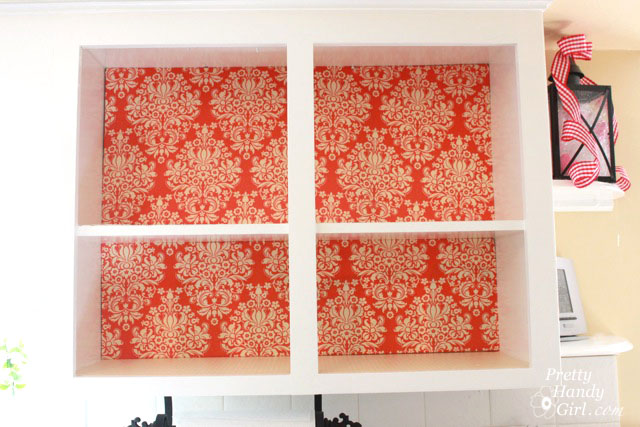
Start putting your coordinated dishes back into the cabinet. Think about displaying them as you might see in a store to complement these fabric backed cabinets.
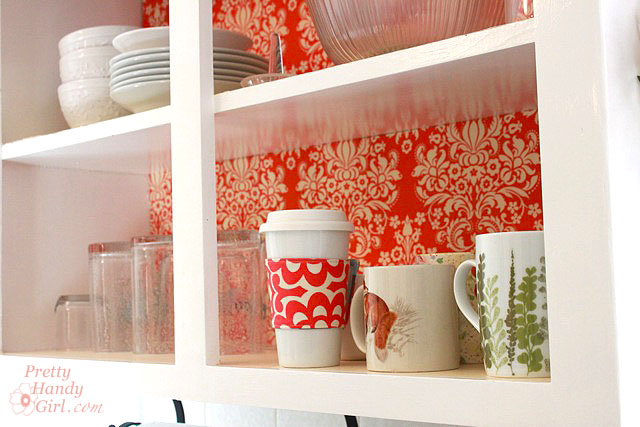
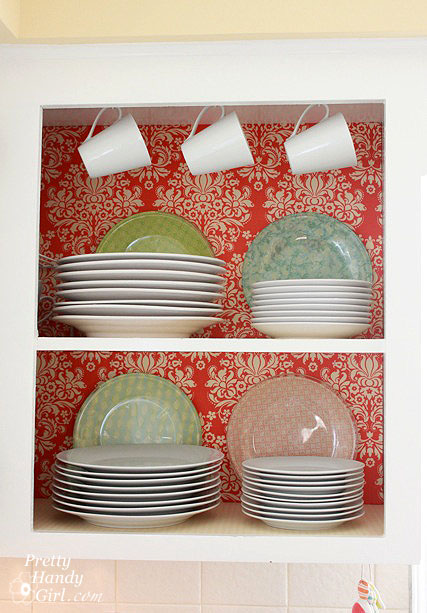
For visual interest and extra storage, I hung some mugs from the top of the cabinet.
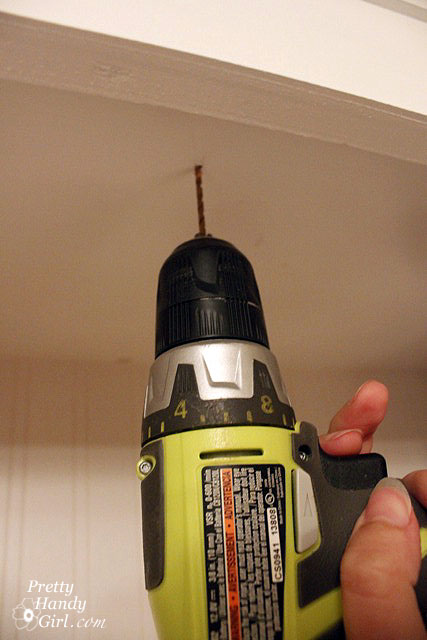
It was as simple as pre-drilling some holes and screwing in white cup hooks. (I did measure the same distance back from the face frame and spaced the hooks evenly. But, I’m a perfectionist like that.)
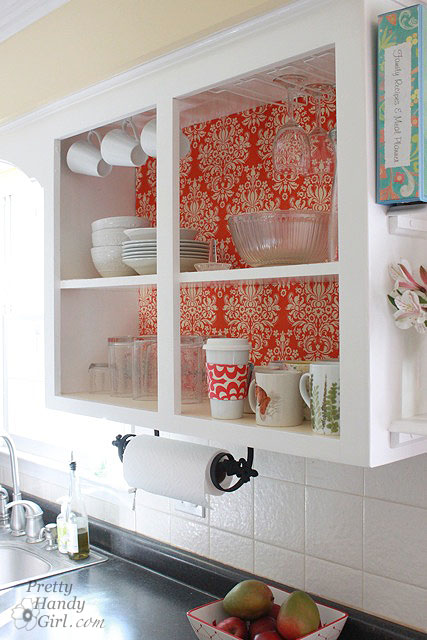
I am in love with my new kitchen! And all it took was less than $25 in supplies and a few hours.

What do you think?

The best part about this project is that I can easily remove the foam boards…
…or tape new fabric onto the back when I want to update the look!
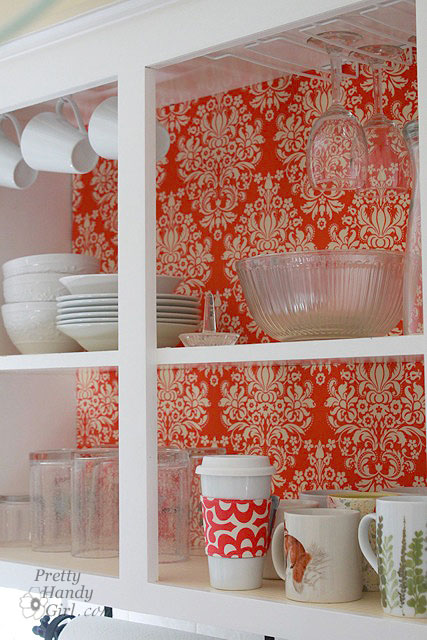
Can you imagine a cheaper, easier or more glamorous update to your kitchen?
Are you an apartment dweller that is restricted from making permanent changes to your home? Or does your budget limit the renovations you’d really like to make? Why not make a few frugal changes that reflect your own style. These fabric backed cabinets are a win for any kitchen!

Apartment Guide has changes you can make that won’t break the bank:

Want to find even more design tips for your home? Apartment Guide has budget friendly ideas and DIY how-tos for people in any sized home on https://www.movingtoday.com and https://www.apartmentguide.com/blog/

Disclosure Statement:

Apartment Guide and owner Consumer Source, Inc. partnered with bloggers such as me to participate in their monthly blogger program.  As part of that program, I received compensation.  They did not tell me what project to create or what to purchase. Nor did they influence my opinions! We believe that consumers and bloggers are free to form their own opinions and share them in their own words. Consumer Source’s policies align with WOMMA Ethics Code, FTC guidelines and social media engagement recommendations.

Sometimes it can be frustrating when you want to make changes to your home to reflect your style, but you can’t because you are in a rental. Or you do own, but you don’t have the disposable income to make grand scale renovations.

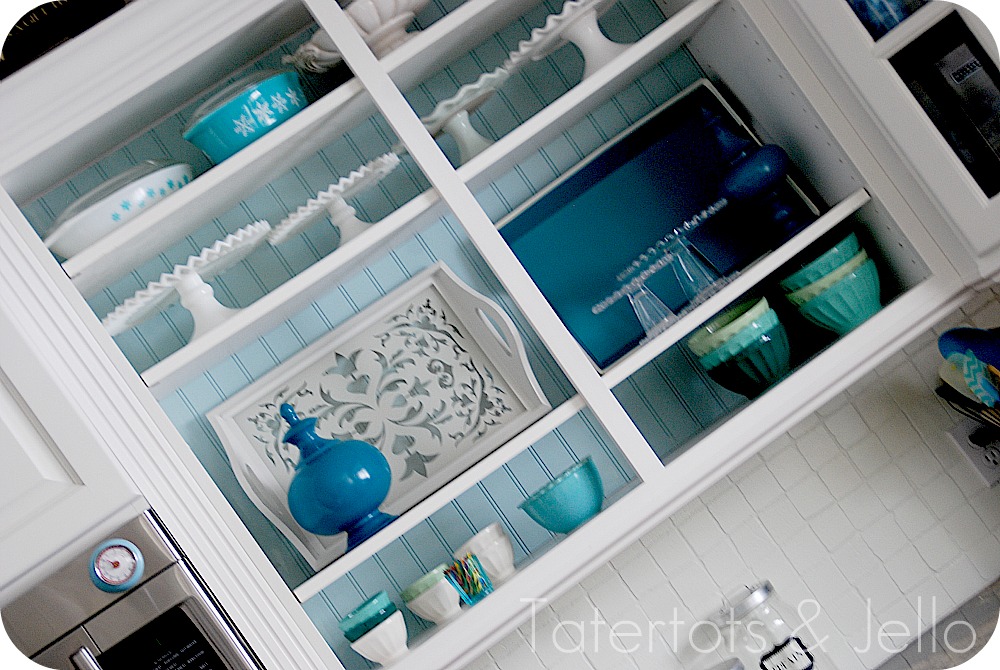
I feel your pain! Long ago I resigned myself to the fact that I can’t make any major changes to our kitchen. But, I still stare longingly at photos of open kitchen shelving.

photo credit: Tatertots and Jello

I love the look, but shuddered at the thought of open shelving showing off my eclectic (in the tacky sense of the word) dishes to the world.

The other day I decided to dream no more, now was the time to take action and make my kitchen a reflection of who I am! I put together a simple design plan:

Open shelving with patterned backed shelves (inspired by Tatertots and Jello’s shelves pictured above) and matching dishes. Plus, my plan had a “wind back the clock” option where I could return the kitchen to the exact same state it is today in no time.

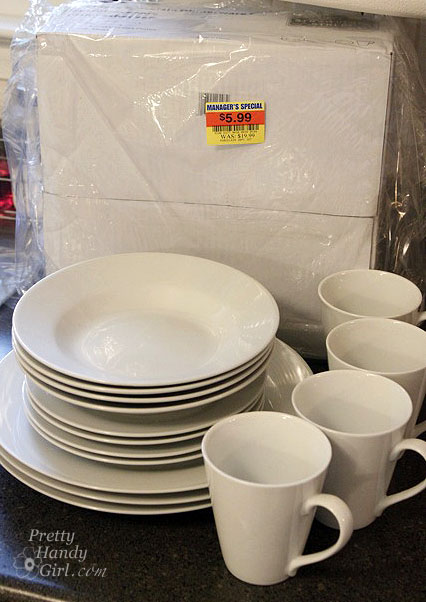
Truth be told, I saw this set of white dishes marked down on clearance ($5.99 for 4 place settings) at Kroger (our grocery store.) So, they were already in the mix.

But, here’s the sweet part: I sold my old 90’s cobalt dish set for $20 and then donated the rest of the mismatched dishes. So, I actually profited from my little dish switcheroo.

With car keys in hand and $20 dollars in my wallet, I set off to Michael’s to buy everything else I needed:

  • Foam board
  • 1 Yard of Top Drawer Bella Citrus Fabric
  • Clear packing tape
Check back with me on Wednesday to see the tutorial and reveal of my kitchen plans. I urge you to make your own plans to update one small space in your home. Make it your own and be proud of it.

Here are some inspirational ideas from Apartment Guide for changes you can make that won’t break the bank:

Want to find even more design tips for your home? Apartment Guide has budget friendly ideas and DIY how-tos for people in any sized home on https://www.movingtoday.comand https://www.apartmentguide.com/blog/

Get Posts Delivered in Your Email

Whether you’re living, looking or moving, ApartmentGuide offers how-to tips for making the most of your space on a budget.

If you’re ready for a whole new space or looking to move, ApartmentGuide has the photos, floor plans, features and tips to help you find the perfect apartment community.

Disclosure Statement:

Apartment Guide and owner Consumer Source, Inc. partnered with bloggers such as myself to participate in their monthly blogger program.  As part of that program, I received compensation.  They did not tell me what project to create or what to purchase. Nor did they influence my opinions. We believe that consumers and bloggers are free to form their own opinions and share them in their own words. Consumer Source’s policies align with WOMMA Ethics Code, FTC guidelines and social media engagement recommendations.

Welcome back to another Tool Tutorial Friday! Before we begin I want to congratulate Wendy, who won the Tomboy Tools Magnetic Hammer! Wendy said, “Thank you for continuing your education for women on power tools! I learn so much from your posts. I’m also glad to know that my son wasn’t the only one with multiple arm casts! Pink hammer – cool.”  You are very welcome!!!
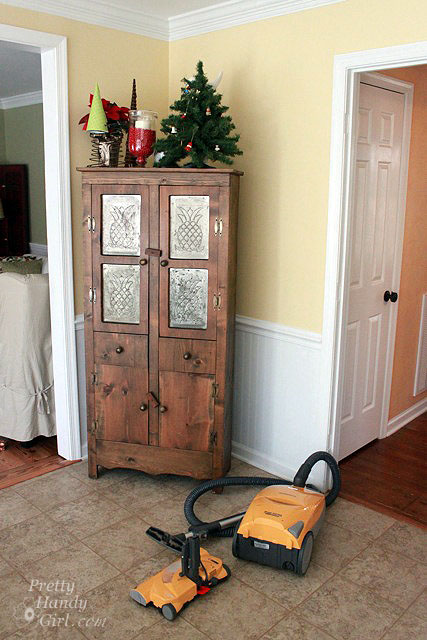
Now, on to the tutorial. Today I have a very important power tool that is a very neglected tool in my home. In fact, it is so infrequently used that I need some help from a more experienced handy girl. Anyone want to volunteer to write a guest tutorial on using a power vacuum cleaner? I could really use your expertise.
Or this equally valuable tool:

I have forgotten how to use it. Any help would be greatly appreciated. Anyone?

Well, I hope you don’t mind that instead of the usual tool tutorial friday, I’m going to give you a Holiday Home Tour instead. Get ready for this amazing tour of my utterly beautiful home! All decked out and ready for the holidays!

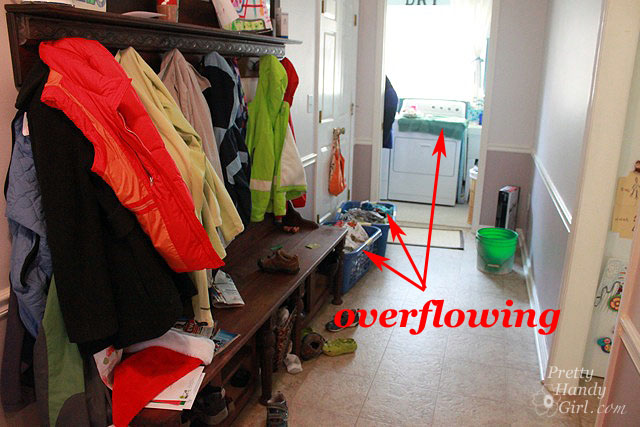
Welcome to my mudroom. I spent a lot of time decorating this room. You can see the holiday decor is so abundant it is essentially overflowing!

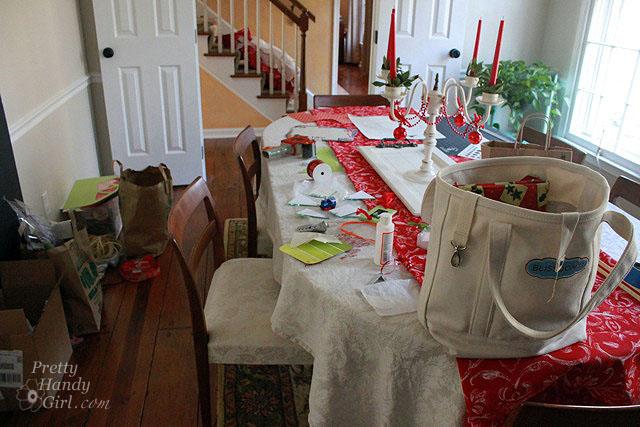
My dining room is decked out for the season with ribbons, glitter and glue. Even the advent presents are beautifully laid out (in the tote bag.) And I spared no expense when it came to decorating the walls. I used a unique combination of paper bags, boxes and ribbon to adorn them.

Follow me, right this way. Aren’t the garlands of fabric simply beautiful on our stairway? I just love the simplicity of the swags. Pink and silver running shoes add the perfect punch of color.

The kitchen has a child decor theme. Complete with reindeer food and some presents displayed on the counter. Rudolf would be thrilled to eat here.

The living room is decorated from floor to ceiling. I decided to go with a casual and convenient theme this year. When the holidays are over, all I have to do is open the blue bins (which double as a festive ottoman) and drop the decorations inside. Simply genius, don’t you think?!

I saved the best for last! This year I’ve decided to adorn the office with a new color theme. The browns and teals really bring out the holiday spirit! As do the loosely placed papers and items. Careful thought was taken into the placement and juxtaposition of each object on the desk. I think I really nailed this design.

If you haven’t guessed by now, today’s post is a “Keeping It Real” style post.

I’ve been so insanely busy with craft tutorials, Habitat ReStore lectures, broken arms, holiday preparation, gift purchases, and… oh, did I mention that Pretty Handsome Guy is away on business this week? So, you can imagine my life (and home for that matter) are in a state of disarray. So, I hope you’ll excuse me for the next few days as I take a little time to pull my home and life back in order and enjoy the holidays with the people that matter most to me (not that you don’t matter to me!)

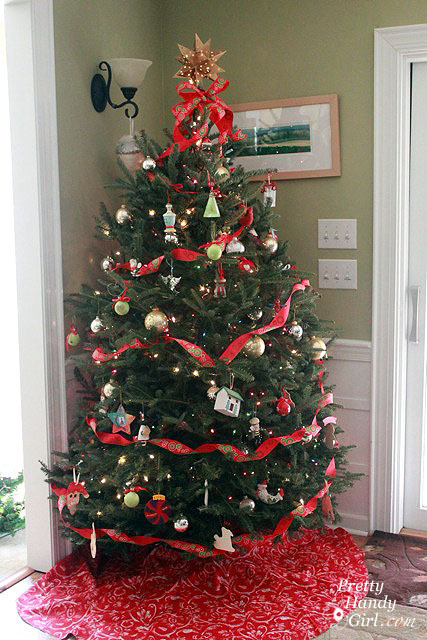
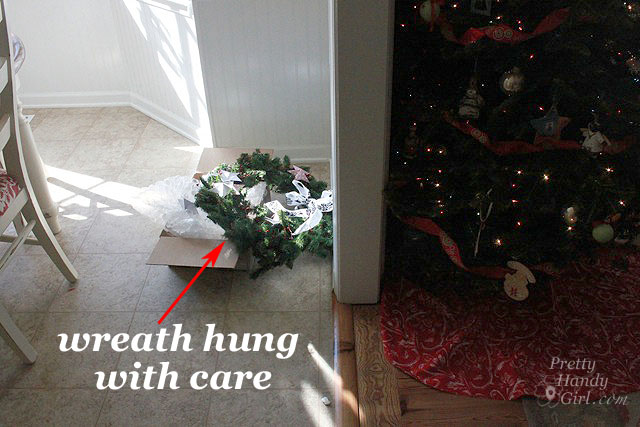
In all seriousness, I have accomplished one decorating feat: the tree! I think it looks pretty good if I do say so myself…except…what is that thing lying on the floor to the left of the tree?

Oh, why it is my wreath that has been hung with care!

I’ll be back on Monday with a very important guest. And then check in every day next week for my creative gift wrapping series. You won’t want to miss it!

In the meantime, Happy Holidays! And feel free to see how I decorated last year, aka Rustic Christmas Decor!

Sharing my eclectic decorating style with: Positively Splendid’s Saturday Seven and Funky Junk Interiors SNS

In other news, I have a big announcement to make: The first set of speakers have been announced for the SNAP 2012 conference! I am really excited to be working with such a fabulous group of women bloggers!

If you haven’t heard of it, SNAP is a big creative blog conference from April 19th – 21st near Salt Lake City, UT. I am truly honored to be asked to speak at SNAP and I can’t wait to share some motivational empowerment words with the attendees.

If you would like to enter to win a ticket to SNAP, there is a big ticket giveaway happening right now! From now until Christmas, SNAP will be giving away one ticket a day. So, head over to enter to win your ticket.

Feel free to read a little more about the SNAP conference. It is going to be phenomenal!


Today is Friday! And you know what that means…it’s time for another Tool Tutorial Friday! Today I’ll be introducing you to the circular saw.


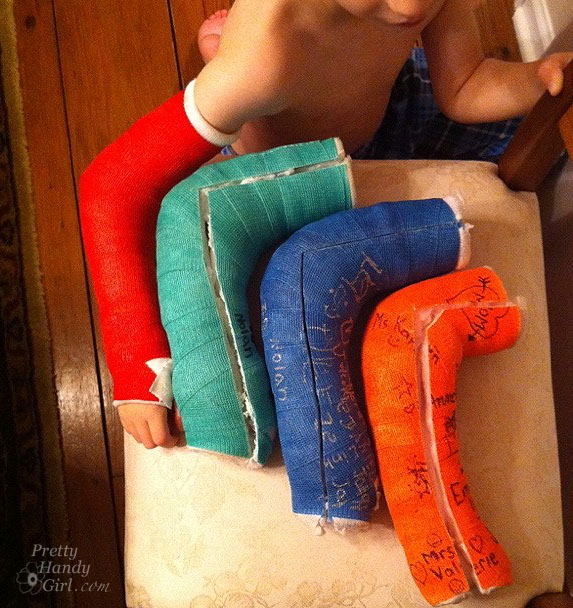
But first, how are you? I don’t know about your week, but I’ve had a busy one. If you follow me on Twitter (I’m not sure why anyone would), you would have been privy to the rainbow of color casts my son has been collecting. He received his 4th cast yesterday. But, who’s counting, right?! Anyway, I learned two things about casts in the process.

  1. Little boy arms will swell to adult proportions post surgery, but will eventually return to normal size…eventually. At that point, a new cast is desired to keep the arm from finding a way to wiggle out.
  2. If you put two brothers in the bathtub and leave the room for one nano-second they will find a way to water log a tightly plastic bagged and saran-wrapped cast that is merely 5 days old!

Mr. Green up there, he only lasted a mere 5 days! You could probably tell by the one signature on it. My mom is trying to convince us to paint white stripes around his current red cast to make it into a candy cane. Hee, hee.

And now let’s plug in some power and start this tutorial!

A circular saw is essentially a portable power saw that can make easy cross cuts like a miter saw. But, it can also rip long boards like a table saw. This little hand held bad boy is a necessity if you are working on an exterior project like a deck or a fence, or anything that is too big to put on the miter saw or table saw work surface. Trimming the varied lengths off newly laid deck boards would be near impossible without a circular saw.

Before I owned either a table or miter saw, this was my power saw. And this baby has cut a lot of wood in its life.

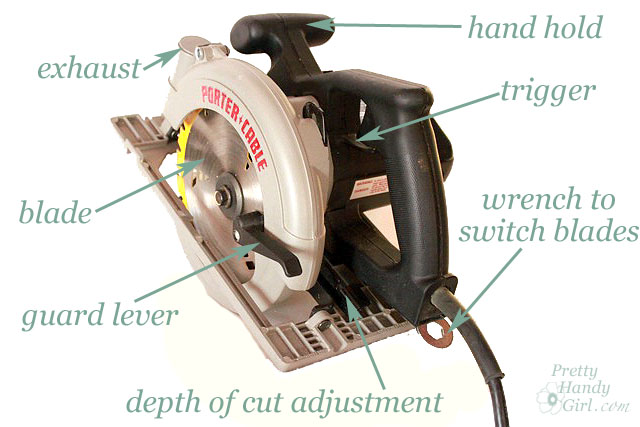
If you are familiar with circular saws, this particular model may look a little bit backwards to you. That is because this is a left-sighted circular saw. I think Porter Cable is one of the few companies (if not the only one) to make one. I am right handed, but for some reason, this saw seemed more comfortable to me. When I was shopping for my circular saw, I spent about an hour or so picking up, holding and imagining using the saw. What I liked about the Porter-Cable is that it had a smaller grip and I was able to span my hand width between the hand hole and the guard lever while cutting.

If you go shopping for a circular saw, spend some time holding them and see what feels most comfortable to you.

Circular saws range in price from as low as $30 up to $300 or more. They come in a variety of  sizes (5 3/4″ – 9″) which refers to the blade size. The most common size people buy is a 7 1/4″.

Before you make any cuts with a circular saw, you must set your depth of cut. If cutting through a board, set the blade about 1/8″ – 1/4″ lower than your lumber. Support your lumber on saw horses or a raised surface (4″ x 4″ posts on the ground work well.) It is imperative that you think through your cut before you actually saw a board. Make sure that your waste end will fall away from the saw after it is cut. Otherwise, the blade will get pinched between the boards and can kickback (see the example in the video.)

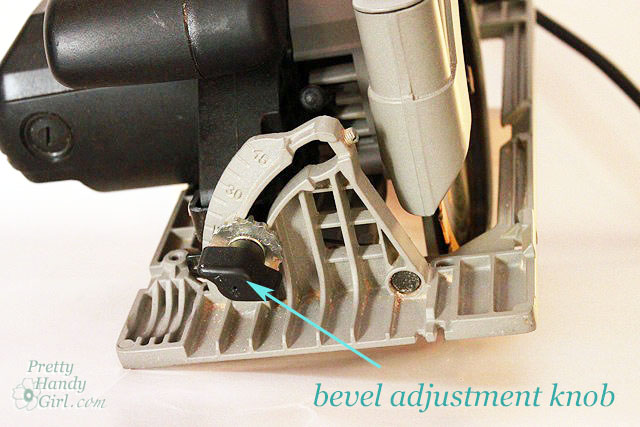
You can also change the bevel angle of your cut by adjusting the base of the saw after loosening the bevel adjustment knob.

As with any other power tool. Take the time to familiarize yourself with your power tool. Read the manual and only use a power tool when you are alert and not distracted.

DISCLAIMER

The viewer assumes all responsibility and liability associated with the hazards of woodworking. Pretty Handy Girl is not responsible for any errors or omissions that may be present in this tutorial. She also assumes no liability for any action or inaction of a viewer.

Please use extreme caution when using power tools. Read your tool manual thoroughly and wear protective safety gear. Take your time familiarizing yourself with a tool before using it. (If you are missing the manual, you can easily find it online by going to the manufacturer’s website or google your saw’s make and model + manual.)

Please recognize that I have tried to put together a basic circular saw usage tutorial to get you started. I have tried my best to show the safest way to use a circular saw. That being said, I am not a professional (I only play one on this blog ;-) .)