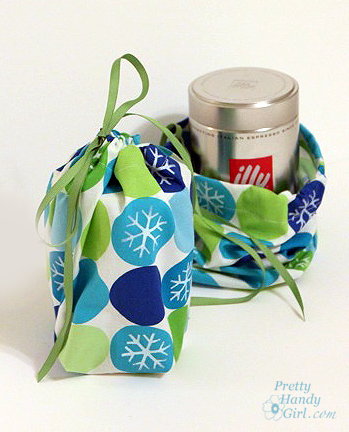
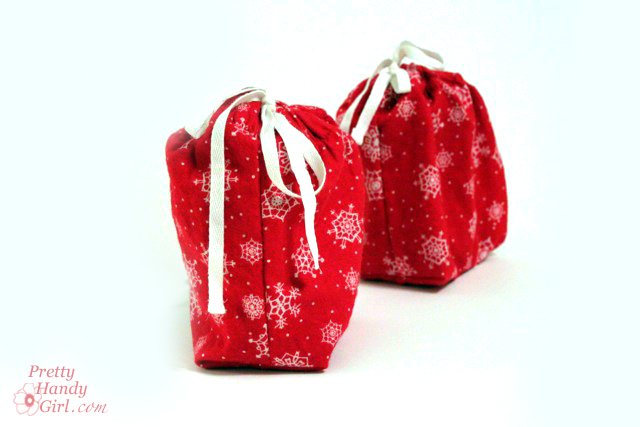
Gift pouches are super easy to make. You can use fabric, cloth napkins, or even a pair of pajama pants or boxers* (see bottom of this post)!

I made pouches using fabric that I stenciled with Martha Stewart stencils and the roller top paint roller. As promised, here is how to sew a box bottom gift pouch:

Materials:

  • Fabric
  • Thread
  • Scissors
  • Safety pin
  • Ribbon or cord
  • Pins
  • Sewing Machine
  • Iron (and ironing board)
  • Ruler

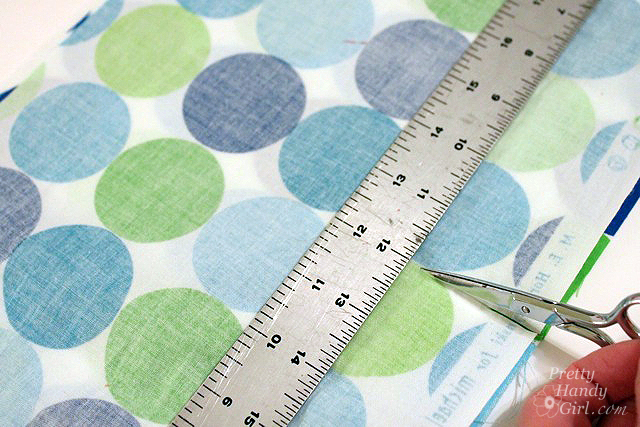
1. Start by cutting fabric into two 8″ x 12″ rectangles.

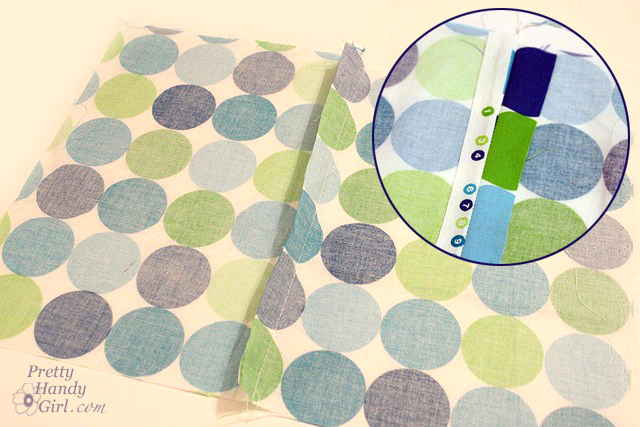
2. Pin right sides together and stitch along one length of the fabric (12″ side). Then press the seam open.

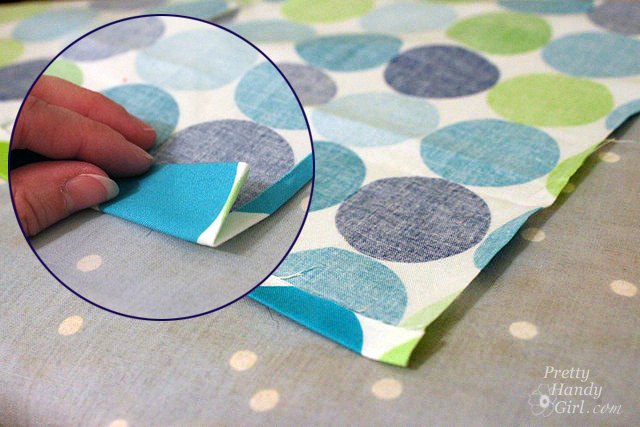
3. Fold over the top edge of the fabric 1/4″ then again about 1/2″. Press the folds with an iron. This will be the sleeve for the drawstring.

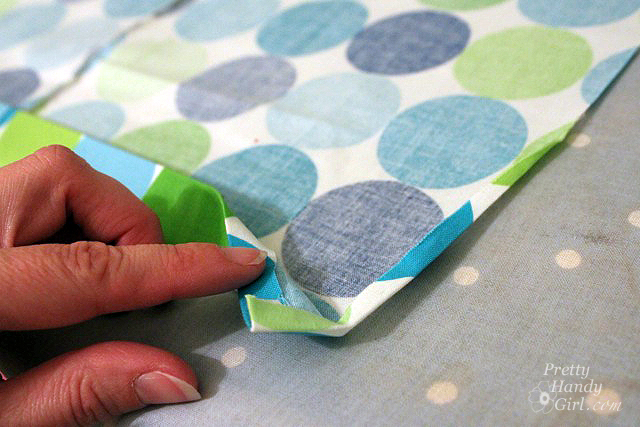
4. Fold in the sides about 1/4″ over. The fold should extend from the drawstring sleeve to about 3″ down the side to finish off the raw edge of the fabric.

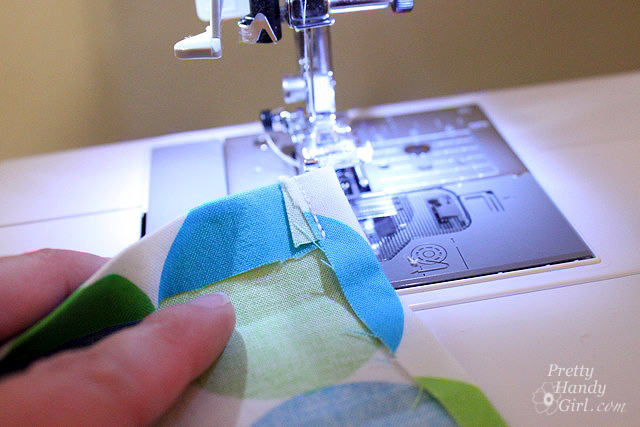
5. Stitch this fold at the very top ( inside the drawstring sleeve) to hold it in place.

6. Sew the bottom folded edge of the drawstring sleeve. Stitch as close to the edge as possible.

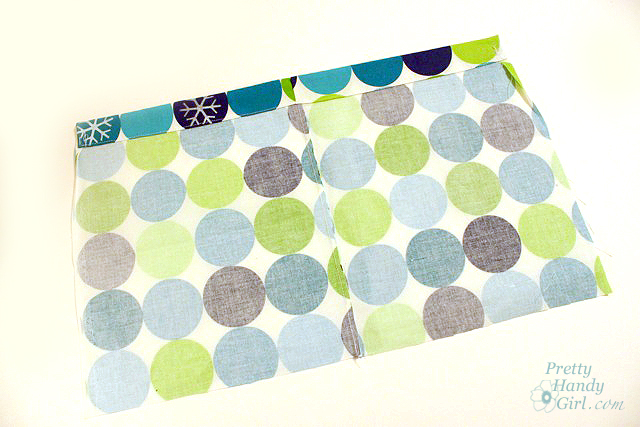
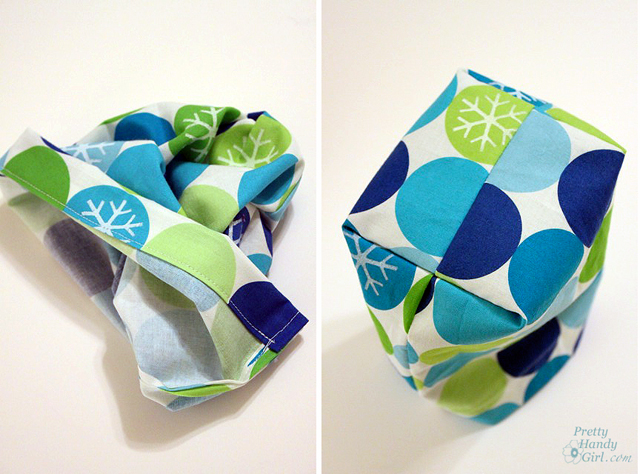
Your pouch should look like this:

7. Fold the fabric in half lengthwise (right sides together). Start your stitches just below the drawstring sleeve. Sew along the open side of the pouch and across the bottom.

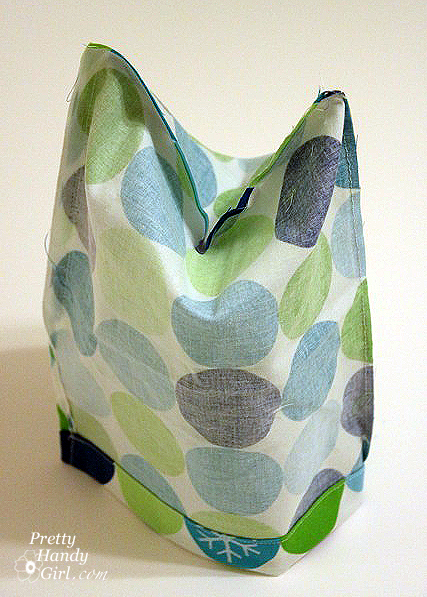
Your pouch should look like this:

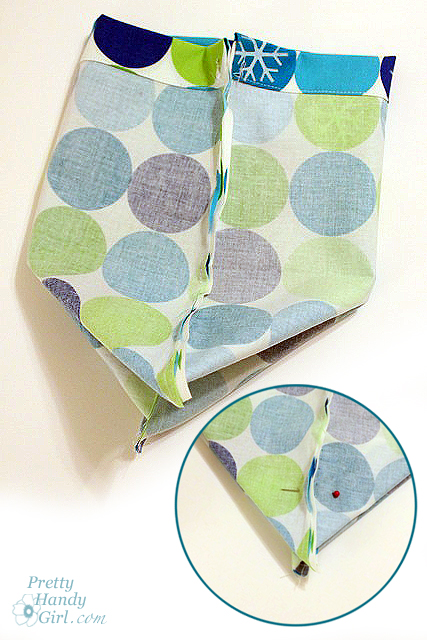
8. Grab the center of both sides of the pouch and pull them away from each other. The seams should be in the middle now and the base of the pouch makes a triangle.

9. Pin about 2 inches up from the point of the triangle.

Repeat on the opposite side. (The further up you pin the bigger the box at the bottom of your bag will be.)

10. Stitch along the width of the pouch where you pinned.

Repeat for the opposite side.

11. Turn the pouch right sides out.

12. Cut a piece of ribbon long enough to feed through the pouch top and to tie a bow. Attach a safety pin to the end of the ribbon and feed the safety pin through the sleeve at the top of the pouch. When the safety pin exits the other side, pull the ribbon until the ends are even. Remove the safety pin and snip the ends of the ribbon if needed.

That’s it! Now you know how to make a super easy box bottom gift pouch!

Put your gift inside and tie the ribbon. You now have instant gift wrap and a pouch that the receiver will love to keep!

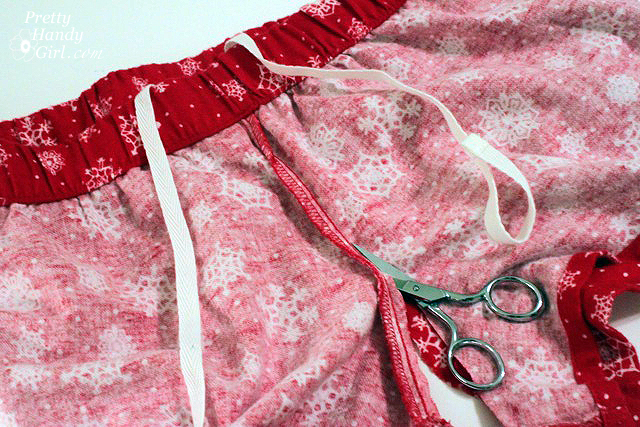
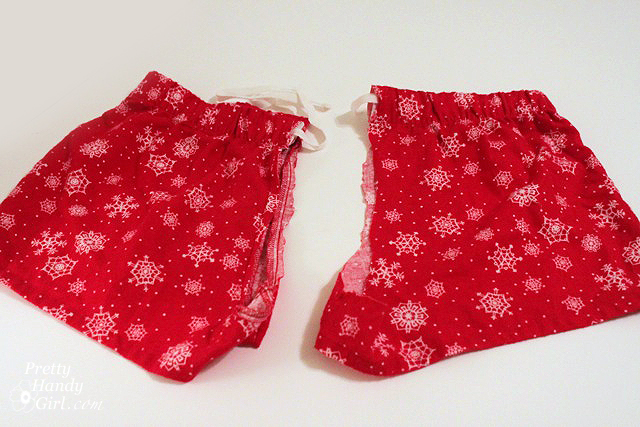
*If you find a cute pair of boxers or pajama pants at Goodwill, buy them! You can use them to make gift pouches as well. After washing the pants (of course), cut the two legs apart by cutting up the front and back center seam.

Separate the pants into two pieces. If your pants have a drawstring, you can use it for your gift pouch string (but you may have to cut the stitching around the tag if it has been sewn in.)

Square off the bottom of the legs by cutting across at a 90 degree angle.  Follow the directions above to make two more box bottom gift pouches!What do you think? Easy right?! Would you know that those were pajama shorts in a past life? Don’t lie, you only know because I showed you ;-).

 

Looking for a gift for those hard to buy people on your list? Or simply an inexpensive gift for your child’s teachers? I found the perfect gift while grocery shopping. Our local Kroger had Illy ground coffee and tumbler sets on clearance. Naturally I shoved everyone aside and grabbed as many as I could (not really, but I would have!) For under $8 each, it was a real sweet deal.

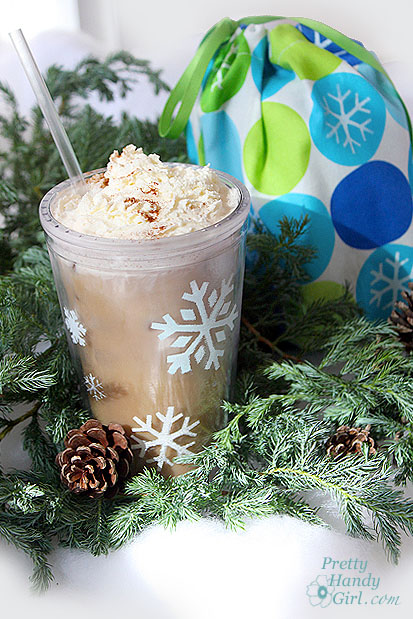
I thought the gift sets needed a little somethin’ special to give them holiday flair (or maybe I was feeling guilty that the gifts were just too easy and inexpensive.) With a little Martha Stewart multi-surface craft paint and Martha Stewart decorative snowflake stencils, I turned them into extra special holiday gifts.

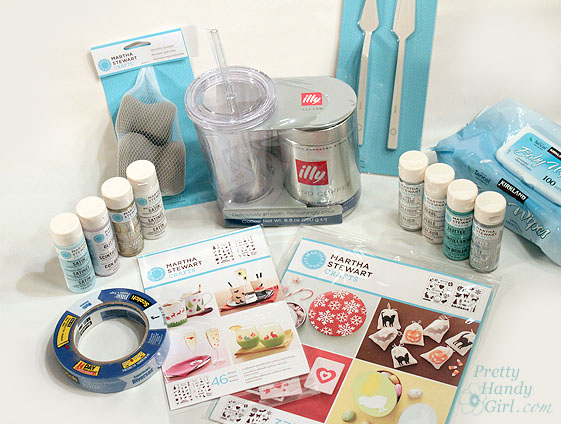
Materials:

(I’ve included affiliate links for your convenience. I earn a small percentage from a purchase using these links. There is no additional cost to you. You can read more about affiliate links here.)

  • Tumbler and ground coffee
  • Martha Stewart craft supplies:
    • Multi-Surface Craft Paints:
      • Mother of Pearl
      • Wedding Cake
      • Summer Haze
      • Metallic Sterling
    • Holiday stencils
    • Holiday adhesive stencils
    • Roller tops
    • Specialty sponges
  • 3M ScotchBlue painter’s tape
  • Paint brush
  • Fabric
  • Baby wipes or wet rag


Decorating the Tumbler:

Clean the tumblers with soap and water. Let them dry.

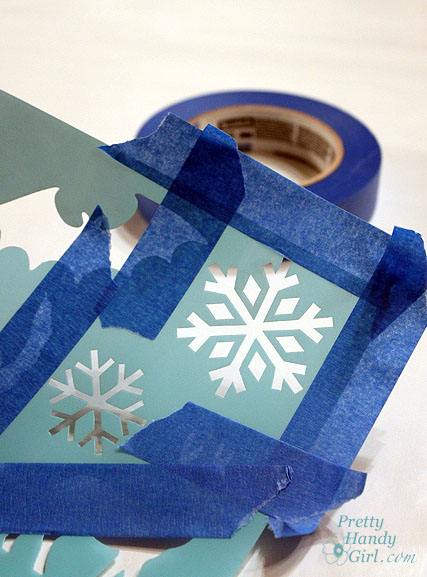
Tape off the areas of the stencil that you aren’t using. Add more tape to the outside edge of the stencil to hold it in place on the tumbler.

Wrap the stencil around the tumbler.

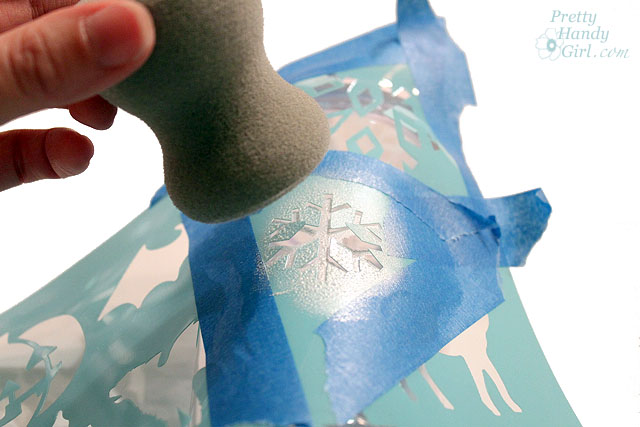
Dip a specialty sponge into the Martha Stewart  multi-surface craft paint. Dab off any excess paint.

Pounce lightly and straight onto the stencil. (If you come at it from an angle some of the paint may seep under the stencil or move the stencil.)

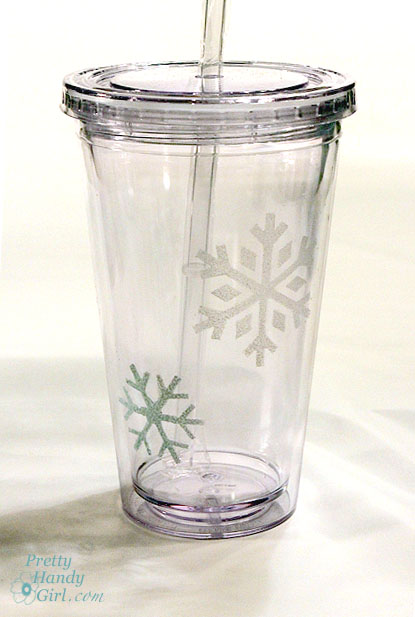
Gently remove the stencil and reposition it in another location on the tumbler. (Be careful not to overlap the first snowflake.)

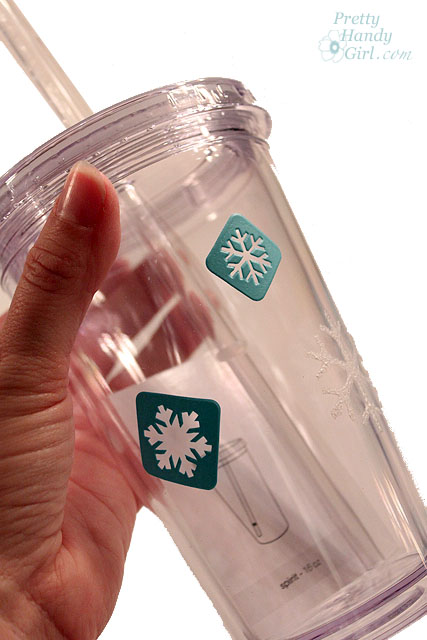
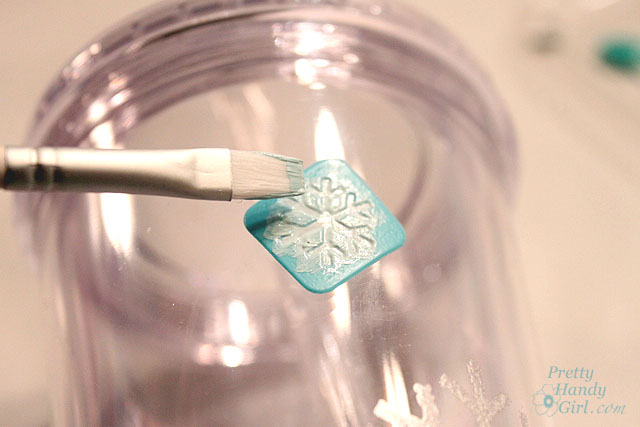
Fill in areas between the larger snowflakes with small self-adhesive stencils.

The specialty sponge is too big for these smaller stencils, but you can use a paint brush to paint inside the stencil.

Repeat until you are happy with your decorated tumbler.


Snowflake Gift Bags:

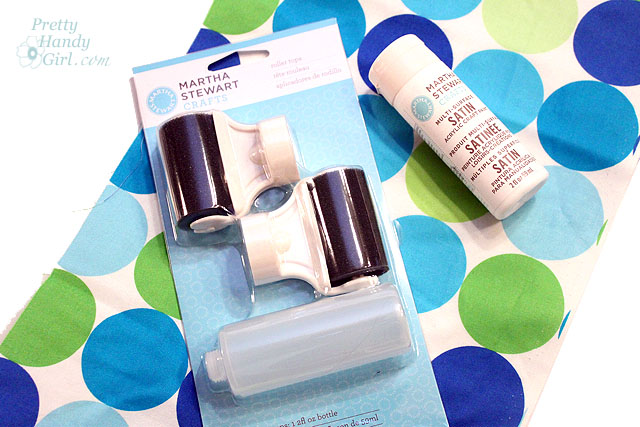
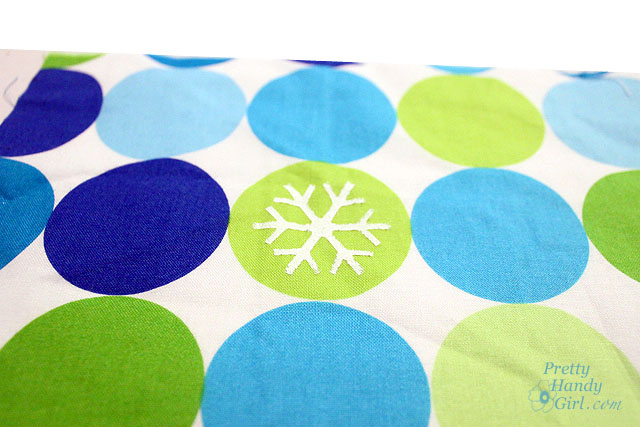
Squeeze some craft paint into a Martha Stewart roller top (best invention EVER!)

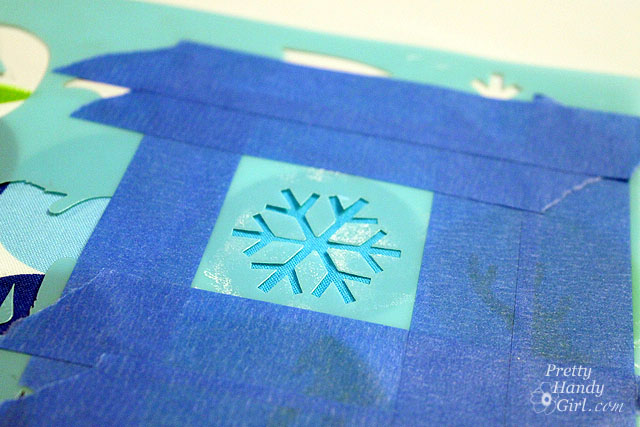
Tape the stencil onto your fabric.

Gently roll the roller top back and forth over the stencil until the desired amount of paint comes out.

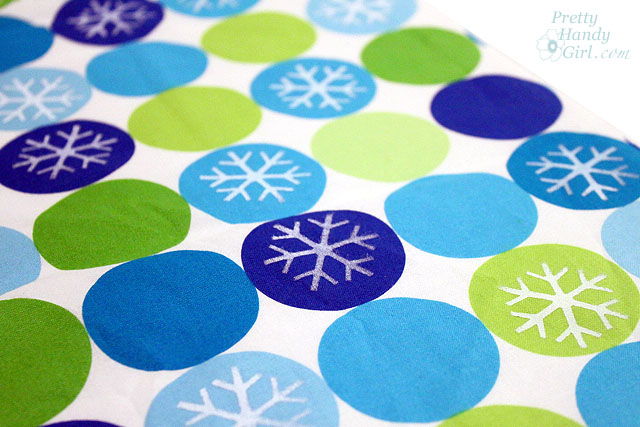
Remove the stencil and let the paint dry.

Repeat the snowflake design randomly throughout the fabric.

Sew a little box bottom drawstring gift bag, using the snowflake fabric. I think the snowflake themed coffee gift set will be a big hit! (Holiday decoration, thrifty, re-useable, and come on…who doesn’t LOVE coffee?!)


This was a very easy craft to create. You could decorate with any stencils you like. Think how cute a stenciled monogram would look on the tumbler.

I will probably include a note mentioning that the tumbler design will last longer if washed on the top rack of the dishwasher.


Disclosure: I was provided the craft materials and a small payment in exchange for writing this tutorial. The ideas, tutorials, and opinions are my own.
Sharing with:

Tip Junkie handmade projects

Hey y’all, I spent the weekend clearing out our garage, painting it and building custom storage. If there was a nook in that garage, I utilized it! Like the storage underneath my router table, I added shelves and casters and now it is a rolling power tool storage and router table. Ha! I’ll give you some tutorials at a later date.

In the meantime, my friend Amy asked me to participate in A Swell Noel, two months worth of DIY gift ideas for the holidays. There are some fantastic bloggers participating and sharing their best gift tutorials! You should take a peek.

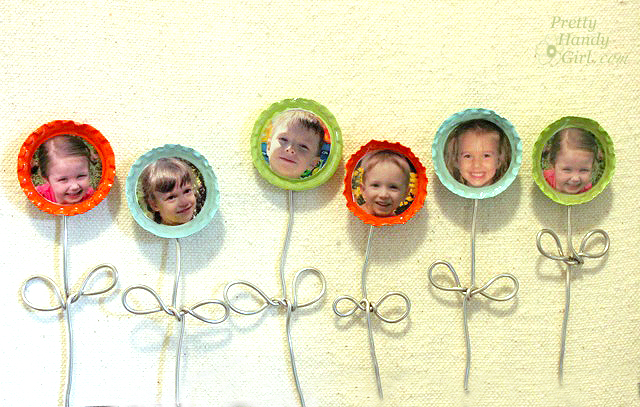
While you are there, I will show you how to turn a pile of this…

…into these!

Aren’t they adorable?! I mean the kids, of course ;-).
In other news, if you missed my post on Friday, The Tool Tutorial Friday series just started. We learned how to use a miter saw. AND, Tomboy Tools is giving away a magnetic hammer. All you have to do is comment on my Tool Tutorial Friday post to enter to win.

Did you remember? This week is Trick or Tip Week! I’m teaming up with some other great bloggers to give tips all week! Friday will be a link party where you can share your own tip or trick!

Jenna at SAS Interiors is waiting to share her painting tips with you, so head over to her blog.

I hope you’ll join the fun.

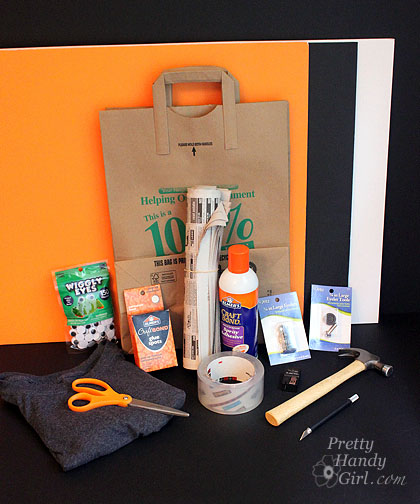
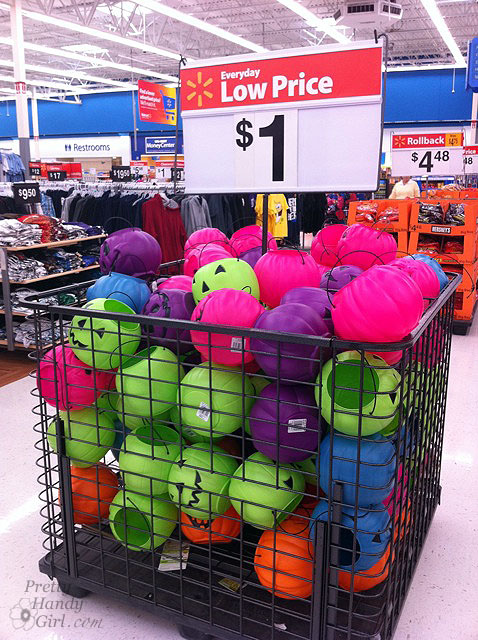
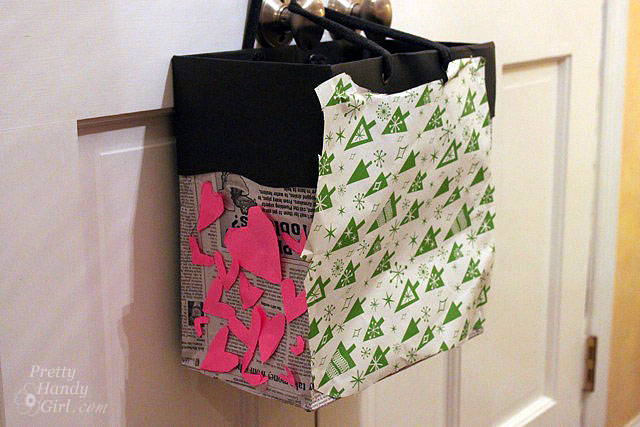
My kids like to raid our recycling bin. They make the most imaginative things out of milk jugs, strawberry pints and toilet paper rolls. In fact, my five year old has been making his own Halloween costume from paper bags and tape. So, when #CollectiveBias sent out a challenge to make trick or treat bags with Elmer’s Craft Bond Glue Spots and Elmer’s Foam Board, I knew right where to head for supplies: Walmart AND the recycling bin! I hereby invite you to join me (and my escort) as we gather the supplies for this project.

Materials:


Instructions:

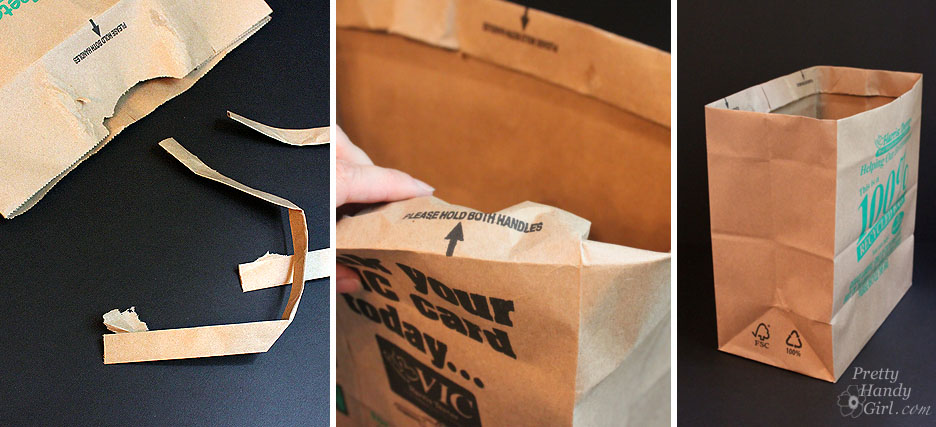
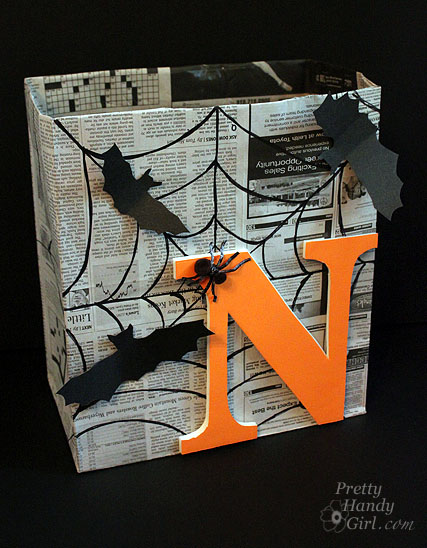
Start by removing the handles from the paper grocery bag and then cuff the top of the bag by rolling it under two times.

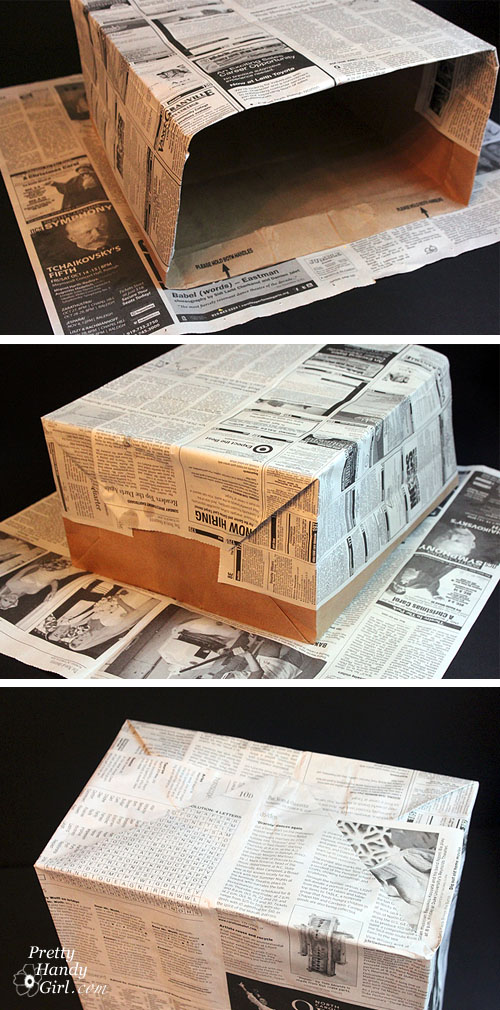
Pick out two sheets of newspaper (I used the obituaries. Truly Halloweeny don’t you think?!) and bring the paper bag and newspapers outside and spray them with spray adhesive.

It is important to wrap the paper bag with the newspapers as soon as possible for a maximum bond.

Wrap the bag neatly like a present with the newspaper. Use clear packing tape to tack any loose edges down. Also add a strip of packing tape to the inside of the bag cuff for extra support for the handle (should your child bring home pounds of candy!)

Take out your sharpie pen and draw lines in a spiderweb pattern on the bag.

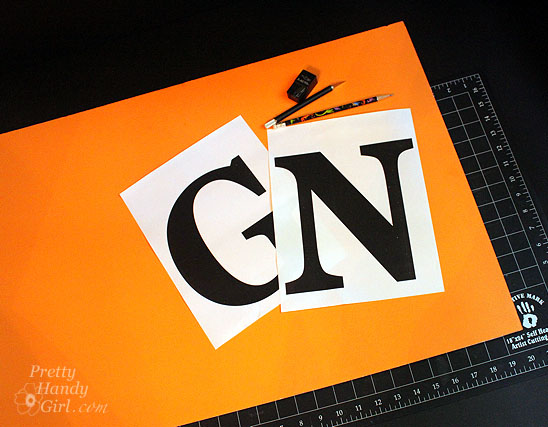
Set the bag aside and collect the orange foam board, x-acto knife (with a fresh blade), pencil and the letter print out.

Set the letter on top of the foam board. I usually line the edge of the letter up with the edge of the foam board for less material waste.

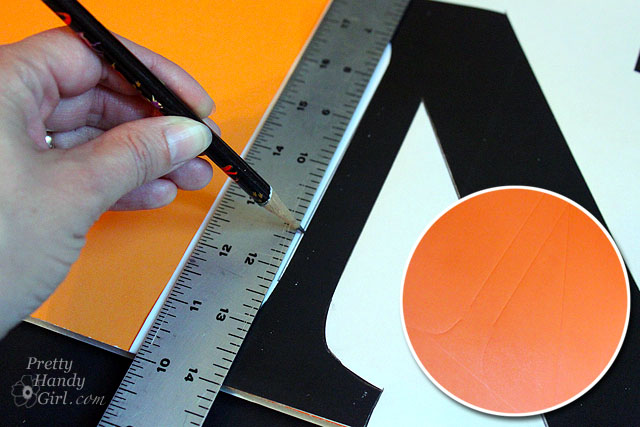
Press firmly with the pencil as you trace around the letter. When you remove the print out you should see an indented outline.

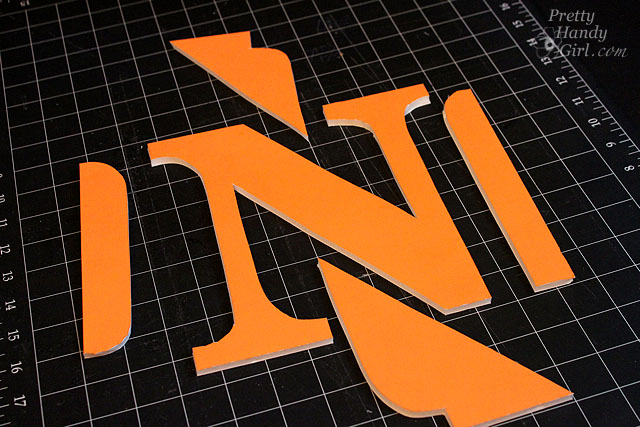
Using the x-acto knife, cut out your letter shape. Use a metal ruler to cut straight lines. If your knife starts to tug and pull at the foam board, put a new blade in.

Clean up any ragged edges with the x-acto knife.

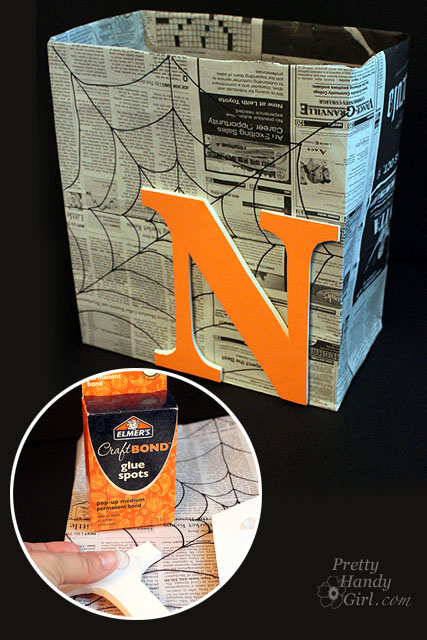
Use a few Elmer’s Craft Bond glue spots to affix the Elmer’s foam board letter to the bag.

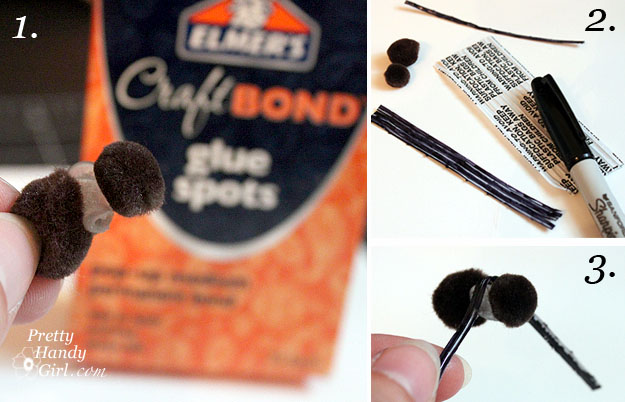
To create a little spider, glue two pom-poms together with another glue spot. If you have black twisty-ties you are good to go aren’t you special, you don’t have to color them. (I only had white ties so I colored them with the black sharpie.) Wrap four twisty-ties around the middle to create the spider’s eight legs.

Use another glue spot to glue the spider to the bag.

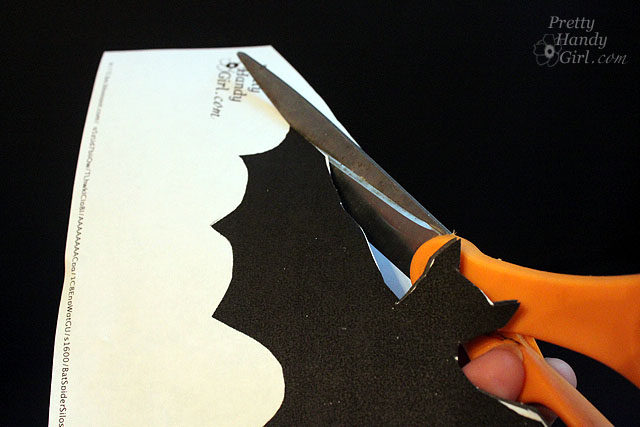
Print out a bat silhouette downloadable template and layer it on top of black poster board. Cut out a few bat silhouettes.

Use a glue spot on the center of each bat to glue them to the bag. Fold the bats wings up for more dimensional interest.

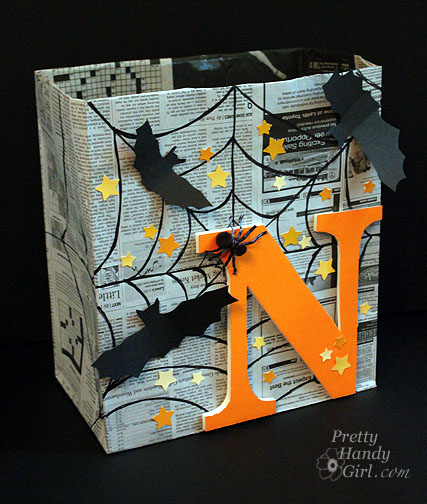
Add stickers (or pre-punched paint chip stars using Elmer’s Glue-All multi-purpose glue) to the bag.

I incourage you to decorate your bag anyway you like. Bust out your craft supplies for inspiration.

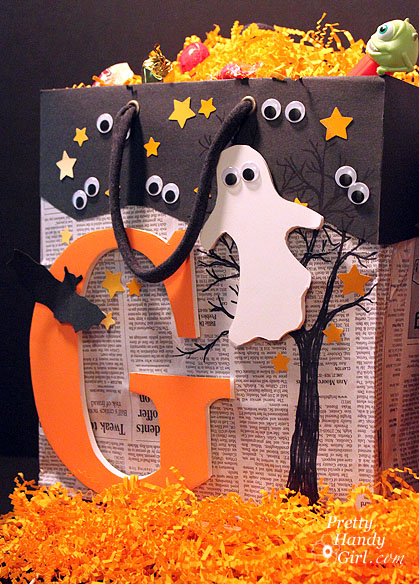
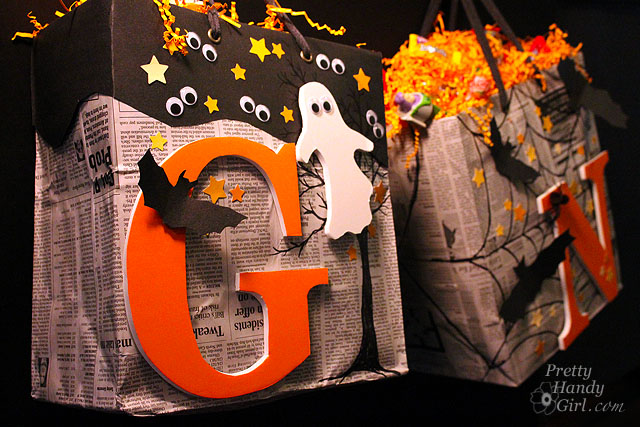
If spiders and bats aren’t your thing. How about spooks and spirits?

To add the handles, follow the directions on your grommet kit. 1. Punch a hole in the bag at the top of the bag using a hole punch. 2. Insert a long grommet through the hole. Lay a short grommet on top. 3. Hammer the grommets together using the metal rod tool that came with the grommet kit.

Cut off the sleeves from a t-shirt. Cut two 2.5 – 3″ wide strips. Then stretch the sleeve loop in opposite directions. This will make the shirt material roll.

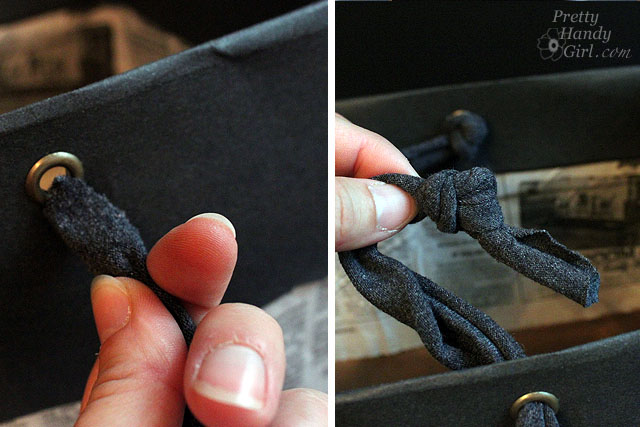
After you have stretched and rolled the sleeve loops, cut them at the seam. Then thread each end through the grommets on the bag and tie a double knot on the inside of the bag.

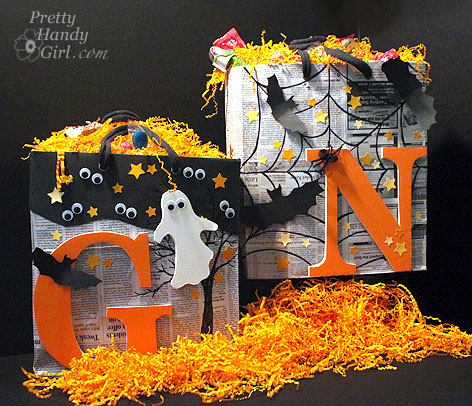
Now gather up your little trick-or-treater and give him this unique candy collection bag! My sons’ had the biggest smiles on their faces. Definitely worth the effort to make these bags.

This eency weency spider is my favorite!

Way more personalized than these generic plastic pumpkins, don’t you think?!

Which one is your favorite? I can’t decide, because I love them equally as much. Spook or Spider?

Eeeeeekkk, we can hardly wait for October 31st!

Disclosure: This project has been compensated as part of a social shopper insights study for Elmer’s #gluenglitter #CollectiveBias #CBias. The ideas and opinions shared in this post are purely my own from my own crazy creative head.

Follow up: Well, my youngest loves his bag so much that he told me, “Mom, we should decorate every side with a different holiday.” And that is exactly what he did today during quiet time. I just want to stop time and keep him five forever!

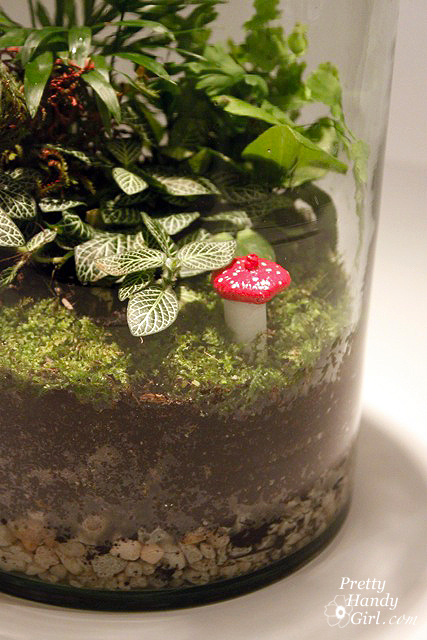
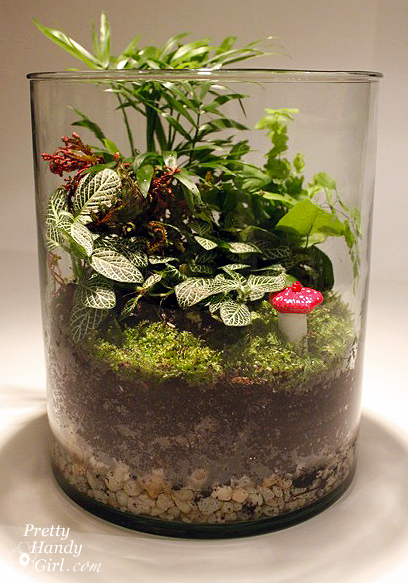
Did you see the cute little red and white mushrooms in my terrariums that I made? They were super easy to make. I can show you how and this will only take a second.

Materials:

Instructions:

Mark the height you want your mushrooms to be on the dowel rod. Add 1/2″ to the height for anchoring it into the soil. Cut your dowel rod (or a branch in a pinch.)

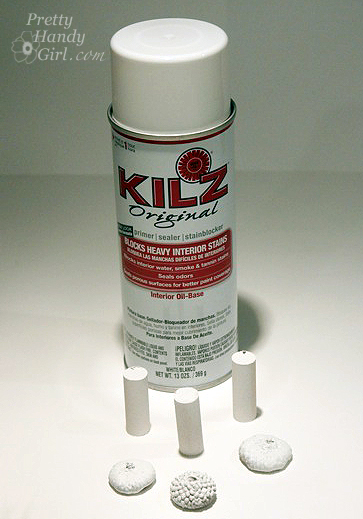
Spray your cut dowel rods (or branches) with spray primer. Be sure to coat all sides. Spray the acorn caps at the same time.

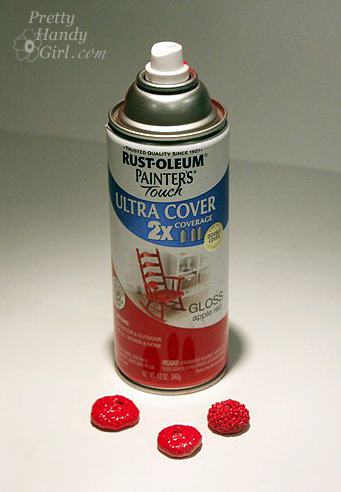
Spray paint your acorn caps red.

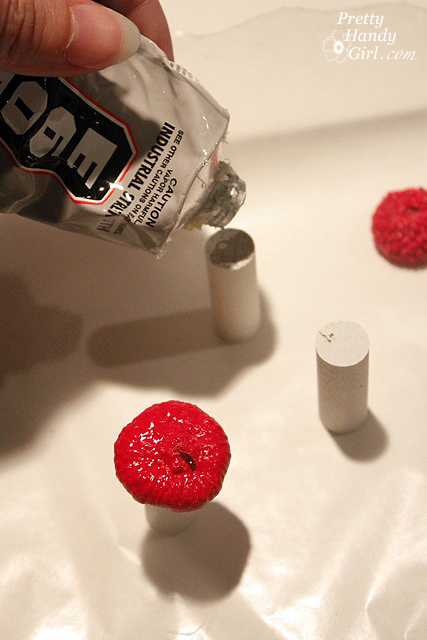
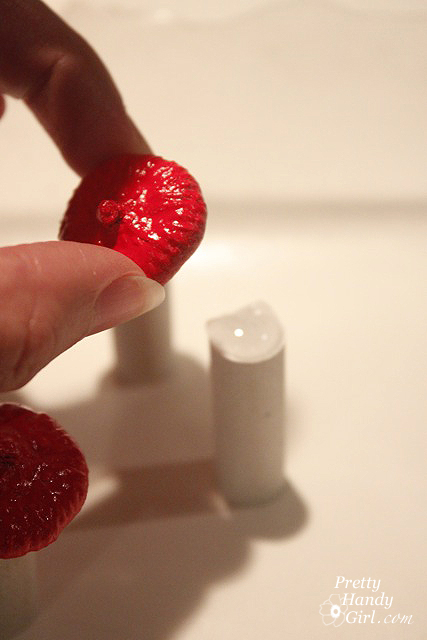
After the paint has dried, glue the acorn tops to the dowel rods using E-6000 glue.

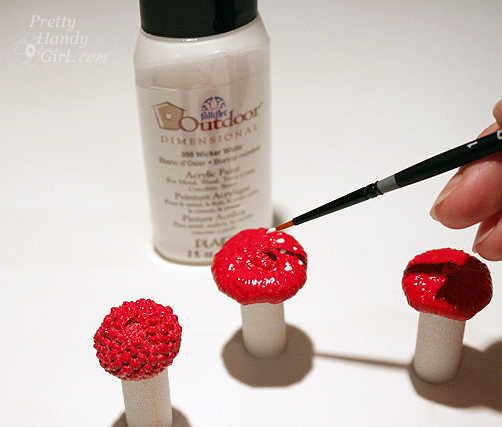
Let the glue harden (about 30 minutes.) Add some dots of white paint onto the red caps.

Press your adorable little mushroom into the soil in your terrarium and then sit and wait for a fairy to move in.

See, I told you it would only take a second! Well, besides waiting for the paint to dry, this project takes less than five minutes.

I have a mushroom leftover, but I don’t have any more terrariums. Any ideas what I can do with a little lone mushroom?

UPrinting.com Giveaway Winner

I have to tell you that I really enjoyed reading all your comments on the UPrinting giveaway. Some of you had some amazing photos that you really wanted to have printed. And some of you brought tears to my eyes when reading about photos of loved ones who have passed on. You made me think about both my grandmothers who passed away over 5 years ago and who I still miss almost daily. I wish I had a photo canvas for each and everyone of you. If you didn’t win, I really hope you will look into having your photo printed as a rolled canvas and stretch it yourself to save money. Your photos are too precious not to! (Oh, don’t make me cry again.)

We do have ourselves a winner of the UPrinting.com rolled canvas! And she has a special photo in mind.

Deborah wrote: “Thank you for posting this. I would never have known you can do this yourself. I would love to have my favorite picture of my 3 kids printed in a huge size for over out sofa in the living room.”

Deborah is a blogger and homeschooling mother of three children. This month she is writing a series (inspired by The Nester) on 31 days to Slash Your Budget Painlessly on her blog Green Willow Pond.

Green Willow Pond

She has some great tips and ideas on saving money. From making your own linen napkins to making your own laundry detergent! Truly a woman after my own frugal heart.

Congratulations Deborah. Please check your email and get back to me asap to claim your prize.