Make Your Own Terrariums


Terrariums are making a comeback in home décor. Gone are the octagonal mirrored terrariums. They have been replaced by sleak apothecary jars, tall cylinders and lidded glass vessels (to name just a few shapes.)

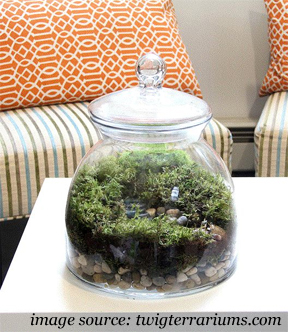
Twig Terrariums has an amazing array of beautiful ready made terrariums or DIY kits for sale! Some of them have stunning details, right down to a little miniature person inside the lush world. The terrarium below sells for $200.

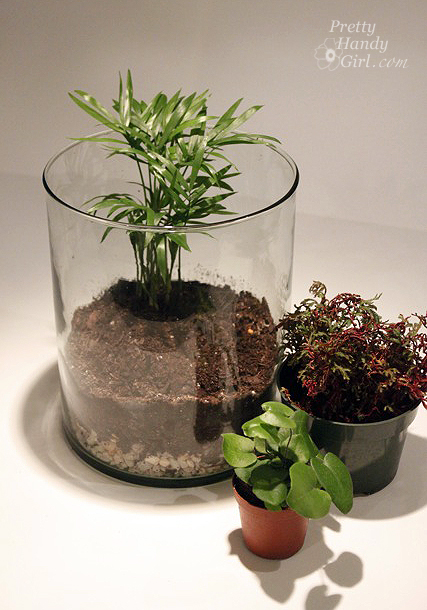
If you want to create your own version that is a little more budget friendly, it isn’t hard to do. In fact you can get some plants from a local nursery or as close as your own backyard!

Materials:

  • Glass container (with or without a lid)
  • Small decorative pebbles or pea gravel
  • Potting soil
  • Live Moss
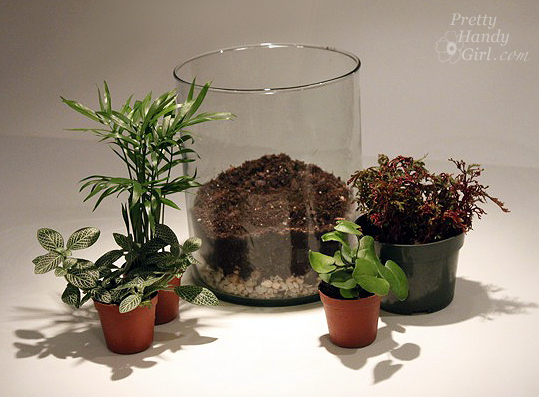
  • Terrarium plants (small shade loving plants)
  • Potting shovel
  • Water

1. Clean your glass container with soap and water and dry it.

2. Add a layer of gravel or decorative pebbles to the bottom of your glass container.


3. Add a layer of potting soil. No need to level it.


4. Collect your plants and think through the plant placement in your head.


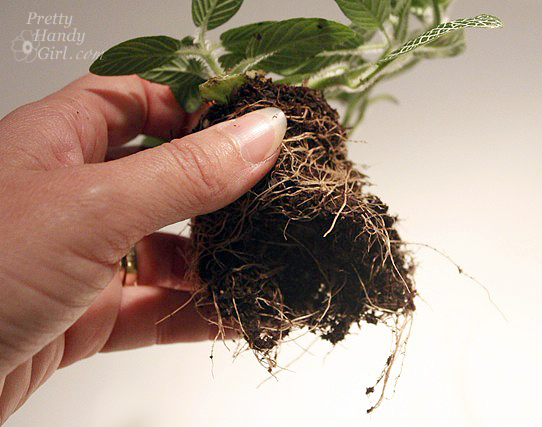
5. Gently remove a plant from the pot.

If it is root bound (all the roots are wound tightly around the bottom) gently tease some of the roots free and break apart the roots at the bottom of the plant.


6. Insert your plants into the soil.

Put taller plants at the back and the shorter ones in the front so you can see all the plants.


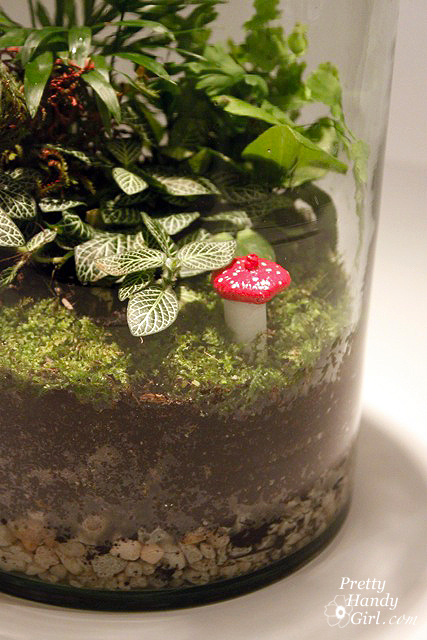
7. Cover the soil with moss. You can cut or tear pieces to fit flush with the edge of the terrarium.

8. Fill your terrarium and let the water soak in. The water should reach the top of the rocks. Check the water level a few times a week and be sure to refill when the water gets low. If your terrarium has a lid you won’t have to water as often as a lidless variety.


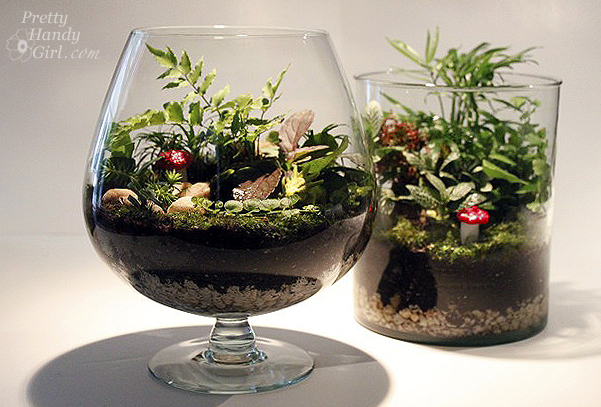
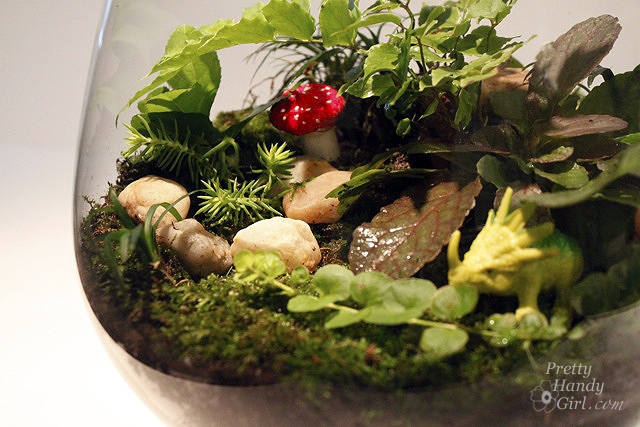
9. Add any decorative embellishments like these faux mushrooms (tutorial HERE)…

…or my sons’ favorite, a little plastic dinosaur!

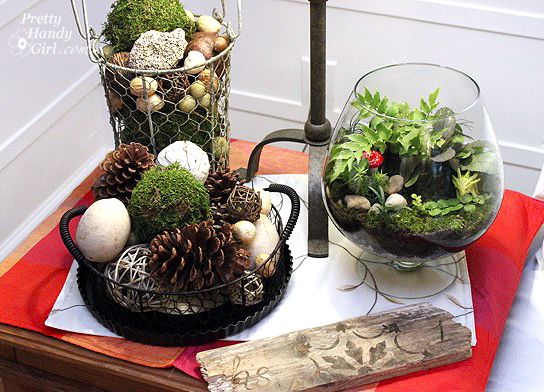
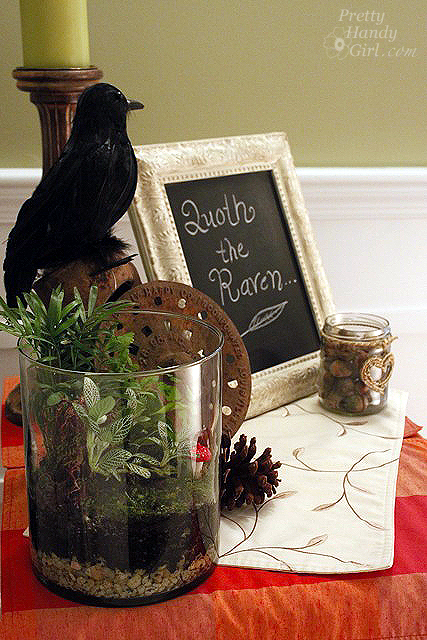
Terrariums make the perfect year round accessory. I have them prominently featured in my living room along with some other natural elements.

This version was made entirely with plants that I have growing in my shade bed. Small ferns, arugula and creeping ground covers. Plus, I added a few round pebbles for visual interest.

I might pick up a tiny person or two at a hobby shop next time I’m near one. Anyone seen any that look like the characters in “Land of the Lost” heh, heh, heh!


In the meantime, I’m loving my cost effective terrarium. Yes, terrarium singular, because the cylinder terrarium was a gift for our friends who dog sat for us.
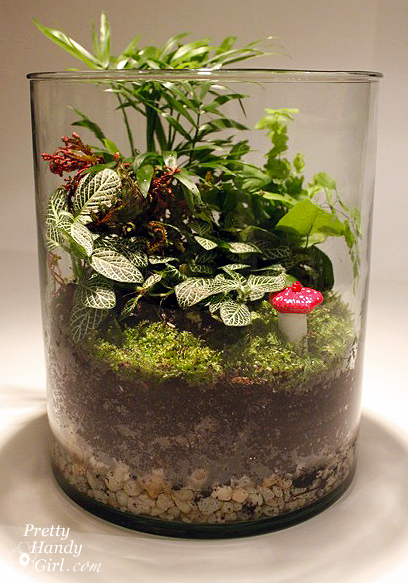

I almost wouldn’t be surprised to see a fairy take up residence in one.

I’ve been busy working on some more projects to show you, so hang tight and check back soon! 😉 In the meantime, I hope you have a fabulous weekend and are enjoying Fall!


creative-gift-wrapping

Paint chip present wrapping
I’ve officially caught the paint chip bug! How about you? Have you seen all that can be done with those FREE* paint chips?! The possibilities are almost endless. (*Please use consideration when taking paint chips. Try not to take more than 2-3 of each color and definitely don’t take the last of a color. It might be a good idea to ask permission from the paint store employee if you need to take more than a dozen.)
As I was getting ready to wrap a present for a little birthday girl, I lamented the fact that I was tired of the two rolls of wrapping paper we had (not counting the dozen or so that are Christmas related.) Then, I came up with the idea to wrap the present in paint chips. I was probably influenced by the tiny gift boxes that How About Orange made a while ago.

Here are the materials you will need:

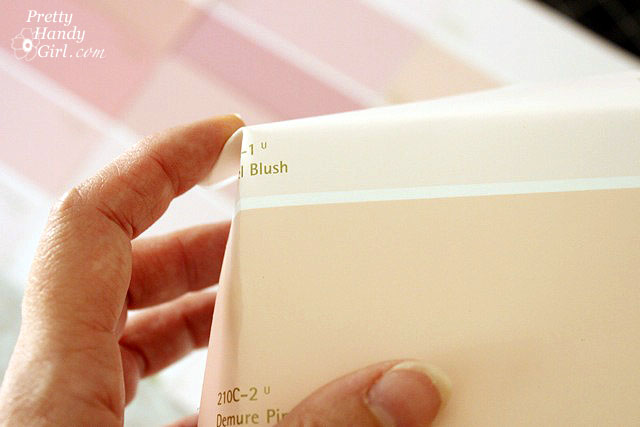
  • Paint chips (used Behr brand from Home Depot)
  • Clear packing tape
  • White artists tape (I wish this tape was a little stickier though.)
  • X-acto knife
  • Pencil
  • Scissors
  • Ruler
  • Ribbon
  • Gift box to be wrapped

Instructions:
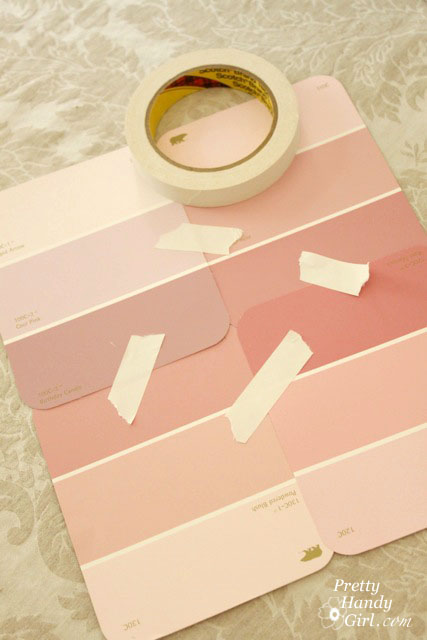
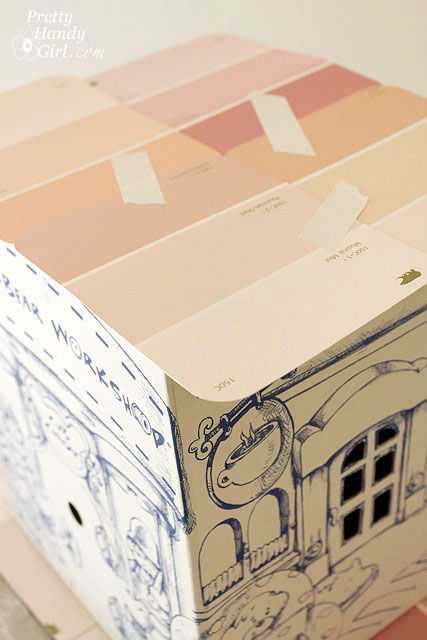
Start by laying out the chips on one side of the gift box. Overlap where the chips meet so the box won’t show. And allow the chips to overlap the sides of the box slightly.

To keep the chips in the same position, lightly tape them together with artist’s tape before lifting them off the present.

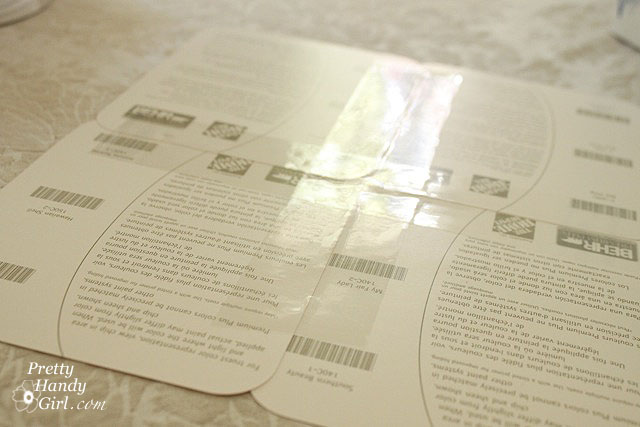
Gently turn over the chips and tape all the seams with the clear packing tape. Repeat the above steps for the other three sides (do not create a panel for the top or bottom of your present yet.)

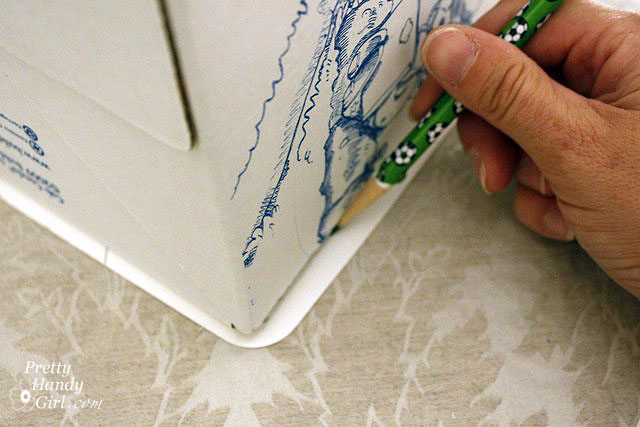
Lay the gift on top of the taped chip panel and draw a line along the edge of the box.

Using an X-acto knife, cut two opposing panels at a time (since they should be the exact same measurements.)

Assemble a panel for the top of the gift box. Only this time, allow more of the chips to extend over the sides (preferably 1/4 – 1/2 inch) on three sides. The fourth side should be flush with the edge of the box.

Fold over the edges of the overlapping chips to fit snug against the box.

Make a cut into each of the overlapping corners as shown:

Fold the corners in and tape them to create your box top. Note that one edge does not have a folded side.

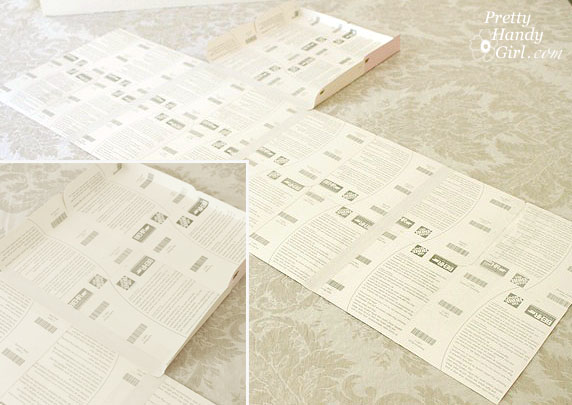
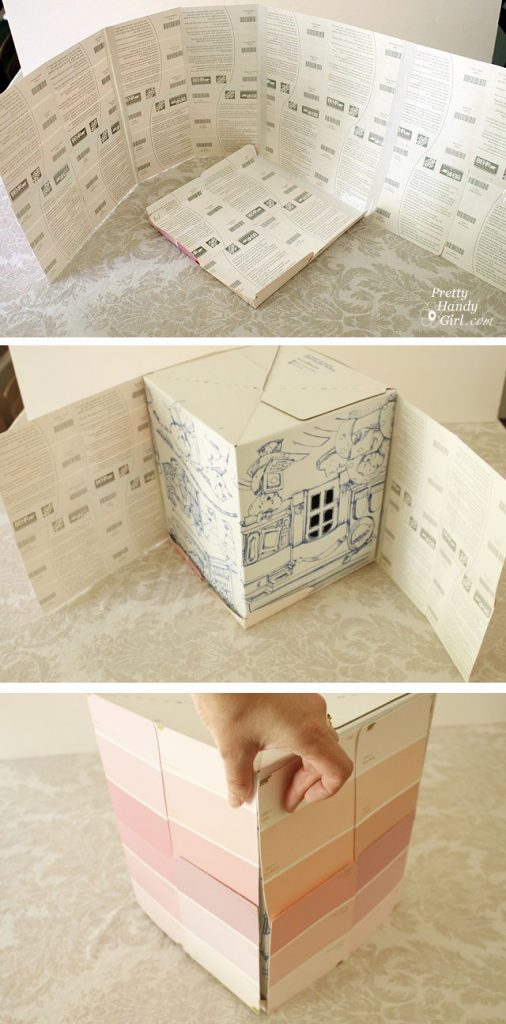
Tape all four of your box sides together so it creates one long rectangle. Then tape the top of the box to the top of the second panel where there is the open side.

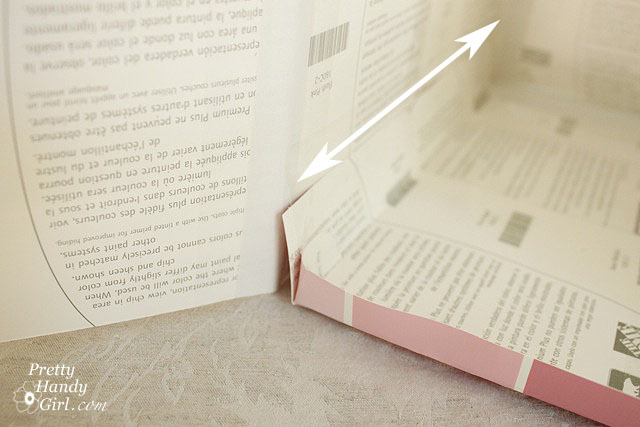
Lift the sides up and set your box into the top (upside down.) Fold the sides in around the gift box.

Make sure your panels fit relatively snug around your present. Then remove the gift box. Tape the lid of the paint chip wrapping to the sides of the wrapper. And put a piece of tape inside the seam where the sides meet.

Now you can slide the paint chip wrapper over your gift box (right sides up.)

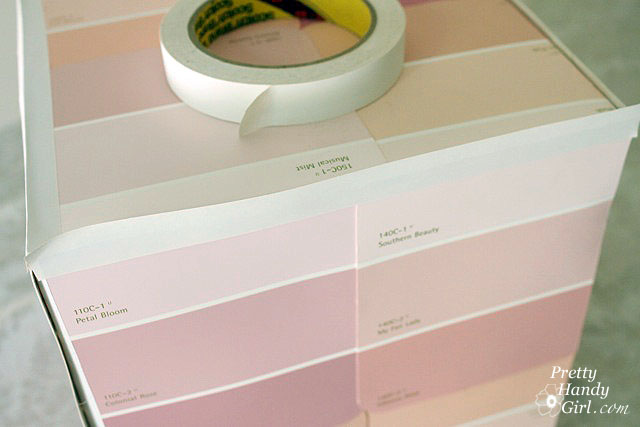
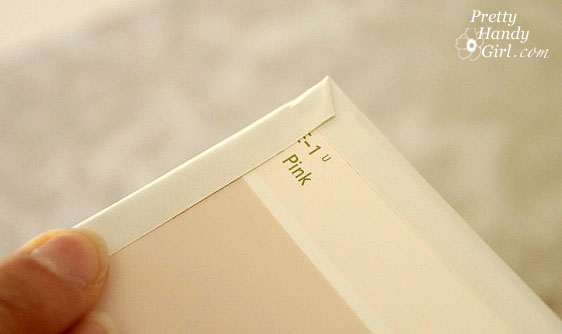
Make the bottom panel to your paint chip rapper exactly like you did for the sides by trimming off the excess. Then lay it onto your paint chip wrapped box. Take your white artist’s tape and tape all the seams of your box.

Fold over the corners neatly.

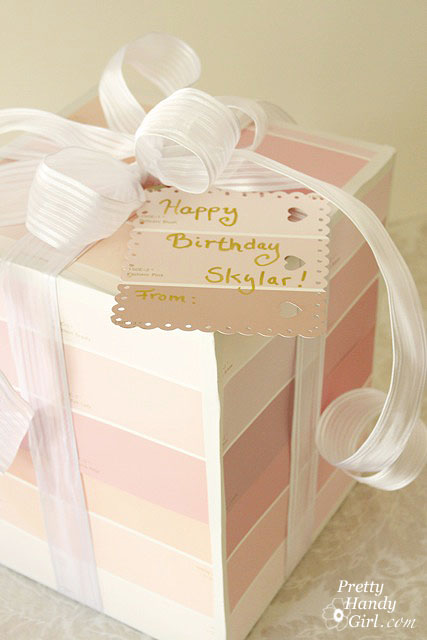
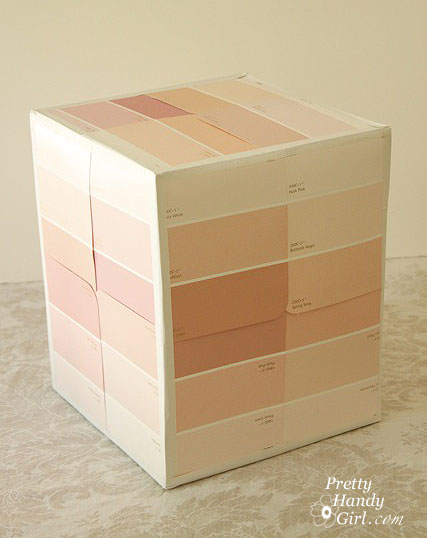
Your wrapped present should look like this:

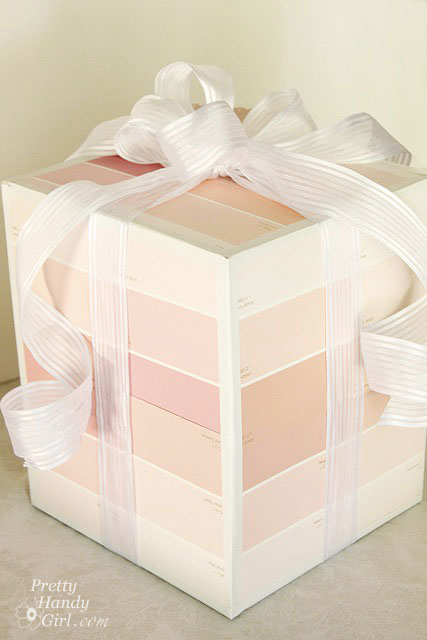
Wrap a pretty bow around the present and attach another paint chip (I punched some decorative holes in this one.) Write a little message and you are finished.
Paint chip present wrapping

Now watch the gift recipient ooh and ahh over this unique and beautifully wrapped present!


I thought this present would be perfect for a shower gift. Or a graduation present using the graduate’s school colors?! And using red and green chips would be perfect for a Christmas present. I can’t wait to try this again sometime soon.
If you love paint chip projects, I’m creating a round up of projects for Parentables. I’ll share the link with you on Thursday!


P.s. Don’t forget to enter the Wagner Power Plus Paint Sprayer giveaway! A winner will be chosen at random on Friday, September 16th!

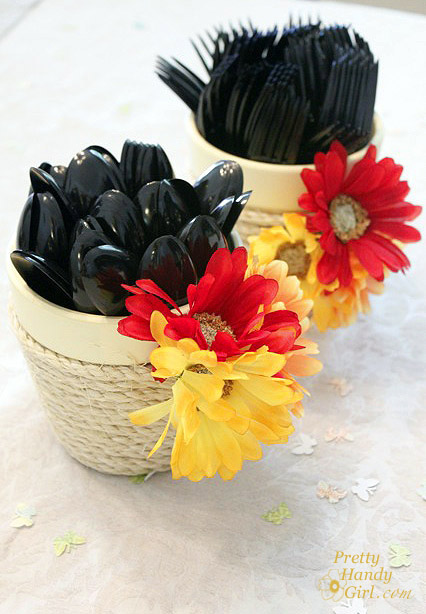
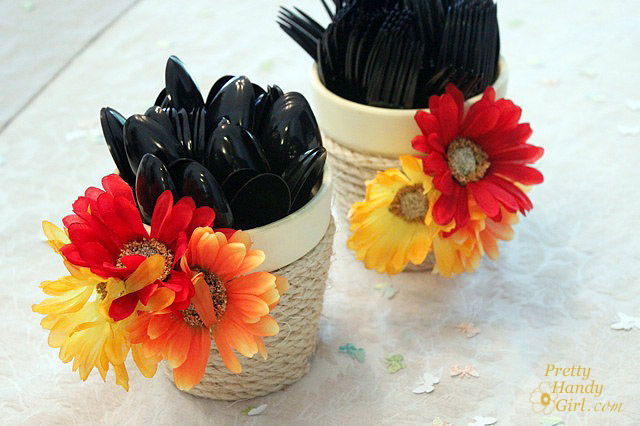
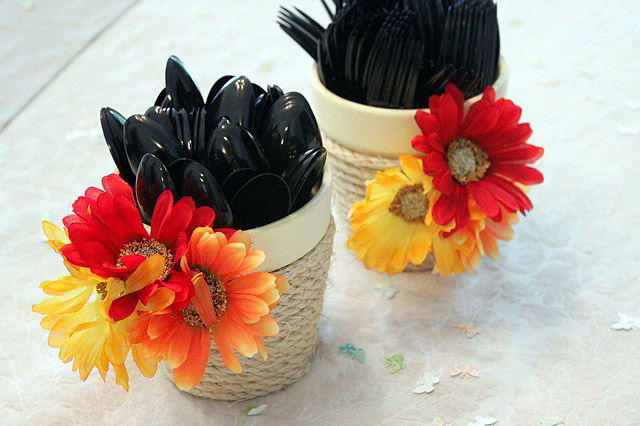
Another project I completed before the birthday party was a quick makeover for a pair of ho-hum dollar store flower pots. My friend Heather helped me add some jute rope and fake flowers then set them out with utensils in them. Perfect for a summertime birthday party!

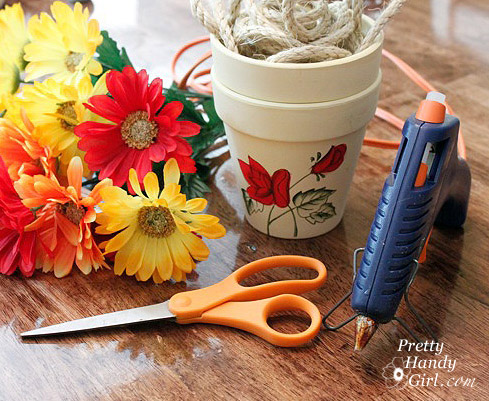
Materials:

  • Hot Glue Gun w/ glue sticks
  • Jute Rope
  • Flower Pot
  • Fabric Flowers
  • Scissors
  • Foil or wax paper (to protect work surface)

Instructions:

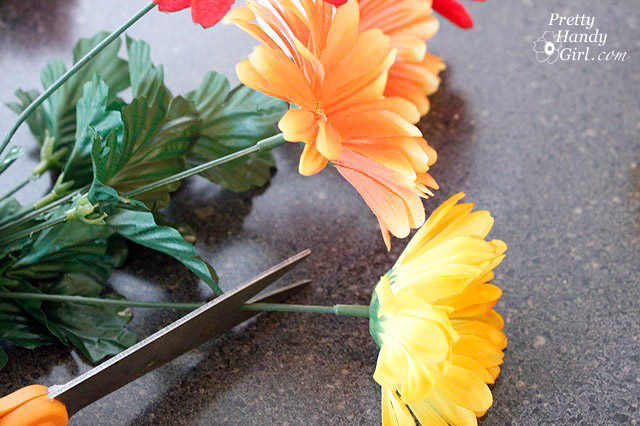
1. Plug in your hot glue gun to warm up. Cut the stems of your flowers about 2″ from the flower.

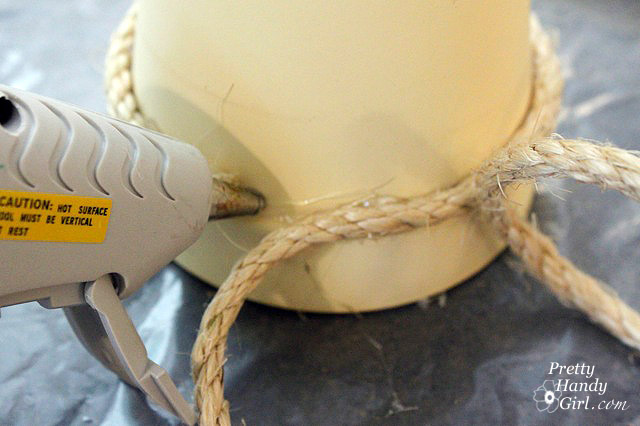
2. Turn the flower pot upside down. Put a dollop of glue against the rim of your pot and secure the end of your rope on it. Squeeze a line of glue around the pot rim and press the rope into the warm glue.

3. After one row is complete, add the flowers by bending the stems until they lay flat against the pot. Secure with a lot of glue. Then wrap the subsequent rows over the stems.

4. Continue gluing the rope onto the pot. Make sure to press each row of rope tightly against the row before it.

5. When you reach the bottom of the pot, secure the end of the rope with another dollop of glue. Be sure your rope doesn’t extend past the bottom of the pot or it could make the base wobbly.


Now set them on your table and fill with utensils. Later you can put a plant, flower or pens inside.

Are you ready for Independence Day? Would you like a quick and easy sewing project to add some patriotic flair to your home? Hop on over to Parentables to read my tutorial for making adorable star pillows.


And don’t forget, today (June 30th) is the last chance to enter the giveaways! I will be picking the winners after midnight tonight.

Spraypainted Bottle Vases

I have a real problem throwing away perfectly good glass jars and bottles. To me they are little craft gems waiting for me to transform them. With Mother’s Day and Teacher Appreciation coming up, I decided to turn some of our recycled bottles into cute gifts for Mom and my sons’ teachers.

Before you begin this project, I want to warn you to be flexible. The painting step has the potential to get messed up, but that doesn’t mean the project has to be a failure. I’ll show you how I fixed one of the bottles that didn’t turn out as I had planned.

Materials:

  • Glass Bottles or Jars
  • Spray Paint
  • Rubber Gloves
  • Plastic Bags
  • Masking or Painter’s Tape
  • Drop Cloth, Tarp or Plastic
  • Foam Stickers
  • X-acto Knife
  • Pencil
  • Embellishments: beads, transfer rub-ons, wire, fabric, ribbon, raffia, lace, or whatever you have lying around
  • Hot Glue Gun & Glue Sticks

Instructions:

Clean out the bottles/jars and let them dry completely. Save the lids if you want to cap off them off.

Select some foam stickers to use as a mask on your bottle.

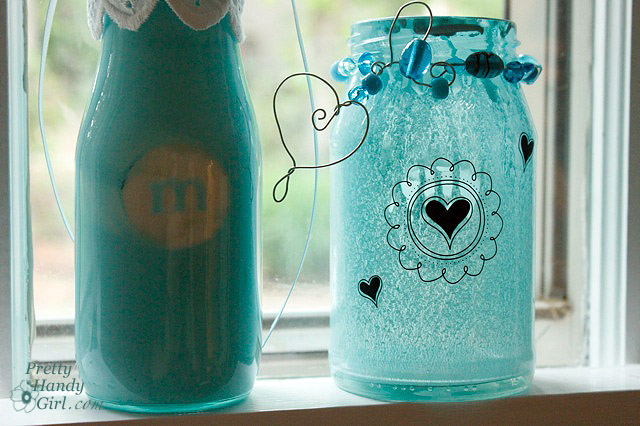
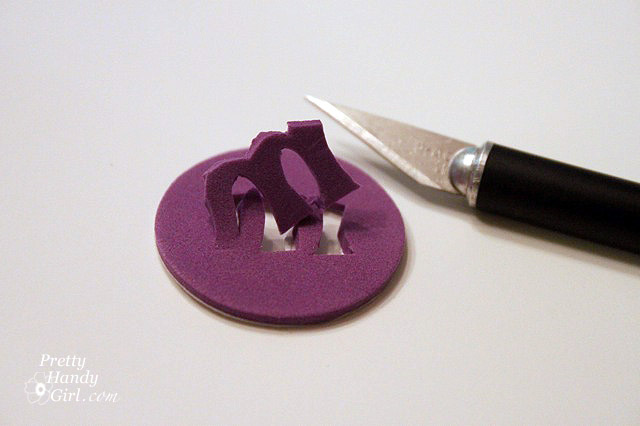
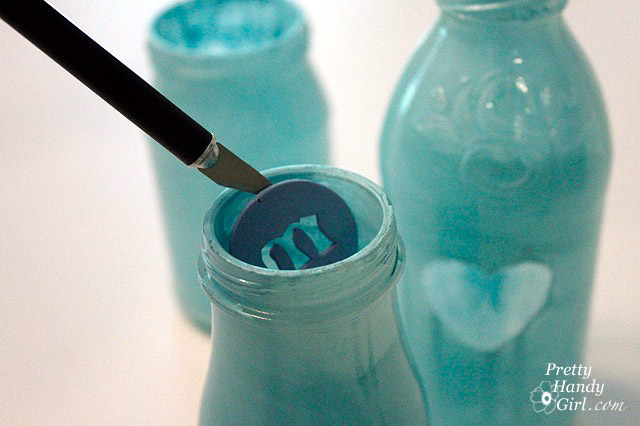
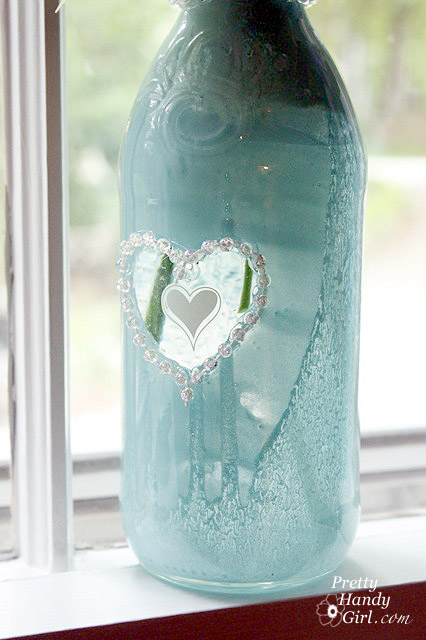
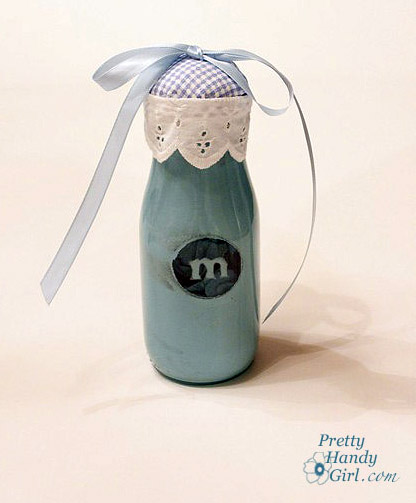
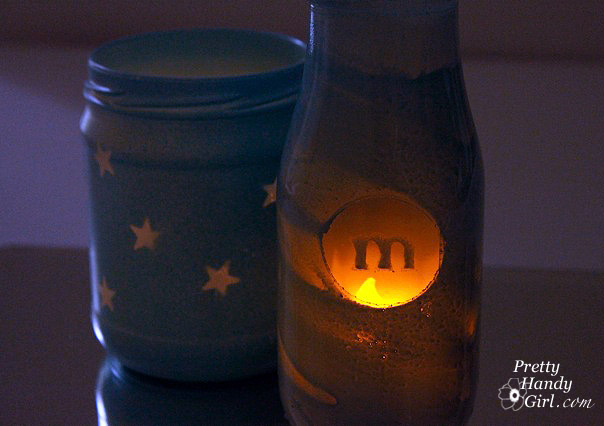
I chose a heart and then cut an “M” into a circle foam sticker using an X-acto knife. (Remember to cut your letters in reverse.)

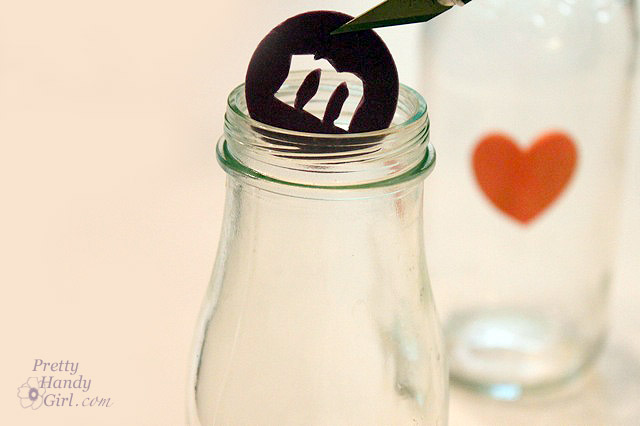
If the bottle neck is narrow, use the X-acto knife to feed the sticker into the jar.

Then use a pencil or stick to firmly press the sticker to the inside of the jar.

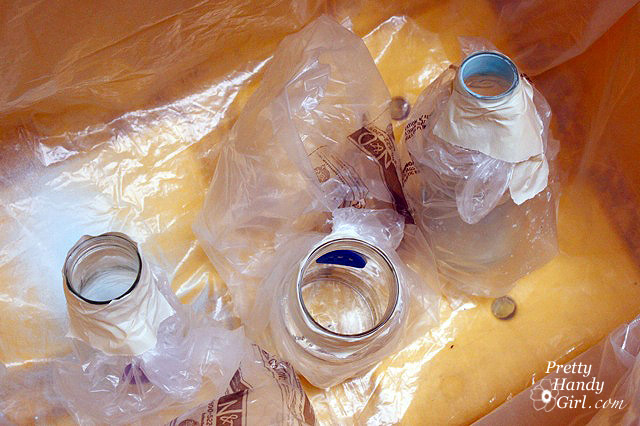
Wrap your bottle in a plastic bag and then tape the bag to the neck of the jar/bottle.

Set the bottles in a tarped area or box.

Put on some rubber gloves and insert the spray paint nozzle into the jar. Spray a layer of paint into the jar.

Wait a few minutes and repeat. The paint will be liquid, so rotate the bottles and jars to spread the paint around. Then turn the jars upside down to dry.

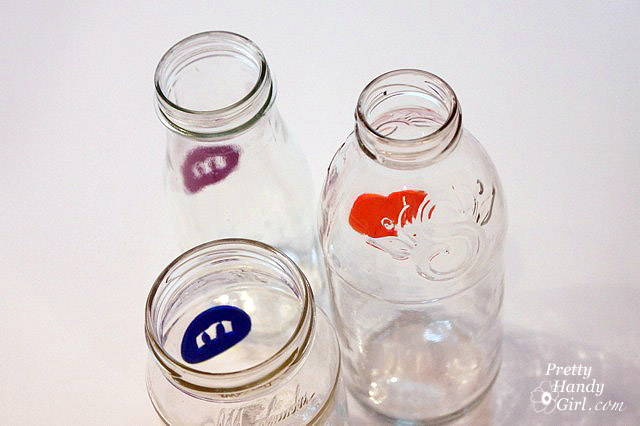
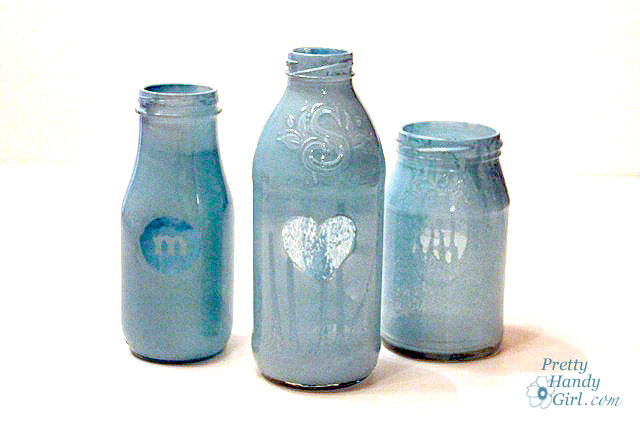
After the paint has dried (several hours), gently remove the foam sticker with the X-acto knife.

If a little paint has dripped into your masked area, you might be able to scrape it off with the X-acto. One of the stickers (jar shown on the right side below) didn’t adhere, and the paint bled underneath the sticker. But, no worries, it can easily been fixed.


Time to get out your embellishment scraps. Ribbons, lace, rub on decals, beads, etc. Anything goes!

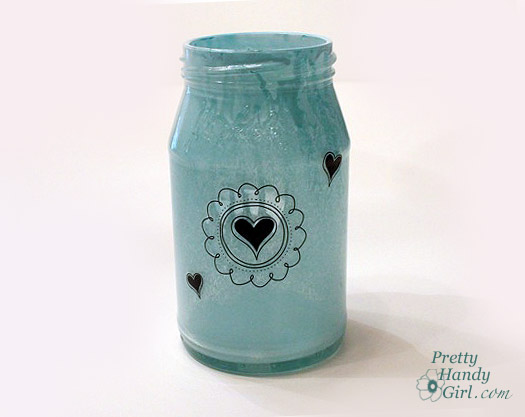
To fix the drippy paint jar, I rubbed on a few decals to cover the messed up heart mask.

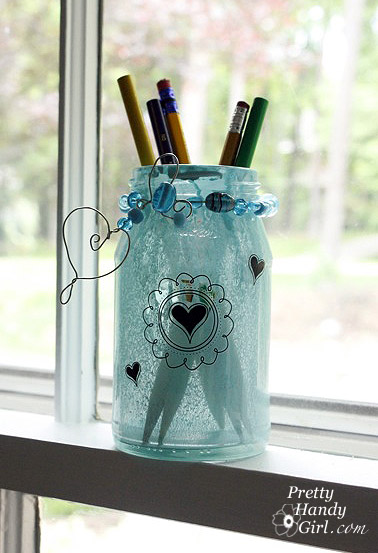
I added some wire and beads to the collar. And presto, a cute pencil holder!

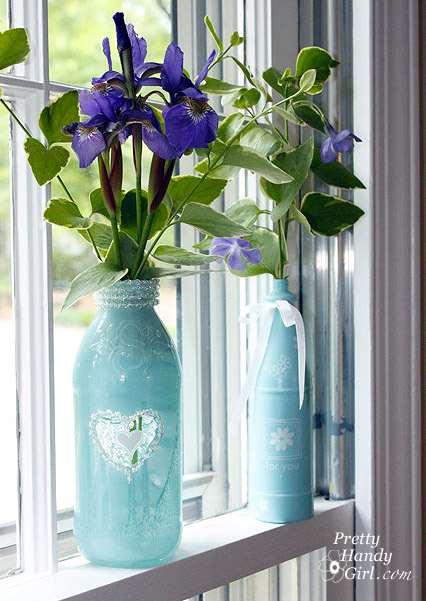
Use a hot glue gun to glue beaded string on your bottles. I added the trim around the collar and around the heart shape on this bottle. Then, I added another rub on decal.

And, voila, a beautiful flower vase!

To create a cute bottle top, try gluing batting, fabric, lace and a ribbon to the lid.

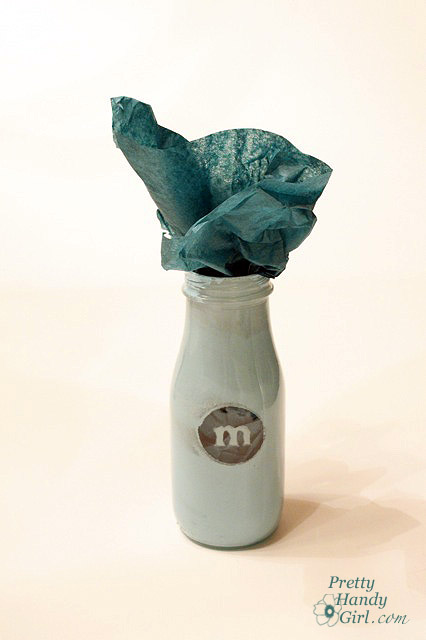
Wrap up a small present inside some tissue paper and inserted it the bottle. Or write a little heart felt note and slip it inside.

I included a battery powered tea light, it made a beautiful votive gift. The jars are so beautiful when lit up, don’t you think?

You can also try spraying the exterior of a few bottles. They don’t have the same shiny luminous look, but they will still be beautiful none-the-less.

Do tell me, what other ideas do you have using these glass jars and bottles? I’d love to hear!

Take a look at some other attractive ways to reuse recycled bottles and jars?


Hidey-ho my bloggios. I’m in a giddy mood this morning. The kiddos are at the in-laws to spend a day of fun. LOVE my in-laws! So Pretty Handsome Guy and I will have our own day of fun.

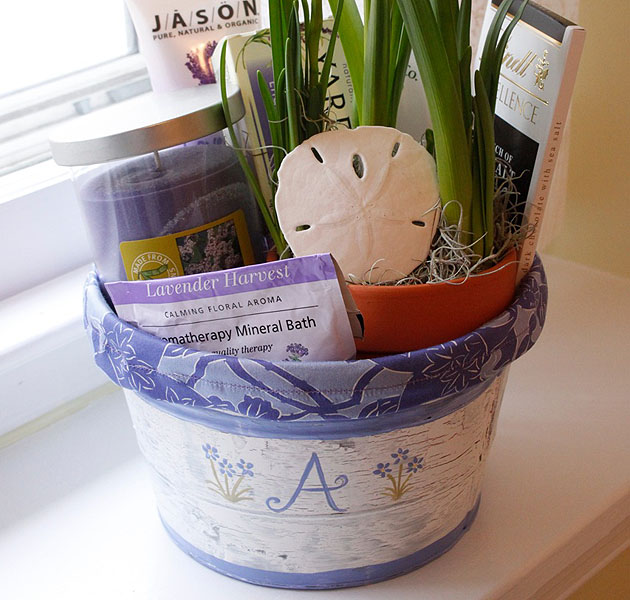
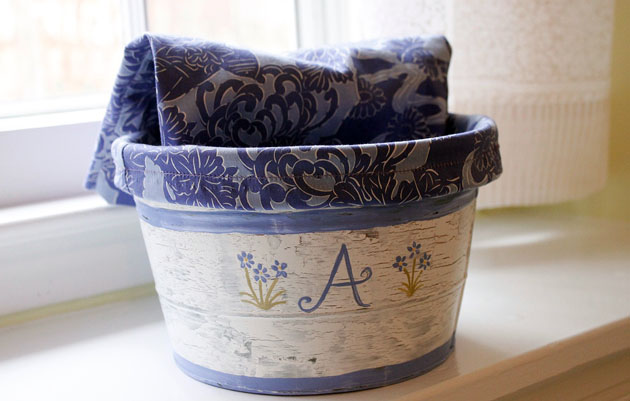
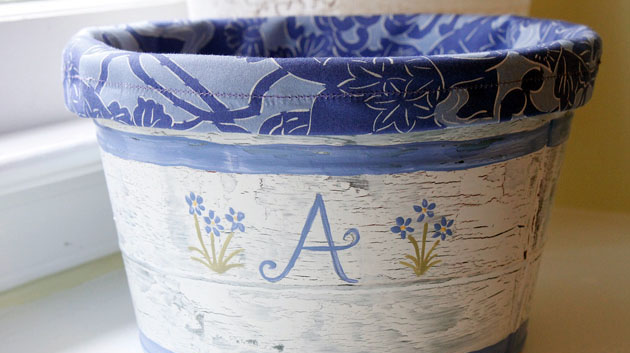
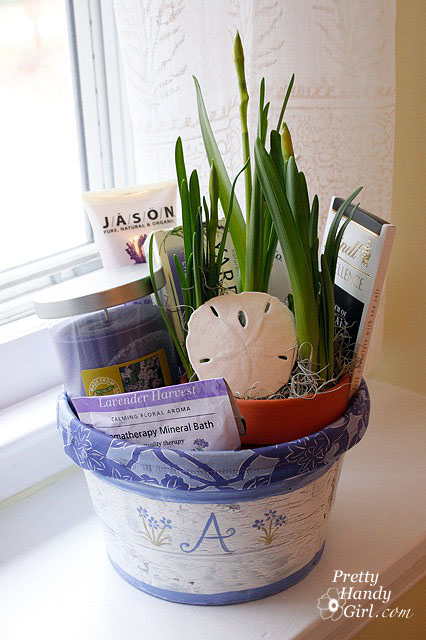
Did you see that cute bucket of bath and body love above? (Who am I kidding, how could you miss that gigantic picture.) Today I’ll show you how to make the liner.

So, I started this post and wrote “How to Make a Pants Liner” in the title field until I realized that pants liner is only one letter away from panty liner. {snicker, giggle} Not good.

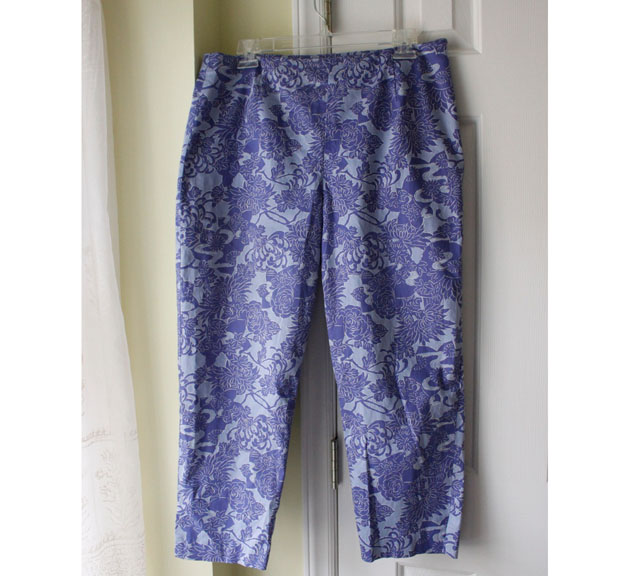
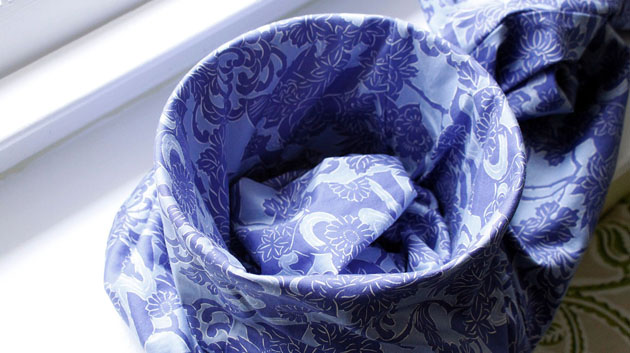
The liner started out in a previous life as a pair of pants:

Not my pants, I found them at Goodwill. I liked the print and had plans to use the fabric for a sweater embellishment, but then I saw how nicely the purple color looked next to my newly painted bucket and inspiration hit.

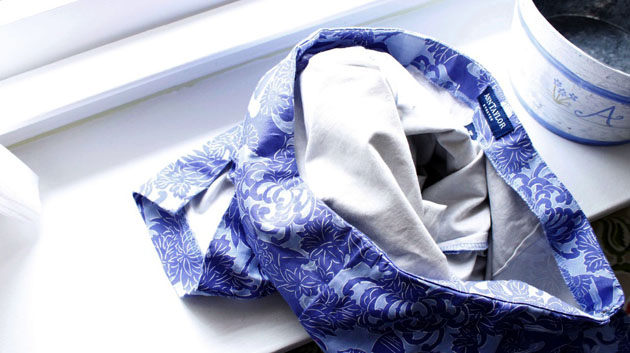
Start by turning the pants inside out.

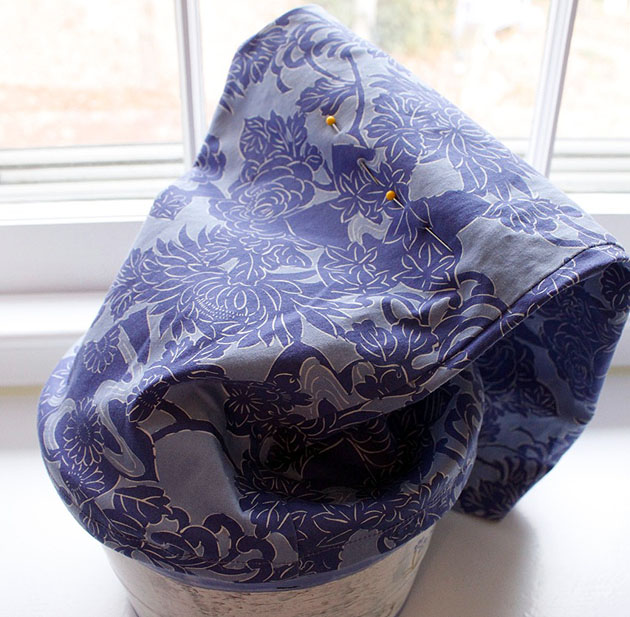
Set the foot of the pants inside your bucket. And roll the waist outside the bucket. Move the pants up and down on the bucket until you have a snug fit.
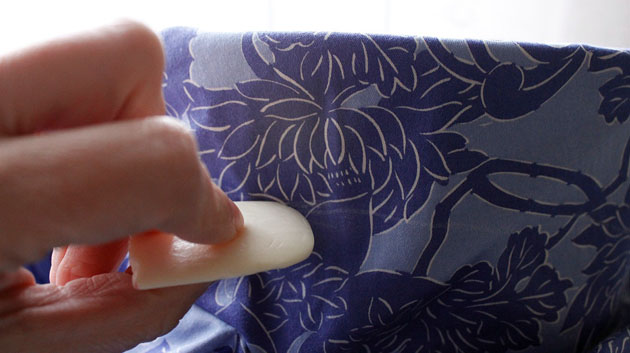
Mark the outside edge of the pants with a disappearing fabric marker or an old sliver of soap. Make sure you allow an extra inch to roll under when you sew it.
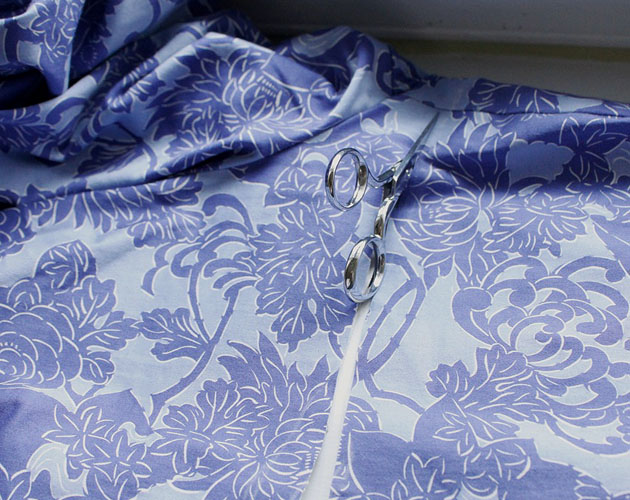
Remove the pants from the pail, take a big breath and cut the pants. Yes, I cringe at cutting up pieces of clothing. One day I hope to overcome my phobia.

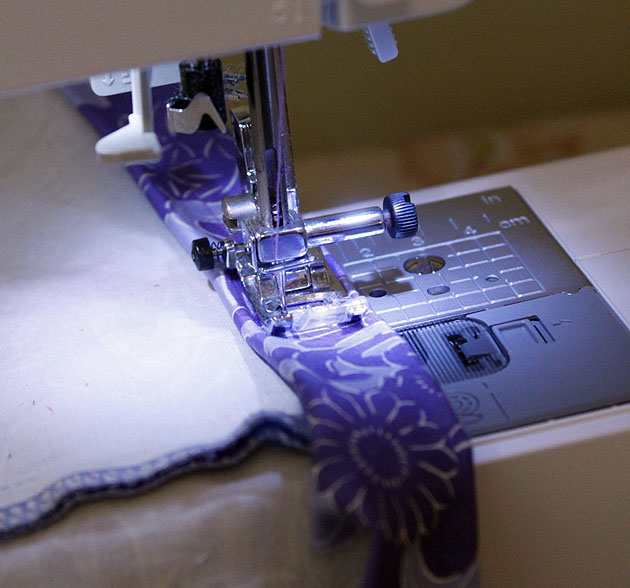
Fold over the cut edge twice and sew it.

Set the pant leg into the bucket again and roll the finished edge over the bucket until you are happy with how much cuff shows. Then use a pin to mark where the bottom of the bucket is.

Remove your pants liner {snicker, snicker, giggle. I almost said panty liner again.} And use some more pins to mark a straight line across the leg.

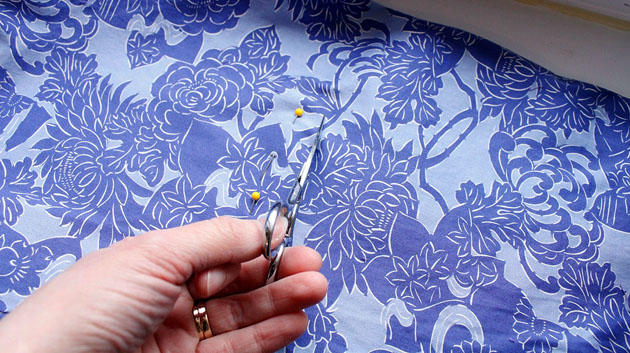
Take another breath and cut just below the pins on the leg. Remember to allow at least 1/2″ seam allowance.

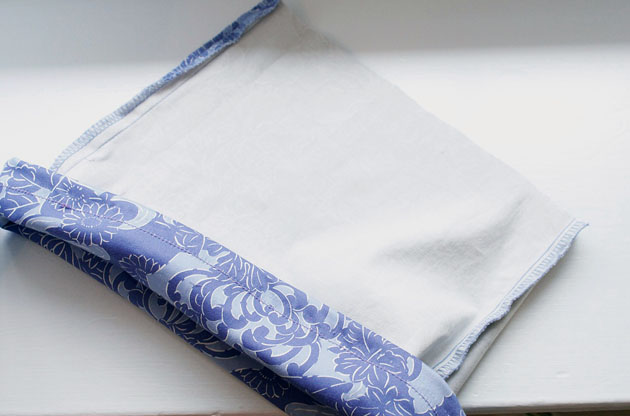
Turn the pants inside out (right sides together) and stitch the bottom closed.
Slip the liner back onto your bucket…
…and smooth out the bottom of the liner into your bucket.
That’s it. You are done. Now fill up your bucket with a few of your favorite things.

The possibilities for this project are endless. How cute would a pair of old jeans look as a liner? Or some funky striped pants. So get thee to Goodwill ASAP and scour those pant racks. Size large or bigger works the best.

Oh and while you are there look for 100% wool sweaters to felt. I’ll have a tutorial to make these adorable never wilt roses.

Never Die Roses