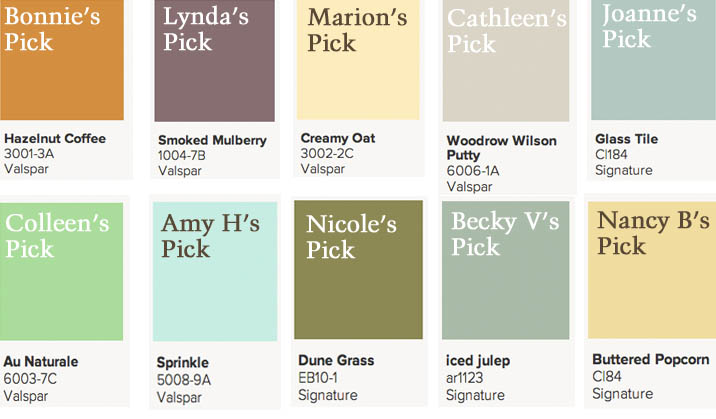
But first, I’d like to announce the winners of the Valspar paint samples:
Congrats to Bonnie, Lynda, Marion, Cathleen, Joanne, Colleen, Amy H., Nicole, Becky V. and Nancy B!
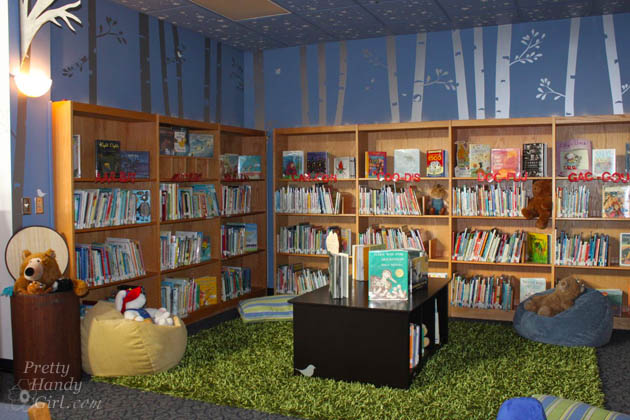
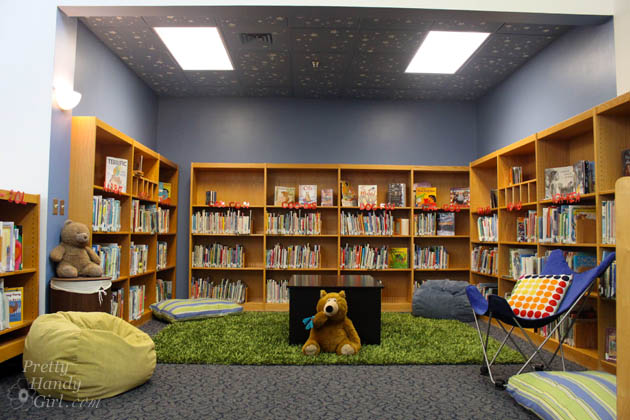
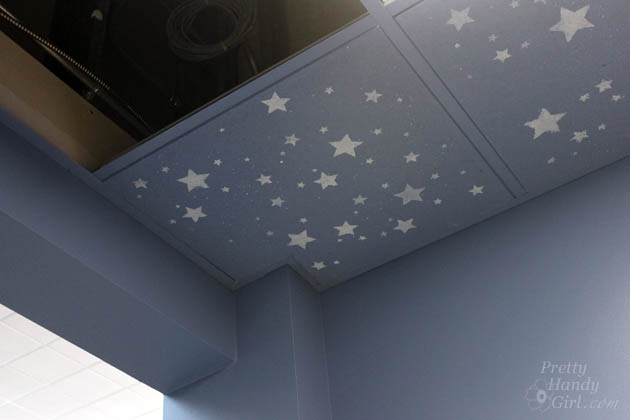
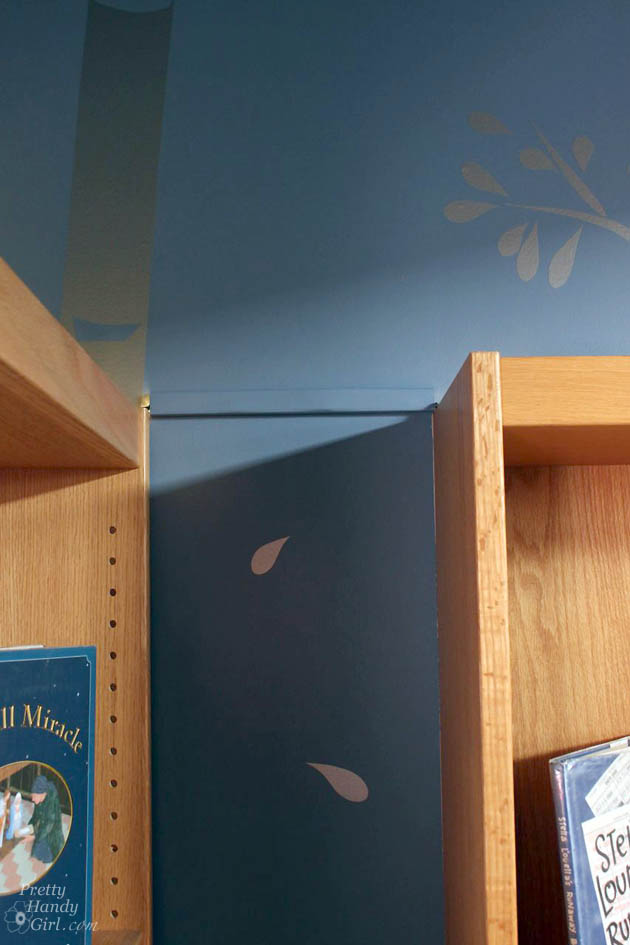
To quickly review, we painted the walls and ceiling tiles using Valspar Montpelier Wedgewood. Then we stenciled stars on the ceiling. After installing the ceiling tiles the library looked like this. Better, but still a bit ho-hum.
I had much bigger plans and was far from finished. I called in some expert help from my friend Leen the Graphics Queen and her husband. They cut and installed all the silver trees and birds. We had an absolute blast working together. There were several birds leftover, so Leen played hide and seek by putting a few birds elsewhere in the library. The kids (and I) had fun trying to find them over the next few days. Read more
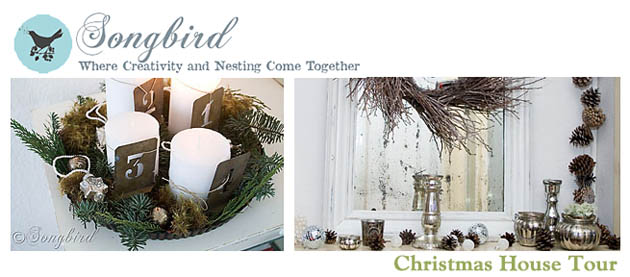
Welcome, welcome! I see you made it here from Songbird’s beautiful home. If you are coming here first, be sure to check out Marianne’s home:
I can not tell you how excited I am to have you in for the tour. Last Christmas we were living in a demolition zone. So, it feels wonderful to have our kitchen complete and be able to focus on decorating for the holidays.
Choosing paint colors can be a daunting task. Looking at small paint chips at your local Lowe’s Home Improvement store can be a bit overwhelming. Especially because there are so many colors to choose from! (That can be a good thing too ;-).)
Luckily I have two tips to help you choose the paint color that’s right for you:
1. Use Valspar paint. Finding a paint color you love is easier with Valspar. If you don’t love the first color you choose, you can have another on them. It’s as easy as, love your color, or change your color. That’s the Valspar Love Your Color Guarantee. And it certainly helps alleviate the stress of choosing the right paint color for your room.
2. Create larger paint chips. Looking at tiny paint chips won’t help you conceptualize that color over the entire wall. Making large paint swatches using foam board and sample paints is easy and can save you time when choosing the ideal paint color. I put together this short video to show you how we selected the final color for the school library.
I knew if I could create big paint chips and let the librarian live with the large chips for a few days, she’d be better prepared to make a final decision. As you saw, she was much more comfortable choosing this way.
The winning color was Montpelier Wedgewood by Valspar. And, luckily after we began painting, we all fell in love with the color she chose.
Here’s how we tackled painting the school library (acoustic ceiling tiles and all!):
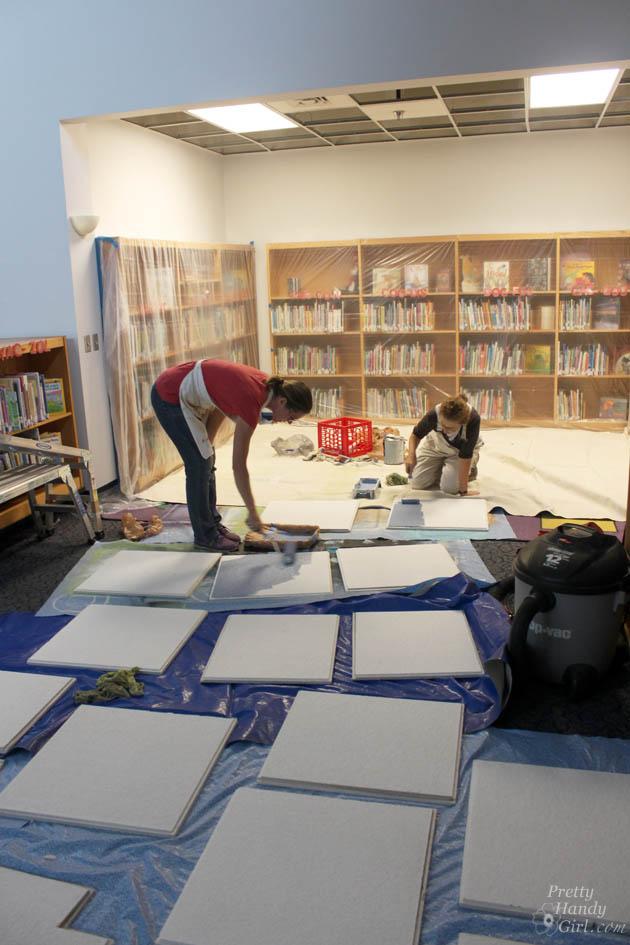
Before removing the ceiling tiles, we created a map of the tiles on a sheet of paper and numbered each square. Then we marked the number on the back of each tile as we took them down (team work really helped with this task.) Why the map and numbering? It made it easier when it came time to re-install them (especially if some were cut to fit.)
After removing the ceiling tiles, they were all wiped down with a wet rag. Then we used a medium nap roller to paint all the tiles. A paint brush was used to paint the sides as well. Then they were left to dry.
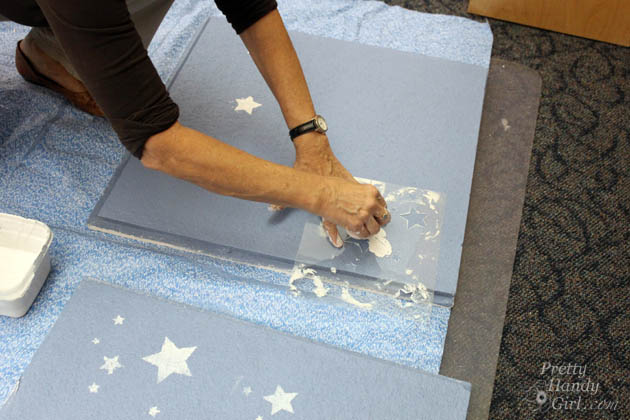
Meanwhile, I mixed a sample of white paint (mixed with some shimmering craft paint) to stencil the stars. I created a star stencil using my Silhouette cutter and a sheet of acetate, but you can also cut one by hand with an x-acto knife.
Luckily we had loads of volunteers to help stencil oodles of stars. Parents and children alike all chipped in to help.
By the end, I was seeing stars. LOL.
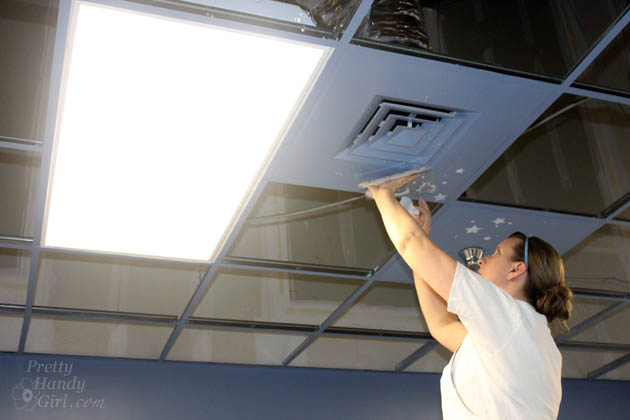
The ceiling tile grid had to be painted with a paint brush. This is where I was really glad that we bought the Valspar Paint & Primer in one paint. It definitely saved this project from being a literal pain in the neck.
The two tiles we couldn’t remove were painted and stenciled in place.
After the paint was completely dry, we returned them to their appropriate location. Thank goodness for the map!
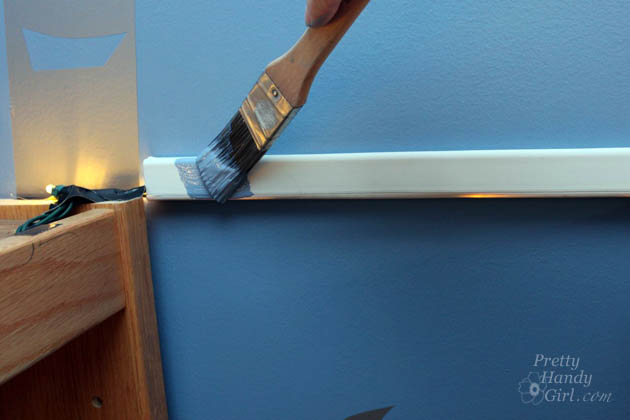
I put a fun surprise on top of all the bookcases, but I wanted to hide the cords. It was as simple as purchasing some adhesive cord covers at Lowe’s and painting them the same color as the wall.
See, much less noticeable now! Oooooo, sneak peek!
Next week I’ll show you how we added the final surprise elements to the library. In the meantime, is there a room you’ve been putting off painting? What do you think about choosing paint colors now that you know these tips. Ready to choose your color?
Disclosure: This is a sponsored post for Valspar Paint. I was compensated for my time writing this post. Valspar was also kind enough to donate the paint for the school library project. All ideas and words are my own.
(I’ve included affiliate links for your convenience. I earn a small percentage from a purchase using these links. There is no additional cost to you. You can read more about affiliate links here.)
https://prettyhandygirl.com/wp-content/uploads/2013/12/install-ceiling-panels.jpg420630Brittany Baileyhttps://prettyhandygirl.com/wp-content/uploads/2021/07/PHG-logo-tagline-2020-1030x211-R.jpgBrittany Bailey2013-12-10 07:00:002021-08-09 19:37:10Tips for Choosing Paint Colors in the School Library
Guess what! BIG NEWS!!! I FINALLY finished our kitchen remodel. I completed most of the work over the summer, but had two key components that I had to install. They are big, chunky and I am truly in love with them.
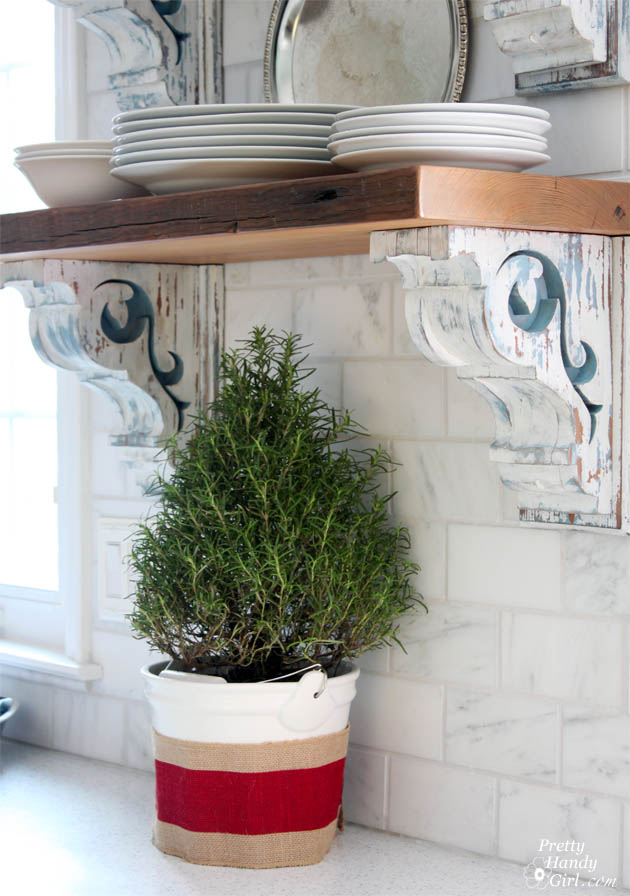
I’ve been waiting for some free time to get these puppies up, and the time finally came. On November 30th, (13 months after our little leak, but who’s counting) I installed two shelves on the tile wall in the kitchen. Like that it was…BAM…Put a fork in it, this kitchen is DONE!
Because I know you’re wondering where I got those gorgeous corbels, I got them from Southern Accents Architectural Antiques! And even though they are in Alabama, you can shop there online or ask for Garlan and he’ll hook you up with ANYTHING you want. In fact, would you believe that these corbels are brand new? Yup, I designed them and SAAA made them for me. I painted and distressed them (tutorial to come) to look like they are salvaged.
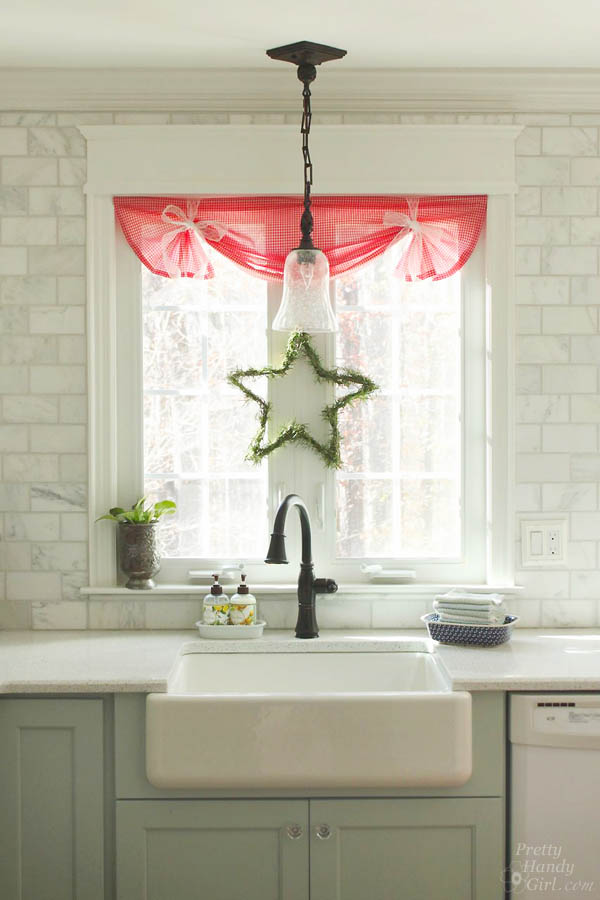
Now that the kitchen is complete, I’ve been enjoying decorating for Christmas. If you remember, last year our kitchen looked like this and decorating was low on my priority.
This year, I’m REALLY enjoying adding that holiday jewelry and decorating. I will be showing you the full kitchen reveal and pictures of the rest of my home as part of the Christmas Home Tour hosted by Just a Girl. Check in with her tomorrow morning for the start of the tour!
The line up of homes is truly spectacular:
Monday:
Just a Girl
Nesting Place
Hi, Sugarplum
Tatertots and Jello
Remodelaholic
Tuesday:
Shabby Nest
Life in Grace
Not Just a Housewife
All Things Thrifty
Funky Junk Interiors
Thursday:
Sand and Sisal
A Place for Us
Songbird
Pretty Handy Girl
Beneath My Heart
Friday:
I Heart Organizing
My Blessed Life
Emily A. Clark
A Thoughtful Place
Are you ready for the tour? I can’t wait to see all the fabulous décor. I’m really ready to sit down with a cup of cocoa and enjoy the holidays. How about you?
https://prettyhandygirl.com/wp-content/uploads/2013/12/corbels_rosemary_tree.jpg896630Brittany Baileyhttps://prettyhandygirl.com/wp-content/uploads/2021/07/PHG-logo-tagline-2020-1030x211-R.jpgBrittany Bailey2013-12-08 07:00:002021-09-14 09:51:51Holiday Home Tour & A Big Accomplishment
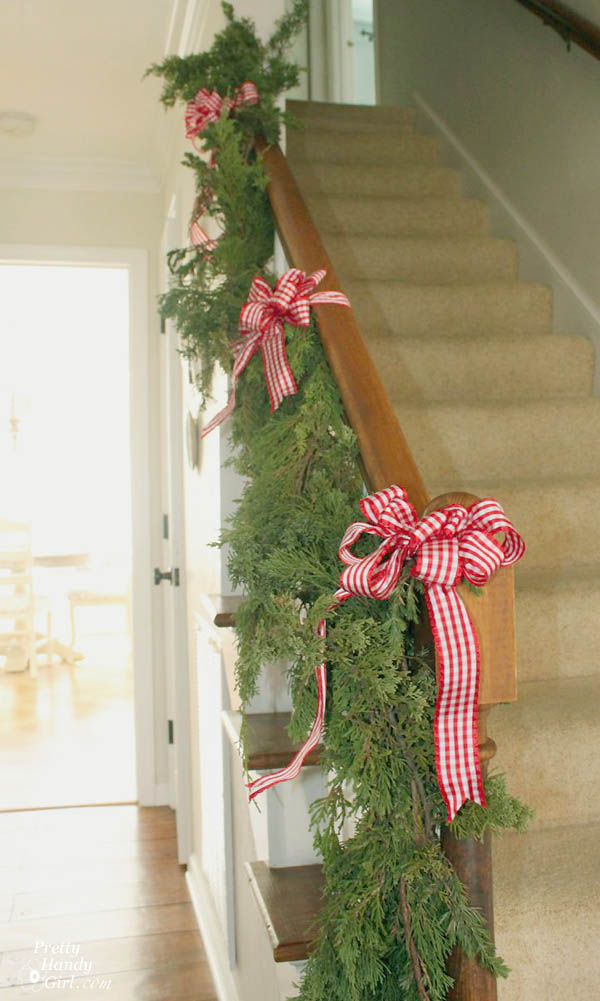
Winter is upon us and with the temperatures dropping we have our windows closed and doors shut. Thus sealing in the stale air and odors. Not to mention cold and flu viruses. Ugh. But, I have a few easy and inexpensive tips to give your home beautiful natural scents and cleaner air. DIY Juniper Garland Tutorial: As I was driving through our local shopping center last week, I spotted several juniper bushes that were ripped out of the ground by the landscapers. It was obvious they were getting rid of them. I did what any resourceful crazy DIYer would do and filled my trunk full of the bushes. I was just about to drive away as one of the landscapers hailed me down. I totally thought I was about to be reprimanded. Gulp. But, he asked me if I knew they were dead. I laughed and said it didn’t matter because I was going to make garlands out of them. He then showed me the location of the three dumpsters full of more juniper I could have for more garlands! Score one for the crazy DIY lady! If you don’t have free landscaping waste at your disposal, you can use any trimmings from pine and evergreen type bushes. Materials:
(I’ve included affiliate links for your convenience. I earn a small percentage from a purchase using these links. There is no additional cost to you. You can read more about affiliate links here.)
Instructions: Put on your gloves. Cut your trimmings into manageable sections. Layer clumps together. Wrap a small piece of floral wire around the clump to secure them. (I should have worn gloves, I totally regretted my actions after having many tiny cuts on my hands.) Continue adding to create a garland rope. Secure the garland rope to your bannister, mailbox, mantle or wherever you want to decorate with holiday greenery. I used more floral wire to attach the garland to our banister. Then I added some pretty bows. I wish my blog had smell-o-vision because these juniper garlands have a fresh evergreen scent. Not bad for free greenery!!!
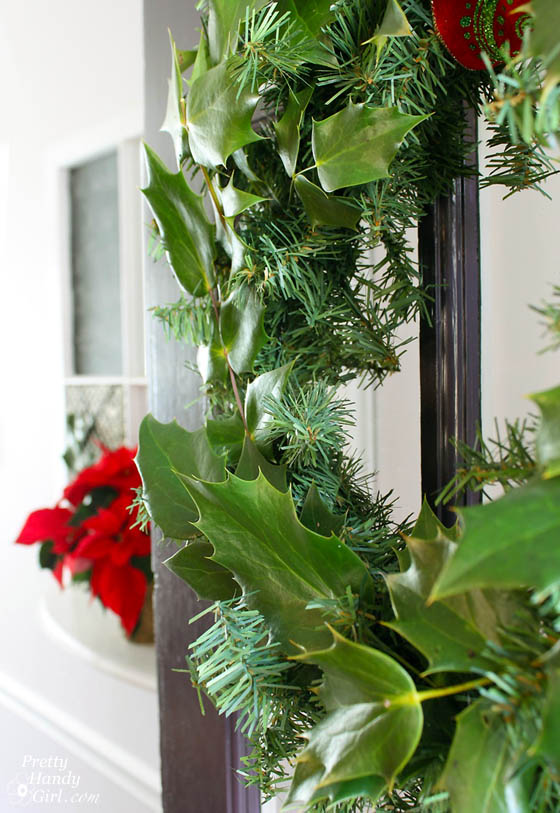
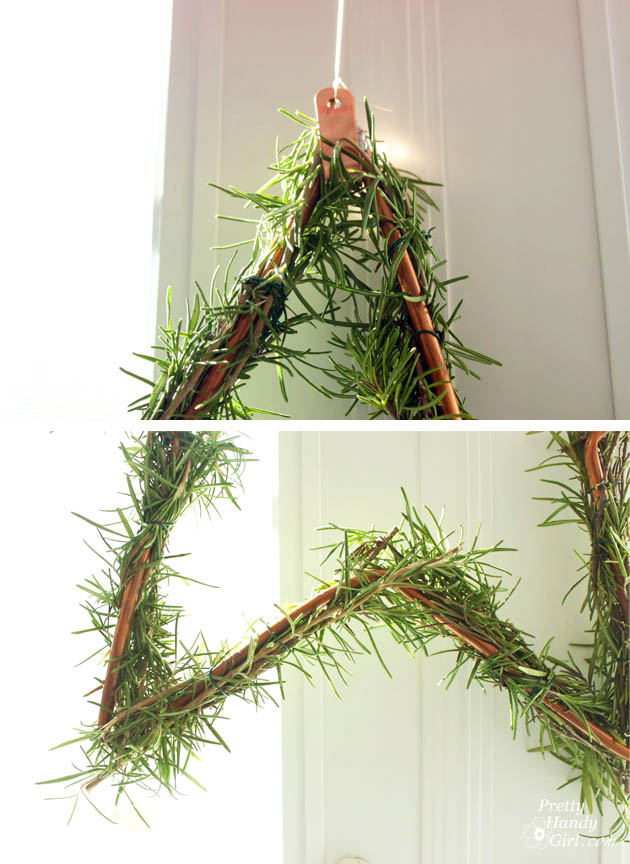
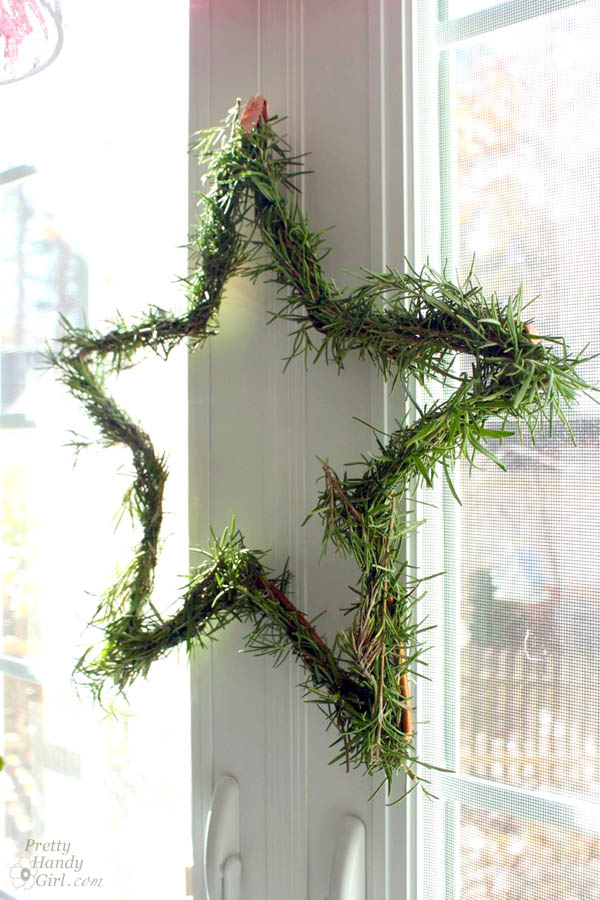
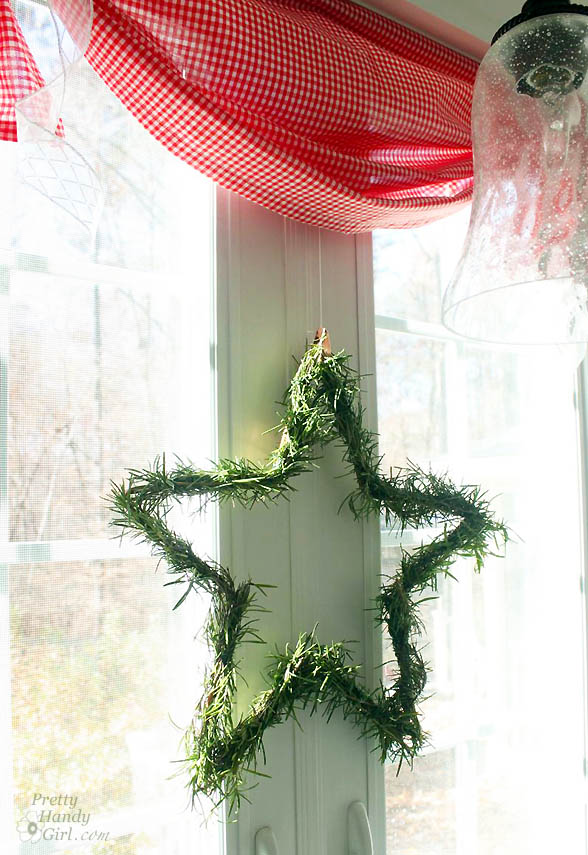
Rosemary Star Wreath Tutorial: Making a rosemary wreath is almost as easy as making a garland, but on a smaller scale. If you have a fresh rosemary bush, you can use trimmings from it for this project. If not, now’s the time of year to purchase little rosemary trees at your grocery store. Materials:
Optional: Plumbing strap for hanging Instructions: Form your copper wire into a star shape. Wrap (or solder) the ends together. Use small pieces of floral wire to attach rosemary springs to the star shape. Add a plumbing strap on top and feed fishing line through the hole in the strap. Hang your rosemary star wreath and enjoy the heavenly scent of rosemary in your kitchen throughout the season. It’s beginning to look a lot like Christmas around here!
Cleaning the Air in Your Home: Having the doors and windows closed in the winter helps keep your home warm. But, it also traps odors and makes the air in your home stale. You know who else is trapped indoors? Viruses and germs are also trapped inside! Besides frequent hand washing, you can improve your odds of staying healthy this winter by changing your air filters.Use a good quality Filtrete brand filter to trap viruses and to clean your home’s air. Be sure to check your filters and change them every 1-3 months to keep your home healthy and your HVAC system running smoothly.
Disclosure: This is a sponsored post for Filtrete. I have the honor of being an ambassador for them and have been sharing information from 3M Filtrete. I was given key messages to share, but all the words and thoughts are my own. I have been compensated for my time and for this post. I continue to work with certain companies like Filtrete that I believe in, because of their quality and because I feel they have helpful messages for my readers. I will always disclose to you if you are reading a sponsored post.