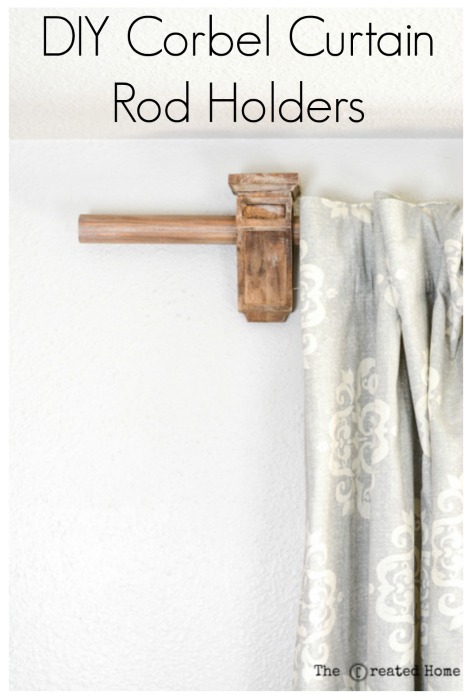
DIY Corbel Curtain Rod Holders
Hello Pretty Handy Girl readers! You know what costs too much? Curtain rods. Personally, I have a curtain addiction that is matched only by my addiction to accent pillows, but let’s face it, people notice the curtains, not the curtain rod and holders. Amiright?!
It doesn’t have to be. Rachel at Maison de Pax came up with a genius idea for Restoration Hardware inspired curtain rod and holders. Taking off from her ideas I’m going to show you a curtain rod holder idea that goes brilliantly with a wooden rod.
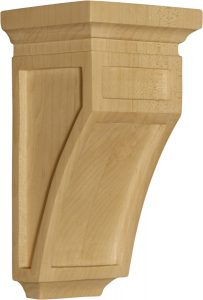
These mini corbels by Osborne Wood Products are a stunning statement piece and look upscale. Let’s get busy making your room look amazing with these DIY Corbel Curtain Rod Holders!
Materials:
(I’ve included affiliate links for your convenience. I earn a small percentage from a purchase using these links. There is no additional cost to you. You can read more about affiliate links here.)
- Mission Style Corbels from Osborne Wood (2 per window)
- Drill
- 1 1/2″ hole saw
- Thin scrap wood
Optional:
- Paint
- Stain
- Paint Brush
(This tutorial assumes you are using a 1 ½” diameter curtain rod with an actual measurement of 1 3/8″).
Instructions:
Step 1:
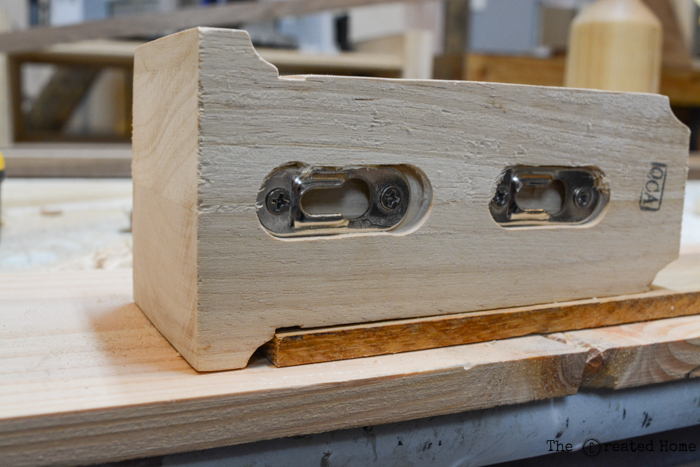
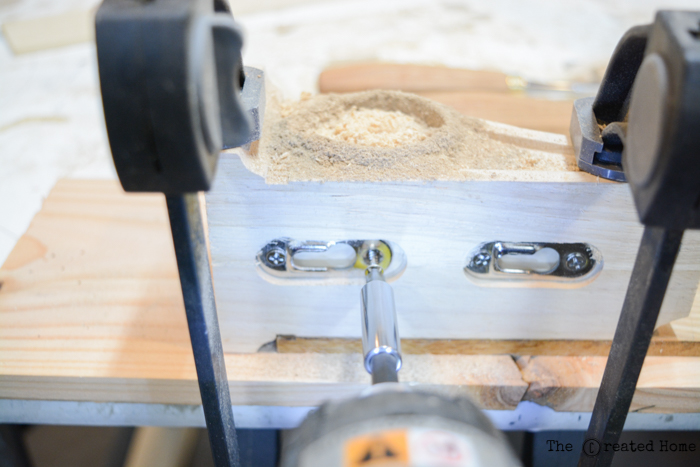
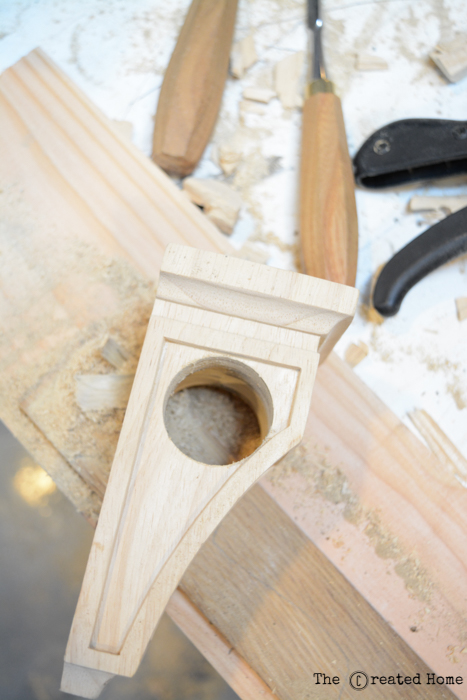
Protect the bottom side of the corbel as you drill through by layering scrap wood underneath as shown, otherwise the wood will blow out on the other side.
You will need to remove the bottom screw from the top bracket, as shown in the next photo so that it won’t be in the way of the hole saw.
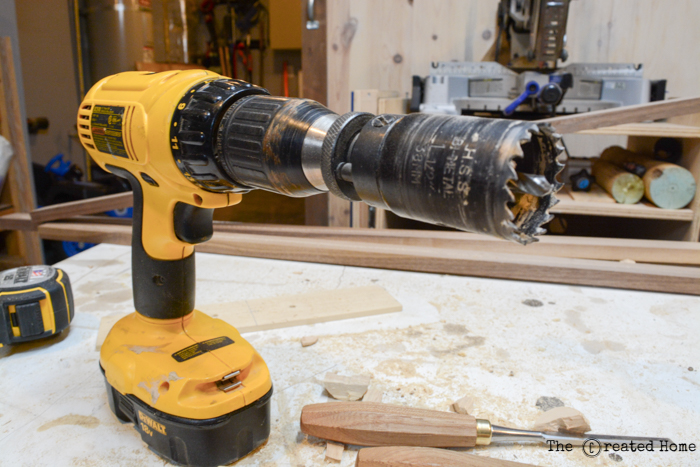
Insert the 1 ½” hole saw into your drill. (You can also use a spade bit if you prefer.)
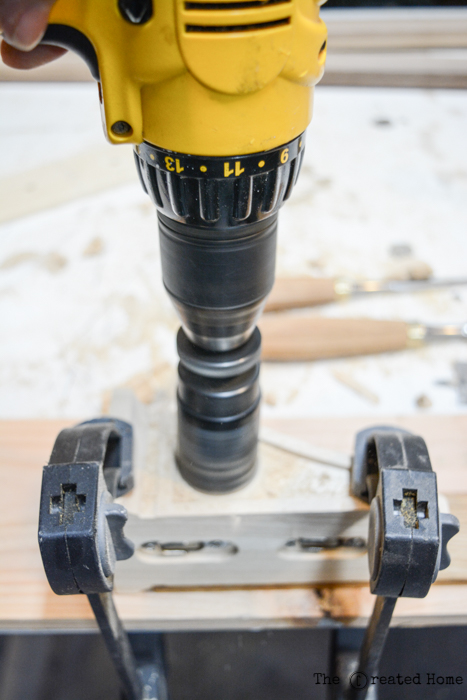
Clamp the corbel down and drill through the corbel in the wide spot between the trim and near the top. You may need to drill half way through one side, then flip the corbel and drill from the opposite side.
Don’t worry if the two sides don’t meet up exactly perfect, but do try to be as close as you can.
Step 2:
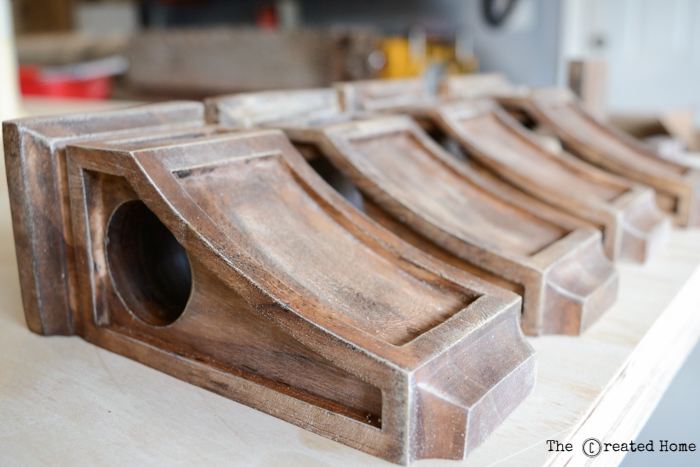
Stain and/or paint the corbels as desired. You could add whitewashing or distressing or any other technique you like.
Step 3:
Attach the corbels to the wall.
Pro-Tip: An easy way to line up the holes is to place a piece of painters tape over the back and mark where the screws need to go. Transfer the tape to the wall and you have an easy drilling template.
Be sure to space the corbels evenly from your window trim and the ceiling. Drive screws into studs whenever possible. (If you don’t have a stud to sink the screws into, be sure to use good wall anchors.)
Step 4:
Hang the corbels and rod. Be sure the screws are screwed in far enough that the corbel sits firmly against the wall. This will prevent them from moving around and allowing the rod to slip whenever you open or close the curtains.
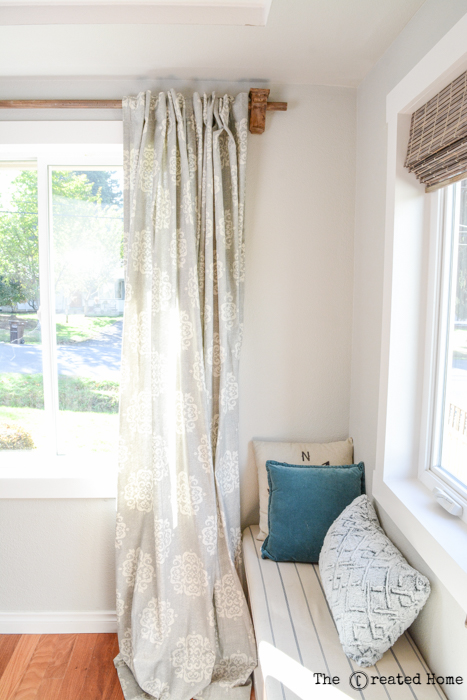
How lovely is this?! You just added a designer touch to your window treatments.
The corbels look amazing with our new window trim and they add a more sophisticated look to the room.
Thanks for reading!
Disclosure: Osborne Wood Products provided the mini corbels (in our Haven swag bags) that was the inspiration for this project.
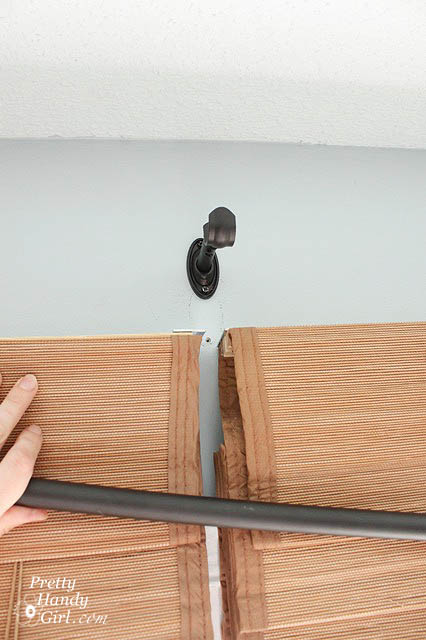
If you liked this idea, be sure to check out Brittany’s guide to hanging curtain rods:
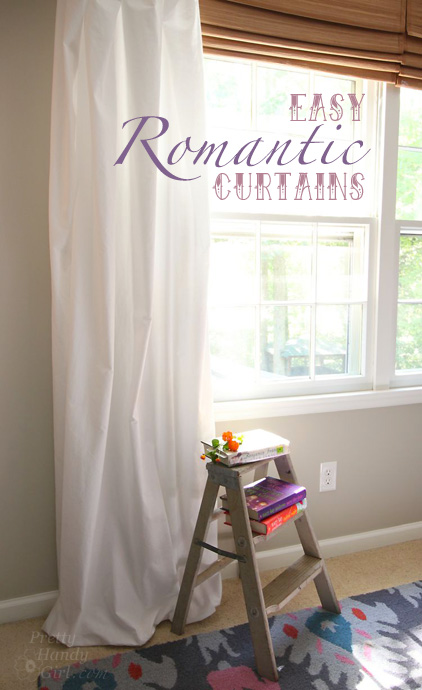
and how to make inexpensive romantic curtains!








These are awesome!! What curtain did you use we love the look?
I am going to try this! What did you use as a bracket for the middle of the rod for extra support (Shown in one of the pics)? I will be doing this for a large window and the rod will be pretty long. Thanks for the inspiration!
Where can one find the rod to use with these? Thank you!
Brittany! These are awesome,here I was thinking I was stick with boring curtain rods the rest of my life Have these held up well, or after some use have you noticed any areas around the drill hole for the rod that would need to be reinforced?
-Samantha
Nice work!! 🙂
Wow, that’s awsome! I just moved to the new apartment and was looking for somthing like this. They look so neat and tidy <3
I love this. Wow, you are a genius, and your work always reflect that.
Beautiful and thank you for sharing
wow!!! so great <3